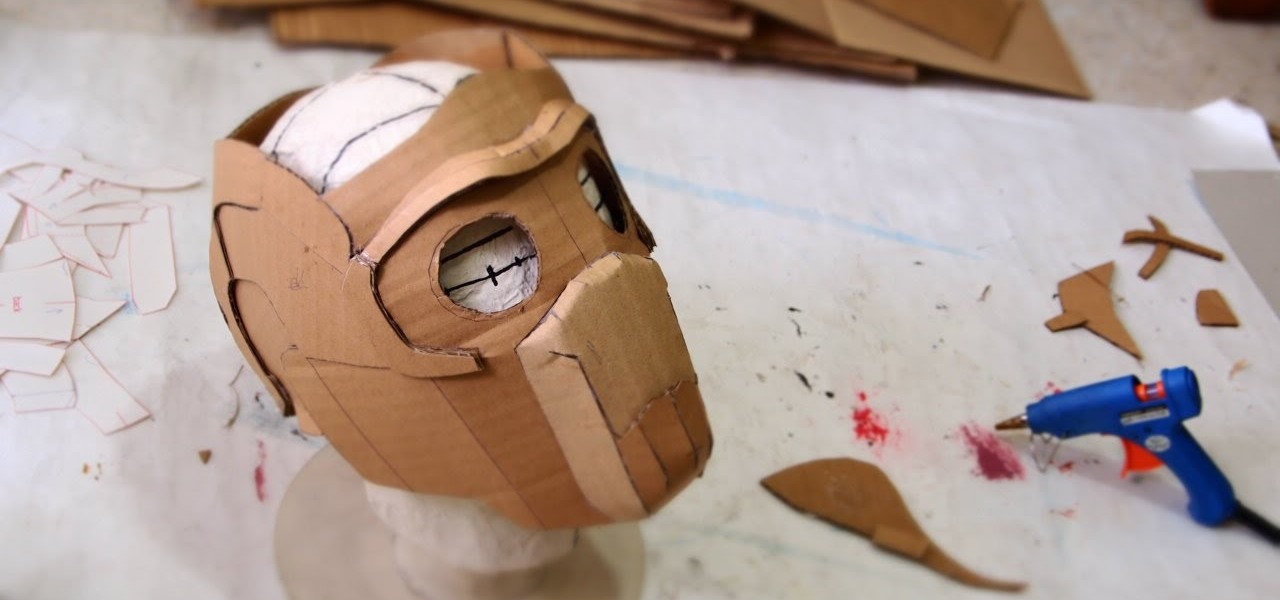
Star-Lord may not have been a household name prior to the release of Guardians of the Galaxy, but you can sure count on a flood of kids and adults alike wanting to dress up as Chris Pratt's character this year for Halloween.

In this tutorial you will learn how to create a realistic water rippling effect on a static image using masking in Flash.
Learn how to mask auto windshield and back glass molding using several techniques. These techniques will eliminate bridging, which is a problem many painters have. Watch the video to learn what bridging is and how to eliminate it.

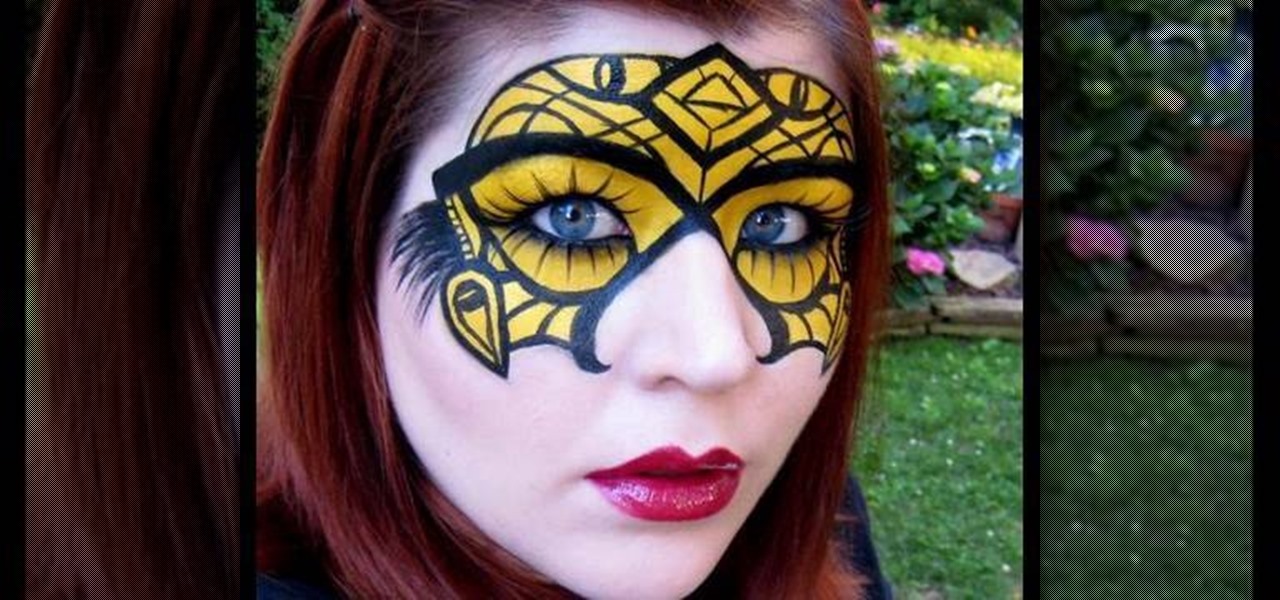
Still wearing those angel wings on your back for Halloween? Then honey, your whole world is about to be turned upside down (in a good way). Take a gander at this Halloween makeup video to see how to paint on an angel wing mask (each eye a wing).
The late and great Alexander McQueen was a true fashion innovator, coming up with quirky style trends that we could only imagine in our wildest dreams. Whether it was humped armadillo shoes (video Lady Gaga in "Bad Romance") or butterfly headpieces that obscured a person's face entirely, he spoke to us like a prophet from another world.

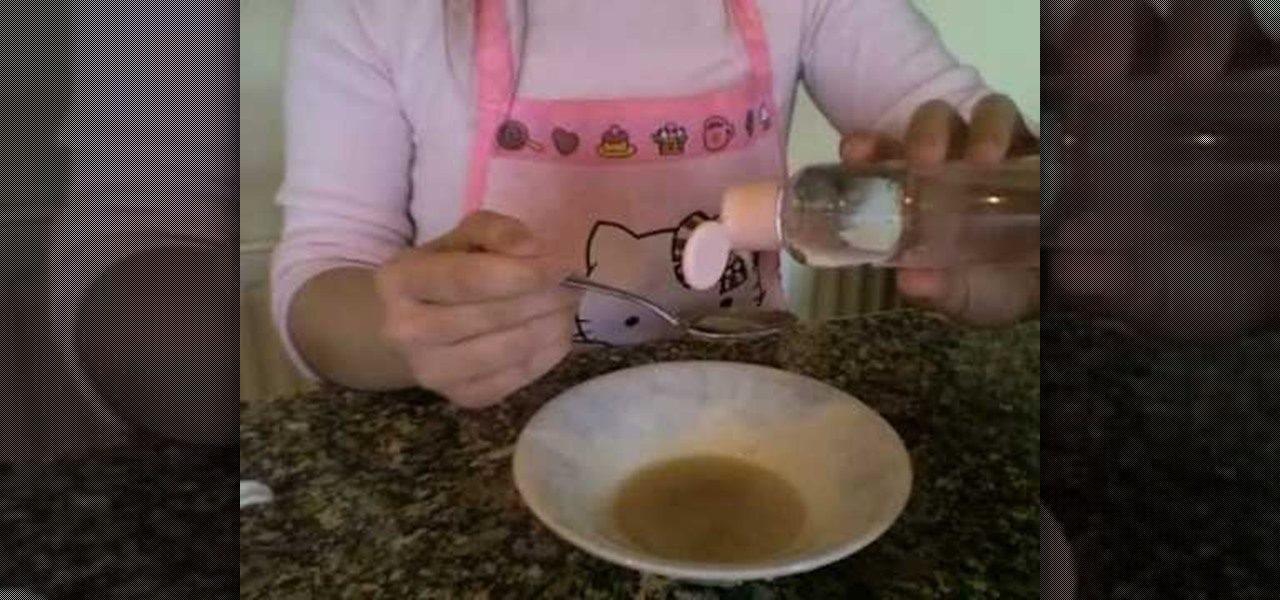
In this video, we learn how to make a homemade facial mask using durian (a southeast Asian fruit). First, grab some peeled durian and pick out the rich creamy pulp (leave the skin out). If you can't find this at your supermarket, try an Asian market. All you need is 1 tsp of this fruit for your entire face, then apply to your clean face. It will go on smoothly on your whole face. Let it soak in for 20 minutes and when it's done your face will feel tight. After this, rinse of your face and pat...

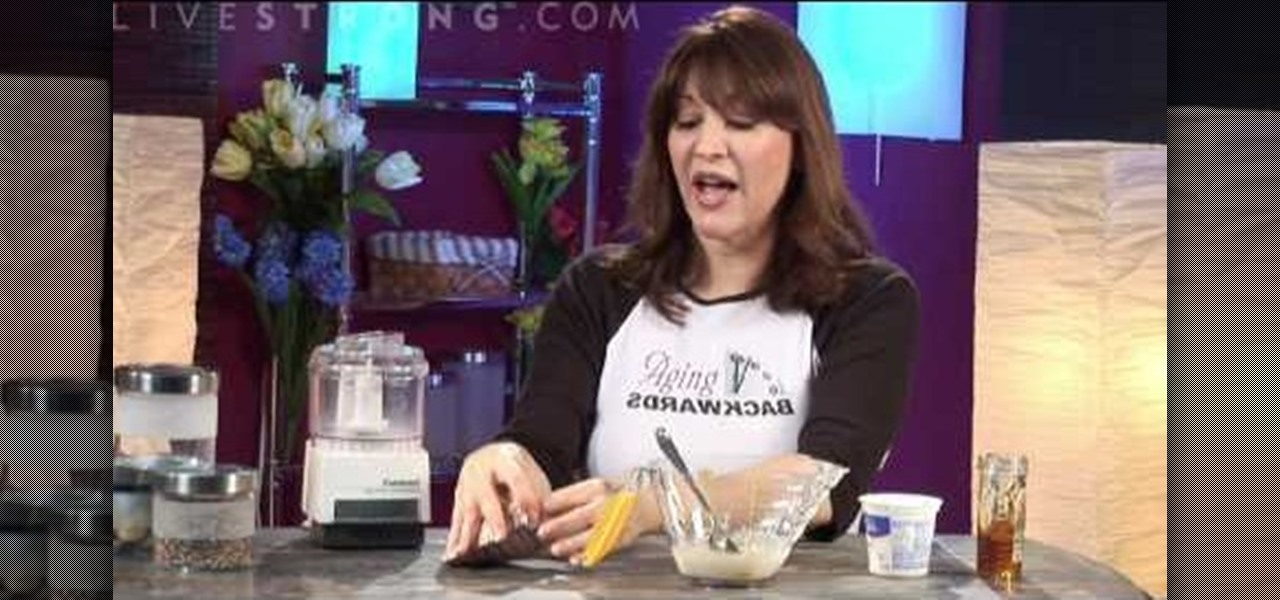
In this video, the instructor shows us how to make a facial mask using yogurt, oatmeal and honey. First, take 1/2 cup of plain yogurt with 1/4 cup of plain honey (you can microwave honey if it's not soft enough). In a food processor, take a packet of oatmeal and crush it up. When it's crushed up, add it to the yogurt/honey mixture. Then, take 2-3 tablespoon and apply on entire face avoiding eyes. Leave on for about 5 minutes then rinse off with warm water. Make sure to pat your face dry when ...
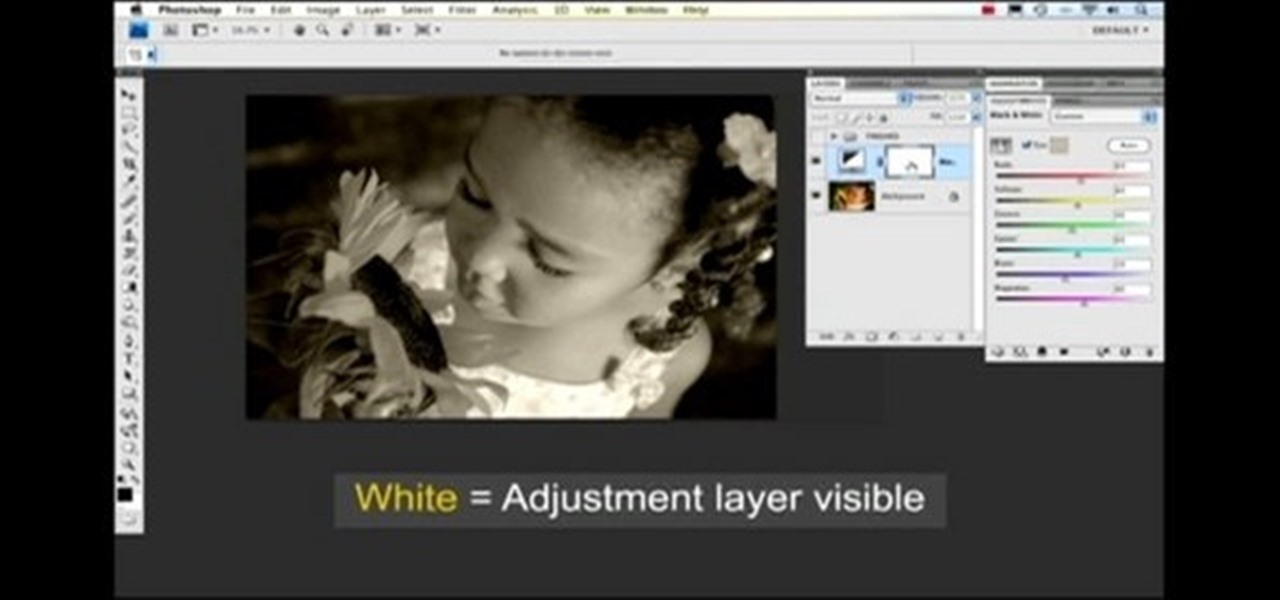
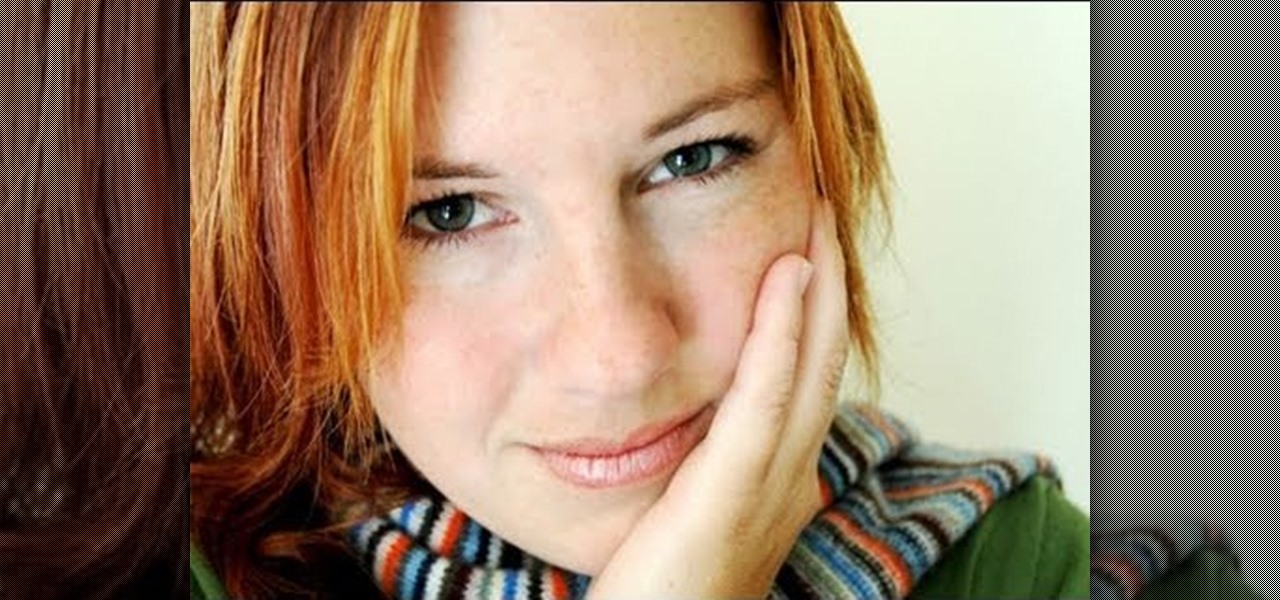
Nichole Young demonstrates how to hand color using layer masks in Photoshop CS4, which also works in Photoshop CS3. The procedure can be summarized in two stages: turning the picture you would like to edit black and white and then bringing color back into it to give it a hand-colored look. The black-and-white effect is achieved by creating a new layer over the background layer. The next step is to give the picture a warm look by adjusting the layer’s respective color balance. Then bring the c...
Devolped by the same team of engineers responsible for LightWave 3D, modo, lowercase, delivers the next evolution of 3D modeling, painting and rendering in a single integrated and accelerated package for the Mac and PC. And now, modo is a true end-to-end solution that includes true 3D sculpting tools, animation and network rendering! More than just features, modo is a truly elegant integration of technology, raw horsepower and refined workflow. With such a wealth of inbuilt features, however,...
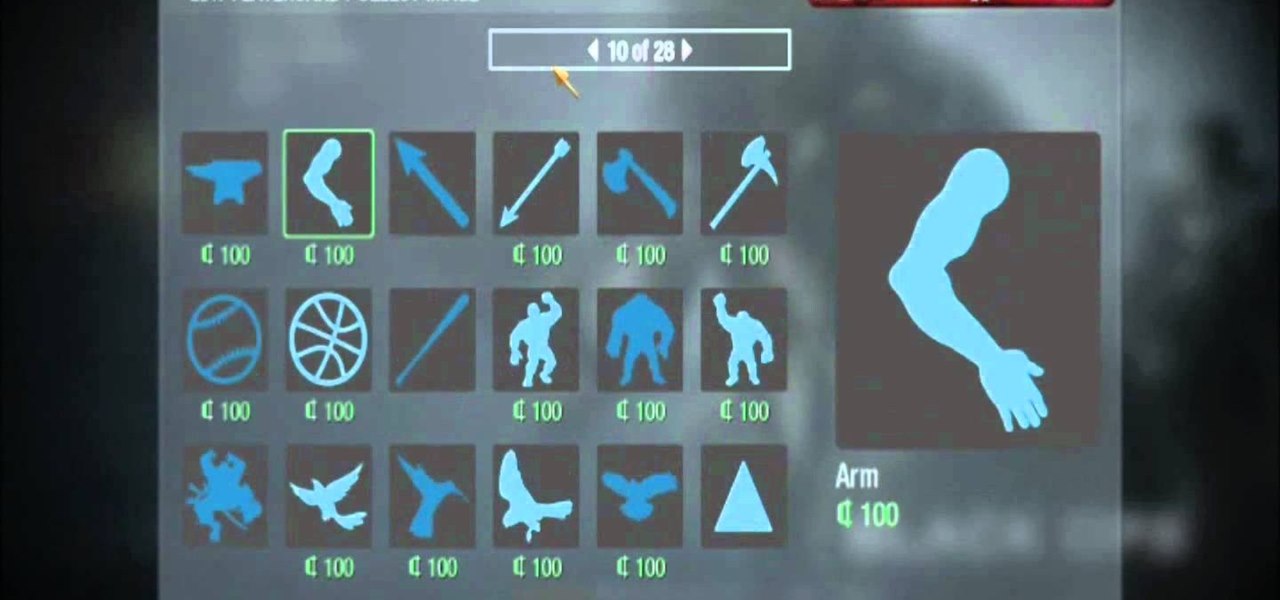
Taskmaster is one old-school Marvel villain, debuting in the first series of Avengers and going to become the nemesis of masked heroes Moon Knight and Deadpool. This video will teach you how to use this venerable character in Marvel vs. Capcom 3, including all his special moves and some basic combos.
Jason Voorhees has made the old-fashioned hockey goalie mask synonymous with psychotic violence, and his image is perfect for a Call of Duty Black Ops emblem. Watch this video for a guide to making one using the in-game emblem / playercard editor.
Creating great-looking animation is what Flash CS4 was made for. This video tutorial explains how to animate vector graphics in Flash using the classic motion tween and a simple mask. It provides step-by-step, detailed instructions that should allow you to animate any image you want quickly and effectively.
We don't know about you, but making selections around oddly shaped areas of an image is one of the most frustrating single tasks in Photoshop. Odd shapes are really hard to navigate around by hand and often you can't get a perfect cut. Luckily, this Photoshop tutorial will guide you through how to make complex selections easily in Adobe Photoshop CS5.
Whether you're new to Photoshop or a seasoned graphic arts professional after a general overview of CS5's most vital new features, you're sure to be well served by this official video tutorial from the folks at Adobe TV. In it, you'll learn how to work faster with everyday tools in Illustrator CS5. Additionally, you'll learn how to draw behind, disregarding stacking order, and draw or place an image inside, instantly creating a clipping mask.
In this Photoshop CS3 tutorial you will learn how to use the knockout feature. This advanced masking technique allows you to move a targeted layer around, revealing the layer underneath. This video will show you how to reveal a creepy skeleton under a monster werewolf right in Photoshop. This classic technique lives again! Learn the subtle qualities of the Deep, and Shallow, Knockout feature in Photoshop.
Is it two hours before that big frat Halloween party, and you've got little cash and very few places you can go to pick up a last minute costume? Then check out this tutorial to learn how to make a prank pizza zombie face mask.
In this tutorial, we learn how to make fur suit eyes for a mask. First, grab a simple paint pallet that has dips down in it for the paint. Then, cut the dips out of the tray they come in with a small saw. Then, grab a hot glue gun and melt down the middle of the dip so it's hollow. Then, apply hot glue to the top of the hollowed out eyes. Then, apply felt around this and cut it out so you can see the eye. Push the material through the bottom to create the pupil, then your eyes are finished.
Feel like you're too old to still wear a costume on Halloween? We hear you. If you're past the whole "dress up as a pumpkin" phase of Halloween but still want to look festive for the occasion, why not consider a face mask?
In this tutorial, we learn how to create a sea nymph makeup look. Start by applying purple shadow the eyelids, then apply a darker purple color over the top of it. Now, on top of this, blend a black to the eyelid colors, then line the top and bottom of the eyes. Draw a rough outline on your face next where you are going to apply the sequins. Start to color in your face where the sequin face mask is going to be, and color it blue and bright yellow, or whatever matches your mask. When finished,...
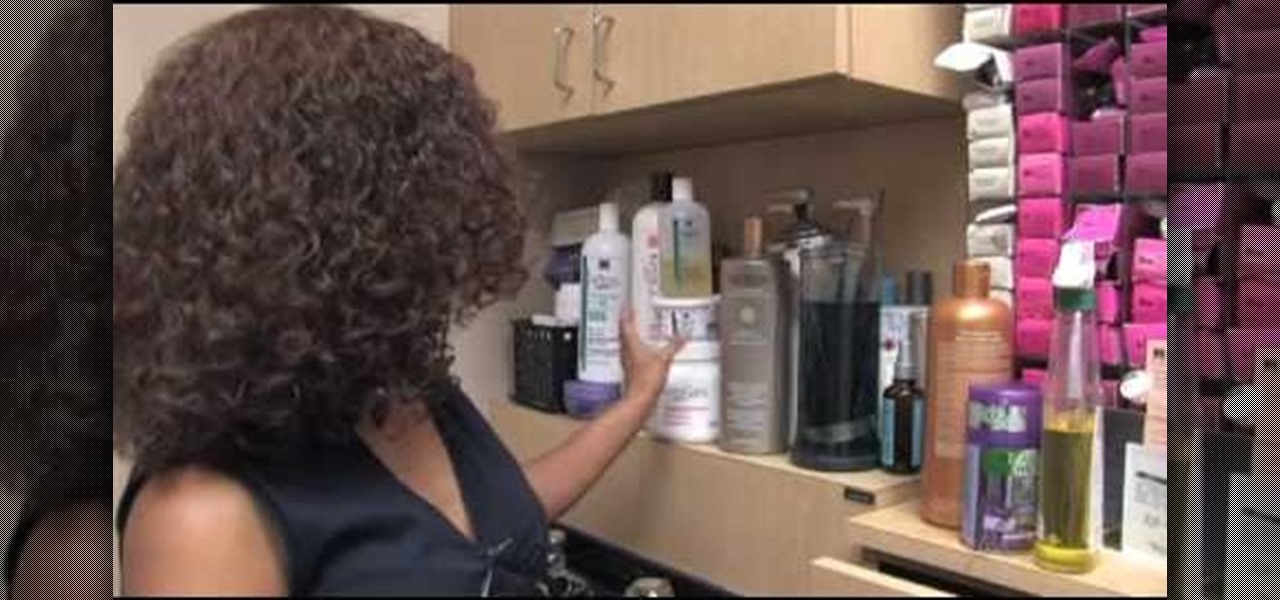
To take care of your relaxed hair, you will need to choose your relaxer carefully. Lean towards relaxers that aid tensile strength rather than deplete it. The hair has to be conditioned properly and regularly. Relaxed hair has been processed, and it requires a lot of moisture. Try using a hair mask. The Moroccan masks are a good choice for your hair. Make sure that you deep condition the hair at least once a week. Try to avoid blow drying your hair. Blow drying dries out the hair. It pulls th...
Want to to blow up a subject to Brobdingnagian proportions in Final Cut Pro? Learn how to create a giant effect with masking in this clip. Whether you're new to Apple's Final Cut Pro non-linear video editor or just want to better acquaint yourself with the Final Cut Pro 6 workflow, you're sure to benefit from this video tutorial. For specifics, including a step-by-step overview of this great post-production trick, watch this FCP lesson.
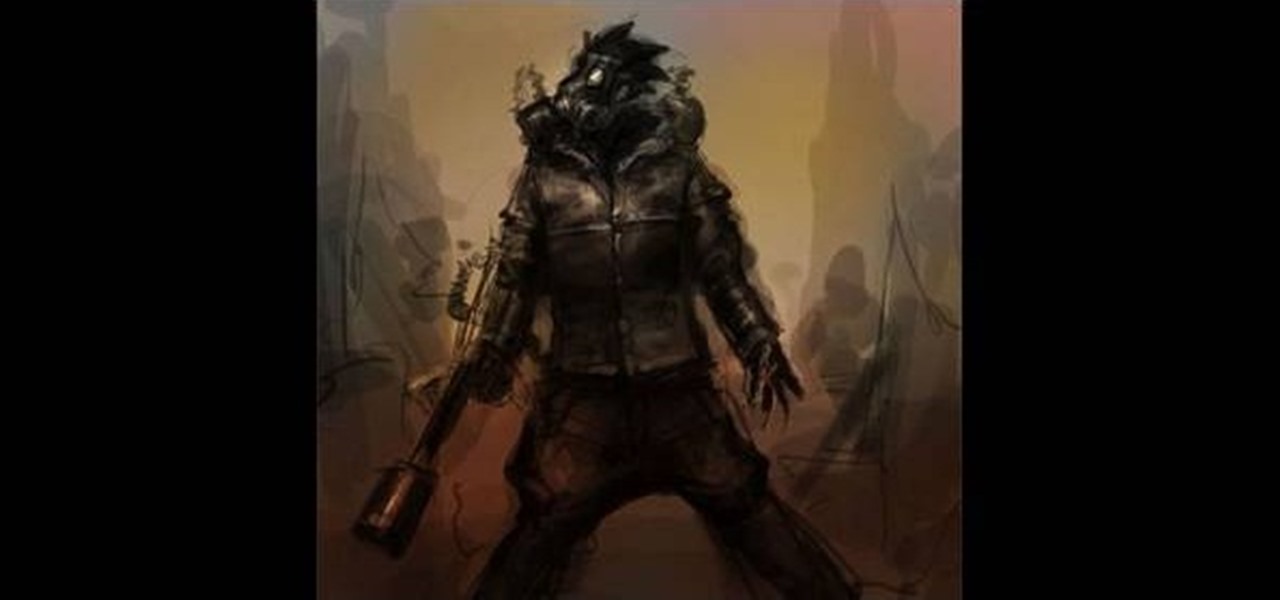
This speed-drawing tutorial demonstrates how to draw a futuristic soldier character with a flamethrower and a gas mask on your computer. It moves very quickly, but if you can't keep up you can reference the artist's step-by-step sketches where he breaks down the steps he takes in copious detail. The background is intentionally vague so that you can fill in whatever you like, most likely a post-apocalyptic setting of some kind. A good view for any comic book, fantasy, or science fiction artist.
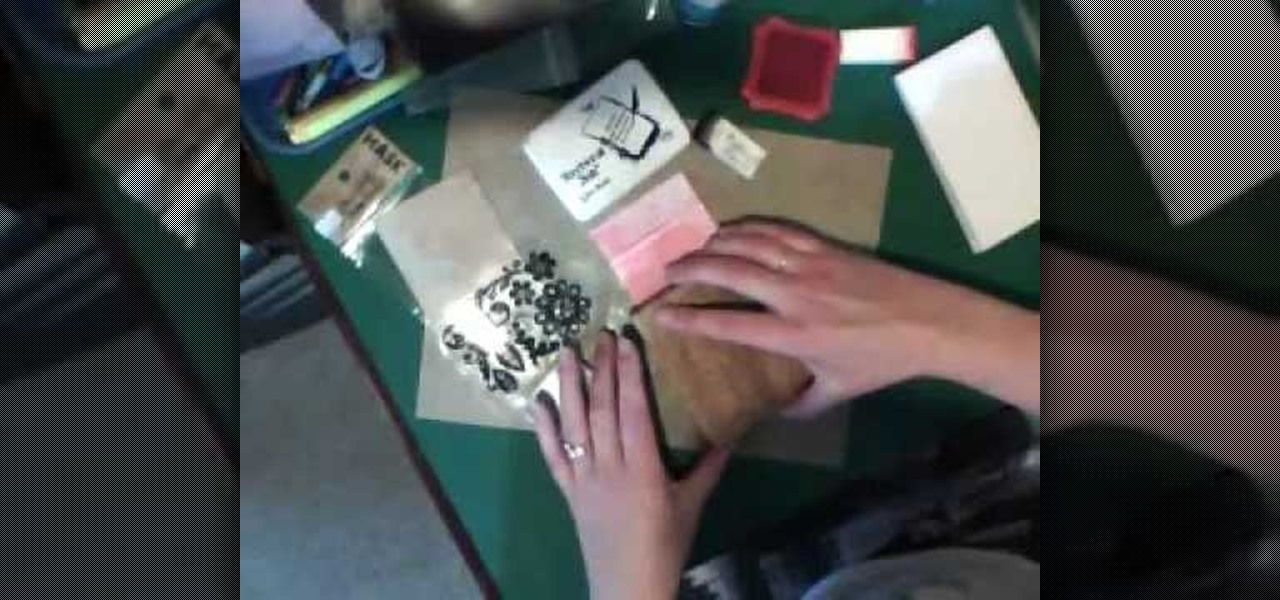
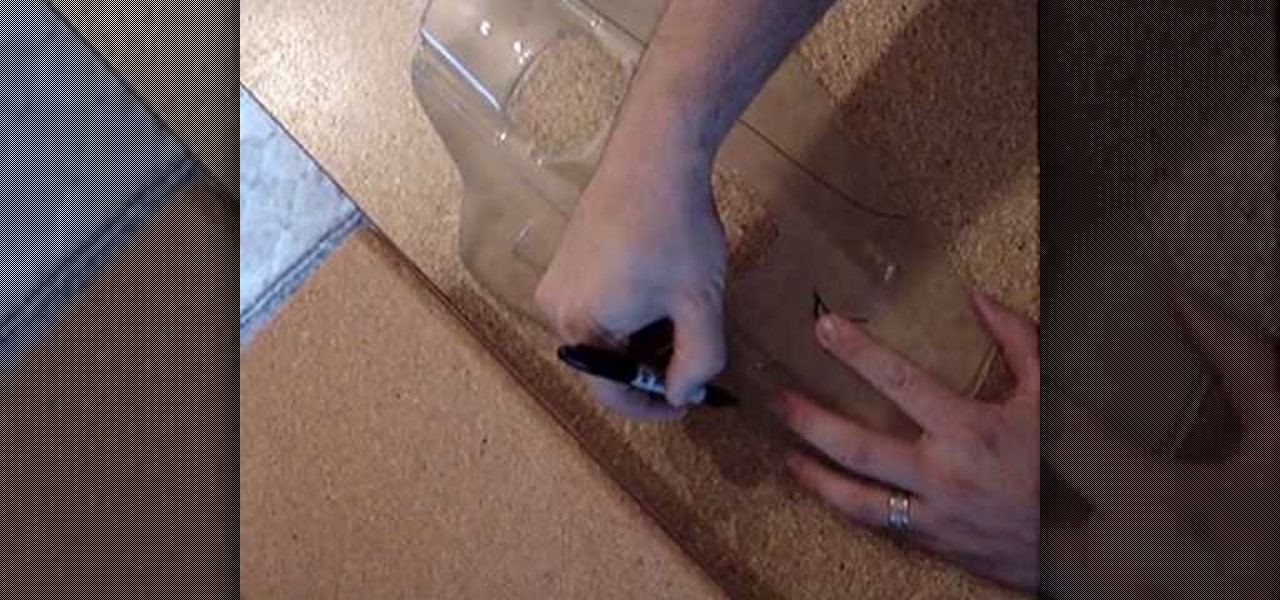
In this Arts & Crafts video tutorial you will learn how to make a stamped notepad cover. Put the note pad on the edge of a bigger sheet of paper, draw the outline and cut the paper along the lines. The paper should be longer than the notepad. Put the note pad on top of the paper aligned with one end and fold the other end of the paper. Remove the paper and crease it properly along the scoring lines. Depending on the theme you want for the cover, apply the required ink with sponge on the paper...
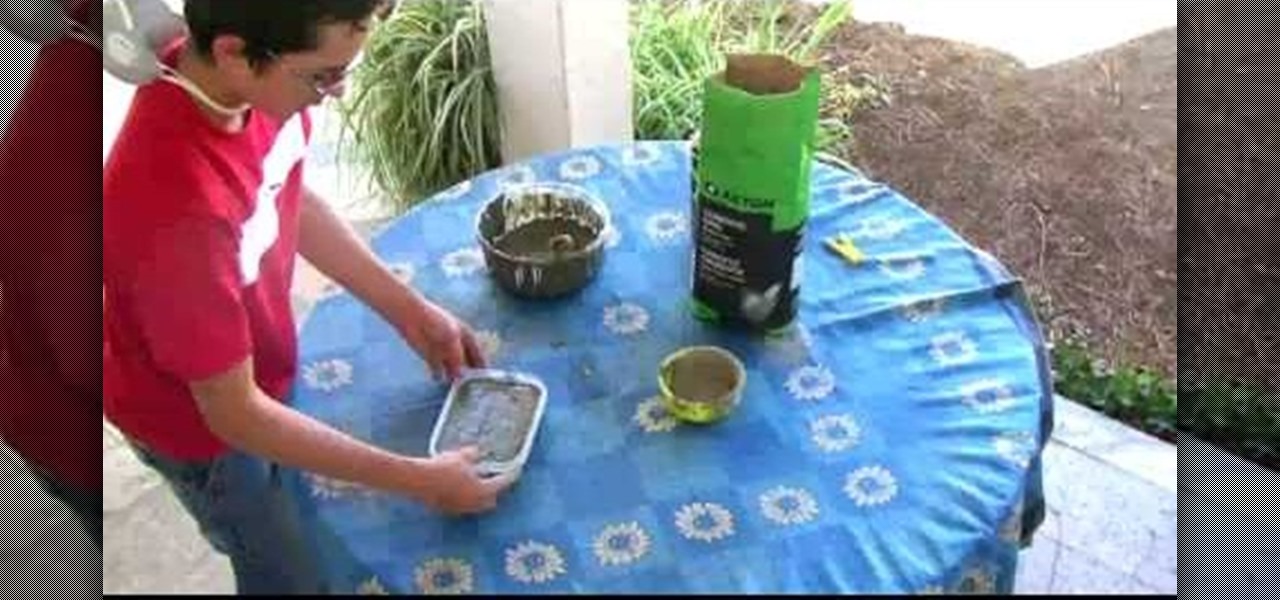
In this Home & Garden video tutorial you will learn how to make a concrete obstacle. Materials required are cement, 1 big receptacle, 1 small plastic receptacle, a cup for measuring, a spatula, 1 mold, WD40, paper towels and protection mask. Wear the mask, spray WD40 on the small receptacle and the mold, and wipe off with paper towel. Pour two cups of cement in the big receptacle, add one cup of water and mix slowly with the spatula. You can add more cement, water and make it to a watery cons...
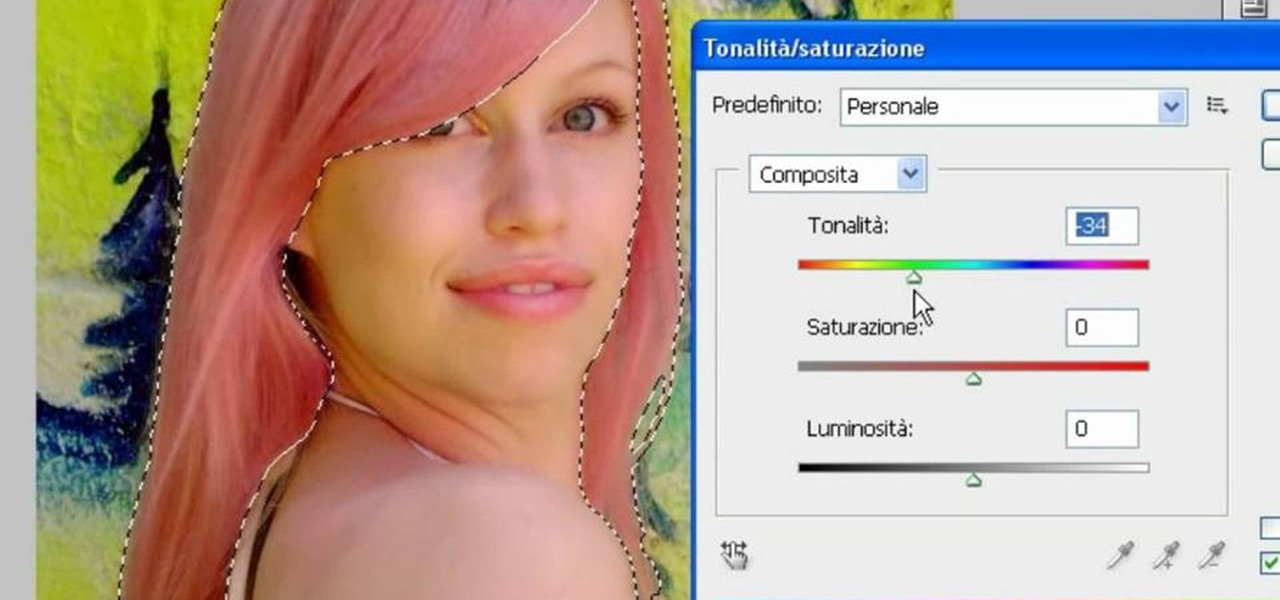
In this video, we learn how to use PhotoShop to change hair color.. First, select the mask tool inside PhotoShop. Now, zoom in on your picture and brush the hair that you want to change the color of. Zooming in and using smaller or bigger brushes will help you be more precise. After this, zoom out and press on the mask tool to create your selection. Then, select the marquee tool and right click and choose "inverse selects". Now, click on "image", "regulations", then "tonality/saturation". Now...
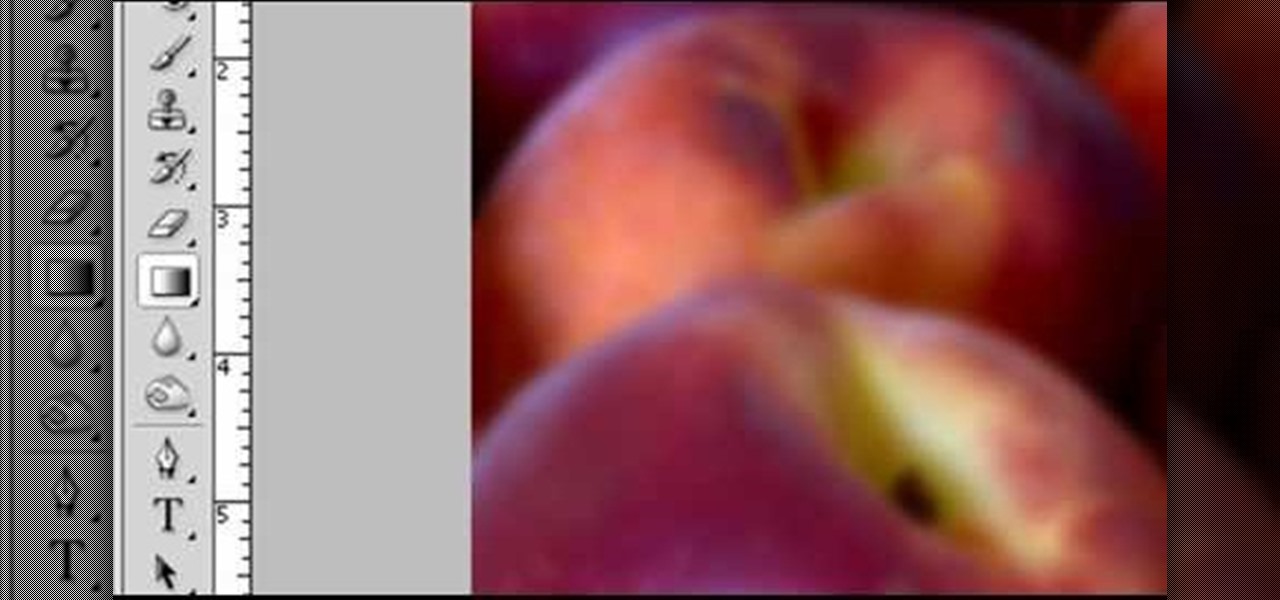
Robert with Roberts Productions demonstrates how to give your photos depth of field with Photoshop. You can create this effect by having a clear foreground and a gradually blurry background. First, duplicate the background layer. Then, go to filter and select Gaussian blur. Set it to a believable radius like 12 pixels. Create a mask by clicking on the mask icon. Then, make sure the foreground is set to black while the background is set to white. Next, go to the gradient tool and make sure tha...
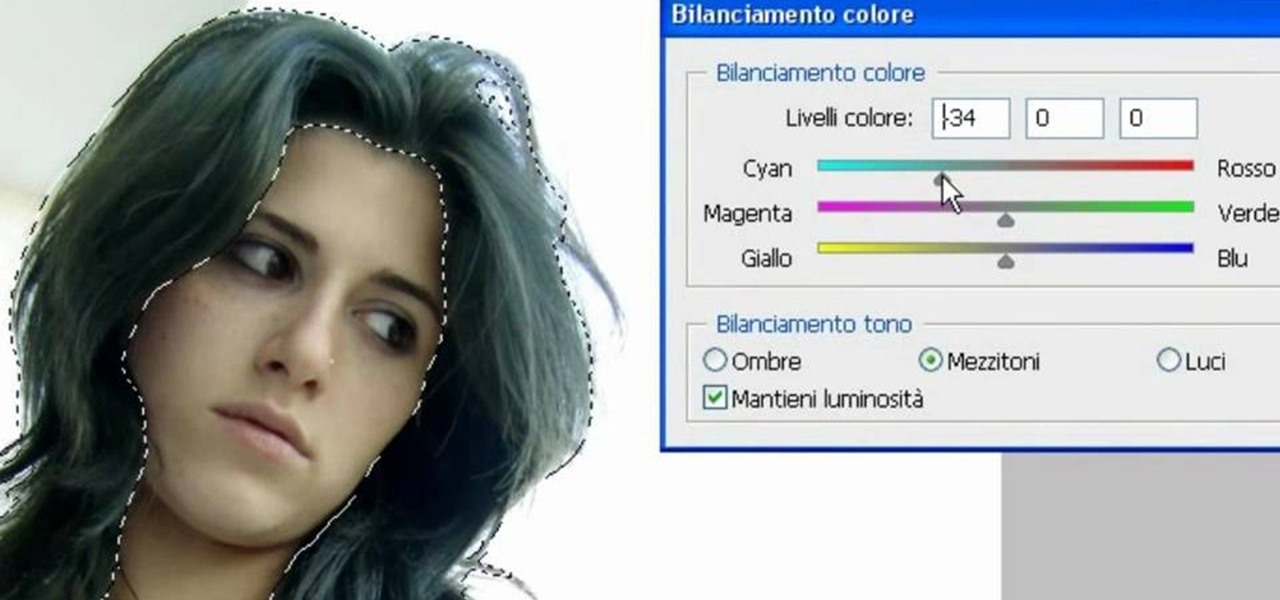
In this video, we learn how to change the color of dark hair in PhotoShop. First you will want to open up PhotoShop and open up the picture you want to change, zooming in so you can see the hair up close. Next, open up the mask tool, then use the brush to color the hair. This will only highlight the hair to change the color in the future. Use different sized brushes when you need to. Once you've done this, click on the mask tool to create the selection. Now, select the marquee tool and click ...
River City Graphix Tutorials demonstrates how to make a reflection in Photoshop. First, fill the background layer with black. Then, select the text tool and a color of your choosing. Type the words that you would like to reflect. Next, duplicate the layer to make a copy of the layer. Hold shift and bring it down, setting it on the bottom of the other layer. Select the rectangular marquee tool, right click to get the free transform tool. Right click again and then flip the image vertically. Se...
In this video, the instructor shows us how to make a homemade honey and banana facial mask. First, you want to make sure your hair is all the way pulled back and out of your face. Also, make sure your face is clean. Peel your banana and chop it into pieces, place into a bowl. Mash up the banana and then add in a spoonful of honey to the mixture. Mix this into a paste. Next, apply to your face and leave it for 15 minutes to harden. After this rinse your face with warm water and then pat your f...
In this video, the instructor shows us how to make a facial mask using coffee grounds and egg whites. First, take an empty bowl and place a 1/4 cup of coffee grounds into the bowl. After this, add an egg white to the bowl. Now, mix up the coffee grounds and egg white until they are well blended. Now, apply mixture gently to your entire face, avoiding the eye area. Once you have it placed on your face, let it set for about 10-20 minutes or until dry. Your face will start to feel tighter and yo...
In this video, we learn how to make a facial mask for oily/dry skin with natural ingredients. First, take a bowl and place a half of a banana in it, smash the banana in the bowl until it makes a paste. Now, take a 1/2 of a lemon and squeeze the juice into the bowl. After you mix this together, add 1 tbsp of honey into the bowl. Mix this all together very well until it makes a paste. After this, apply the paste to clean skin. After about 10 minutes, rinse this off and pat your skin dry.
This video shows you a home remedy, a mask for dry skin, to get rid of my dry and flaky skin. It helps to achieve smoother complexion which dry skin people are dying to achieve. This mask is 100% natural and tested several times for the results.
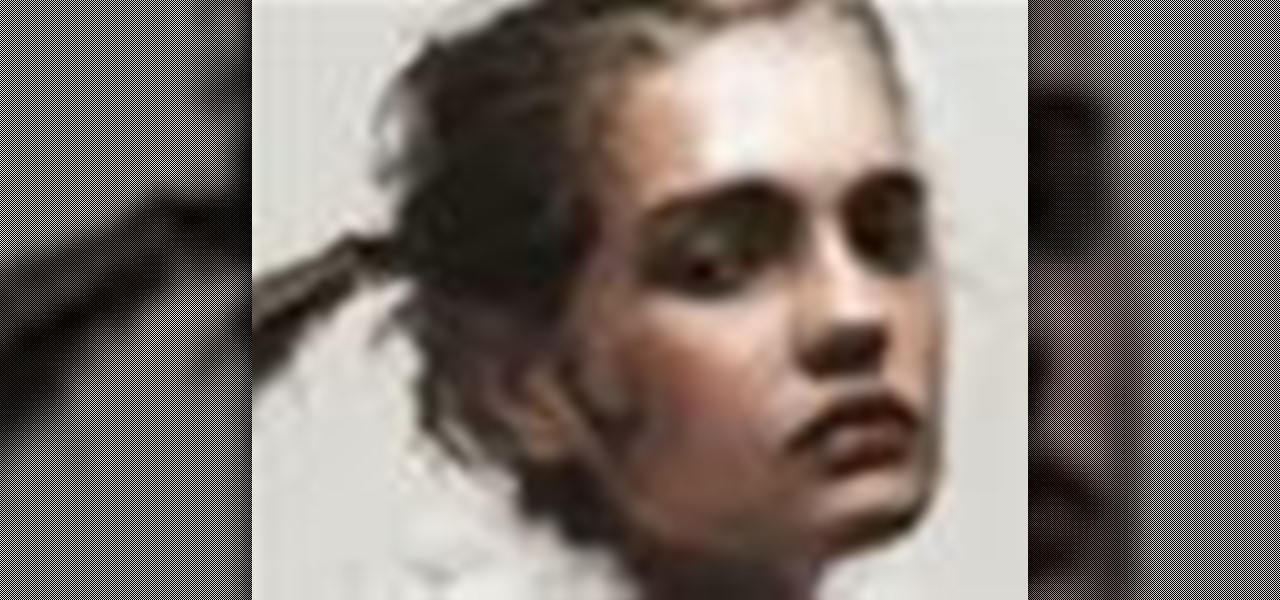
The artist begins by sketching house the outline of the face and body using a pencil. Then he begins to form the eyes, nose, hair and ears, and applies a gray mask to the face which is then covered by the tan coloring of the woman. The lower body is applied with a lighter mask which is converted to the white furry coating of the coat. The drawing is then smoothened out showing us the main features of the realistic woman. Using the software and computer graphics that he uses, the hair, eyes, a...
This video lesson will show you how to easily make frames and borders in Photoshop. Yanik from Yanik’s photo school presents this video. It’s really easy and fun. Go to select -> all or ctrl+A. Then Go to select -> modify ->contract. Put in the amount of pixels you want your border to be and click OK. 75 may be suitable for most pictures. Then Go to select -> inverse. Now you go into quick mask, ctrl+Q or click the appropriate icon. Click filters -> filter gallery and select the type of effec...
No need to spend money at the beauty shop when you can make your own green tea facial scrub at home. This video tutorial demonstrates how to mix together a homemade facial scrub that you can store and use multiple times. This homemade mask is inexpensive and great for getting rid of dead skin cells (which can pile up giving you a dull complexion). By using the scrub when it is slightly warm, it opens pores allowing the nutrients of the mask to cleanse deep within.
This video is on how to paint the hood of the axon racing razorback anti gravity racer and how to do some basic effects. I use the liquid masking method of Bob Dively and show how to use airbrushes such as Iwata in my other how to paint video. You can use this method with any paint from pactra to spaz stix and any color of black, blue, purple, green, yellow, silver, chrome, etc. I personally prefer Pro line (or proline) shells over their durability but there are other shells out there. Just e...
When it comes to female superheroes/supervillains, does it get any sexier than the classic Batwoman? Batman's archnemisis and equal in many ways, Batwoman is one chick whose looks really do kill. Of course, having advanced combat training doesn't hurt.
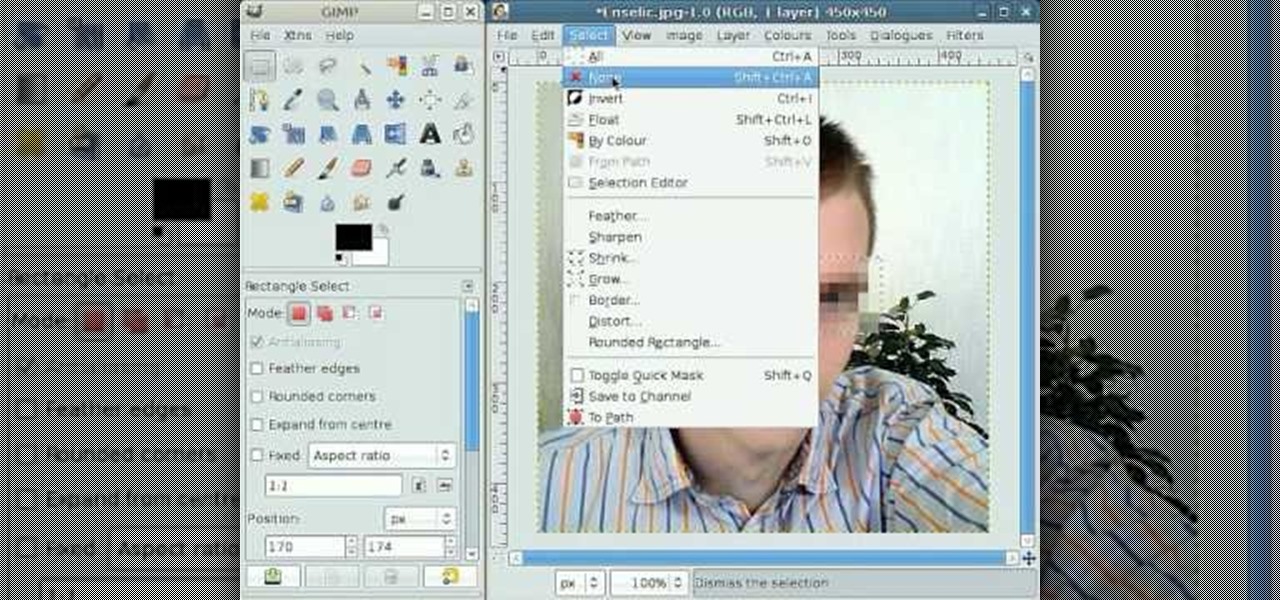
By following this tutorial you will learn the concept of selections in GIMP. Whenever he says "layer mask" he really meant "selection mask".
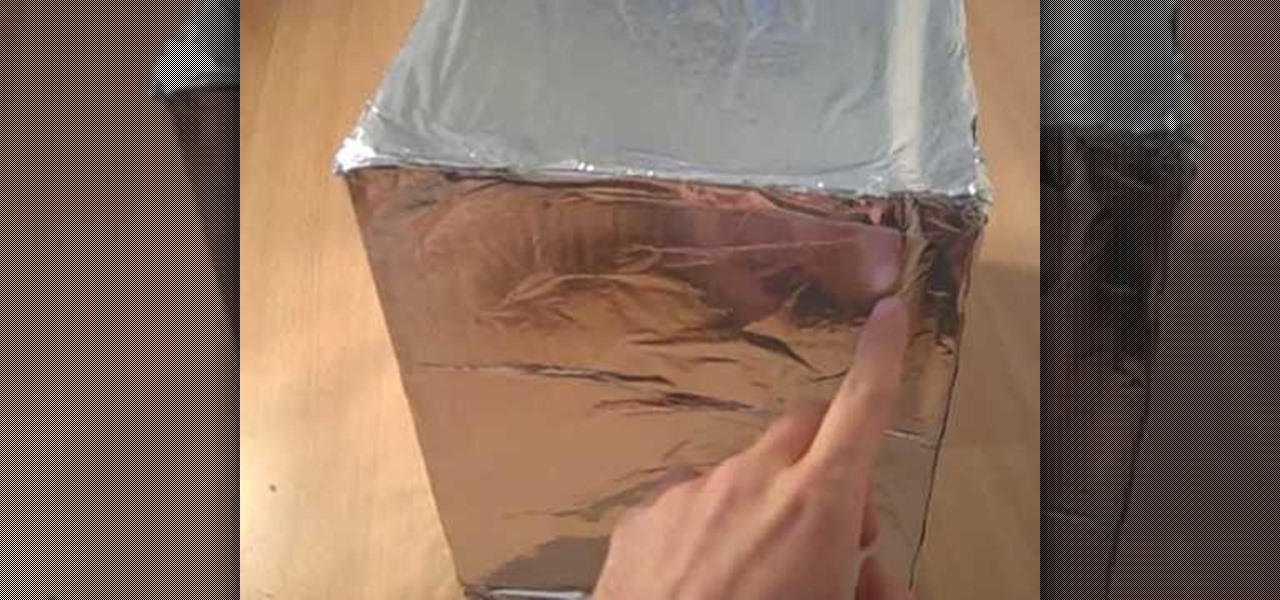
This video describes how to make a talking robot mask using iPhone. For that you need Reading scale, Cutter scissor, Box to fix into head, Cutter Knife, Screw Driver, Glue, Cello tape, Aluminum Foil, Pen, 2 Bottle caps, used paper and an iPhone with mouth analysis software. First take together, now take that Box and have to two parts for make it convenient to wear into head by sticking both using Cello tape, now we have to make the mouth with size of "50mm by 75mm" which will fit with iPhone’...
Pixel Perfect is the "perfect" show to help you with your Photoshop skills. Be amazed and learn as master digital artist Bert Monroy takes a stylus and a digital pad and treats it as Monet and Picasso do with oil and canvas. Learn the tips and tricks you need to whip those digital pictures into shape with Adobe Photoshop and Illustrator. In this episode, Ben shows you how to bizarrely merge photos in Photoshop.