
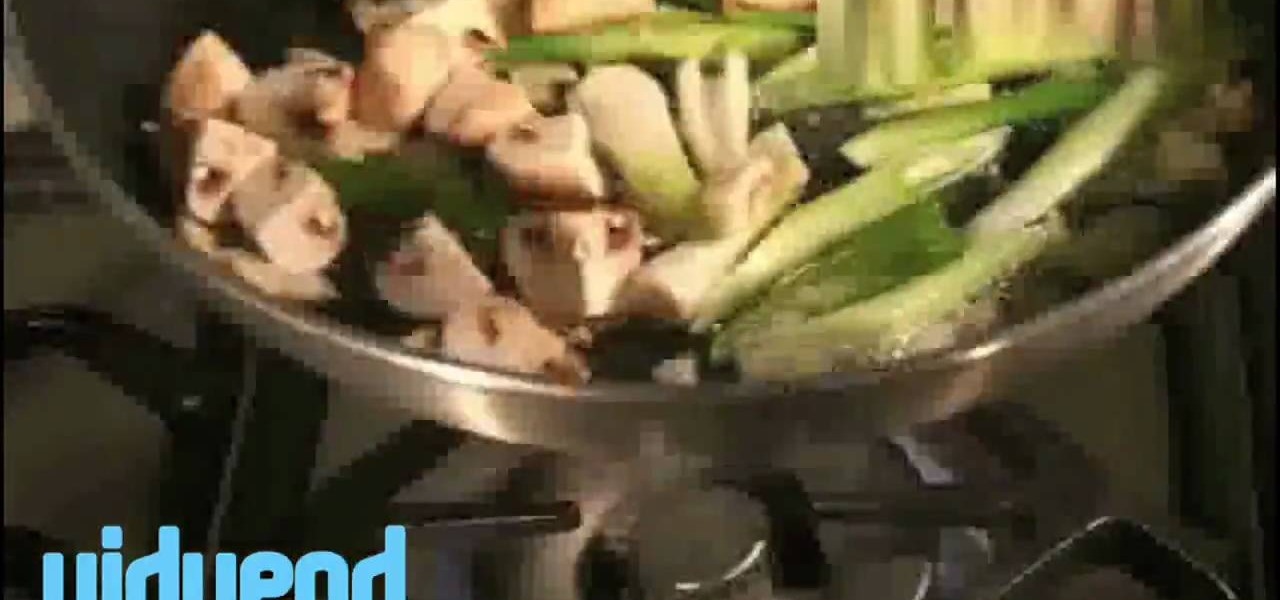
How To: Stir fry vegetables with oyster sauce
Ingredients: Assorted vegetables (I use cabbage, button and shitake mushrooms, baby corn, bean sprouts, and water chestnuts)

Ingredients: Assorted vegetables (I use cabbage, button and shitake mushrooms, baby corn, bean sprouts, and water chestnuts)

This is a quick and easy tutorial for Photoshop on how to create a simple but effective reflection of an object. This tutorial uses vector masking, scaling, hot keys, vertical flip, gradient tool, and opacity adjustment. After watching this video you will be able to make a reflection of any object you would like. The product of the tutorial will be a half faded reflection that actually seems as though the image is sitting on a reflective surface such as metal, glossy tile, or a wet surface. A...
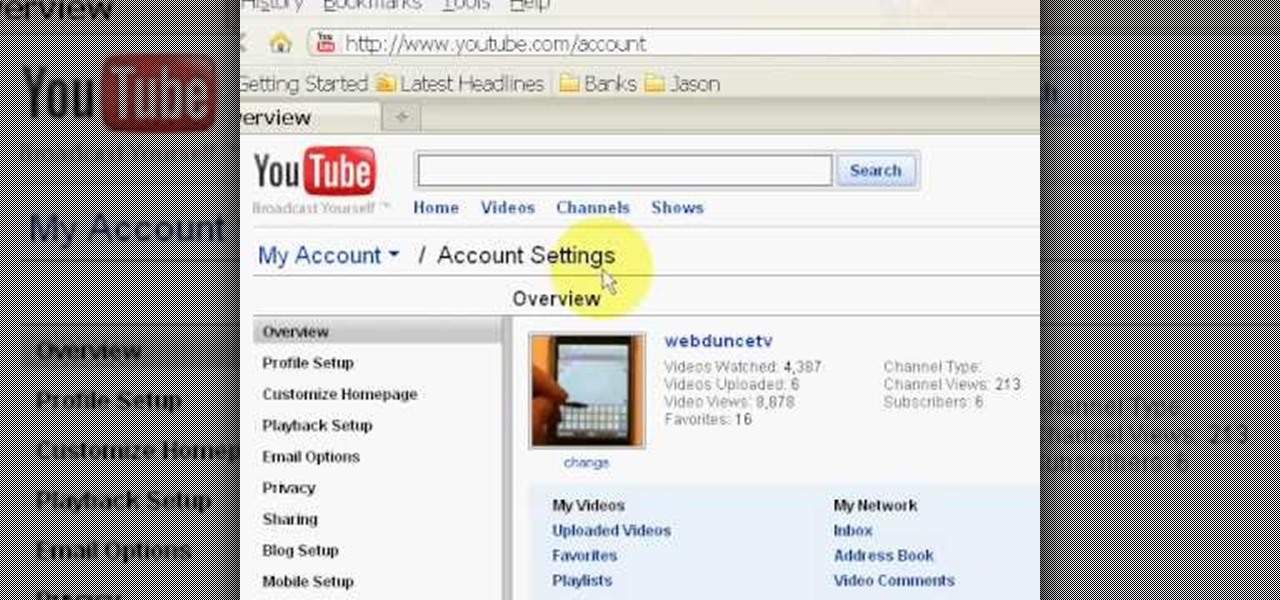
Want to change your YouTube Channel type? YouTube user webduncetv shows you how. After signing into your YouTube account hover your mouse over user name and click on the word "Account" from the drop down list.
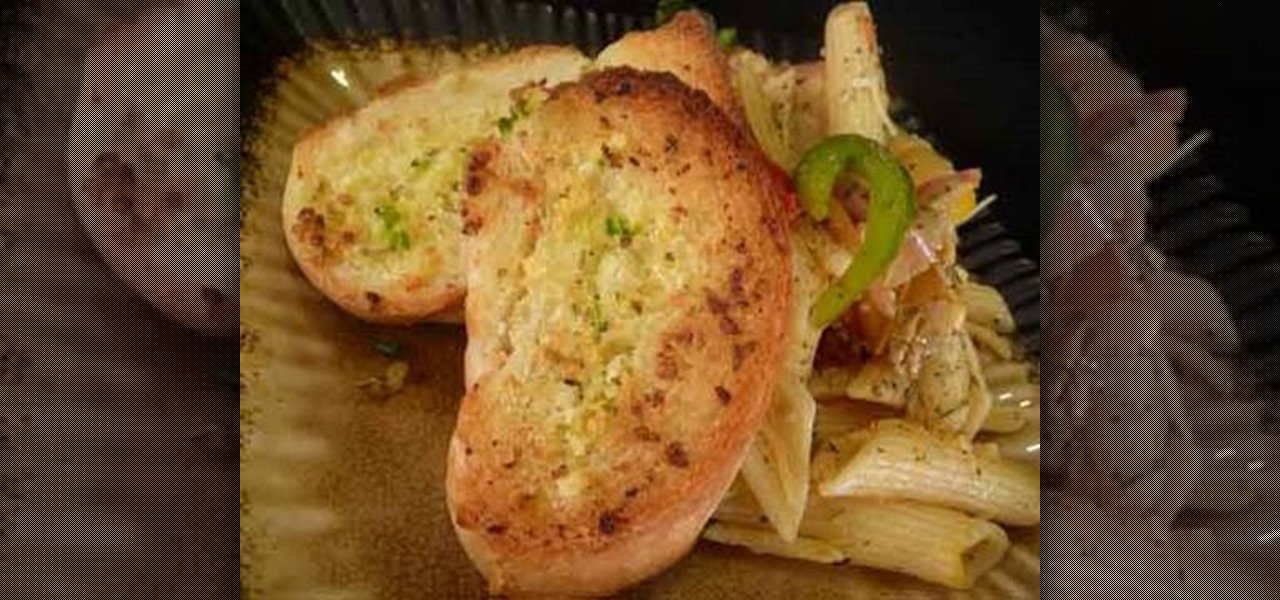
Me The Curry] presents a great tutorial on how to make garlic bread. Anuja and Hetal show you how to make a delicious garlic bread. First melt about 2 Tbsp. of butter in saute pan. Add minced green chilies, minced fresh garlic, a pinch of salt (if you use unsalted butter), and a pinch of oregano leaves (optional) to the butter and saute until garlic is slightly brown. Remove from heat. Then take a loaf of french bread and slice to desired thickness. Brush t...

This shows me getting the highest possible medal on Bejeweled Blitz on Facebook applications by exploiting the timing window when the clock runs out (250k medal). To keep getting combos when the timer runs out, you need to select the next gem you want to swap before all the other gems are done falling. Once you have the desired gems selected repeatedly click the square that you want to swap. If you did it right, as soon as the gems on the screen all stop falling, your combo will go off and th...

Here are some instructions on heat embossing on polymer clay. This video includes tips for embossing both baked and unbaked clay. You will need polymer clay, a rubber stamp, pigment ink, embossing powder and a heat gun. Roll out the clay onto a nice thin sheet of clay and bake the selected piece. Then stamp the baked clay with ink as desired. Sprinkle the embossment powder onto the stamped area, and tap off the excess powder. Next, heat the embossed area with the embossment gun and watch the ...
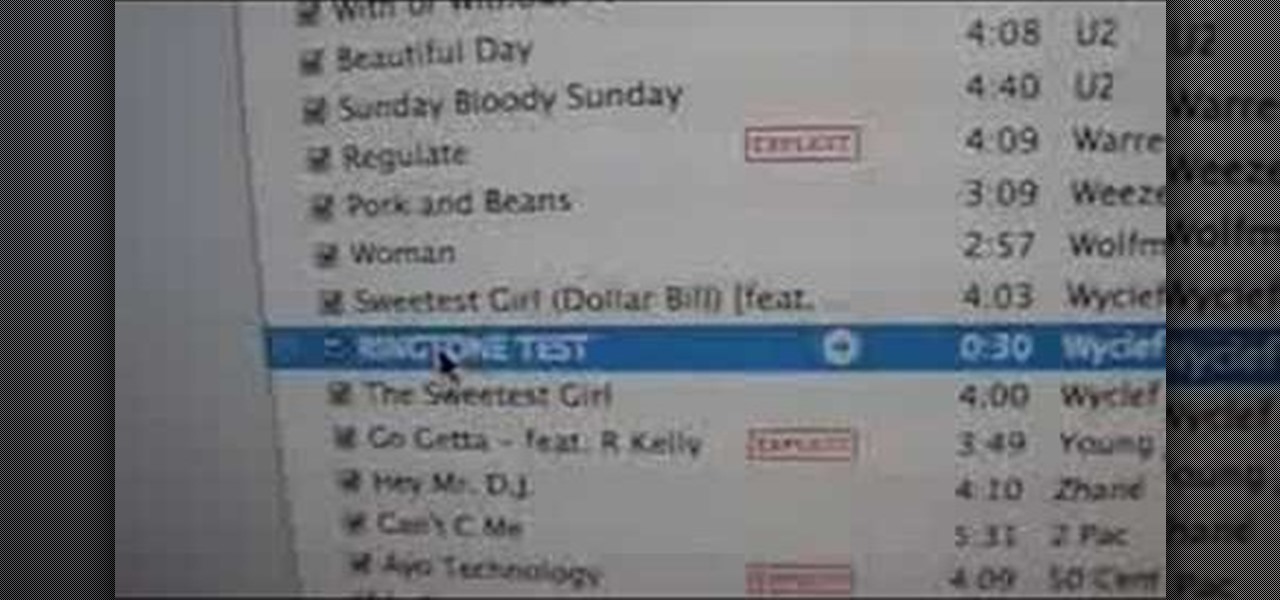
ruffdeezy shows how to create ringtones for the iPhone from regular MP3 files. ruffdeezy begins by importing the desired file into the iTunes library. Accuracy of the file's info can be confirmed by selecting "get info" on the song title. Under the "get info" page, go to the "options" tab. Under this tab is a "start time" and a "stop time" option. Choose the desired start and end time of the ringtone. Do not make it longer than 30 seconds. Next, right-click the song and select "convert to AAC...
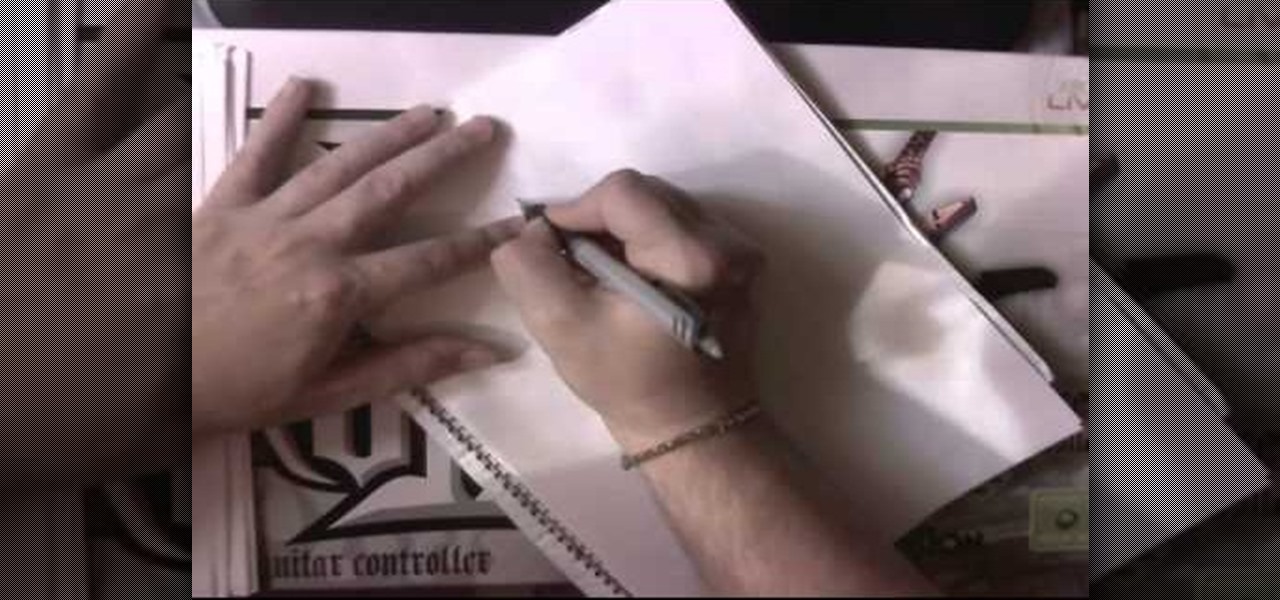
Looking for a hardcore rock and roll image but don't know how to play an instrument? Mix styles from punk rock and goth to ’80s hair bands; and get the extreme look of Japanese rock musicians without ever lifting a guitar.
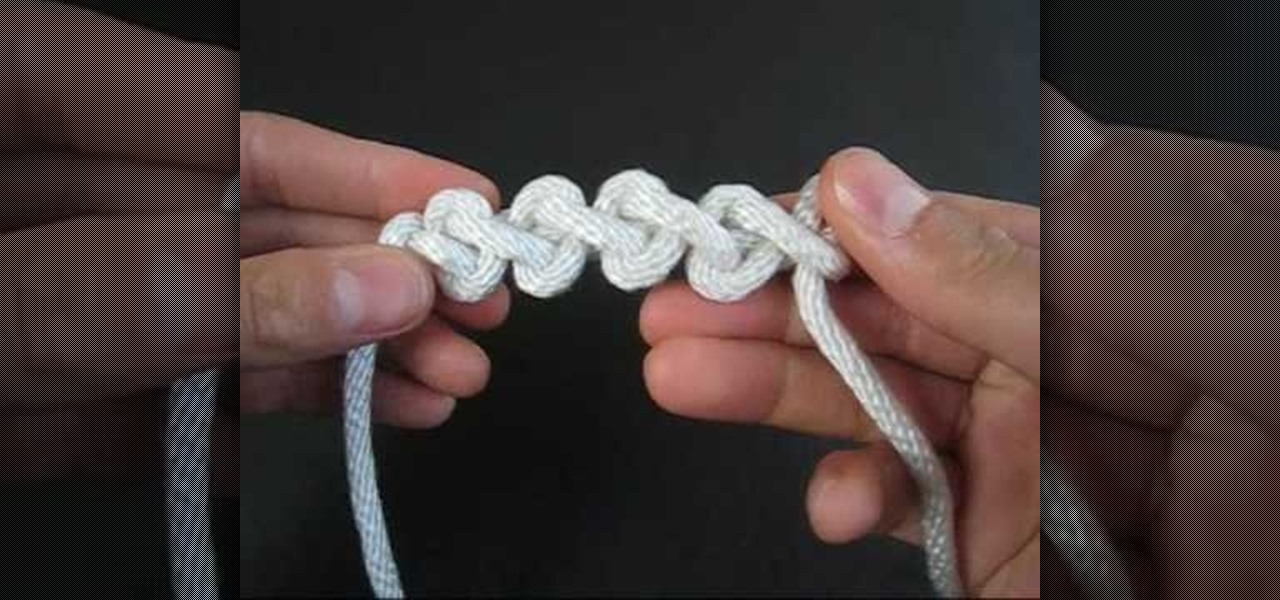
Quick easy steps to create a spinal spinnet by TyingItAllTogether. Using a good length of thick cord, create a small loop. Put one end of the cord on top of the other, bringing the top cord over and around the bottom cord and slipping a bit of the cord into the loop, creating another small loop. Pull on the bottom cord until the first loop closes into a knot. Slide the end of the cord into the new loop and pull on the cord to close the loop, creating a new loop. Twist the new loop and again b...

This video shows you how to draw a cartoon smiley head in Inkscape: Open a new page.

Getting your hair cut can be incredibly frustrating. You struggle to describe what you want, and if the stylist gets it wrong, you're stuck with a haircut you hate. Follow these tips to make every day a good hair day.
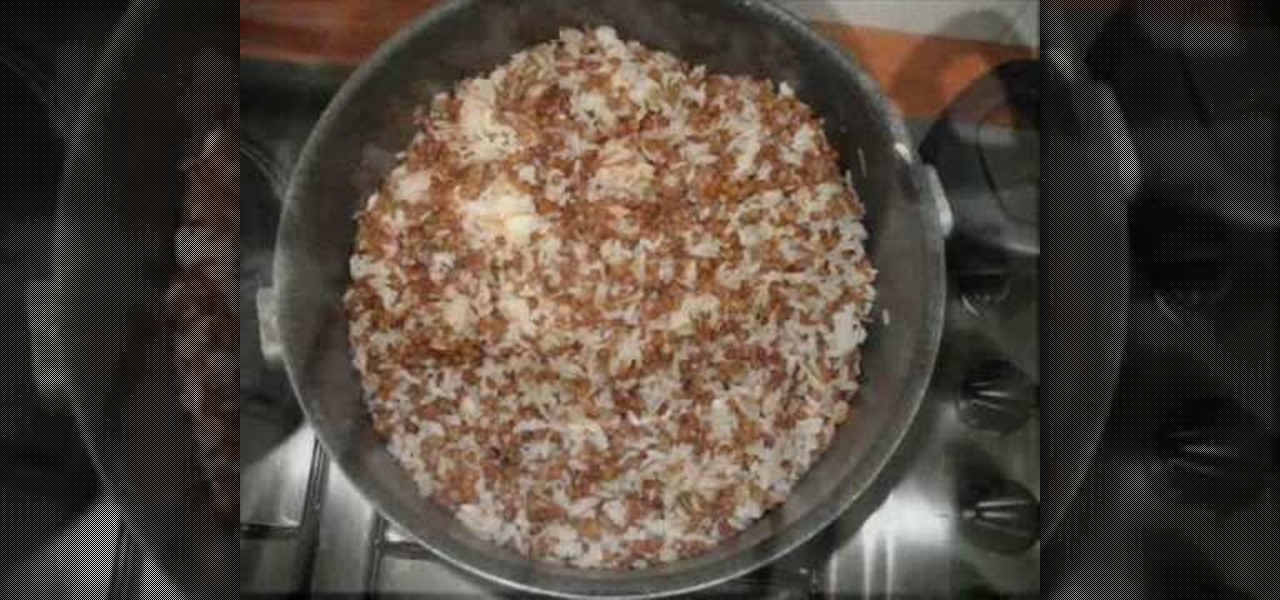
Mujaddara has always been considered poor man's dish throughout the ages in the Middle East but currently it is considered a very healthy dish that provides a balanced healthy meal , with healthy fat, protein and carbohydrates. This dish is a very flavorful dish too.

There are tons of apps to help you create unique and compelling posts and stories on Instagram, but you already have the tools you need to make something eye-catching. You can insert line breaks in captions, create translucent overlays for photos, rainbow-up your story font, and even add a 3D text effect to your stories.
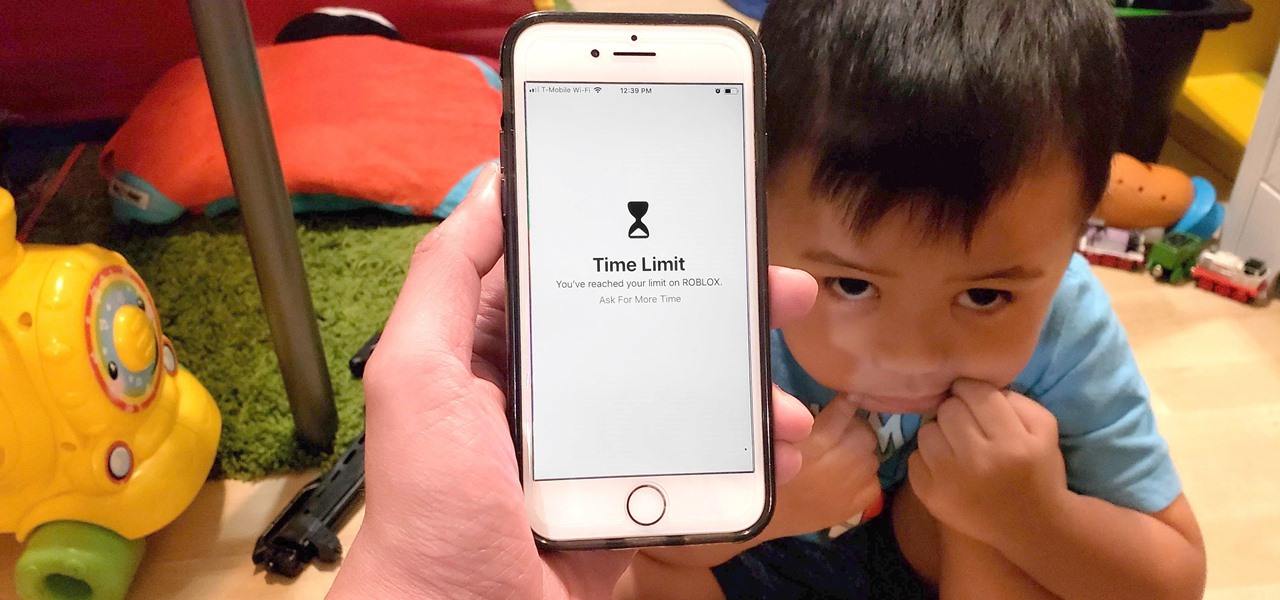
Excessive cell phone use was issue that Apple decided to tackle with iOS 12. Starting with the iPhone's 2018 update, a new "Screen Time" feature give you the ability to set App Limits to encourage more balanced usage, and there's another setting that gives you control over when certain apps can be accessed.

Navigation app Waze occasionally gives you the option to have a celebrity voice provide directions for your trip, like this famous European with a funny voice, or this decidedly less-famous European with a funny voice.
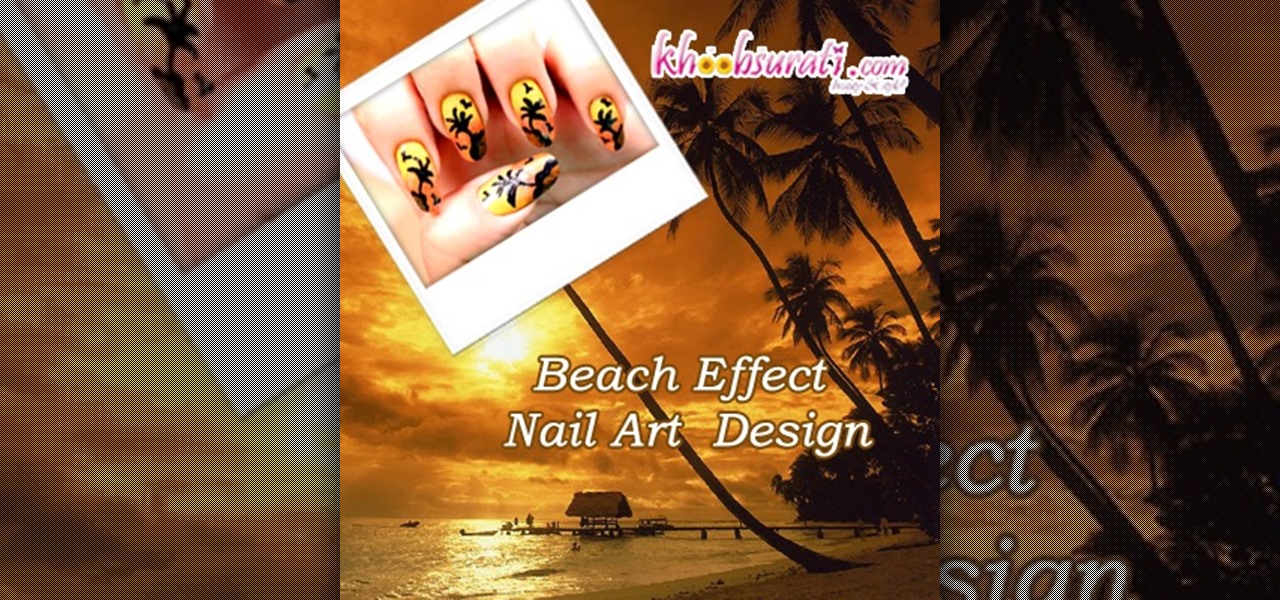
Beach Effect Nail Art Design Tutorial For Beginners!!!!! Sunset the palm trees and the birds..perfect for canvas. Well why not to try it out on nails. This perfect picture has been produce on the nails in a very simple and easy way. Just watch the tutorial to know about this !! Step 1: Apply Base Color
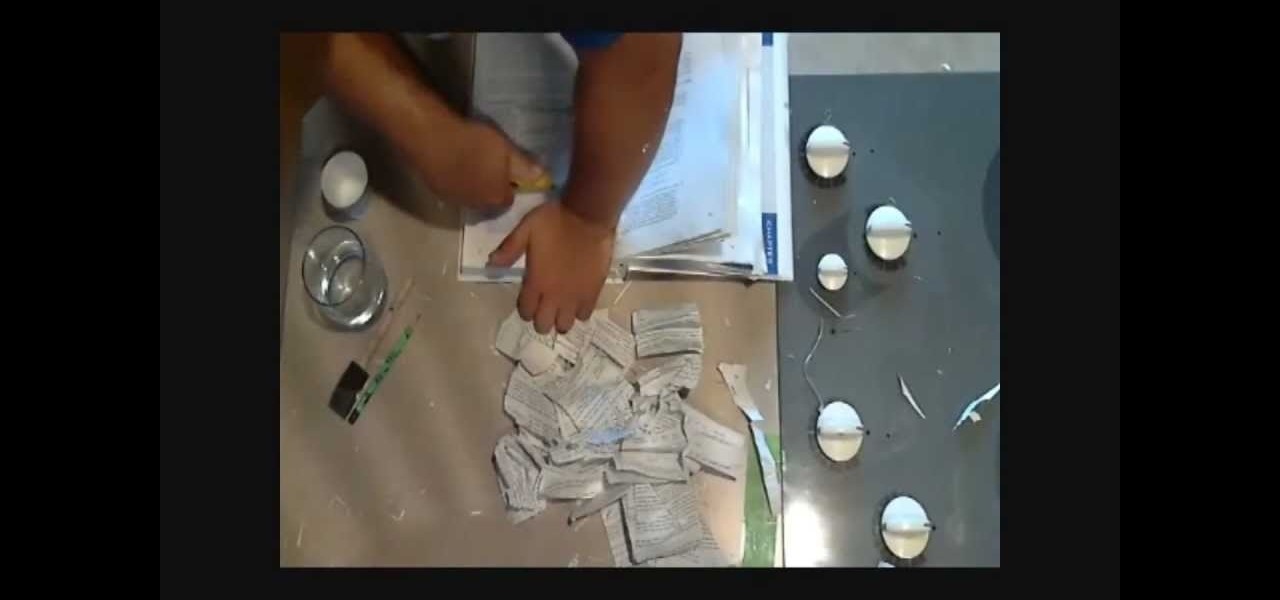
Have something expensive or personal to hide? Something you don't want anybody else to find? A secret book compartment is perfect for concealing your valuables in plain sight. And this video will show you how to make your own hidden recess for your very own book safe. Just grab your desired book, a razor knife and some other materials, like water, glue, a paintbrush, container, pencil, and straightedge (ruler).
With vintage-inspired, indie Etsy pictures being all the rage, isn't it about time you jumped on board the retro picture wagon? Whether you desire making that vignette of schoolbooks from the 1920's topped with mini celluloid deer look more aged and sophisticated or you simply want to endow your portraits with a more old timey feel, fading the edges of a picture is your easiest and quickest way to achieve instant vintage.
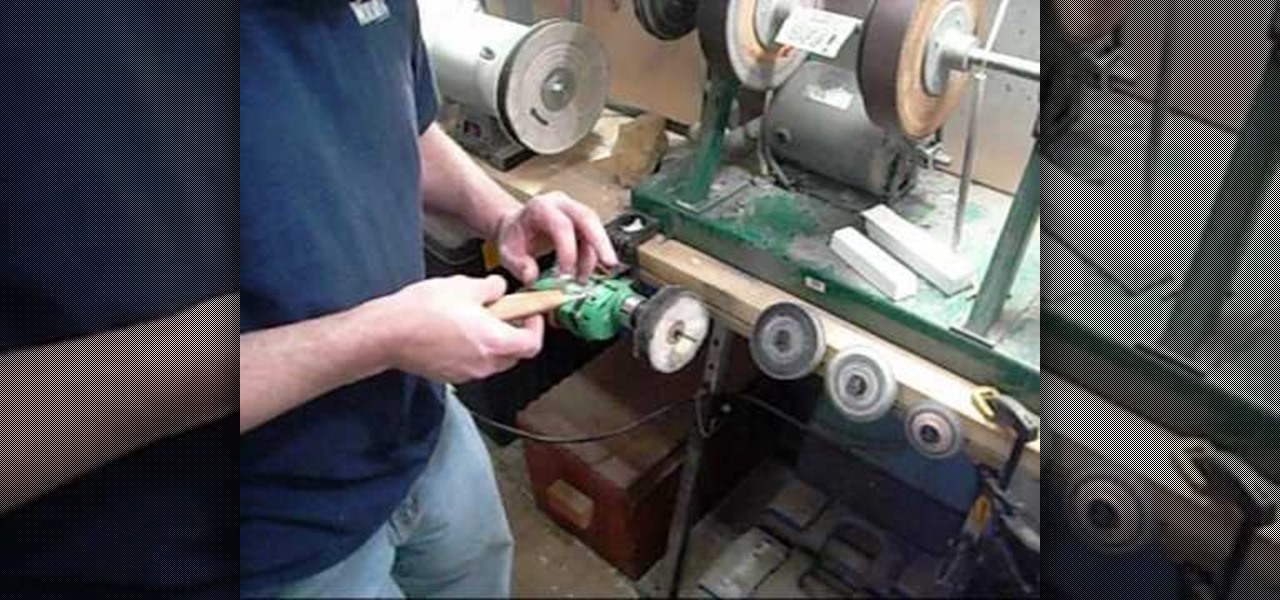
The first step needed to maintain an edge on your woodcarving knife is to test the knife each time before use. One sign of a woodcarving knife becoming dull is for the cuts to come off in small splinters instead of curled shavings. One of the easiest ways to sharpen your knife is to hold it at a 20 degree angle on your sharping belt and push away from your person. You must repeat the rolling motion shown in the video around ten to twelve times before retesting for sharpness. This step can be ...

The first step to make Internet Explorer as fast as Google Chrome is to download Google Chrome Brain. Google Chrome Brain is a software program that allows you to manage and customize settings for higher performance in Google Chrome. After your download is complete for Google Chrome brain you must then install the program. After the program has completed it's installation you can choose from various settings to optimize performance. The narrator in this video explains that the simplest way to...
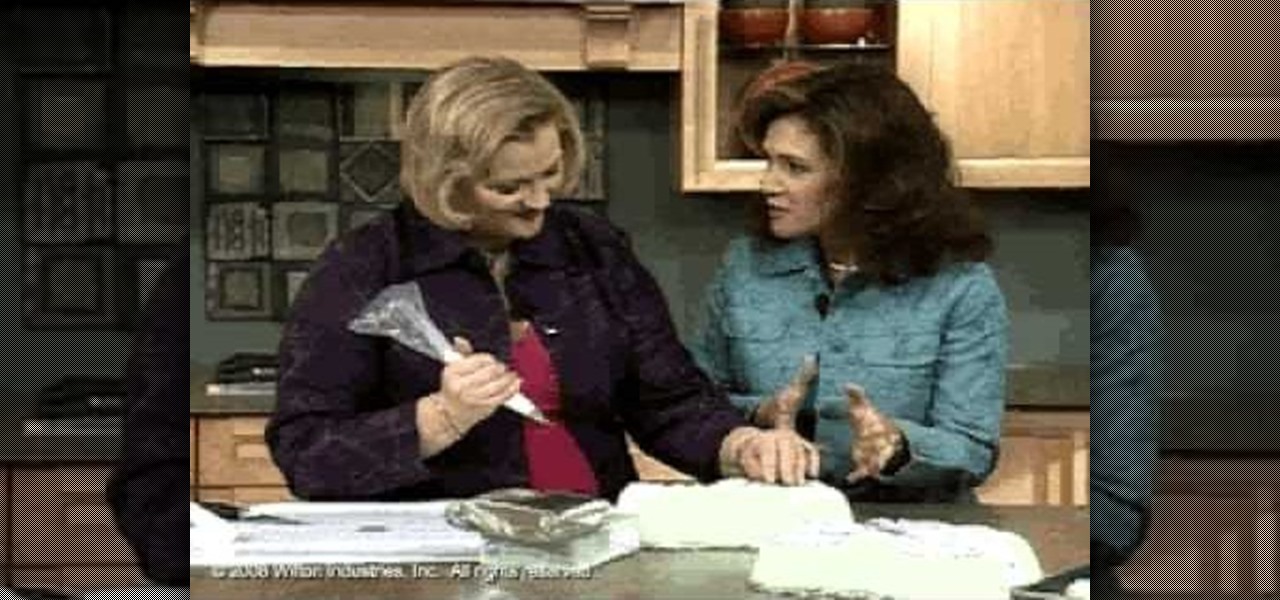
In this video techniques are shown to add ice letters using only butter cream icing. The reason butter cream icing is used is because of the ease of use when writing ice letters. Once your icing bag has been filled with the butter cream icing you must make sure all air has been removed from the bag before beginning. having your desert item on a turn table makes writing with butter cream much easier. Keeping a steady hand and moving at a slow place will give you the best result. The narrator e...
In this video, we learn how to scrunch & style short hair for a sexy effortless look. Start off by spraying hairspray throughout your hair, around five sprays. After this, you will massage your scalp, bringing the hair into a curl and scrunch style. After this, repeat again with more hair spray and scrunching spray. Turn your hair upside down and then start to scrunch with your hands. Once you have finished your hair and have the desired curl that you wanted, then you will be finished! You ca...
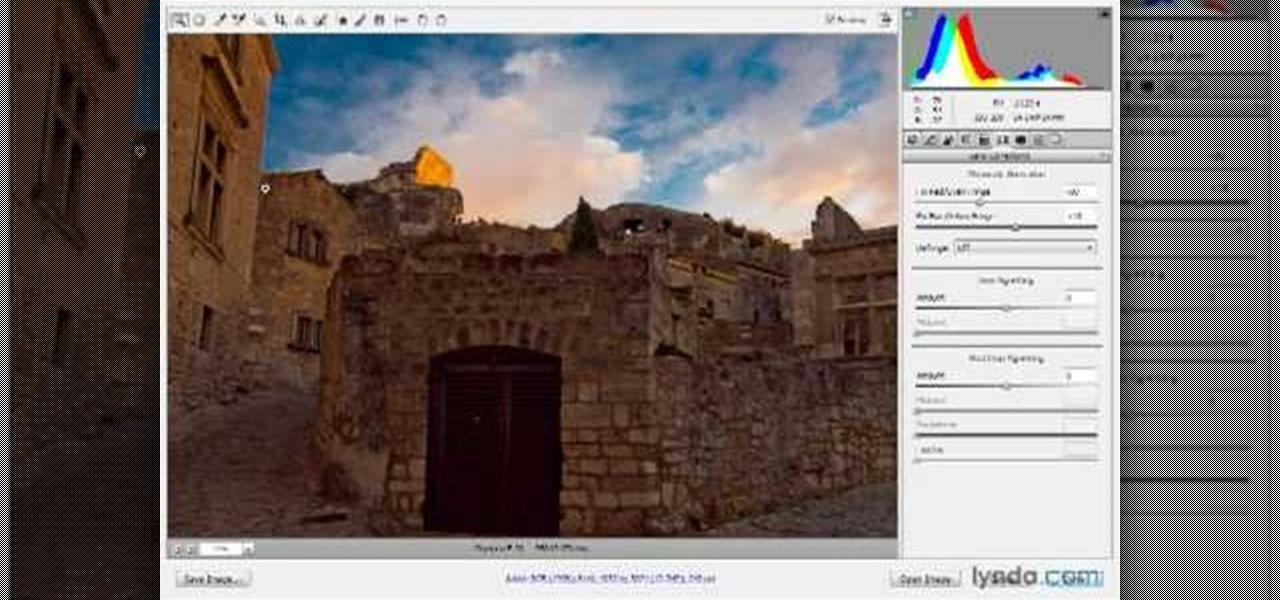
In this video, we learn how to use Camera Raw in Photoshop. This is a great program to use with your SLR digital camera that will make your photos come through more clear than ever before. After you have downloaded this application, you will load your photos to it and open up your desired on to edit. On the right hand side you will see a toolbar allowing you to edit and change different effects on the photo. Move the bars from left to right to edit how the photo looks to your liking. On the t...
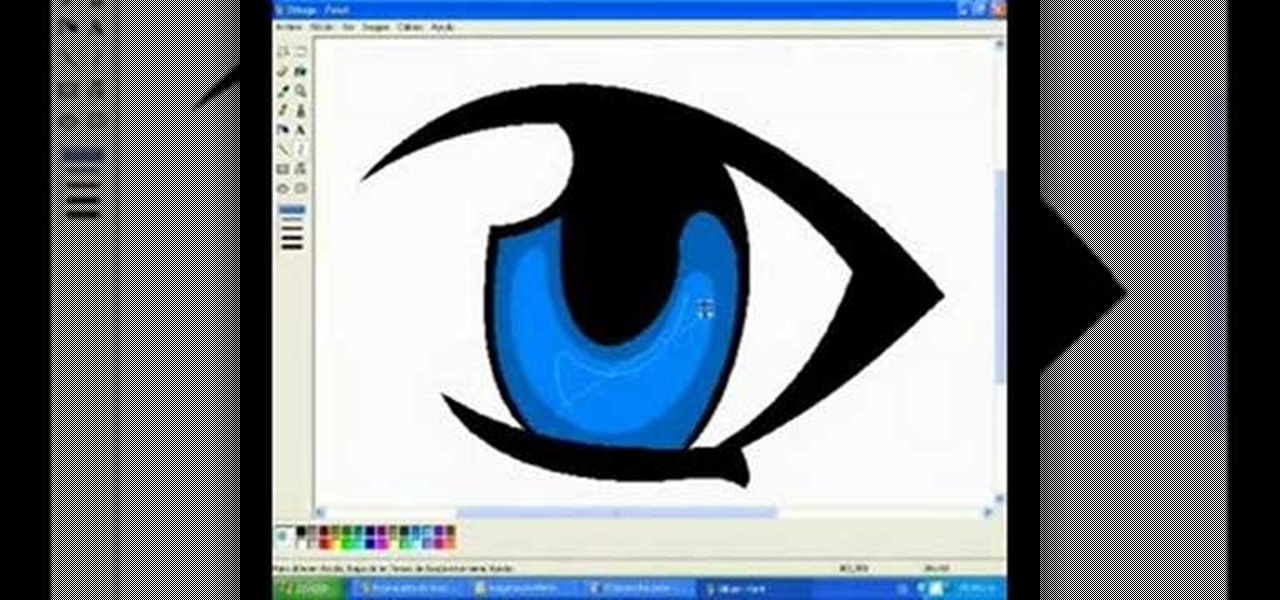
In this video, we learn how to draw a manga eye in MS Pain and make it blink. Start out in Paint and draw the outline of the eye. After this, color the outside area in black and then fill in the pupil area of it. Color the eye blue or any color that you desire, then add in lines to the middle of the eye to make it look more realistic. Leave white around the edge of the eye. Create an eyebrow over this, then add it to a flesh-toned background. Once you have done this, you will be finished with...
In this video, we learn how to make a duct tape wallet with a change pocket. First, grab your favorite color of duct tape and then place some down on a flat surface with the sticky side up. Overlap these until you have the desire size you want, then fold the edges over. After this, apply the sticky side down to this and you will have a nice little wallet that is made between them connecting to each other. Make the change pocket by doing the same process, just use a smaller piece and connect w...
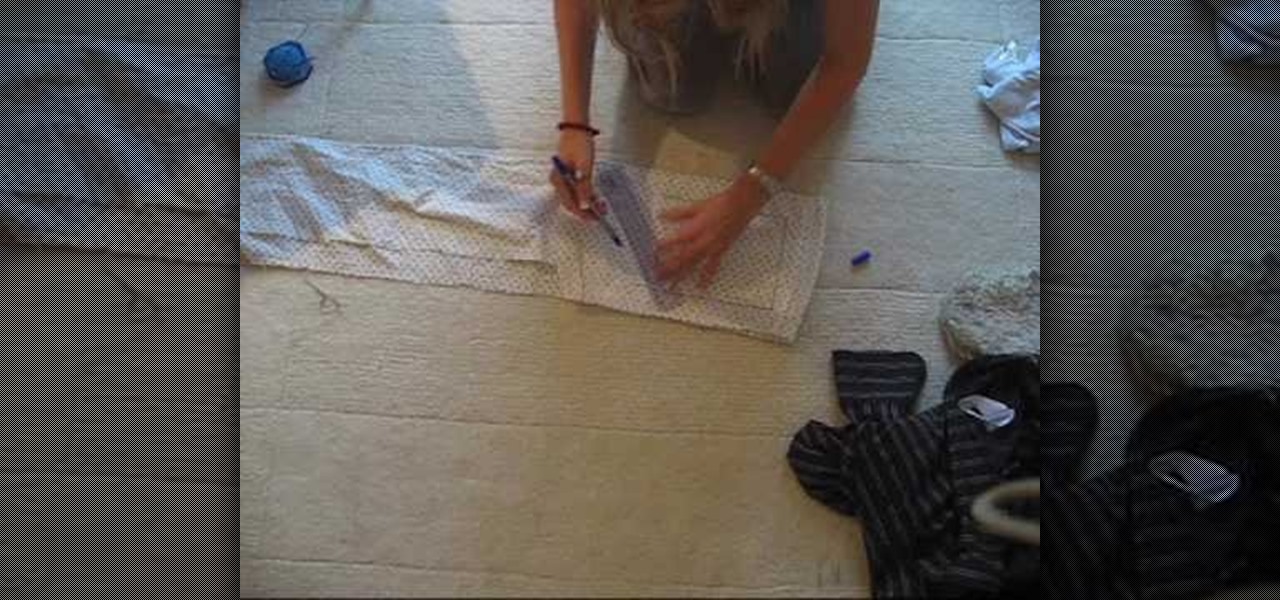
In this tutorial, we learn how to make an over-sized fashion bow fashion accessory. First, take your fabric and cut it to the desired size you want the bow to be. Cut this in a square shape at first, then sew the sides of the square. Then, fold this in half and pull in the middle of the square. Cut this in the middle to make a hole. Then, turn this inside out and push out the edges. Put an additional square of fabric around the square in the middle, then shape it out to be a cute bow to wear ...
Love handles, also affectionately known as saddlebags, don't look quite so cheery in a bikini or popping over skinny jeans as a muffin top. In fact, if we're going to be honest here, the only time you can get away with being adorably chubby is when you're five.

In this video, we learn how to cut side bangs. Fist, you will need to grab some shearing scissors, a comb, a trash can, and water. Now, get your bangs wet in the area that you want it, then part your hair where you usually part it. Once you do this, separate your bangs from the rest of your hair and clip the rest back. Next, use your scissors and cut at an uphill angle from the bottom of your bangs to the top. When finished, continue to cut until you have the desired length. Keep in mind your...
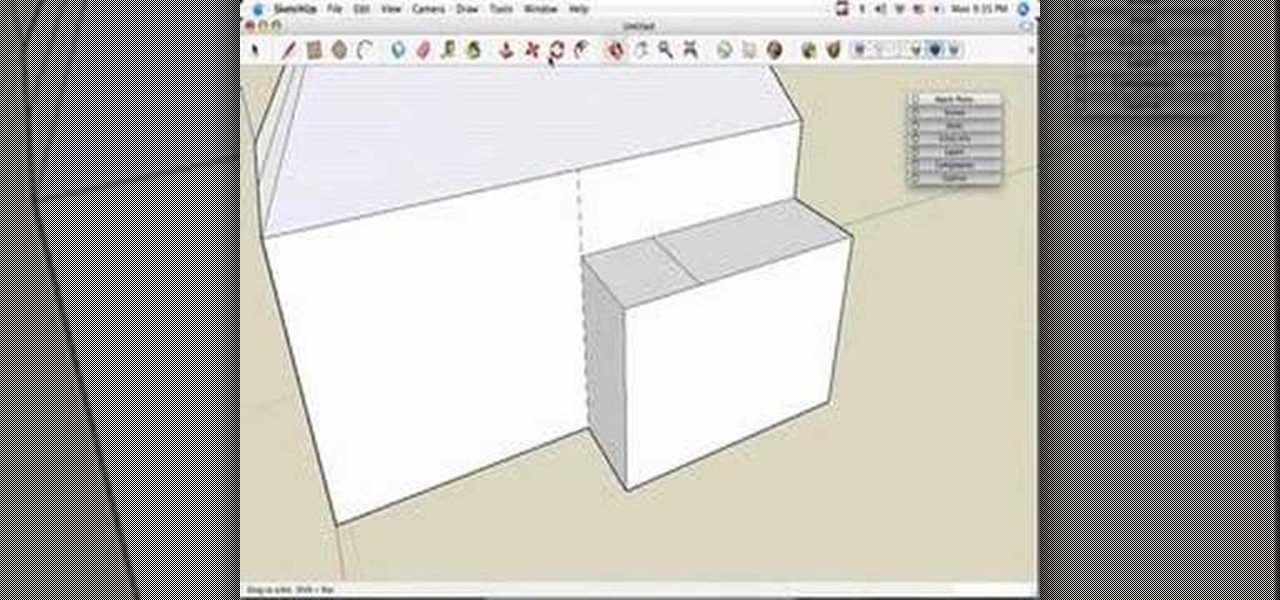
This video tutorial is in the Computers & Programming category which will show you how to build a simple house in SketchUp. Start with the floor plan, draw a rectangular main living space and attach a small extra room. Next you use the push pull tool and pull the house up to as high as you want. You can make it 21 feet. Now draw the roof line in the center of the house along the length and draw the lines for sloping part of the roof on either side. Now grab the center of the roof and lift it ...
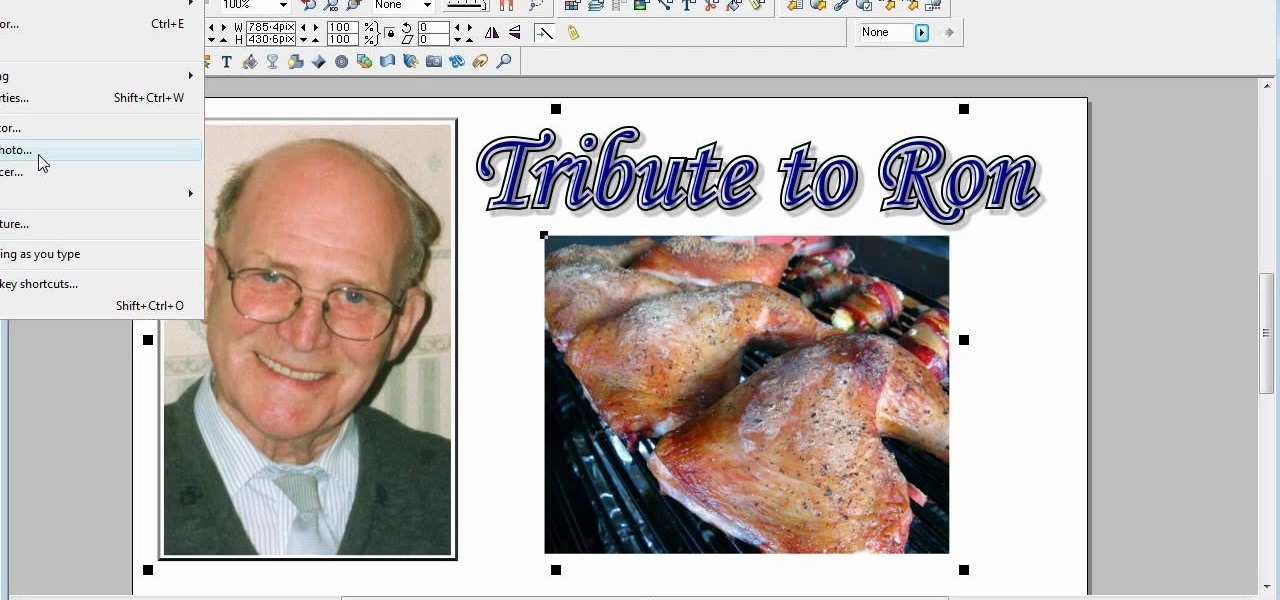
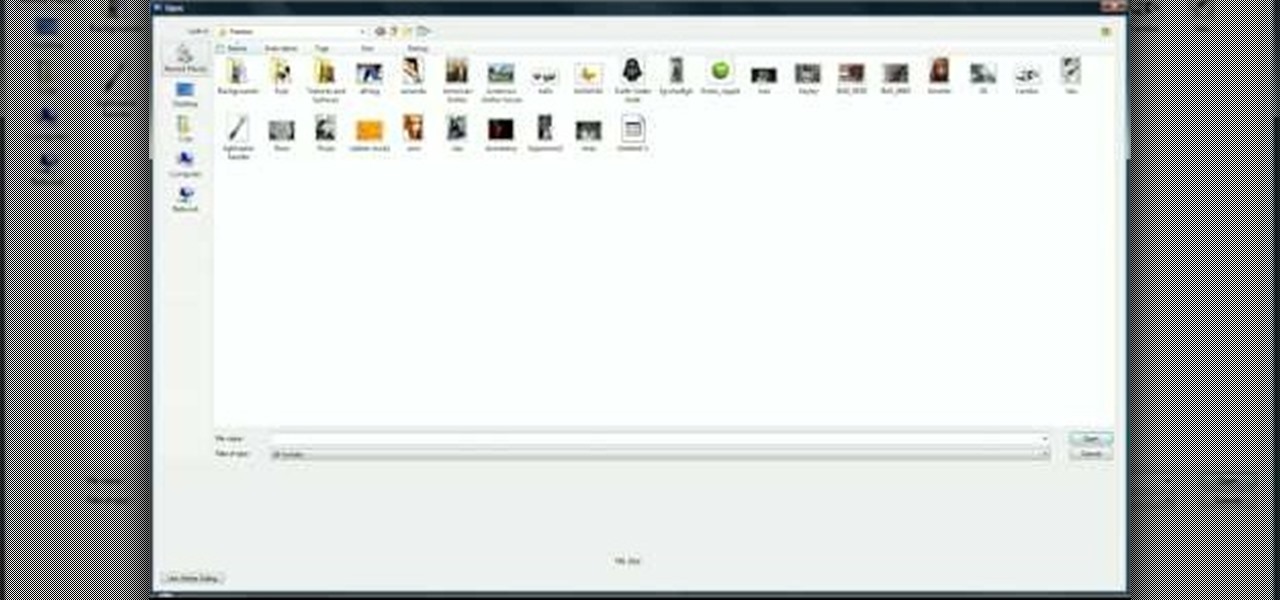
This is a video tutorial in the Software category where you are going to learn how to optimize photos in Xara Xtreme / Xara Web Designer. This is really very easy and simple to do and takes practically no time. Open up Xara Xtreme and go to the object gallery and select a photo that you want to work on. You can now resize the image by simply stretching or shrinking it in any direction. You can also drag and position the image at any part of the canvas that you desire. You can now go to file a...
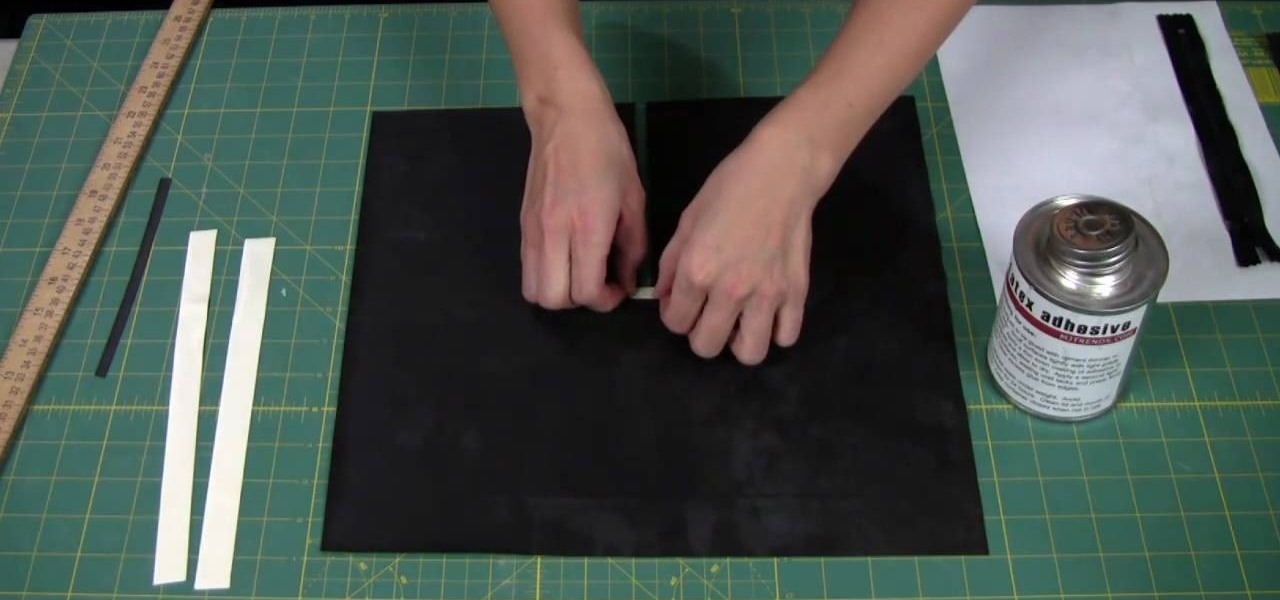
In this video, we learn how to add a zipper to a latex garment. First, apply glue to the zipper, using an ammonia based adhesive in one coat. Next, take a small paint brush from any store and apply a thin layer of adhesive to the zipper. The top will take about 45 minutes to dry, then turn it over and apply another layer of glue to the back. After this, cut two 1/2" strips of latex a little bit longer than the zippers. Also cut a 1/4" wide and 1" long piece of latex as well. Now, apply these ...
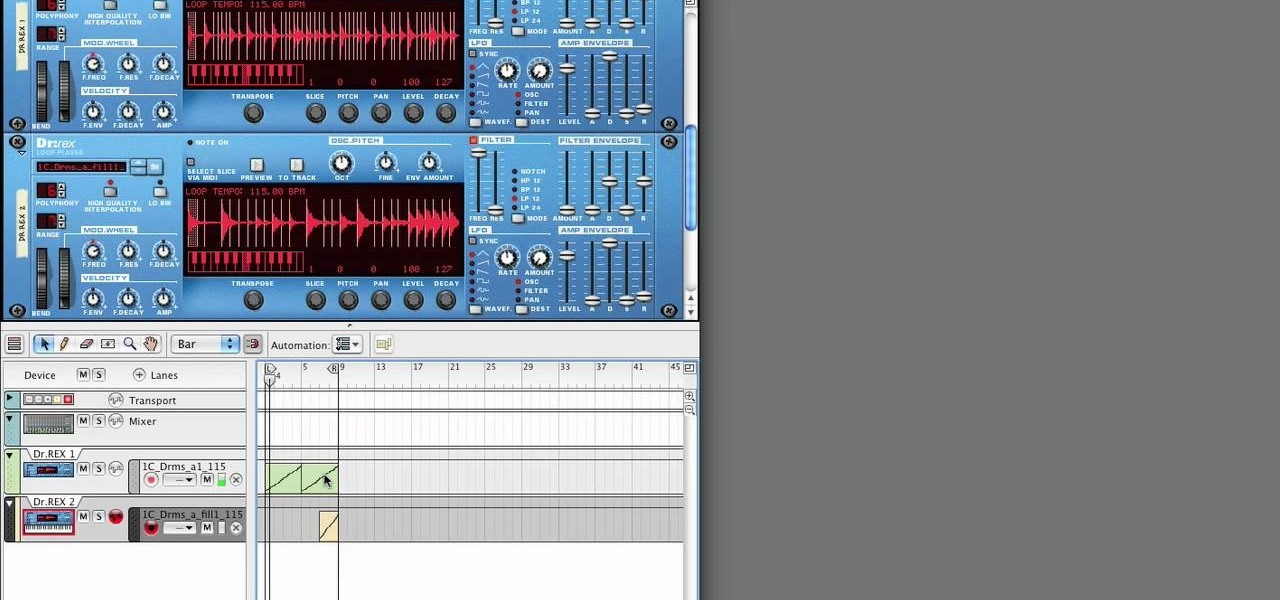
In this tutorial, we learn how to use Reason Soul School. First create a Doctor X loop layer. After this, browse for a loop and search through the different folders that contain loops. These will mimic different sounds depending on which one you want to use. Each category contains drums, bass, tempos, and more. Load the different sounds from the folders as you would like. Then, when you have your desired sounds, start to edit them and change how they sound. You can then add in new loops to th...

Ever wonder how people make those wonderful and awe-inspiring time-lapse films? Well, this video shows you the bare basics of creating a time-lapsed movie. First, you'll need to set your digital camera on a tripod and set it to take stills at your desired intervals. Then, you'll need to import all of these photographs into Aperture or iPhoto on your Mac computer. Then it comes times to turning those pics into a time-lapse film. Watch and see how!
In order to make an adjustable cable necklace, you will need the following: 20 inch adjustable cable chain, a slide bead frame, 2 head pins, 8 mm bi-cone, 8 mm crystal, 2 6-mm round rondells, 2 7-mm jump rings, a pair of nipper tools, a pair of round nose pliers, and a pair of chain nose pliers.
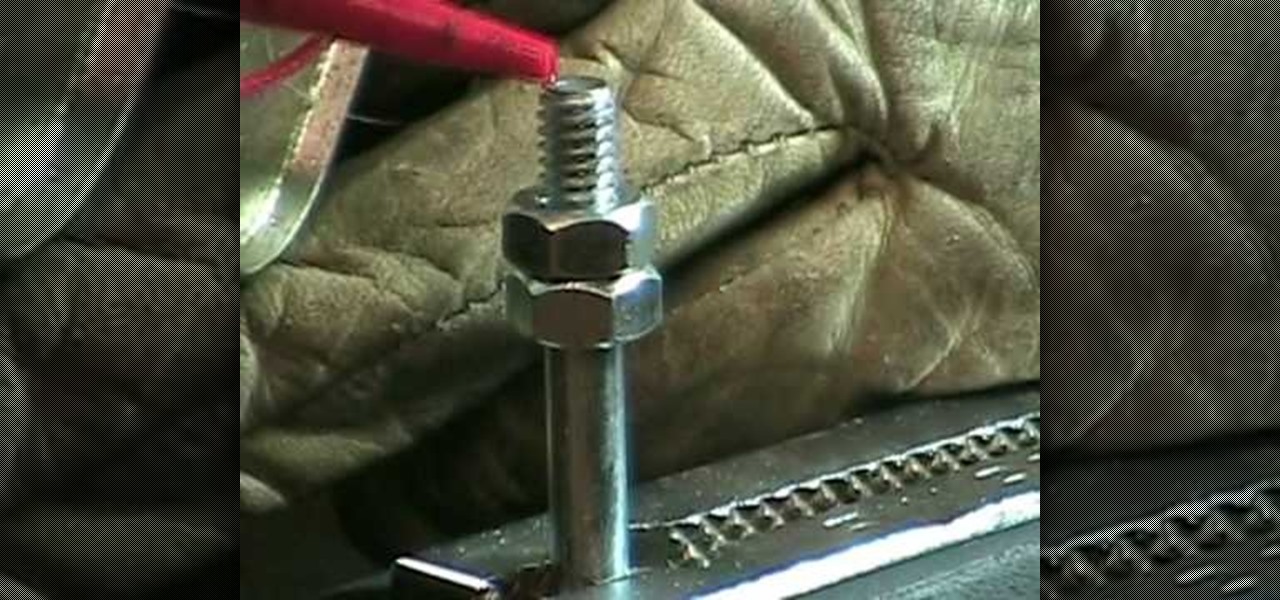
In this video tutorial, viewers learn how to cut a bolt and save the threads. The materials required for this task are: a hacksaw, steel bristle brush, bolt cutters, wrench, oil and a filer. Begin by putting some oil onto the threads of the bolt. Then place the saw on the desired groove and cut across through the thread. Now brush it with the steel bristle brush to remove the debris. Finish by removing the excess metal with the filer and unscrew the bolt(s). This video will benefit those view...
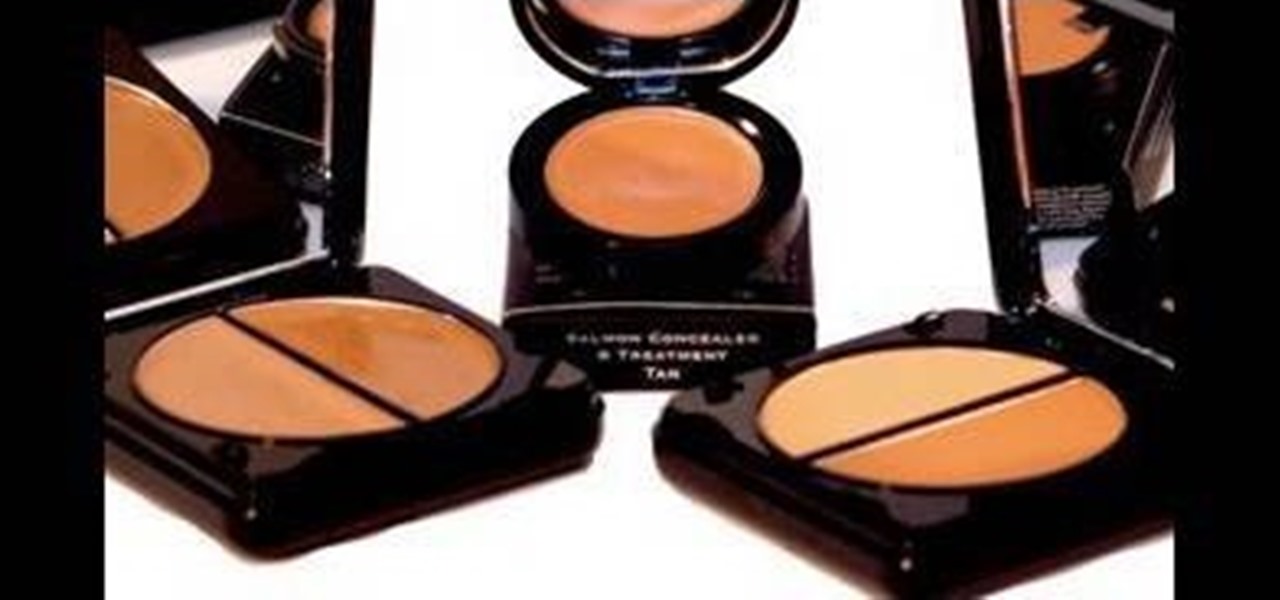
Even, natural-looking foundation that covers up redness and flaws but doesn't look caked on or fake is the desired basis of any makeup look. But it just so happens that the rudimentary skill of applying foundation evenly is one of the hardest for women to master.

After having a slice of New York cheesecake for the first time we thought that life couldn't get any better...that is, until we encountered these lovely iced cheesecake pops! Basically these tiny desserts are cupcakes on a stick. And instead of adding frosting on top as you'd do with a traditional cake, these cheesecake pops are dipped into a layer of chocolate, cake crumbs, and can be covered with a coating of frosting if desired.
Illustrator Frank Frazetta knew women. At least, he knew what men desired in the "perfect" woman physically: Sumptuous curves that made men weak in the knees with a single shake, deep-set eyes, and bombshell assets.

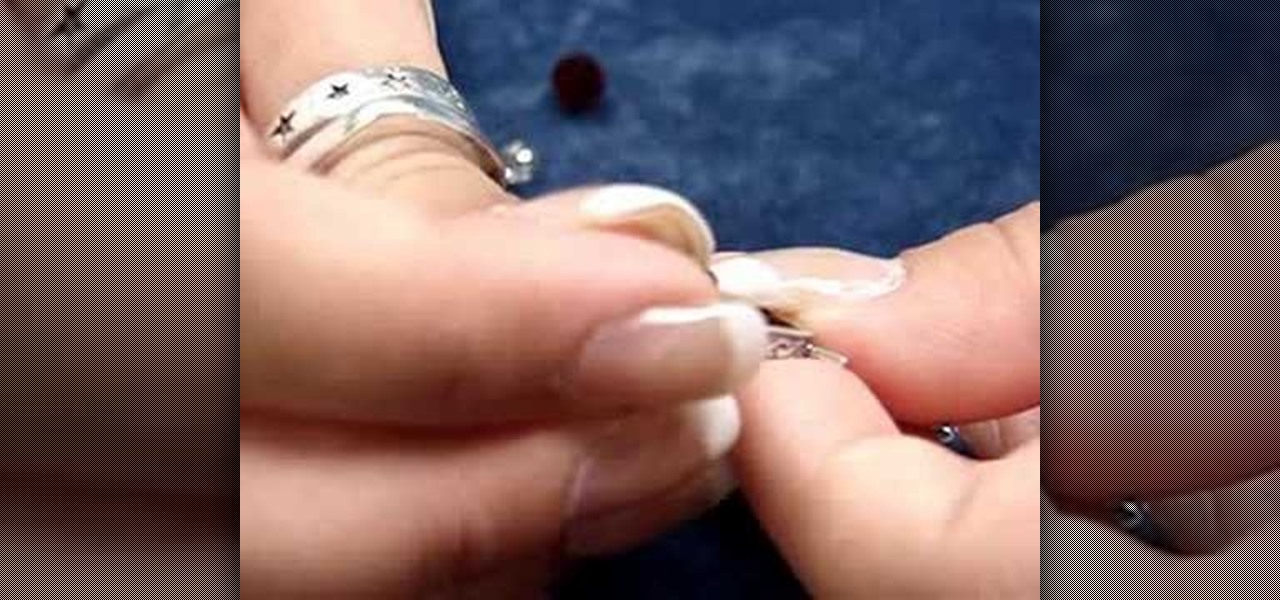
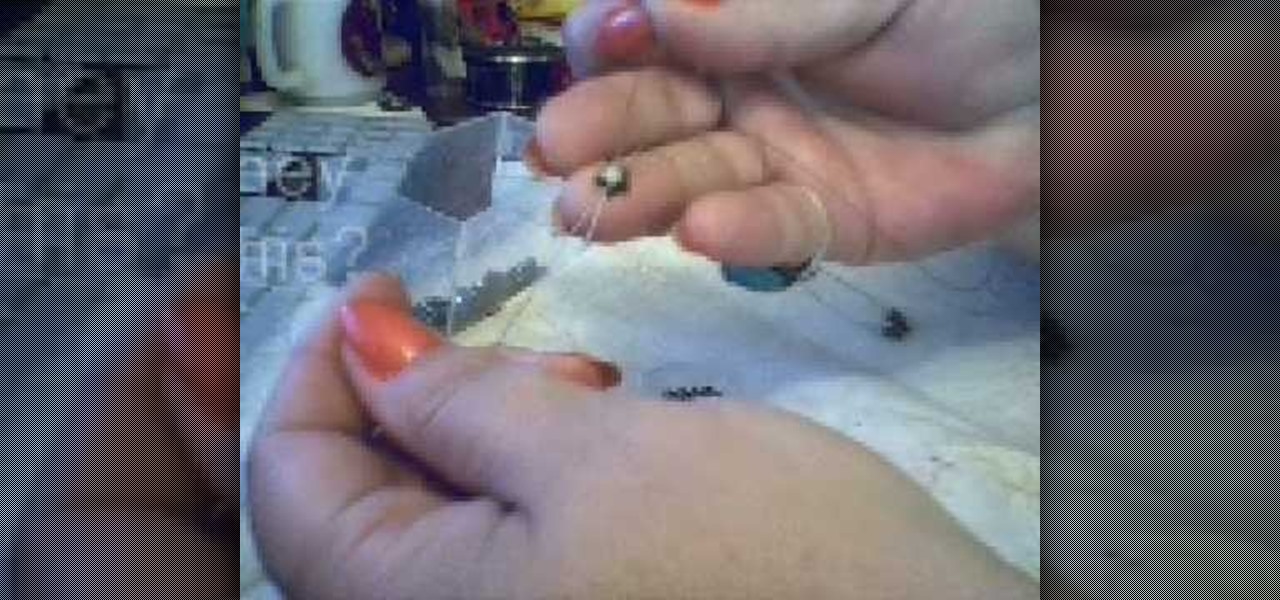
In this video, we learn how to use cones when jewelry making with Christina. First, take a half inch hard wire with a looped end and use a pair of pliers to open up the loop slightly. Next, take your strands of beads and place them onto the loop. After this, close the loop making sure it's secure and the beads won't fall off. Then, take the cone and insert the wire through the wide end and pull it through the narrow end. Using your fingers, bend the wire to a ninety degree angle, then trim of...
Make a hematite bead ring