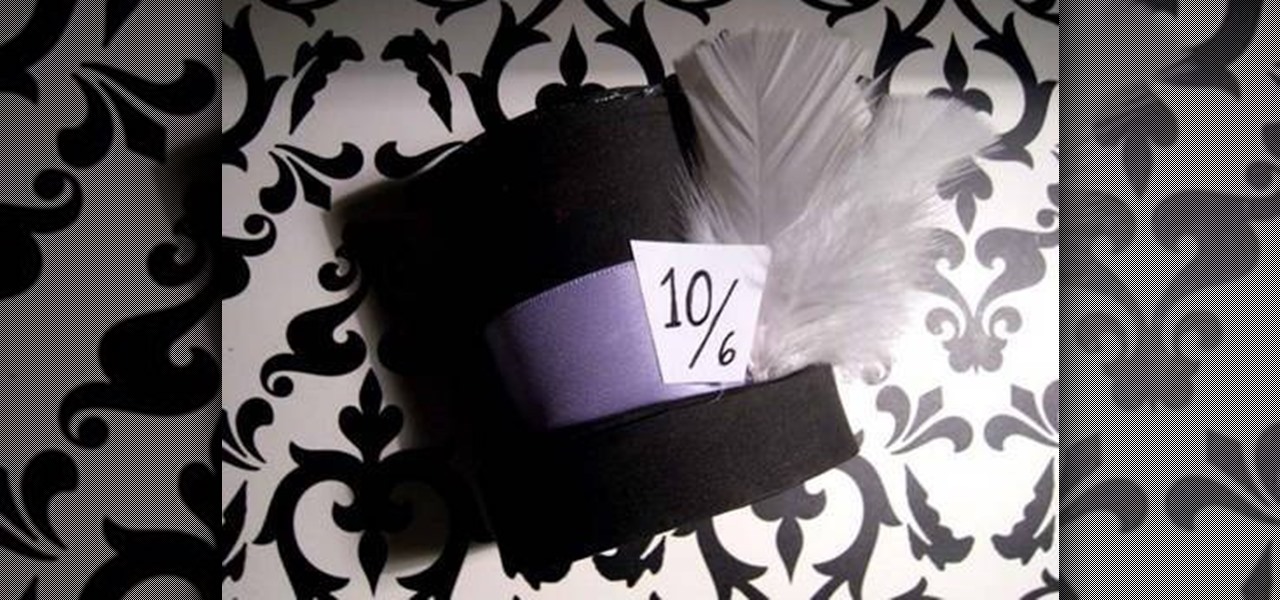
In this video tutorial, viewers learn how to make a mini Halloween top hat. This video provides all the materials required to make the top hat. The materials required include: a Styrofoam cup, X-acto knife, scissors, 2 8x10 sheets of craft foam or felt (choice of color), ribbons, feathers and any other embellishments. This video provides a visual demonstration and step-by-step narration that allows users to easily understand and follow along. This video will benefit those viewers who enjoy do...
In this video tutorial, viewers learn how to shade and color the background of an image. This video explains all the materials required to shade and color the background of an image. The materials required are: a stamped image, a spoon dauber and an ink pad. Start by inking the sponge dauber and rub the edge of the cardstock. Continue to color the edge. Add more ink if you want the color to be darker. Color the background with the sponge dauber. Add link to the sponge dauber. Dab and rub the ...

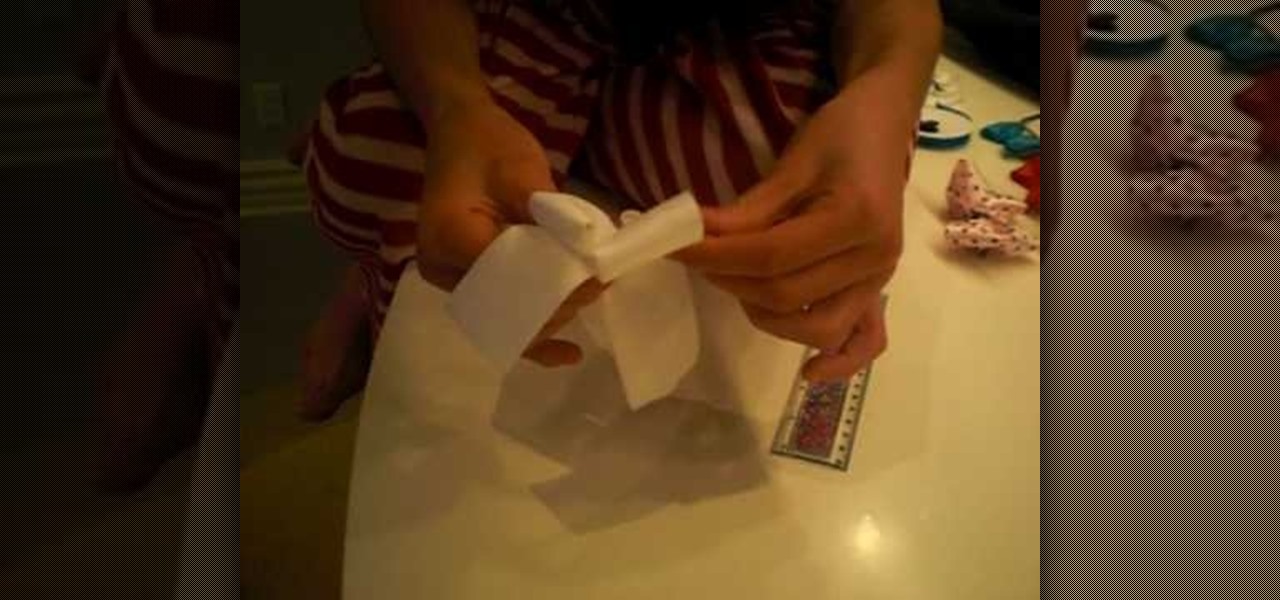
This video tutorial shows how to transform a paper bag to a picnic bag designed with Frankenstein's face on the front. The ending result of the tutorial is shown in the beginning. The materials needed are listed after the example, including the total number and color of each material needed. The tutorial starts by cutting down the paper bag and folding the top of the bag. Handles for the bag are then cut out and stapled onto the top of the bag – one on each side. To prevent the staples from a...
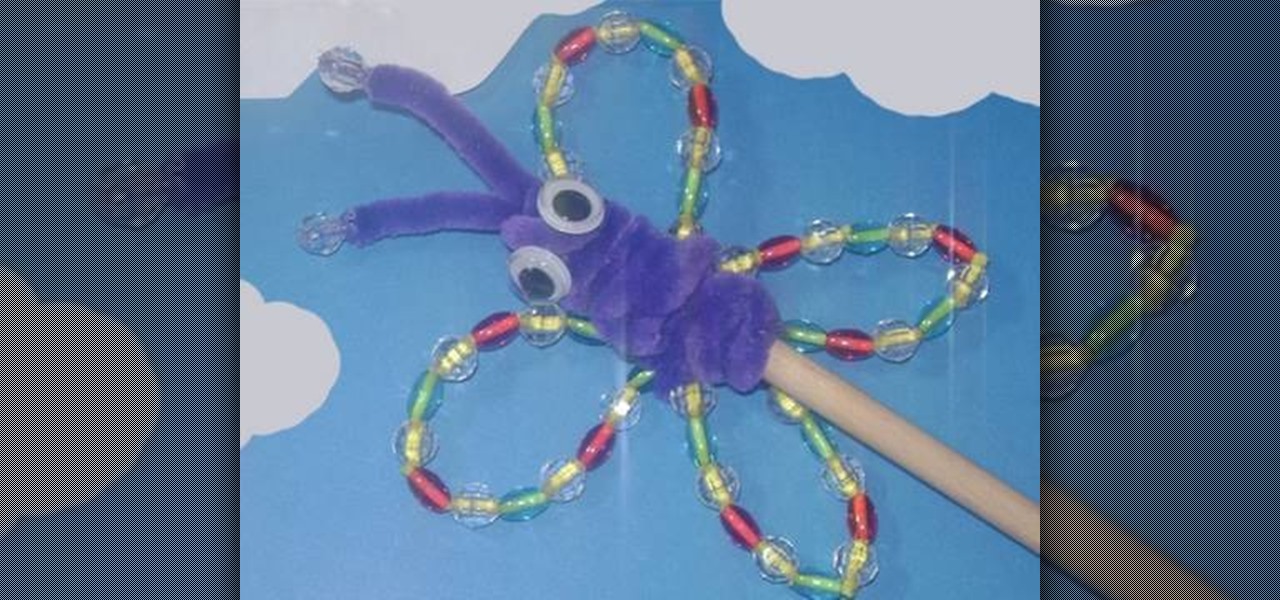
In this video tutorial, viewers learn how to make a garden rainbow butterfly puppet. This video describes all the materials that are required to make the butterfly puppet. The materials required include: beads (blue, red and transparent), 5 pipe cleaners (2 yellow and 3 purple), 2 googly eyes, a stick and one glue stick. This video provides a visual demonstration for viewers to easily follow along. The video is at a step-by-step pace and allows viewers to pause or rewind the video. This video...
This video teaches the viewer how to make a bow for your hair. You need a few materials to do this including 12 1/2 inches of ribbon that is approximately 1 inch wide, Two to three inches of contrasting ribbon for your center piece, a glue gun, 5 inches of craft wire and a hair clip. You can chose the colors or create several different ones to coordinate them with your wardrobe. They take only about 5 minutes to complete as long as you have all the materials on hand. Make sure to have a pair ...
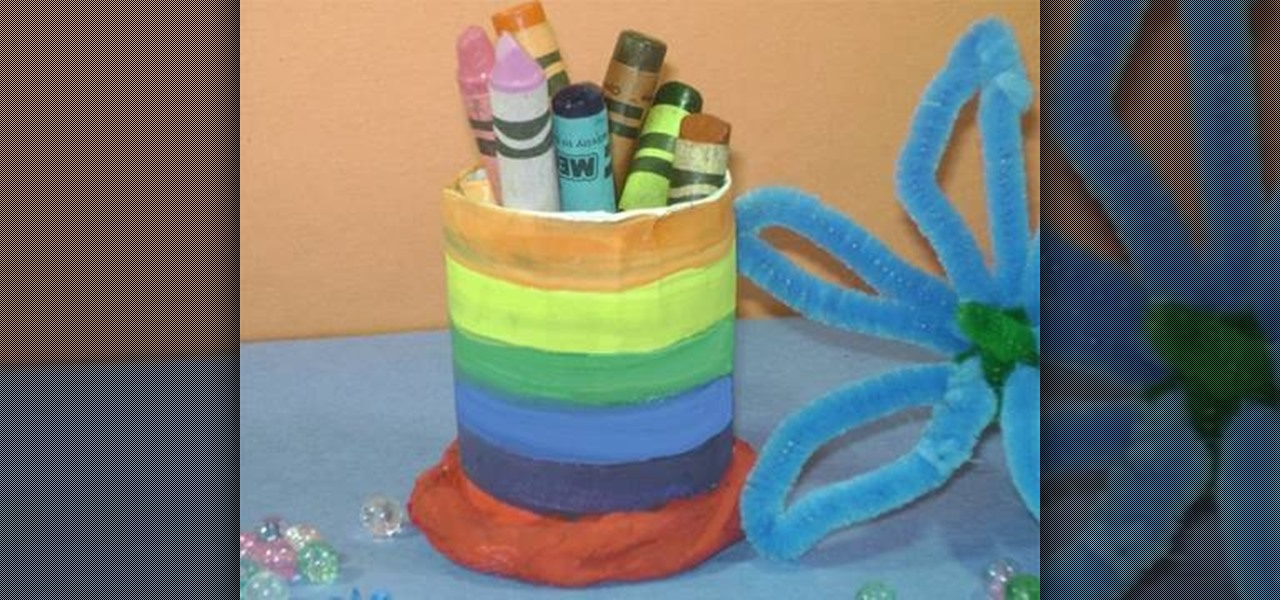
In this video tutorial, viewers will learn how to make a simple pencil holder. This is a child's art and crafts activity. The video provides all the materials that are required in order to make the pencil holder. The materials required include: a toilet paper tube, paint, paint brush, glue, scissors and a sheet of white paper. Users simply decorate the paper with paint and wrap it around the toilet roll. Next, cut another piece of paper for the bottom of the roll and secure it with some tissu...

This is step-by-step video tutorial on how to make a basic but adorable cat puppet. The kids will have such a good time cutting and gluing the materials to make their very own puppet. The process is very quick and very easy. The materials you will need are: Felt (black, white and yellow), 2 googly eyes, scissors, and fabric glue. First cut out 2 triangles for the ears. Glue the circular edges of a half circle of felt together and glue the ears to it. Glue the eyes, nose, mouth, whiskers, and ...
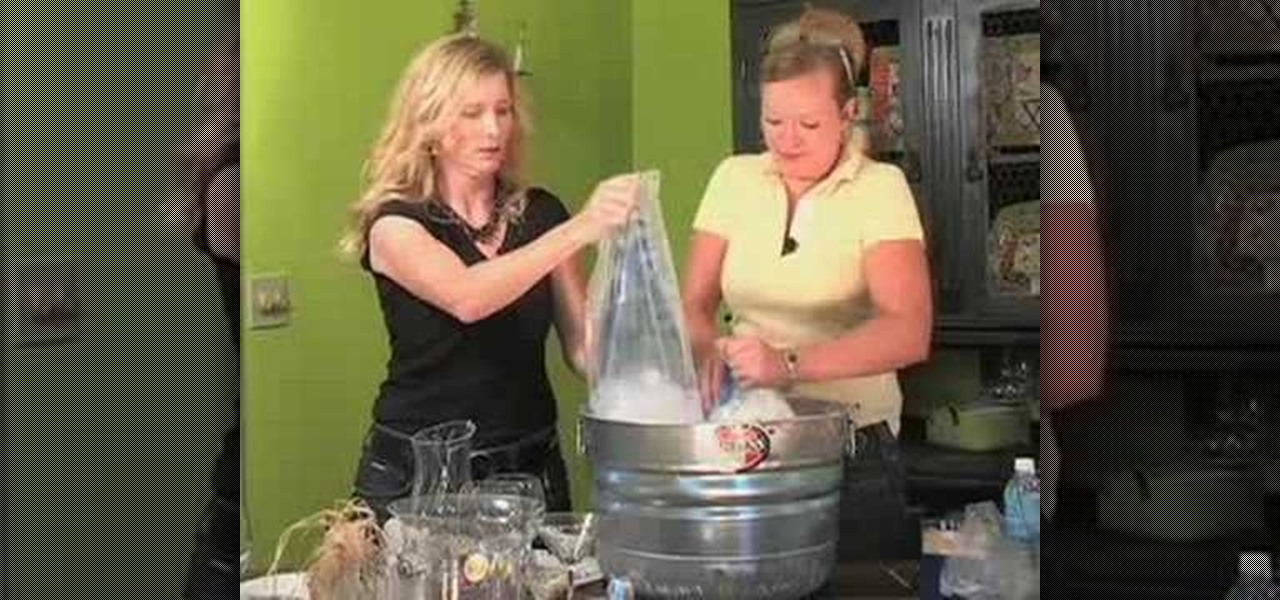
In this video tutorial you will learn how to decorate for a party using household stuff. The materials you will according to the hosts are wires of all sizes and colors (whatever you'd like), beads (the bigger the easier), a drill, an ice bucket, and indoor outdoor lights. With these materials you can learn how to decorate a ice bucket, and your stemware. Its very fun and easy according to the hosts and they will guide you step by step sharing there ideas and ways to decorate these items so t...
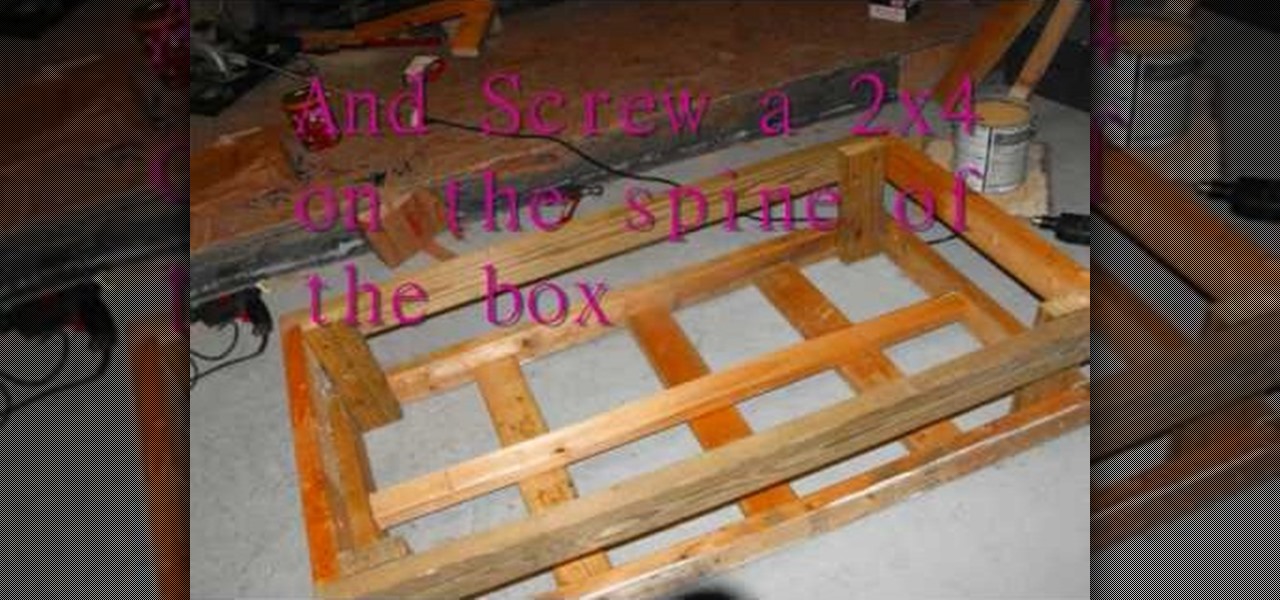
In this six minute video tutorial, viewers will learn a process for which to make a skateboard "grind box." A skateboard grind box is used for skateboarders to perform certain tricks on and to practice. In this tutorial the narrator goes over the different materials that are required for the grind box, the different tools that are required, and the steps for putting the materials together to form the grind box. By completely viewing this video, viewers will have gained an understanding on the...
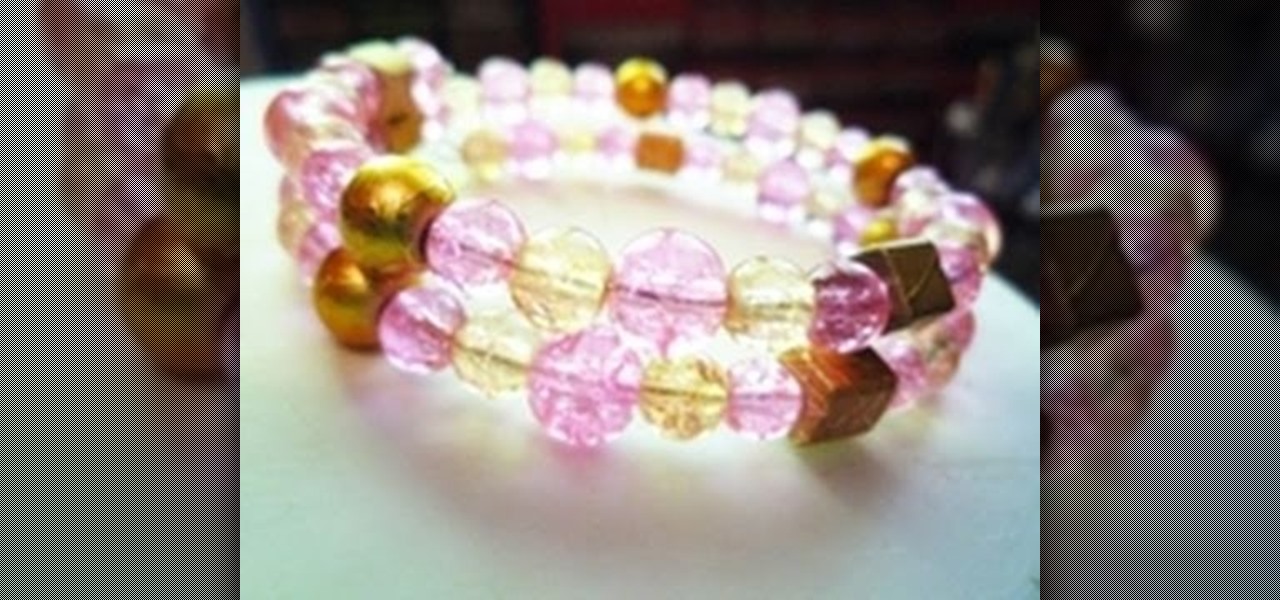
In this video tutorial, viewers will learn how to make a memory wire bracelet. This video provides all the materials required to make the bracelet. The required materials include a memory wire (bracelet size), heavy duty wire cutters (memory wire shears), round-nose pliers and several beads. First, determine how thick you want your bracelet to be and cut the wire according to that size. Now, layout the design of your beads; make a loop on one side of the wire and add the beads on. Once finish...
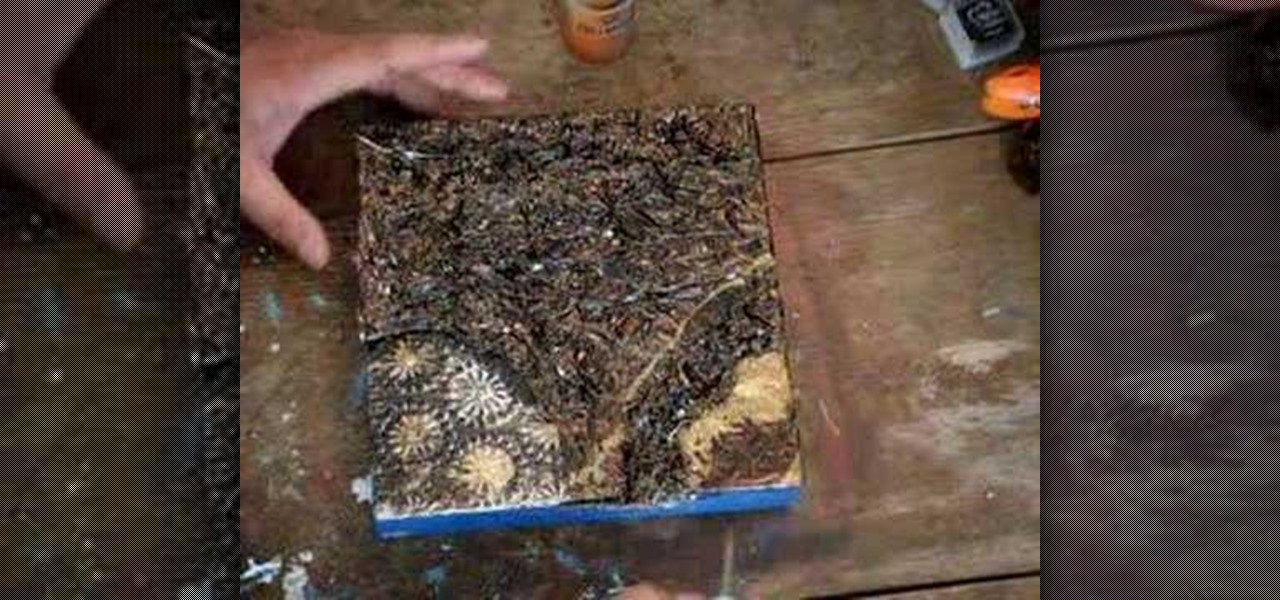
Ever find yourself short on material and that one board you really need has a nice open knot in it? You could always go out and buy more material, but sometimes its just easier and faster to stabilize and repair the knot. And instead of trying to hide the knot, sometimes it's just better to embrace it and make it look look resinous and natural. And that's the goal here. Our guide uses an epoxy/dye mixture to create a stable and decorative knot. With a little elbow grease, and this video from ...
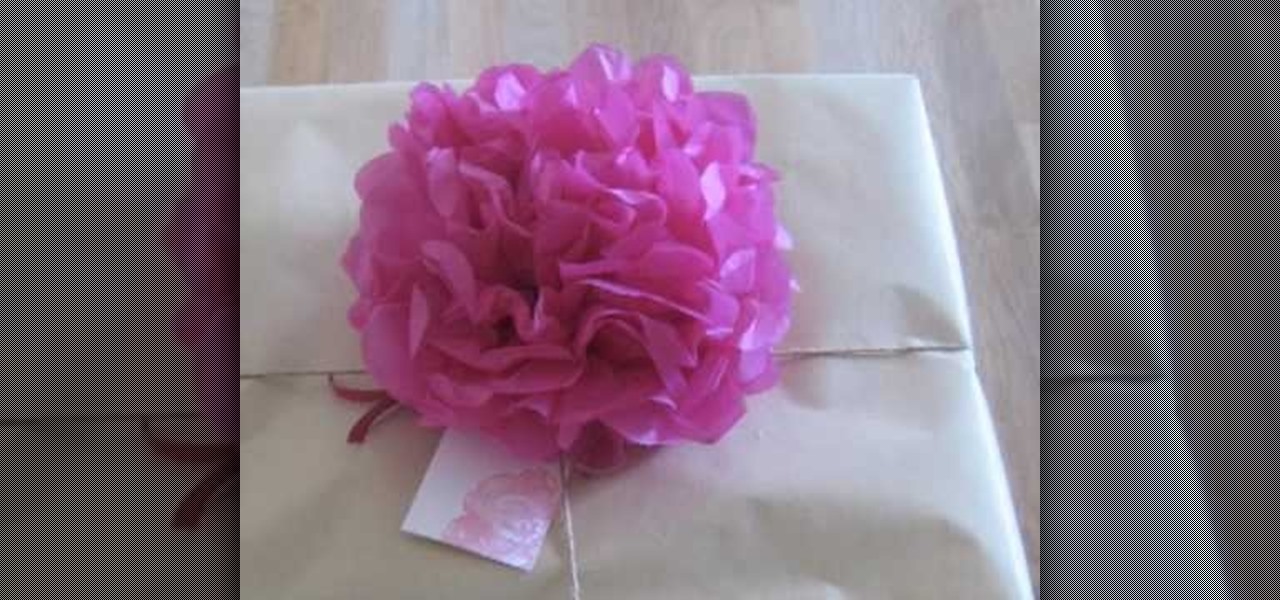
In this video tutorial, viewers learn how to make a paper flower. This video provides all the materials that are required in order to make the paper flower. The materials required include: colored tissue paper, scissors, and 10 cm of colored string. Begin by cutting the tissue paper to preferred size. Fold 1cm on the tissue paper, flip it over and do the same on the other side. Continue this until you've reached the end. Tie one end of the string onto the middle of the tissue paper and fold t...
In this video tutorial, viewers learn how to use the traditional Japanese stab stitch binding to make books. Stab Stitching is used mainly for office documents and in essence is two or more very strong, long staples that bind together loose sheets up to 25mm thick. The video provides all the materials required to make a book. The materials include: filler paper, two sheets of card stock(must be same size as paper), string, pencil, ruler, ice pick, X-acto knife, needle(must be same thickness a...
Kristina tells us the key steps to making a cheerleader styled hair bow. All you need is one simple thin strip of material, of whatever color or pattern you might want, there being a huge variety to choose from, thread and a needle, and the hair tie that you will then be attaching the created bow to. You make a simple "breast cancer sign" with the material, then further twist it into a bow, then thread the center to hold it together. The last step, of course, being to glue the aforementioned ...
In this video hostess Charlotte instructs us, on how to make "Inner Tube" Bracelets, a rock style associated accessory. Employing either Black Plastic, Leather, or even Tape. Creating these alt accessories requires only scissors and a needle and thread of some type of adhesive to attach the clasp or fastener that will allow you to attach it to your wrist. With a few simple Scissor cuts along the material's length to create a design. Charlotte shows us exactly how it is done with helpful tips ...
Sometimes it's more than just inconvenient when your electronics lose power. Sometimes, losing power could be dangerous. Never worry about a dead cell phone again! Charge your portable electronics by harnessing the power of the sun.
Interested in using fiberglass? In conjunction with the 405th, an online e-zine dedicated to Mjolnir Armor costuming for the Xbox Halo video game series, this tutorial shows you a step by step process of how to layer fiberglass on the inside of a costume mask. Materials needed include latex gloves, respirator or ventilation mask, fiberglass resin, fiberglass cloth, scissors, and a foam brush. Be sure to give up the cash for a great ventilation mask... some of these materials can be toxic to y...
You've organized your materials and chosen your book. Now it's time to get down to brass tacks. . . and tapes, stamps, stickers, cardstocks, markers... Watch this how to video to learn how to make your own scrapbook.
A place to sit and relax can add greatly to the enjoyment of your backyard, garden or flower beds. A garden bench is one answer and also a fun workshop project. Garden benches, as seen by the examples here, can range from classic designs requiring a fair amount of materials and woodworking expertise to simple slab benches that require little effort, can be built from scrounged materials and add a “rustic” appeal to yards. In this DIY video tutorial, you'll find step-by-step instructions for b...
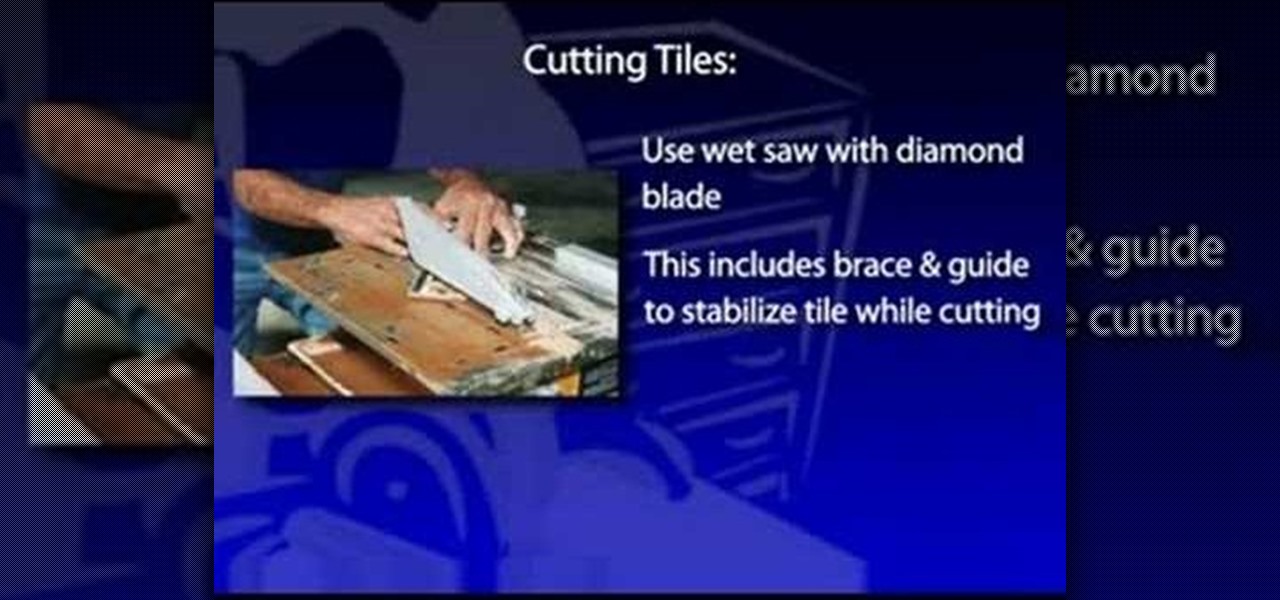
Installing wall tile is basically the same procedure as installing floor tile. And it offers the same advantages: flexibility of design; a wide range of colors, materials and patterns; and if installed correctly, years of durability. Ceramic or porcelain tile makes an attractive backsplash behind sinks and stoves, or encasing a bathroom or shower. It's a strong and easy-to-clean material that offers great decorative advantages for areas exposed to water, while resisting moisture intrusion and...
This video demonstrates how to create an artwork using ordinary aluminum foil from your kitchen. This technique is good for those people who have no inspiration of what to paint but want to be creative. This collage technique is a fun way for beginners to experiment with textures, composition and color. Materials used in this video are aluminum foil, a glue stick, Bitumen (a material used as primer for painting on metal without rusting), collage or textured paper, spray paint, acrylic paint, ...
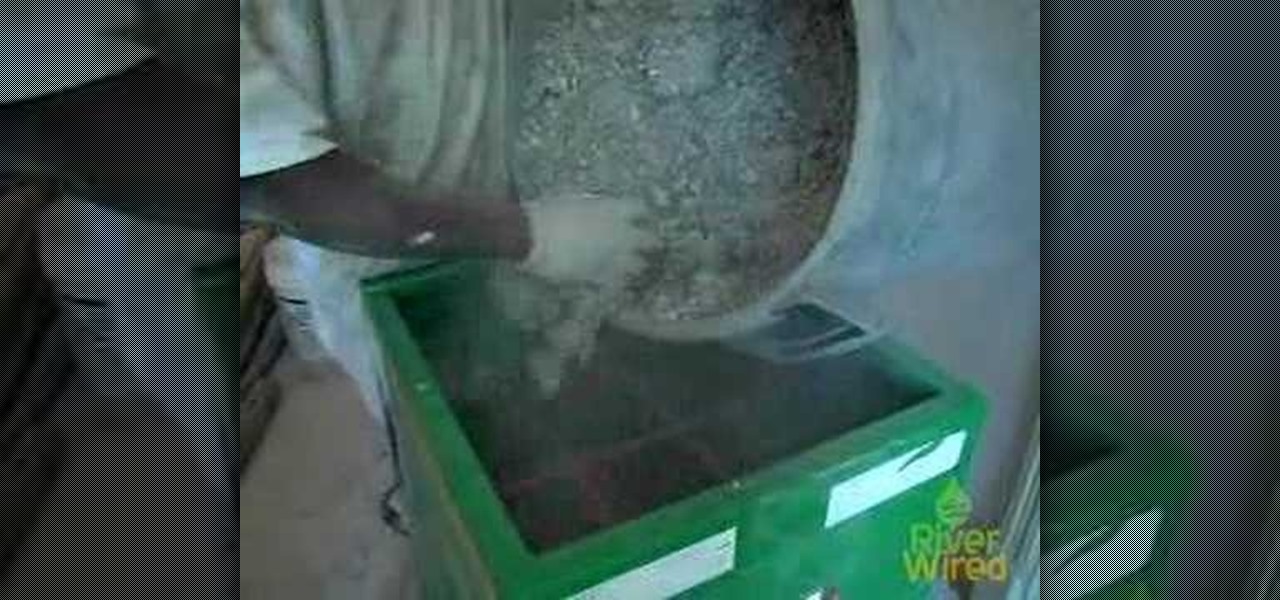
Get tips on how to make your home more eco-friendly, especially if you plan to renovate it.
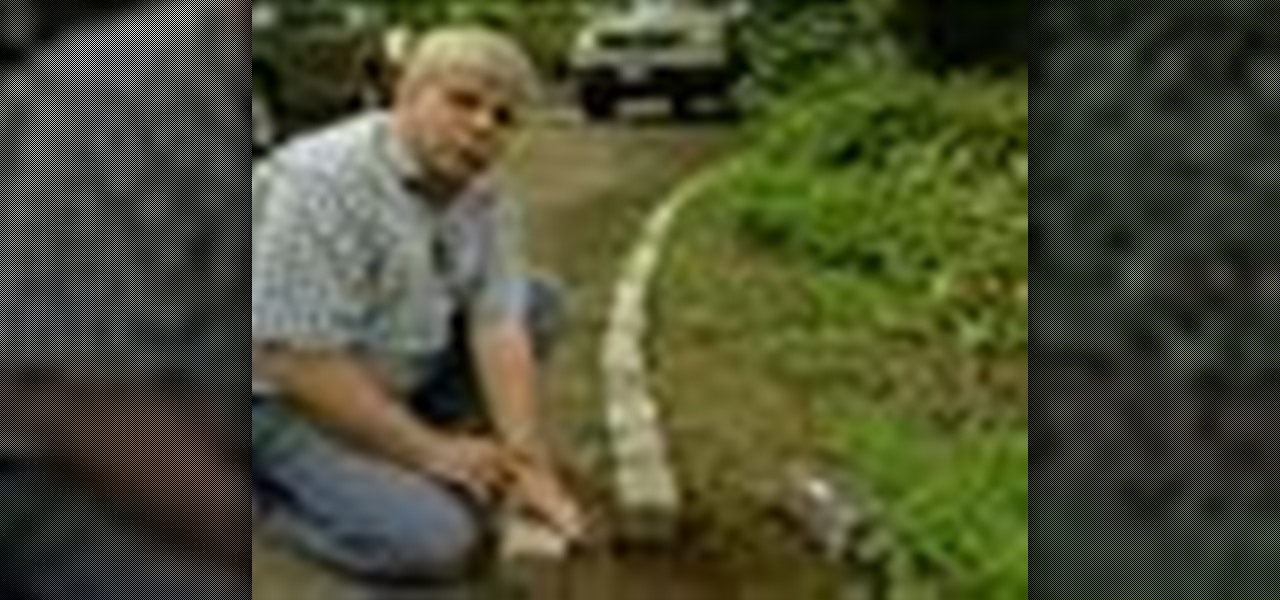
Tim Carter demonstrates how to use recycled cobblestones. Cobblestone can be used to edge gardens, driveways and walkways. These paving stones make a great border.
It's no secret, artists are broke. That's why they're referred to as "starving artists". One day these artists will achieve unimaginable success, but for most of their lives, they'll be struggling to survive… struggling to keep their vision alive. That's why they need to work cheap. And that's why they stretch their own canvases, not buy pre-made ones or have the hobby shop do it. If you’re a starving artist, save a few bucks, hone your carpentry skills, and stretch your own canvas.
This video demonstrates how to sew a blind hem stitch to make Roman shades. This stitch is very easy to do. You need a sewing machine that has a blind hem stitch already programmed in it and a blind hem foot. The video shows two different kinds of blind hem foot for two different sewing machines. The one for Viking machines is used here. Fold and pin a one inch hem on your panel, making sure that the pins are pointing off the edge of the panel. Lay your panel on the machine with the hem side ...
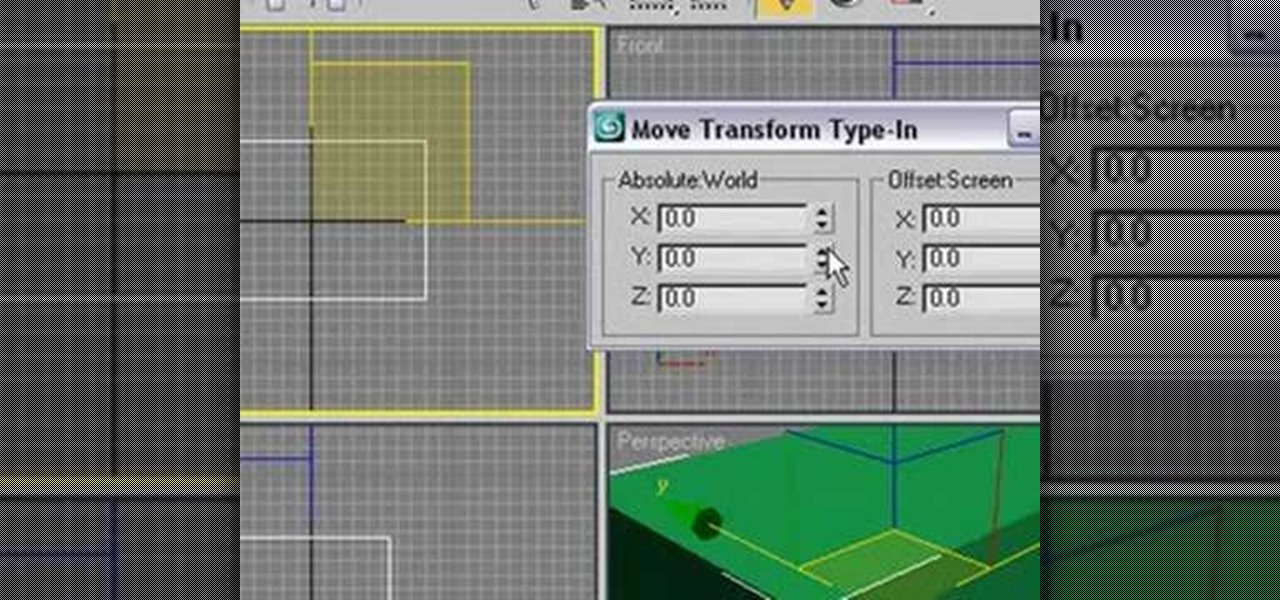
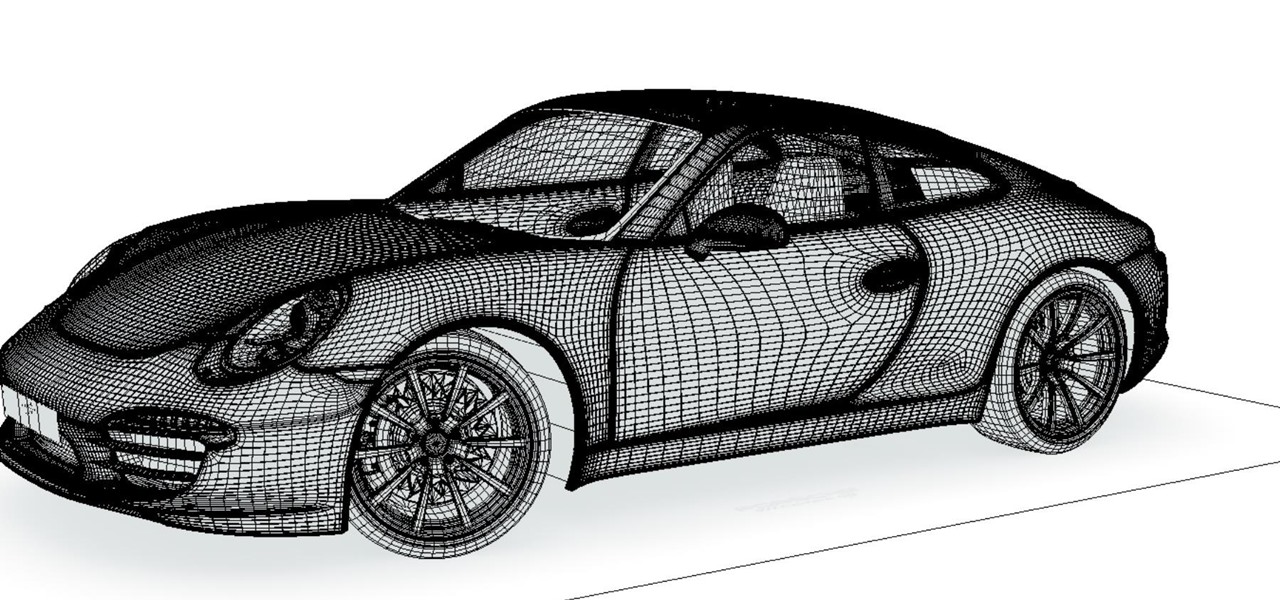
This software tutorial series teaches you how to box model in 3DS Max. Specifically, you will learn the basics of box modeling in 3D Studio Max, then box model a jet and animate it for PaperVision3D.
In this video, we learn how to build your own stomp rocket out of household materials. Materials you will need are: plastic bottles, bicycle inner tube, 2 feet PVC pipe, duct tape, masking tape, and file folders or card stock. Now, take your PVC pipe and roll paper around it and tape it. Then, remove the paper from the pipe and tape it more so it's completely closed. Then, make your nose cone for the rocket. Place this and the wings onto the rocket in your choice of colors. Then, make the lau...
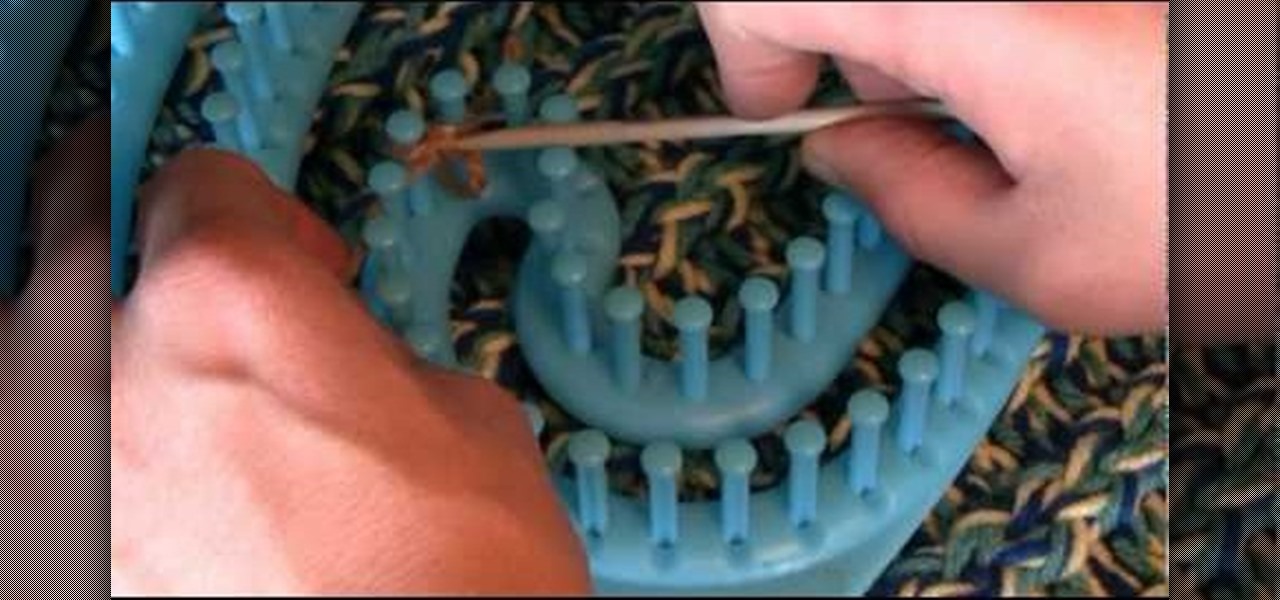
In this video, the author teaches us how to cast on with serenity: wrap your material around twice, grab the back and then up (around your fingers) forming a slipknot. To start off, we will focus on the inside of the loom, pulling the material towards the outside (using a grochet hook). Take needle between two pegs, pulling material through and put the needle down and pull up (rotating towards you) and repeat. This forms a tier duct and if this is done properly, you should be able to do this ...
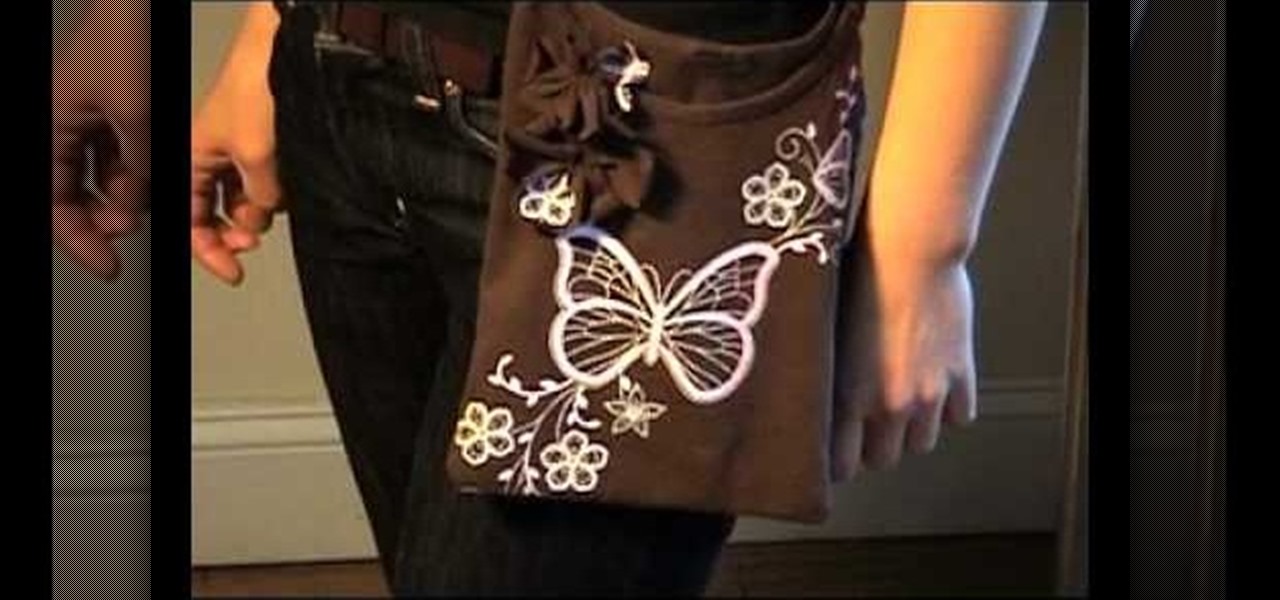
Shiho Masuda demonstrates how to make a T-shirt pochette using recycled materials in this video. You will need an old T-shirt, gardening twine (or leather strap), needle and thread, a ruler, a scissors and a pencil. First, sketch the dimension of your pochette on the T-shirt, staying about 1 inch from the sides of the collar. Next, cut along the lines (save the excess material). Flip the T-shirt inside out and sew the sides together, leaving 1 inch at the top for shoulder straps. Now flip the...
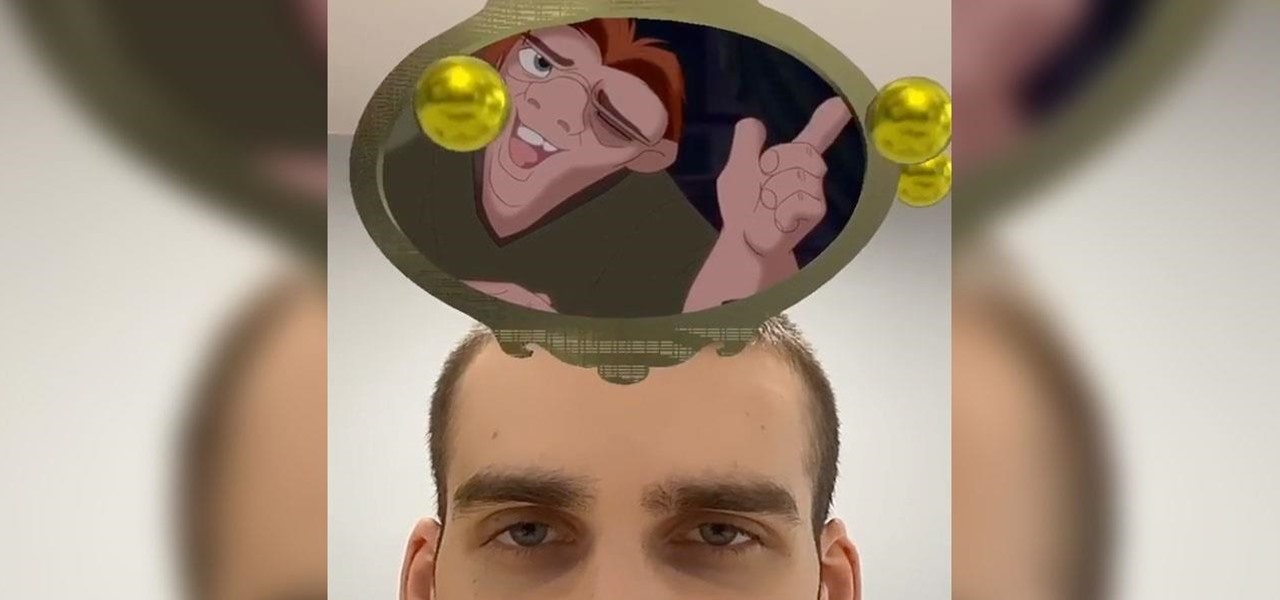
One Instagram creator's augmented reality homage to Disney's deep bench of animated characters has earned him fifteen minutes of fame.
Despite the fact that over 600,000 Snap Lens filters have been created since Lens Studio debuted in 2017, and Facebook is reporting that more than a billion users have interacted with its Spark AR filters across Facebook properties, social augmented reality filters get a bad rap in the AR industry.
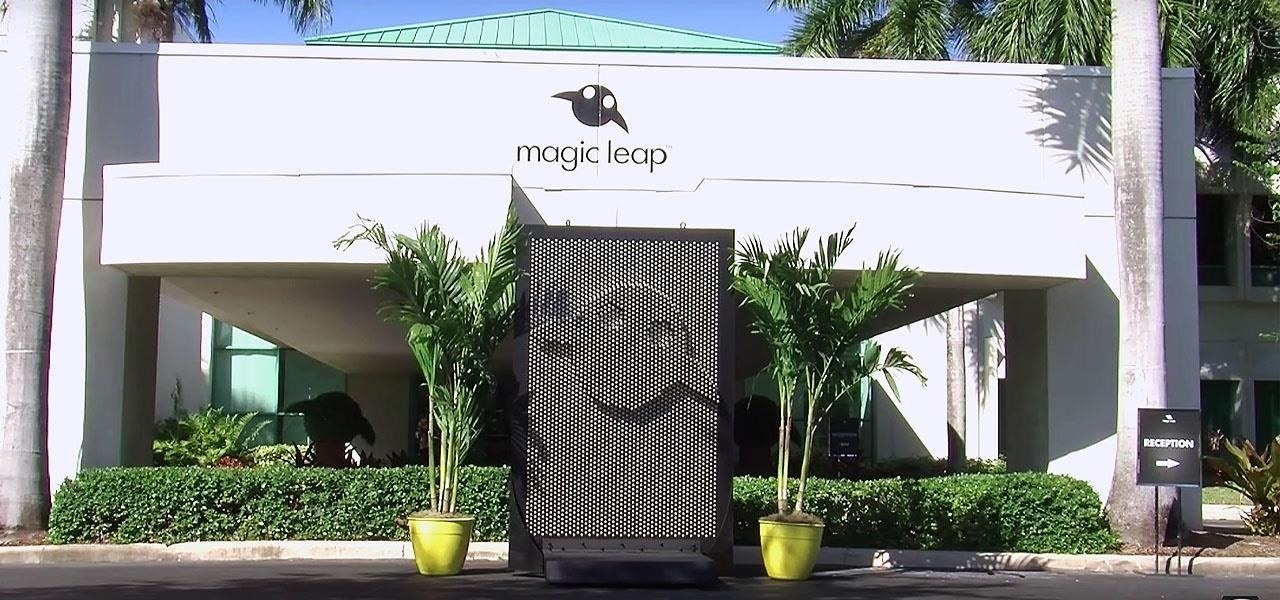
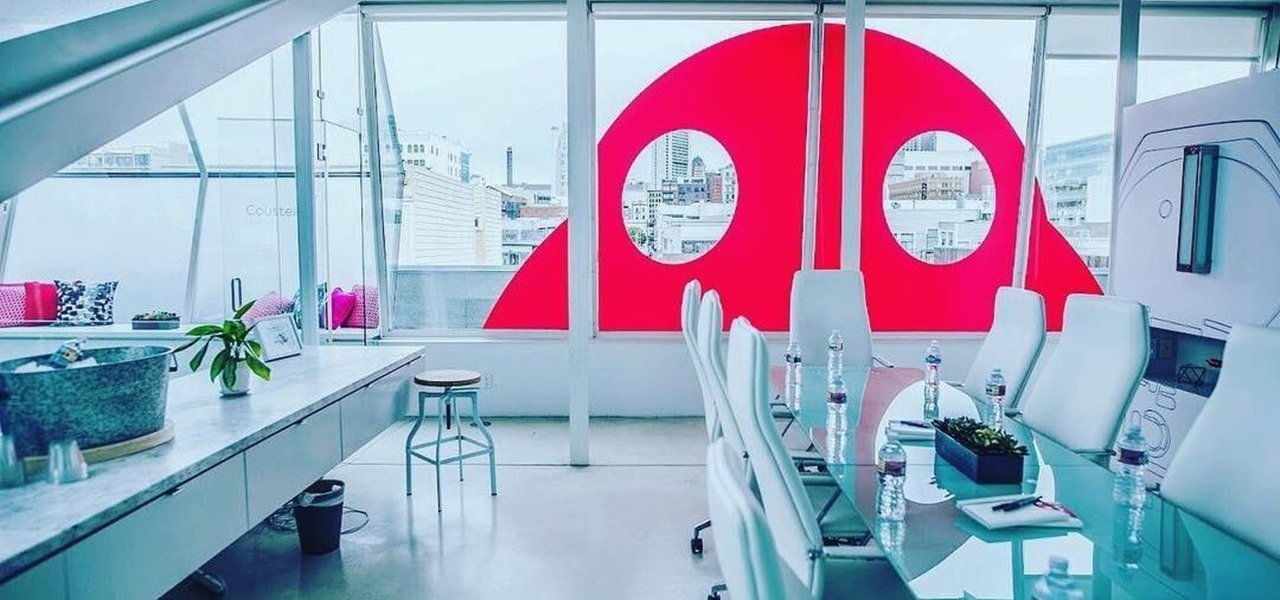
They say home is where the heart is. So, the opportunity to view the inner sanctum of Magic Leap is like gaining access to what makes the company tick, just as the fruits of its labor make it into select AT&T stores.
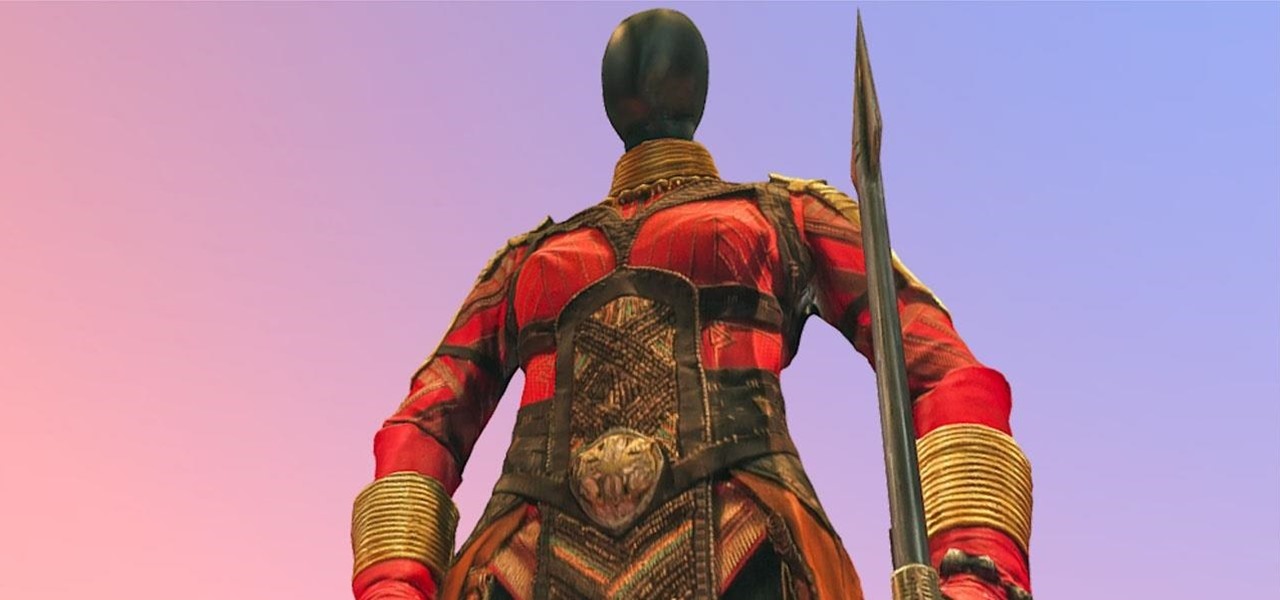
The Oscars are fast approaching, which means that all the most talked about films are getting a second dose of heavy promotion in hopes of winning an Academy Award.
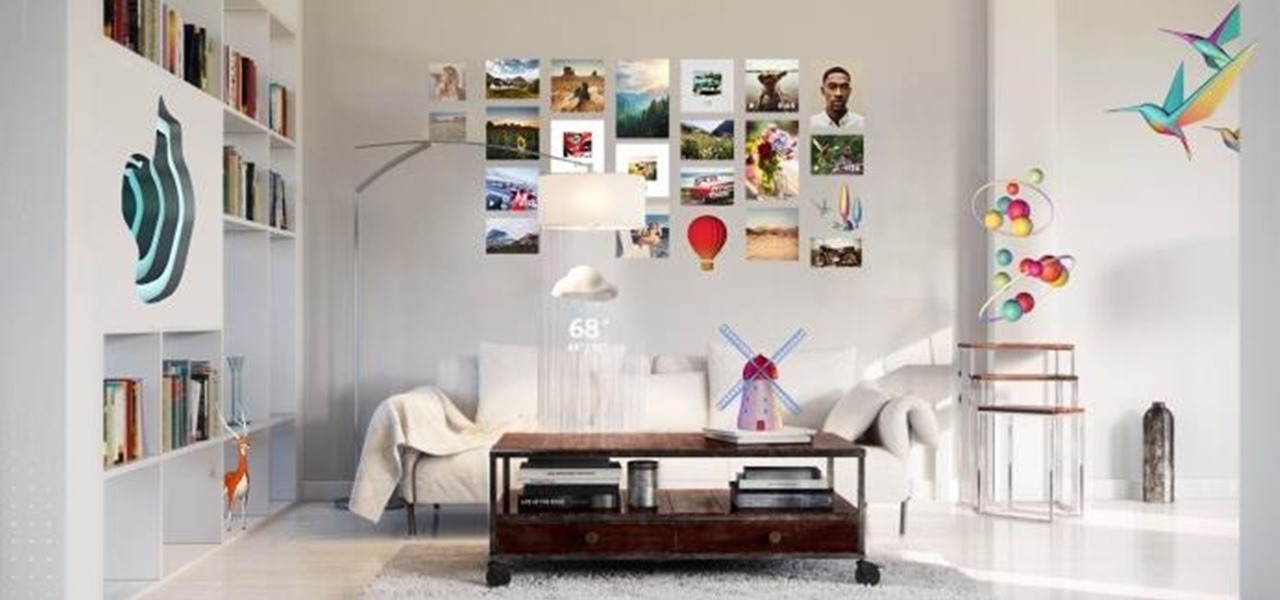
Magic Leap has earned a reputation for overt secrecy, but as it nears the highly-anticipated launch of the Magic Leap One, the company is spilling some of the beans. This week, we get a heaping helping of information on the Lumin OS, as well as a couple of great demos.
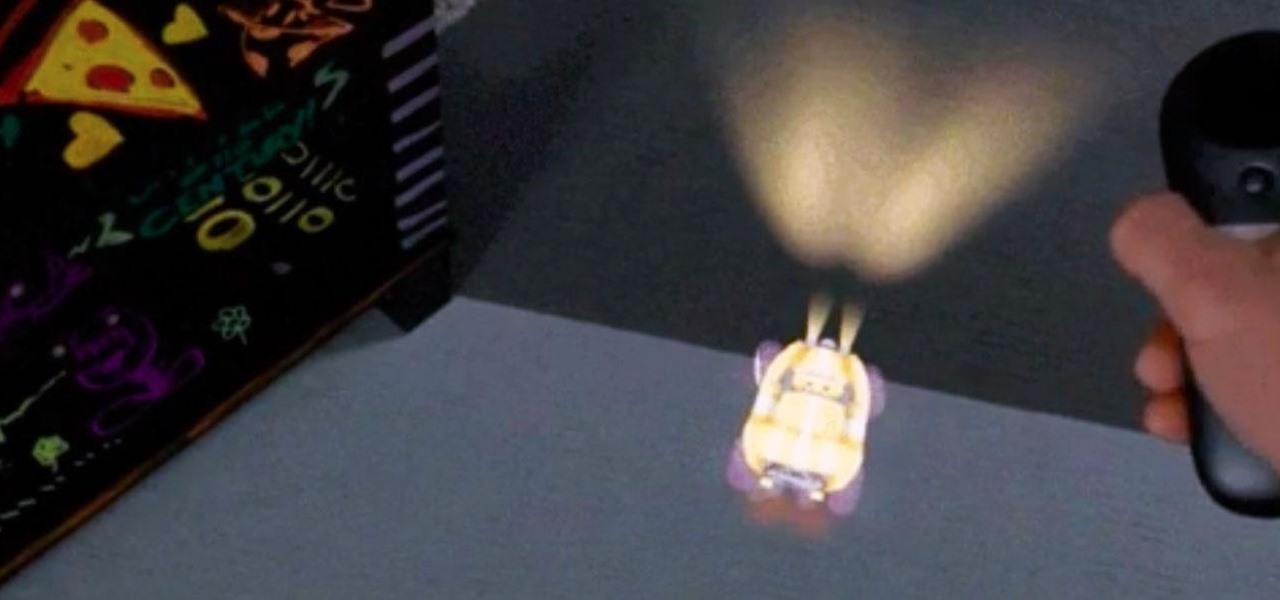
The long and slow road toward the actual release of the Magic Leap One appears to be accelerating, with a couple of new demonstrations of how the system works revealed in this week's creator's portal updates along with the company's developer documentation.
A fresh batch of developer info has been revealed on Magic Leap's Creator Portal. On Thursday evening, the normally secretive company gave the general public perhaps the closest look yet at Magic Leap One's Lumin operating system.
Google's been using their "Material Design" look in Android for years now, but a change is coming up with "Material Design 2," their updated version focusing on new colors, icons, and spacing. Whether it'll be called "Material Design 2" or not remains to be seen, but you can try it out right now in Google Chrome on your Android device right now.
This week's Game Developers Conference came at just the right time for Magic Leap, a company that was riding a wave of bad news from legal troubles and rumors regarding Magic Leap One.
Stop me if you've heard this one before: scan an image with your iPhone's camera and augmented reality content shows up.
While it may seem to some like investors are just throwing their money at augmented reality companies simply because the tech is heavily hyped, these money managers do actually want to see a return on their investments.