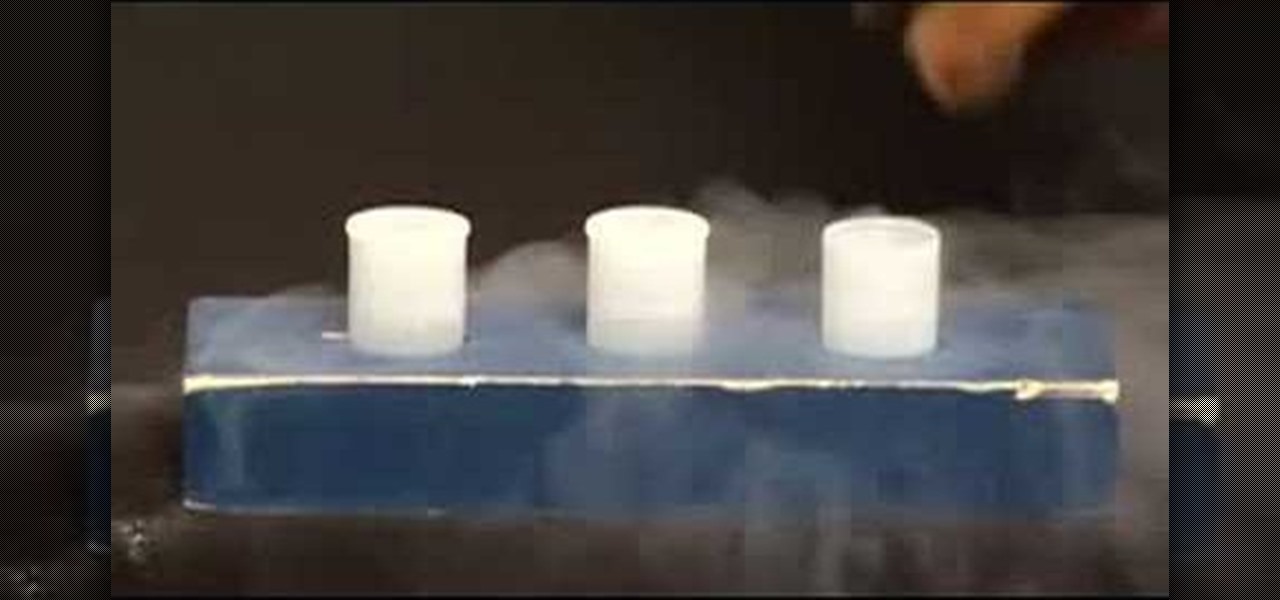
In this video tutorial, viewers learn how to do a liquid nitrogen experiment. The materials required for this experiment are liquid nitrogen and film canisters. This task is very easy, fast and simple to do. Begin by pouring the liquid nitrogen into the film canisters. Then quickly place the film canister lids on. The liquid nitrogen will eventually become a boiling gas and expand about 700 times. Because of the expanding, the pressure will build in the canisters and result in popping lids. T...
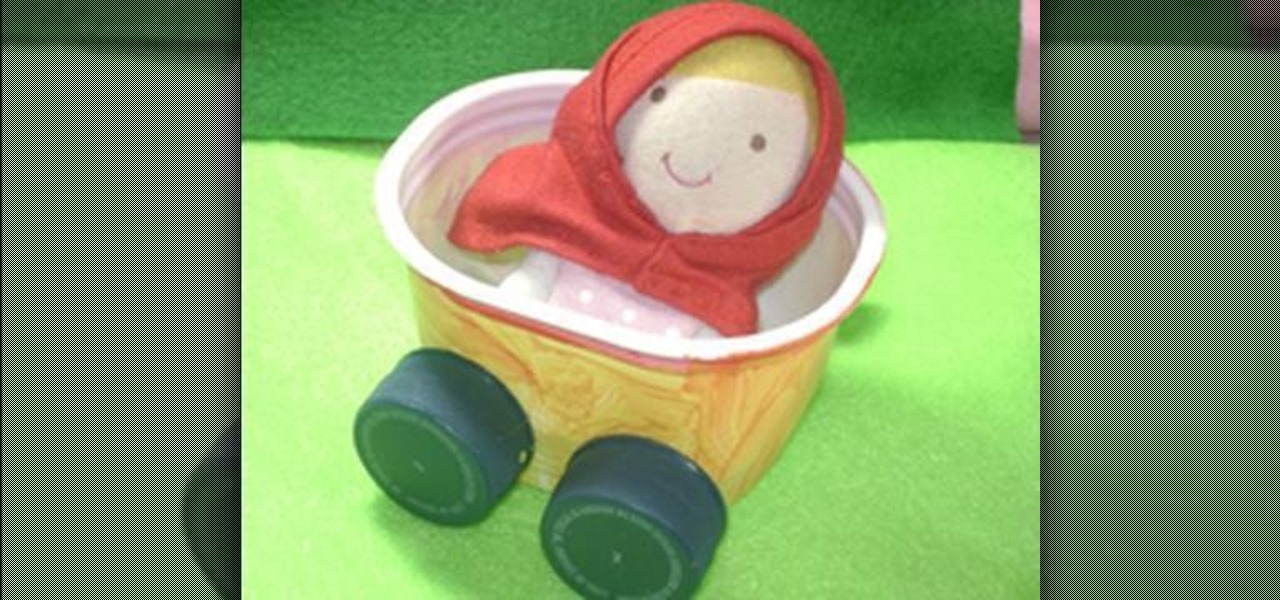
In this video tutorial, viewers learn how to make a recycled potato container car. The materials required for this project are: a recycled potato chips, half of a skewer stick, 4 recycled plastic soda caps, glue and a sharp pencil. Users may also need paint, brush and string. Begin by peeling off the label of the container and poke 2 holes on each side of the container. Then apply glue onto 2 of the caps attach them onto the ends of a skewer. Now put the skewers through the holes of the car a...
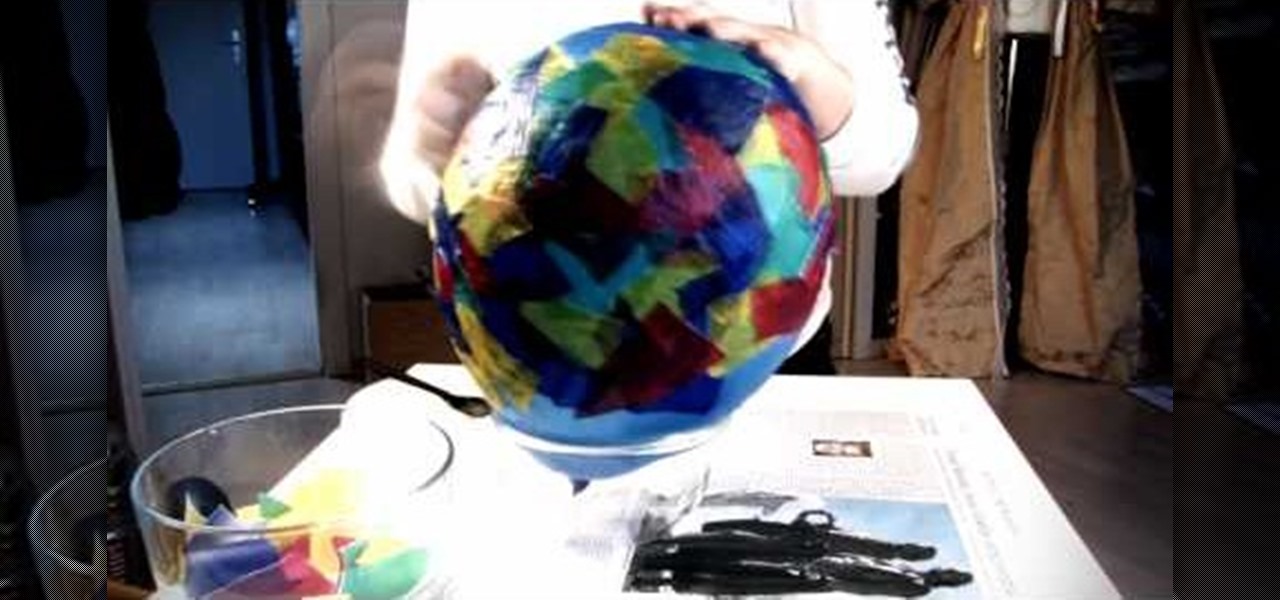
In this video tutorial, viewers learn how to make a balloon lantern. The materials required for this project are: balloons, lantern paper, wallpaper paste, bowl and scissors. Begin by ripping the paper into small pieces and place it into the bowl. Then shake the bowl and blow up a balloon. Now put some paste onto the balloon and layer it with the lantern paper pieces. Then let the paste dry and pop the balloon. Remove the balloon and cut off the lantern edges. Finish by hanging it and add a c...
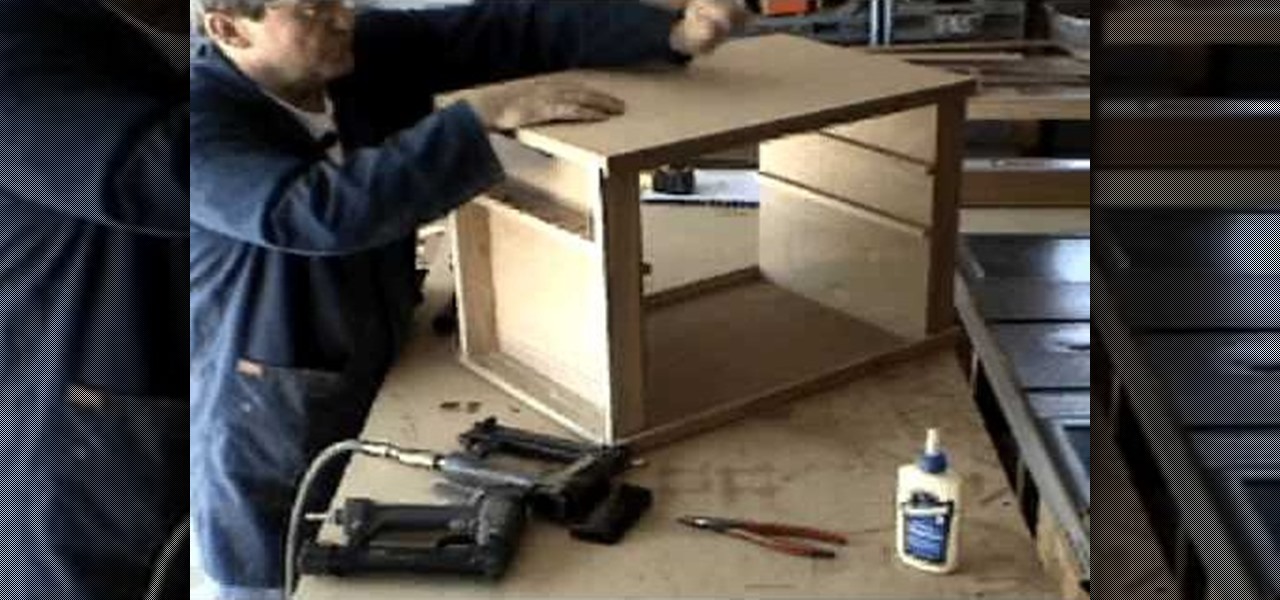
In order to build a good chuck box, you will need to do a lot of planning in advance, in order to make sure that you have the essentials and keep the weight of your chuck box down.

In this video tutorial, viewers learn how to make a Hello Kitty princess mirror. The materials required for this project are: epoxy glue, tweezers, pendants, gems and a plain mirror. If the mirror has a logo, you can remove it by rubbing over it with some nail polish remover. Begin by mixing the epoxy. Then stick the Hello Kitty pendant and a pearl heart on the top cover of the mirror. Use a stick to apply the glue and tweezers to place the heart on the mirror cover. This video will benefit t...

Storing your groceries or recent purchases from Target in the provided plastic bags may be convenient, but think of how many people use these non-biodegradable plastic bags and then toss them every day and every year. Help clean up the environment by making reusuable tote bags from t-shirts!

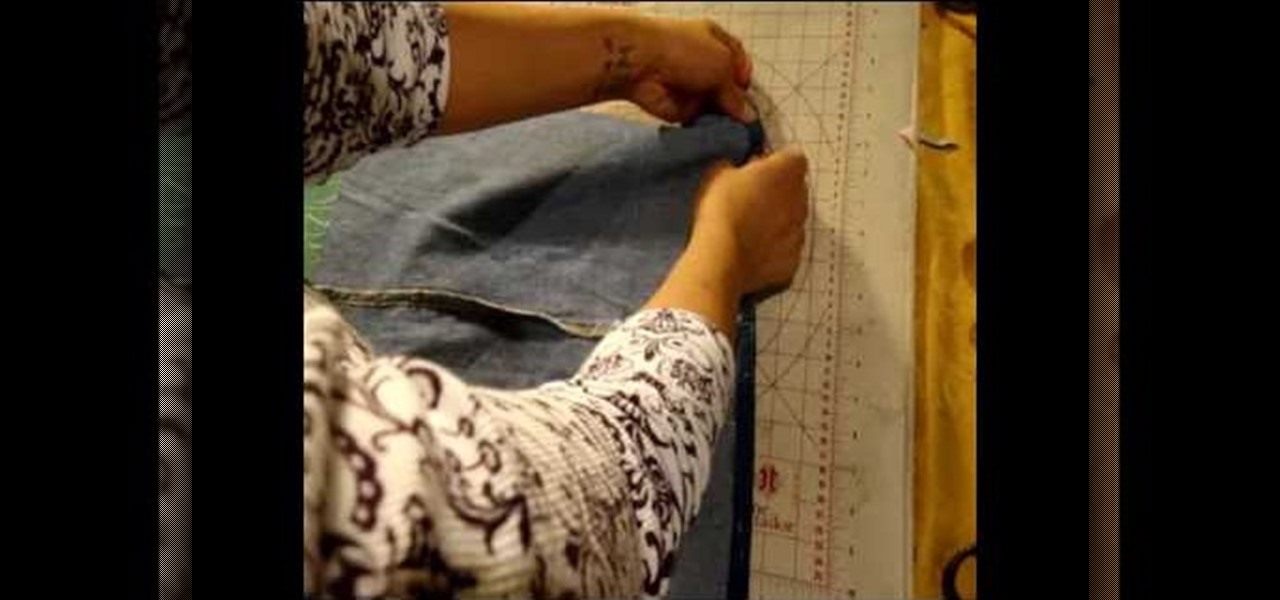
Don't want to throw away that raggedy pair of old Levi's with small paint stains and random tears all over because it's stuck with you longer than your trusty 12-year-old jack russell terrier? We totally understand. Continue to use your favorite pair of blue jeans by watching this video.
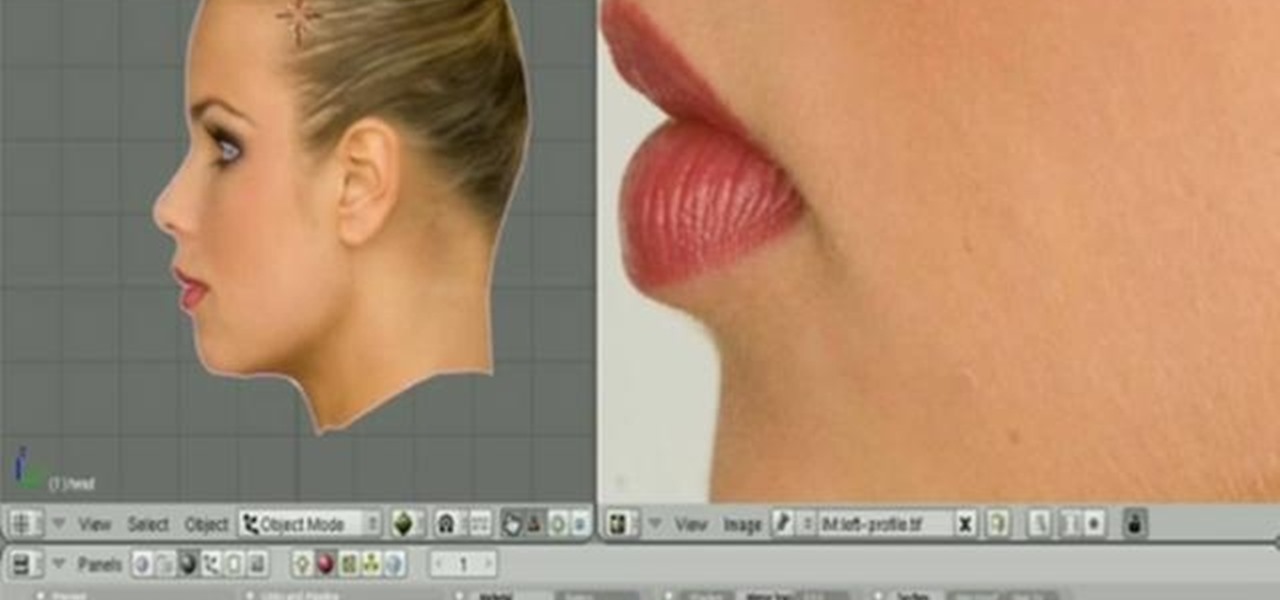
This 31 minutes blender tutorial will show you the steps to texture a head using the new GLSL preview features of the Apricot blender versions. You will see how to interactively blend together 3 projections of reference photographies into a final texture. This assumes you already are comfortable with Blender, mostly in UV mapping, material and textures. Whether you're new to the Blender Foundation's popular 3D modeling program or a seasoned graphic artist just interested in better acquainting...
Achieve alluring and sexy waves rather than Shirley Temple-esque tight finger curls by watching this hairstyle tutorial on how to do a deconstructive waving technique. Girls with longer hair should opt for a smaller barrel curling iron, since a larger barrel will not create the same type of wave that we are trying to achieve.
This gorgeous crescent moon hairstyle consists of loose hair braided behind your head into a twisted chignon, the rest of your hair on the other side let loose for a novel take on the idea of a half up, half down hairstyle.
If you don't know what a sand snake is or what it does, it's basically something that is used to help you save energy and money. It's bigger than weatherstripping and can be just as effective.
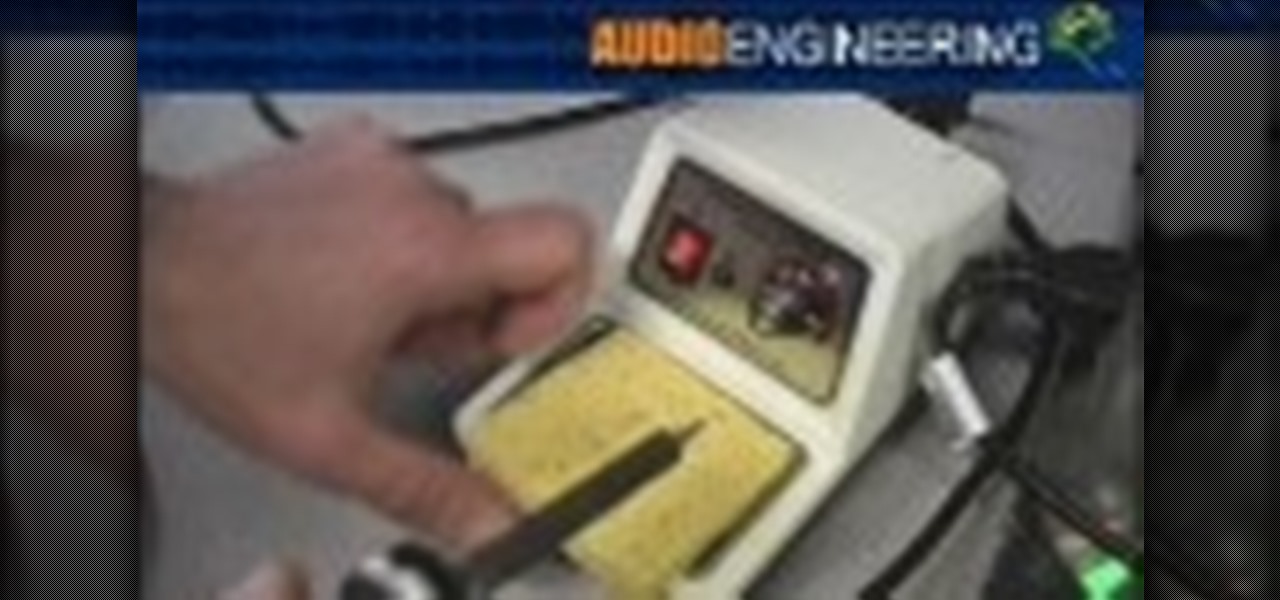
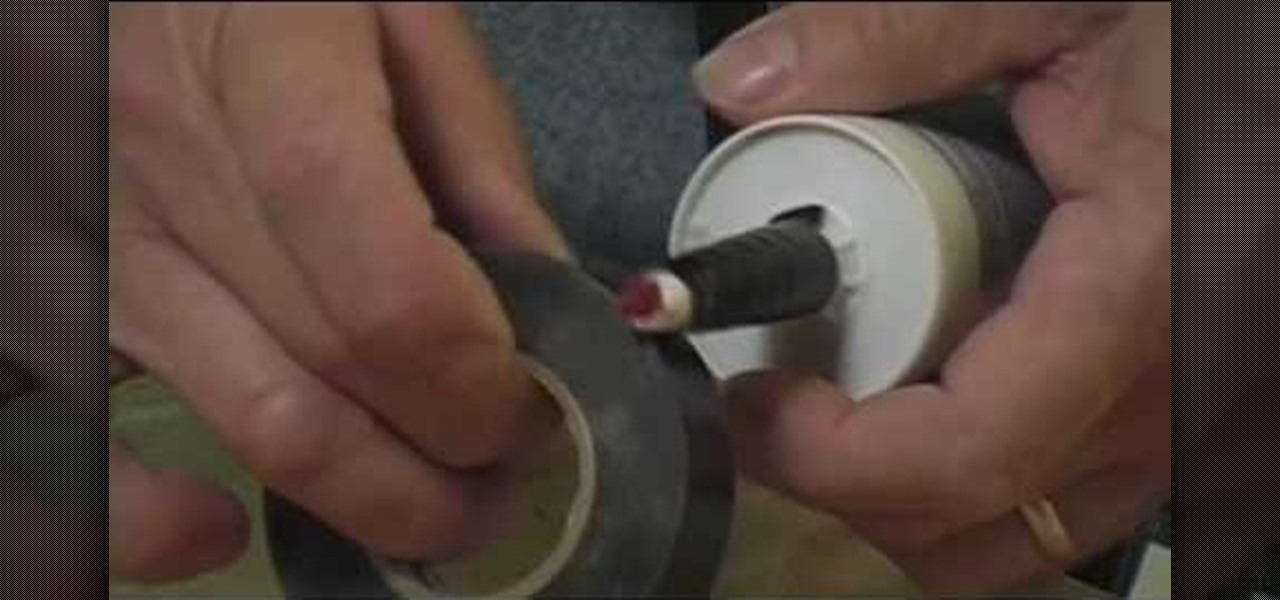
Teaching the basics of soldering, you should be able to learn how to fix broken headphones. There should be two wires protected by a covering, one which is a silvery metal and an orange wire which is your copper wire. Taking the plate for your speakers, there should be two connections where the wires belong. Using your soldering material, melt some onto your soldering gun and apply it to the two sites of the connection on your speaker plate. Place your wires on the correct areas and carefully...
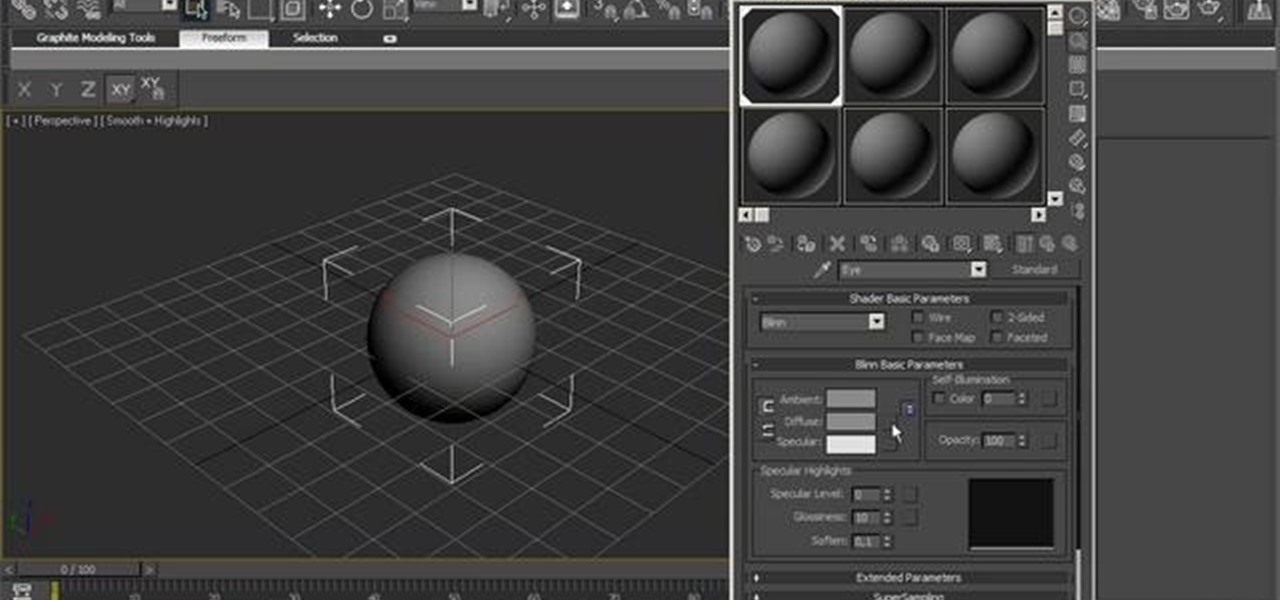
See how to model a pair of cartoon eyes and then create a way to automatically control their orientation. You'll use two simple sphere primitives and then you'll create a simple standard material for the eye color, just using a Gradient Ramp map. Your basic orientation rig will be obtained using a Look At controller and a standard dummy object. Whether you're new to Autodesk's popular modeling software or a seasoned 3D artist just looking to better acquaint yourself with the application, you'...
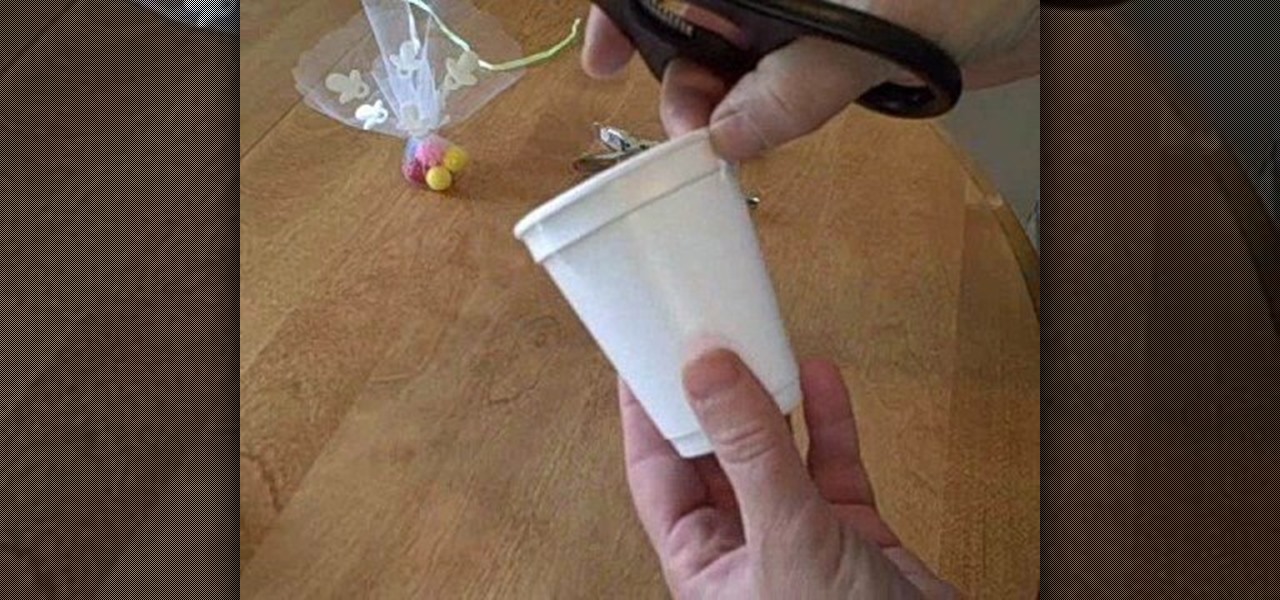
At stores, imitation plastic or cloth baby booties (to be used to contain party favors or small gifts) can be quite costly, and a backbreaking expense considering all the other more necessary expenditures you're considering when planning a baby shower, including finger food, cake, party favors, and decorations.
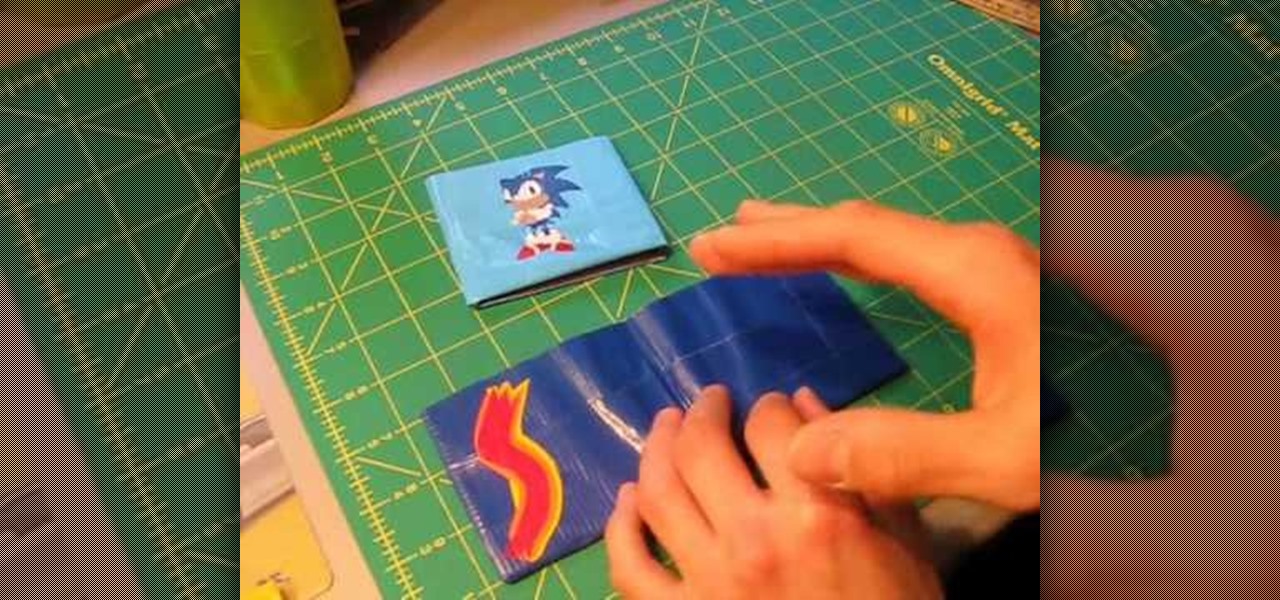
Most of the duct-tape aficionados out there who are watching this video are probably familiar with duct tapes incredible versatility as a material for making backpacks, tuxedos, and other accessories and clothing items. What many don't realize, however, is the extent of the decorative options made possible by the wide range of colors that duct tape is available in. This video teaches you how to make very cool designs out of colored duct tape and use them to decorate a credit card holder. This...
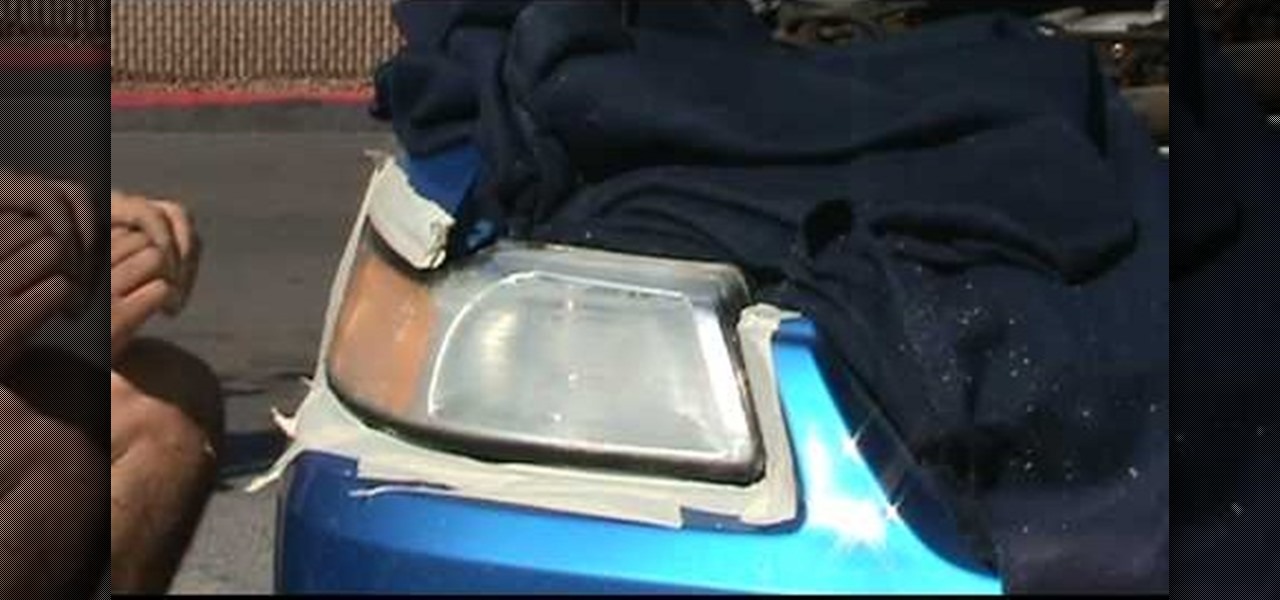
In order to clean and restore your headlights, you will need the following materials: razor blades, tape, liquid rubbing compound, and a power polisher.
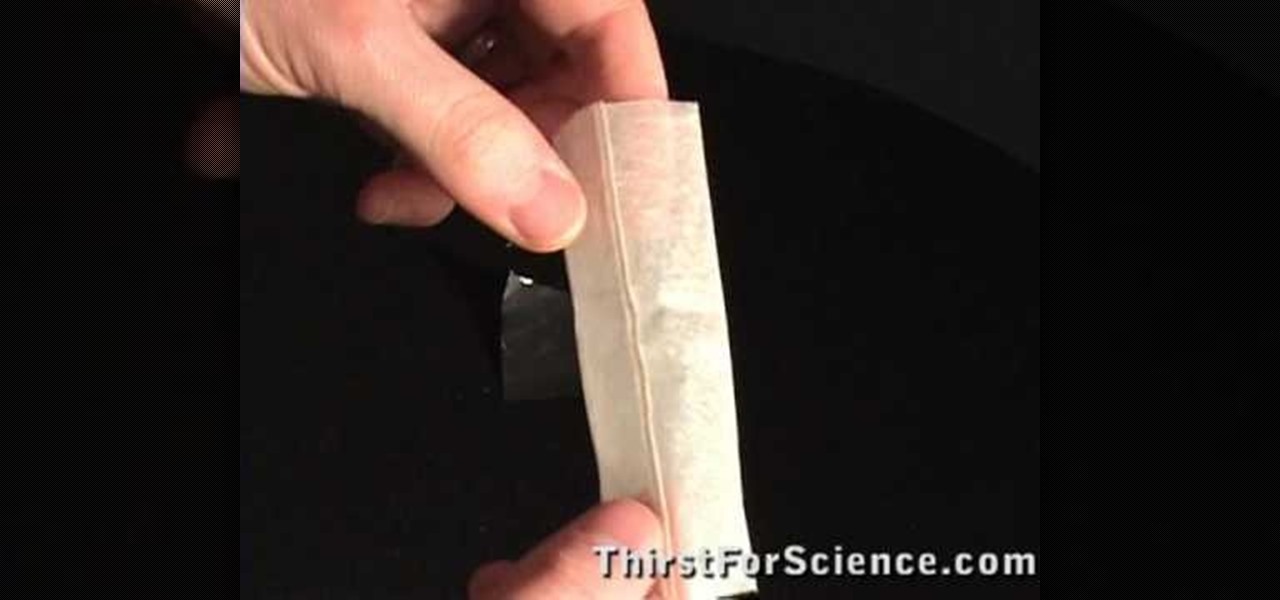
In this video tutorial, viewers learn how to make a tea bag fly with a home experiment. Viewers learn how to make a tea bag fly using convection. The materials required for this experiment are: tea bags, matches, tin foil and scissors. Begin by cutting the top of the tea bag and open it. Empty out the tea. The tea bag should be a cylinder shape. Place the tea bag on top of a piece of tinfoil and use your matches to light the top of the tea bag. This video will benefit those viewers who enjoy ...
This video explains the easiest way to get rid of the oil on your skin is to use blotting paper, and light dab it on oil spots on your skin. Do not rub it, dab it on the skin, the blotting paper will absorb the oil on your skin without adding dark colors onto your face that other papers would. If you have trouble finding blotting paper, a easy way to find some is go to a public washroom, and get the toilet seat paper that people use to put on top of toilet seats. They are the same material as...
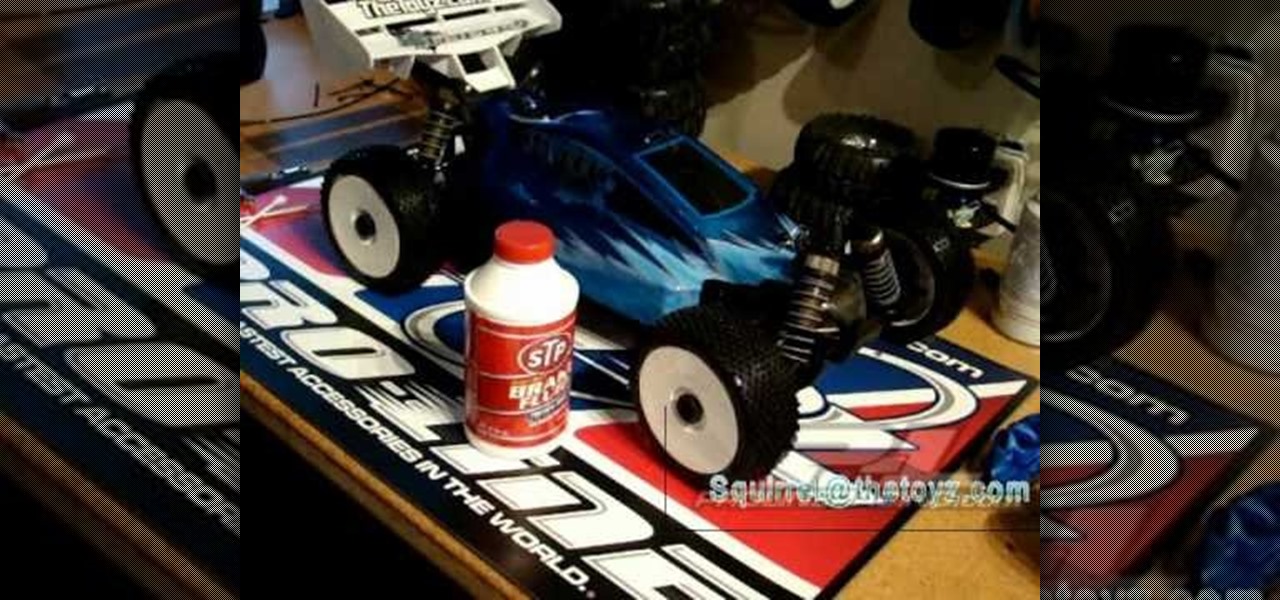
To remove the lexan paint, obtain a bottle of brake fluid. Make sure you read the Material Safety Data Sheet (MSDS) for its harmful effects, and put on a pair of gloves to avoid contact with the hands when applying the brake fluid. To remove a large area of paint, pour a little amount of brake fluid onto some paper towel, and rub the area in a circular motion until the lexan paint is completely dissolved and removed from the area. A Q-tip can also be used to remove smaller areas. Apply as muc...
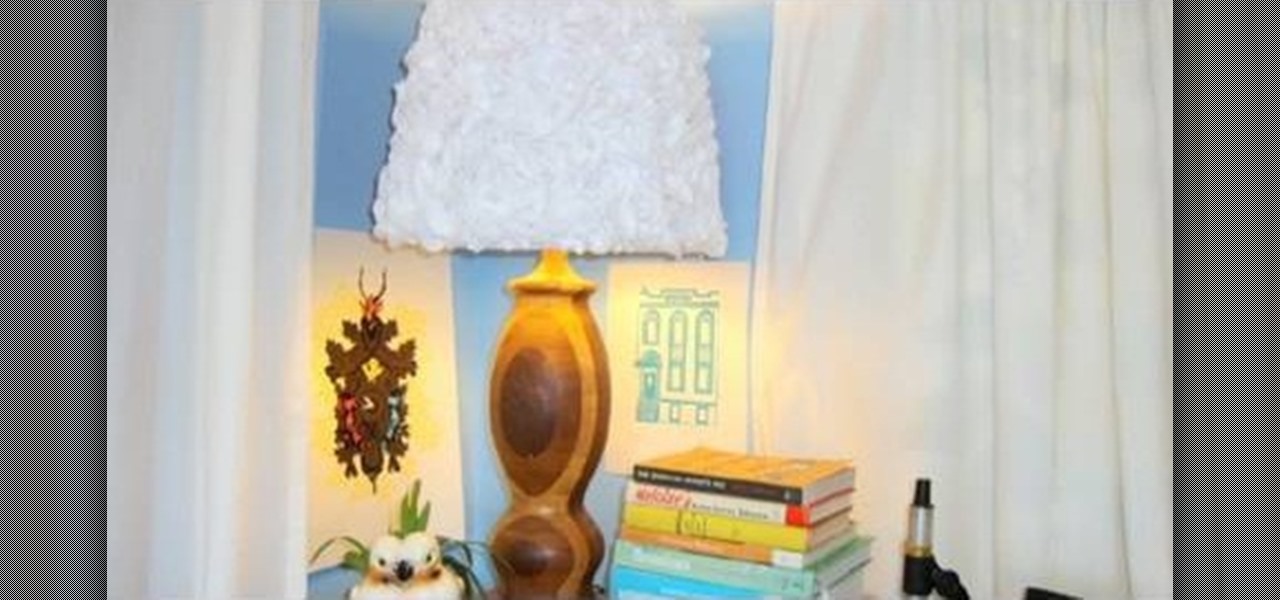
In this video tutorial, viewers learn how to upgrade an old lamp shade into a blossom lamp. The materials required are: 1 1/2 yard of felt, old lamp shade, bias tape, glue gun and scissors. Begin by folding the bias tape in half and iron it down. Then glue the bias tape from the half fold on the top and bottom of the lamp shade. Cut the felt into 3x3" square pieces and then cut them into circles. Fold the felt circle in half and glue it onto the lamp shade. Continue doing this for the rest of...
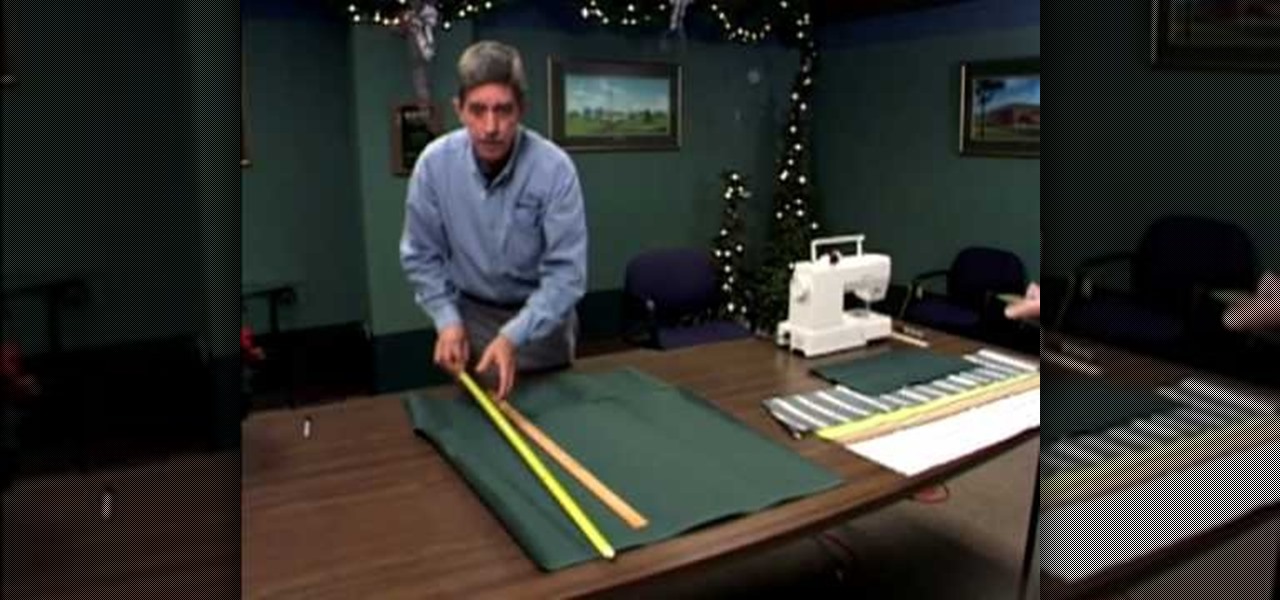
Don't overpay for a marked up baby blanket at a department store or fancy boutique? You can make a beautiful blanket for your newborn and future family heirloom right at home. All you need are some basic sewing materials and your imagination. This video will show you how to sew a dream catcher baby blanket.
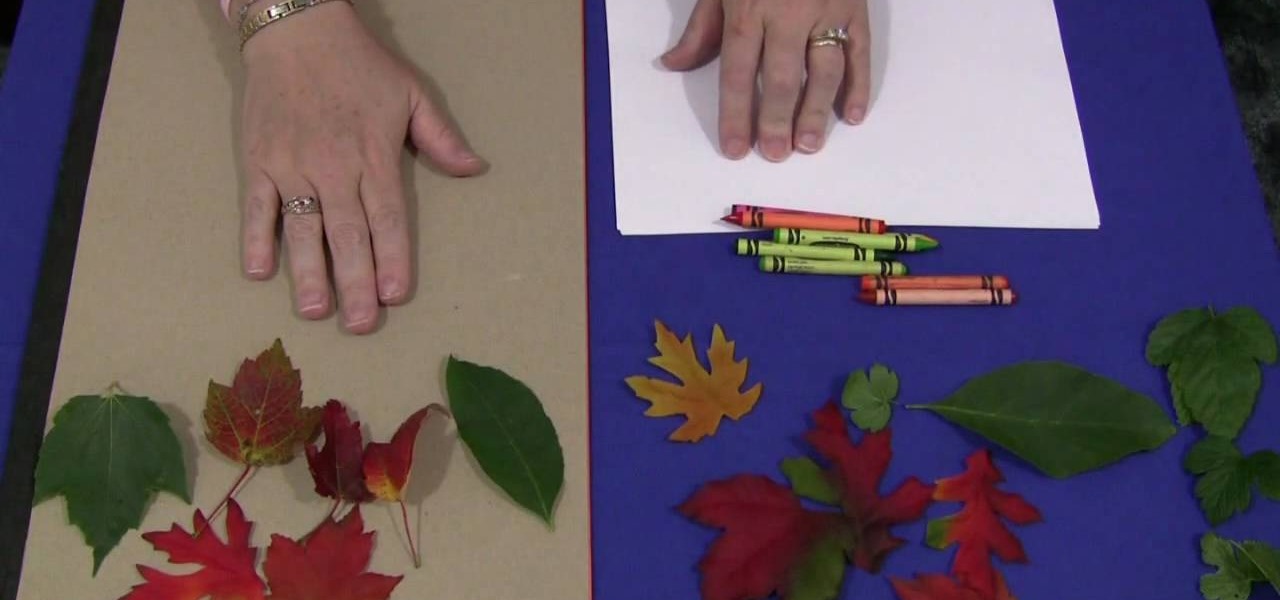
In this Family video tutorial you will learn how to do leaf rubbings for a children's activity. For this you will need a flat surface. If the table top in slightly uneven, put a sheet of construction paper on it. The materials you will need are sheets of paper, crayons and leaves. You can also use fabric leaves if your area doesn’t have any leaves. Take a leaf; put it upside down on a flat surface so that the veins are on top. Put a sheet of paper over the leaf and hold it down with one hand....
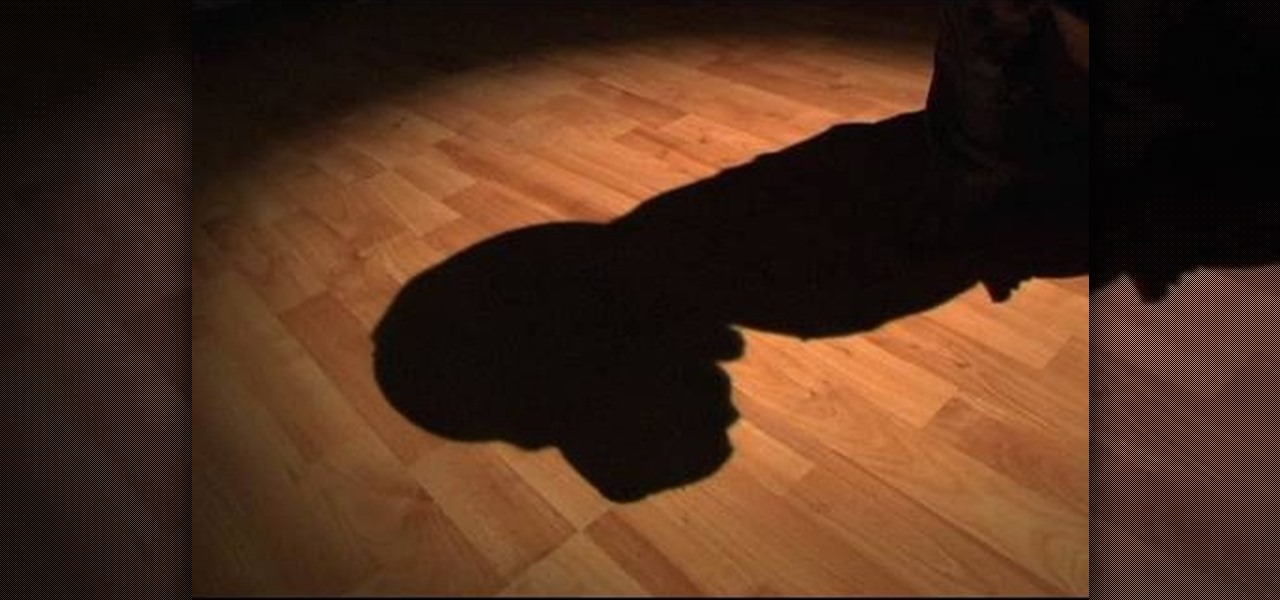
In this video tutorial, viewers learn how to make a guerilla spotlight using household items. Users will simply need a cardboard cylinder and a light source. Te materials used in this video were a toilet paper roll, piece of aluminum, gaff tape and a lamp. Begin by cutting a couple of 90 degrees slots in the middle of the foil, slide in the tube ad secure it with tape. It should be a bit longer than the tube. Now wrap it around the light source. This video will benefit those viewers who produ...
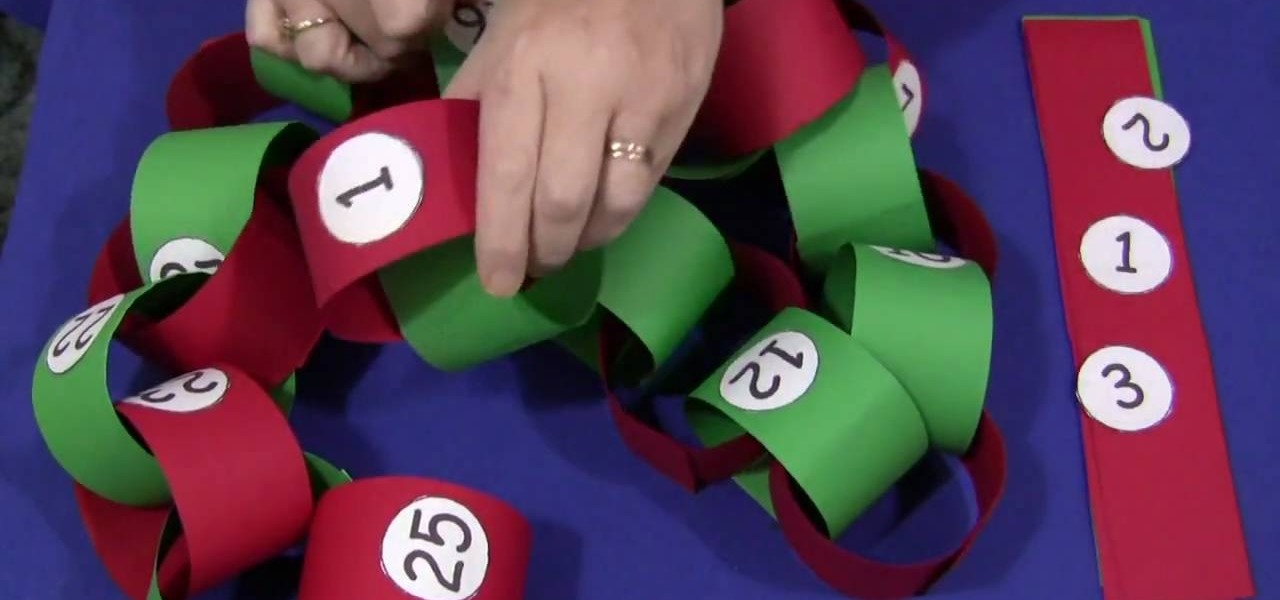
In this video tutorial, viewers learn how to make a Christmas countdown chain. The materials required for this craft are: construction paper, paper cut into small circles, glue and marker (optional). Begin by cutting the green and red construction paper into even strips. Users may choose to write out the numbers or print them out onto paper. Then cut out the numbers into small circles and glue them in the middle of the strips. Alternate the color of the strips each day. Then put the edges of ...
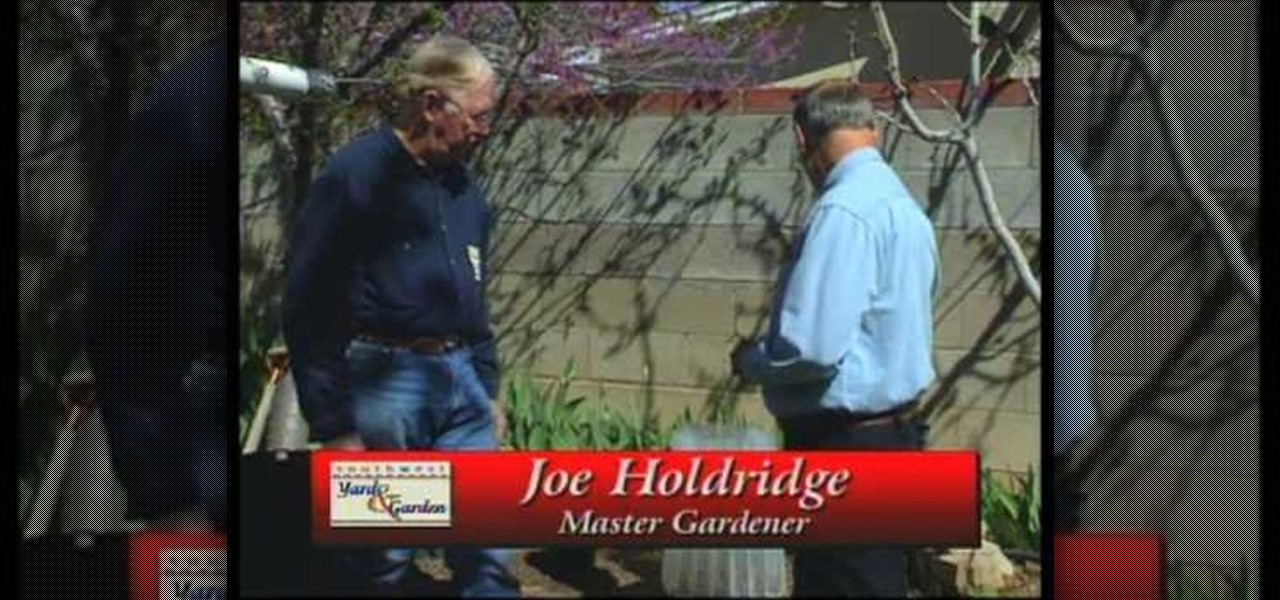
This video demonstrates how to use plastic row covers and wall of water to start plants early. A lot of gardeners want to start their planting early if the weather is nice. But they may be subject to some frost still yet. How can they protect their plants? First is a demonstration of how to use a spun bond polyester like material. It is breathable, rather than using clear plastic, so the plants don't cook on warmer days. Then the video shows how to use a wall of water to start a few plants ea...
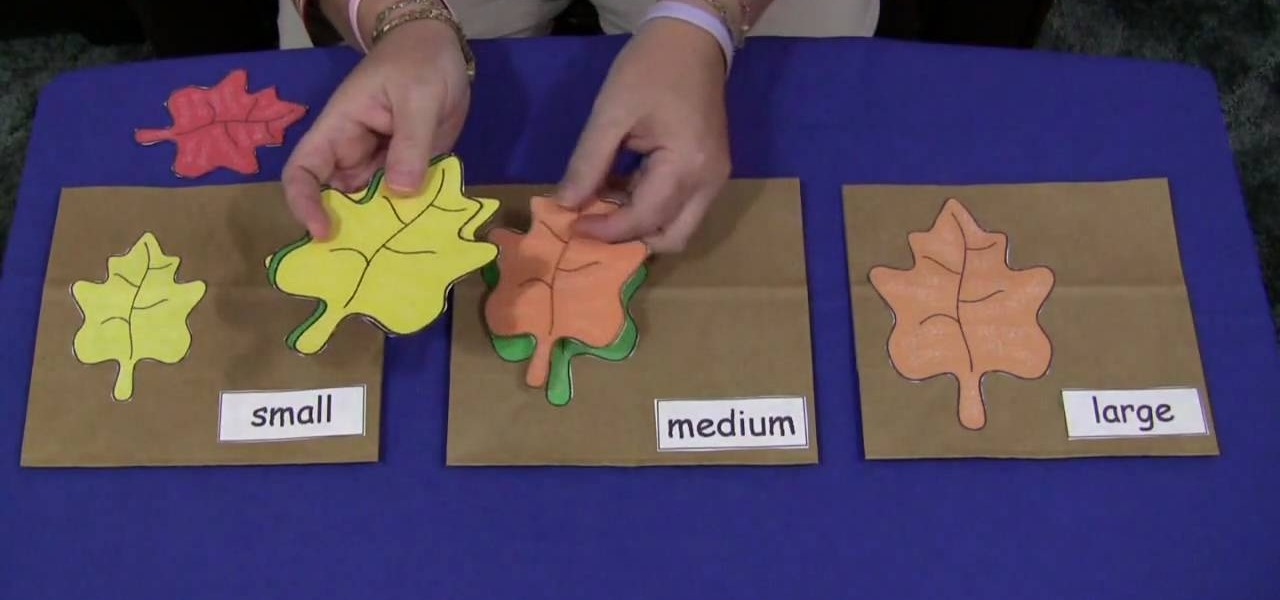
Shelley Lovett shares a great children's fall activity to help develop math skills - leaf size sorting bags. All that is required is three paper bags and some construction paper. Use the construction paper to cut out three different-sized leaves, and to make three labels saying 'small', 'medium', and 'large'. Then simply glue the small leaf and small label on one bag, medium leaf and label on the next bag, etc. To make the loose leaves of the three different sizes they place into the bags, si...
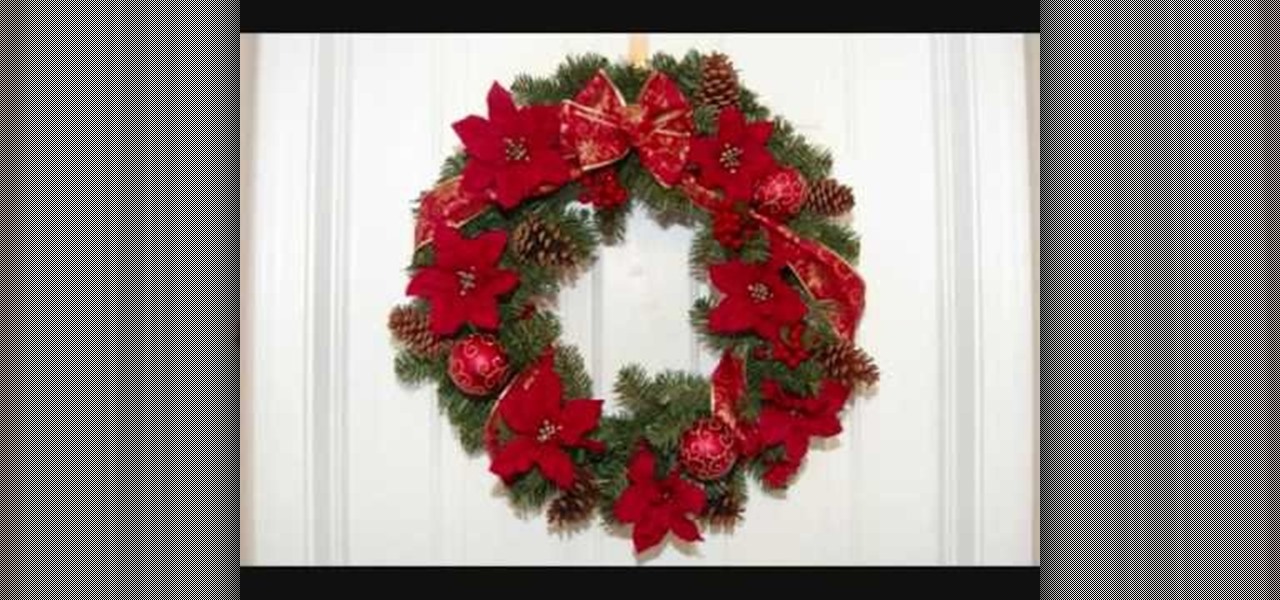
To make a Christmas wreath with poinsettias, by using synthetic materials you will need a Christmas wreath, pine cones, ribbon, berries, poinsettias, and any other picks you may want to use. You can purchase these items at any craft store. First, shape wreath, make bow out of Christmas ribbon (or pre-purchase bow), and attach on wreath. Next, wrap excess ribbon around Christmas wreath and align evenly poinsettias around wreath. Then, wrap around wire from the ornaments, pine cones, berries, a...
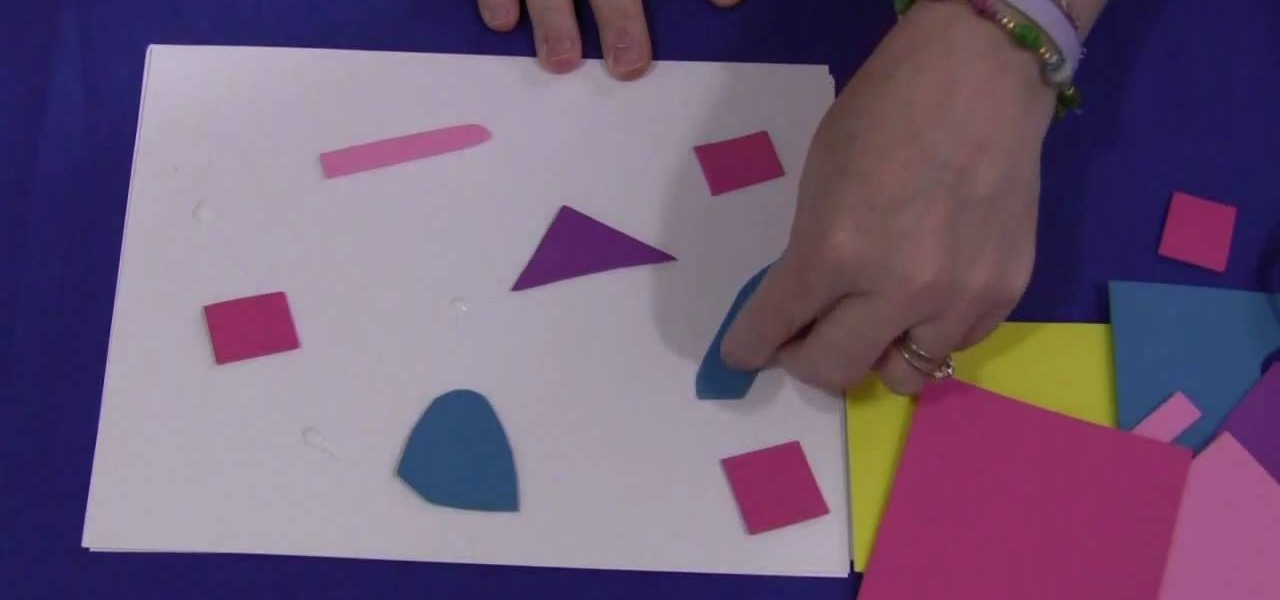
In this video tutorial, viewers learn how to make a foam collage. The materials required for this project are: card stock paper, several different colors of foam paper, scissors and glue. The project focuses on preschool, kindergarten, and elementary school crafts. Begin by cutting the pieces of paper foam into different shapes and sizes. Then simply apply glue on the pieces and stick it onto the card stock paper. Continue doing this to cover the entire sheet of card stock. This video will be...
In this video tutorial, viewers learn how to make a plain paper clip into a spinner. The materials required for this spinner are a paper clip and a pair of pliers. Take the paper clip and straighten it. Now use the pliers to bend the tip of the clip at 90 degrees. Then bend it 90 degrees to left side and start bending the wire into a circular shape. The shape will look like a pretzel. Now bend the end tip of the wire 90 degrees to the opposite direction of the first bend. You should end up wi...
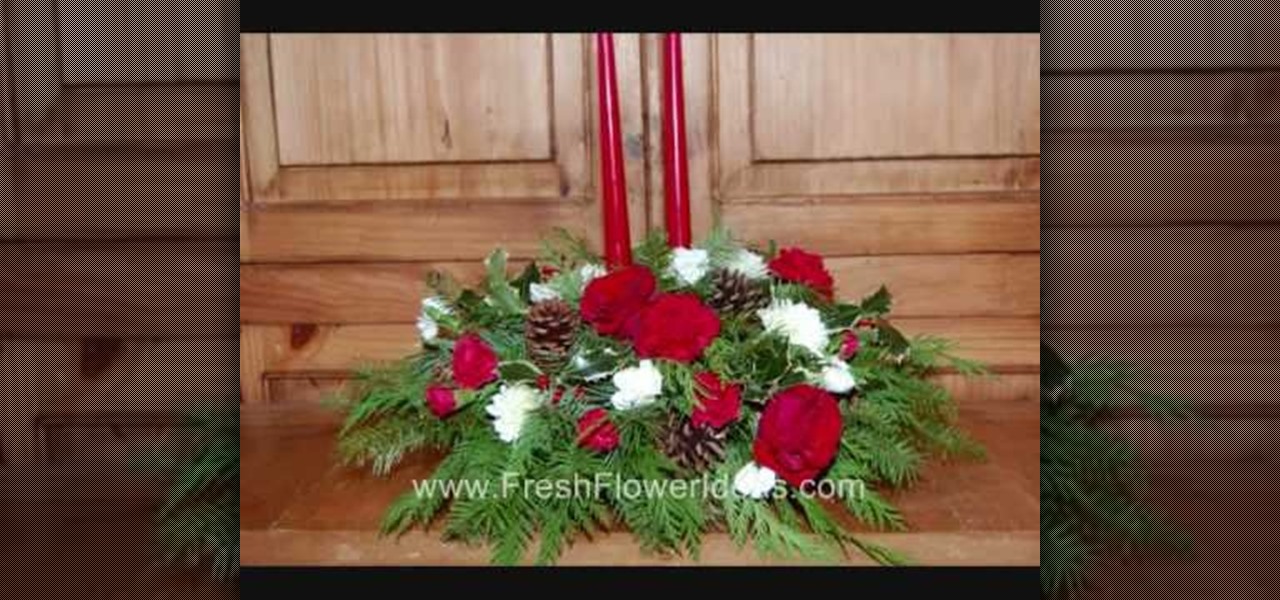
This video will help you to make a Christmas centerpiece with flowers and evergreens. The materials required are a plastic centerpiece tray, floral foam, two candles, two candle cups and wired wooden pegs. Flowers like red carnations, white cushion chrysanthemums, red and white pixie carnations and roses can be used for this arrangement. Evergreens used are cedar, pine, princess pine, and variegated holly. The foam is placed in water in the tray. The candle cups with the candles are placed in...
One way to update your living space is by installing new tiles. This video tutorial shows key strategies with tiling projects in your home. By planning material quantities you'll able to estimate the cost of your project. This instructional offers helpful tips on tile care, trimming and cutting, and how to safely use snap cutters and wet saws.
Whether updating your home design or protecting against mold and mildew, the installation of kitchen tiles is a simple process that any home crafter can do. This video tutorial shows how to install backer board and tile your kitchen floor. Once you've cleaned the area where your backer board will go, measure to make sure all materials will precisely fit into place. Before setting the tiles, plan the layout on a sheet of graph paper to figure out if you'll need to cut tiles. Finally, apply gro...
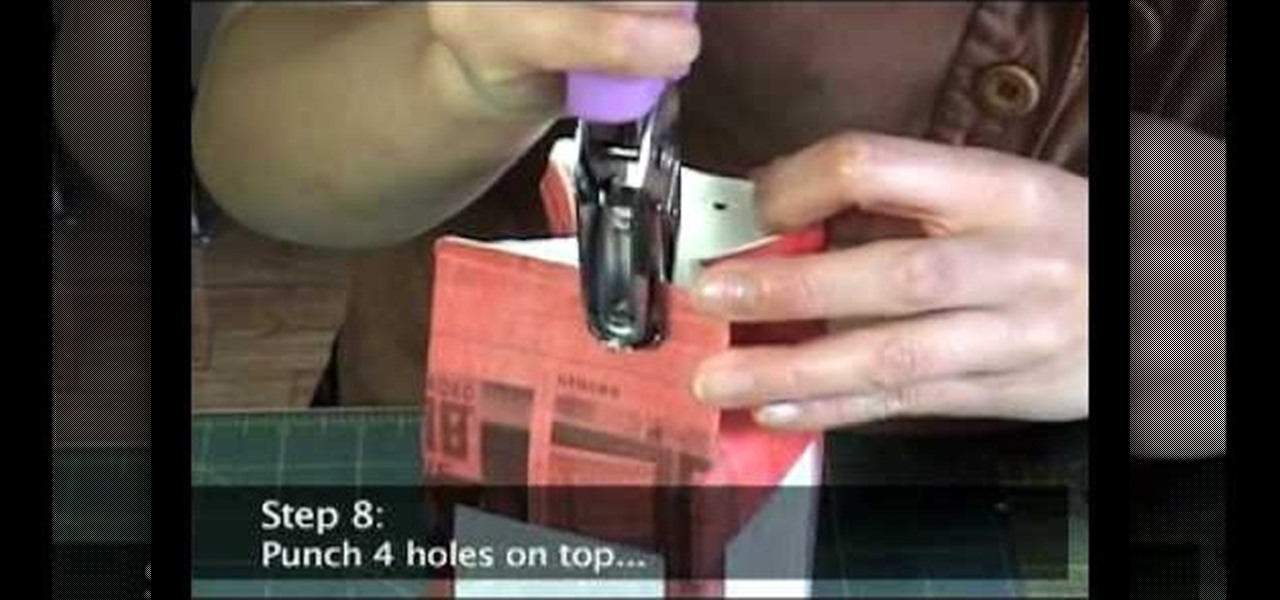
In this video tutorial, viewers will learn how to make a milk carton lantern. This lantern uses recycled items. The materials required for this lamp are: a milk carton, unryu paper, colored newspaper, raffia, ruler, glue gun, hole puncher, X-acto knife, glue stick and scissors. Flatten the milk carton. Draw a rectangle with each panel and measure about 1/2" form each of the sides. Measure about 3/4" from bottom and top. Cut out the rectangles with the X-acto knife. Glue the newspaper to the c...
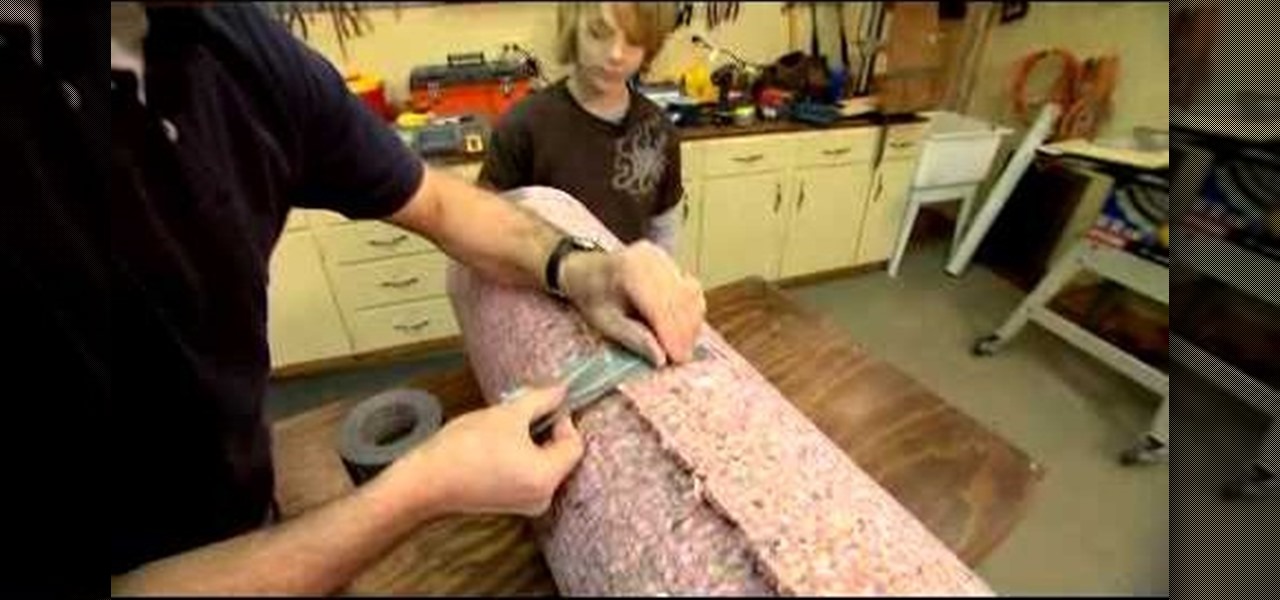
In this video, Danny Lipford will show you how to make a punching bag with trash found at a construction site. First, a circle of plywood is cut out about one foot in diameter (in this video, a bucket is traced in pencil over the plywood). This is for the base of the punching bag. A large piece of PVC pipe is used for the center of the punching bag, which carpet padding is wrapped around to makeup the main part of the bag. Finally, duct tape is wrapped around the whole thing. Out of these ver...
How do you salvage a clogged caulk tube? In this Quick Tips with Chuck Miller video, you will see there is an ingenious and simple way to salvage a clogged caulk tube. Take a utility knife and simply make a slice on the side of the caulk tube nozzle. Probably the entire length of the nozzle is clogged and you may not be able to clear it with a wire or nail. After slicing it, take a sharp tool and remove the clogged material from the nozzle and clean it up. Then wrap the nozzle with electrical...
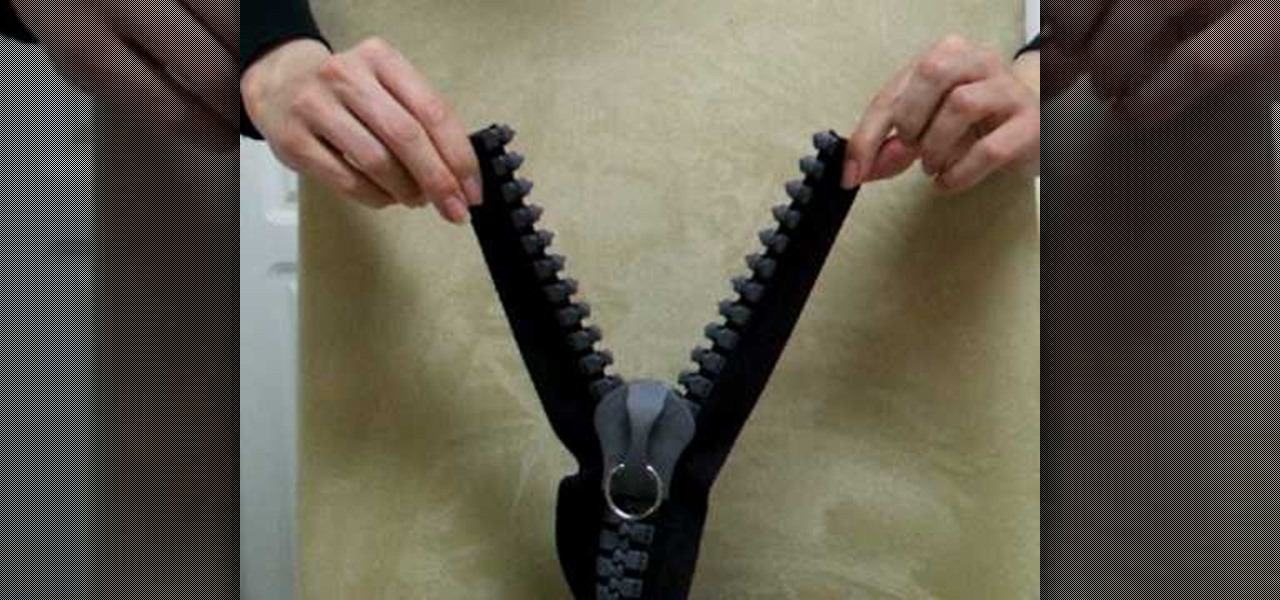
In this video tutorial, viewers learn how to attach a giant slider to a zipper chain. This task is very simple and fast to do. This zipper is for large materials that can not be enclosed with the regular sized zipper. The slider is removable and able to reattach to the zipper chain. It is very convenient and makes the zipper look more neat. Just set the slider on the top of the connected teeth track and pull it up. Then twist each side and pull down. This video will benefit those viewers who ...
The metal clay must be completely dry before you begin the torch fire procedure. Set up your work space in a well-ventilated area with your metal clay on a fire brick. Start your flame and move around the piece in a circular motion, not staying on one point for long. You might see little flashes of flame. Don't panic. That is to be expected. Time yourself for about a minute. Your metal clay should take on a peach color. It is important not to use a butane torch and metal clays that contain or...
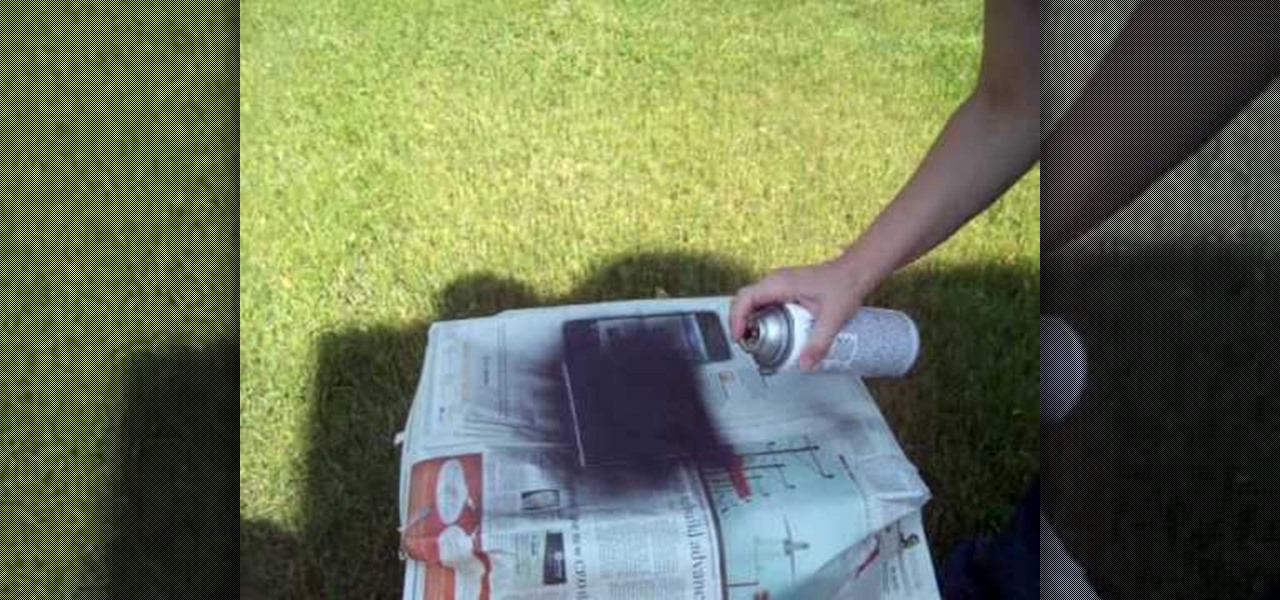
In this video tutorial, viewers learn how to make a black scrying mirror. This activity is simple and inexpensive. The materials required are: a picture frame, tape, newspaper and black matte spray paint. Take out the glass from the frame and lay it on the newspaper. Now spray the black paint on the glass frame. Make sure you use short little bursts of spray. Make sure each coat dries before you apply another one. When it's dry, put it back into the picture frame. This video will benefit thos...
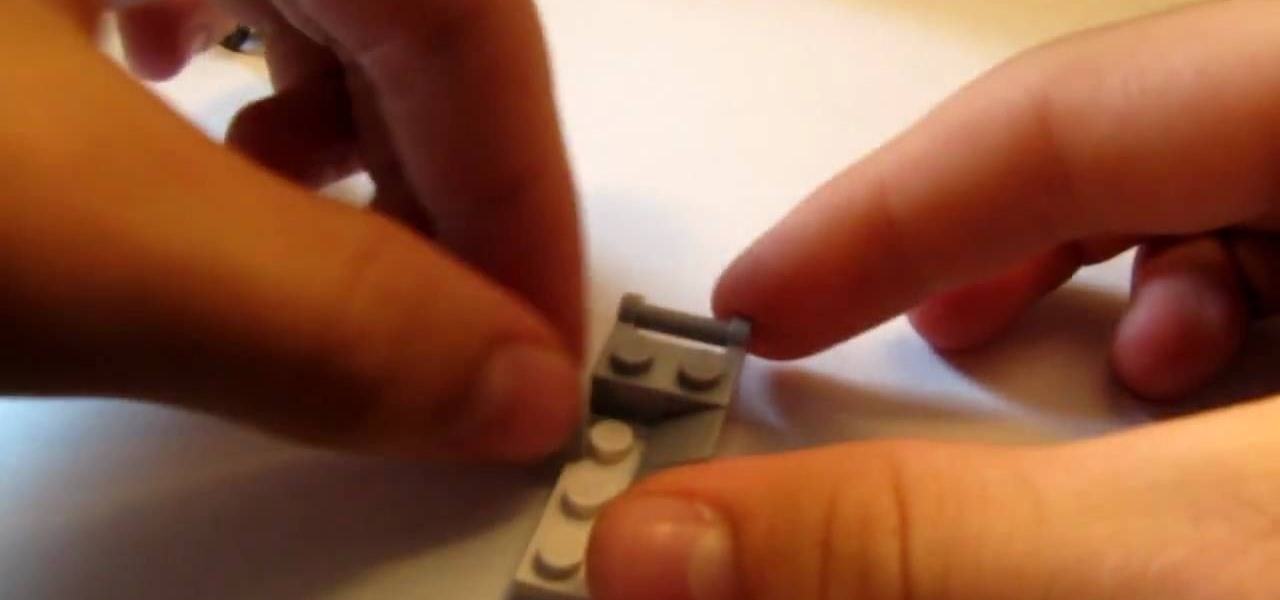
In this video you will learn how to build a LEGO stroller. The materials you will need are 4 of the small slanted bricks, one two by four thin brick, 3 two by 1 thick bricks, 2 one by one thin bricks, 2 one by one by four studded bricks, a small smooth brick, two odd angled smoothed bricks, 4 wheels, one one by two with dot in center bricks, and one one by two handle bricks. Then after carefully assembling the bricks as shown he will show you a example of what it will look like when you're fi...
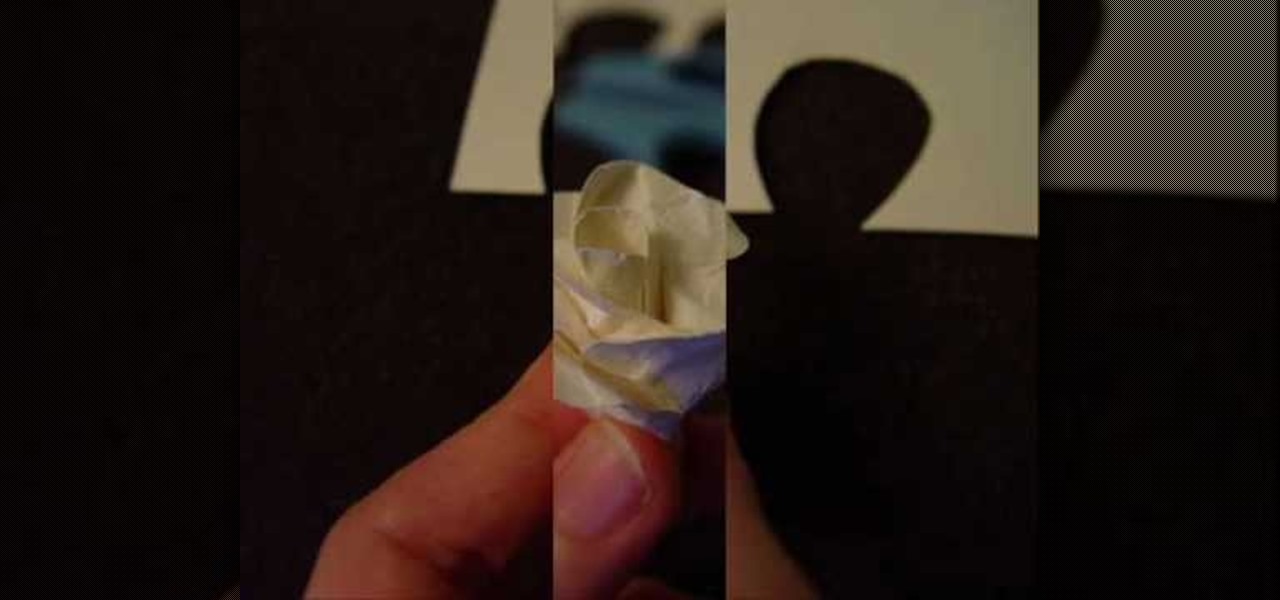
This tutorial demonstrates how to make simple yet beautiful paper roses using only a few materials. The image displayed at the end of this video is just one example of how realistic a paper rose can look. In order to do this, you will need at least one sheet of plain or colored paper, tacky glue, wire and a pair of scissors. Initially, you must first cut your paper in to the shape of your pedals, then crumple them up. Crumpling your pedals not only makes them more flexible, but can also add a...