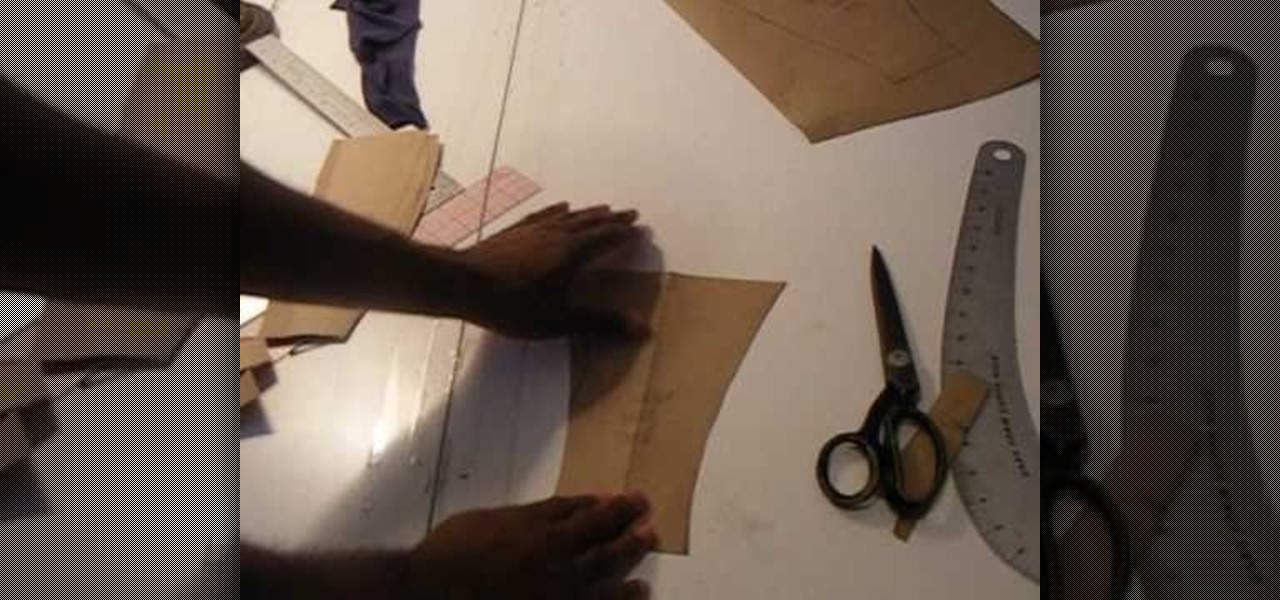
In this 3-part video, Chris White shows you how you can take an old pair of boxer briefs, make a pattern for new boxer briefs, and then create an entirely new one. You'll need some tools, and materials, including elastic, sewing machine with zigzag, serger, stretch fabric, pattern paper, scissors, thread, pins, rulers, and a pencil. Save some dough and make your own underwear that actually fits properly!
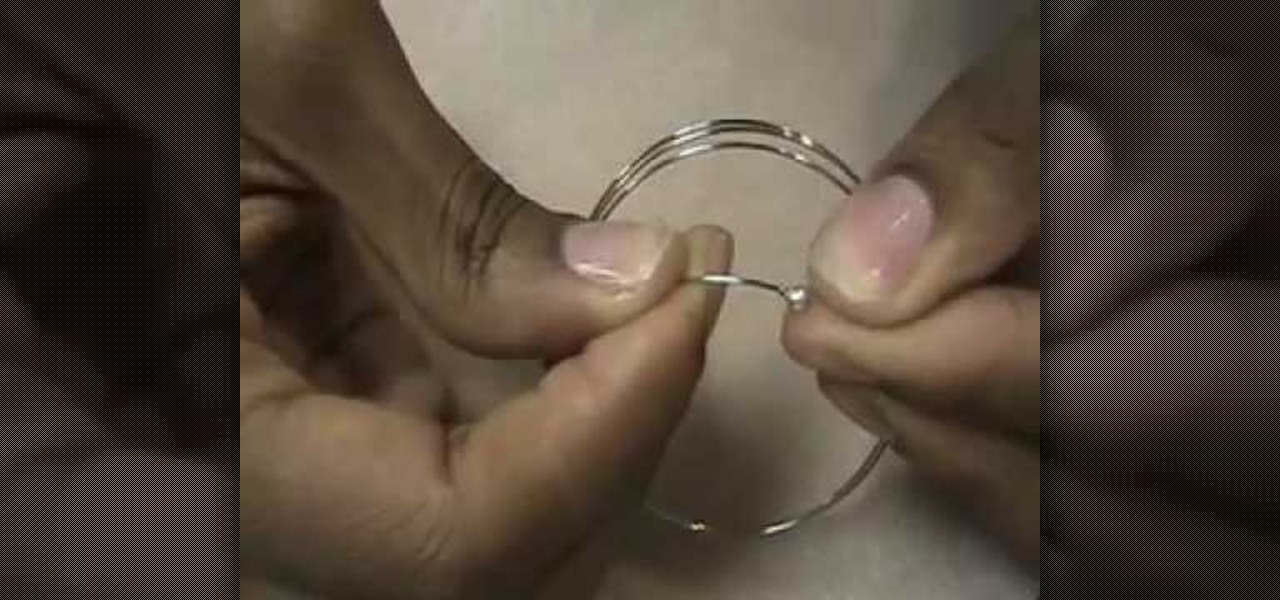
Make fine silver ball earring wires
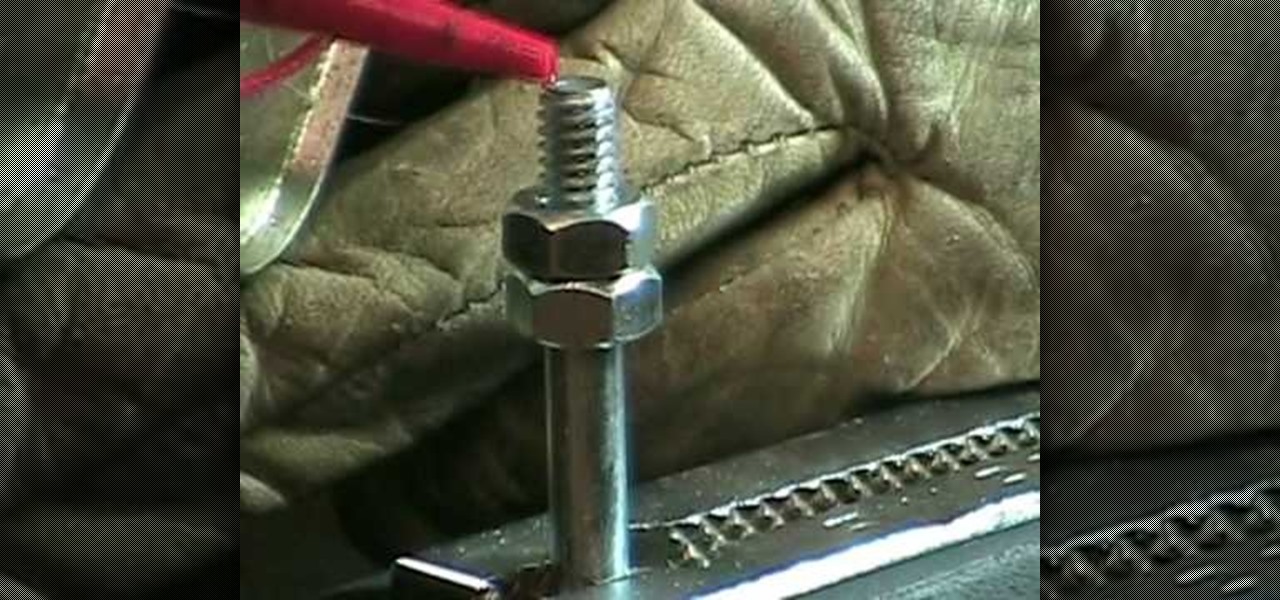
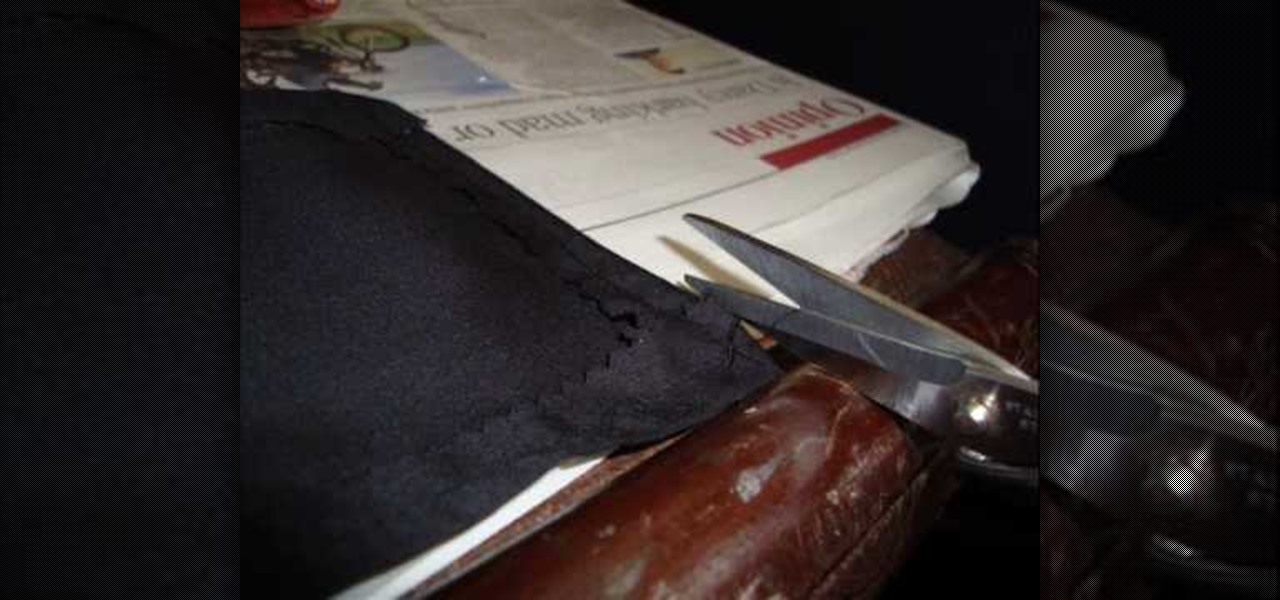
In this video tutorial, viewers learn how to cut a bolt and save the threads. The materials required for this task are: a hacksaw, steel bristle brush, bolt cutters, wrench, oil and a filer. Begin by putting some oil onto the threads of the bolt. Then place the saw on the desired groove and cut across through the thread. Now brush it with the steel bristle brush to remove the debris. Finish by removing the excess metal with the filer and unscrew the bolt(s). This video will benefit those view...
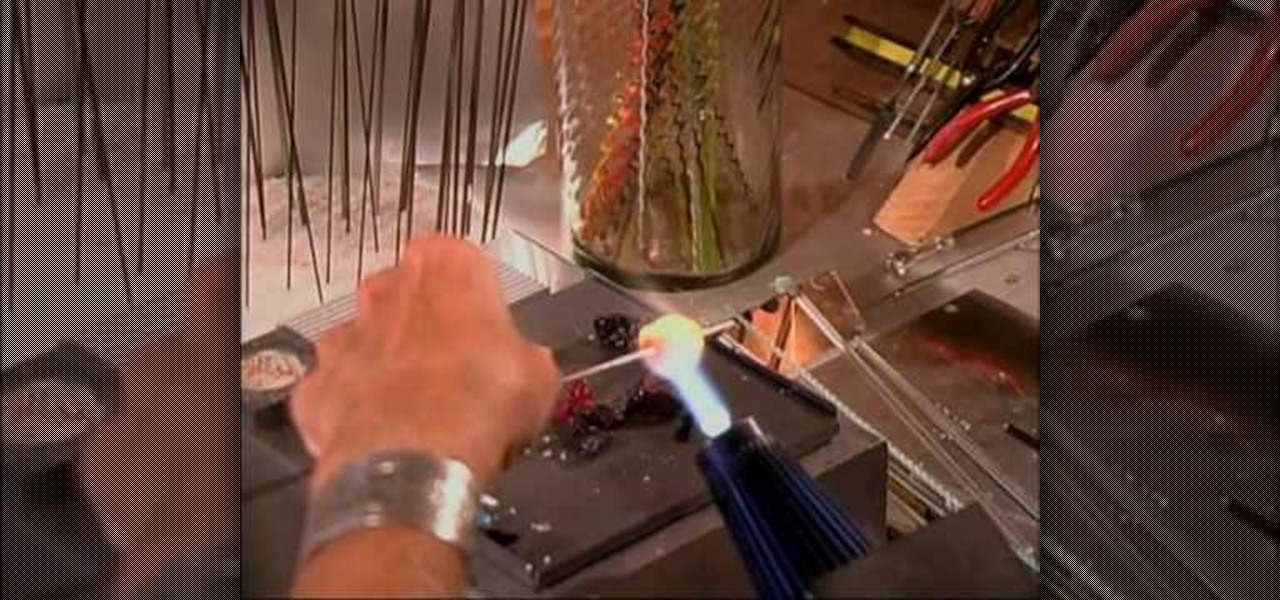
One of the coolest beading effects is the kind that suspends various materials - from flowers to Latticinos - in a clear glass case. Swirled or marbeled shapes can also be added for interest, but either way the resulting work is like looking into a prehistoric block of amber and peeking around at such curious fragments.
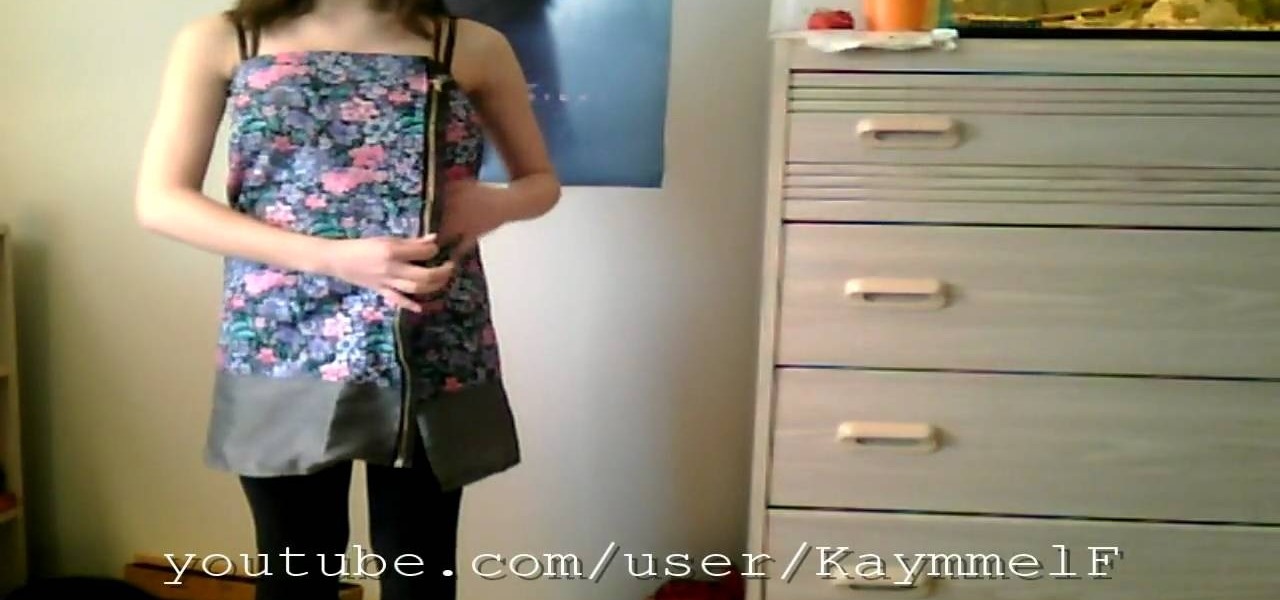
You really can't go wrong with florals and zippers. The two fashion trends are indeed opposites, with florals being overly dainty and zippers being more punk rock, but when you combine them together you achieve a striking balance.

If your son or daughter is planning on making a diorama for a classroom project or just because, making a cool water feature can be a great idea. Using real water may be fine and all, but if you want to prevent any kind of mess from happening, you can build one using materials that give a water like feel. So in this tutorial, you'll be finding out how to make a diorama waterfall from scratch. It's great for dioramas and is sure to be a much better fit than actual water. So good luck and enjoy!

In this video tutorial, viewers learn how to make a Mediterranean blue bracelet. The materials required for this project are: memory wire, Mediterranean Czech glass bead mix, 4mm sea side mix Czech fire polish round beads, wire cutter, super glue, bead stopper and 2 3mm memory wire end caps. Begin by cutting 3 1/2 clamps of wire and glue one memory wire end cap to the end of the wire. Then string the beads. Users may decide to make a repetitive pattern with the beads or randomly string the be...
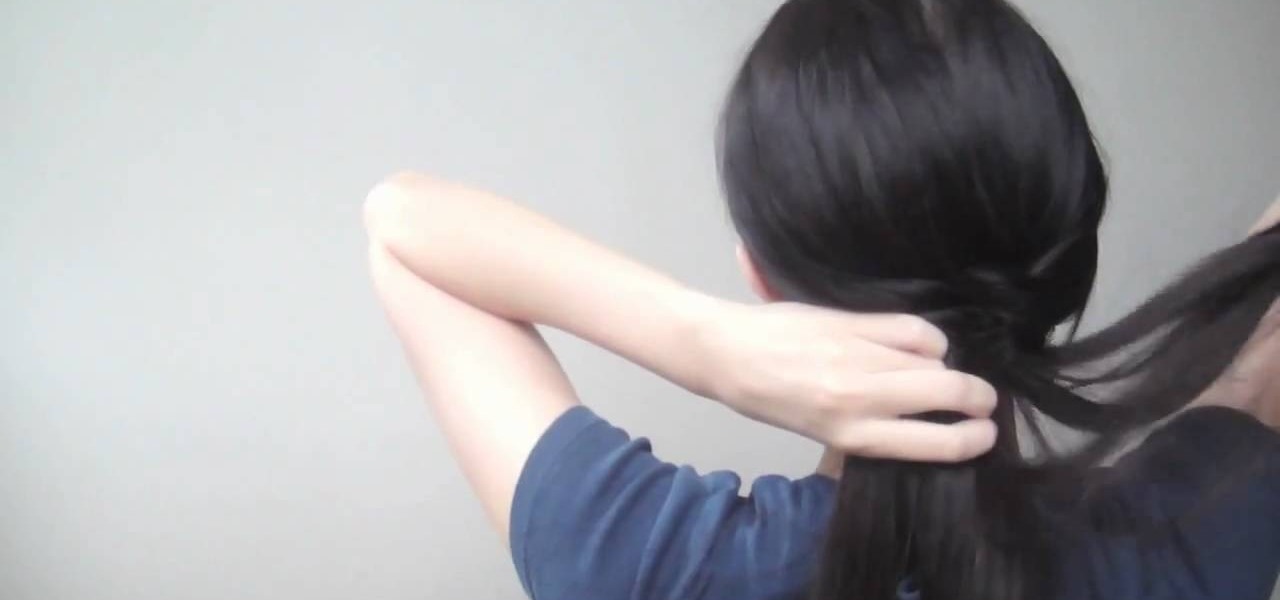
Fishtail braids are really not much different from your typical braids, only that they trail off from being thick at the top to very thin and delicate on the bottom (yes, like a fish tail). But this one feature is what makes them infinitely more elegant and romantic than the typical braids we wore in 5th grade.
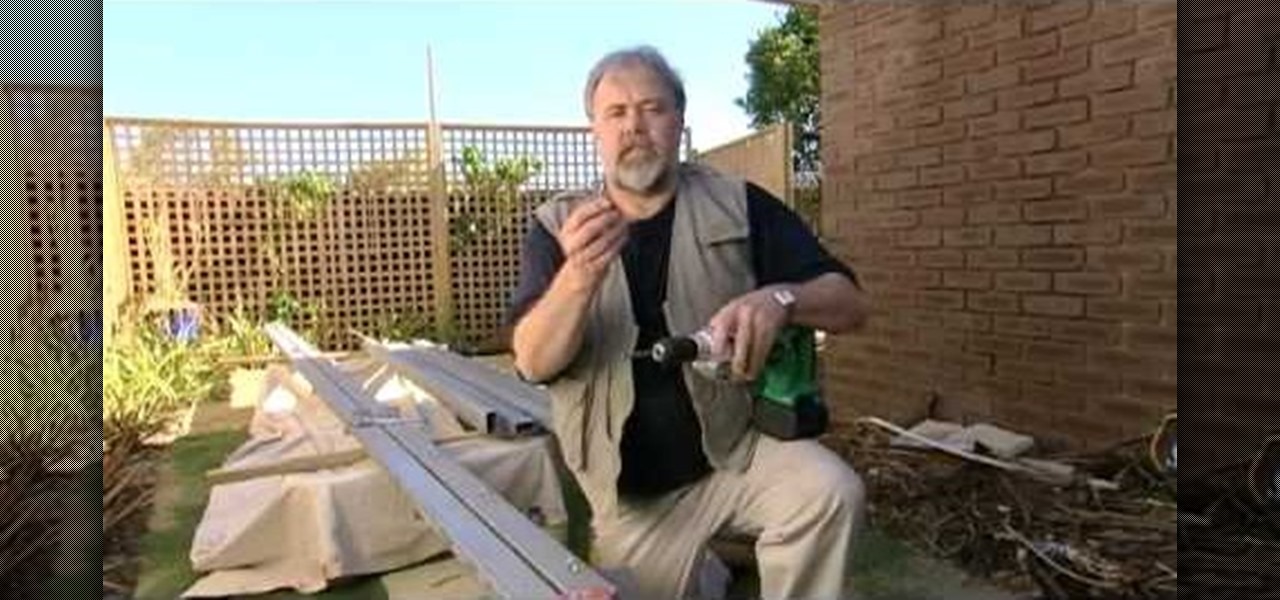
If you enjoy spending time outside, but can't stand being in the sun for too long, you have a bit of a problem. Buying patio furniture or an umbrella is a good idea, but it can be a pain lugging it around, especially if it's not weatherproof. Another great option is creating a shade cloth.
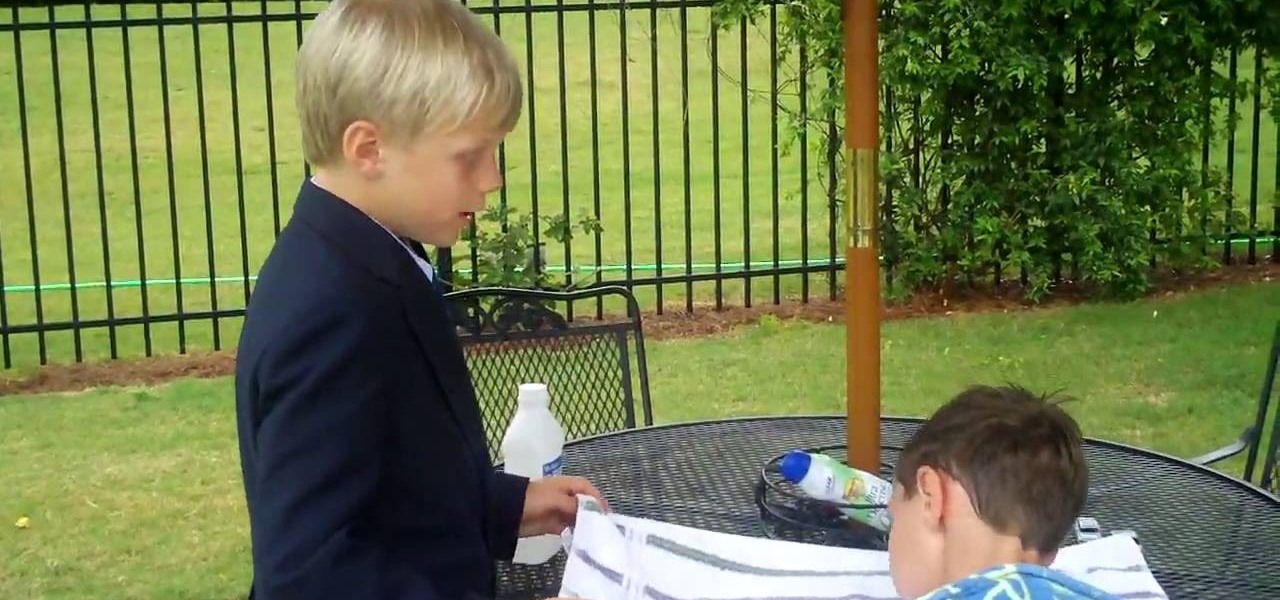
In this video tutorial, viewers learn how to get water of their ear. The materials required for this task are a towel and rubbing alcohol. Begin by laying out the towel on a table. Then place the head on the towel and cover part of the towel over the face. Have another person pour the alcohol into the bottle's lid and then pour it into the patient's ear. Now move the ear and wait for several seconds. Then turn the head over. This video will benefit those viewers who enjoy swimming, and would ...
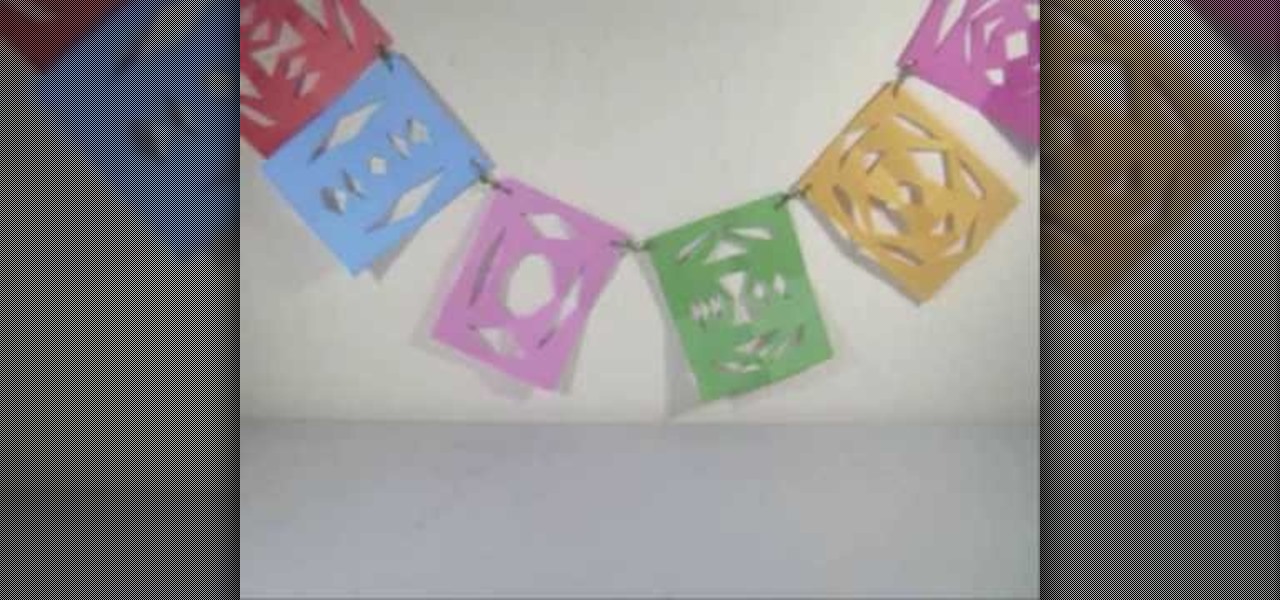
In this video tutorial, viewers learn how to make a colorful paper banner. This task is very easy, fast and simple to do. The materials required for this project are: construction paper, yarn, scissors and a hole puncher. Begin by folding the construction in half. Then fold it in half on again. Now cut pattern on the side edge of the paper and repeat this process for additional paper. Open the paper to reveal the symmetrical cut out pattern. This video will benefit those viewers who are inter...
Who knew that that mess of random old clothes and knick knacks piled on your bedroom floor that makes it seem like a tornado just rolled on through could actually help you clean up the mess? Often when we see such clutter (and actually decide to do something about it) the natural and easy thing to do is simply to pick up the junk and toss.
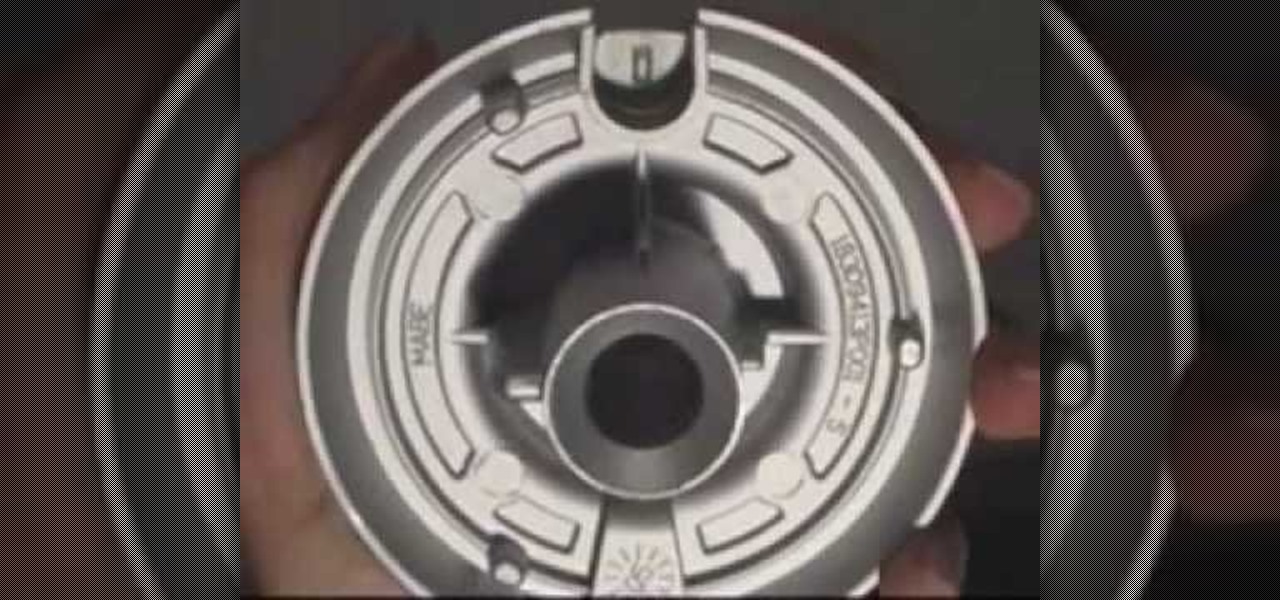
If you're range burner isn't working properly, there may be a number of reasons for this. One of the most obvious and easiest problems to take care of, is that it might be clogged. Overflowing liquids and other food materials can get into the burners and cause them to become clogged. This leads to an insufficient working burner that needs to be fixed soon.
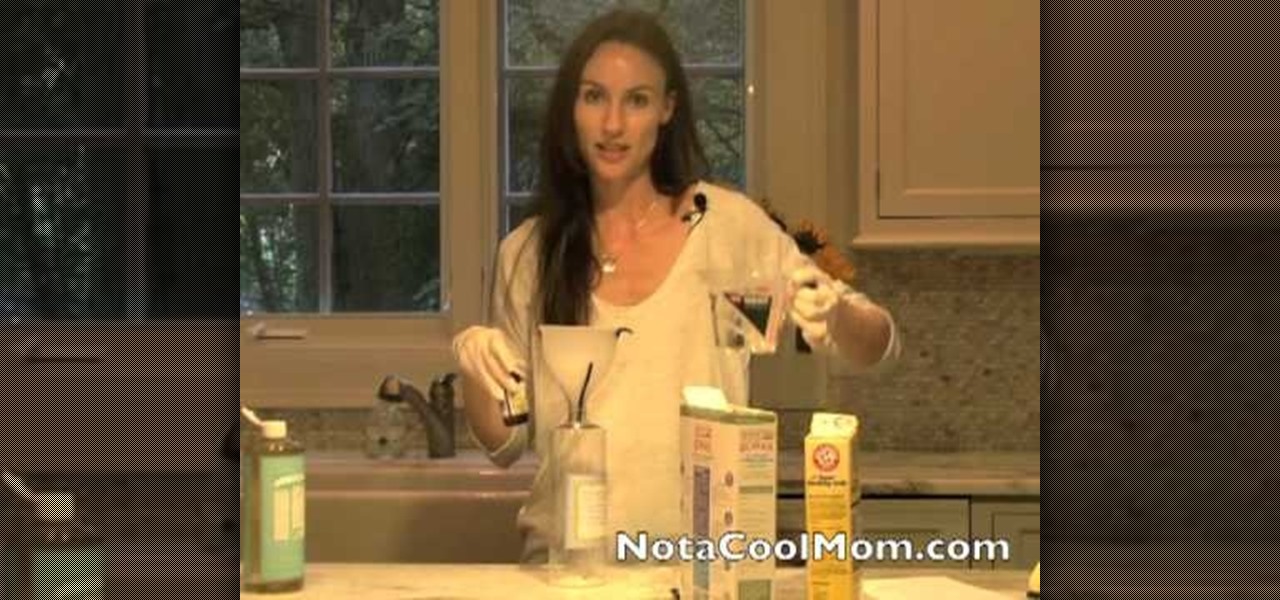
If you've just ran out of all purpose cleaner, hold on to your waller for just a couple of minutes. Most of the all purpose cleaners, or any cleaner for that matter, contains chemicals that can be harmful for you and others. Not only that, but it produces more trash that can easily be avoided. How so? By making your own stuff from scratch.
If you use Windex or any other window cleaning product, you may be exposing yourself, or others, to harmful chemicals. Many cleaning products that are sold in supermarkets, contain harmful chemicals that are not good and certainly not good for the environment.
This is what we'd call a hybrid craft if we've ever seen one. Using a rubber stamp on a cake does sound kind of strange (they usually go on paper, right?), but as long as these stamps are new and unused, they actually function really great for decorating on fondant.
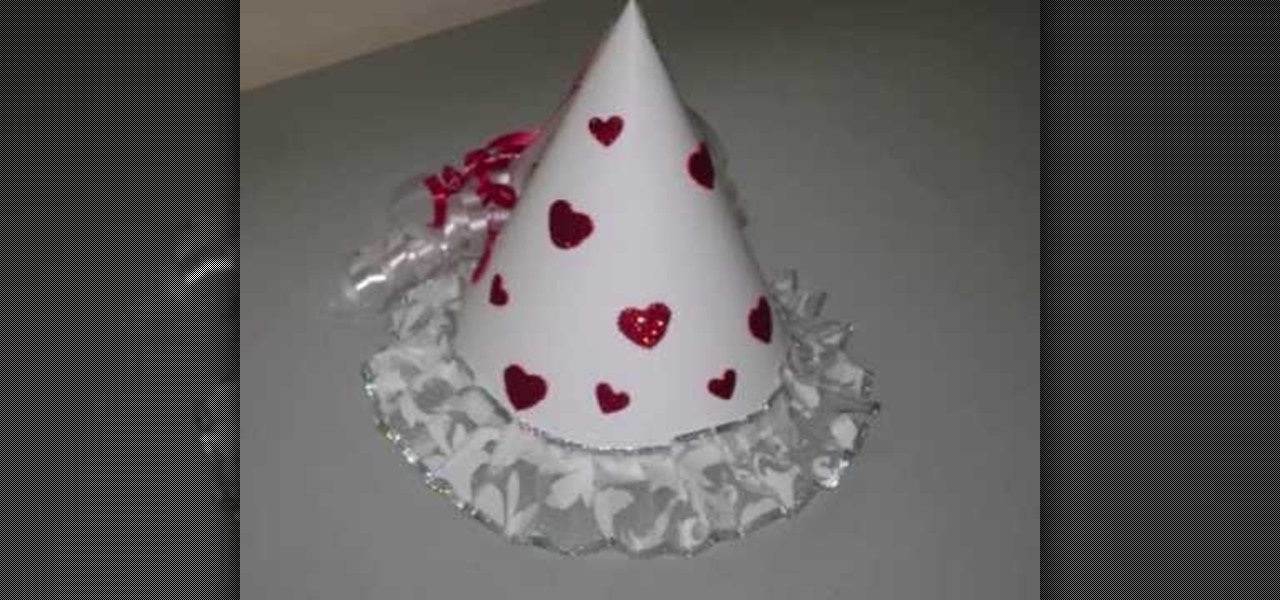
In this video tutorial, viewers learn how to make a fairy princess hat. The materials required for this project are: white cardboard/postcard, glitter stickers, glue, white lace/ribbon, red and white thin plastic ribbons and scissors. Begin by folding the white cardboard into a cone shape and glue it together. Trim the bottom of the cone. Then scrunch the lace ribbon to an accordion style fold and glue it to the bottom of the cone. Now decorate the cone with stickers or paint. Then glue the r...
In this video tutorial, viewers learn how to make a pinhole lens for a digital camera. The materials required for this project are: a camera body cap, X-acto knife, black tape, small drill bit, sewing needle and sand paper. Begin by marking the center of the body cap . Then drill a hole in the center and punch a tiny hole in the center of the sheet metal. Now cut around the sheet metal and sand it flat. tape the metal piece inside the cap and darken it with ink. This video will benefit those ...
Fortune cookies are quite ephemeral things. You break 'em open after a nice meal of Americanized orange chicken and broccoli and beef, start overanalyzing your fortune that "your relationship will take an unexpected turn," and then chomp down on the delicious wafer as you contemplate if he really is The One.
Knitting when you're sitting at your table is usually a cinch, since you can rest your elbows on the table when you're tired and also place your knitting needles and yarns closeby within reach. But staying in one place all day long can be boring.
In this tutorial, we learn how to make ring skirts. First, cut out for 22.5 x 5.5" shapes out of black polyester. Next, cut a 21.5" x 4.5" rectangle out of cardboard. After this, iron down all your shapes so they are flat, then place the cardboard on the other shapes so you can see material sticking off of four sides equally. Next, fold the excess fabric onto the cardboard and then iron it down, then pin it on all sides. After this, sew the sides with a sewing machine and remove the pins. Do ...
In this tutorial, we learn how to build the perfect campfire. It's important to consider the materials, it's impossible to take a lighter and light a large piece of wood. You want to start the fire small and build it large. Think about the wood you will be using, which will decide if you are going to cook on it or need it for warmth/light. Birch bark is great for a base layer. Cinder is perfect to place on top of the birch, then add in larger pieces of wood as you create a bigger fire. When y...
In this tutorial, we learn how to increase your Wi-Fi signal with a coffee can. Materials you will need are : a knife, a coffee can, tape, USB Wi-Fi adapter, and marker. First, measure 1 inch from the bottom of the coffee can then trace your USB around that mark. Now, cut a hole in that shape in the can. Next, cover the hole with your tape. Next, hook your USB up to your cable adapter, and then place it in the coffee can. Now, plug your USB into your computer and you should have more signals ...
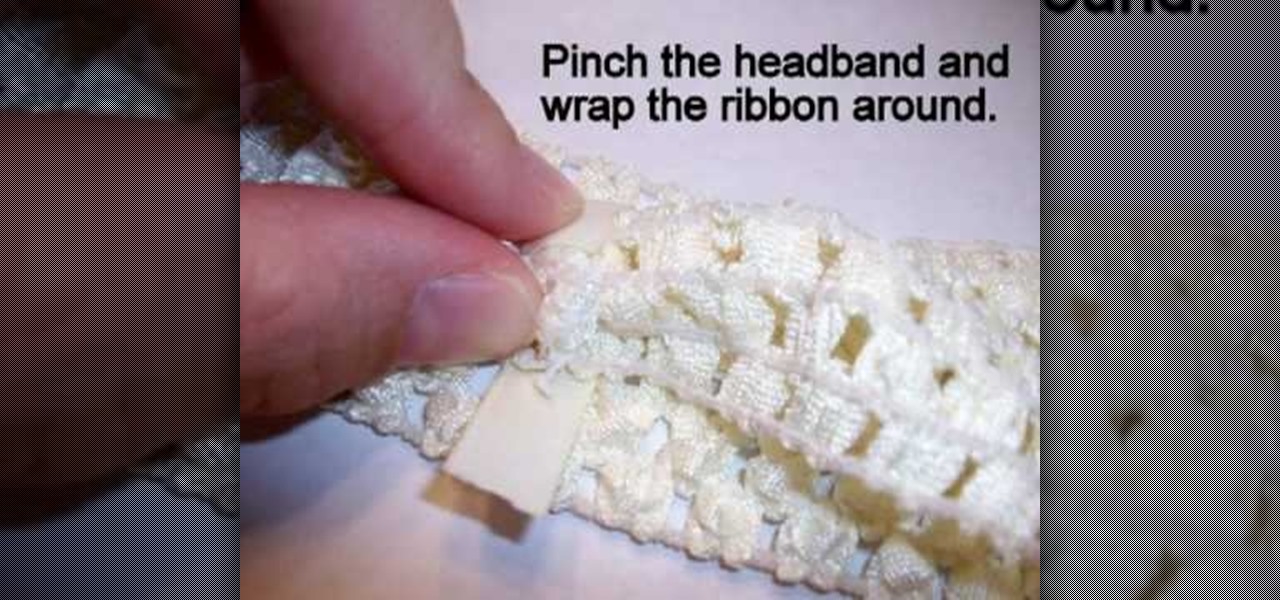
In this video tutorial, viewers learn how to make an interchangeable headband. The materials required for this project are a crochet headband or hat and 1-3/4" of 3/8" ribbon. Begin by turning the headband inside out. Then place a small dot of hot glue onto the center of the seam and glue on end of the ribbon to the seam. Now pinch the headband and wrap the ribbon around and place a dot of glue on the ribbon. This video will benefit those viewers who enjoy making crafts and homemade accessori...
Whenever a new project comes their way, many people tend to go out to the store in order to buy all the parts they need instead of checking what they already have. This can be costly and can easily be avoided if they do find certain items lying around the house.
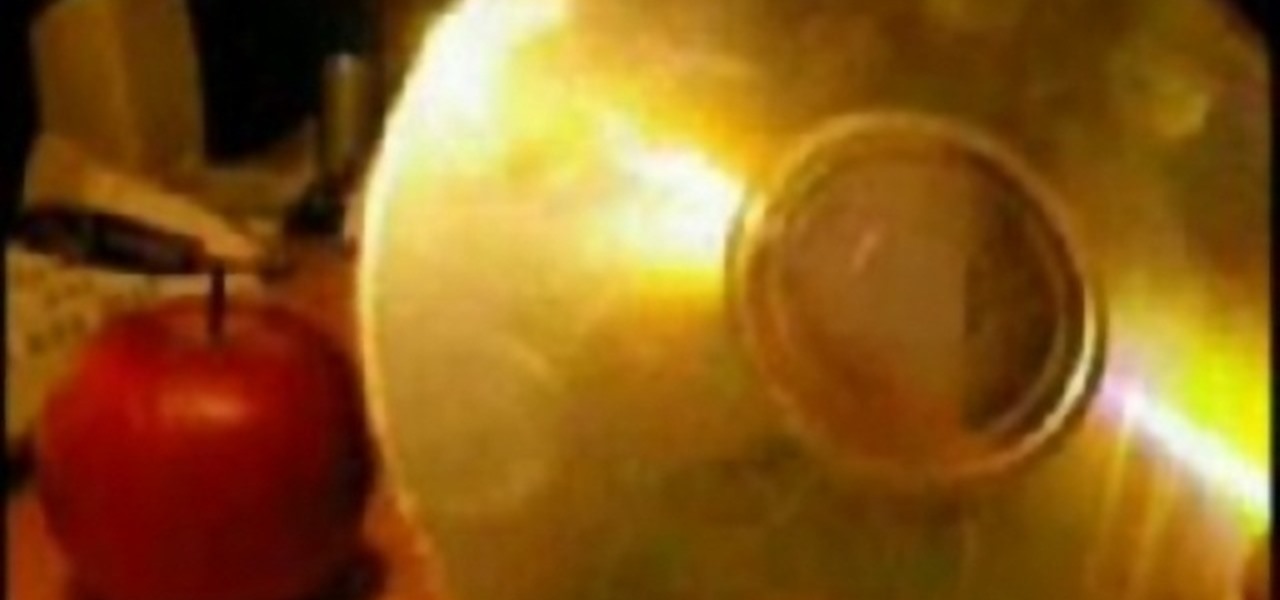
In this video tutorial, viewers learn how to remove CD/DVD scratches with an apple. This task is very easy, simple and fast to do. The material required for this task are an apple and cotton wool. Begin by butting the apple in half and apply the fresh apply onto the scratches part of the disc. Remember to rub gently on the disc. This should be done for 5-10 minutes. Now take the cotton and wipe the disc dry with it. This video will benefit those viewers who have a scratched CD/DVD, and would ...
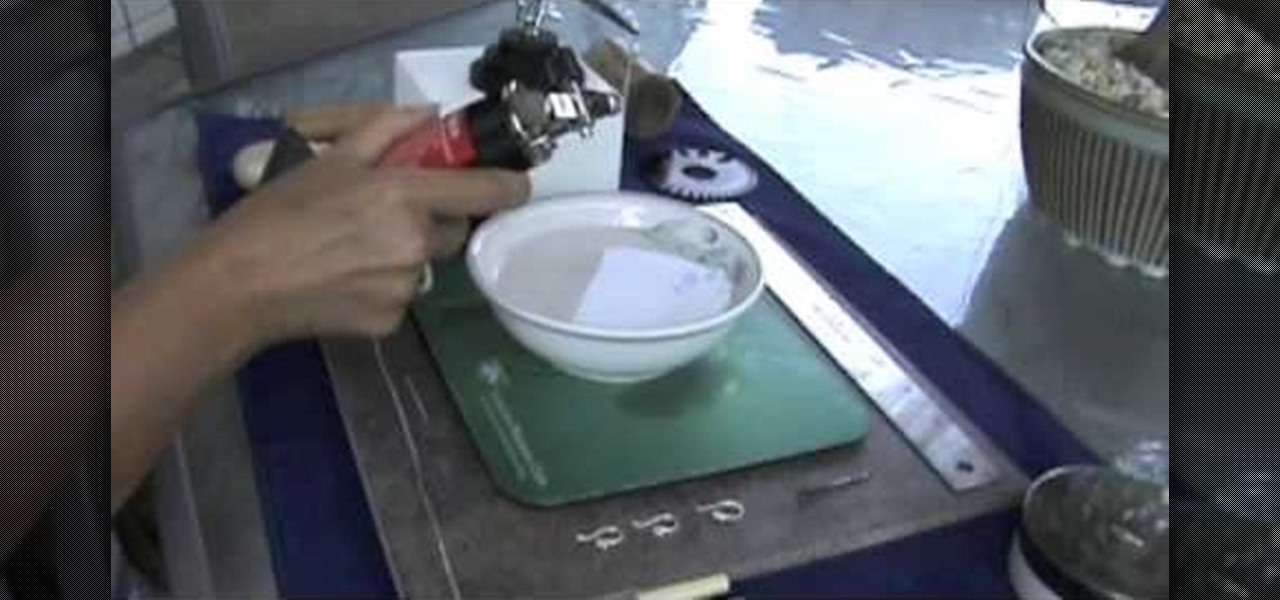
In this video tutorial, viewers learn how to easily clean sterling silver. The materials required for this task are: ceramic or glass bowl, tablespoon, hot water, baking soda and aluminum foil. Begin by crumpling up the aluminum foil and place it at the bottom of the bowl. Then place 1-2 tablespoons of baking soda on top of the foil. Now fill the bowl 3/4 full of hot tap water. Then place the sterling silver into the bowl and leave it in for about 5 minutes. This video will benefit those view...
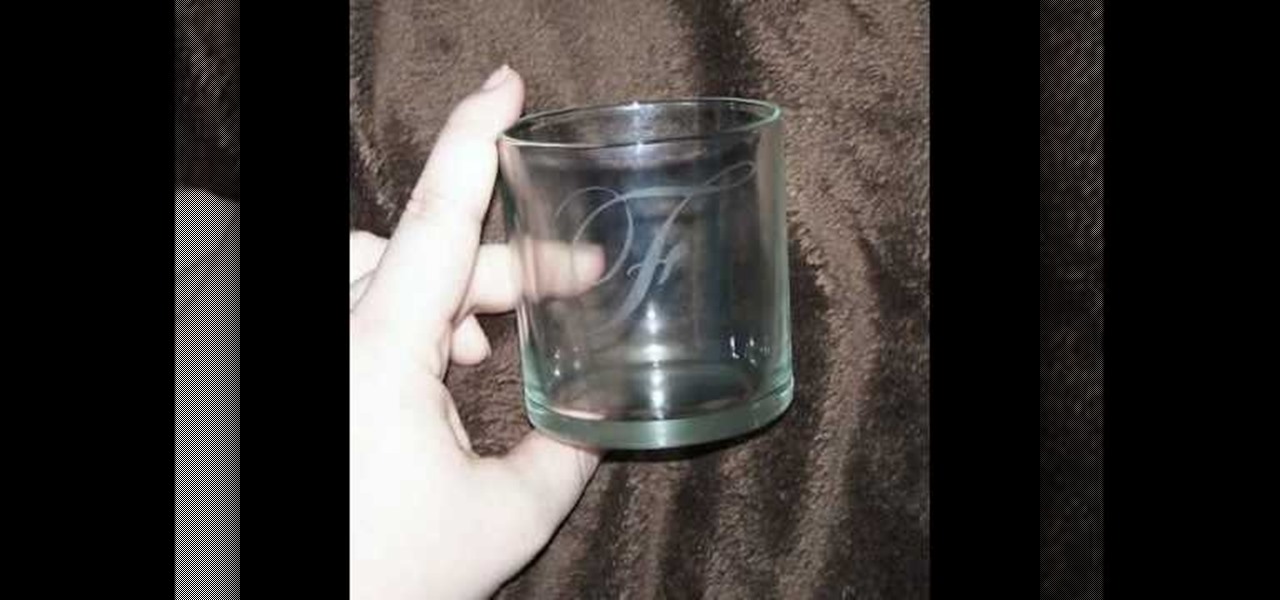
In this video tutorial, viewers learn how to etch glass in 5 minutes. The materials needed for his procedure are: contact paper, Armour Etch and a paintbrush, glass and a sink. Begin by cutting the contact paper face up on a circuit mat. Cut it on medium speed and pressure. Then put the contact paper on glass. Work carefully to prevent any wrinkles and bubbles in the design. Now put the etching cream on in a dabbing motion. The etching cream will not run into areas that are not stuck down. Fi...
In this video tutorial, viewers learn how to make a sawed0off shotgun. The materials required for this project are: hot glue gun, duct tape, cardboard, utility knife, black marker, spray paint and 2 paper towel rolls. Begin by tracing a shotgun outline onto the cardboard. Make 6 layers and glue all the layers together. Then smooth the edges with sandpaper and tape the outside with some duct tape. Now tape the 2 paper towel rolls together and tape it on top of the shotgun. Finish by painting t...
In this video tutorial, viewers learn how to clean a Hummel figurine. The materials required for this task are: light fluid or ammonia, warm water soft cloth and a toothbrush. Begin by mixing the fluid into some warm water and dipping the cloth into the water. With the wet cloth, apply it onto the figurines and rub it gently. If you can't remove the stubborn spot, use the toothbrush and clean in a back-and-forth or circular motion. This video will benefit those viewers who collect Hummel figu...
In this video tutorial, viewers learn how to make a stencil. The materials needed for this project are: contact paper, scissors and a pencil. Begin by drawing the design, shape letter or number on the contact paper. Make sure to draw the stencil on the back of the paper and make it reversed. When finished drawing, carefully cut out the design. To use it, simply peel off the invisible paper and place it onto the surface of the artwork. Then trace over it. This video will benefit those viewers ...
In this video tutorial, viewers learn how to build a green screen. The materials required for this project are: two 10 ft long PVC pipes, measuring tape, saw, duct tape and pipe elbows and couplings. Begin by marking the two PVC pipes with 6 ft on one side and 4ft on the other. Then cut the PVC pipes in half. Now connect the frame together with the pipe elbows and couplings. Build support to the fame by adding some duct tape. Finish by attaching the green cloth on the frame and tape it at the...
In this tutorial, we learn how to craft a pom-pom ladybug with your kids! The materials you will need are: 1 large red pom pom, 1 medium black pom pom, 1 pipe cleaner, 2 googly eyes, and one piece of lace. Start off by gluing the black and red pom pom's together with a hot glue gun. Next, use a hot glue gun to glue the googly eyes onto the black pom pom. Now glue black pipe cleaner around the red pom pom to make a stripe on the back of the ladybug. cut the pipe cleaner into little round shape...
In this tutorial, we learn how to work with memory wire to make jewelry. This is a coil material that remembers its shape and comes in a variety of different sizes. First, decide how thick you want your jewelry piece to be, then cut the excess wire with wire cutters. Next, apply a drop of superglue to one end of the coil followed by a Memory Wire end cap and let dry. Now, string your beads onto the wire. When finished, put a bead stopper onto the wire and apply glue to the very end with anoth...
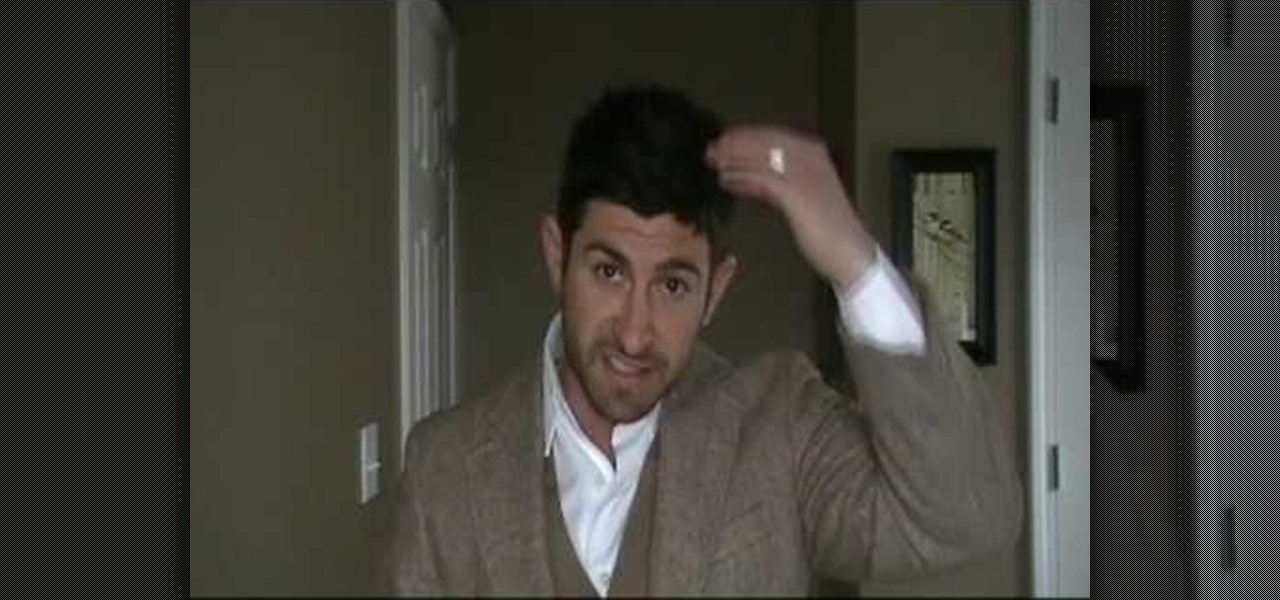
In this video, we learn how men can wear hats correctly. Hats are a great way for men to "up" their style and set them apart from other men. When wearing a baseball cap, remember to not spin your hat at different angles, because this will make you look more stupid than if you were to wear it normally. If you're trying to impress somebody, don't wear a baseball cap. If you would like to wear a fedora, you can experiment with different materials to coordinate with different types of outfits. Th...
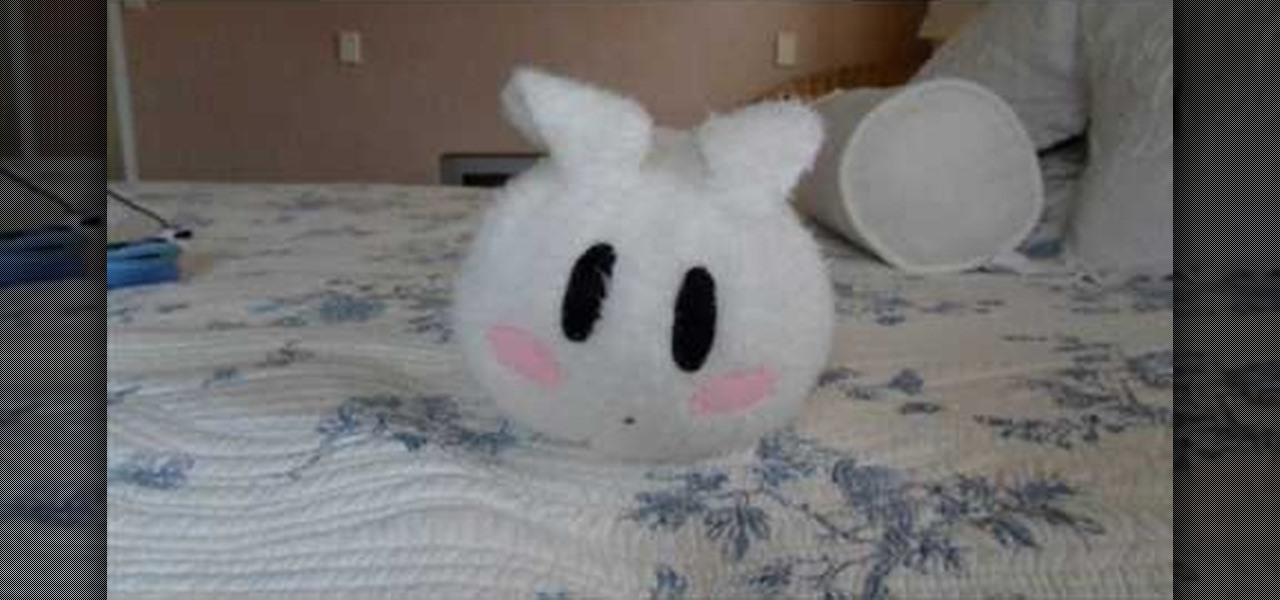
Want to know how to make the most adorable pillow in the world? Then you've stumbled upon the right tutorial. This video will guide you through how to sew together a blasphemously cute round rabbit pillow with eyes done in the anime style.
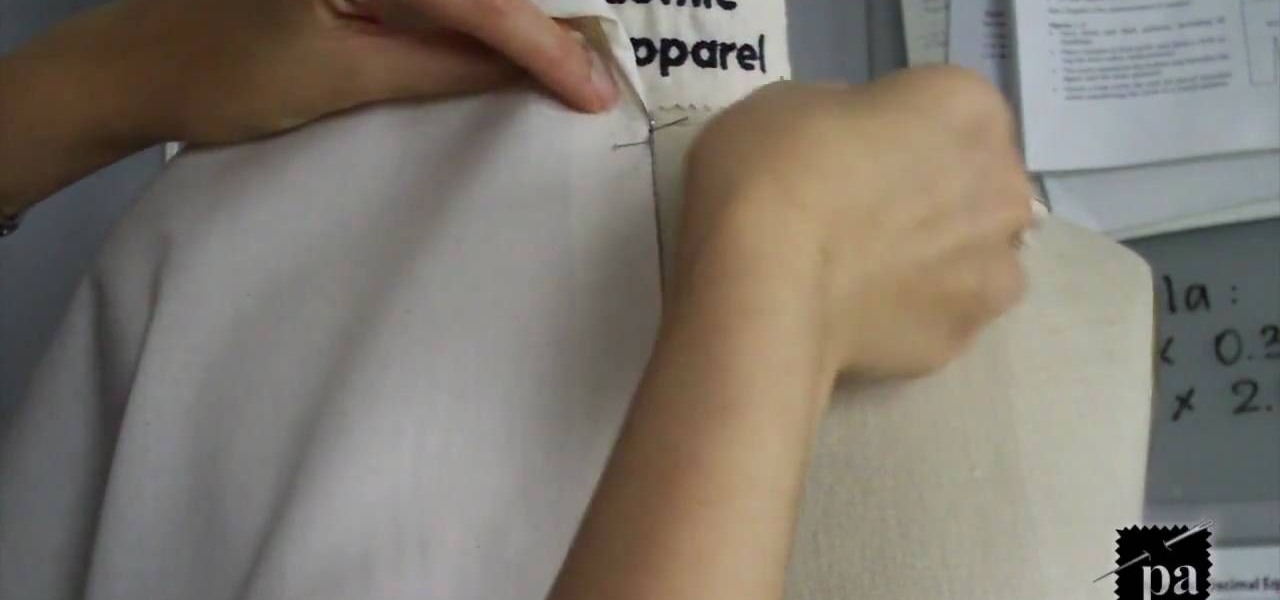
For beginners, sewing can be a confusing a difficult hobby that requires patience and the right tools. Whether you're adding a button on a shirt or creating a dress from scratch, being detailed and precise is important.
In this time of economic uncertainty, trying to save money is more important than ever. There are many ways that this can be done, and one is by making your own clothes. This can be achieved using materials that can cost less than regular clothing found in stores.
If you are looking to create something that will keep the cold air out and the warm air in, a draft stopper may be a good idea. It's a great alternative to buying weatherstripping and can be made from scratch in your home.
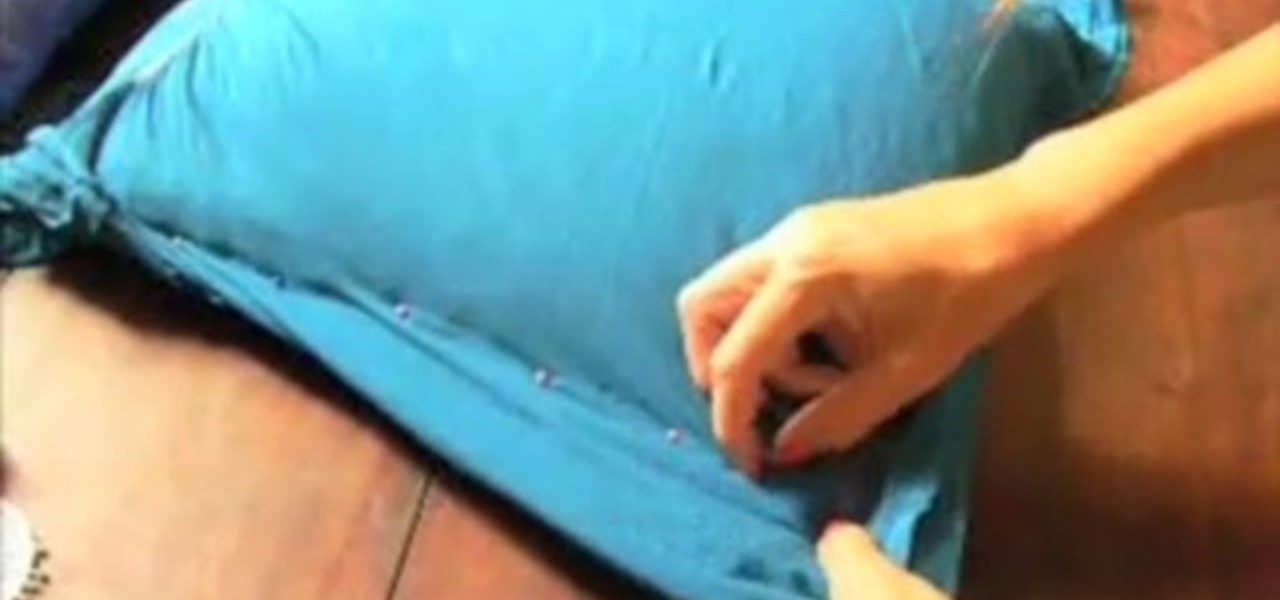
In this video tutorial, viewers learn how to turn a t-shirt into a pillowcase. The materials required for this project are: a pillow, a shirt (that fits over the pillow), pin, needle, thread, decorative trim and a sewing machine. Begin by flipping the shirt inside out and slip in the pillow. Position the pillow to how you want it and pin down along the sides to hold it. Now stitch the shirt together along the pin points. Trim off the extra fabric, leaving a 1/2" at the seam. Fold the bottom a...