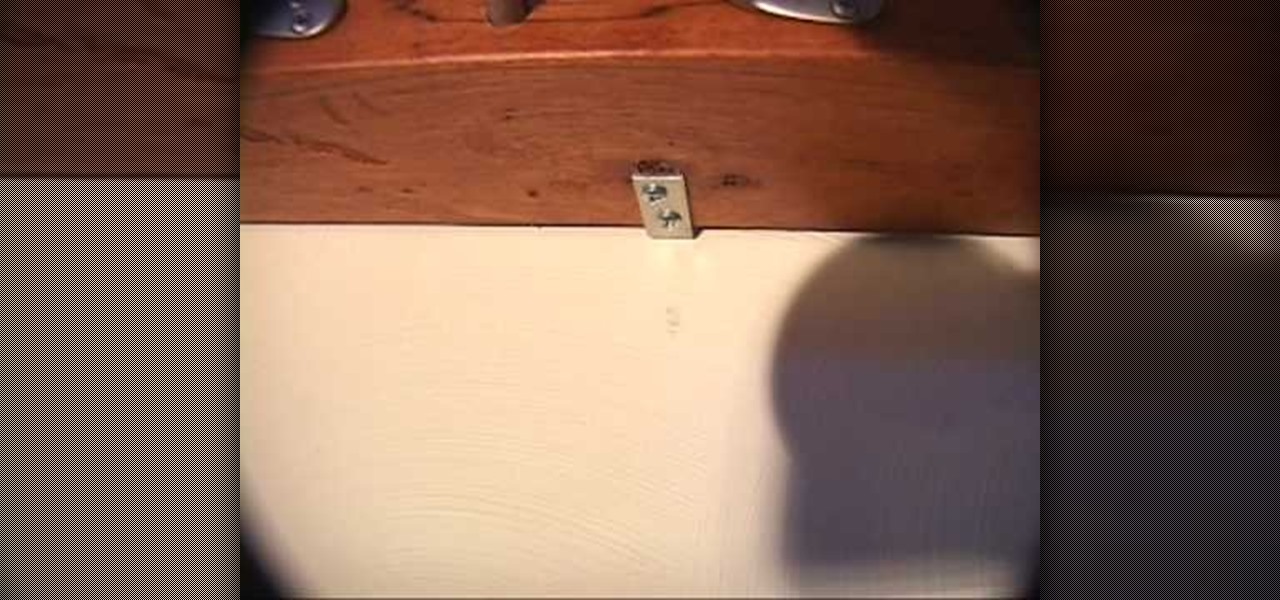
In this video tutorial, viewers learn how to make a juggling prop rack. The materials required for this project are: 2x4 pieces of lumber with proper length and space for the props, L-brackets, drawer pulls and trim. The 2x4 pieces of lumber are the shelves that will hold up all of the props. The L-brackets will mount the racks onto the wall. The drawer pulls will specifically hold clubs. The trims will decorate the shelf and provides re-enforcement. This video will benefit those viewers who ...
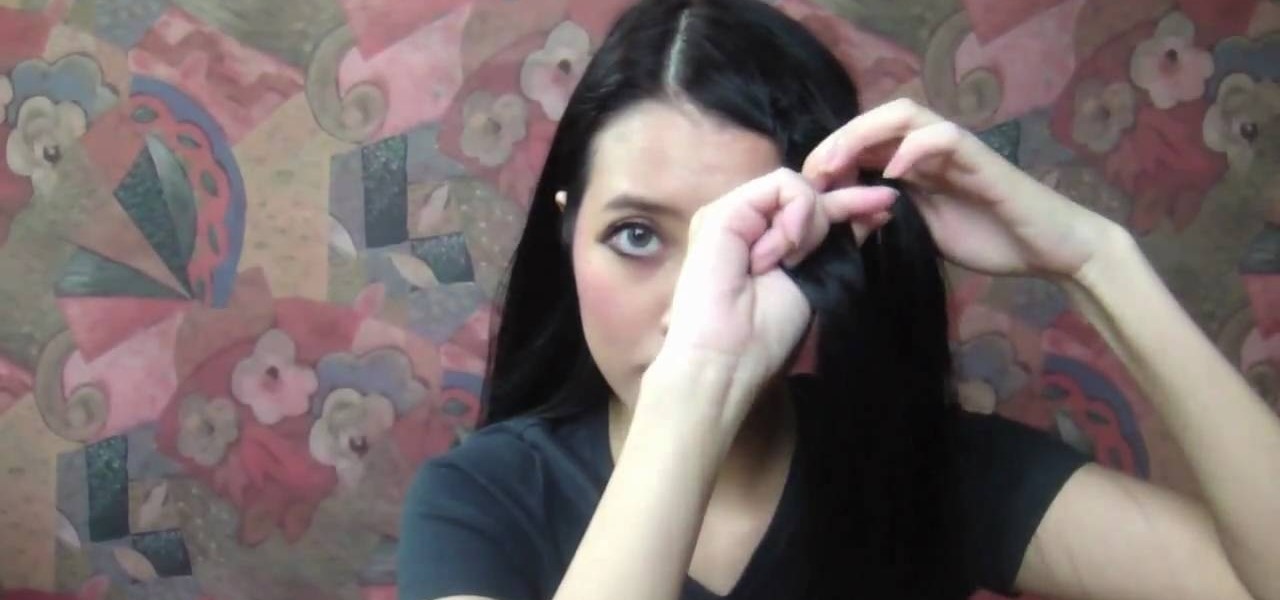
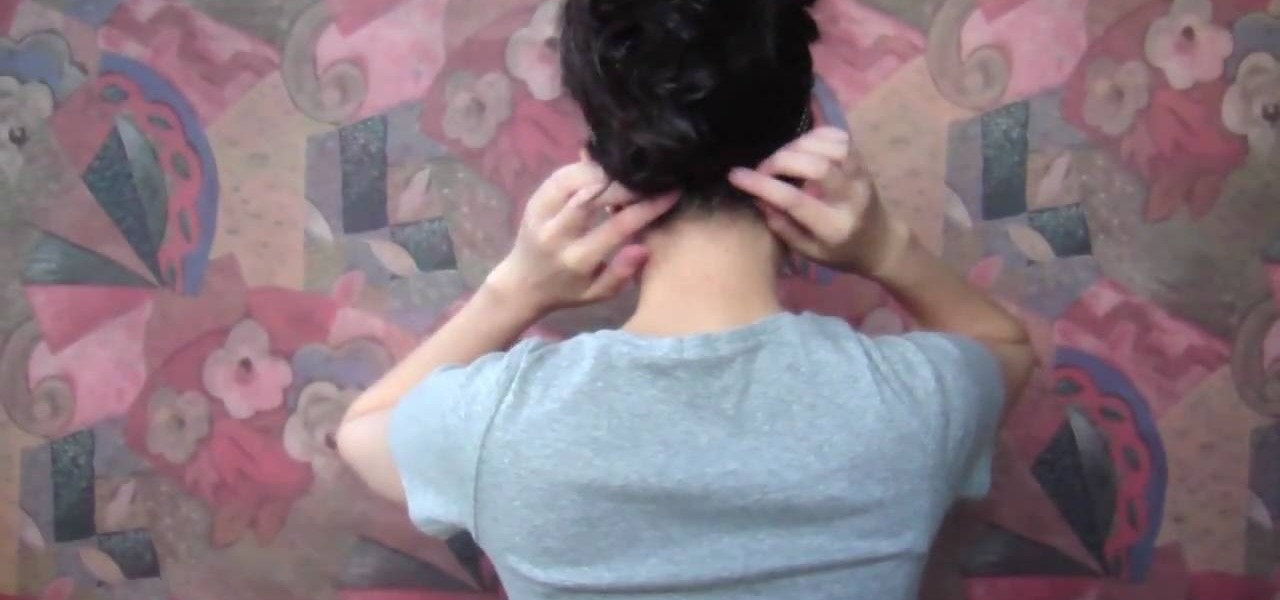
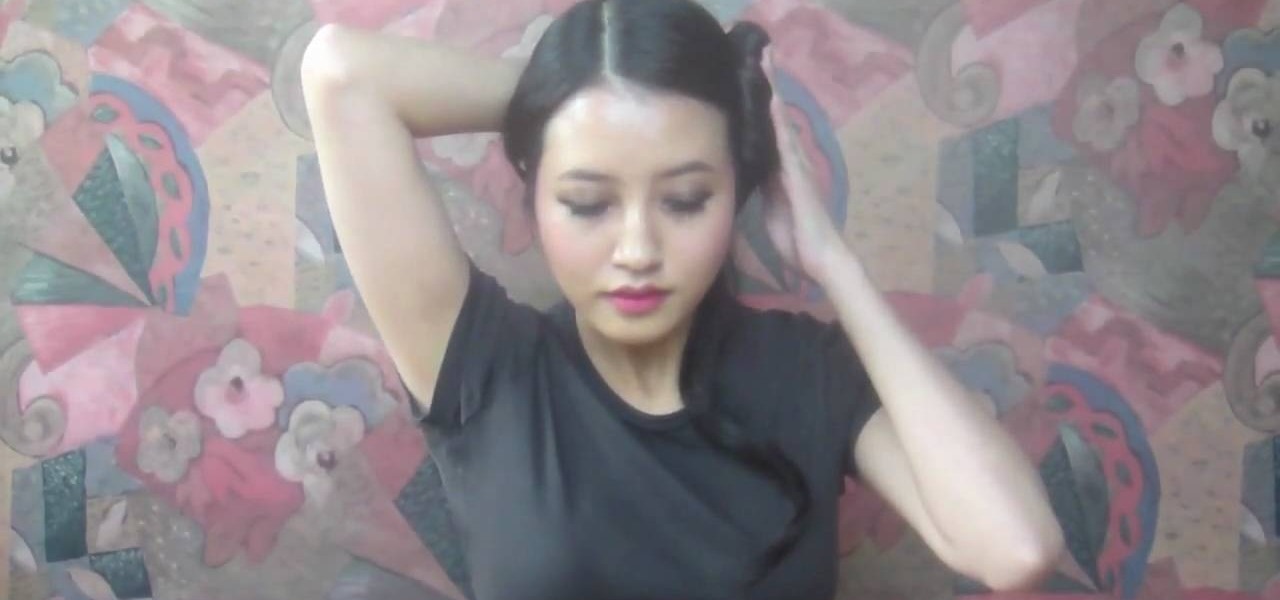
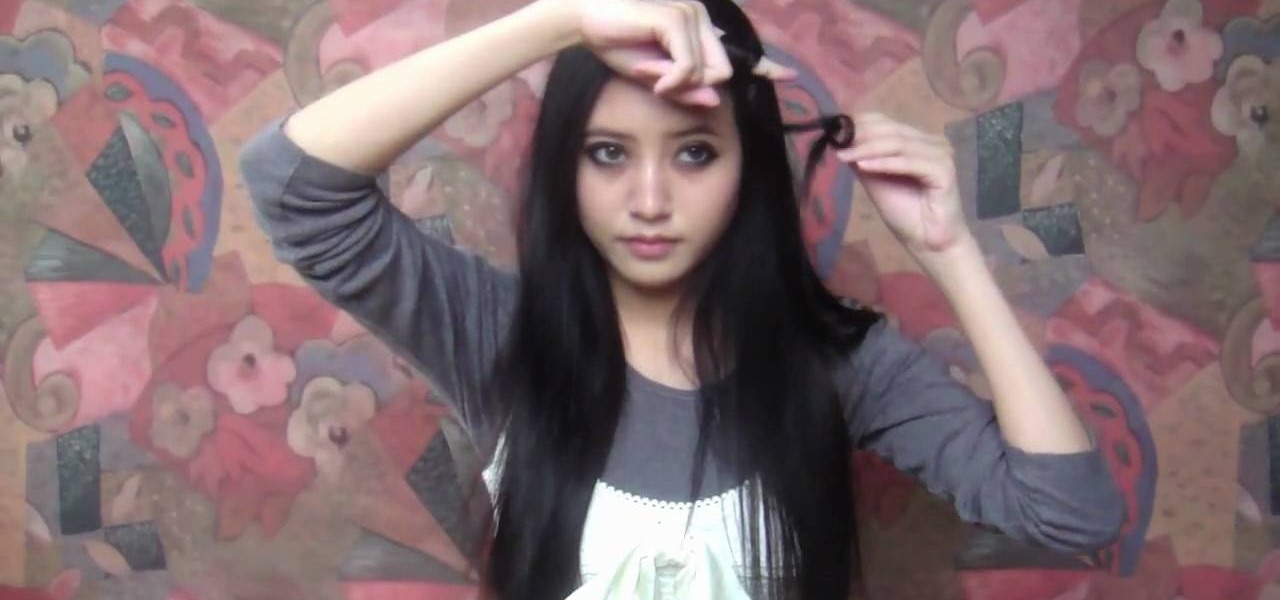
We love this hair tutorial because it teaches you how to create the equivalent of a cinnamon bun on the side of your head. A Dutch braid is basically a braid that you swirl around and around itself in order to form a circular shape. While doing this on both sides of your head would be a little much (we're not going for Princess Leia here), opting for just a single Dutch braid on one side.
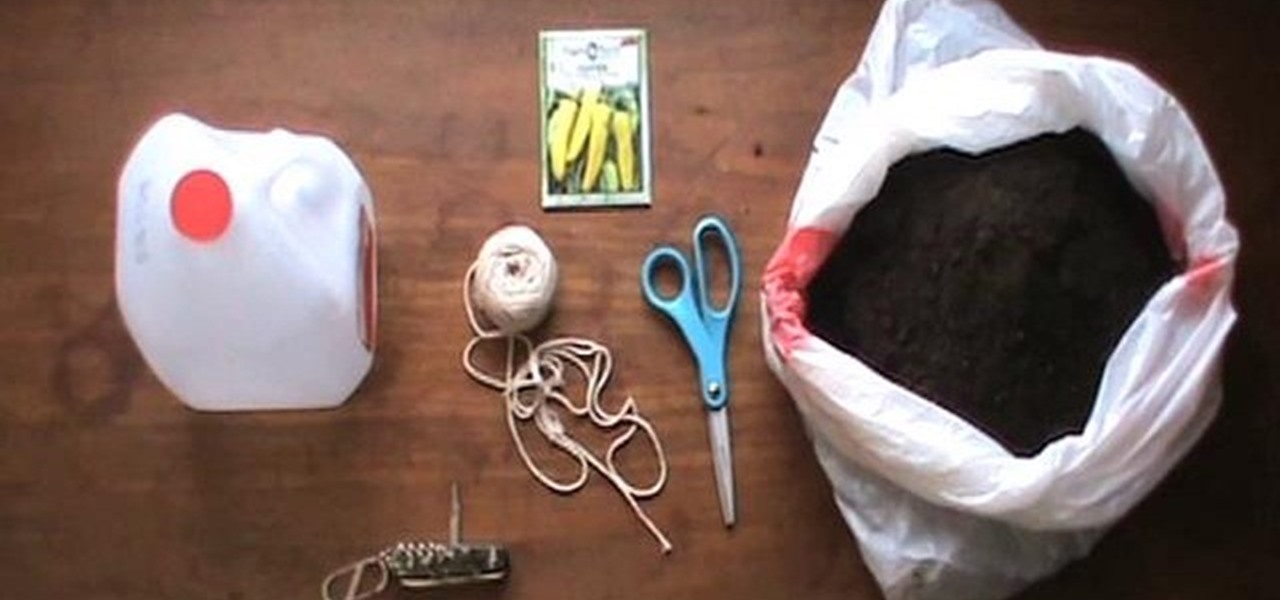
If you're new to gardening and have a limited amount of space, then container gardening may be for you. It's easy to do and doesn't require a ton of different materials. If you already have a container garden, then this next tutorial is for you.
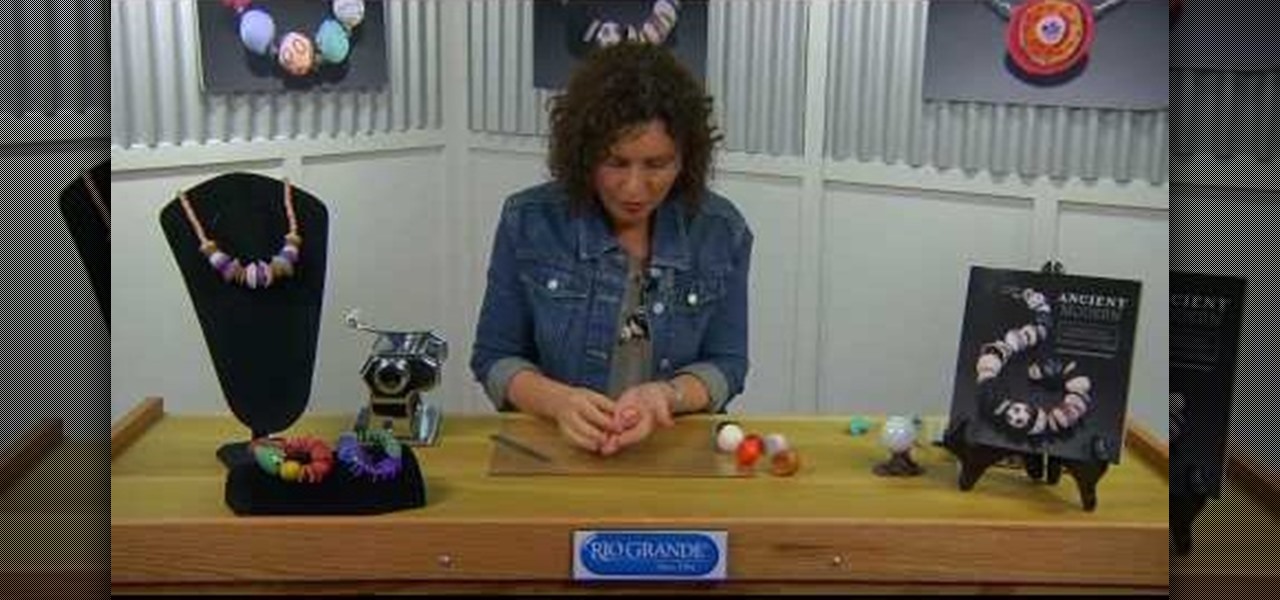
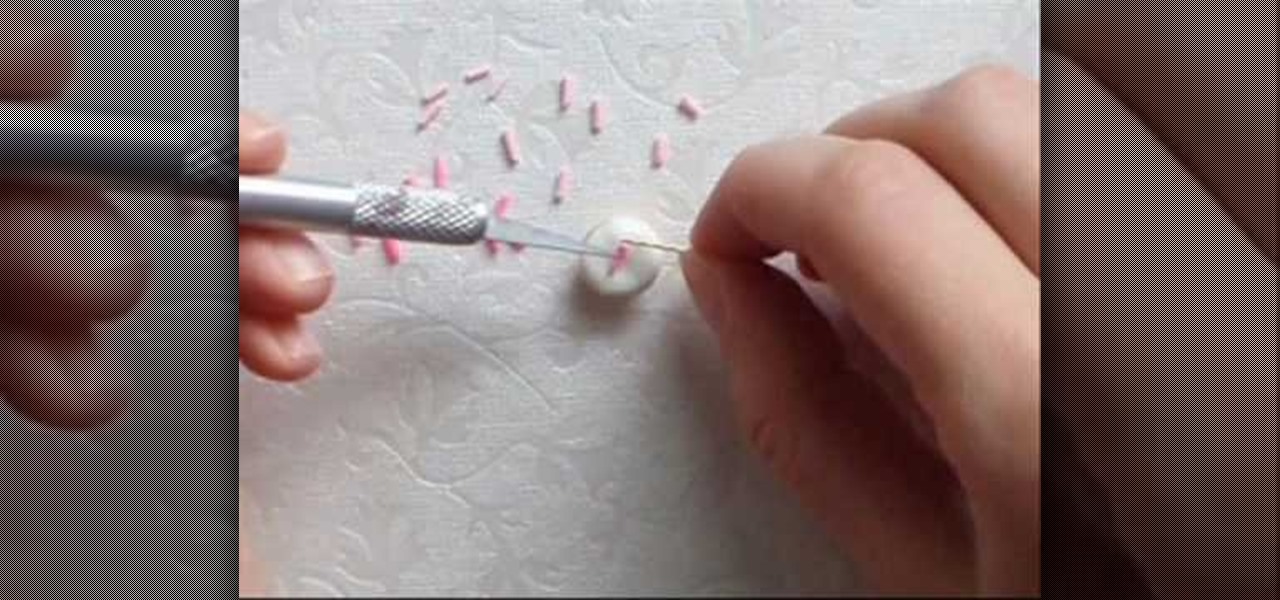
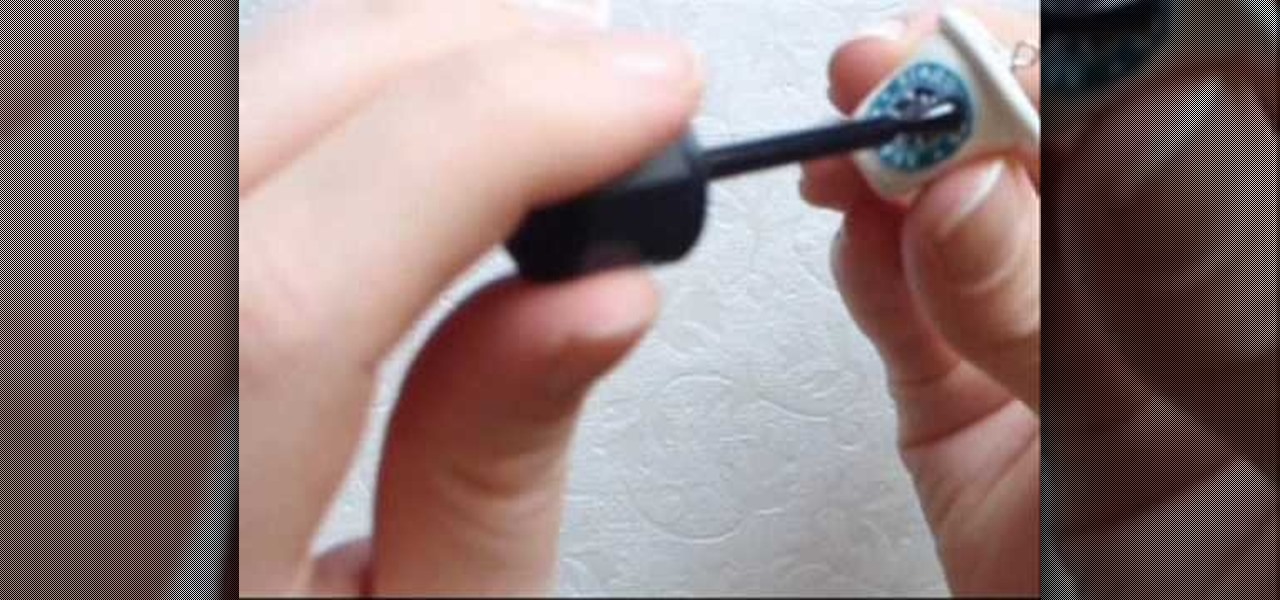
Polymer clay is a favorite material for many crafters because it's so versatile. Those interested in creating miniatures - like small version of Domo Kun or tiny, hamster-sized apple pies - can easily mold the clay into any shape they wish, while jewelers enjoy polymer clay because you can experiment with different colors to produce all types of effects.
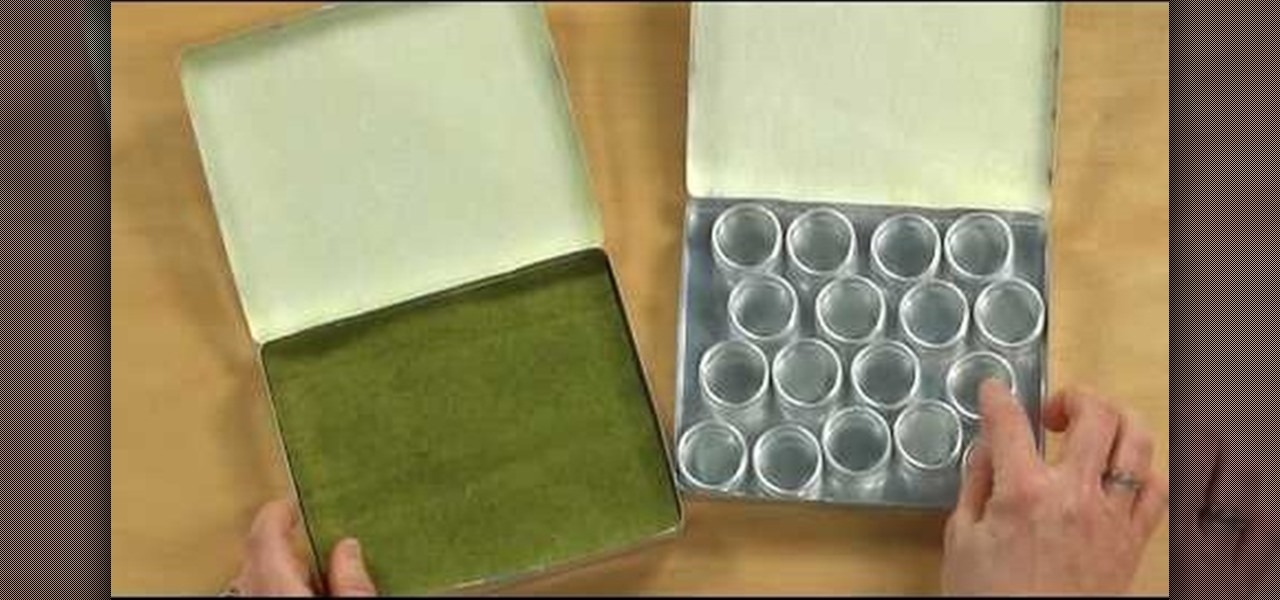
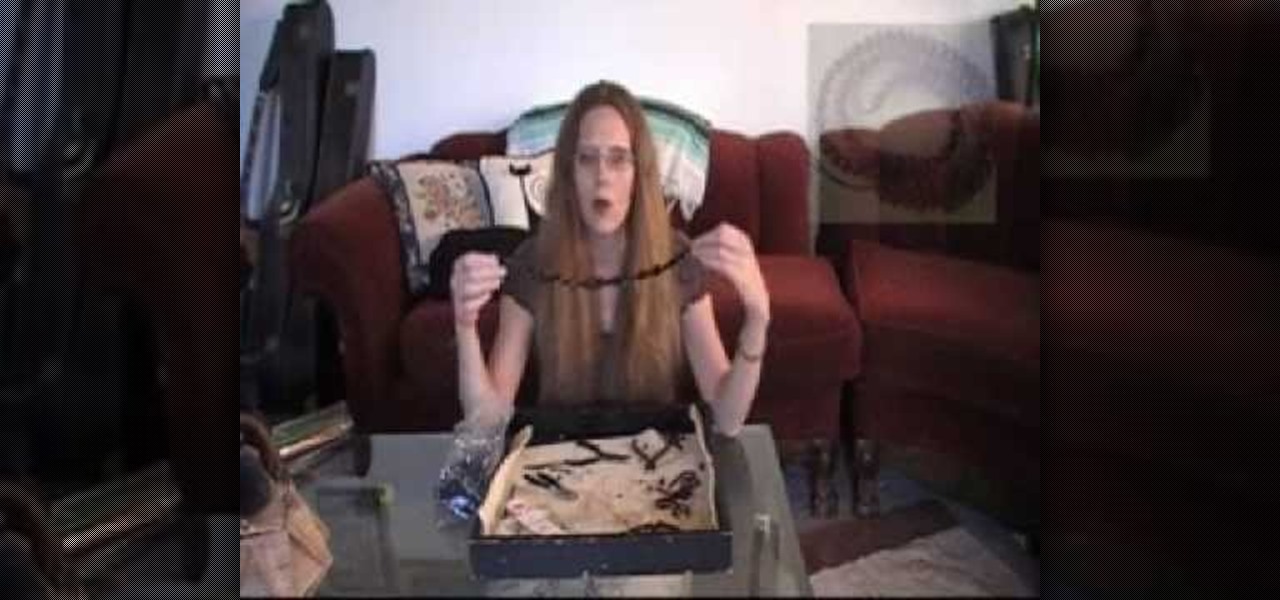
You know those long drives home in the car after you've spent a weekend at a cousin's house, or back from visiting Las Vegas? With more than a few hours at your disposal, what do you do to fill up the time? If you're an avid crafter and enjoy making jewelry, that you can turn those usually idle hours into productive crafting time by making this portable beading studio.
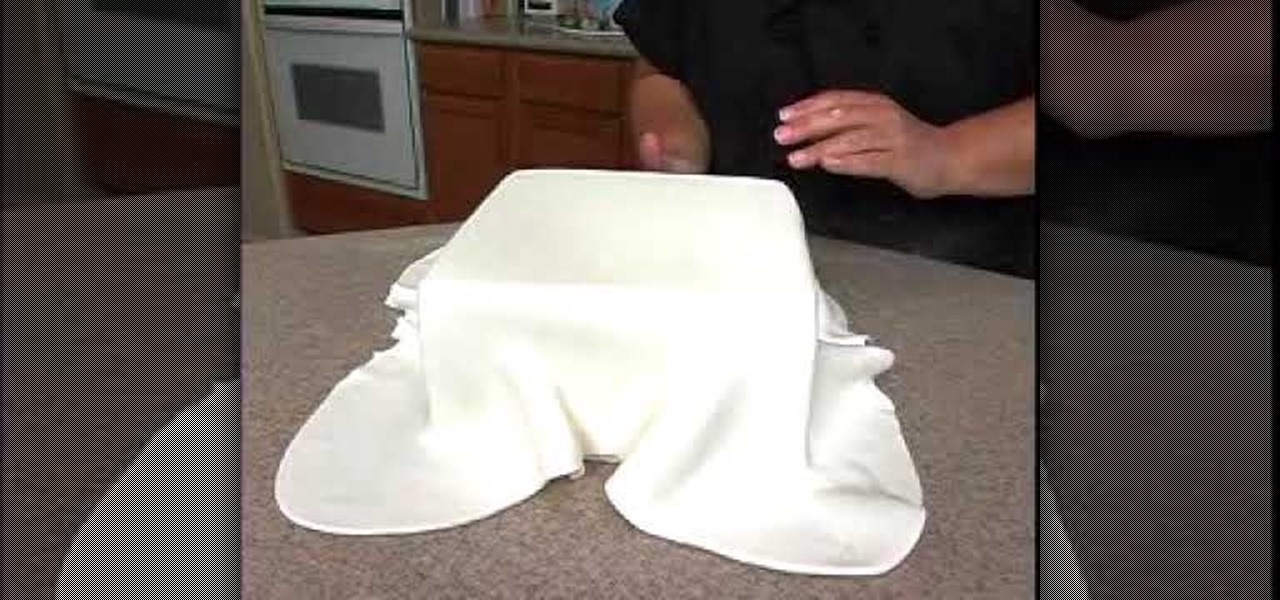
Fondant is quite the tricky cake decorating material. On the surface it looks smooth, slick, and solid, but the consistency of fondant is actually quite thin and the sugary paste is very liable to tearing while you're working with it.

For the first part, make chroma key blood: Ingredients: glue, flour, mix with water like papier mache, three drops of green and two drops of yellow food color. This combination gives more of a fluorescent chroma key look.

We don't know how it happened and can't particularly pinpoint when it happened, but over the last few years cupcakes have way overtaken cakes as to go-to dessert. Perhaps it's because they're pre-portion sized, or perhaps it's because they're so darn cute and easily transformed into any shape we can imagine.

These days, with such an intense demand for everyone to be on the go, up, productive, and "happy," it's no wonder we supplement our tired souls with a cup of coffee every morning. In fact, we know of some friends who simply don't function without that first cup...or two.

This tutorial walks through the process of building a grungy scene. Starting with an overview of the process and scene elements, you will learn how to use stacked layers. Mixing them with alpha channels you can build up complex materials; in this case rust and dirt on a nice clean object. You will learn how to set up moody lighting, with volume effects and dust to add to the overall old & dirty look. Whether you're new to MAXON's popular 3D modeling application or are just looking to get bett...

This tutorial will show you how to make your hair module materials multi-colored. There are also some tips on setting up lights to help sell the hairy look. Whether you're new to MAXON's popular 3D modeling application or are just looking to get better acquainted with Cinema 4D and its various features and functions, you're sure to enjoy this free video software tutorial. For more information, and to get started creating rainbow-colored hair in your own Cinema 4D projects, watch this 3D model...

In this video tutorial, viewers learn how to create a tessellation. The materials required for this project are: index cards, scissors, pencil, large paper and coloring utensils. Begin by preparing a shape. Cut the index paper to a desired shape. Then place it on the right side of the large paper and tape it. Now trace the shape onto the large paper and continue transferring the shape until the page is filled. The shapes should fit together like a jigsaw puzzle. This video will benefit those ...

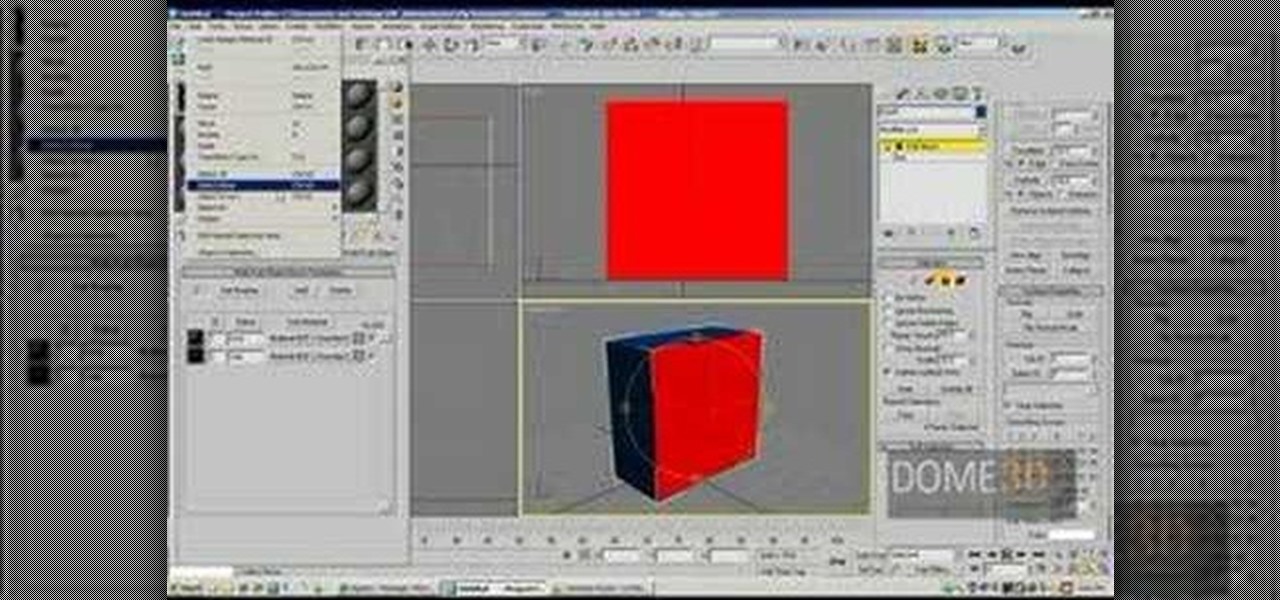
This video tutorial is in the Software category which will show you how to map multi-sub objects in 3D Studio Max. What this means is you can apply two textures to a single 3D object. First you select the 3D object, say a box and go to editor > standard > multi sub-object > OK. Now change the number of materials from 10 to 2 and follow through the next steps to select the two textures. Then go to modify panel > edit mash. Select polygons, and apply the texture to the front of the box, move ar...

This hair tutorial is called a wispy bird's nest after its, well, wispy quality and organized jumble of hair strands that forms into a cohesive whole.

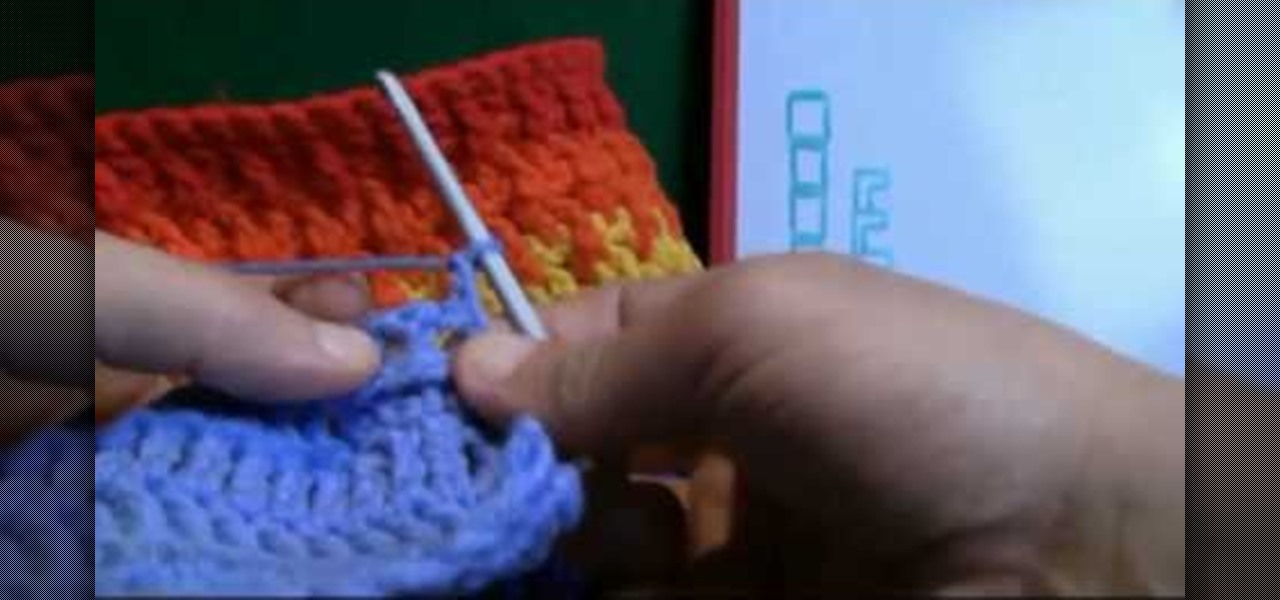
Now that you've mastered the front post double crochet stitching pattern, let's work on the back posts!

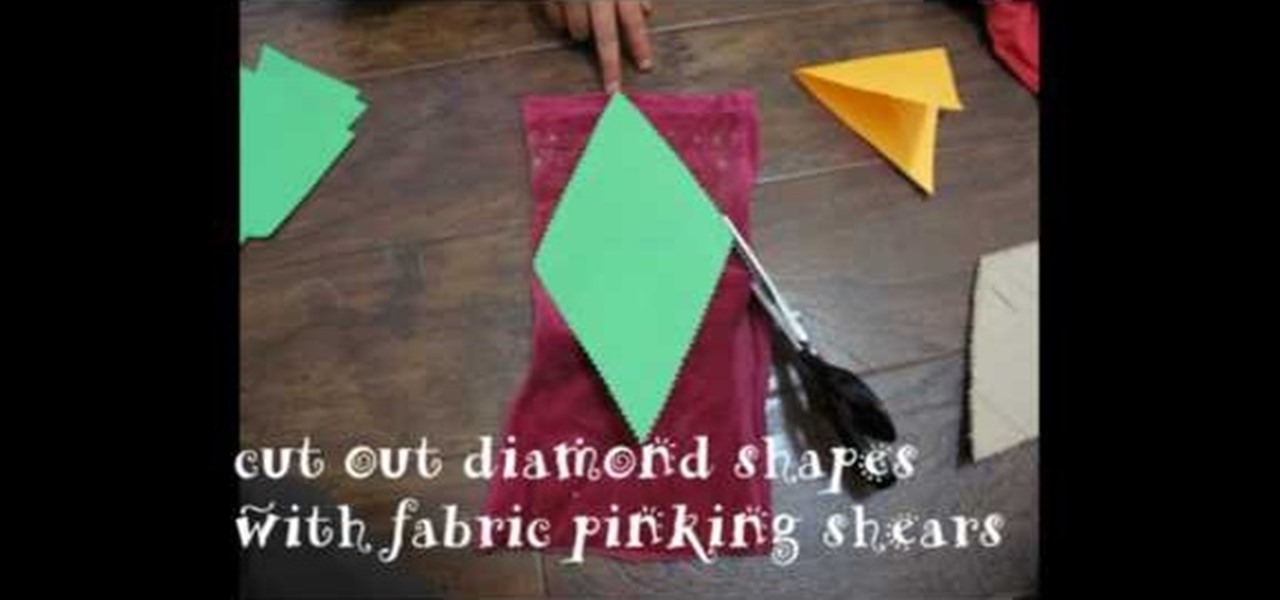
Ah, bunting. In the crafting/Etsy world, bunting is one of the simplest pieces of decor to make as well as one of the cheapest, yet because of its minimalistic simplicity it's also one of the prettiest crafts ever.

Duct tape isn't only handy for taping your rear view mirror back when your drunken cousin knocks it off in a fit of intoxicated rage. In fact, duct tape is a excellent and cheap material for crafting.

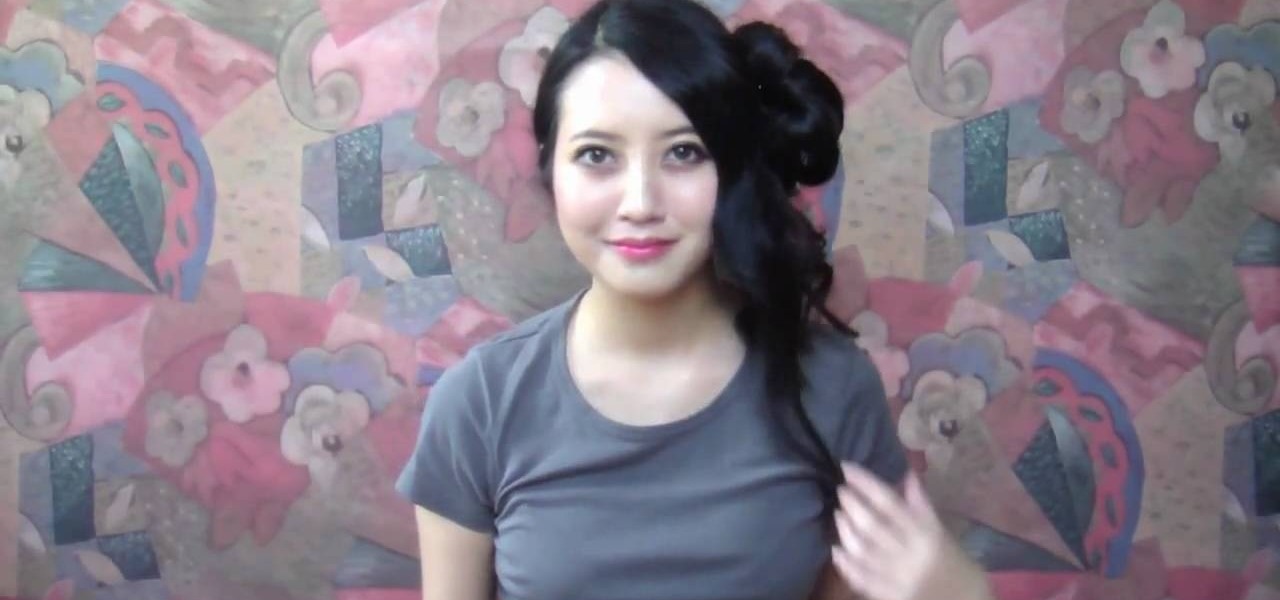
Whatever your favorite flower may be, you can't deny that roses are the most romantic and alluring flowers around. In this tutorial, Reiberry bases a delicate hairstyle on the robust beauty of a rose. This pinned-up side bun is unlike any chignon you've ever seen, and though a bit difficult, the results will be well worth the effort.

Using a curling iron on your hair doesn't have to just mean curly hair. By alternating your curling method and holding the curling iron at different angles, you can actually create different types of curls as well as loose waves.

You don't have to own a Cricut, several volumes of themed scrapbooking paper, pinking shears, and ribbons in each color of the rainbow to call yourself a crafter. More complicated crafts do call for this kind of deep and expensive preparation, but the craft presented in this video practically requires nothing.

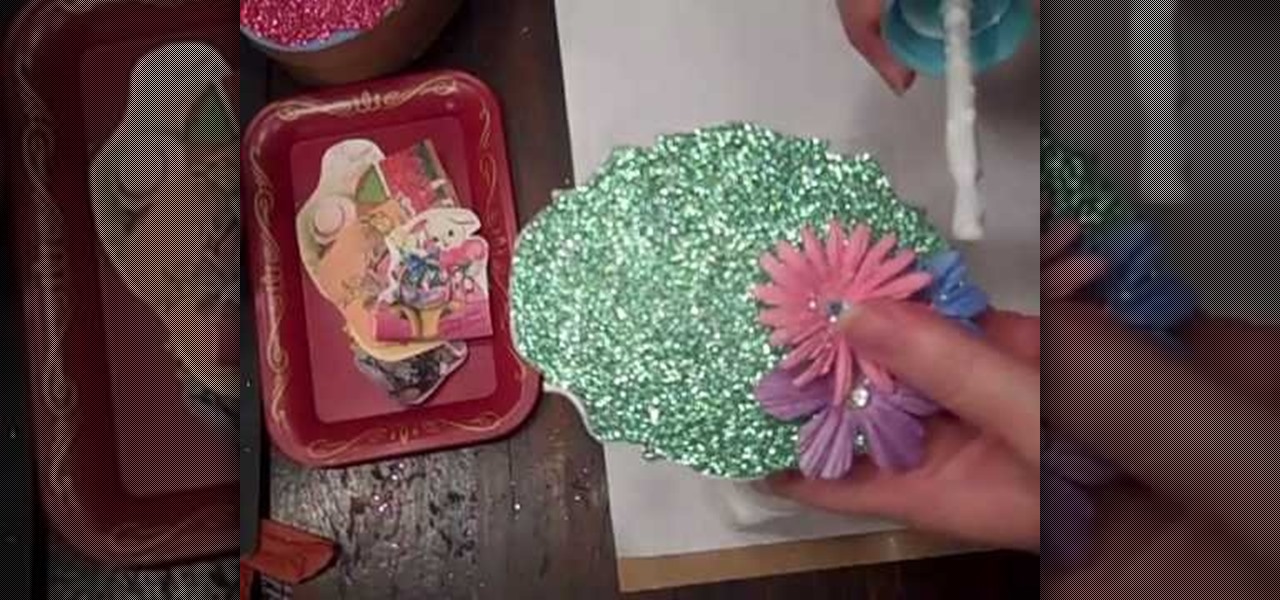
Easter is one of the best times for crafters to indulge in and even overdo pastel spring hues, vibrant flecks of glitter, and flower decals galore. Which is why this craft, a combination of all of the above, is such a perfect project for celebrating Easter.

In this Blender 2.5 video tutorial, you'll see a technique that makes use of array and curve modifiers to create light streaks like those you would see froma long exposure capture. The tutorial covers modifiers, materials and node compositing. Whether you're new to the Blender Foundation's popular open-source 3D computer graphics application or are a seasoned digital artist merely on the lookout for new tips and tricks, you're sure to be well served by this free video software tutorial from t...

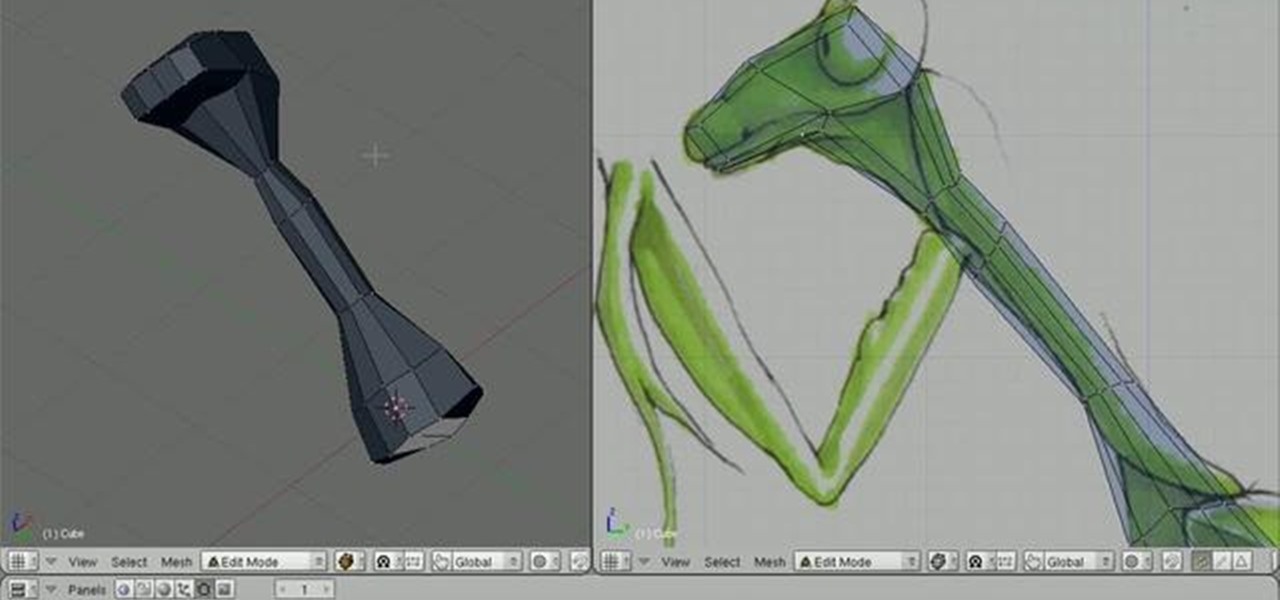
This clip will walk you through the process of modeling a fairly cartoony praying mantis from a sketch. The tutorial covers the entire modeling process and some simple materials. Whether you're new to the Blender Foundation's popular open-source 3D computer graphics application or are a seasoned digital artist merely on the lookout for new tips and tricks, you're sure to be well served by this free video software tutorial from the folks at CG Cookie. For more information, including step-by-st...

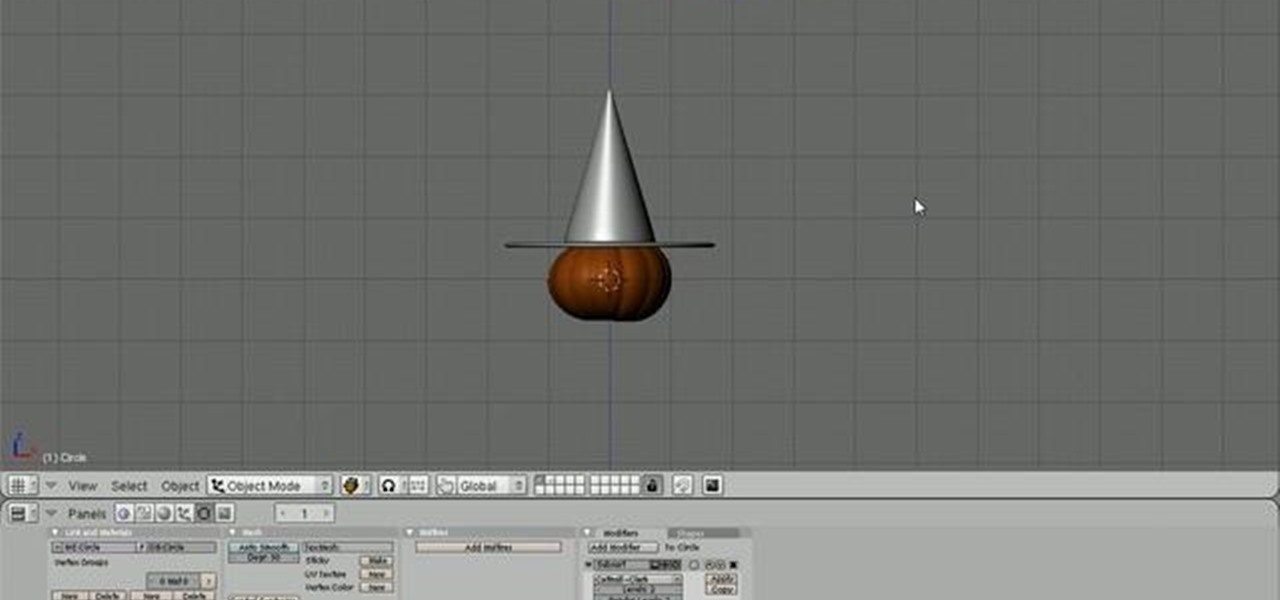
This tutorial covers how to create a witch's hat in Blender using a combination of modeling and cloth simulations. Basic materials are also covered. Whether you're new to the Blender Foundation's popular open-source 3D computer graphics application or are a seasoned digital artist merely on the lookout for new tips and tricks, you're sure to be well served by this free video software tutorial from the folks at CG Cookie. For more information, including step-by-step instructions, take a look!

It's one of life's little ironies that achieving beachy, messy hair requires not just riding a wave at the beach but rather staying in the shade, as it were, at home and spraying on zillions of gallons of hair products and using various curling irons and flat irons.

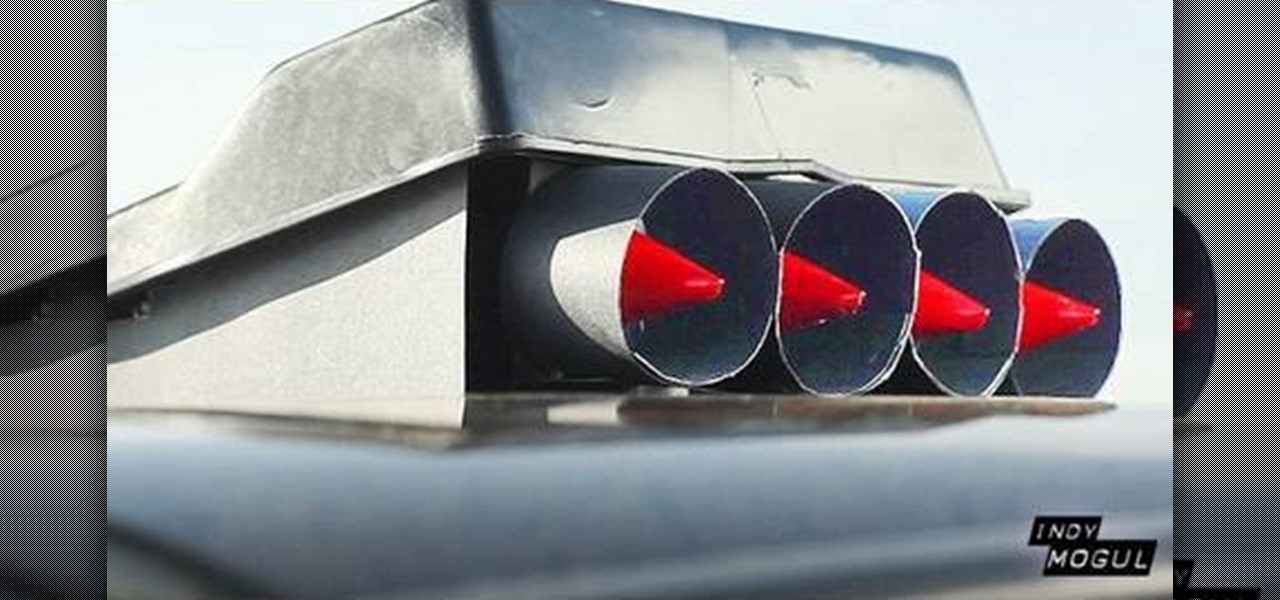
Do you want to make your own action movies? Do you feel like your artistic vision would be enhanced by having a car with a rocket launcher on top of it in the film? You aren't alone. This video will show you how to make a car-mounted rocket launcher for $20 dollars out of simple materials. It won't blow up another car, but it will look really cool.

The basics of Wire jewelry making are extremely easy to learn, and it's easy to get started quickly making your own earrings, bracelets, and necklaces, but excelling into harder wraps and loops is something only seasoned jewelry makers can do.

Stop trying to make lightsabers in your home movies using Sony Vegas - that's SO prepubescent teenage boy material. Step up your sci fi animation game by learning how to make yourself invisible (and no, by invisible we don't mean just deleting yourself out of the picture).

This hairstyle could easily be mistaken for simply missing a spot while you're pinning your hair into an updo during the morning rush, but the lovely rosebud hair accessory ties it all together.

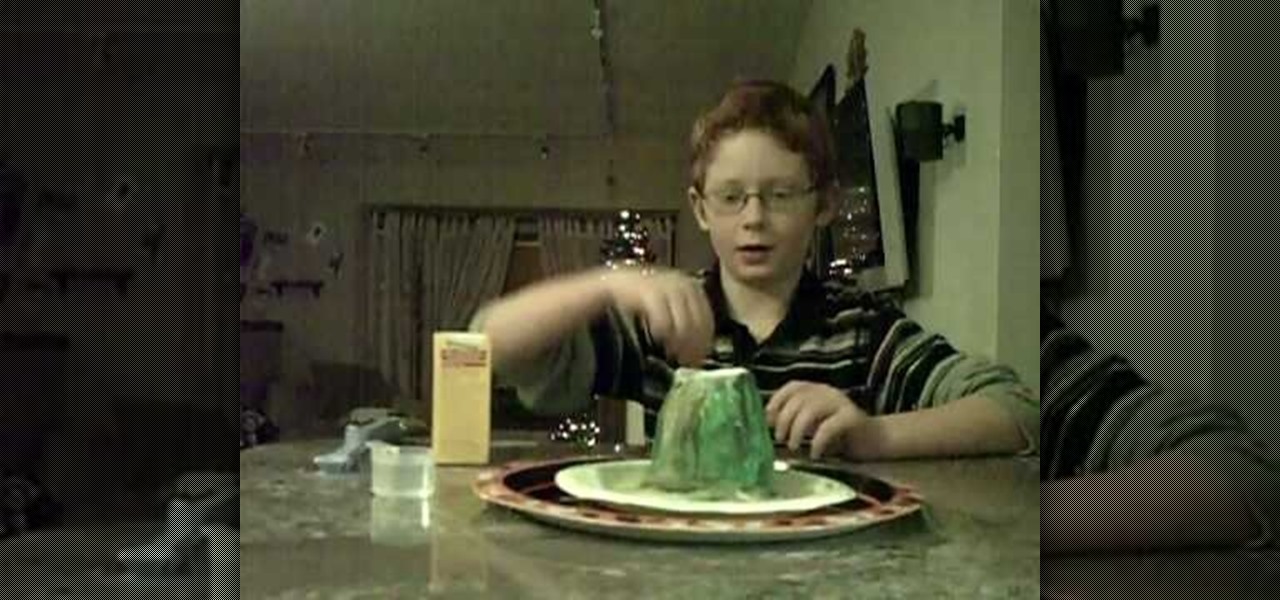
In this video tutorial, viewers learn how to make a volcano. The materials required are: baking soda, red food coloring and vinegar. For the base of the volcano, users will simply need to use a cup and cover it with some dough in a shape of a volcano. Now add 1-2 tsp of baking soda into the volcano. Now add in a few drops of red dye into the volcano. Then pour in 1 cup of vinegar into the volcano. This video will benefit those viewers who are interested science, and experiments and would like...

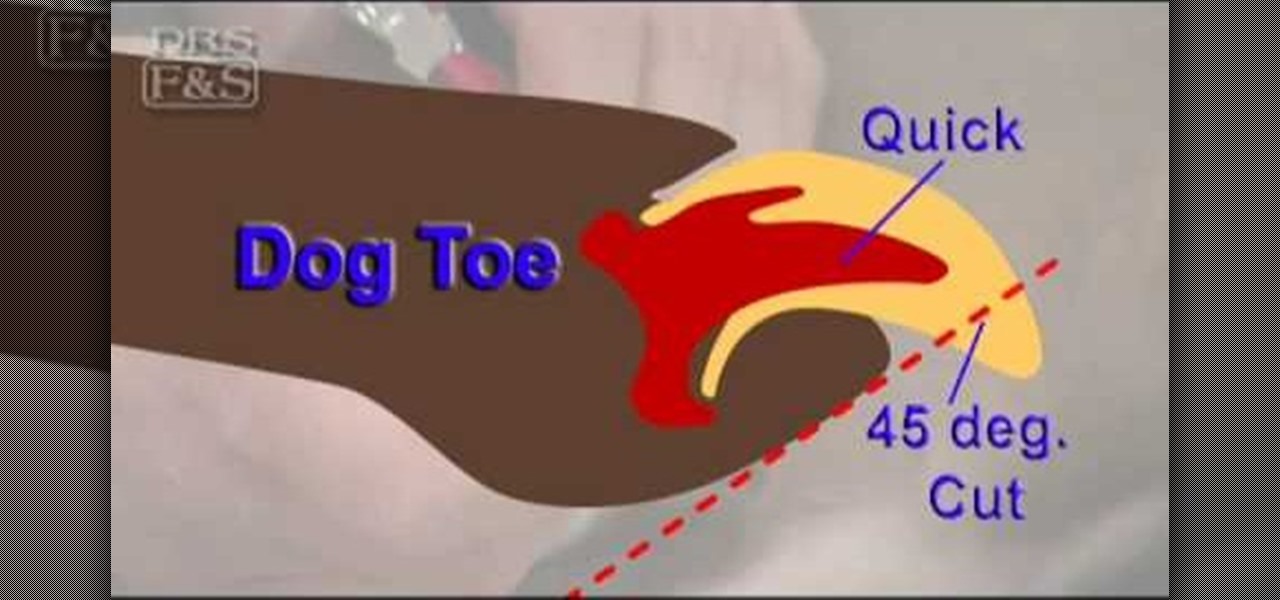
In this Pets & Animals video tutorial you will learn how to properly trim your dogs nails for their comfort. Materials that you will need are a high quality trimmer, nail file and styptic powder or pads. Begin by making yourself and your pet comfortable. Have the pet lay on the side so that all four legs are accessible. You will clip only that portion of the leg that extends beyond the quick, the blood vessel that runs down the nail. Start by clipping a thin slice of the nail and give him a t...

Instructions for building wall panels and posts using Alan Block materials. This is How-to Sheet #190, for the Courtyard Collection. Combine walls and posts in a three step process: build a post, build one wall off the post, then build a second wall off the first. Corner blocks help make perfect corners, and have one long and one short side. Offset the vertical seems by alternating. Blocks used for the wall include Dublin center-split, Dublin end-split, and York center-split. You will need to...

In this video tutorial, viewers learn how to clean their shoes with a banana. The materials required are: a banana, dirty shoes and a soft cloth. Begin by peeling the banana. Users will only need the skin, so eat the banana. Rub the banana skin all around the dirty shoes. The natural oils of the banana will soak into the leather, helping the shoes to last longer. The banana skin also contains potassium, which is a key ingredient to commercial shoe polish. Then take a soft cloth and buff the s...

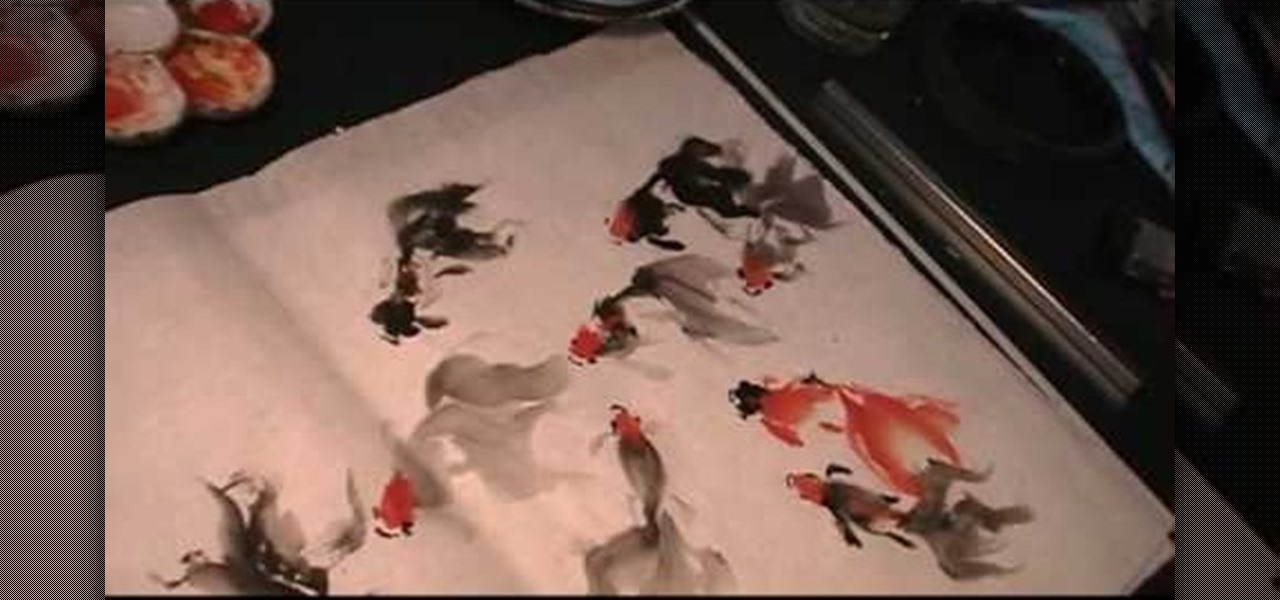
In this video, artist Henry Li, shows you how to draw nine goldfish in a free hand, loose style. He demonstrates proper hand placement, and technique in order to achieve a fluid motion to the piece. Nine goldfish is a good omen for Chinese, it suggest best fortune. Watch the magic happen as he shows you exactly how to achieve this excellent work of art.

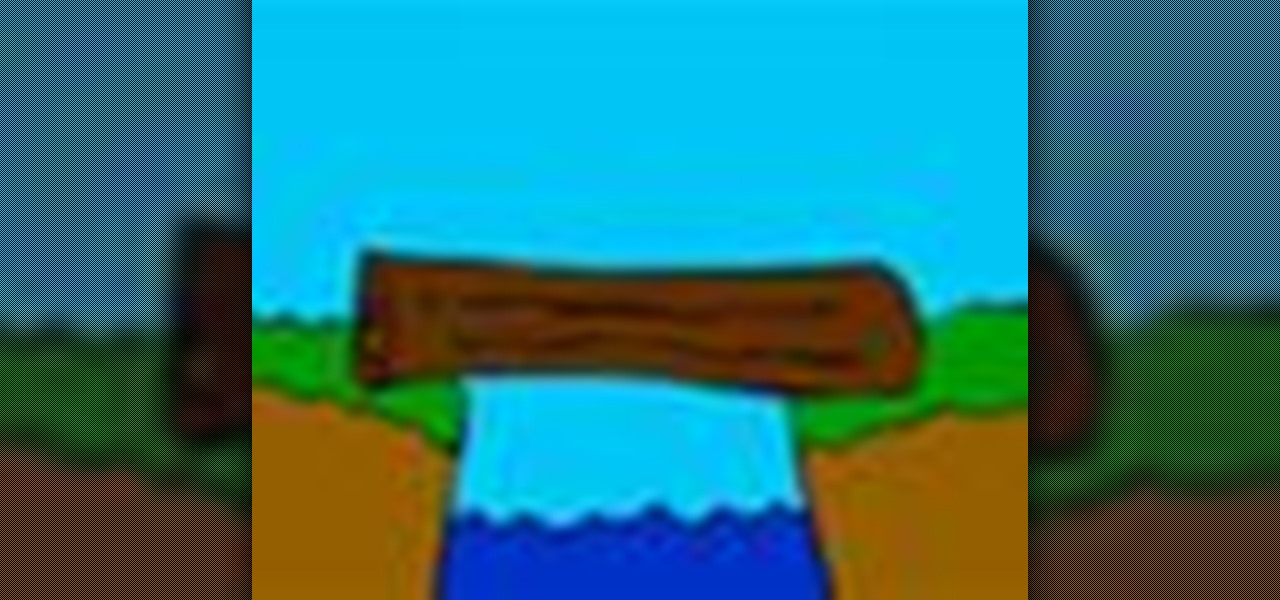
Stuck on one side of a river or ditch? If you are stranded with no other way to get to your destination you will need to build a bridge! Without many supplies, your best bet is a beam bridge which can be made with just a single piece of wood. This video will show you how to get from one place to another.

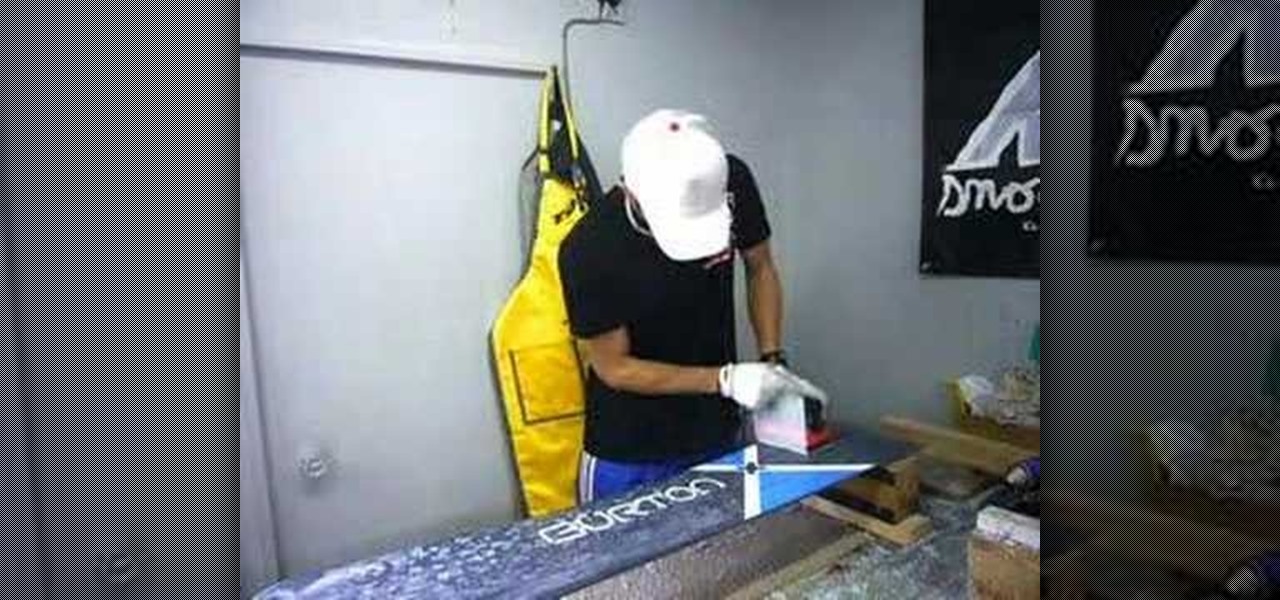
In this video tutorial, viewers learn how to wax a snowboard. The materials required for waxing are: wax (cold, medium or warm temperature), scraper, brush, iron, wax paper, cloth and gloves. Begin by wiping the board with the cloth. Now rub the wax on the board. Then hold the wax against the iron to melt it, and then rub it on the board. The press the iron on some wax paper and spread it across the board. Leave it too cool for about 20-30 minutes. Then use the scrape to remove the wax layer....

In this video tutorial, viewers learn how to wax a snowboard. The materials required for waxing are: wax (cold, warm, or all temp), an iron, scraper (plastic or metal) and a hard bristled brush (or rough side of a sponge). Begin by laying the board with the base facing up. Turn the iron on and melt the wax. Move the wax around to evenly distribute it on the base. Then use the iron to spread the wax in a thin layer. Allow the wax to cool for 30 minute and remove the layer with your scraper. Bu...

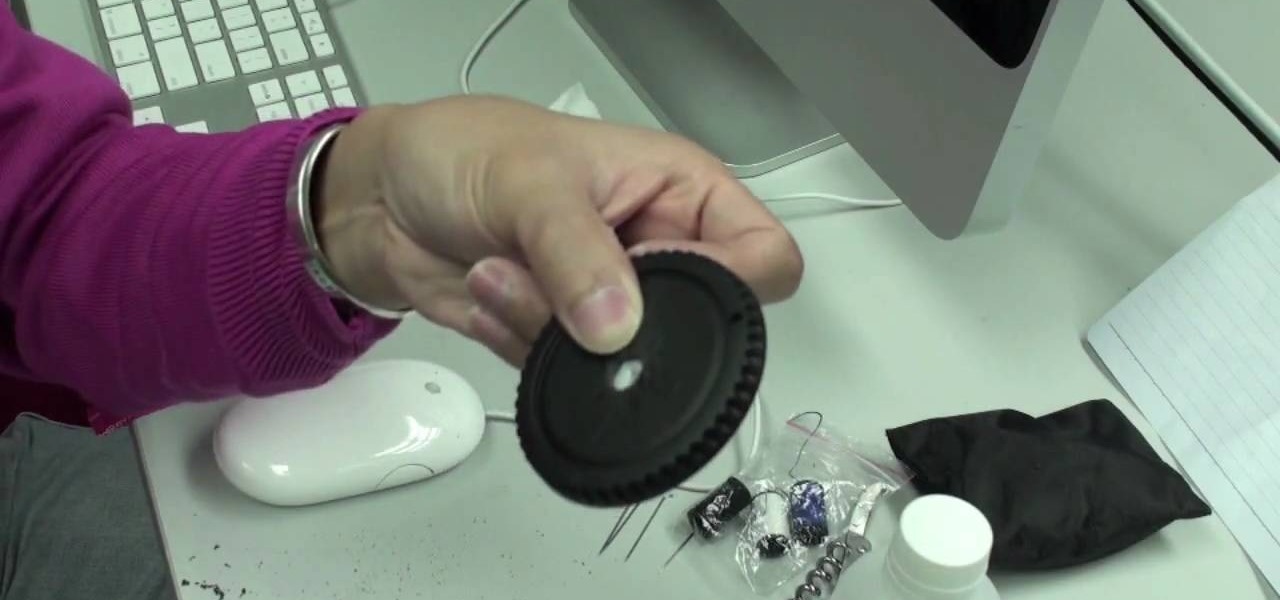
In this video you learn how to make a digital pinhole camera. The video begins with an introduction addressing the main themes to be dealt with in the video - tight budgets, photography and specialized lenses. In this video, Kai modifies a photo lens cap by poking a large hole in it. After making this large hole, he makes a smaller hole in a thinner material and lines the hole up in the center. He calculates the size of the hole he needs based on the wavelength he will be photographing. He us...

The hottest outfits you could rock at a party or gala is a strapless dress. In order to keep that strapless dress up, you probably need a bit of cleavage, but what else can be done to make sure it looks right and works? The key to looking sexy in a strapless frock? A flawless fit.

Tom Skowronski teaches the secrets of using an outdoor green screen. An excellent summary is given below. First check the advantages of using green screen outdoor like a lot of space, sufficient light. In the same way check some disadvantages like noises from birds, children. For the screen materials you can use paper which is cheaper but it cannot be controlled if wind blow. You can also use a board or even paint a wall green which will be better. Now to set up the screen use the screen rods...


