Does someone keep drinking part of water bottle and leaving them around your house or office, taunting you with their wastefulness? Thanks to forensic technology, it is possible to catch the culprit with easy household materials. This video will show you how to use super glue to lift fingerprints off of a water bottle where normal fingerprint-lifting technology would not be sufficient. Plus, you get to use a heat gun! Always fun.
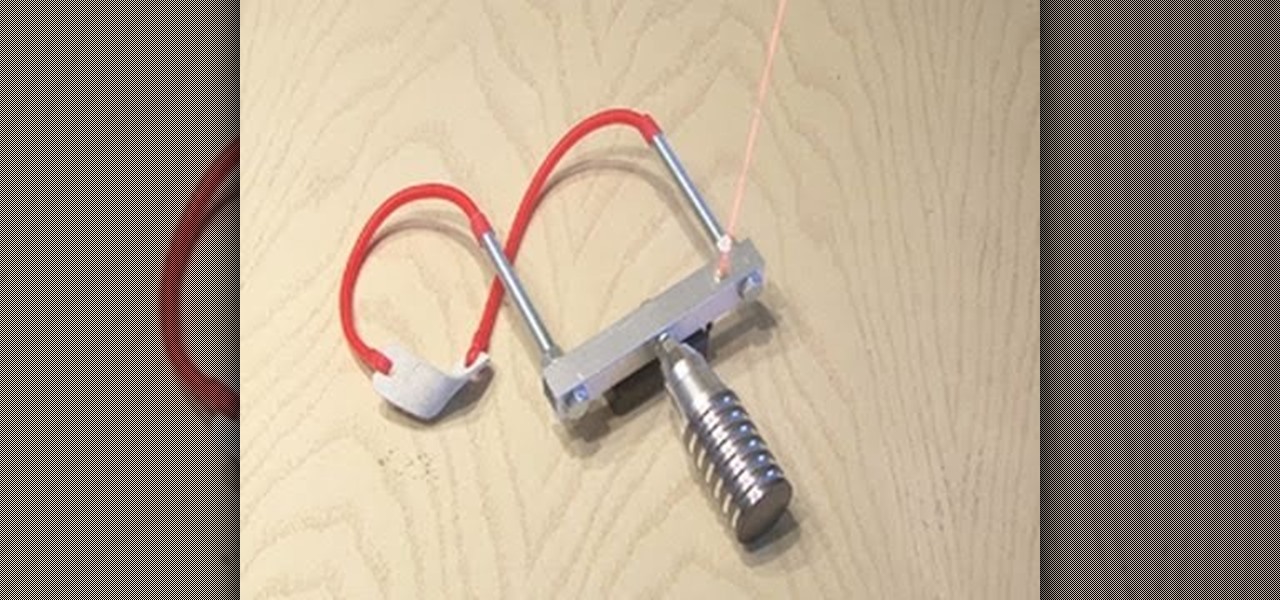
In today's day of mobile devices and improved technology, anything of yesterday can be considered retro— even a freakin' slingshot! Yes, that's right— forget fallen down tree branches. A rubber band and tree limb ain't going to cut it anymore. These days, kids need accuracy, and Kipkay has the knowhow.
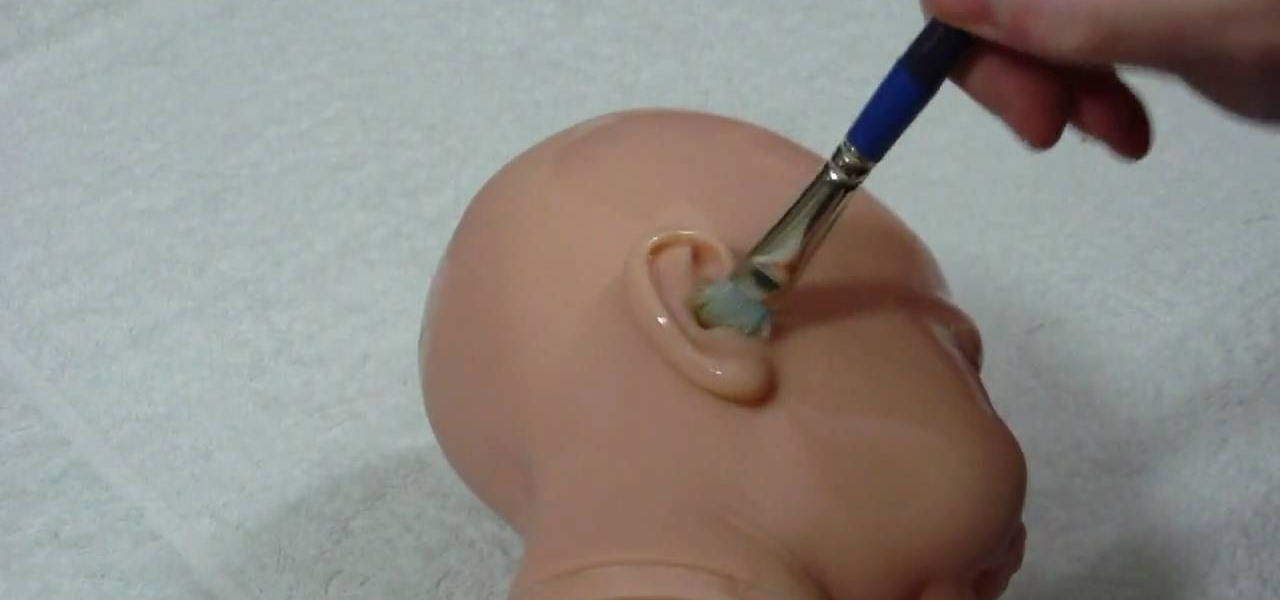
In this tutorial, we learn how to apply blue wash to neutralize orange on a reborn doll. First, gather all of your materials and mix up your paint. Once it's mixed, dab the paint onto a sponge with the paint brush. Then, use the paint brush to paint on the color to the limbs of the baby. Make sure to take extra time around the feet so you get in between the small areas. Then, use the sponge to dab the paint all over the limbs. after this, continue on to the rest of the limbs of the baby using...
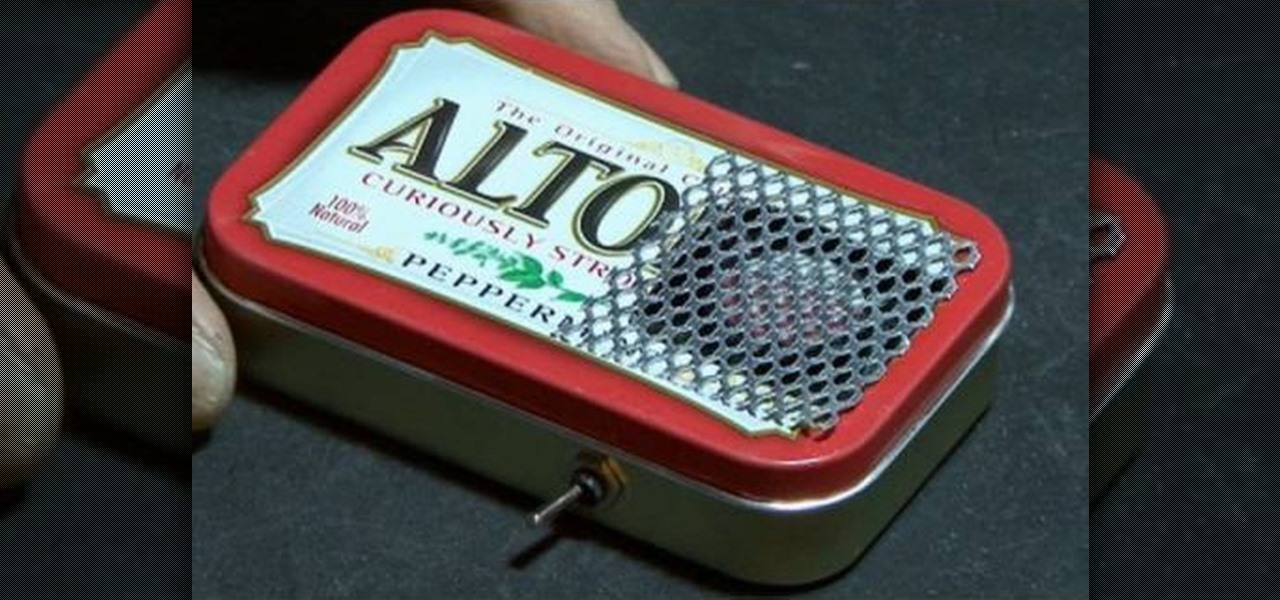
Materials needed: Altoid mint tin, 9 volt batter and connector, switch, 7812 voltage regulator, 12 volt computer fan, carbon filter and 2 pieces of screen. Wire the battery connectors. Solder all of the following: Negative connector to the switch, wire to the switch, ground wire of the voltage regulator to the middle wire, output for the 7812 to the fan, positive lead on the 9 volt connector to the input on the 7812 and the negative from the 7812 to the negative on the fan. Test. Put all the ...

In these great, in depth videos, you'll learn how to process and finalize your RAW files in Nikon's picture capture program: Capture NX2. Over 40 minutes worth of material ranging from how to set up the process all the way down to the actually finalization. Definitely worth a watch for any camera nut!
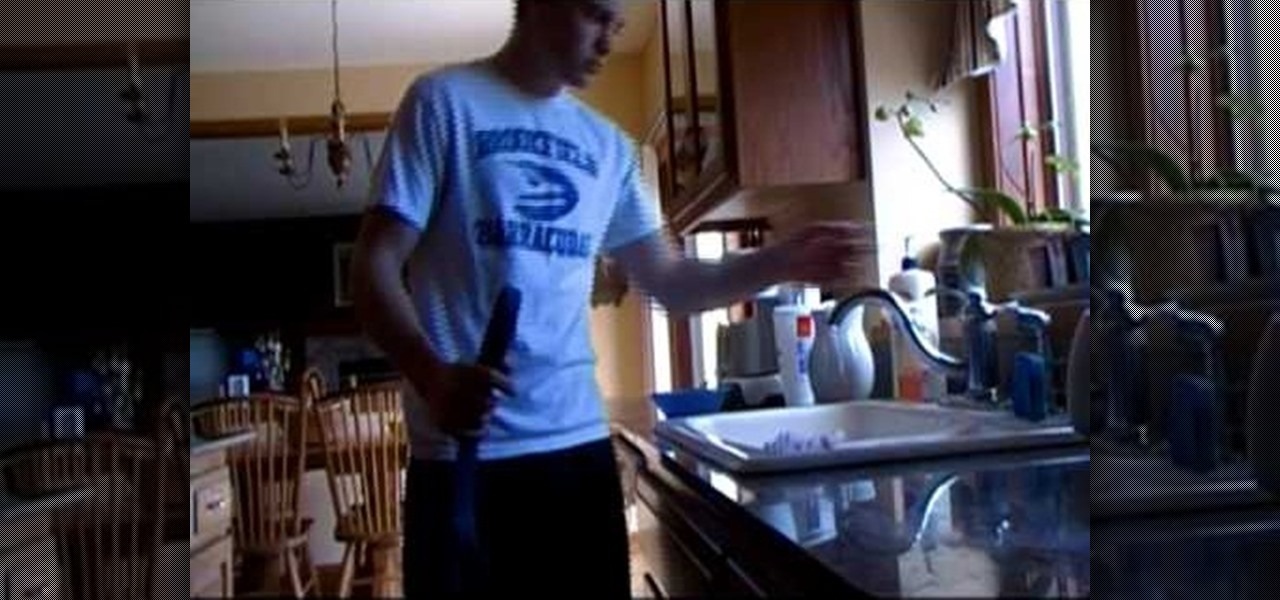
There are a lot of great pranks that are NOT appropriate for children to perform. Not only are they in the wrong environment, but their limited emotional development hamstrings their ability to handle serious pranks properly. This video will show you three pranks that are appropriate for all ages and use common household materials. The include the Ceiling Bowl Trick, the rubber-band-sink-sprayer, and the classic egg-in-the-doorframe prank.

This prank has it all. It's easy to do, requires few materials, won't cause physical harm to anyone or anything (hopefully), and will absolutely terrify your victim while amusing you for days. All you need is a securely passed-out person and a big box (flat piece of plywood optional). You cut out one side of the box so that it will cover the sleeping person like a coffin, then pound on the top to wake them. They will likely think that they have been buried alive and flip out like the guy in t...

In this tutorial, we learn how to make an Android doll at home. First, print out the Android logo from the internet, making it large enough to make a doll. Now, cut out the print out with scissors cutting out the different sections individually. Next, place the cut outs onto a piece of green felt, then pin it down so it doesn't shift around. Now, cut around the paper so you get the same pattern. After this, cut out all the other parts, making two of the shapes so you have a top and a bottom. ...

Summer is almost over and that means the end of summer vacation and the start of the new school year. During this transition, parents and students get ready for the new year by purchasing a variety of different materials. Pencils, paper, books, testing sheets, etc.

It's really easy to take lazy route and purchase fire starters at a grocery or hardware store to aid you in creating campfires, but storebought fire starters tend to have massive amounts of environment polluting chemicals and toxins that you probably shouldn't be anywhere near.

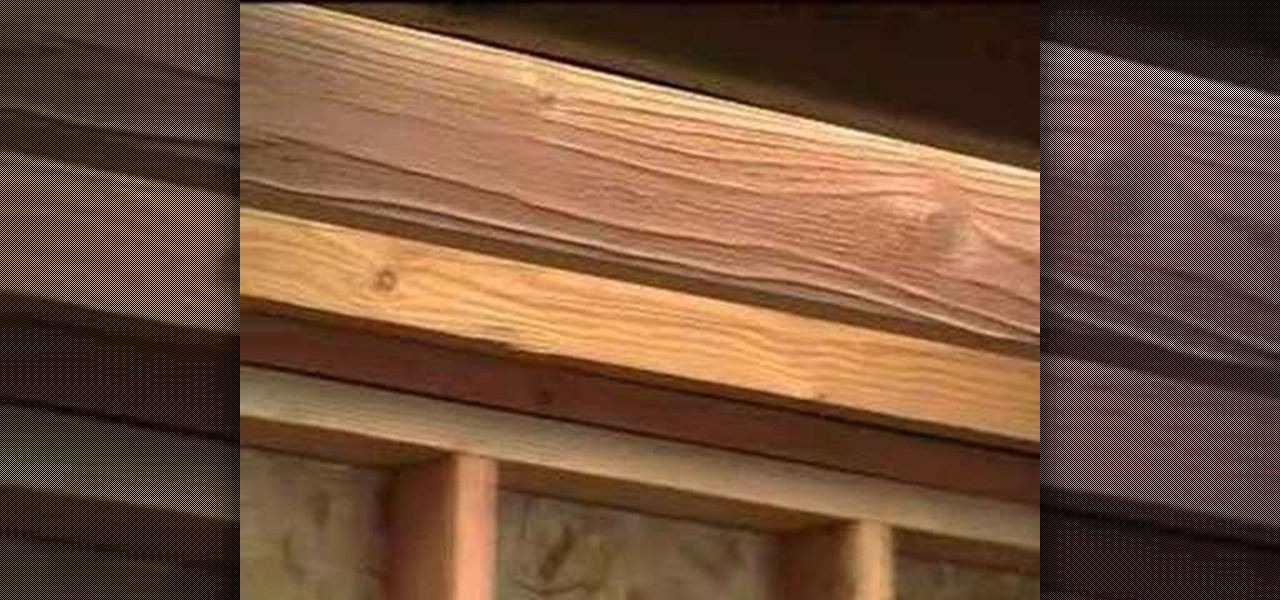
In this tutorial, we learn how to lay out and plan your drywall with Myron Ferguson. First, check the wall to make sure there is proper access inside to see what layout you're dealing with. Next, plan out what kind of materials you are going to have to deal with. Measure the ceiling and windows that are in the building and do the math to figure out how much drywall you need. Next, check for possible problems with the wall, so you can make sure your drywall will attach correctly and not pop ou...

Just in case you've been living under a rock (AKA without internet) for the past couple of days, here's a quick update: "Gossip Girl" star Taylor Momsen has officially become the new face of Madonna and her daughter Lourdes' new fashion line, Material Girl.

If you are shooting a film with featuring the iconic X-Men team member Wolverine or want to dress yourself or someone else as him for some other reason, the claws are the most important part. They're what makes Wolverine Wolverine, at least externally (he didn't always have chops Hugh Jackman you studmuffin you!) and the ones you use had better look good if your costume is going to be a hit. This video will show you how to make some very authentic-looking Wolverine claws at home out of some s...

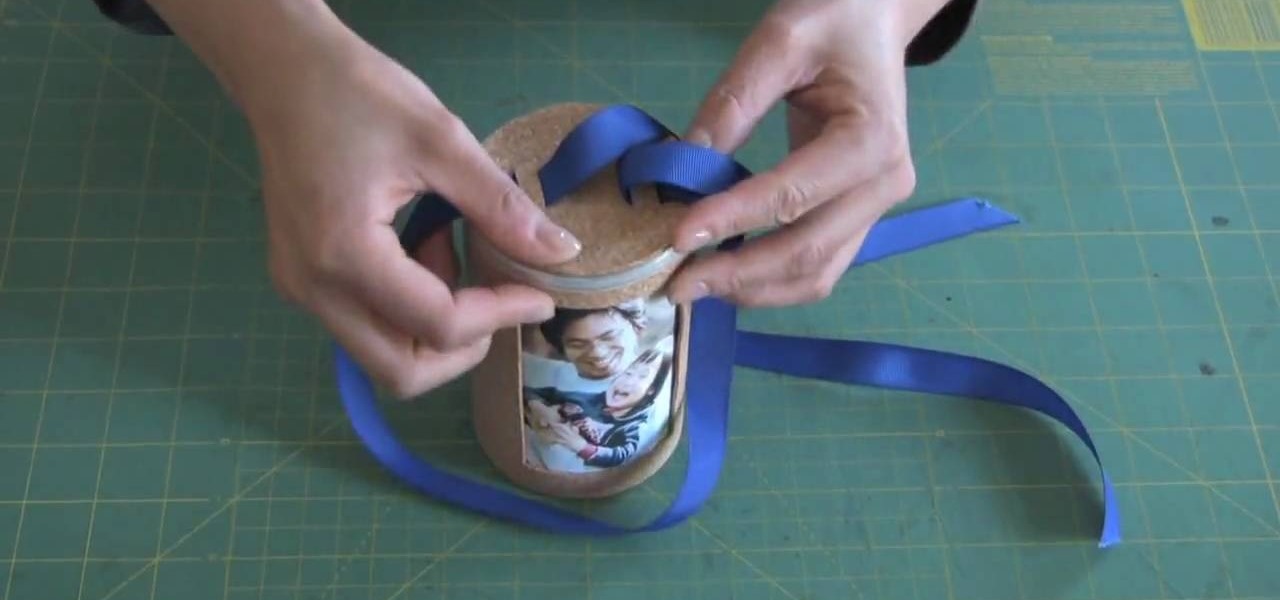
So many gift givers are mislead into believing that it's only the gift that matters, so the gift bag or wrap can be cheaply purchased at the gas station an hour beforehand and then thrown together in a slapdash manner.

In this video tutorial, viewers learn how to pick a lock. The material required for picking a lock is a tension wrench and pick. Begin by inserting the tension wrench into the bottom left slot of the lock. Put some pressure on the tension wrench as you pick the lock. Now place the pick into the lock hole and experiment with it. Continue fidgeting and raking the pick in the lock hole until the lock opens. This video will benefit those viewers who have lost the key to their lock, and would like...

When you think of a dagger, you imagine a weapon that is small in stature, but useful for thrusting and cutting things. This next tutorial is going to show you something that is incapable of performing those tasks.

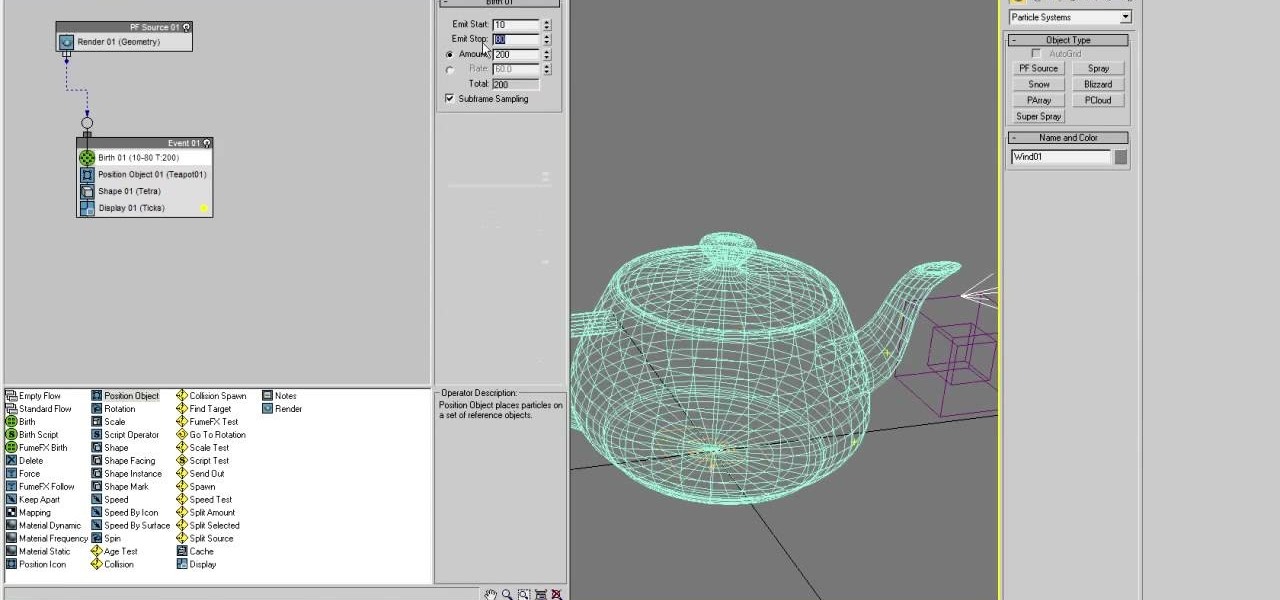
Destroying crowds of little people has been a favorite passtime of dictators since time immemorial, but also a colossal waste of manpower. Now you can get some of the same thrill without all the needless death using 3D Studio MAX. This video will show you how to model, animate, and duplicate with particle flow a series of small robots. Then it will show you how to use a collision object (here a meteor) to destroy them all in fiery glory.

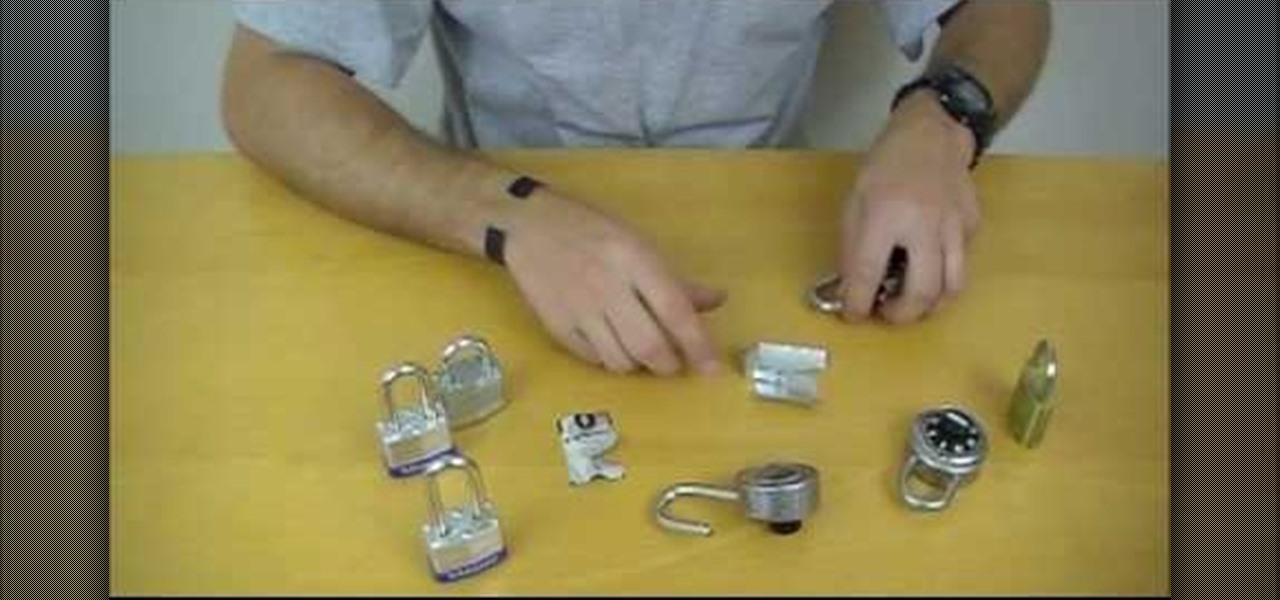
There are a lot of different kinds of locks, and you need different easily accessible household material to pick different kinds. This video focuses on teaching you to pick a padlock, familiar to any who have ever had a locker, with a soda can, something you probably have too many of if you still have a locker. You will make a shim out of the can and then use that to open the lock, either single or double-shackle. Get your history book back out of Jimmy Peterson's locker with the technique yo...

The teapot dispersion method is a standard technique for teaching particle dispersion in 3D Studio MAX. This three-part video seeks to use the infamous example to explain particle dispersion as effectively as possible. It explains basic particle systems and material animation properties, and by the end you should be able to model a 3D teapot turning into a million little teapot particles.

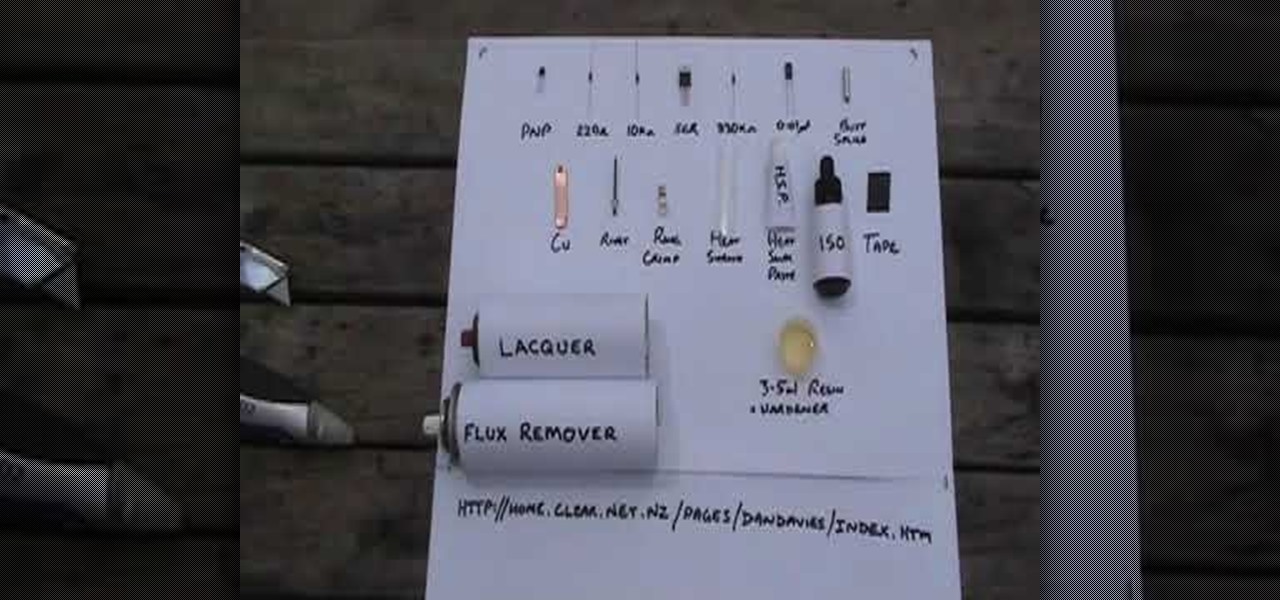
We all know the G-spot as that sensitive area that drives women crazy, but for auto enthusiasts, it has a whole new meaning. The G-Spot, designed by Daniel Davies, is a vehicle immobilizer, which keeps your vehicles safe from car thieves. And you don't need to pay a huge amount of money to get one, either! You can make on yourself, right at home, provided you have all the right materials.

This gorgeous '60s hairstyle was inspired by the Audrey Hepburn film "Breakfast at Tiffany's." This look is quite elegant and suitable for formal events. Most importantly, it is very easy to create.

In this video tutorial, viewers learn how to repair a small hole in the wall. The materials needed for this process are drywall tape, water, patching compound, and a drywall knife. Begin by placing the drywall tape over the hole. Then mix some water with the patching compound and apply it over the hole. Use the drywall knife to spread the compound over the hole. Start from the middle and spread out. Finish by letting the compound dry and sand it using some sand paper. This video will benefit ...

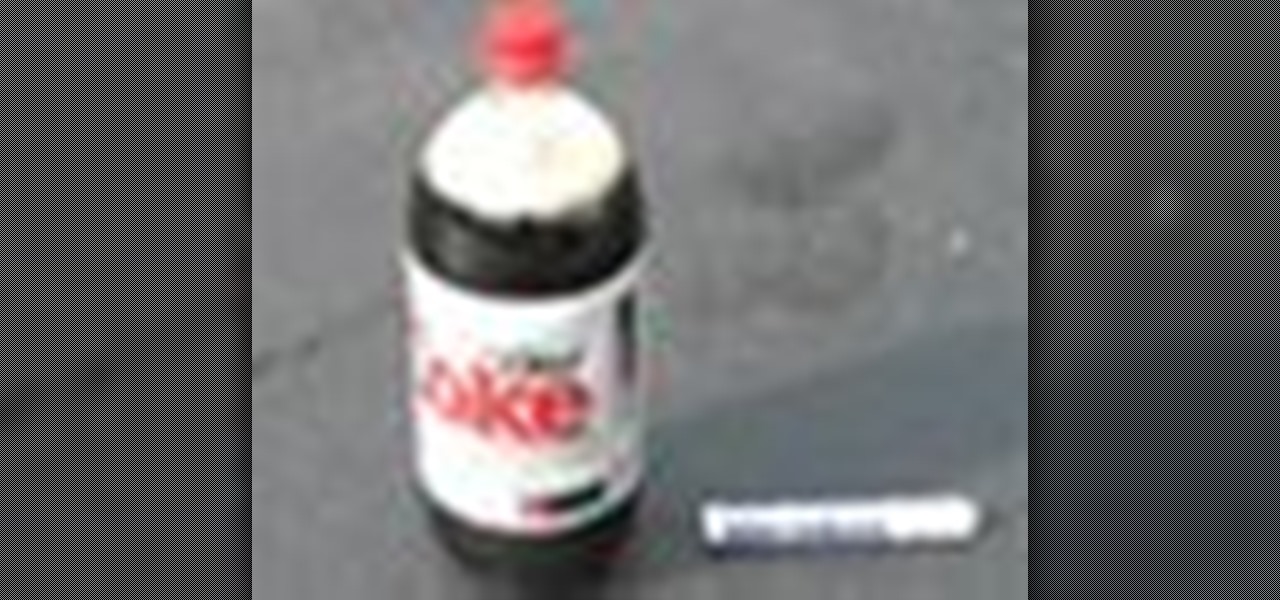
In this video tutorial, viewers learn how to make "Coke" rocket. This process is very fast, easy and simple to do. The materials required for this project are a 2 liter bottle of Coca Cola and a pack of Mentos candy. Begin by sliding off the cover of the Mentos stick and drop it into the 2 liter bottle of Coca Cola. Place on the cap of the bottle and shake it. Now slightly open the cap until you hear the soda fizzing. Then slam the bottle onto the ground and watch the bottle fly into the air....

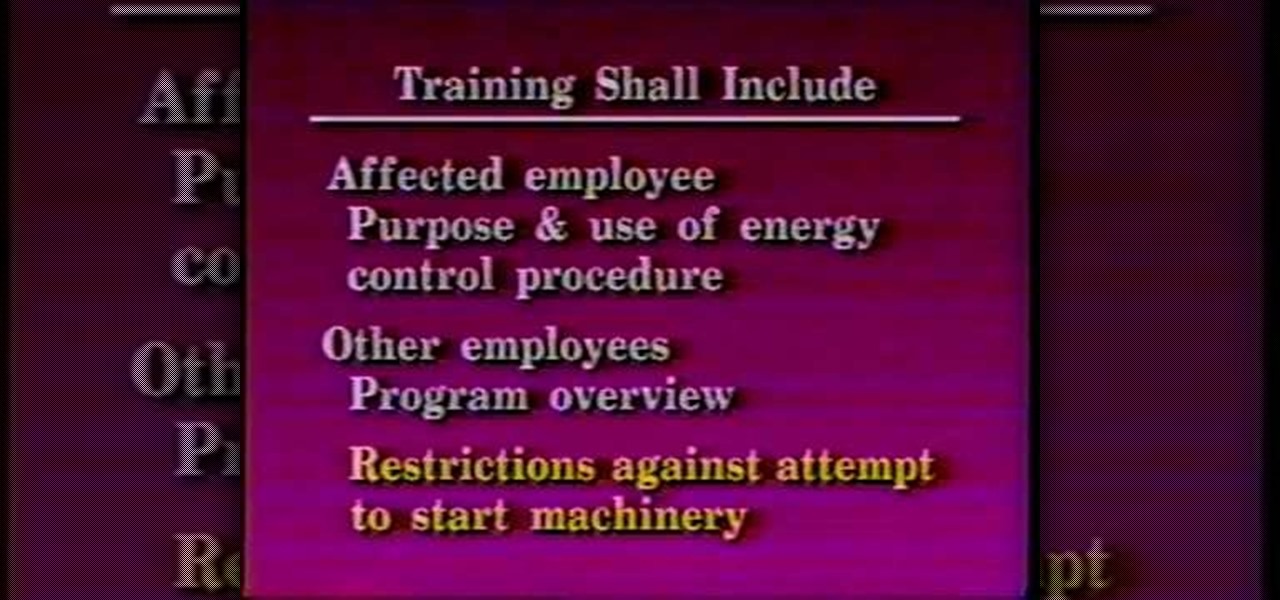
This video aimed at electricians, is designed to help employers and employees what is required in the standard that is applied for the control of energy during maintenance and servicing of equipment and machinery. Employers are required by law to develop proper lockout safety procedures and provide proper protection materials and safety training. This video is highly important for any electrician, apprentice or journeyman, because it will help prevent injury… or even death.

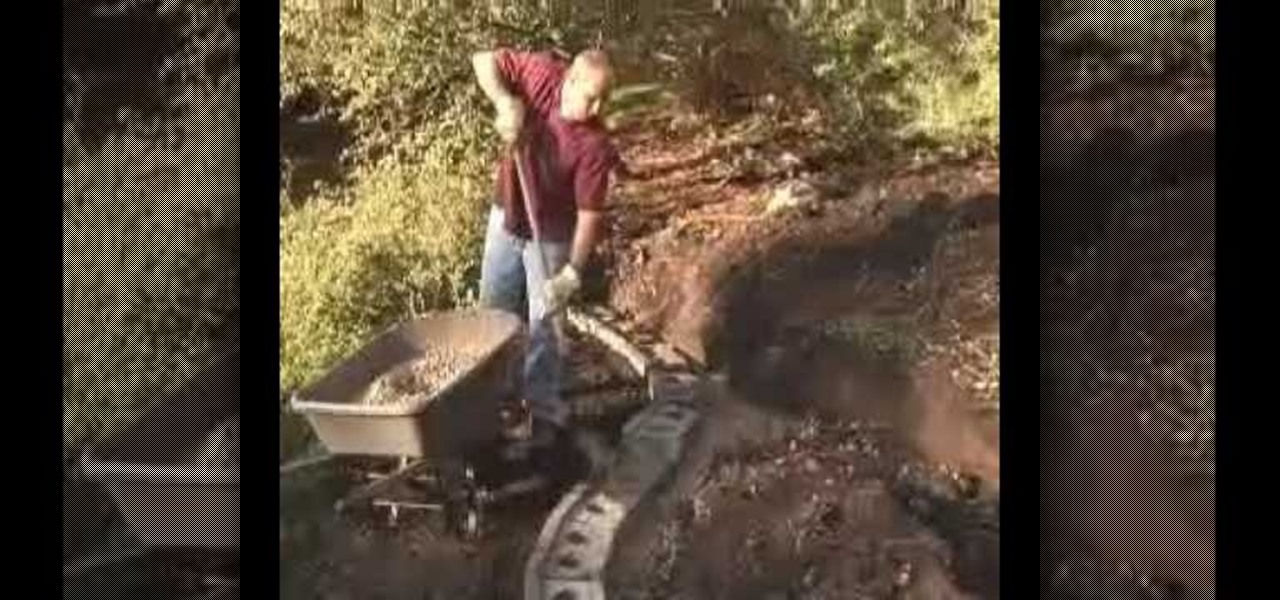
In this Home & Garden video tutorial you will learn how to build a landscape retaining wall in a weekend. This video is from www.allanblock.com. You can do it by using the Europa collection from Allanblock. Get the installation details and the location of the nearest dealer from the website. Tolls you need are a shovel, hand compactor, wheel barrow, measuring tape, level, hammer, rake, broom and gloves. This project will require the AB Barcelona, AB Palermo and AB Dover blocks. The first step...

In this video you learn how to make your own green screen for less than $15 in under an hour. The material for the screen is a green felt-like fabric that can be easily found at a local fabric store or Wal-Mart. The fabric itself is just over 1 yard in width and you will need to buy 2 sheets 3 yards in length for a total of 6 yards at a price of about $2.00 per yard. You will also need a way to join the sheets together. For this, the video recommends a tube of Heat'n'Bond fabric joiner which ...

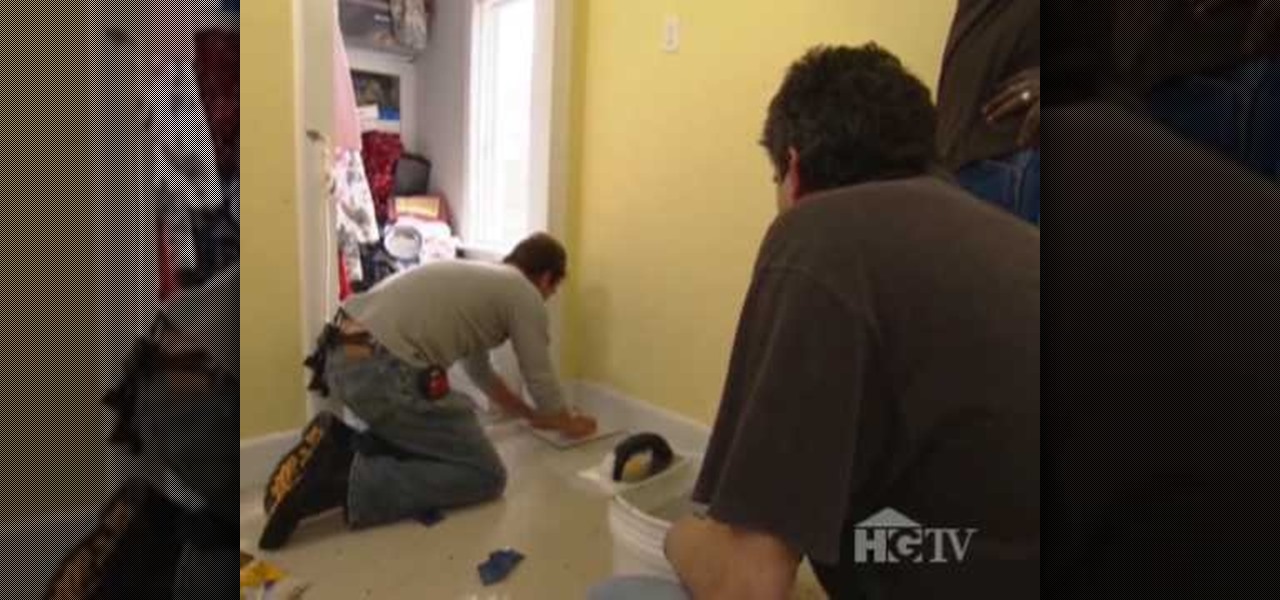
If you want to change the look of a bathroom, giving yourself a brand new tile floor is a quick and fun way to go about it. It's also easy — that is, provided you can assemble all the necessary tools and materials: You'll need grout, cement board, cement board screws and tile as well as a wet tile saw, a mastic trowl, a grout trowl, a tape measurer, spacers, a hammer, a matte knife, a jigsaw, a cordless drill, a tile scraper, a bucket and a mixer. For complete, step-by-step instructions on re...

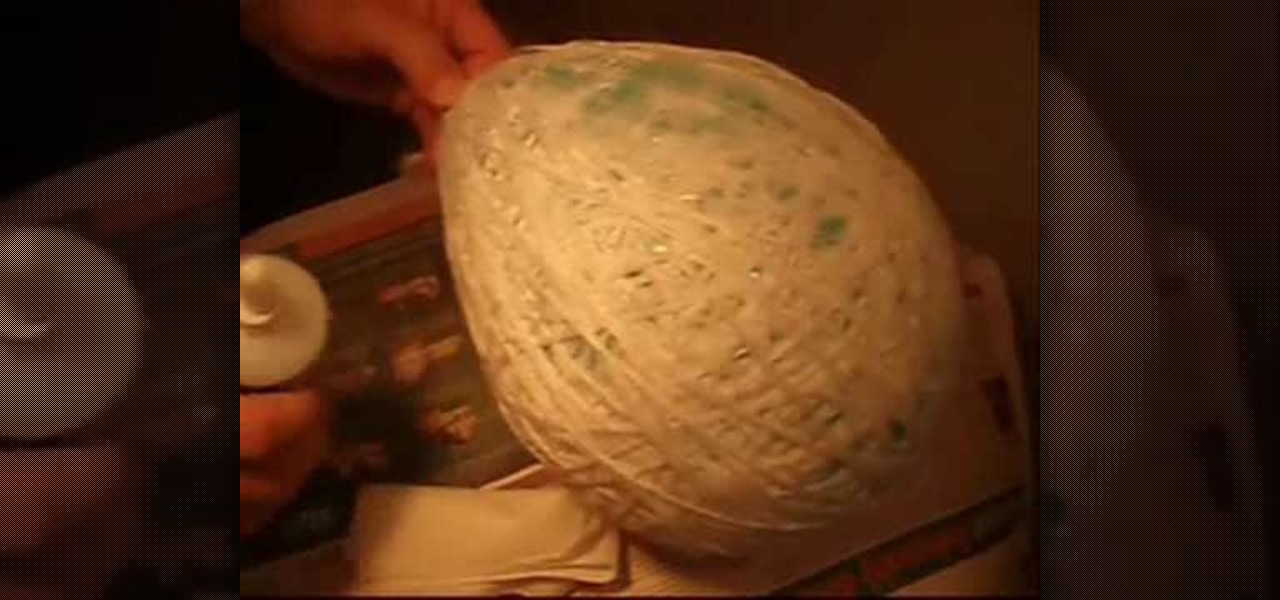
In this video tutorial, viewers learn how to make an amazing lamp. The materials required for this project are a balloon, wool string and liquid glue. Begin by blowing up the balloon and wind it with wool string. Wrap all around to cover the surface of the balloon. Then cover the entire balloon with some liquid glue and let it dry for 24 hours. Once it's dried, carefully let out the air of the balloon and remove it from the dried yarn string. Now add a light source. This video will benefit th...

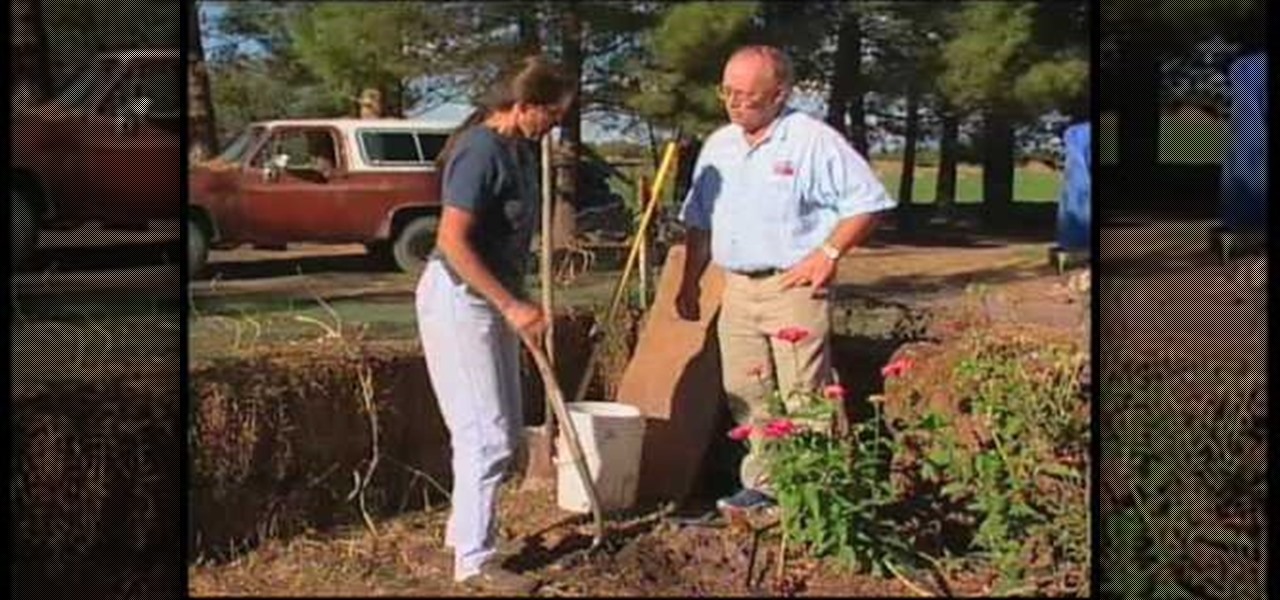
John White of Southwest Yard and Garden along with Kitty Schafer teach you about bio-intensive gardening. Bio-intensive gardening is the combination of two techniques. Part of the technique involves composting top soil with other coarse organic material into a lasagna style mound. Add 2 inches of straw to the soil and spray with water. Add 2 inches of green material that you have collected from other area of your garden, such as bug eaten greens or specific greens for composting. Then add som...

In this video tutorial, viewers learn how to make chocolate truffles. The materials and ingredients required for this recipe are: 1 pack of double stuffed Oreo, a food processor, 2 packs of cream cheese, 1-2 packs of semi-sweet chocolate morsels and sprinkles. Begin by putting in 5-6 Oreo cookies into the food processor and grind until thoroughly mixed. Pour it into a mixing bowl and add in the cream cheese. Mix them together and refrigerate it for 1-2 hours. Make the mixture into little ball...

Whether you're new to Adobe Photoshop or a seasoned graphic arts professional after a general overview of CS5's most vital new features, you're sure to be well served by this official video tutorial from the folks at Adobe TV. In it, you'll learn how to create 3D logos and artwork from any text layer, selection, or layer mask with new Adobe Repoussé technology. Twist, rotate, extrude, bevel, and inflate these designs, and then easily apply rich materials like chrome, glass, and cork to explor...

In this tutorial, you will learn exactly how to make a router-based inlay. And inlay is made up of small cut out sections of wood, and looks like a stencil or pattern when you are finished.

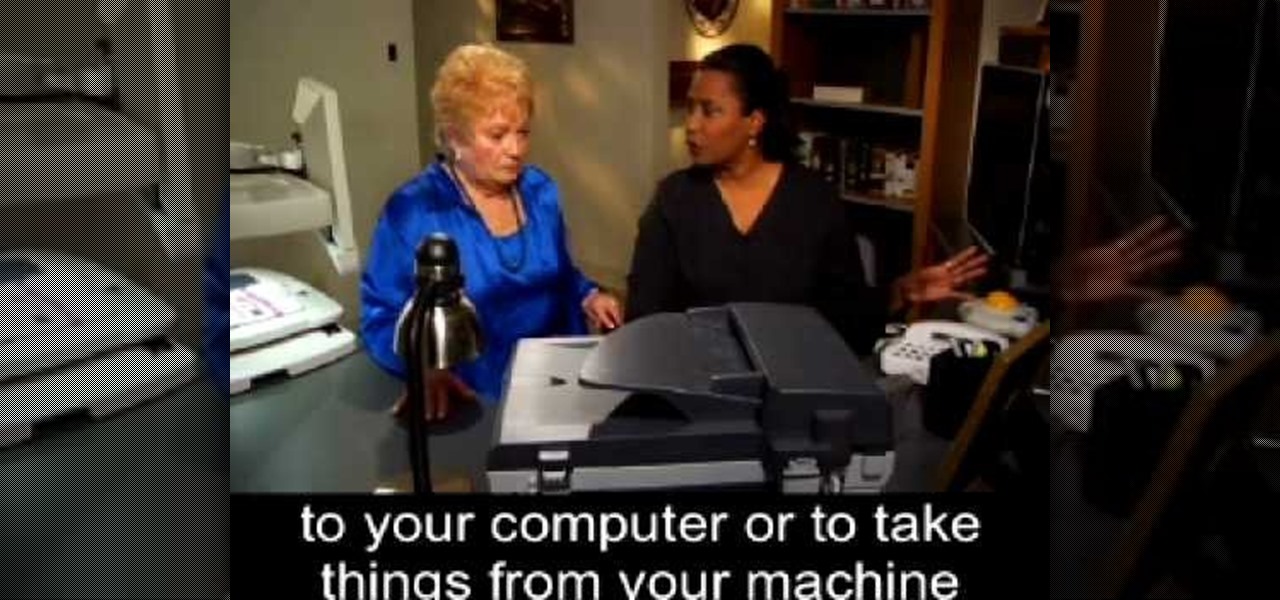
This video tutorial demonstrates tips for how to organize your home office when you are visually impaired. Here a rehabilitation specialist is helping a visually impaired person. The person who is visually impaired should know what is visually important to him/her. Mostly these people obviously need to know where every thing is because they don’t have their eyes to depend anymore. Here visually impaired person is 66 year old Deanne Jackson. She has wet macular degeneration. In order to set up...

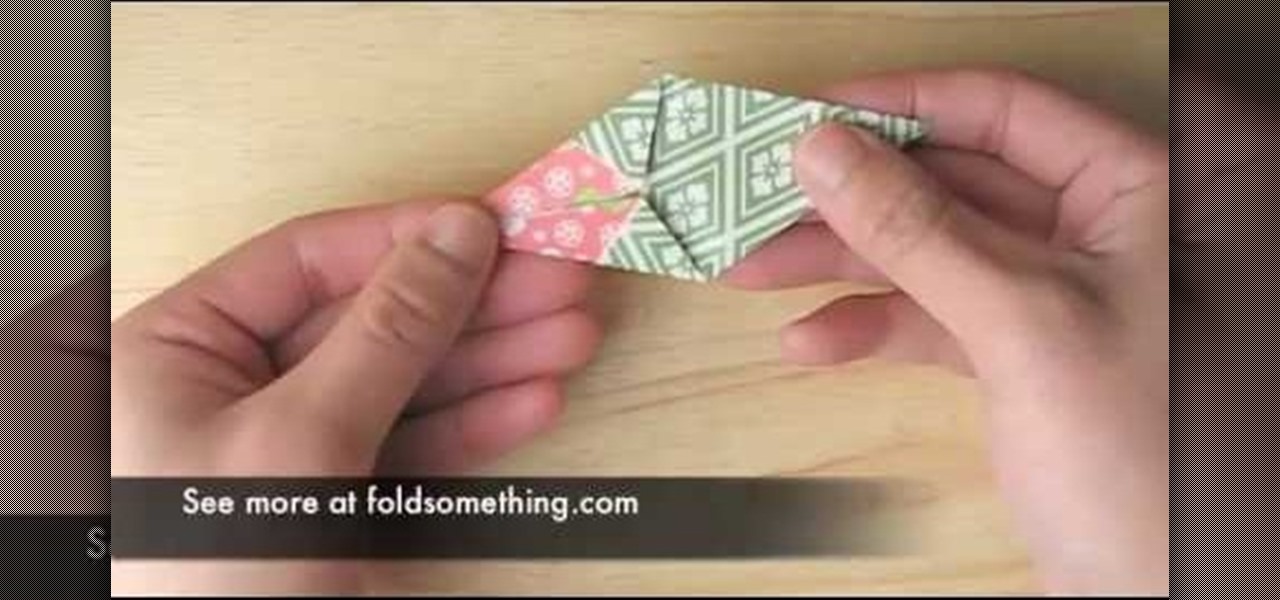
Origami is simple and fun and our host proves that right off by displaying how little we actually need material wise, to make something unique and pretty. Just two swathes of patterned paper, put flush together and a paper clip. First folding your little construction into the shape of a tiny kite It gets very precise from there. Incorporating smaller and smaller folds, but with a close-up view and a step by step explanation, this video will ensure success. After creating your unique abstract ...

Evil Dylan takes a twenty dollar bill and sets it on fire, but does not damage the money at all. Materials necessary for this experiment are distilled water, alcohol and a twenty dollar bill. He measures 45ml of distilled water into a measuring cup and then tops it off at 100ml with the alcohol. He then puts the twenty dollar bill into the mixture and soaks it for a while making sure that the bill is totally immersed. Then he sets it on fire and even though the fire burns, the bill is not dam...

Students show how mercury thiocyanide or "rock from mars" burns. First and foremost, make sure you are outdoors and with a considerably large space. Spread a non-flammable material over the space you decide to work on and place a small fragment of the mercury thiocyanide in the center. Keeping a respectable distance from the "rock" touch the "rock" with a lighted match. Watch as a substance oozes out from the rock. Make sure that the process has ended or that no movement can be seen from the ...

Host Brenda Lo, from Lowe's Creative Ideas demonstrates, in this informational video, how to create an outdoor water fountain. Brenda details the entire process, listing the tools and supplies you will need to complete this great do-it-yourself project in just one afternoon with easily obtainable materials. This video is great for the DIY beginner or experienced professional looking for a new project idea for your outdoor garden. do-it-yourself, and save time and money with these great tips.

Think a hot air balloon is something you can only read about in books? Think again. In this six-part science based tutorial, learn how to make your very own hot air balloon using science & the following easy to find materials: plastic bags, plastic drinking straws, thin candles, aluminun foil, tape, and scissors.

If you're making a cheap horror movie, you're gonna need fake blood, and lots of it! In this video, you'll learn how to make a liter of fake blood. And the supplies are everyday household supplies, costing less than a dollar!

Lava lamps are cool and retro, but they can be expensive and there is a risk of fire if you leave them unattended and they tip over accidentally. By using this tutorial by Shooting Eggs, you can make your own light up bubble tube using materials you might already have around the house, and it will be safer and a whole lot cheaper than the kind you'd buy. Make one of these babies, and your 1966 love den will be all ready to go.


