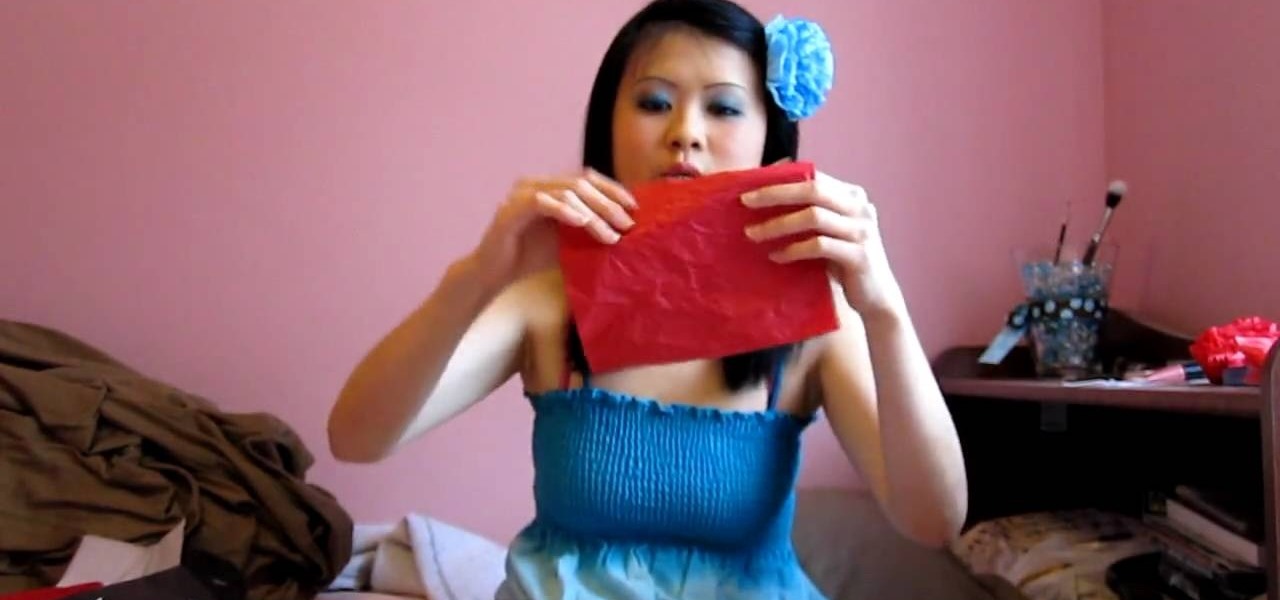
In this video, we learn how to make a flower hair accessory from shopping bag tissue. First, grab your tissue from any shopping bag and fold it down until you have a rectangle, then cut on the sides to make several different rectangle shapes. Next, start to accordion these together until you reach the end of the papers. After this, grab the middle of the tissue paper and tie a rubber band around it. Next, start to push up the tissue from both sides until you reach the bottom. After this, you ...
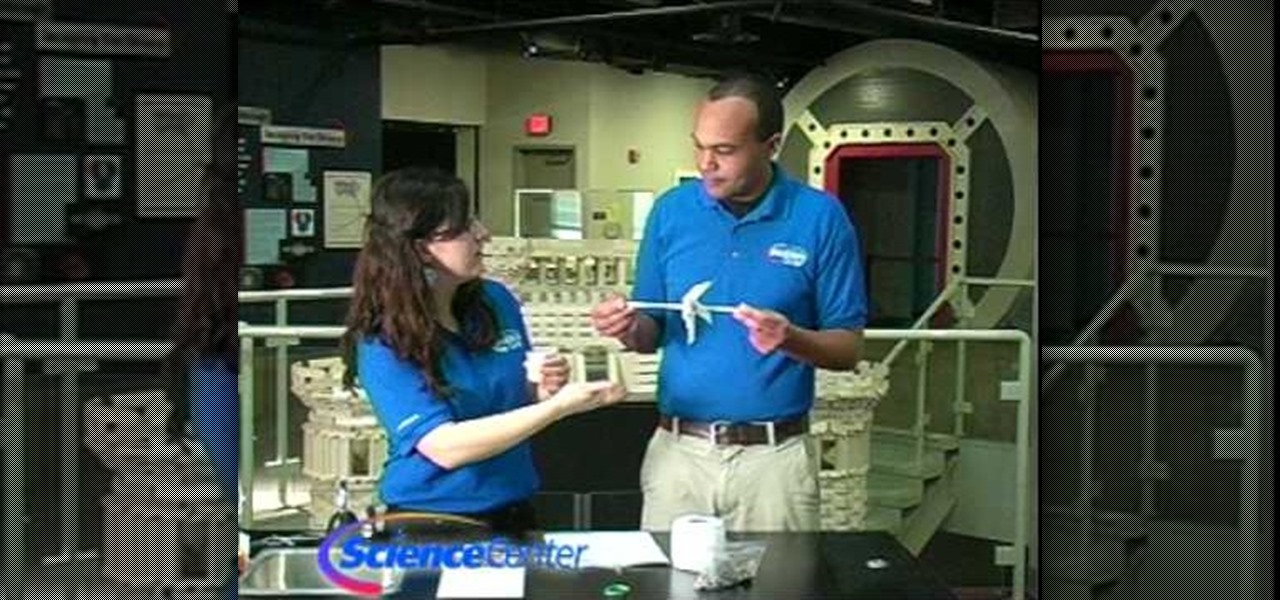
In this Home & Garden video tutorial you will learn how to build your own windmill with household materials. Materials needed for the windmill are a template, scissors, straw, some yarn, some pennies, a paper cup, rubber bands, pencil, single hole punch, a skewer and thumb tacks. Take the template, cut it out along the solid lines and punch holes on the corners as shown in the video. Now with a thumbtack and a pencil make a nice hole at the center of the template. Fold the template along the ...
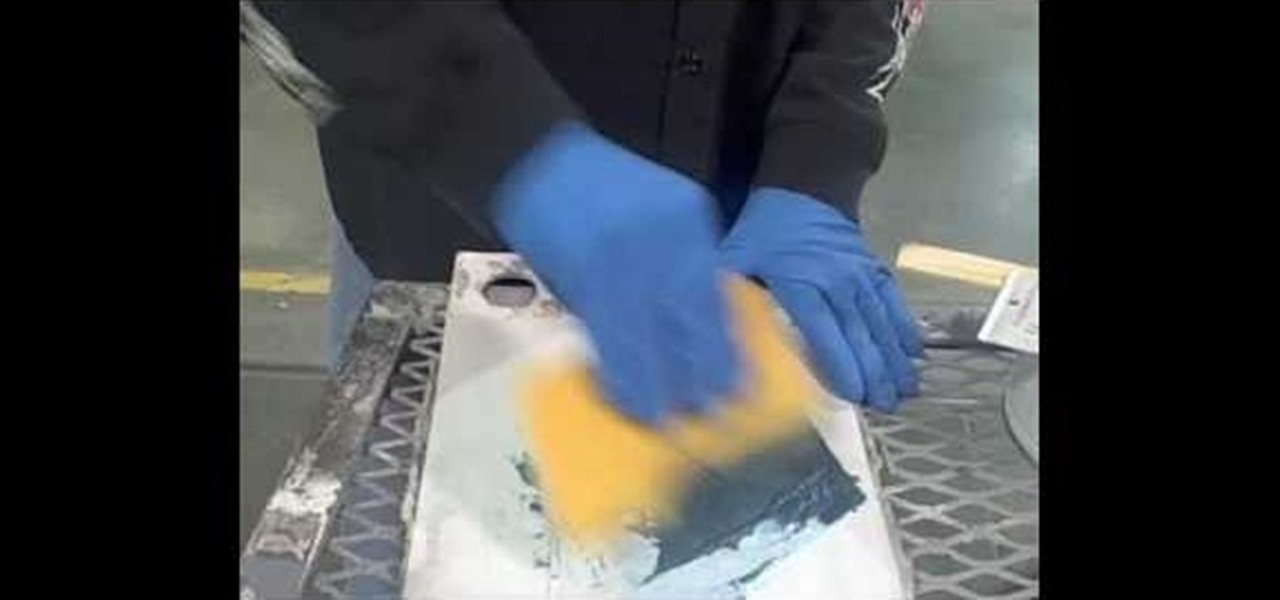
In this Autos, Motorcycles & Planes video tutorial you will learn how to apply fiberglass filler to a welded area. Fiberglass or aluminum filler should always be added to an area that is welded. This will ensure proper sealing and prevent moisture ingress. There are two types of fiberglass fillers; long haired and short haired. Long haired is stronger than short haired filler. First you got to mix the filler and hardener together as per directions on the containers. Wear rubber gloves and a p...
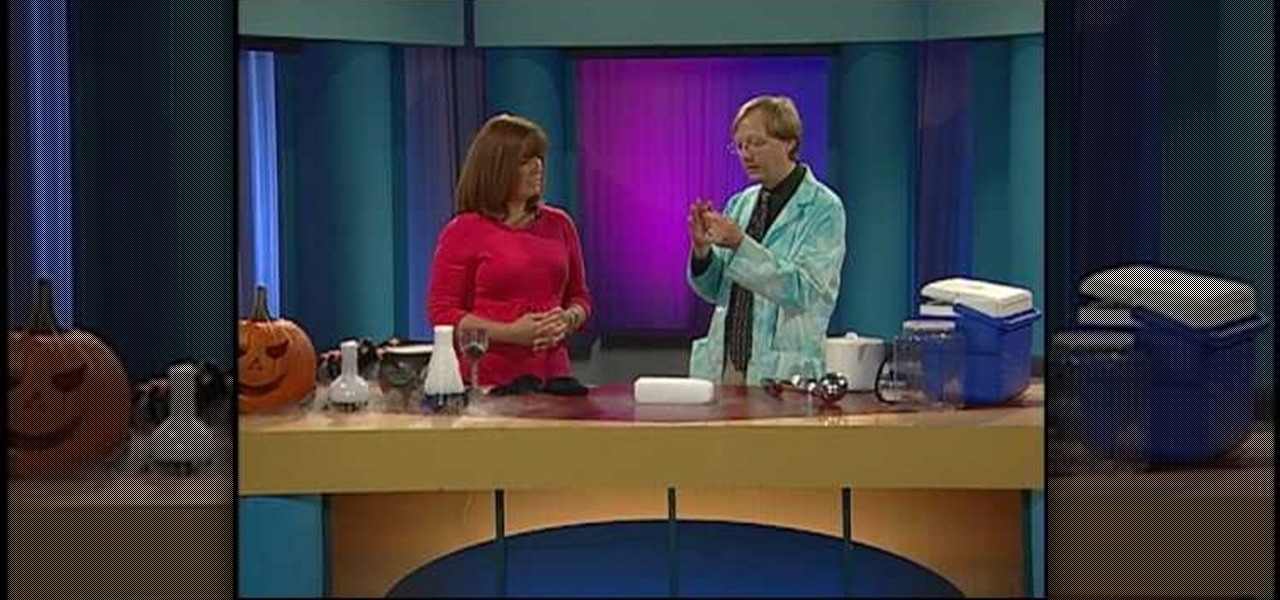
In this tutorial, Science Bob shows us how to do a science experiment with dry ice. First, take a block of dry ice and place a quarter on top of it. Make sure you are using rubber gloves when you do this, it's dangerous to touch gloves with your bare hands. When you press the quarter down, it will cause it to vibrate very quickly. You can put any type of metal on top of the dry ice and it will make different noises. This is only one of the many things you can do with dry ice. You can also use...

Time to get that busted bike inner tube out of the trash - that rubber is perfect for a cute, stylish belt! In this tutorial from Elizabeth Gleeson, learn exactly how to turn this broken part of an old belt into a cool new accessory. People will be dying to find out where you got such a cute belt and they will be shocked when you tell them! So.. why not save money, be Earth friendly and look great all at the same time? It's easy!
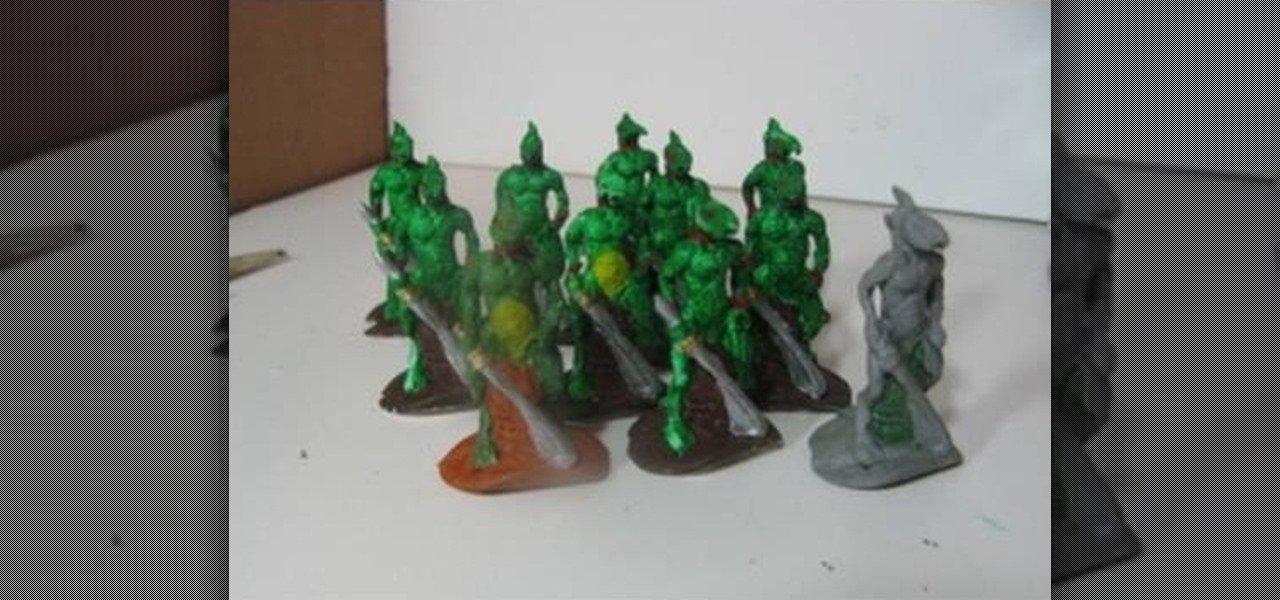
Warhammer 40,000 and other collectible-miniature-based table-top games have created a generation of people who love painting and playing with tiny figures. If you are into the game or any of it's ilk you've probably had an idea for a piece that you would like to create from scratch. This video from Storm the Castle shows in great detail how to make your own miniature figures out of rubber that should stand up to anything you've bought from Games Workshop. Model on!

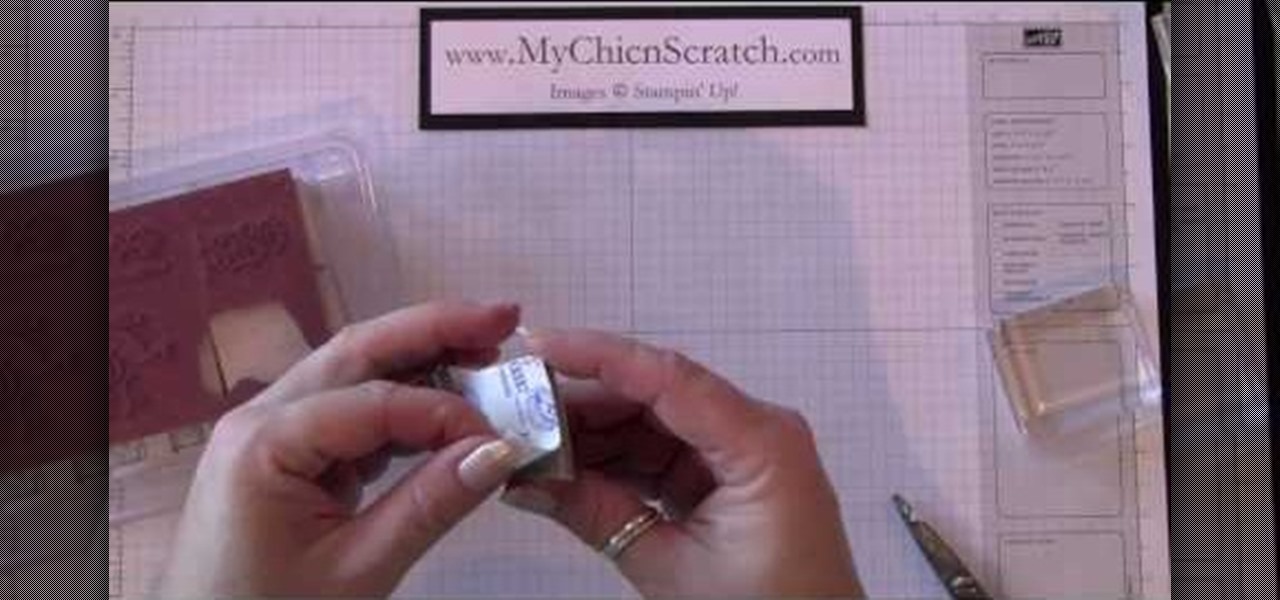
In this how-to video, you will learn how to convert your wood mounted stamps to clear mounts. First, be careful and go slow if your stamps are already mounted on wood. You will need stamps and an EZ mount. Find a spot where the image fits and trim it around the stamp. Once this is done, remove everything from the rubber. Next, peel back the sticky side of the EZ mount piece that has been cut. Now, position the piece so that it is completely covered. Trim the excess EZ mount. Make sure you use...

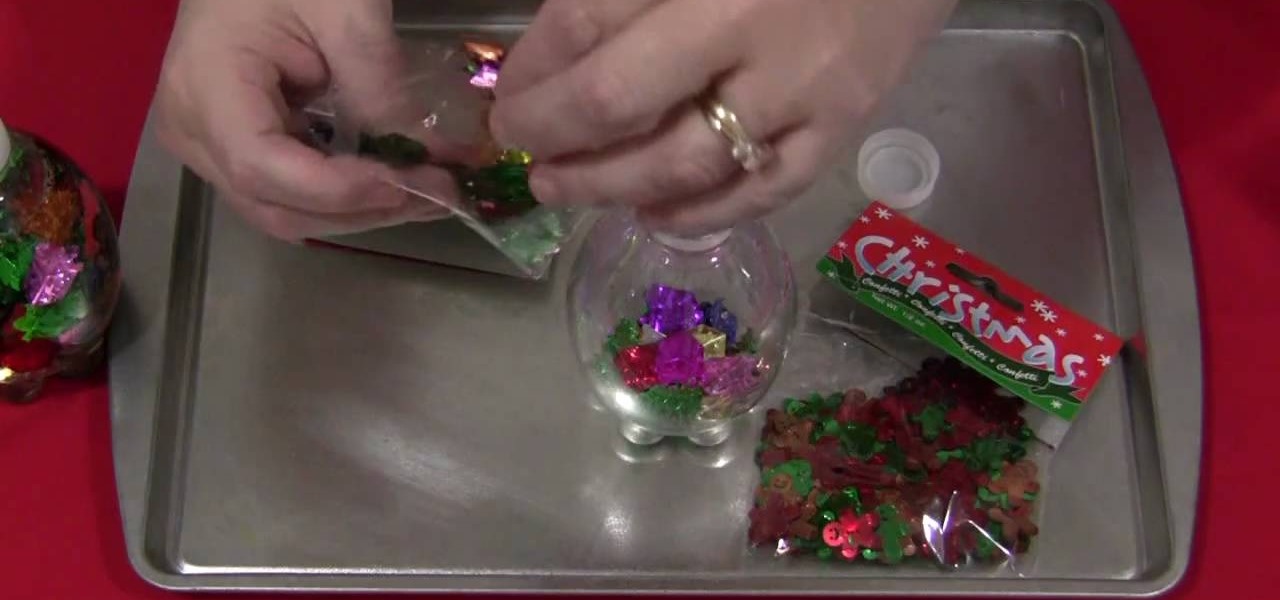
In this Family video tutorial you will learn how to make slow motion discovery bottles with your kids. Shelley Lovett from ChildCareLand presents this video. For this you will need small size empty water bottles, clear corn syrup, confetti and rubber cement to seal the bottles. Fill up to quarter of the bottle with confetti, then pour in the clear corn syrup and fill up the bottle. Then put the cap and seal it. The confetti is all at the bottom of the bottle. So, turn the bottle upside down a...

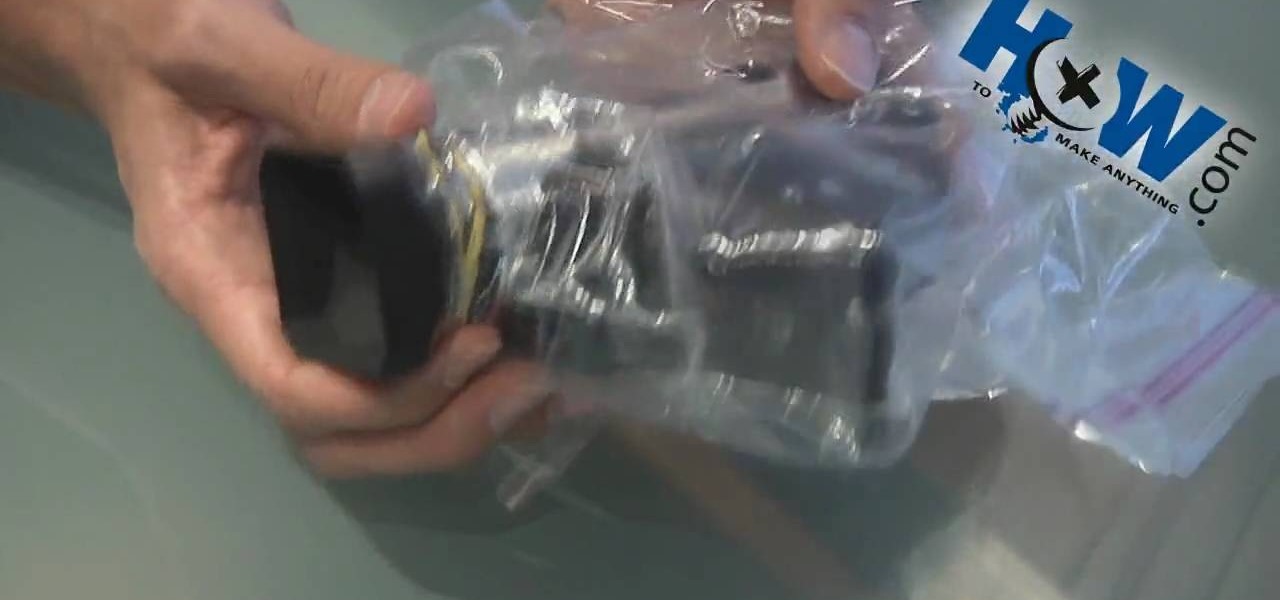
To rainproof your camcorder start by purchasing a lens hood for it. This lens hood helps to rainproof the camera lens but it also prevents flaring from the sun. Take a zip lock bag and cut the corner off of the bottom so that it creates a hole that is big enough for the lens hood to fit through. Put the camera in the bag and push the lens hood through the hole in the bottom of the bag. Take a rubber band and wrap it around the outside of the plastic bag just behind the lens hood to keep water...

DominickDiy teaches you how to use a wood router. You figure out what and how you will use it for by looking at it and adjusting the blade. Then lock it into place and you're ready to cut. The piece of wood you'll be working on should be on top of a piece of rubber mat, so that the wood doesn't slip. You also don't want the router to slip, as it might injure you or cut a wrong way. You go from a rip to a cross cut, when going from one side to another, via a corner. So one time you will be pus...

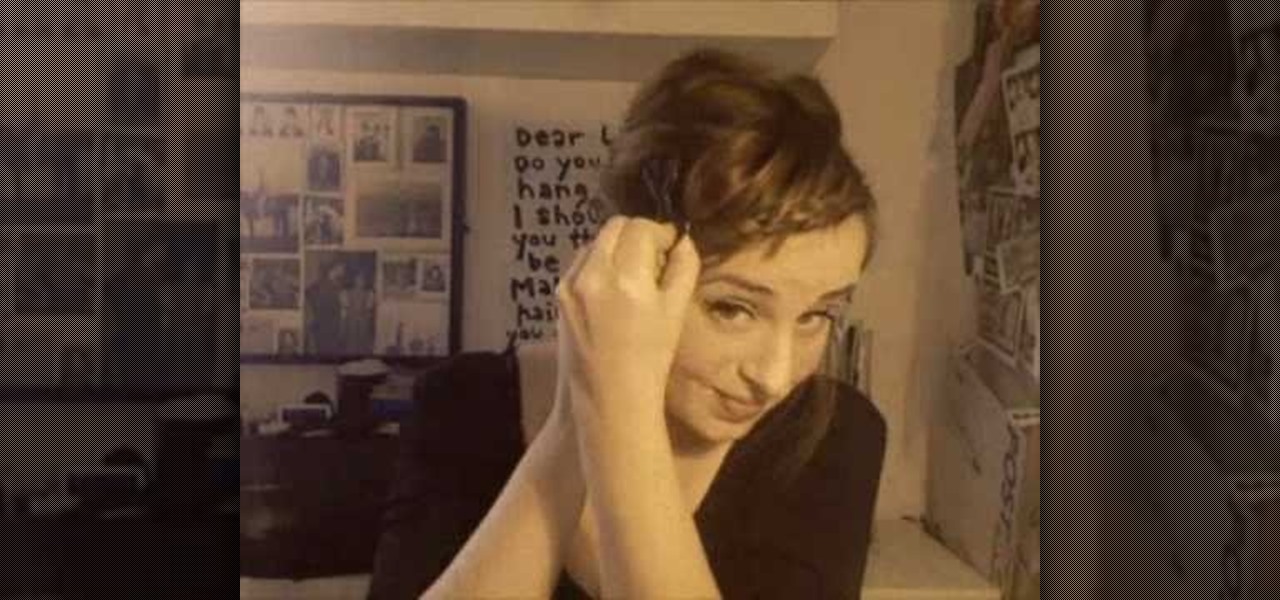
Mellerobot teaches you how to style an easy French braid headband. You start with short hair and use a rubber or a scrunchie to tie your hair in the back. The hair above the forehead is parted to the side. Grab a strand of hair by the parting and start a normal braid. Every time you braid outward, grab another strain of hair. The braid looks better if it's not perfect. Carry on until you've braided your whole fringe. Pin that with a bobby pin. You can wear this with your hair up or down.

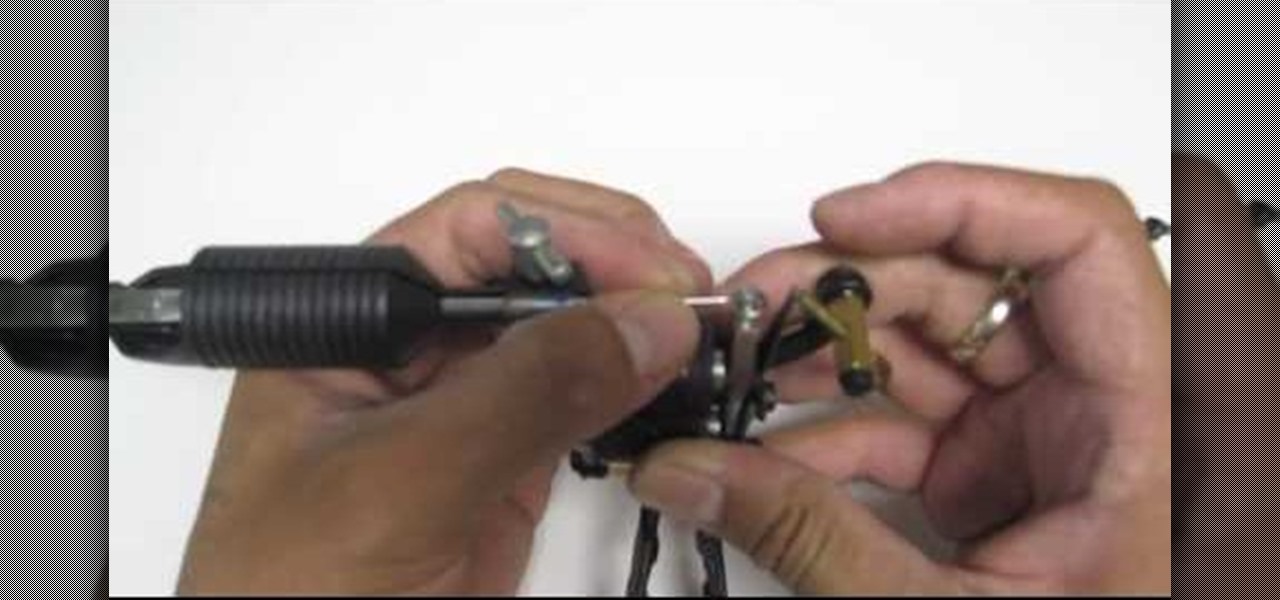
Elementtatootech explains the various tools of the industry and their uses to novice tattoo artists and interested viewers. In this tutorial, Elementtatootech focuses on the old school tattoo tool known as grommets or nipples. Utilizing a single close up shot, the instructor quickly educates viewers on the purpose of the grommet in addition to the most common users of the device. The instructor additionally shows viewers how to set up and assemble using this tool and a simple trick utilizing ...

Gross out—and fake out—your friends by making some frighteningly, disgustingly real-looking intestines. Inspired by the Instructables project: http://www.instructables.com/id/Great-looking-disgusting-intestines-for-horror-f/

Listen closely or risk ending up like Jack Nicholson in The Shining, minus the whole crazy axe part. Learn how to dress properly for a snowstorm.

Check out this video to see how to x-ray an egg and make it bounce. This is a cool science experiment that can be done with simple kitchen ingredients. Just get one raw egg and soak it with a cup of vinegar. Let it sit and soak for a couple days and it will feel like rubber. The egg shell will no longer be white, and it will bounce just like a ball, however... it is not a ball so it will break! This is one cool translucent bouncing egg.

Your car needs care and maintenance to run properly. Let Firestone Complete Auto Care teach you the basics about keeping you automobile running smoothly. Check out this video tutorial for some helpful hints on checking the tire wear on your vehicle.

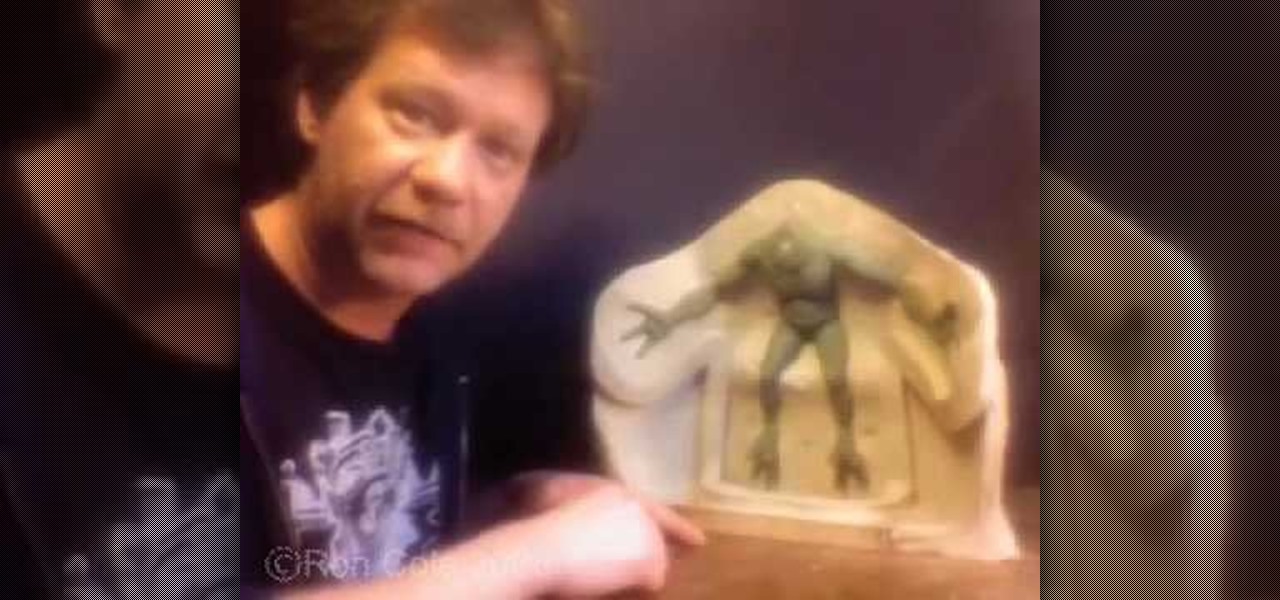
This three part instructional sculpture video demonstrates how to make a two part plaster mold. Make a plaster mold to make stop-motion animation puppets from clay models. A plaster mold can make casts out of almost any material. This model will be cast out of foam rubber with a movable metal skeleton.

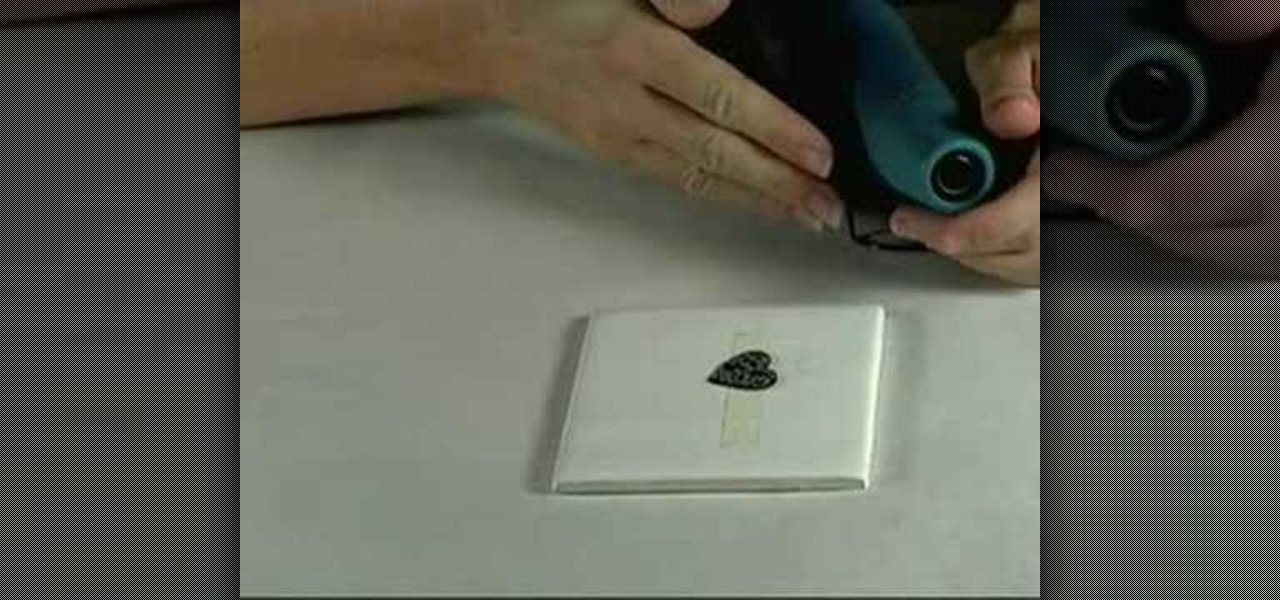
Here are some instructions on heat embossing on polymer clay. This video includes tips for embossing both baked and unbaked clay. You will need polymer clay, a rubber stamp, pigment ink, embossing powder and a heat gun. Roll out the clay onto a nice thin sheet of clay and bake the selected piece. Then stamp the baked clay with ink as desired. Sprinkle the embossment powder onto the stamped area, and tap off the excess powder. Next, heat the embossed area with the embossment gun and watch the ...

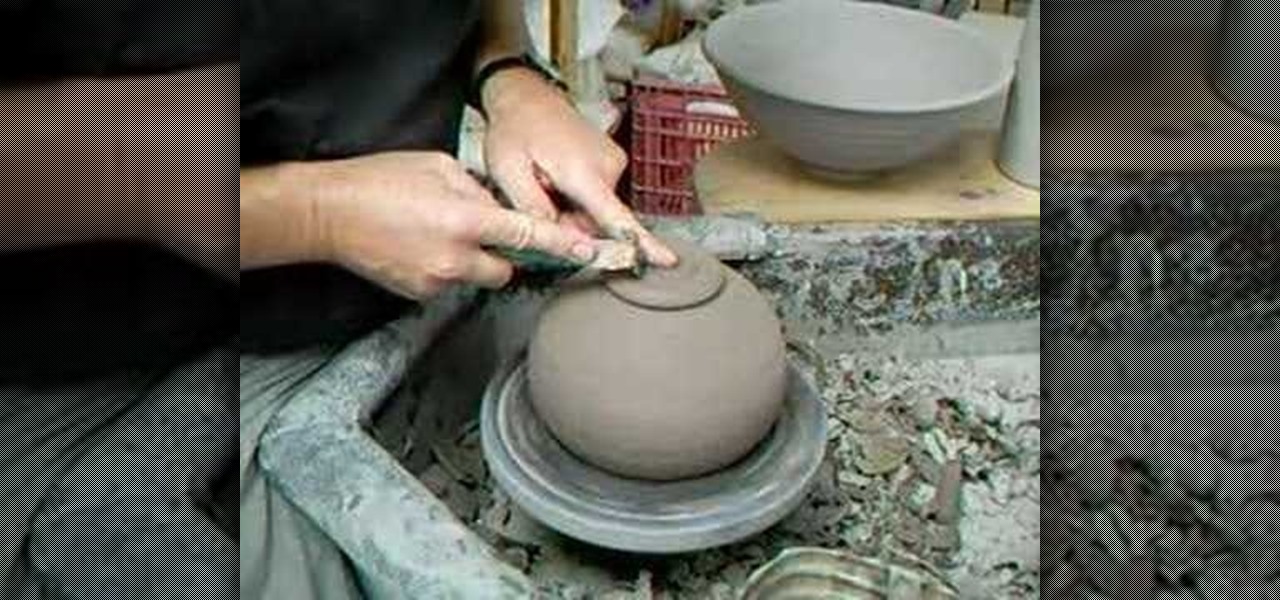
This instructional ceramics video shows you how to trim a round bowl. It is much easier of you have a centered pot to begin with. It is also helpful to leave a bit of extra clay in the base so that one can trim more freely. Once the clay is semi-dry, you can begin trimming. After trimming, smooth the trimming marks out using a rubber rib. A touch of water on the rim will re-elevate the rim after trimming your round pot.

Plug this baby into your FiOS-powered computer and simulate the real-time climate of any location in the country -- rain, lightning, fog, sunshine.

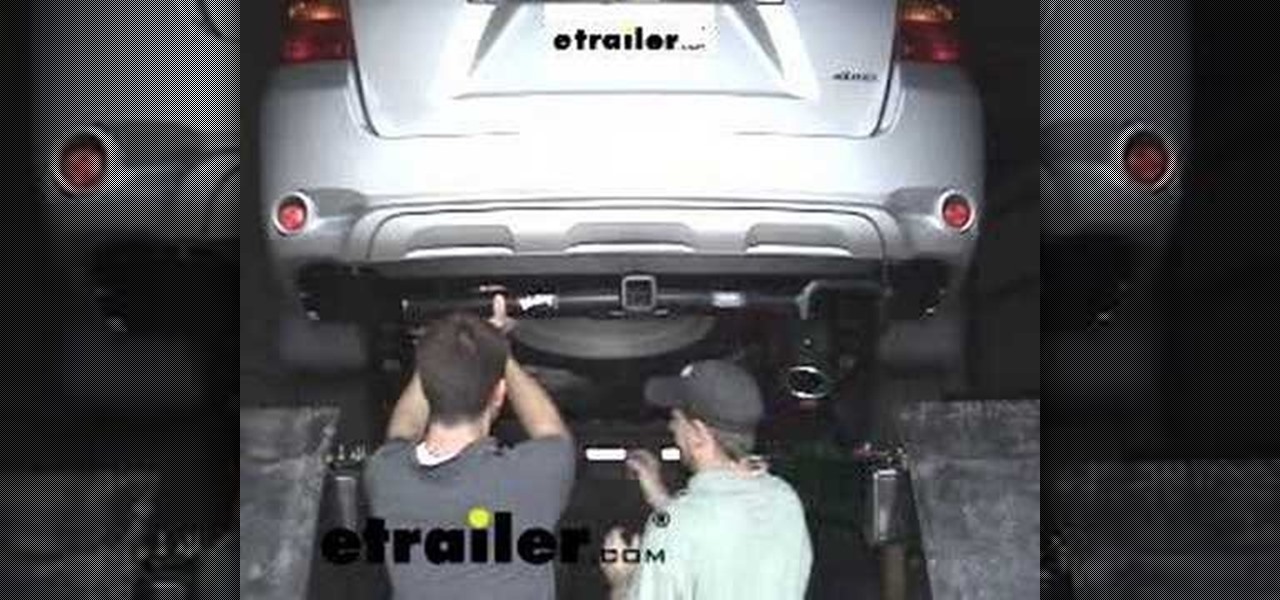
An installer gives step by step instructions on how to remove decorative panels, remove tow hooks, lower the exhaust pipe, and install a Valley trailer hitch on a Highlander. Video also shows what to do if one of your holes does not align perfectly. If you need help removing the exhaust pipe from the rubber hanger, part two shows that.

In this tutorial, we learn how to style your hair into side spikes. First, you will brush the back of the top of your hair up into the air and then put it into a rubber band. After this, repeat for two more pieces until they are in a line ready for spikes. Then, grab the first section and remove the band from it. Then, spray hair spray in it and tease it until it's standing straight up in the air. Hold it up while you are spraying it so it keeps shape. Repeat this for the other spikes. When f...

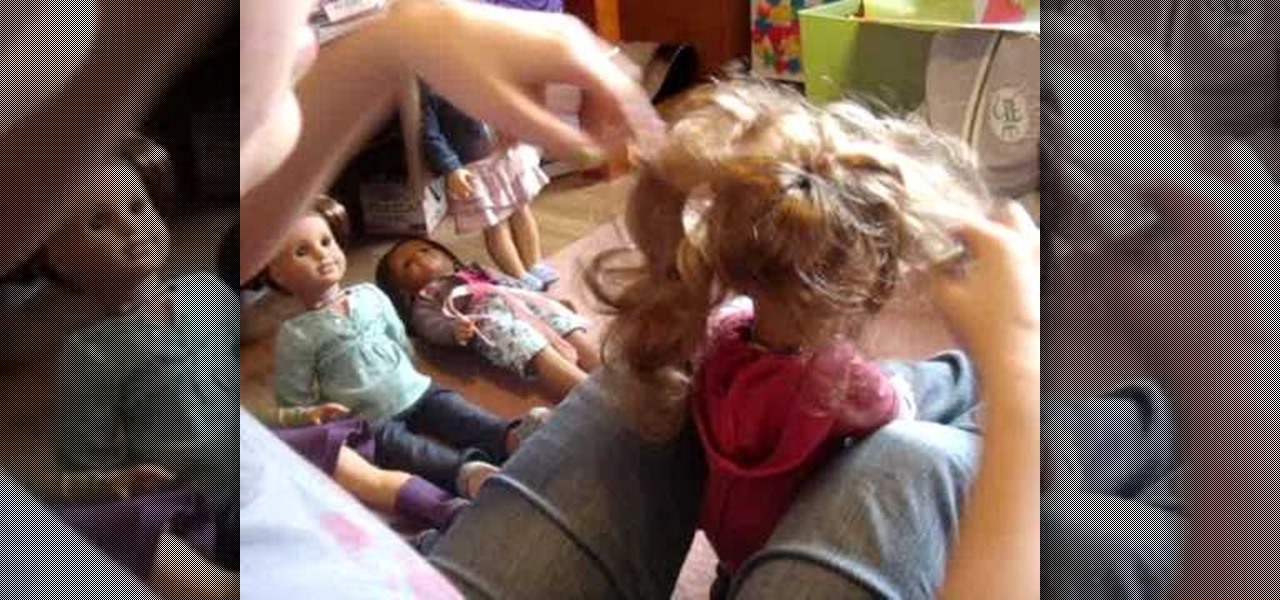
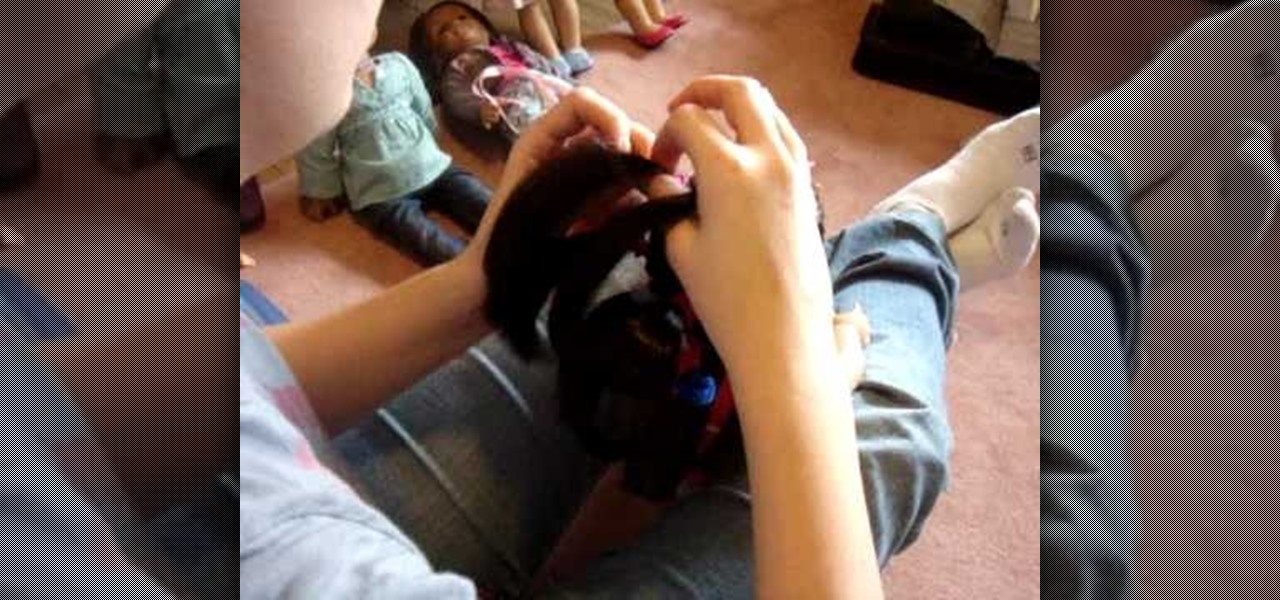
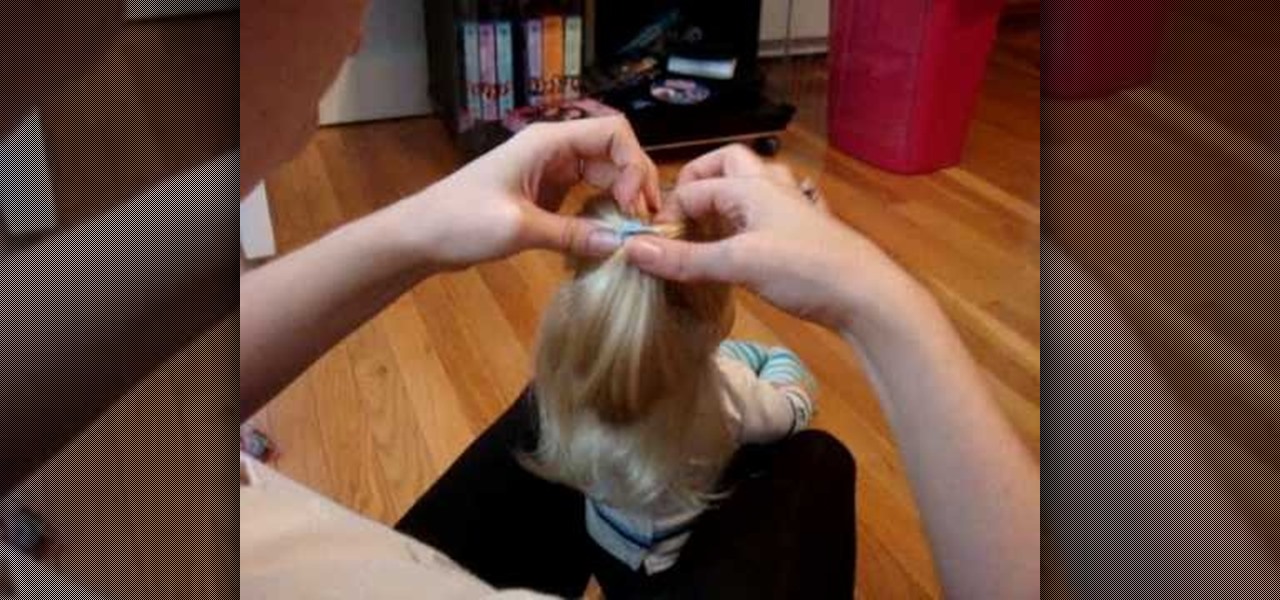
In this video, we learn how to do cowgirl pigtails on American Girl doll Nicki. First, brush the hair out and then make a part down the middle so you have hair on both sides. Then, put one of the pigtails to the side. After this, go to the other side and brush it out again. Make this low and then tie a rubber band around the pig tail. To make it curly, you will take little pieces of the hair and curl them up with your fingers. Repeat this on the other side and then you will be finished with t...

In this video, we learn how to do a hippie hairstyle on your American Girl doll. To start, you will simply take the side of the hair and braid two braids into it. Pull these across the back of the head and then repeat on the other side of the head in the same exact braid. Next, you will pull these braids all together and then braid these together going all the way down to the bottom of the hair. Tie this off with a rubber band at the bottom. This will finish up your hippy hairstyle, enjoy and...

In this video, we learn how to do a cute hairstyle on an American Girl w/ short hair. First, brush the hair and then take a small piece from the front section of the hair. Twist this and then pull through and tighten with a rubber band. Then, part the hair in the middle and start the braid the other side of the hair until you reach half way down. When finished, you will put ribbons on each side of the hair and then brush out the excess hair in the ponytails. This will finish this really cute ...

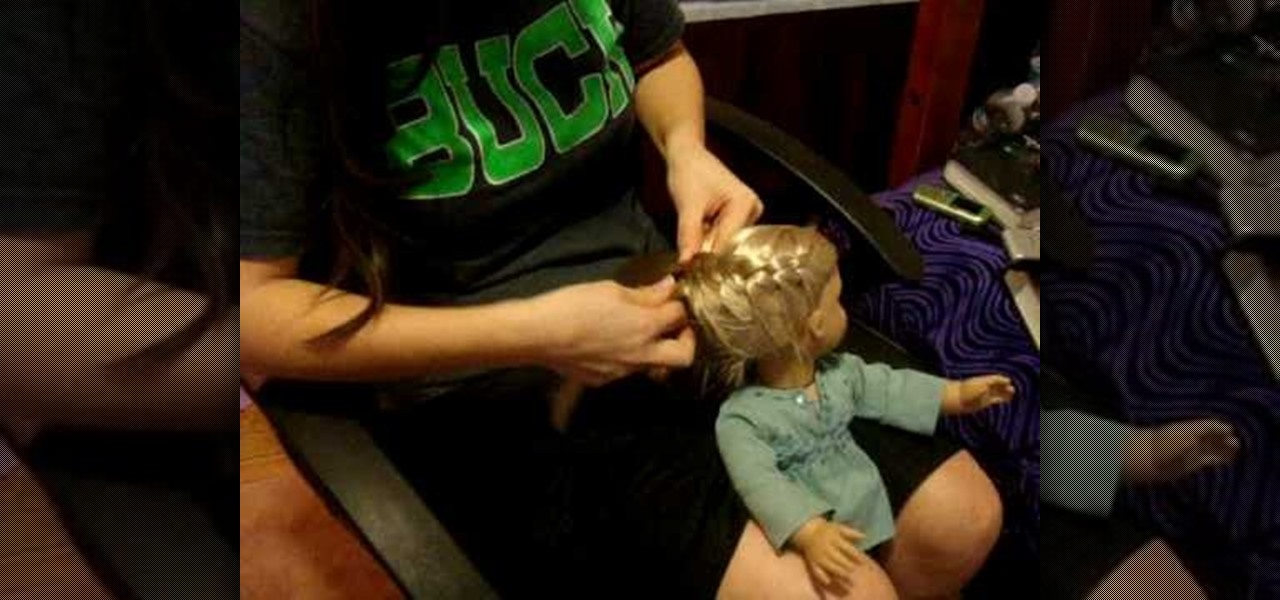
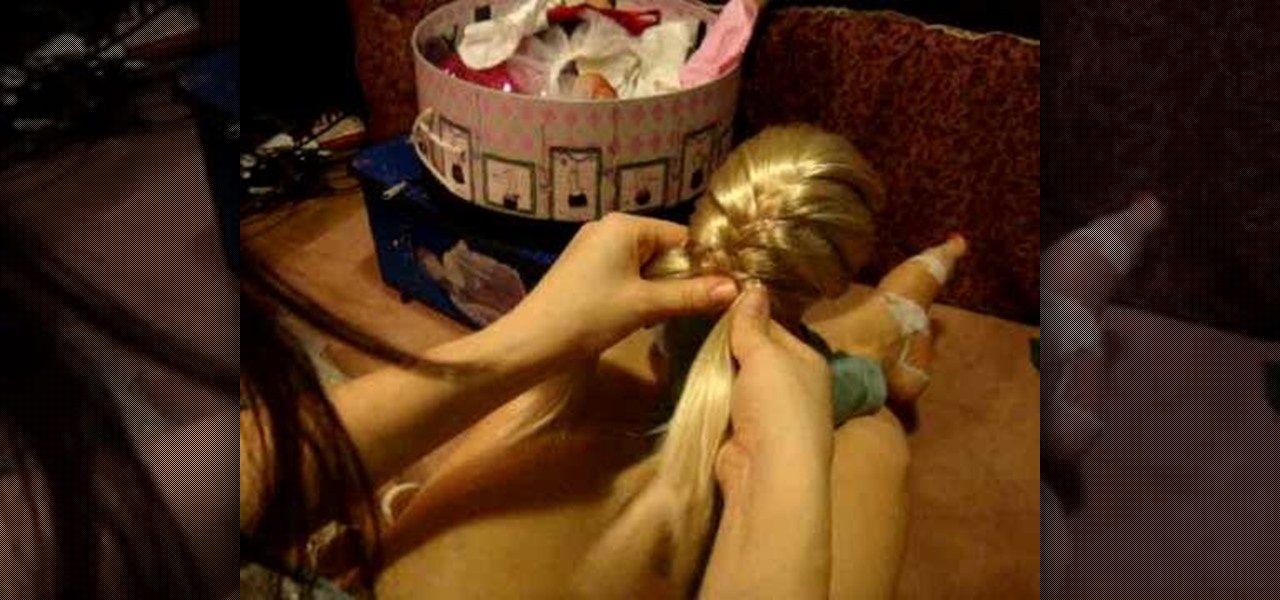
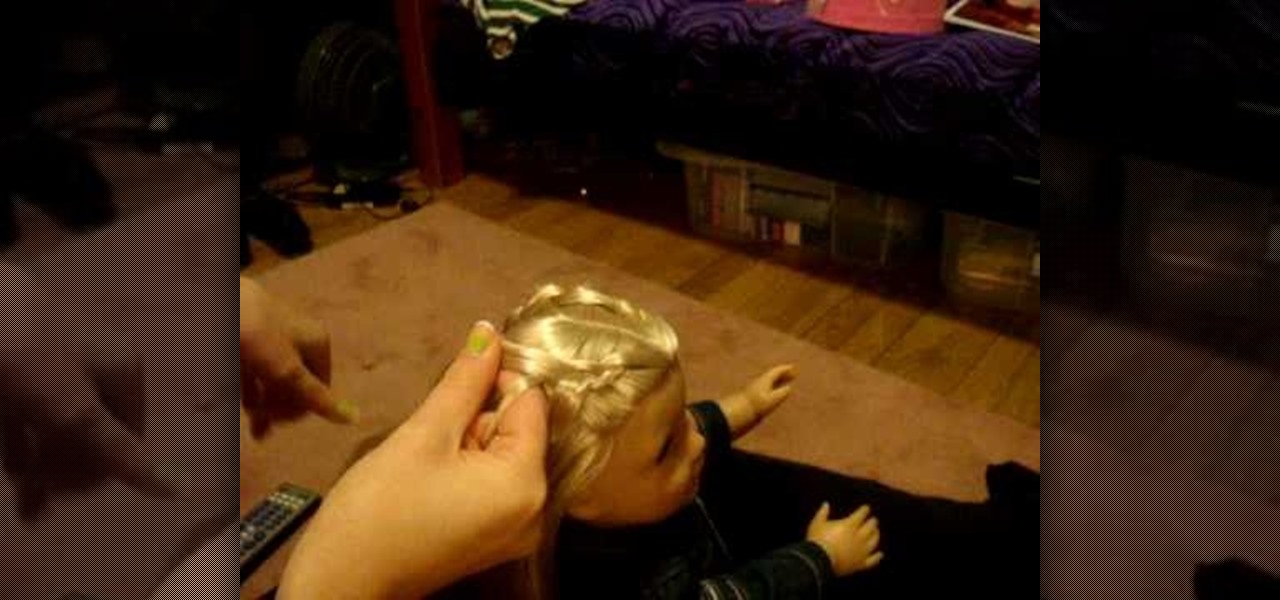
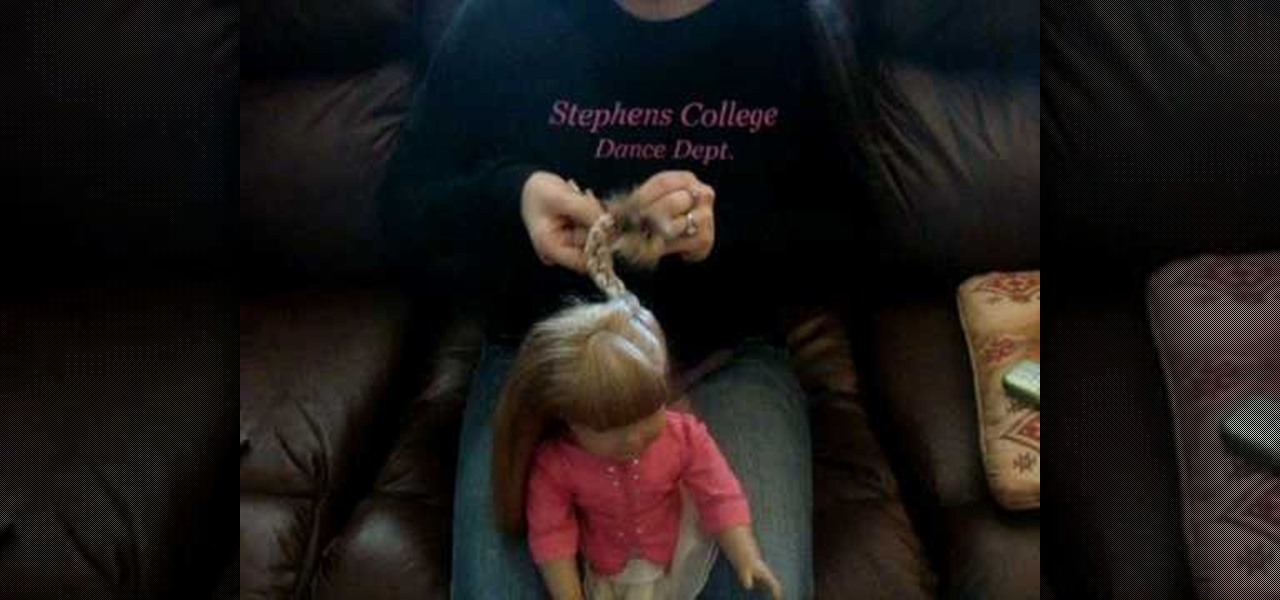
In this video, we learn how to do a French braid wrap around on your American Girl. First, brush the hair out and then grab the section on the right side of the hair. Split this into three sections and then start to braid down four times. After this, you will start to French braid the hair, adding more hair in as you go down. Incorporate the middle strands in and go to the other side as you continue to braid. Pretty soon, you will incorporate all the hair into the braid. Finish this off by ty...

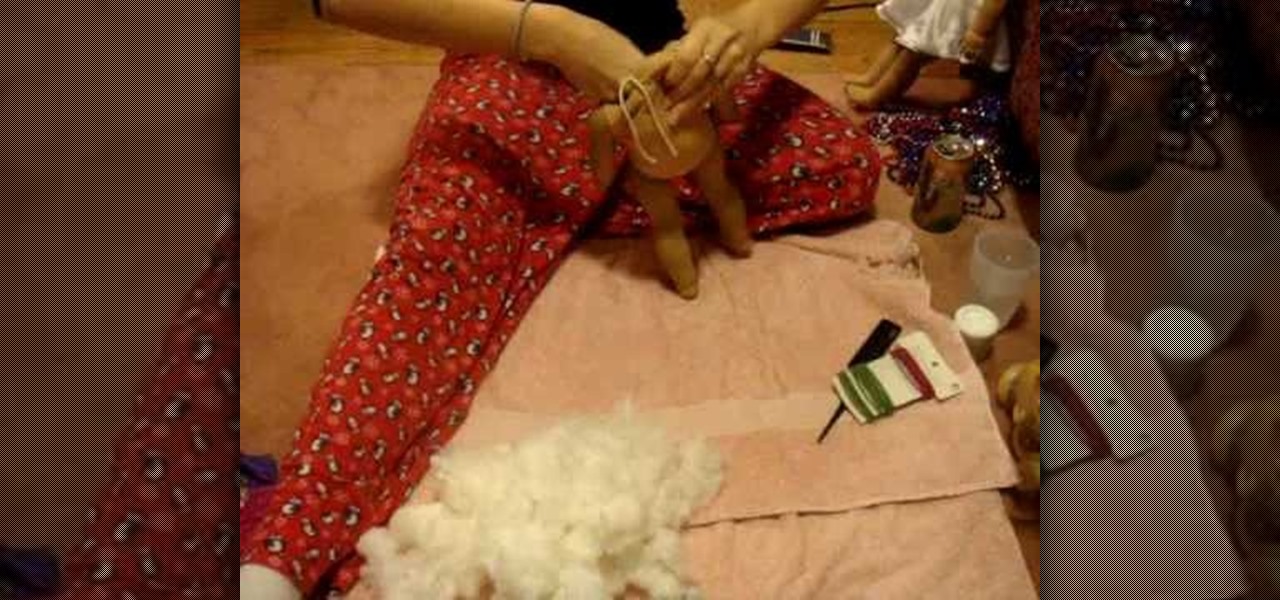
In this tutorial, we learn how to fix your American Girl Doll's loose limbs. If your doll doesn't stand up very well because her limbs are loose, you can re-string her. First, take the knots off from around the head and then pull the head off. After this, take out all of the stuffing from the doll. From here, you will find the inner limbs with the elastic pieces on them. Take a rubber band and tie it around between the gold piece and the white piece. Do this for all the limbs, then stuff the ...

In this tutorial we learn how to cheat on a test using a Band-Aid. First, go on your computer and type out the answers and information that you need. After this, you will need to shrink down the size of the font until it's really tiny, but you can still read it. After this, you will print it out and cut it out around the edges. From here you can do one of two things. The first option is to roll the paper up and put it inside your pen and then take it out to use on your test. The second way is...

In this tutorial, we learn how to make a Saw 2 death mask. Start off by grabbing an old helmet and covering it with plastic wrap. Then, make paper mache over it. From here, cut a piece of rubber into small strips. Then, draw and cut three stripes on a piece of cardboard. Then, use two strips for the shoulders and one for around your waist. Then, make the front chest piece with cardboard. From here, make a square with Styrofoam and cut out a piece of an egg carton. Now, draw the eyes and mouth...

In this video, we learn how to do a fishtail variation on your American Girl doll. First, brush the hair out so it's smooth and then take a section from the top right side and top left side. Cross these together on the back of the head and then grab another piece of hair. Start to braid these together and push them from side to side. Alternate grabbing pieces of hair from each side of the head, making them as big or little chunks as you want to. As you continue to cross the hair, you will rea...

In this video, we learn how to do an adorable hairstyle on your American Girl doll. You will need: two ribbons and four rubber bands to do this. First, brush her hair all the way out so it's smooth. Then, part the hair into two sections on the left and the right. After this, tie the right side into a high ponytail and then tie the left side the same way. From here, you will shape a bun into the top of the hair band and then let the rest hang down. Next, you will tie a ribbon in each side into...

In this tutorial, we learn how to do a cute Easter updo on your American Girl doll. To do this, you will first take the hair from the top of the head and section it off into smaller pieces. Then, repeat this same step throughout the head of hair until you have a bunch of different ponytails. From here, you will need to braid these together using three of the ponytails. When finished, you will tie the ends with rubber bands. This will complete your cute Easter look for your American Girl Doll!...

In this tutorial, we learn how to make a slit flower frame card. First, gather all your cardstock together in the colors that you would like. Then, take the first one and cut a circle window in it using a blade and a template. Then, punch slits on the outer frame of the window. From here, shade the petals and pull them out from the card to stick out. Then, place a rubber stamp with hearts on the other place of card stock. Then, turn the flower frame over and apply foam tape to the back. From ...

In this video, we learn how to do a reverse French braid on your American Girl doll. First, part the hair in half and put one half to the side. Then, take a piece of the front on one section and split it into three. From here, you will go under the hair instead of over like a regular braid. Then, start to pick up pieces from the sides on the left and right. Put it underneath the whole braid and then go under with it to the other side. Continue to do this until you reach all the way down the h...

In this video, we learn how to do a cute easy hairstyle on your American Girl Doll. To start, brush your doll's hair and then part the hair in the middle. After this, break the side of the hair into three pieces and then start to braid it from top to bottom. After this, repeat the same process on the other side. Tie the bottom with rubber bands and then you will be finished with this hair style! It looks really cut on a doll that has long hair with bangs, but can also work on short or layered...

In this tutorial, we learn how to do a cute hairstyle on American Girl with medium hair. This is great for a doll that has hair that flips out at the bottom or hair that is curly. First, you will take most of the hair, except for a thin layer of hair on the underneath area. Put a rubber band around this part of the hair, then put a hole with your finger above the band. Flip the hair through this, so the hair is sticking up. Then, curl the hair under and clip it into place on the back to finis...

In this video, we learn how to do wrapped pigtails on your American Girl doll. First, separate the hair from side to side. Then, take a small section from the front of the hair and put it aside. After this, you will need to comb the hair back into a ponytail and secure with a rubber band. Secure the other side into a ponytail as well, but put all the hair back into it. After this, you will take the front from the other side and wrap it around the ponytail. Clip it into place and then you will...

In this tutorial, we learn how to do a cute down hair style on your American Girl doll. First, you will need to braid two braids on the doll's hair on each side. Tie it off at the end with a small rubber band. Do five of these around the head, from the top of the hair to the tip of the bottom! Line these up on the top so it looks even and not random. When you're finished, you will have a cute look that only takes minutes to create. If you want, you can tie this into a ponytail for an up-do!

In this tutorial, we learn how to do a Y braid on your American Girl doll. First, brush your doll's hair out and then put the hair in pig tails. From here, you will split the tail in half on both sides. Then, you will combine the two middle pieces and start to braid the hair like normal. Do this all the way down until you reach the bottom of the hair. When finished, tie the end with a rubber band to keep in place. This will finish the Y braid look for your American Girl doll, enjoy! Decorate ...

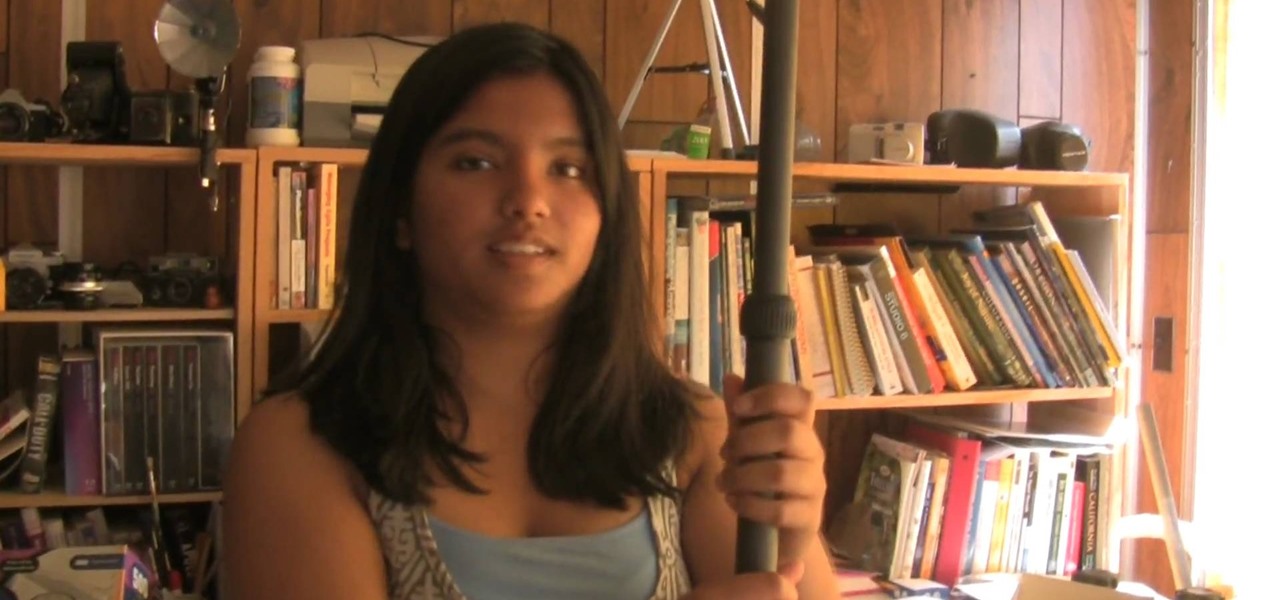
Low angle shots are a great way to evoke a sense of panic in movies, but if you're trying to get good quality shots from ground level with just your hands, then it's not going to work. The video footage will be all shaky, unless that's another look you're wanting to achieve in your film. If you want steady, fast-tracking low angle footage, then Ritwika has a great trick on taking those ground level moving camera shots. You'll need a monopod, water bottle (with water), 2 rubber bands and your ...


