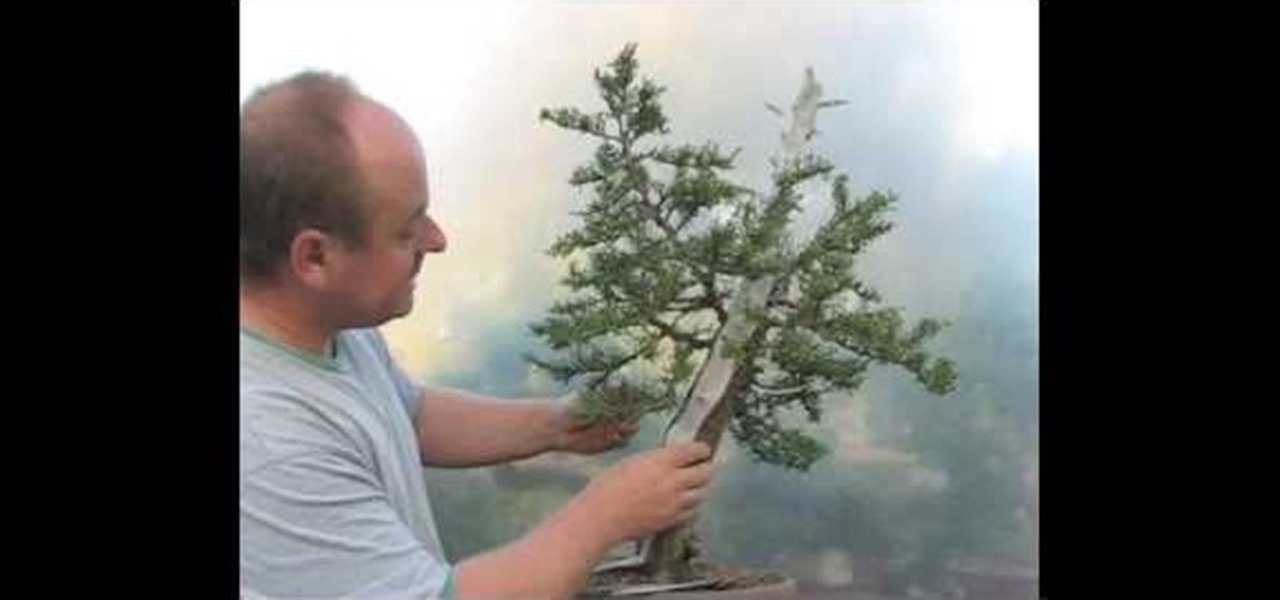
Graham Potter of Kaizen Bonsai shows Bonsai beginners how to make interesting trees from relatively available materials. He first details the history of the specific tree he will be working on. He points out that this specific specimen has small, compact foliage, branches that support itself, craggy bark, and a nice taper in the trunk. He begins to shape the tree by cutting the small amounts of foliage that are dead or weak as well as the foliage grows beneath the branches. He then uses hand ...
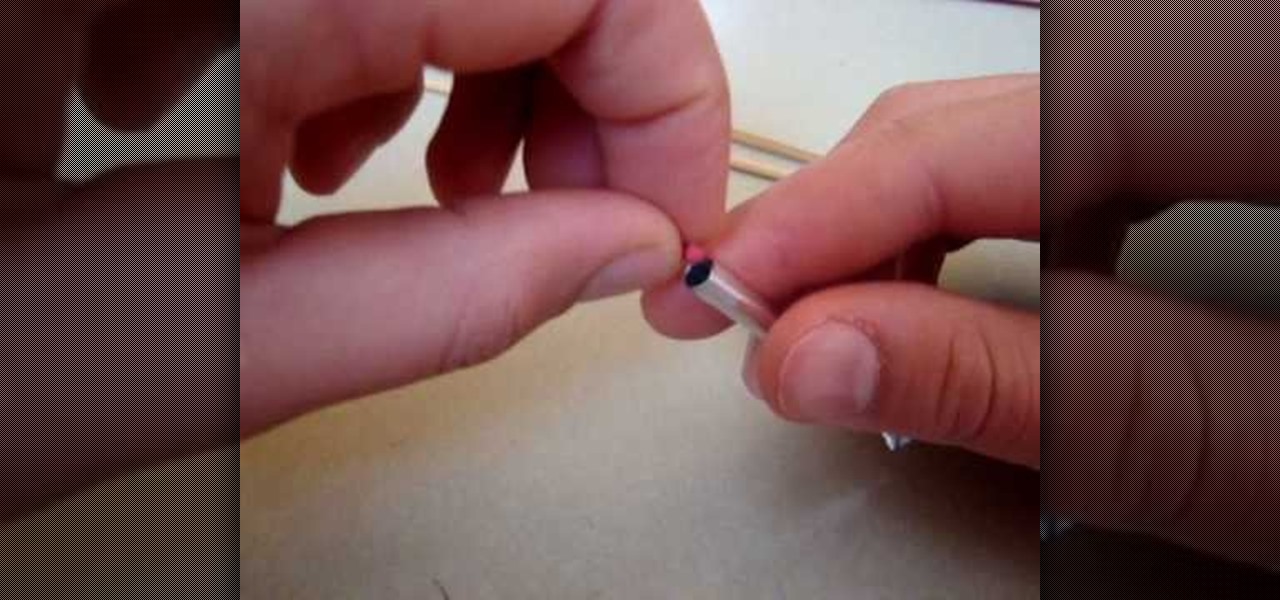
In this video tutorial we learn how to make a match rocket. The author explains that match rockets are very easy to make and shoot very far. The first thing to do is to gather your materials. The material that you will need are two little pieces of aluminum fool, matches, two barbecue sticks, and to launch it you will need a paper clip and two pennies. The next step to do is to cut about 10 matches for your rocket from the packet of matches. The next step is to take your two barbecue sticks a...

Follow along with this video to learn how home remedies for acne scars may help get rid of them naturally and safely.

Ever wanted to have your own window into the infinite? By using this tutorial by Shooting Eggs, you can create an infinity mirror that will show rows of colored lights that seem to recede into the distance forever. It's a trippy illusion you can create with simple and inexpensive materials you'll find in many craft and hobby stores.
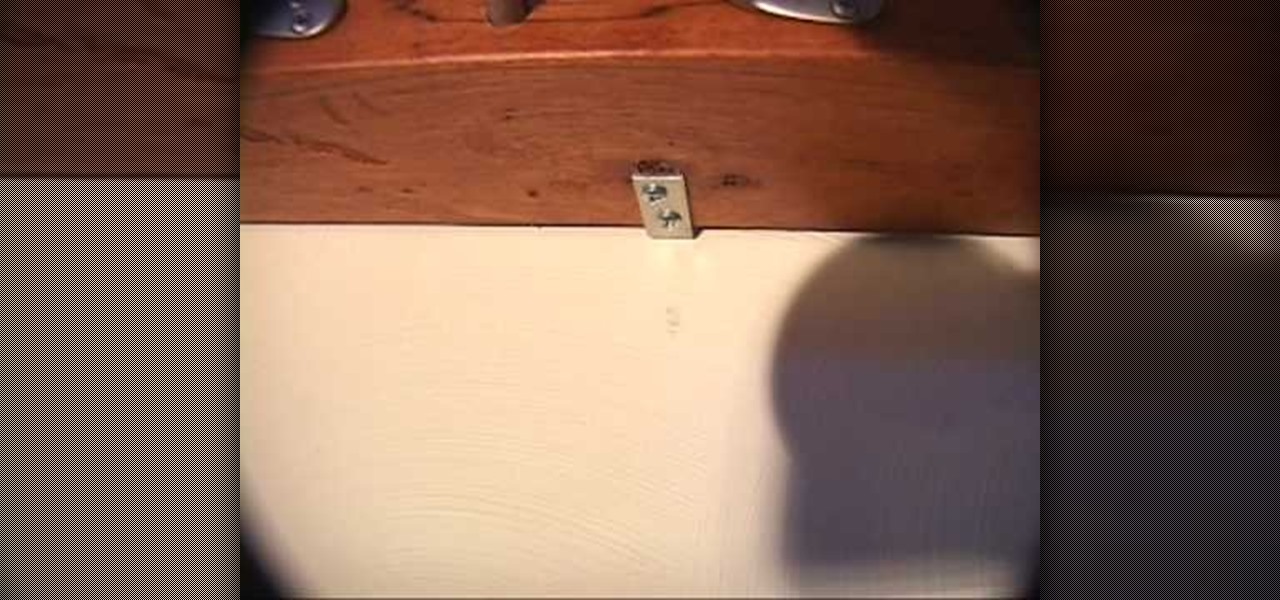
While drywall is an inexpensive building material, it's not the sturdiest. Luckily, repairing the inevitable holes is a quick and easy process.

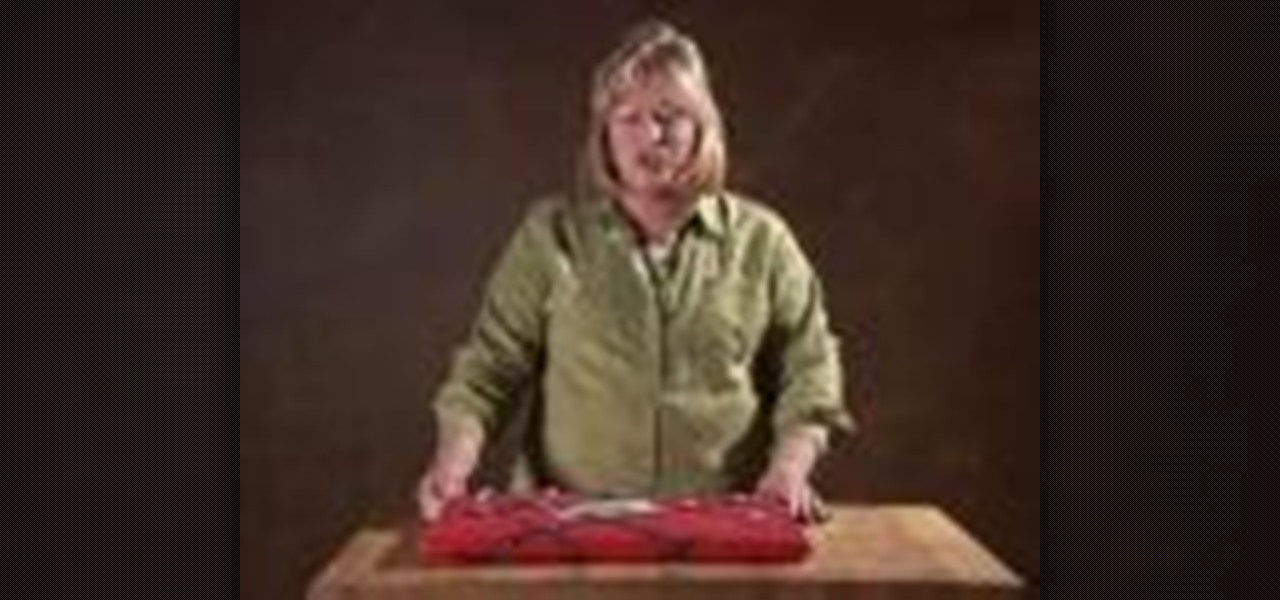
Pants too long or too short? Skip the cost of a tailor – hemming your own pants is "sew" easy. You Will Need

Renting is only half the battle – setting up an artist’s studio demands patience and preparation. Learn how to set up an artist's studio with this how to video.
Bored in your cubicle all day? It's time for helicopter wars! This video shows you how to make a fun and simple helicopter out of some basic office supplies. The materials you will need are: a big paper clip, a smaller paper clip, a large aluminum can (such as from Rockstar or Monster energy drinks), a ruler, Scotch tape, a rubber band, a pair of pliers (if you have a Leatherman multitool, those will work just fine), a pen you can take apart for the long tube, a pair of scissors, and some pla...
Walk on water? Impossible. Walk on cornstarch? You bet! Check out this video to see what happens when you mix up a tub of cornstarch and water. It's goopy cool fun. Mix cornstarch and water in this classic experiment to form a gooey liquid and solid material that behaves like quicksand. Some people refer to this as the Oobleck recipe, others call it a Non-Newtonian fluid. After watching these video segments, you'll call it a great science lesson as your students learn about the amazing proper...
Curling your hair without either a curling iron or a flat iron? It sounds preposterous, but it can be done - and to great effect - after you watch this video. Sure, curling irons are great and quick ways to add bounce and volume to your locks, but they eat up electricity and damage your beautiful strands.
In this tutorial, we learn how to make a Lace Cardigan with the Sewing Studio. First, you will need to gather all of your tools and the material. Now, cut out a piece of fabric into a large rectangle. Now, draw and cut out the pattern from the diagram you see in the video. After this, finish up the raw edges with stitching, then line up the two lower edges and sew along the edges. This will be the seam on the center back of the cardigan. Next, attach the triangle to the top of the neckline an...
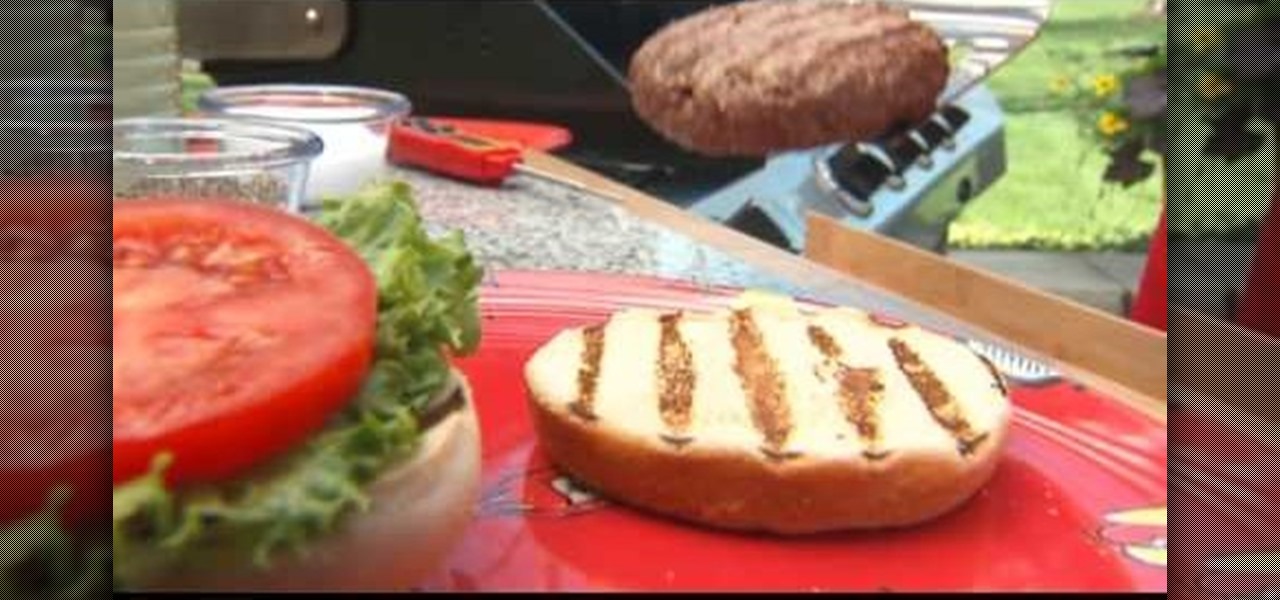
You need the following materials to grill your hamburgers and steaks:
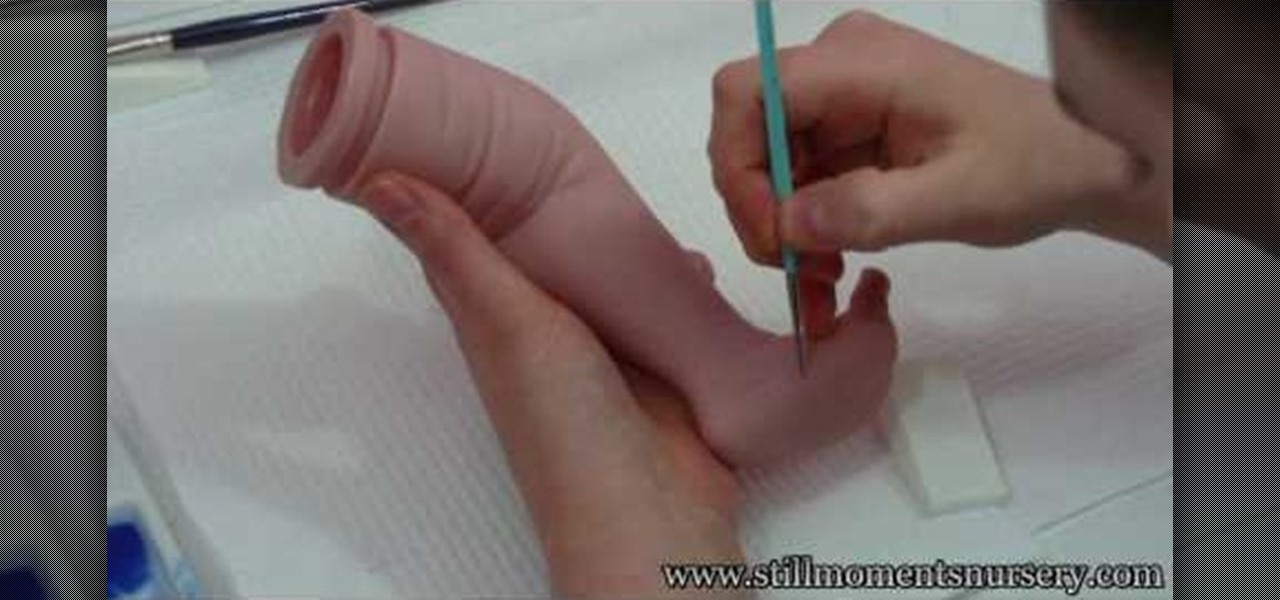
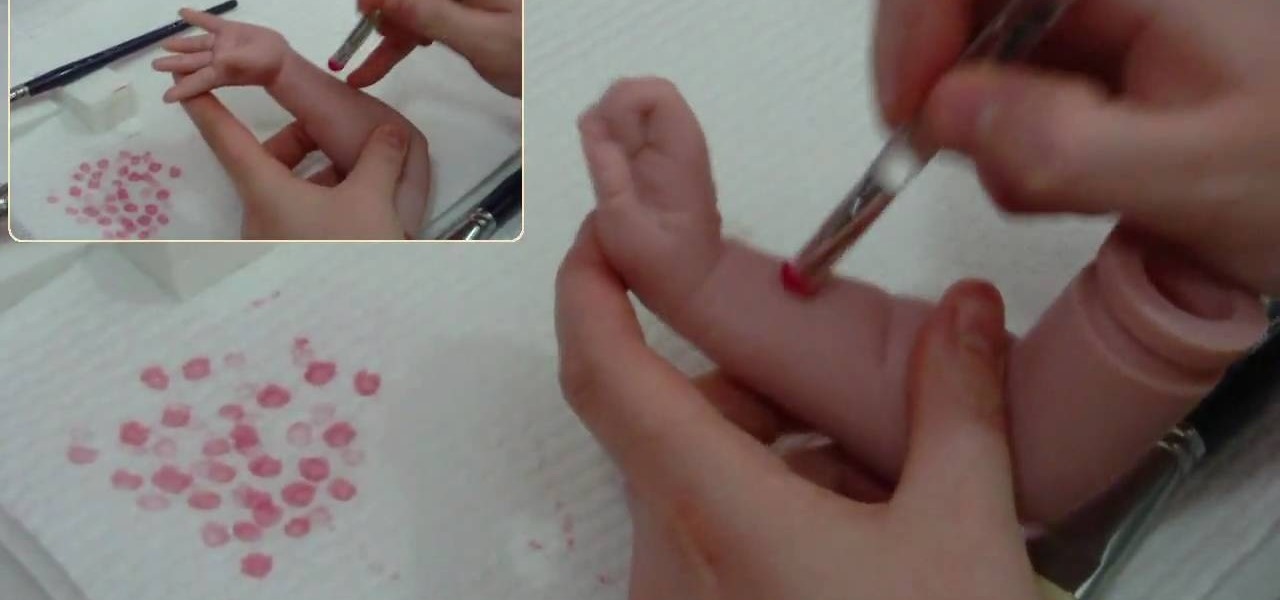
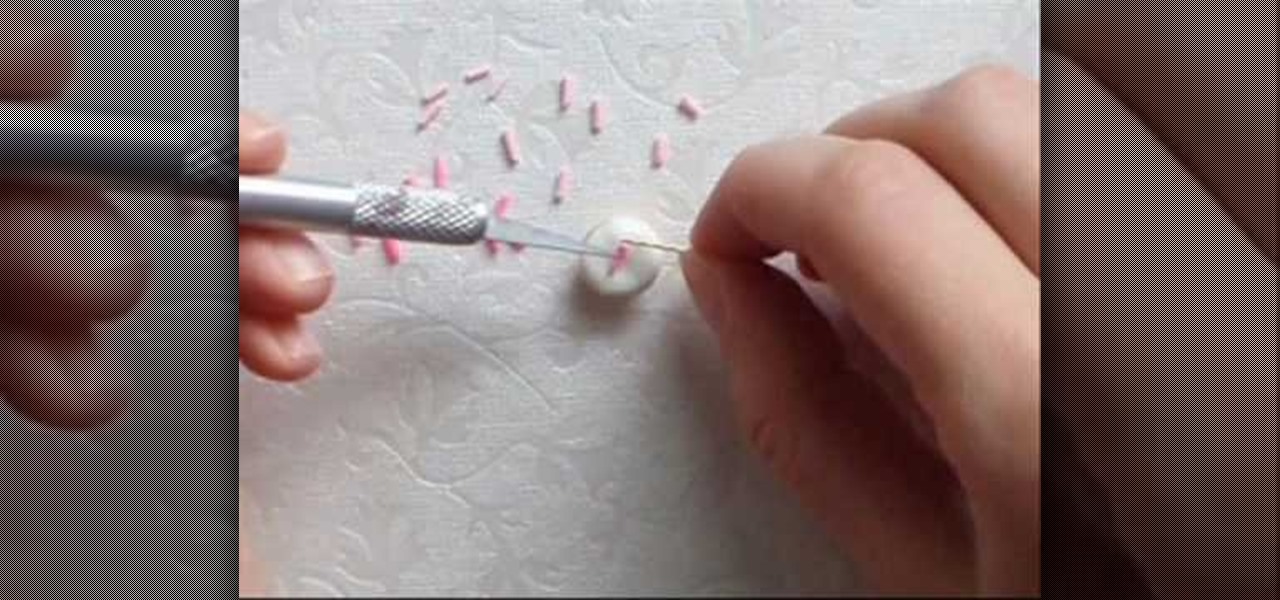
In this tutorial, we learn how to apply veins to a reborn baby doll. Gather up all your materials, then mix the proper paint for the veins. After you're finished mixing, use a very fine tip brush to add the veins onto the baby's chest and stomach. Use a sponge to dab onto the paint after you have painted the veins onto them. When finished with the chest area, start to apply the veins to the limbs of the baby. Continue to do this until you have painted realistic veins on all the appropriate pa...
In this video, we learn how to mottle with a berry maker brush on a reborn baby doll. First you will need to gather all of the materials you need, then mix up your correct paint colors. Next, you will use a small dabbing brush to dab the color onto the stomach of the baby. Once you have finished this, work your way up to the chest. Be sure to dip your brush inside the paint every time you run out of some. Once you're done, do this same process for all of the limbs, avoiding the soles of the f...
Vocaloids have to be one of the weirdest of the many weird things to ever emerge from Japan. They are basically synthesizer software programs that can sing any song a user creates in the voice of a character created for that Vocaloid. The queen of these Vocaloid characters is Hatsune Miku, who has become something of a cosplay darling since her software caught on. This video will show you how to make her cosplay replicas of her iconic headphones.
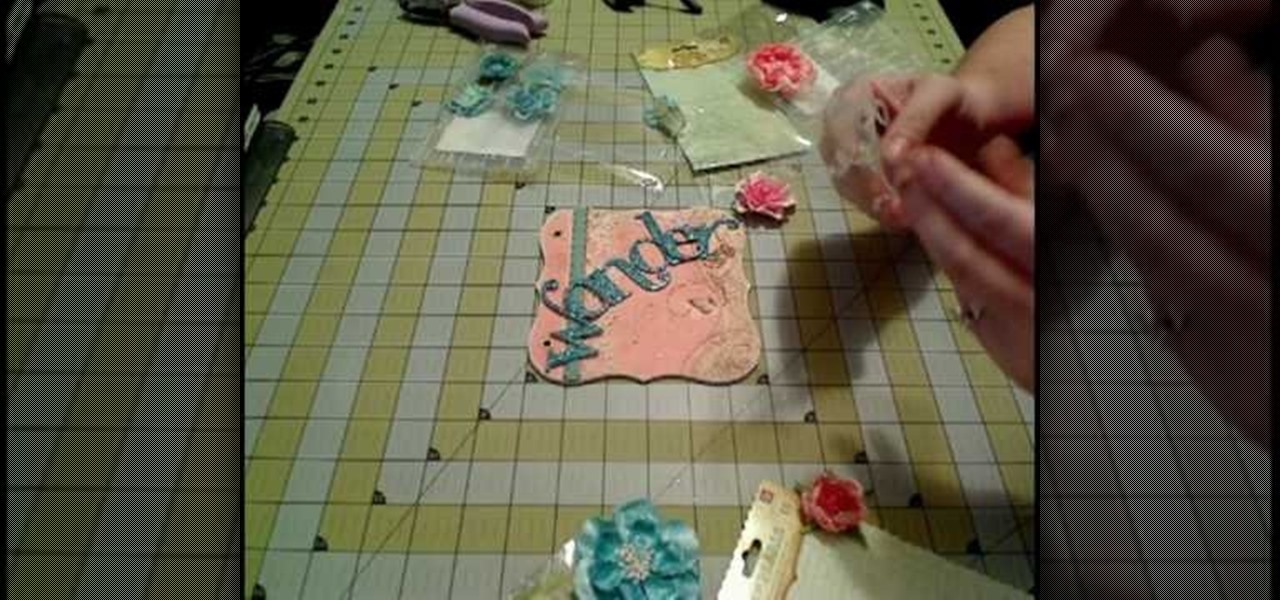
In this seven part series, you're shown how to create a whimsical mini-scrapbook with a very vintage, Alice in Wonderland feel. From taking your materials out of their wrappers to the final pen stroke, this video series will show you how to create a beautiful "World of Wonder" scrapbook. A lovely gift idea for the Lewis Carroll fan!
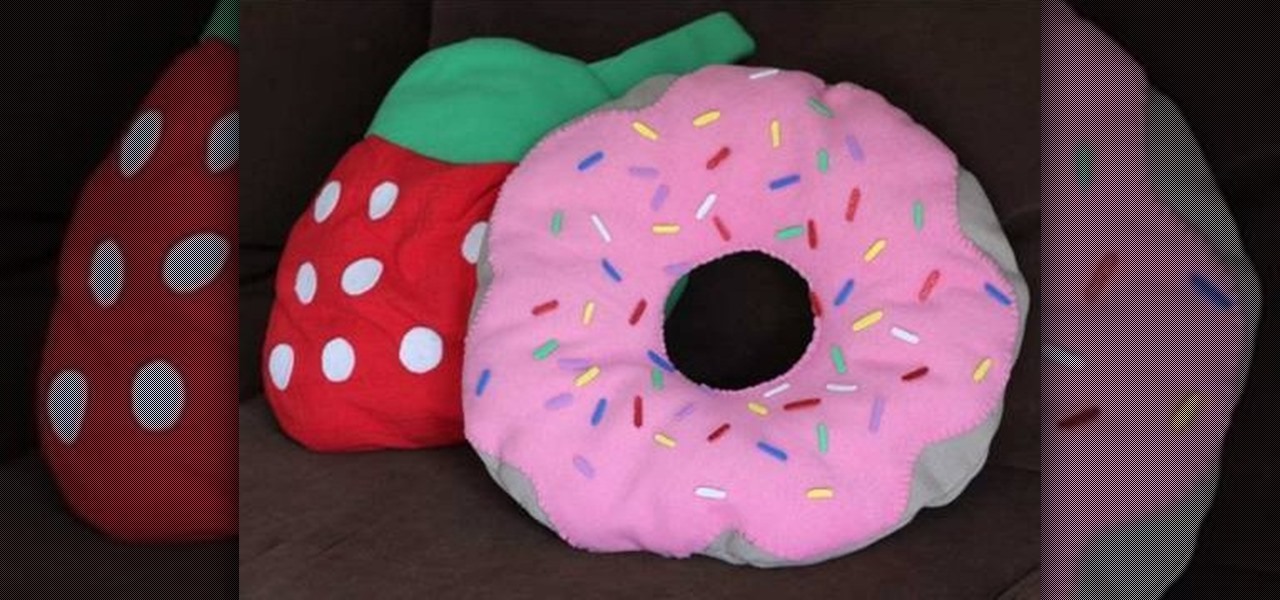
Homer Simpson would have an absolute fit over this delicious-looking kawaii donut pillow. Embellished with a thick layer of strawberry frosting and then topped lightly with candy-colored sprinkles, this pretty donut looks almost good enough to eat.
This crafty project is inexpensive, it's easy to do and it's really handy for attaching things like letters, photos and to-do lists. This isn't like a cork memo board, because you won't need any push pins or cork pins! Watch and learn how to make this French memo board. This is the pretty alternative to drab store-bought memo boards.
In this video tutorial, viewers learn how to make a juggling prop rack. The materials required for this project are: 2x4 pieces of lumber with proper length and space for the props, L-brackets, drawer pulls and trim. The 2x4 pieces of lumber are the shelves that will hold up all of the props. The L-brackets will mount the racks onto the wall. The drawer pulls will specifically hold clubs. The trims will decorate the shelf and provides re-enforcement. This video will benefit those viewers who ...
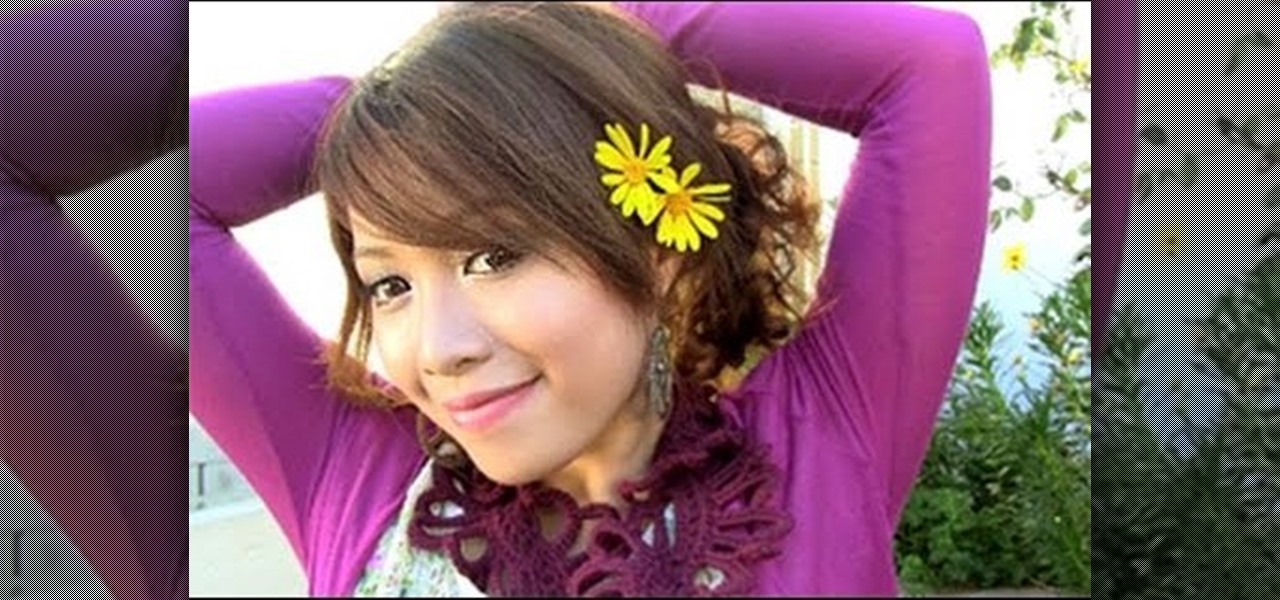
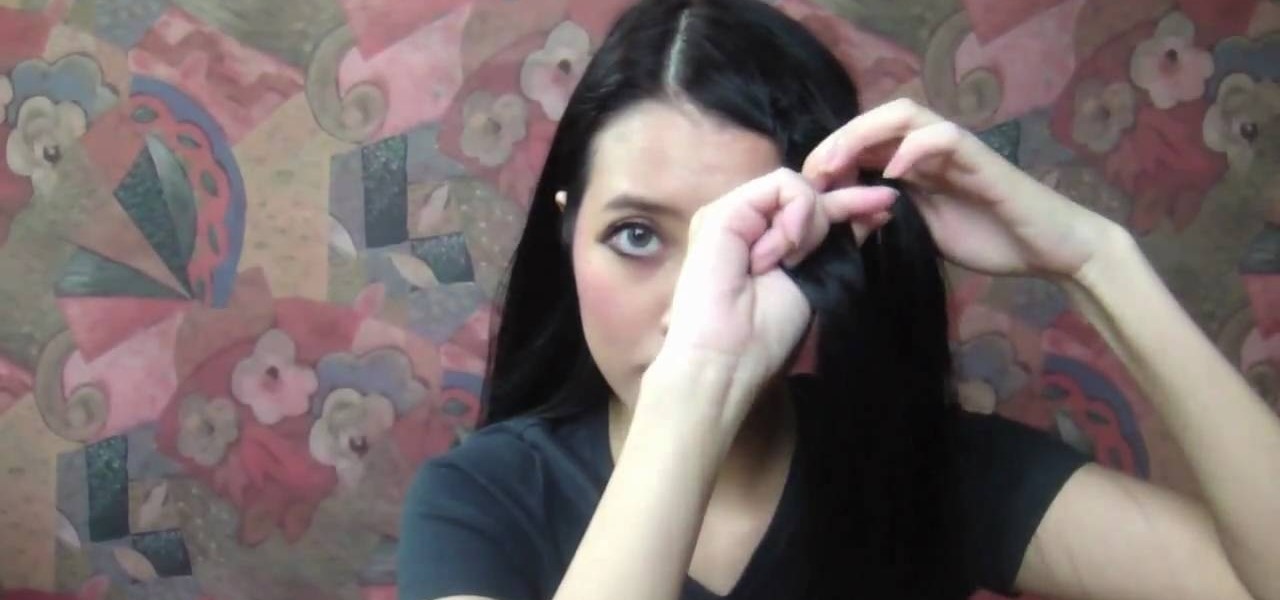
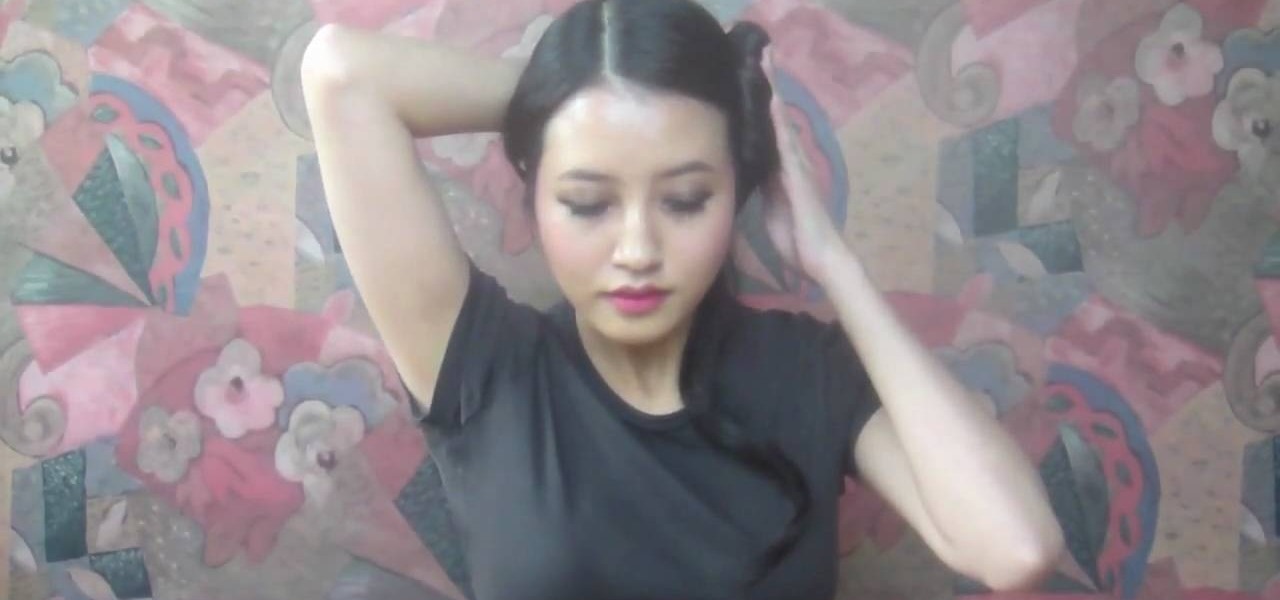
We love this hair tutorial because it teaches you how to create the equivalent of a cinnamon bun on the side of your head. A Dutch braid is basically a braid that you swirl around and around itself in order to form a circular shape. While doing this on both sides of your head would be a little much (we're not going for Princess Leia here), opting for just a single Dutch braid on one side.
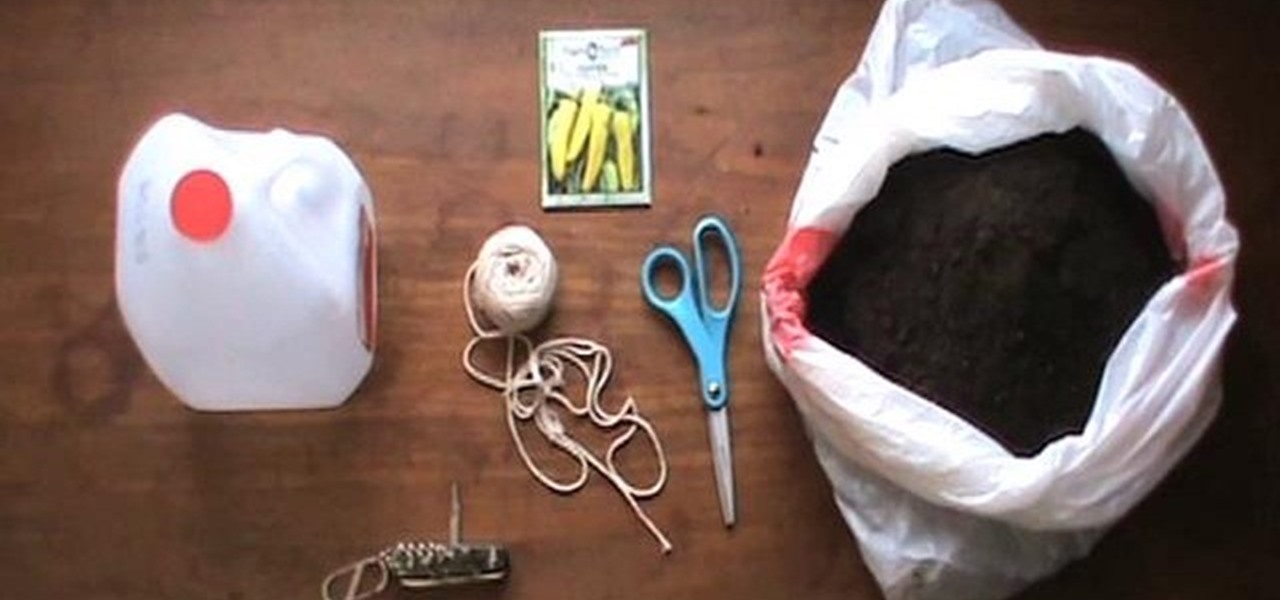
If you're new to gardening and have a limited amount of space, then container gardening may be for you. It's easy to do and doesn't require a ton of different materials. If you already have a container garden, then this next tutorial is for you.
Polymer clay is a favorite material for many crafters because it's so versatile. Those interested in creating miniatures - like small version of Domo Kun or tiny, hamster-sized apple pies - can easily mold the clay into any shape they wish, while jewelers enjoy polymer clay because you can experiment with different colors to produce all types of effects.
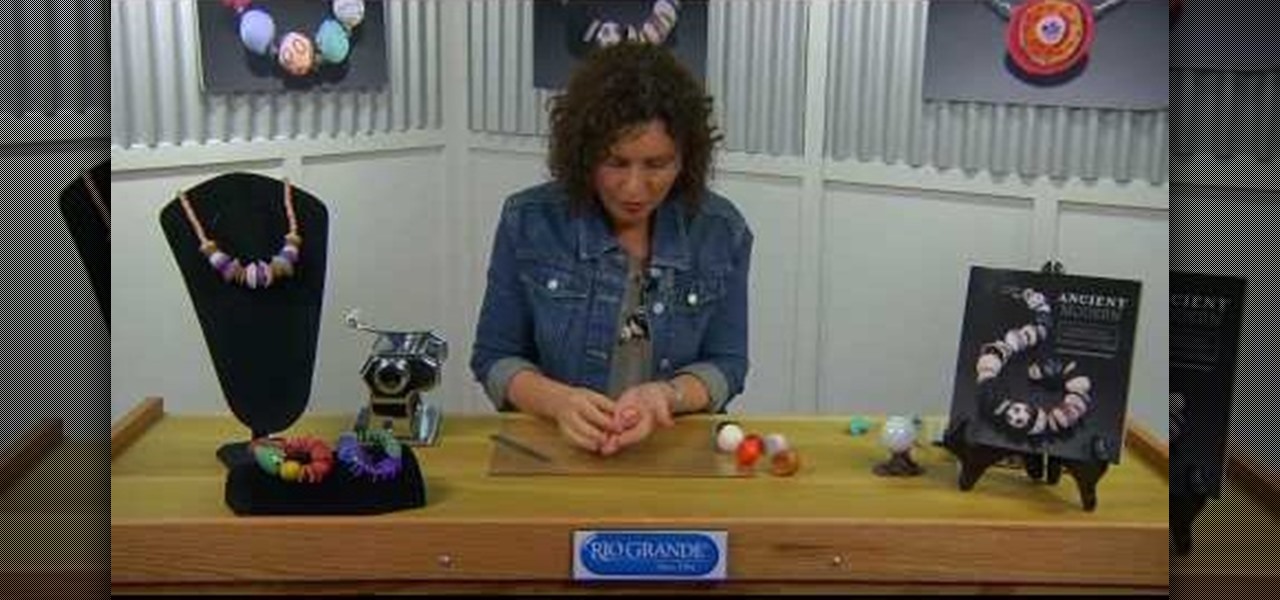
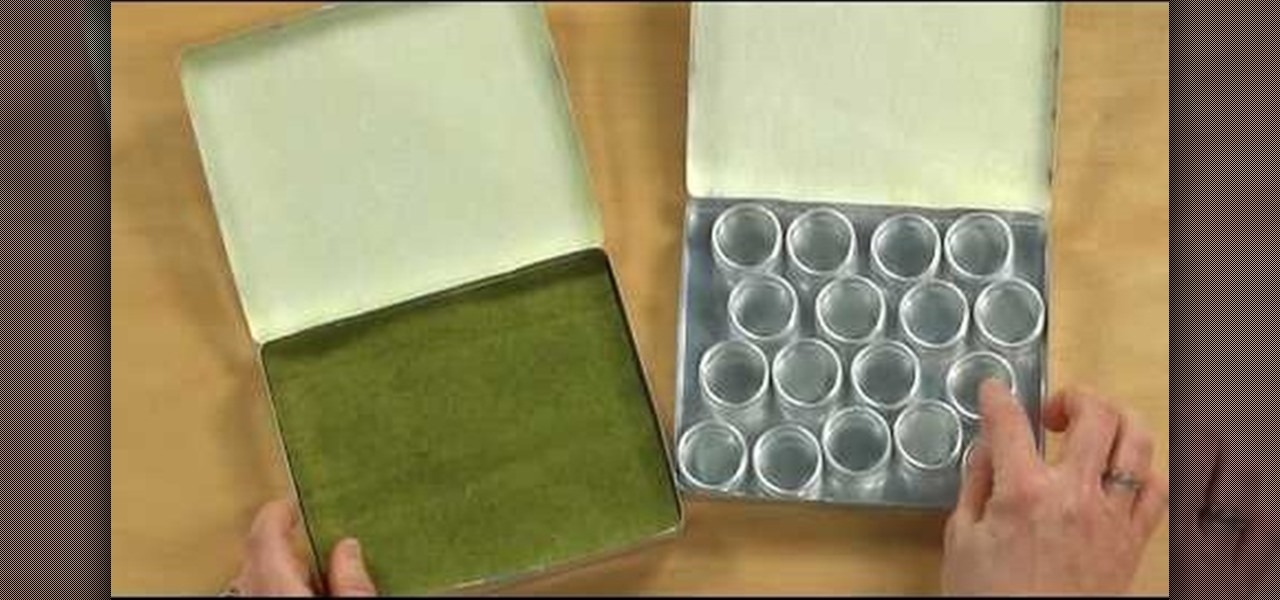
You know those long drives home in the car after you've spent a weekend at a cousin's house, or back from visiting Las Vegas? With more than a few hours at your disposal, what do you do to fill up the time? If you're an avid crafter and enjoy making jewelry, that you can turn those usually idle hours into productive crafting time by making this portable beading studio.
Fondant is quite the tricky cake decorating material. On the surface it looks smooth, slick, and solid, but the consistency of fondant is actually quite thin and the sugary paste is very liable to tearing while you're working with it.
For the first part, make chroma key blood: Ingredients: glue, flour, mix with water like papier mache, three drops of green and two drops of yellow food color. This combination gives more of a fluorescent chroma key look.
We don't know how it happened and can't particularly pinpoint when it happened, but over the last few years cupcakes have way overtaken cakes as to go-to dessert. Perhaps it's because they're pre-portion sized, or perhaps it's because they're so darn cute and easily transformed into any shape we can imagine.
These days, with such an intense demand for everyone to be on the go, up, productive, and "happy," it's no wonder we supplement our tired souls with a cup of coffee every morning. In fact, we know of some friends who simply don't function without that first cup...or two.
This tutorial walks through the process of building a grungy scene. Starting with an overview of the process and scene elements, you will learn how to use stacked layers. Mixing them with alpha channels you can build up complex materials; in this case rust and dirt on a nice clean object. You will learn how to set up moody lighting, with volume effects and dust to add to the overall old & dirty look. Whether you're new to MAXON's popular 3D modeling application or are just looking to get bett...
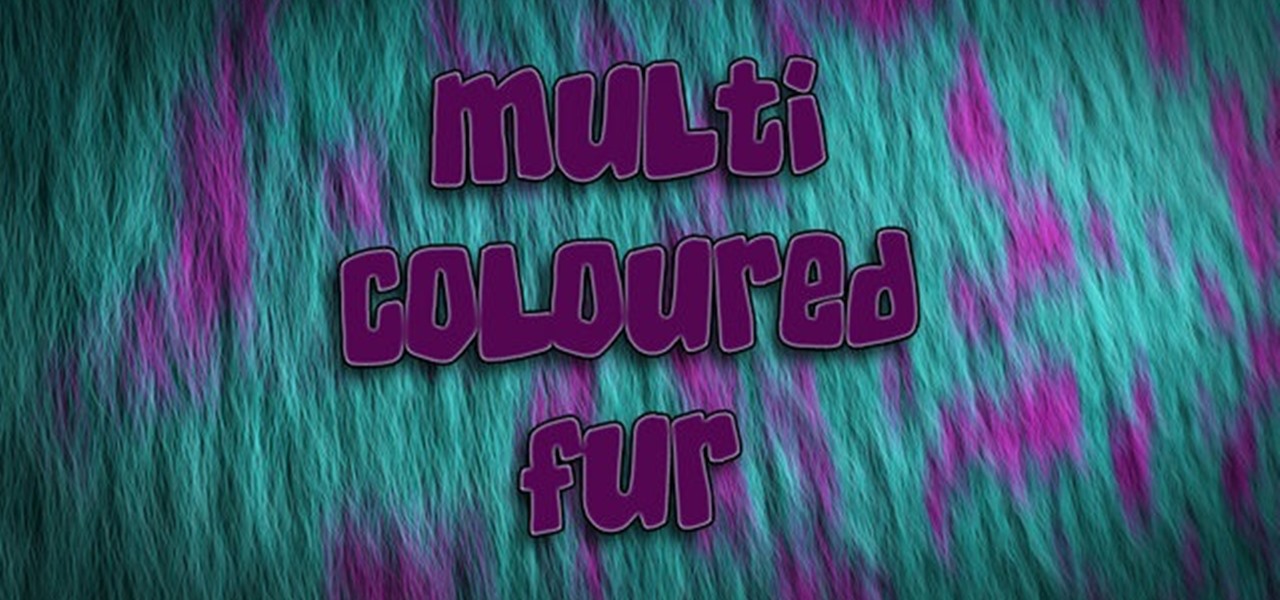
This tutorial will show you how to make your hair module materials multi-colored. There are also some tips on setting up lights to help sell the hairy look. Whether you're new to MAXON's popular 3D modeling application or are just looking to get better acquainted with Cinema 4D and its various features and functions, you're sure to enjoy this free video software tutorial. For more information, and to get started creating rainbow-colored hair in your own Cinema 4D projects, watch this 3D model...
In this video tutorial, viewers learn how to create a tessellation. The materials required for this project are: index cards, scissors, pencil, large paper and coloring utensils. Begin by preparing a shape. Cut the index paper to a desired shape. Then place it on the right side of the large paper and tape it. Now trace the shape onto the large paper and continue transferring the shape until the page is filled. The shapes should fit together like a jigsaw puzzle. This video will benefit those ...
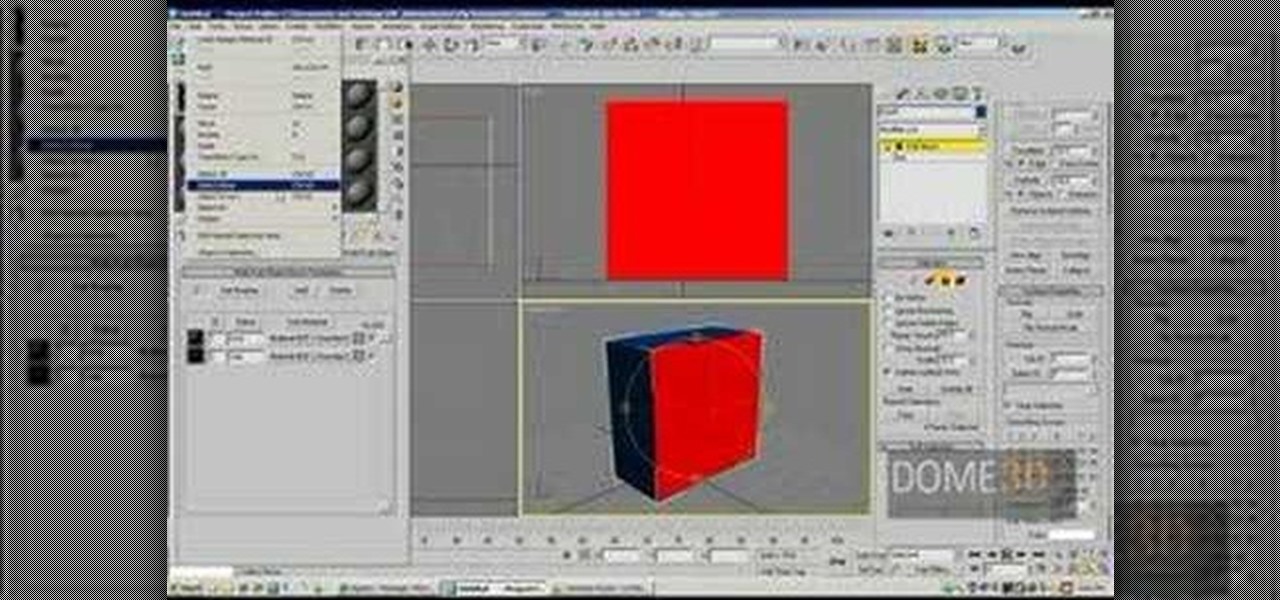
This video tutorial is in the Software category which will show you how to map multi-sub objects in 3D Studio Max. What this means is you can apply two textures to a single 3D object. First you select the 3D object, say a box and go to editor > standard > multi sub-object > OK. Now change the number of materials from 10 to 2 and follow through the next steps to select the two textures. Then go to modify panel > edit mash. Select polygons, and apply the texture to the front of the box, move ar...
This hair tutorial is called a wispy bird's nest after its, well, wispy quality and organized jumble of hair strands that forms into a cohesive whole.
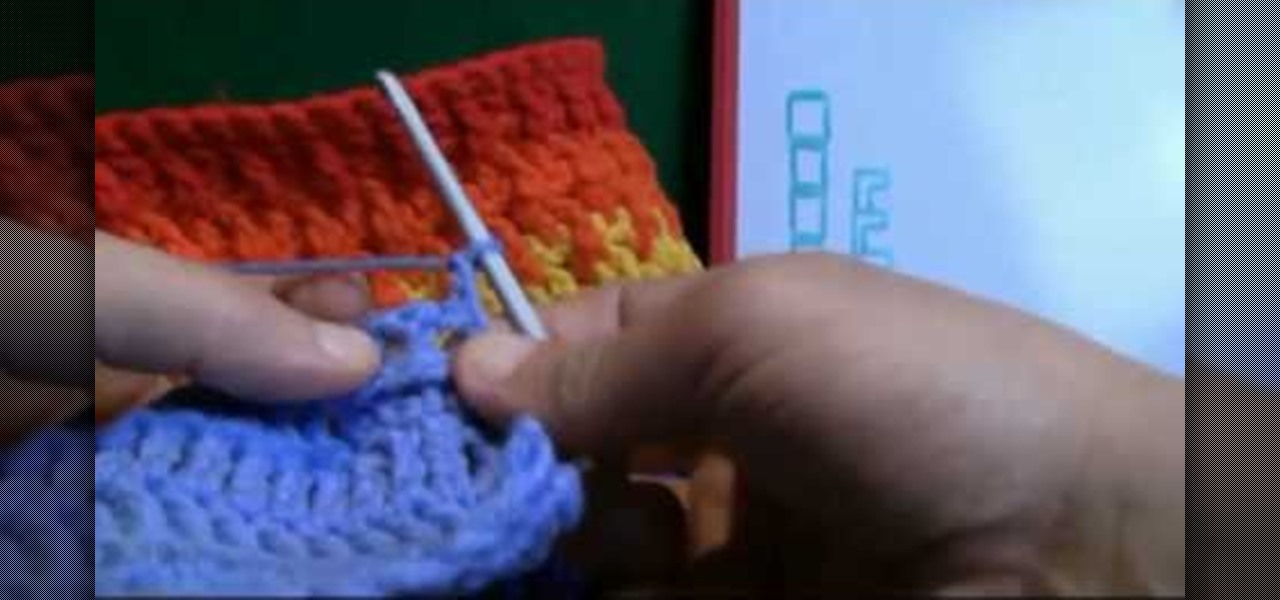
Now that you've mastered the front post double crochet stitching pattern, let's work on the back posts!
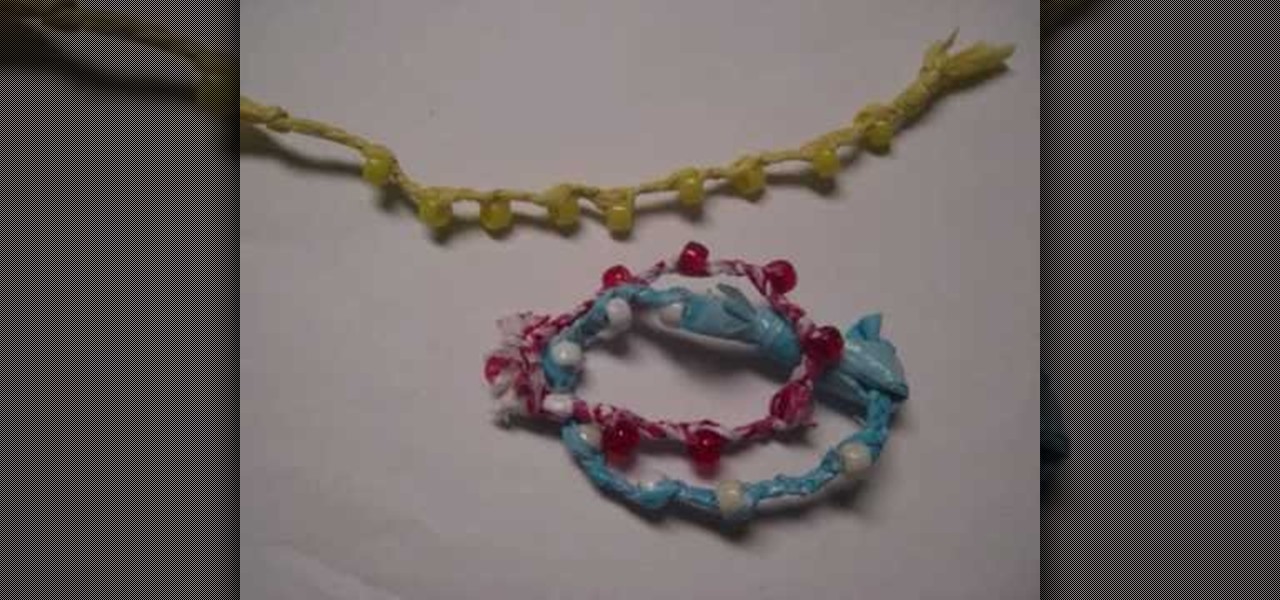
Ah, bunting. In the crafting/Etsy world, bunting is one of the simplest pieces of decor to make as well as one of the cheapest, yet because of its minimalistic simplicity it's also one of the prettiest crafts ever.
Duct tape isn't only handy for taping your rear view mirror back when your drunken cousin knocks it off in a fit of intoxicated rage. In fact, duct tape is a excellent and cheap material for crafting.
Whatever your favorite flower may be, you can't deny that roses are the most romantic and alluring flowers around. In this tutorial, Reiberry bases a delicate hairstyle on the robust beauty of a rose. This pinned-up side bun is unlike any chignon you've ever seen, and though a bit difficult, the results will be well worth the effort.
Using a curling iron on your hair doesn't have to just mean curly hair. By alternating your curling method and holding the curling iron at different angles, you can actually create different types of curls as well as loose waves.
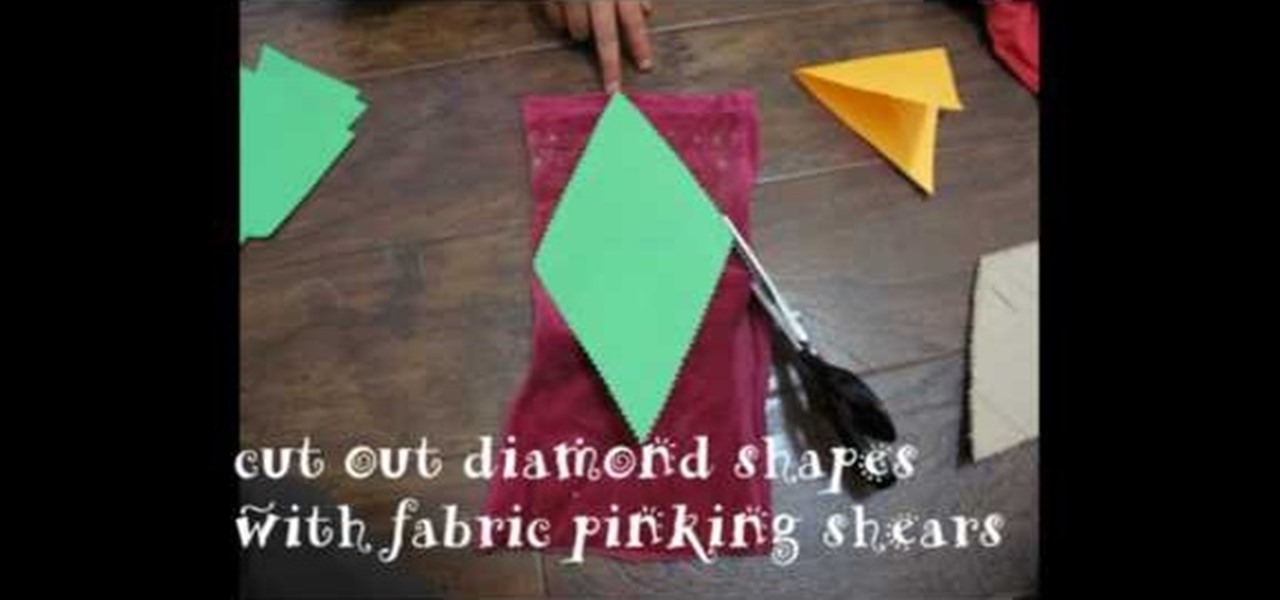
You don't have to own a Cricut, several volumes of themed scrapbooking paper, pinking shears, and ribbons in each color of the rainbow to call yourself a crafter. More complicated crafts do call for this kind of deep and expensive preparation, but the craft presented in this video practically requires nothing.
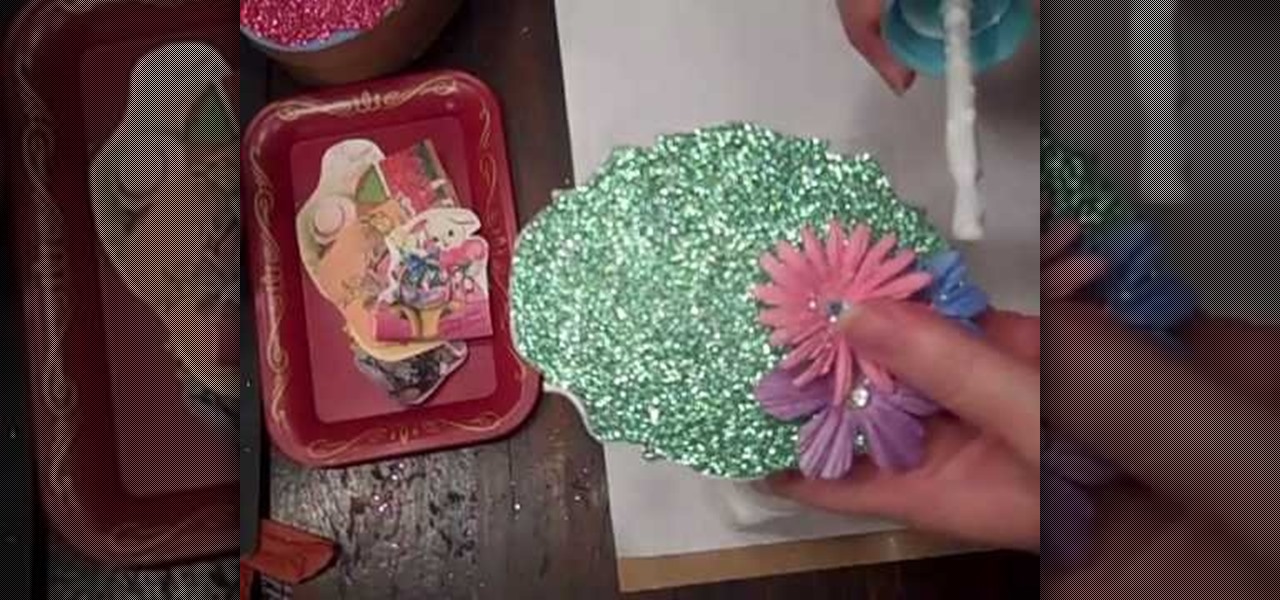
Easter is one of the best times for crafters to indulge in and even overdo pastel spring hues, vibrant flecks of glitter, and flower decals galore. Which is why this craft, a combination of all of the above, is such a perfect project for celebrating Easter.
In this Blender 2.5 video tutorial, you'll see a technique that makes use of array and curve modifiers to create light streaks like those you would see froma long exposure capture. The tutorial covers modifiers, materials and node compositing. Whether you're new to the Blender Foundation's popular open-source 3D computer graphics application or are a seasoned digital artist merely on the lookout for new tips and tricks, you're sure to be well served by this free video software tutorial from t...