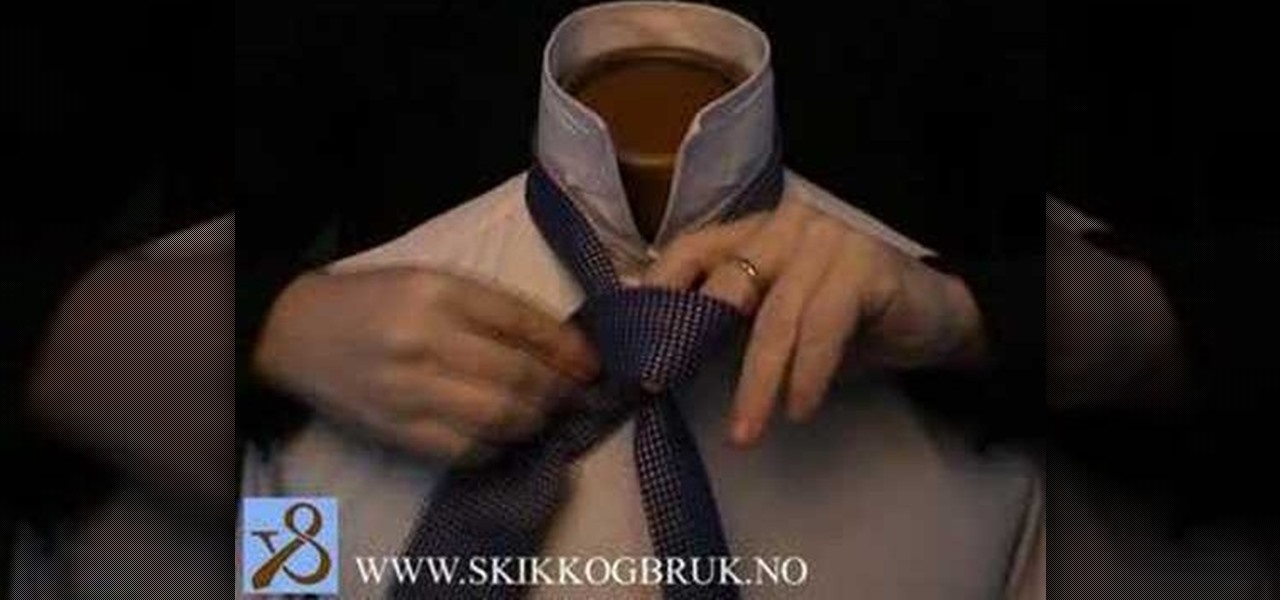
The Windsor knot, also (wrongly) known as the "Double-Windsor" (a non-existent enormous 16-move knot), is the most well known knot in the world. The Windsor is a large, symmetrical, self-releasing triangular knot. The tie was named by Americans in the 1920-30's after the Duke of Windsor. The Duke was known for his fondness of large triangular tie knots, but didn't in fact invent this particular knot. His secret was a specially tailored tie with an extra thickness of material.

Okay, this is one of the coolest eco-friendly projects we've ever seen. If weaving plastic bags into a reusable tote bag is not your thing, then maybe this is. Check out the video to learn how to build a paper turntable made entirely out of reused materials.
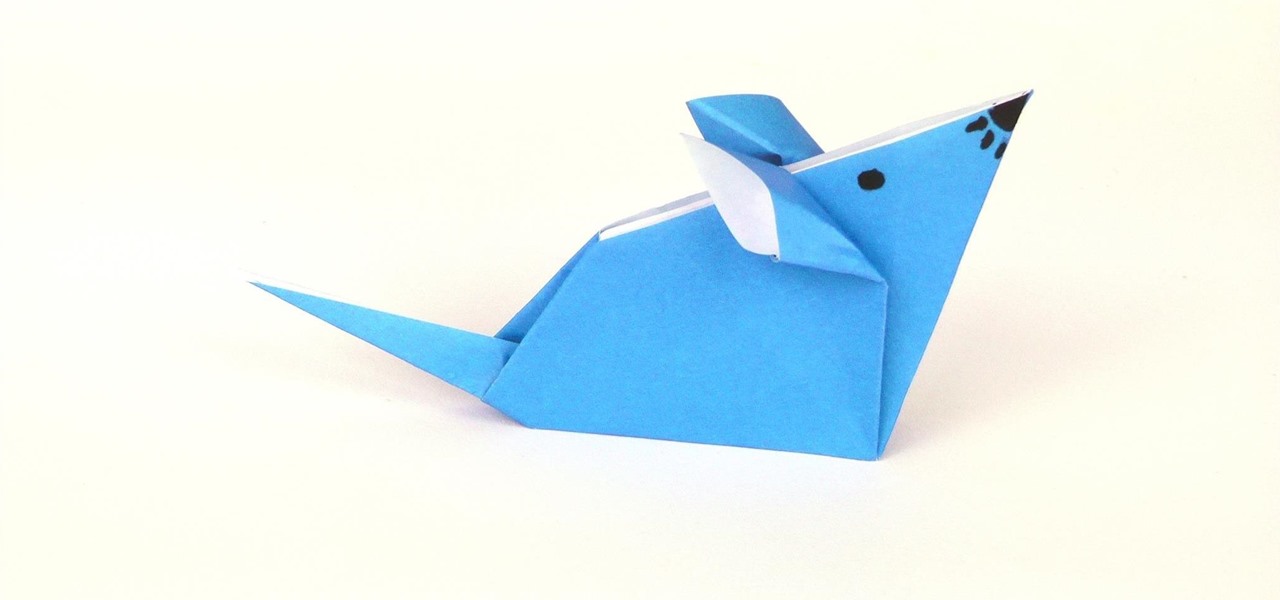
This tutorial teaches you how to fold an origami mouse with an ordinary sheet of paper. This model is suitable for beginners and children. Origami is great for small kids as the only material needed is paper, no scissors or glue that could do harm!
Science investigatory projects suck, or at least seem to at first. But you shouldn't let school drag you down. Instead, use your homework assignment as an opportunity to solve a problem you've always been interested in. And it doesn't hurt if the end result is eco-friendly, either.
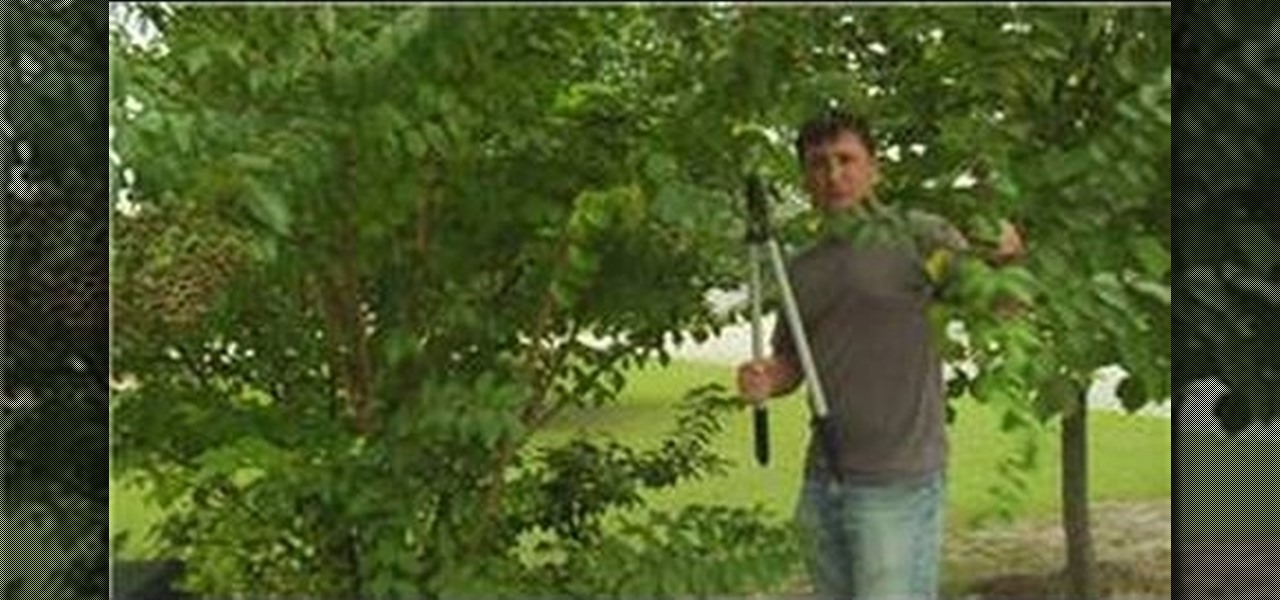
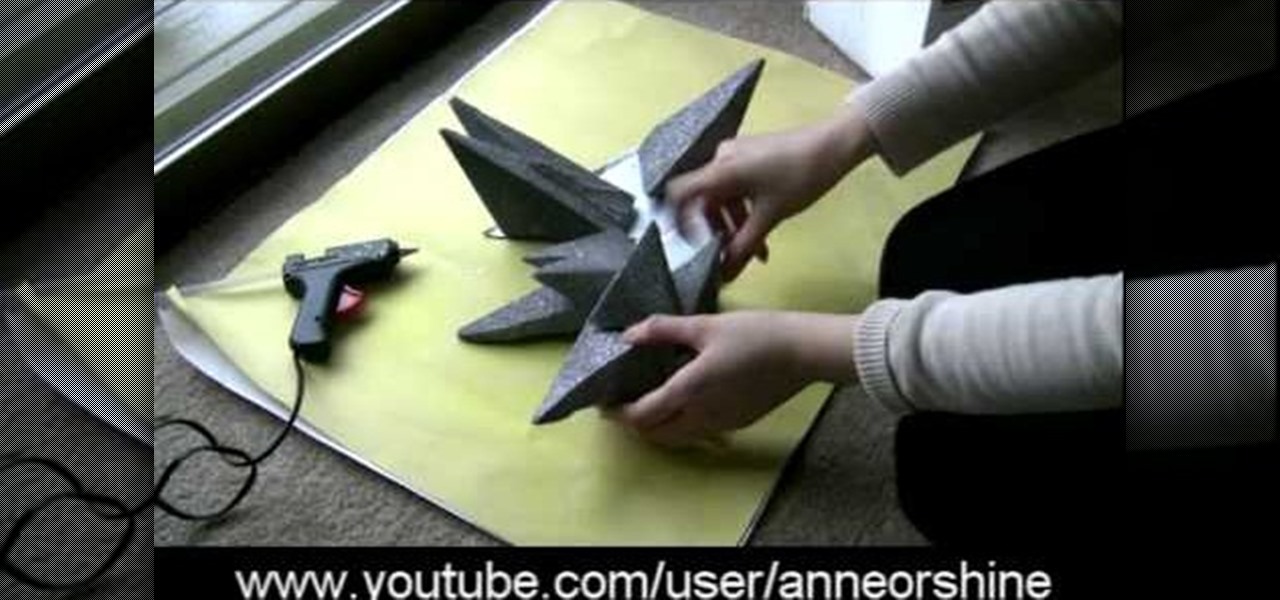
Well it's time to put on the school play! This year, the school's going to put on Chekov's "The Cherry Tree". Only problem? You have no tree. Well, this helpful how to will guide you through the steps to make a light, portable tree that will turn your school play on its head.
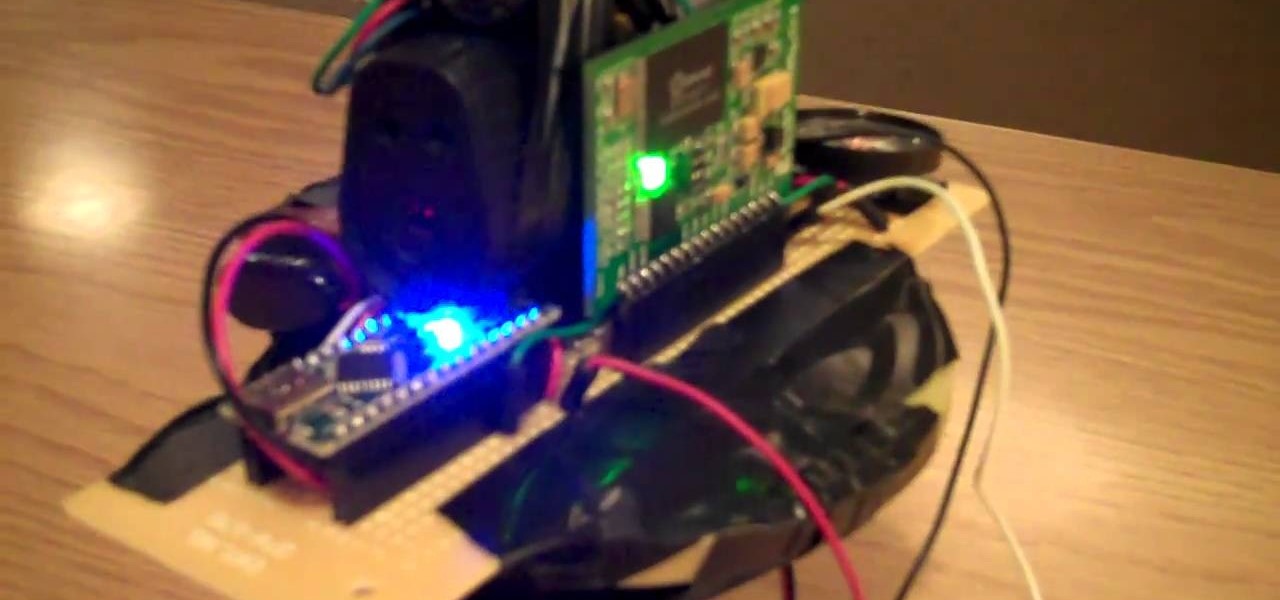
This do it yourself robot can be made out of many materials you can find around your house. You'll need a few special non household items, such as an arduino and a class 3 laser. However, once you assemble everything correctly, you can make a sentry robot inspired by the robots in the game PORTAL. Even if you've never built a robot before, as long as you have a basic knowledge of electronics, you can start with this simple and fun project.

When it comes to quirky homemade DIY, cords - made from rope, twine, or other materials - aren't usually used in many projects. Other than tying nautical knots, it seems they're quite defunct.
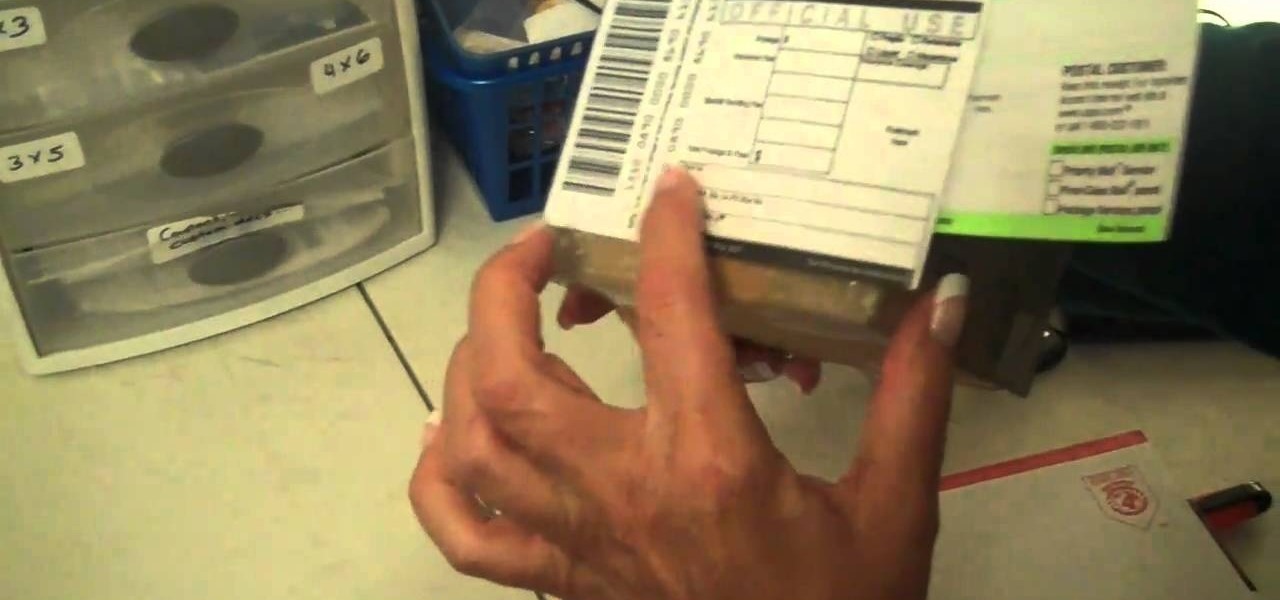
So you've done it. You've been wanting to have your own jewelry business since you were six, and you finally saved up enough money to purchase all the materials and are now making more moolah than you can count with your on-trend wire wrapped earrings. But how do you handle packing and shipping so many orders without going crazy?
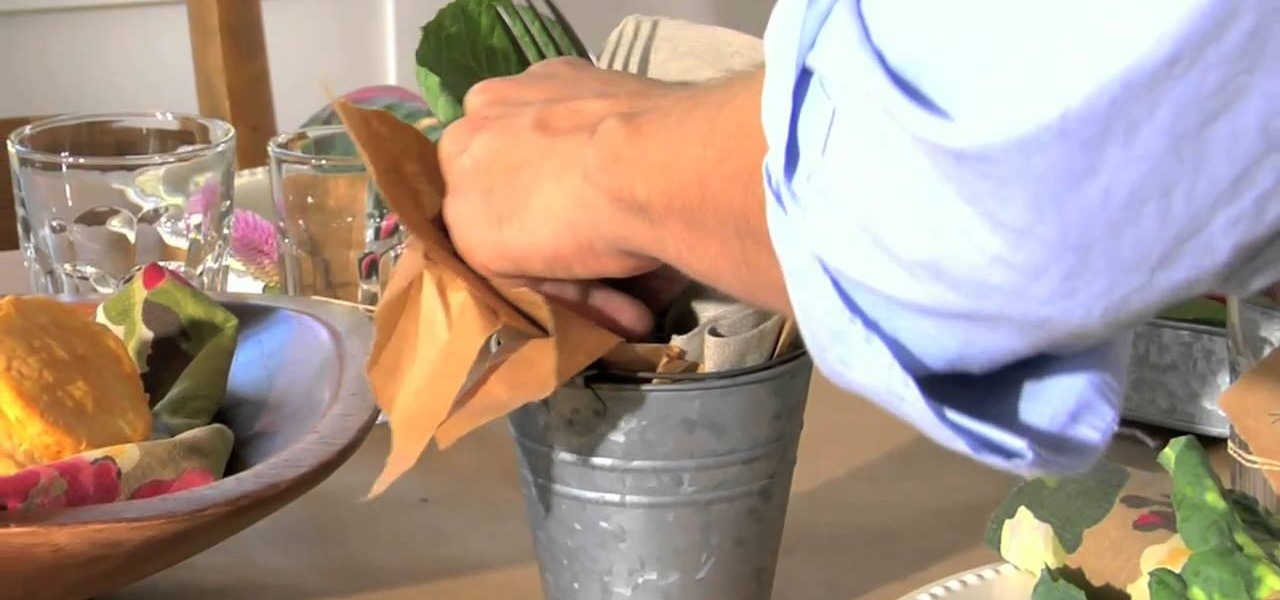
The wonderful thing about a "farmhouse brunch" theme is that most of the materials you'll need to decorate are natural and quite affordable. From sprigs of flowers to brown string to burlap, you probably already have most of the things you need lying around the house.
With a little practice a cushion cover can be made at home easily. The materials/equipments required are as follows: fabric of your choice (having appropriate dimensions) to make the cover, scissors, measuring tape and ruler, needles, threads, sewing machine and an iron.
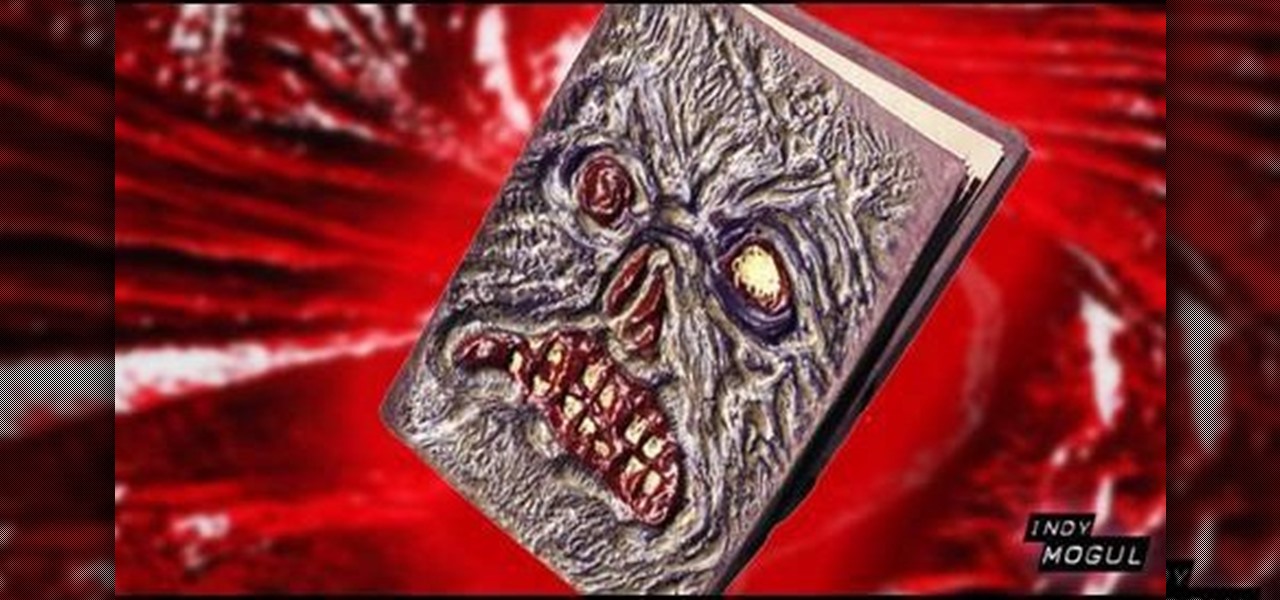
In this video, we learn how to make a Necronomicon prop from the "Evil Dead" series. First, gather all of your materials together so you can make this prop. After this, cut up piece of cardboard into the desired shape, then tape them and make sure it's able to open and close. Next, you will use tape to make it look like creases in the skin and create the face by rolling it together. Use masking tape to connect these and make it look like it's all part of the same skin. Next, mix red, yellow, ...
In this tutorial, we learn how to perform a simple crochet. Using the double crochet and single crochet opposite to each other gets rid of the same look when you are creating a pattern. The concept is simple and can make a big difference in your creation. First, take your size K hook, then wrap the yarn around your finger. Go back and forward, then push up and you will have knotted your hook with the yarn. Now, chain one and then two, then chain one and two again. Continue to do this until yo...
In this tutorial, we learn how to make a Max from Where the Wild Things Are. First, you will make the ears and the tail for the costume. Use felt for the ears and a furry type of fabric for the tail and the body. Cut out all of the different materials, then sew them onto a large off white colored hoodie. Once you have finished sewing these on, put the hoodie onto your body to make sure everything is secure in place. After this, put on shorts and sew the tail to those, then you will be able to...
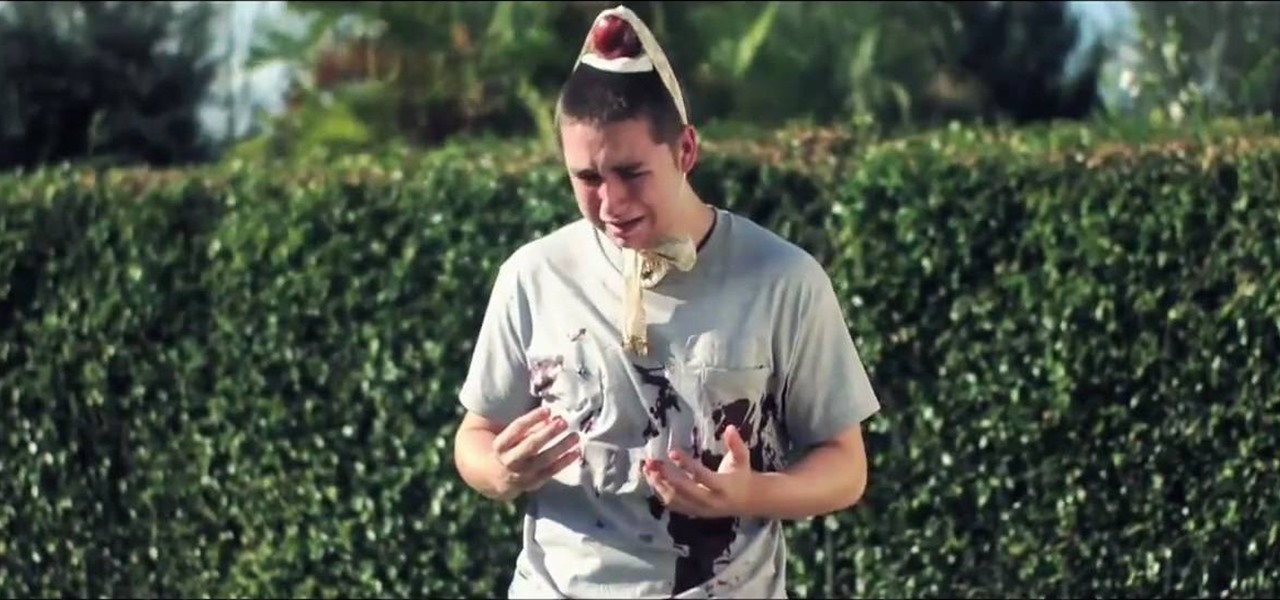
In this tutorial, we learn how to film realistic and bloody gun shots. You will first need to gather up all the materials you need to make this happen. Once you have everything ready, set it all into place. Make sure you have the fake blood placed in the shirt where the person is pointing the gun, and also make sure you have a good actor. After this, use a firecracker to make the sound of a gunshot. As soon as this goes off and the person pulls the fake trigger, have the other person push on ...
Oobleck, a word coined from the Dr. Seuss book "Bartholomew and the Oobleck," has contemporarily come to define the substance created from mixing cornstarch and water. This mixture is notable for its dilatant properties, and as an inexpensive and non-toxic Newtonian fluid. While seemingly liquid, under pressure, the substance reacts as a solid. Gentle treatment, however, will allow the material to remain in its fluid state. More simply put, this sh*t is crazy.
It's Mardi Gras time, but you're lacking the Shrove Tuesday spirit. Don't worry, these Mardi Gras cocktails should lighten you up and get you into party mode. Can anybody really make it through a Mardi Gras celebration without a little drunkenness? Maybe, but it's not recommended.
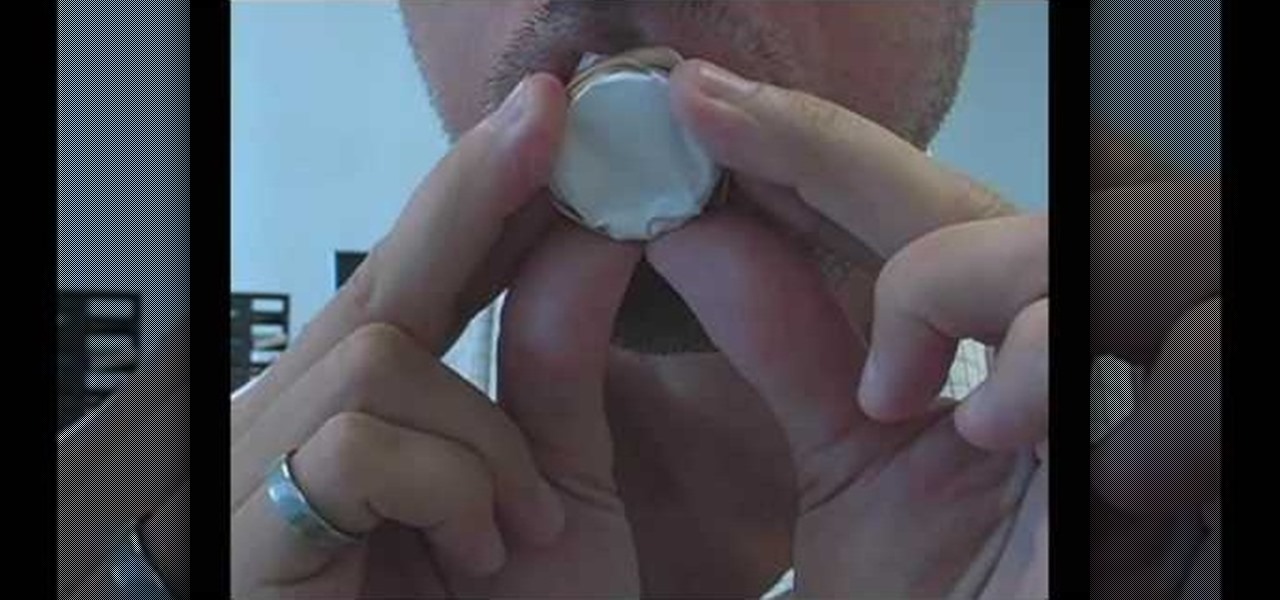
In this video tutorial, viewers learn how to make a realistic goose call. The materials required for this project are: a plastic bottle cap, scissors, rubber band and a piece of paper. Begin by making a small hole in the bottle cap. Then wrap the paper around the other side of the bottle cap and secure it with the rubber band. Now just blow in the hole and make a humming sound to create a goose call. This video will benefit those viewers who enjoy goose hunting, and would like to learn how to...
When we first saw Lady Gaga donning this, well, gaga headpiece at the Grammy Awards, we were wondering what the Fortress of Solitude was doing on her head. The headpiece, composed of what look like stalactites crystalized with thousands of swavorski crystals, looked like an Abstract Expressionist sculpture, and made little sense.
This prank is simple, creative, easy to set up, messy and embarrassing. Five of the first things that we at Wonderhowto look for in a prank. All you need are some basic household materials:
This video tutorial belongs to the Education category which is going to show you how to create a research binder. This binder will hold all your "how to" articles or research guides. You will need page dividers which you can make yourself or purchase. The dividers are meant to separate sections in the binder for ease of storing and retrieving all your research materials. You can have dividers for events, dates, contact details of people, places and "how to" articles. The dividers can have a f...
In this video tutorial, viewers learn how to replace and install a programmable thermostat. The materials required for this project are: a screwdriver, masking tape, marking pencil and batteries. Begin by turning off the power of the furnace. Then remove the face of the old thermostat and detach the labeled wires. Now remove the wall plate. Then mount the plate of the new unit and connect the wires to the corresponding codes. Finish by inserting batteries, placing the face plate on the wall p...
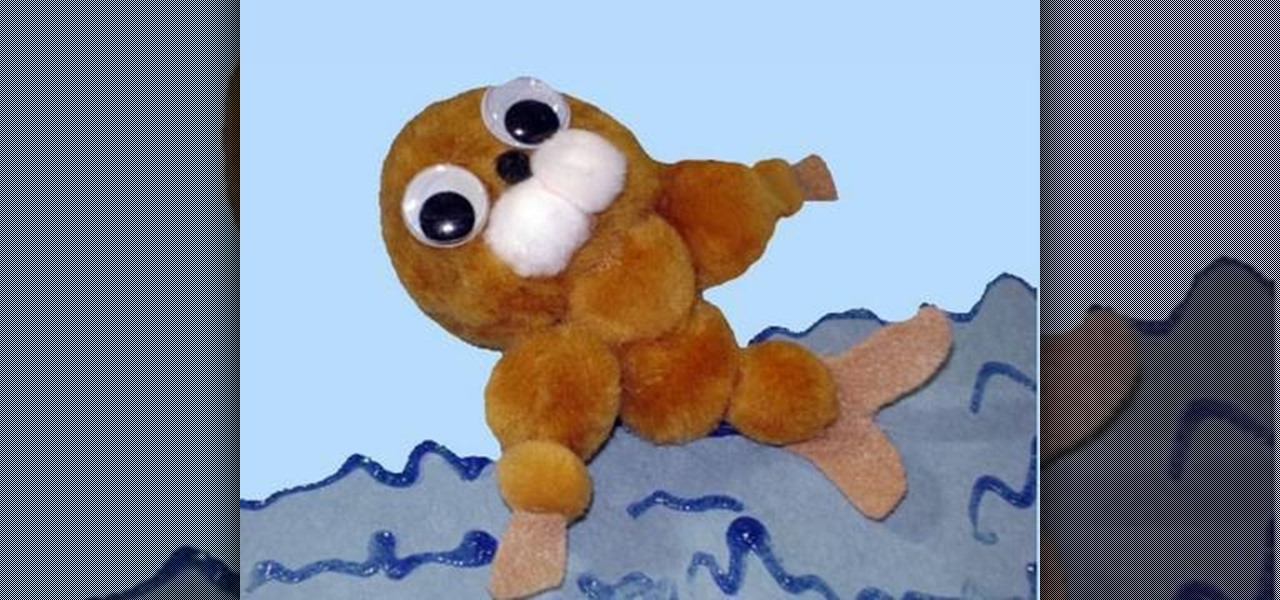
In this video tutorial, viewers learn how to make a pom pom seal. The materials required for this project are: 1 large brown pom pom, 4 medium brown pom poms, 3 small pom poms, 2 white pom poms, 1 small piece of brown felt, 2 googly eyes, glue and scissors. Begin by gluing the brown pom poms together. The large pom pom is the head, 4 medium pom poms are the body and 2 small pom poms are the hands. Then glue the 2 white pom poms and mini black pom pom on the head for the mouth and nose. Glue t...
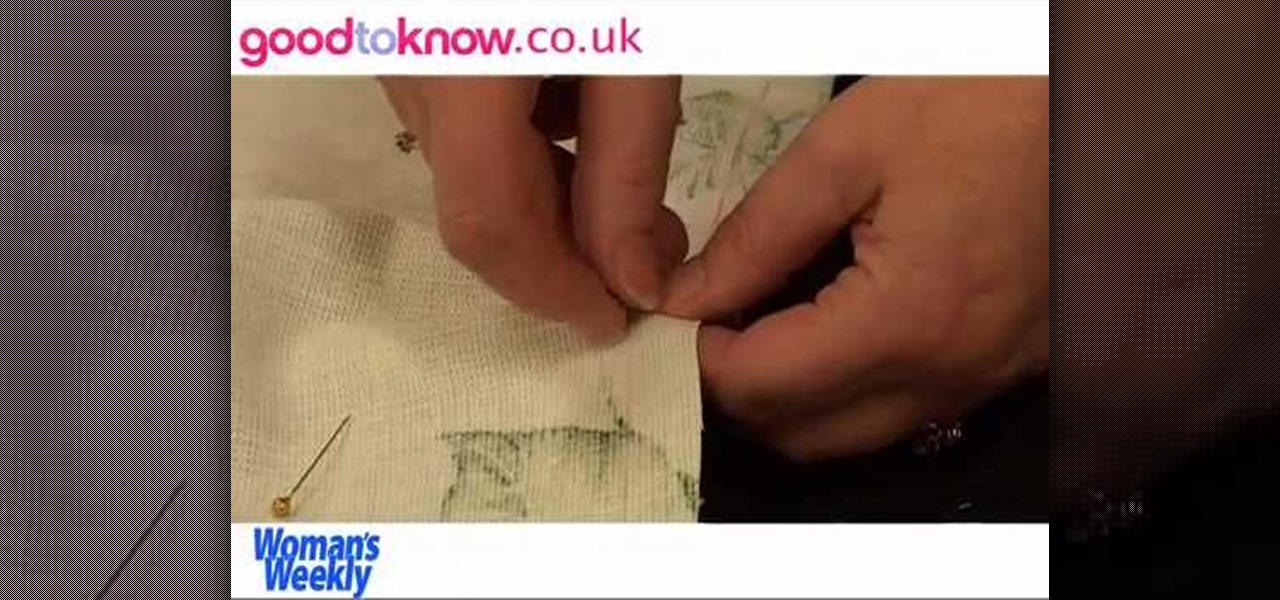
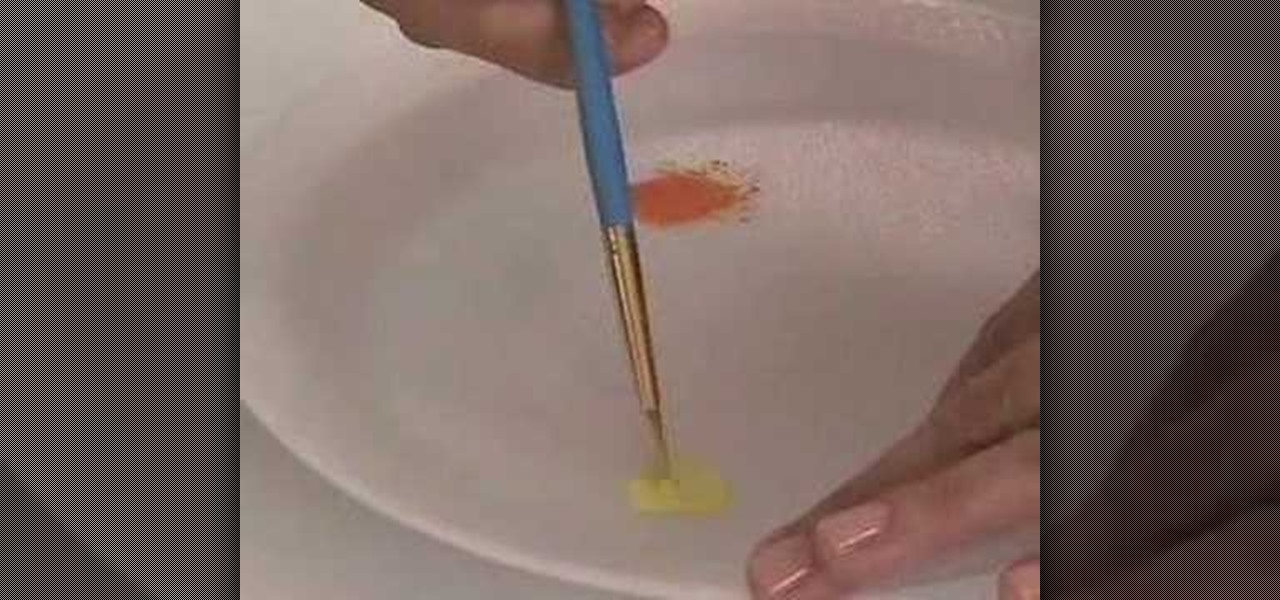
In this Arts & Crafts video tutorial you will learn how to use the cross stitch 'n paint technique. It combines simple back stitching and water color painting. Most of the materials are found in your kitchen. You will need wax paper, paper towels, and a plate to use as your paint palette, some water colors and paint brushes. After choosing your design, back stitch the outline on the fabric. Place the white paper towel over the wax paper and spread the stitched fabric over it. Now you are read...
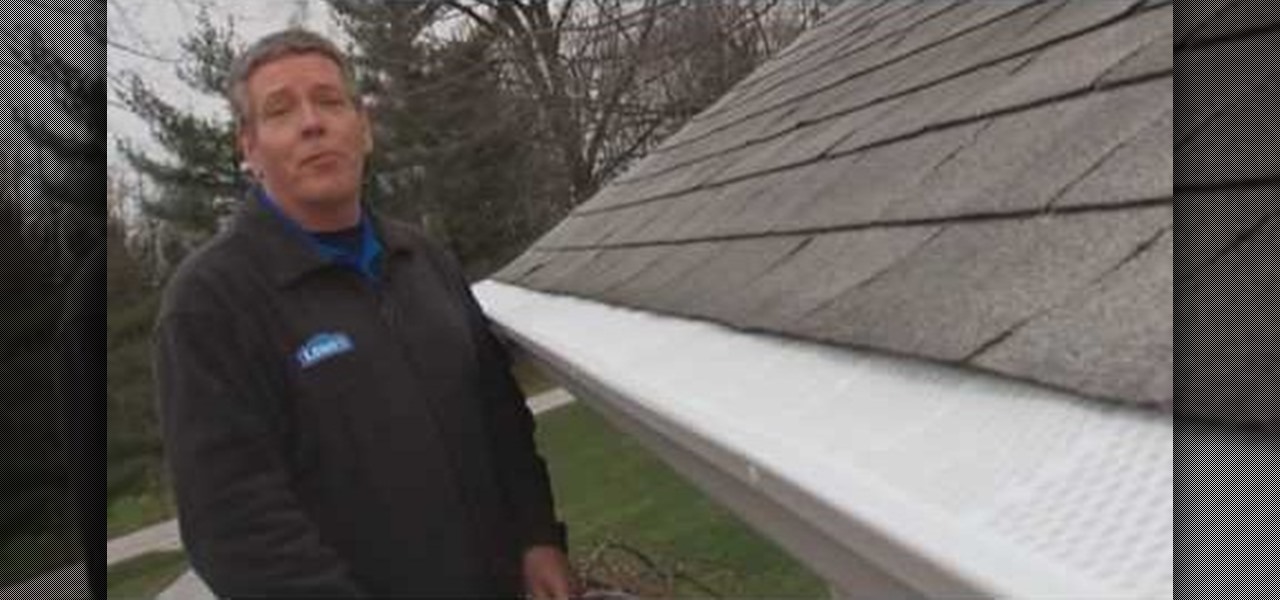
In this video tutorial, viewers learn how to install gutter screens. The materials required for this task are: tape measure, tin snips, drill with bits and sheet metal screws. Begin by measuring the gutter to determine how many screens to buy. Start at one end of the gutter and slide the back edge underneath the shingles. Then snap the edges in place and continue down the length of the gutter. Now drill holes in the edges of the screens and screw in the sheet metal screws to secure the gutter...
In this tutorial, we learn how to make mud and rubble in a WW2 diorama. You can use corks as the rubble after you paint it and rip it into different pieces to make it look like destroyed buildings. You can purchase realistic water and gloss gel medium to look like water that is on the battlefield. If you mix them together with some chunky material, and then add in brown food coloring, it will look like mud. Using these tips and tricks, your diorama can look more realistic and look fantastic! ...
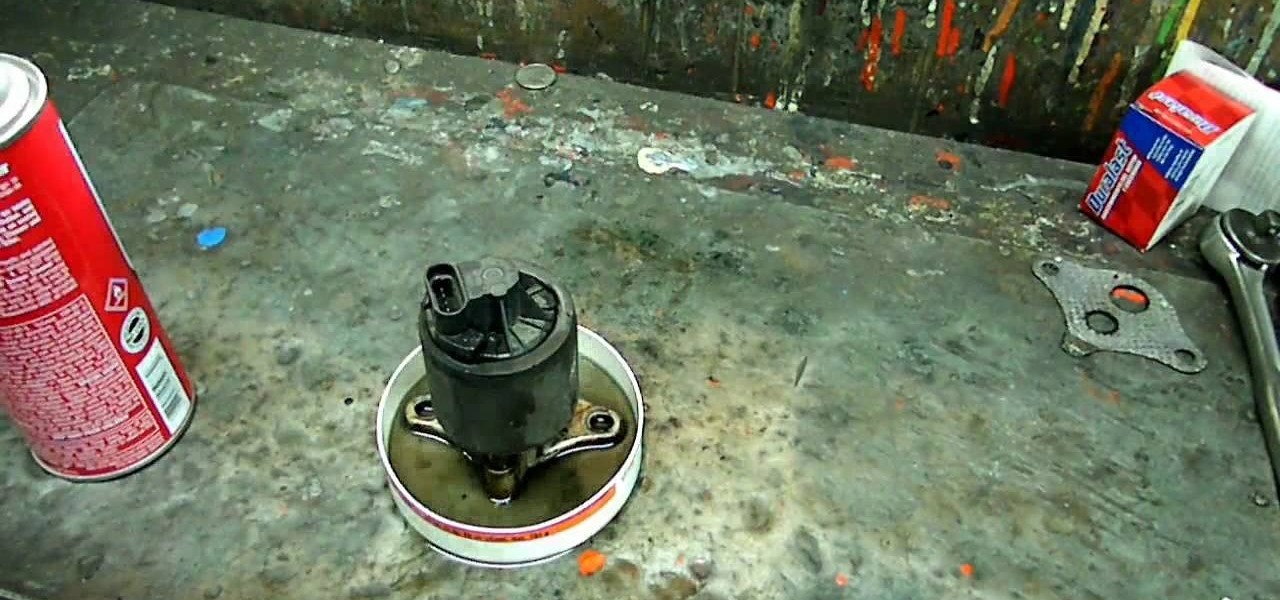
If you own a Saturn S-series and keep getting the code P0404 and your check engine light is on, you probably need to perform an EGR cleaning. This is actually a commong problem with soem cars and can be taken care of easily wthout having to go to the mechanic. This video will show you how to clean it properly and use the right materials for the job. You might want to wear gloves and protective eyewear when cleaning an EGR. So good luck, pay attention, and enjoy!
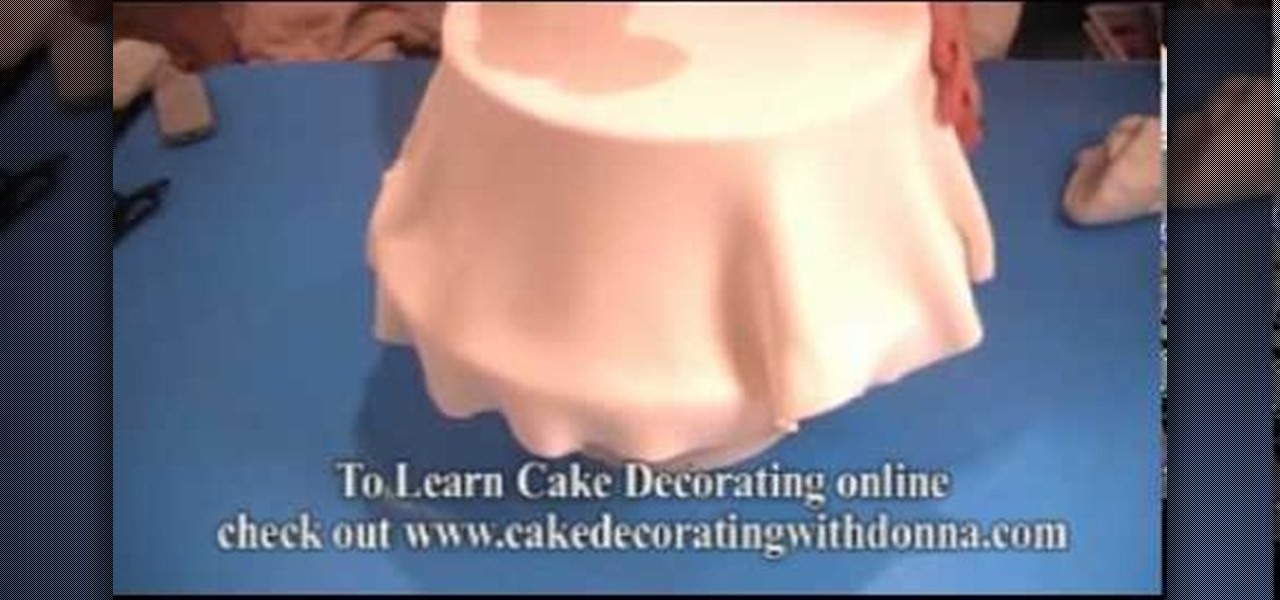
Fondant as a cake decorating material is difficult to work with. Before we even get into how demanding it is to sculpt little fondant figures like giraffes and zebras, the issue of covering an entire cake with a rolled out piece of fondant should be covered.
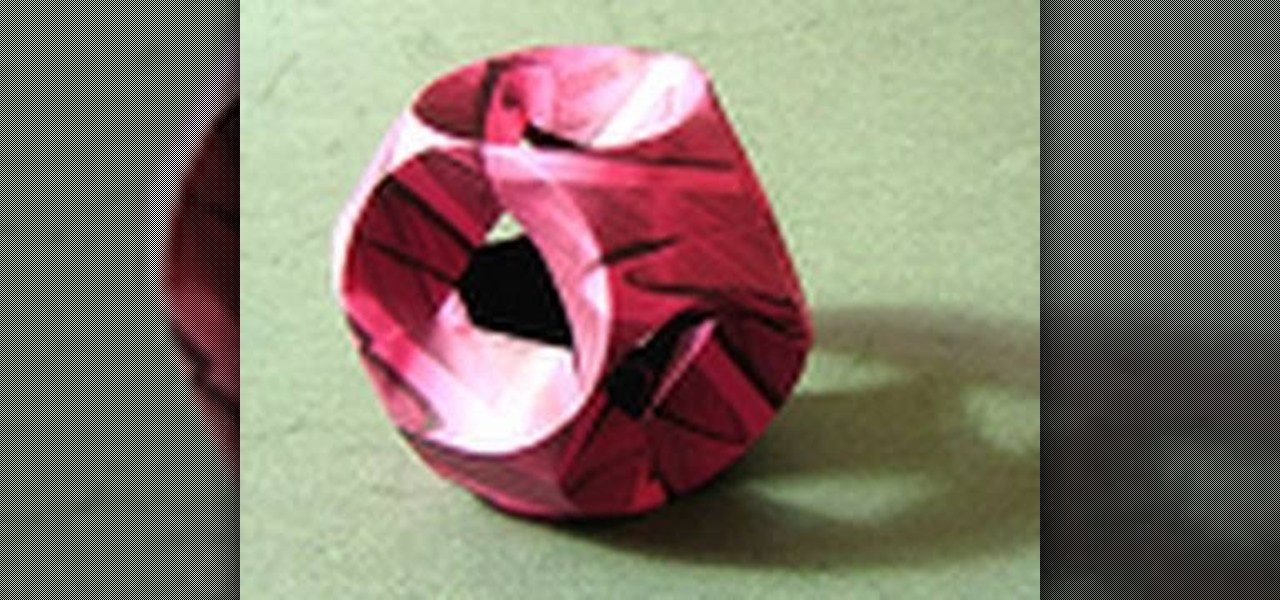
The core principle of origami is folding something from a single sheet of paper. The idea is to challenge your mind to create something fabulous out of very limited material. And while this is quite the poetic journey, as you'll see with modular origami and this origami tutorial, sometimes more than one sheet is necessary to get the job done.
This video tutorial belongs to the Film & Theater category which is going to show you how to build a light diffuser to improve your film lighting. Joe Richardson explains how to do this. You will need four pieces of pine wood 1" x 2" x 8 feet long, framing nails, duct tape and light cloth material. Cut the wood at the edges at a 45 degree angle and lay them out on ground to make the frame and hammer in the framing nails. Now spread the cloth over the frame and start stapling it. Pull the clot...
In this Family video tutorial you will learn how to craft felt frog puppets with your kids. The materials you will need for this are felt (pink, dark and light green), a piece of red lace, 2 large white pompoms, 2 small black pompoms, scissors, glue and marker. Take two layers of dark green felt and draw out the outline of half of the left palm. Fold the felts in half and cut out the outline. Stick the two pieces along the edges to make a glove. Next cut a rectangular piece out of the light g...
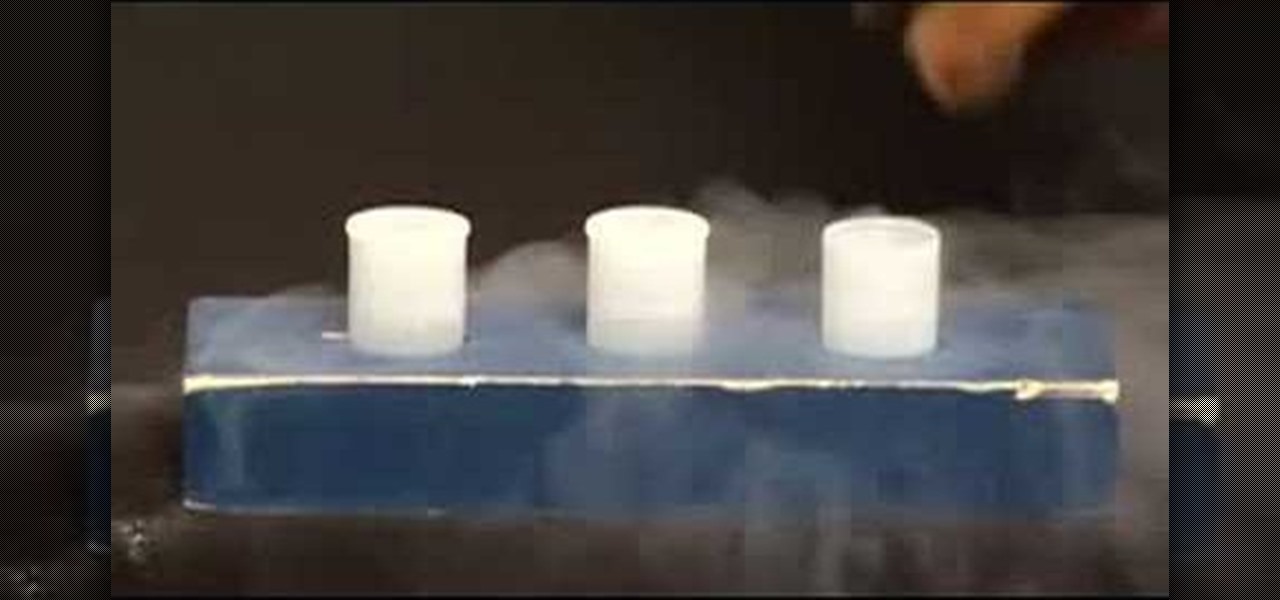
In this video tutorial, viewers learn how to do a liquid nitrogen experiment. The materials required for this experiment are liquid nitrogen and film canisters. This task is very easy, fast and simple to do. Begin by pouring the liquid nitrogen into the film canisters. Then quickly place the film canister lids on. The liquid nitrogen will eventually become a boiling gas and expand about 700 times. Because of the expanding, the pressure will build in the canisters and result in popping lids. T...
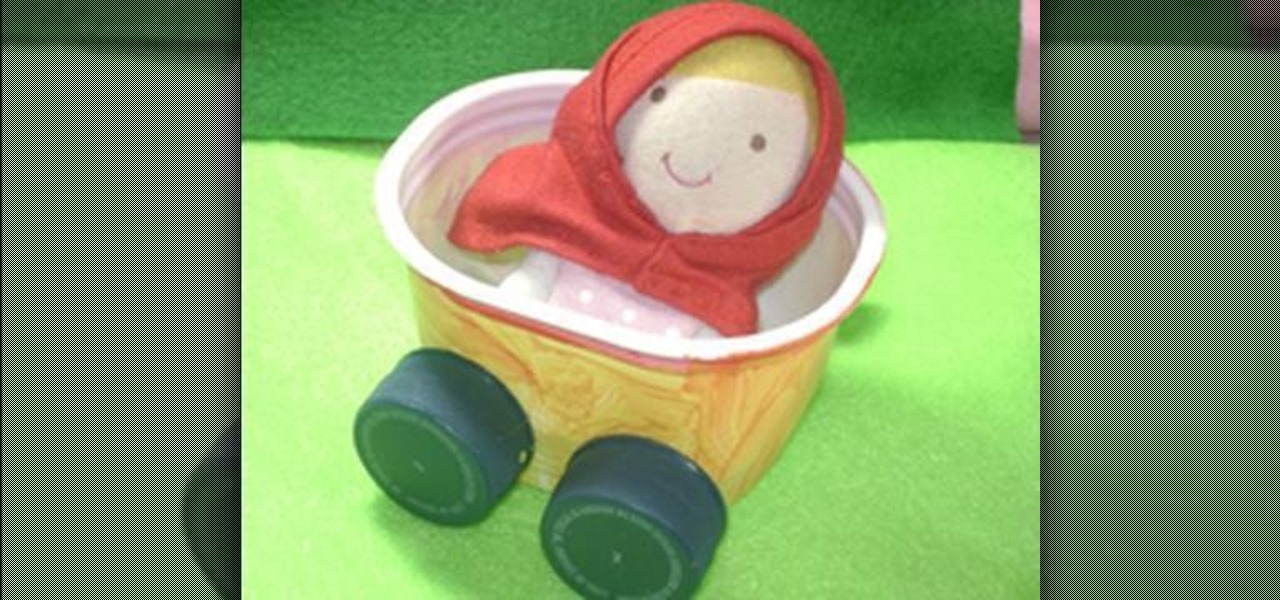
In this video tutorial, viewers learn how to make a recycled potato container car. The materials required for this project are: a recycled potato chips, half of a skewer stick, 4 recycled plastic soda caps, glue and a sharp pencil. Users may also need paint, brush and string. Begin by peeling off the label of the container and poke 2 holes on each side of the container. Then apply glue onto 2 of the caps attach them onto the ends of a skewer. Now put the skewers through the holes of the car a...
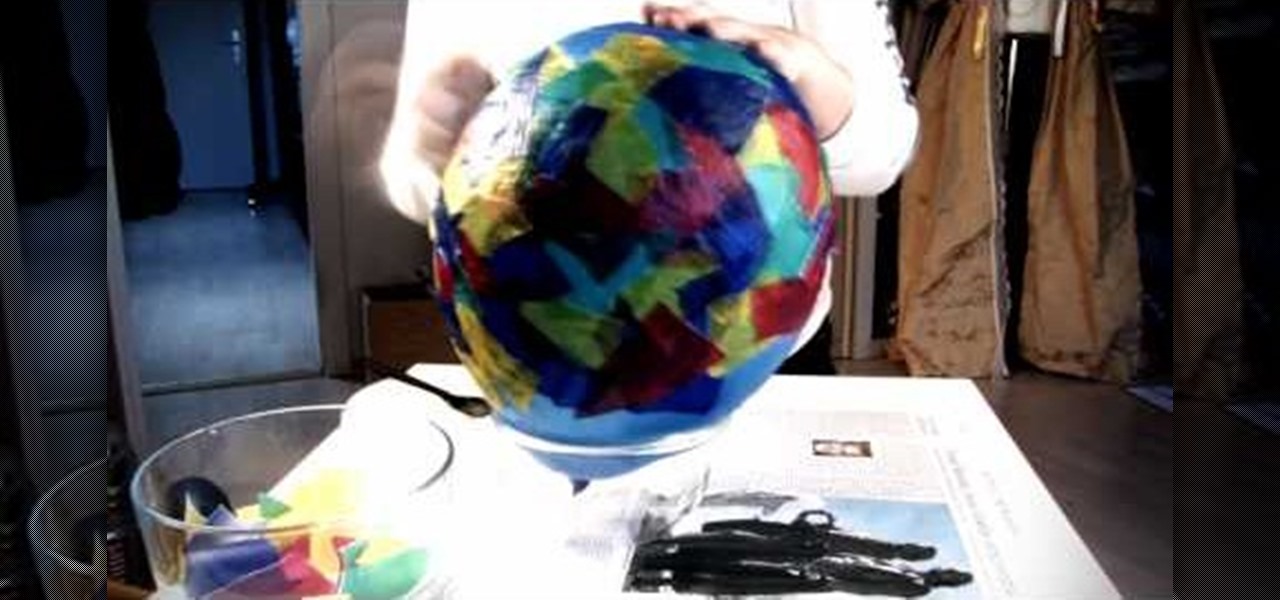
In this video tutorial, viewers learn how to make a balloon lantern. The materials required for this project are: balloons, lantern paper, wallpaper paste, bowl and scissors. Begin by ripping the paper into small pieces and place it into the bowl. Then shake the bowl and blow up a balloon. Now put some paste onto the balloon and layer it with the lantern paper pieces. Then let the paste dry and pop the balloon. Remove the balloon and cut off the lantern edges. Finish by hanging it and add a c...
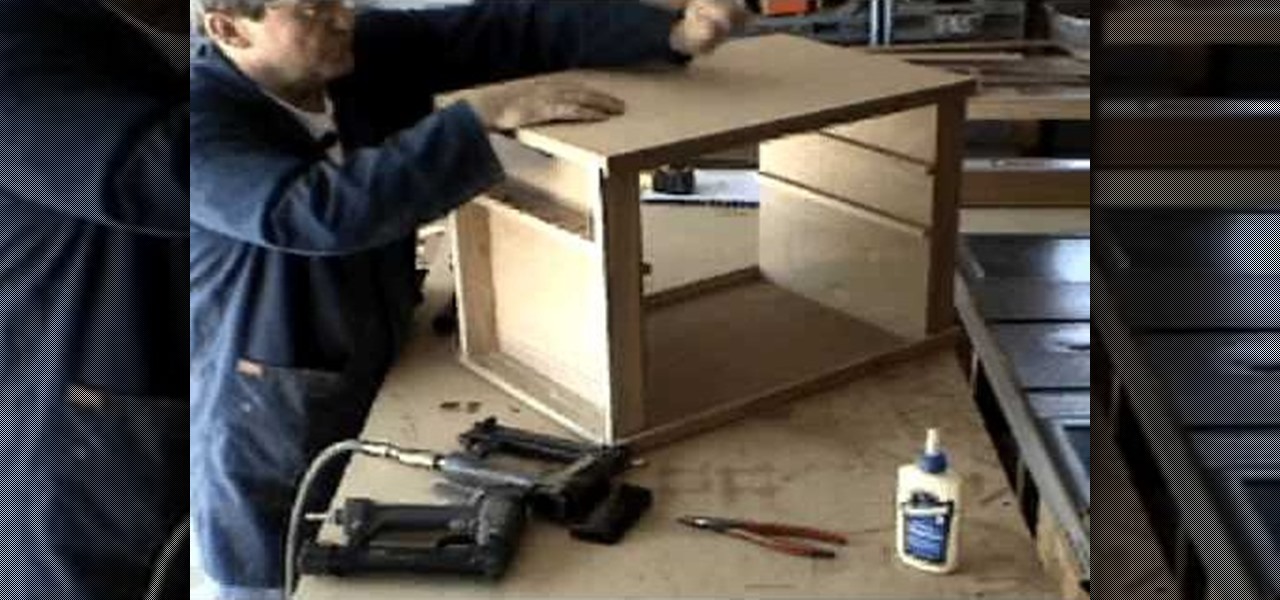
In order to build a good chuck box, you will need to do a lot of planning in advance, in order to make sure that you have the essentials and keep the weight of your chuck box down.
In this video tutorial, viewers learn how to make a Hello Kitty princess mirror. The materials required for this project are: epoxy glue, tweezers, pendants, gems and a plain mirror. If the mirror has a logo, you can remove it by rubbing over it with some nail polish remover. Begin by mixing the epoxy. Then stick the Hello Kitty pendant and a pearl heart on the top cover of the mirror. Use a stick to apply the glue and tweezers to place the heart on the mirror cover. This video will benefit t...
Storing your groceries or recent purchases from Target in the provided plastic bags may be convenient, but think of how many people use these non-biodegradable plastic bags and then toss them every day and every year. Help clean up the environment by making reusuable tote bags from t-shirts!
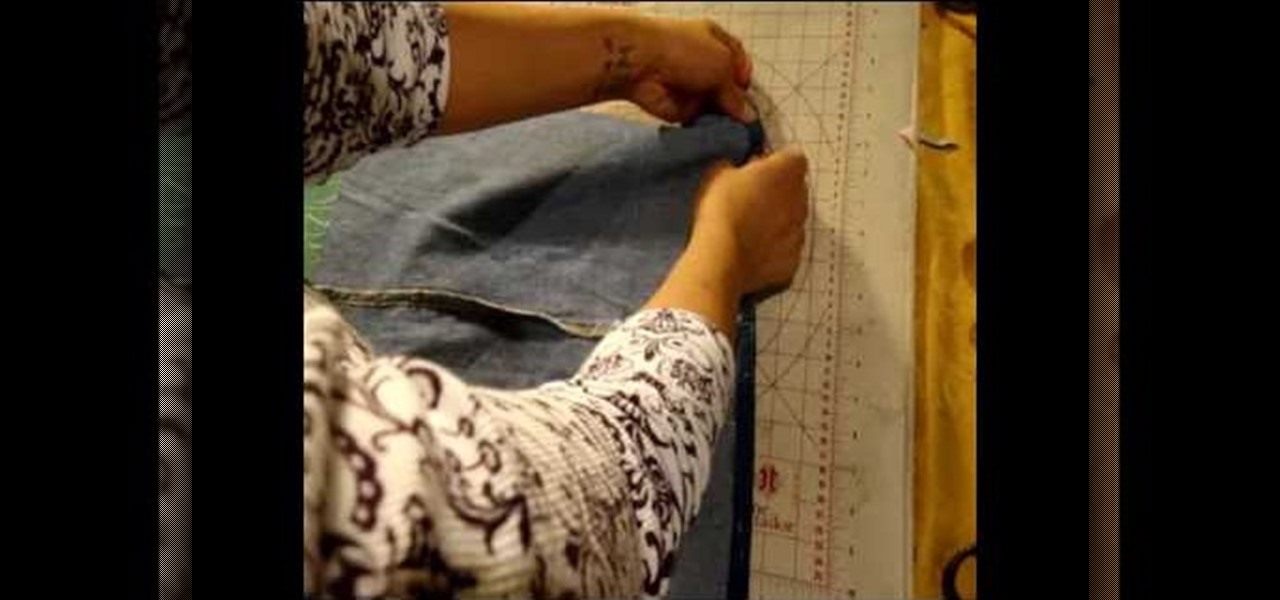
Don't want to throw away that raggedy pair of old Levi's with small paint stains and random tears all over because it's stuck with you longer than your trusty 12-year-old jack russell terrier? We totally understand. Continue to use your favorite pair of blue jeans by watching this video.
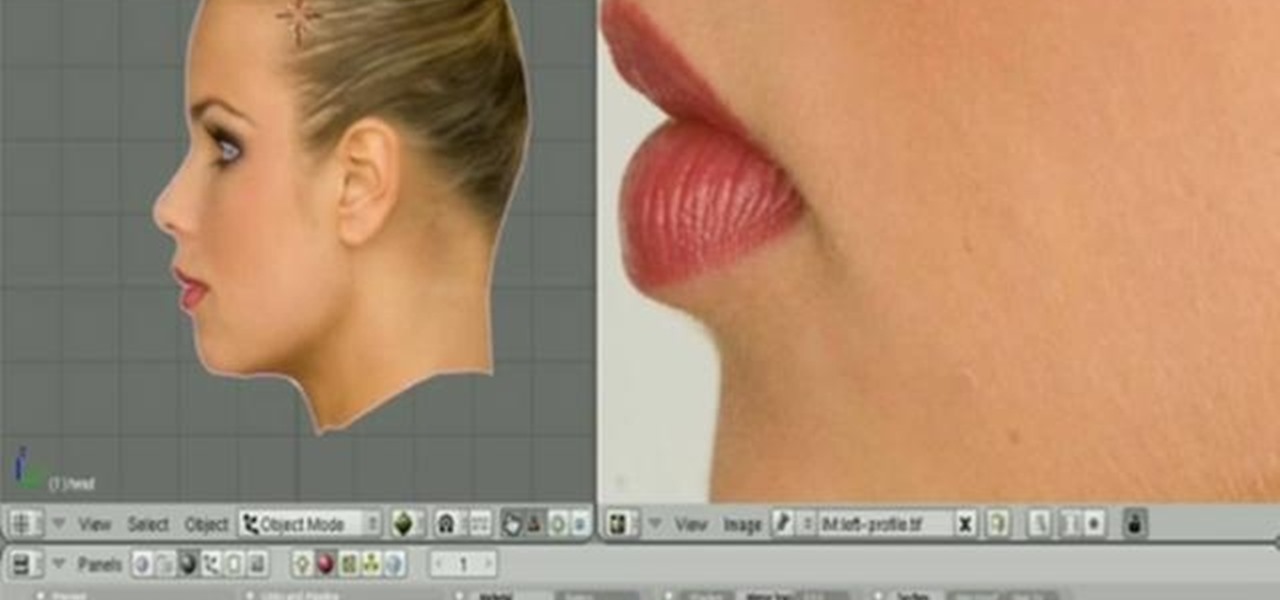
This 31 minutes blender tutorial will show you the steps to texture a head using the new GLSL preview features of the Apricot blender versions. You will see how to interactively blend together 3 projections of reference photographies into a final texture. This assumes you already are comfortable with Blender, mostly in UV mapping, material and textures. Whether you're new to the Blender Foundation's popular 3D modeling program or a seasoned graphic artist just interested in better acquainting...
Achieve alluring and sexy waves rather than Shirley Temple-esque tight finger curls by watching this hairstyle tutorial on how to do a deconstructive waving technique. Girls with longer hair should opt for a smaller barrel curling iron, since a larger barrel will not create the same type of wave that we are trying to achieve.
This gorgeous crescent moon hairstyle consists of loose hair braided behind your head into a twisted chignon, the rest of your hair on the other side let loose for a novel take on the idea of a half up, half down hairstyle.