In this video tutorial, viewers learn how to remove CD/DVD scratches with an apple. This task is very easy, simple and fast to do. The material required for this task are an apple and cotton wool. Begin by butting the apple in half and apply the fresh apply onto the scratches part of the disc. Remember to rub gently on the disc. This should be done for 5-10 minutes. Now take the cotton and wipe the disc dry with it. This video will benefit those viewers who have a scratched CD/DVD, and would ...
In this video tutorial, viewers learn how to easily clean sterling silver. The materials required for this task are: ceramic or glass bowl, tablespoon, hot water, baking soda and aluminum foil. Begin by crumpling up the aluminum foil and place it at the bottom of the bowl. Then place 1-2 tablespoons of baking soda on top of the foil. Now fill the bowl 3/4 full of hot tap water. Then place the sterling silver into the bowl and leave it in for about 5 minutes. This video will benefit those view...
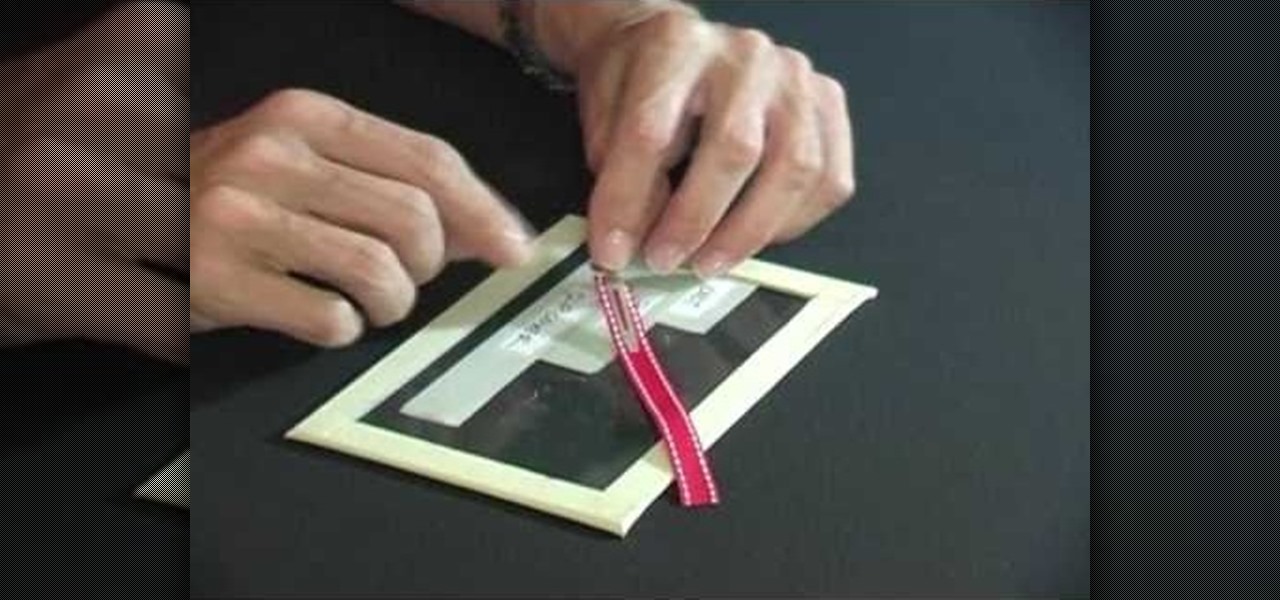
In this video tutorial, viewers learn how to etch glass in 5 minutes. The materials needed for his procedure are: contact paper, Armour Etch and a paintbrush, glass and a sink. Begin by cutting the contact paper face up on a circuit mat. Cut it on medium speed and pressure. Then put the contact paper on glass. Work carefully to prevent any wrinkles and bubbles in the design. Now put the etching cream on in a dabbing motion. The etching cream will not run into areas that are not stuck down. Fi...
In this video tutorial, viewers learn how to make a sawed0off shotgun. The materials required for this project are: hot glue gun, duct tape, cardboard, utility knife, black marker, spray paint and 2 paper towel rolls. Begin by tracing a shotgun outline onto the cardboard. Make 6 layers and glue all the layers together. Then smooth the edges with sandpaper and tape the outside with some duct tape. Now tape the 2 paper towel rolls together and tape it on top of the shotgun. Finish by painting t...

In this video tutorial, viewers learn how to clean a Hummel figurine. The materials required for this task are: light fluid or ammonia, warm water soft cloth and a toothbrush. Begin by mixing the fluid into some warm water and dipping the cloth into the water. With the wet cloth, apply it onto the figurines and rub it gently. If you can't remove the stubborn spot, use the toothbrush and clean in a back-and-forth or circular motion. This video will benefit those viewers who collect Hummel figu...

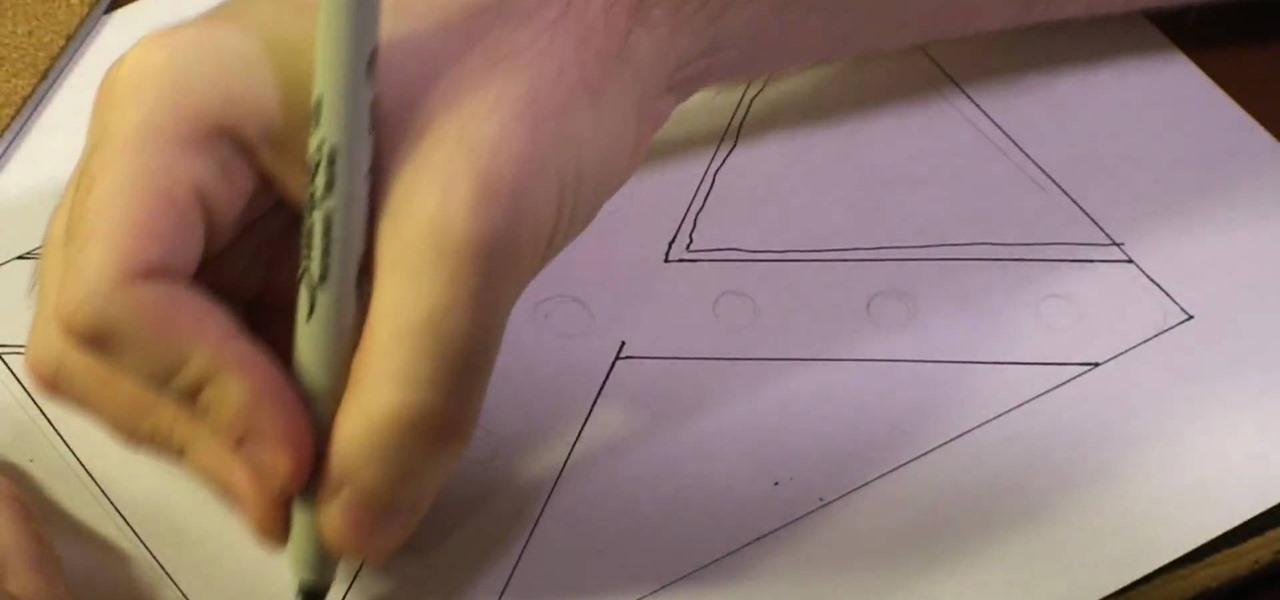
In this video tutorial, viewers learn how to make a stencil. The materials needed for this project are: contact paper, scissors and a pencil. Begin by drawing the design, shape letter or number on the contact paper. Make sure to draw the stencil on the back of the paper and make it reversed. When finished drawing, carefully cut out the design. To use it, simply peel off the invisible paper and place it onto the surface of the artwork. Then trace over it. This video will benefit those viewers ...

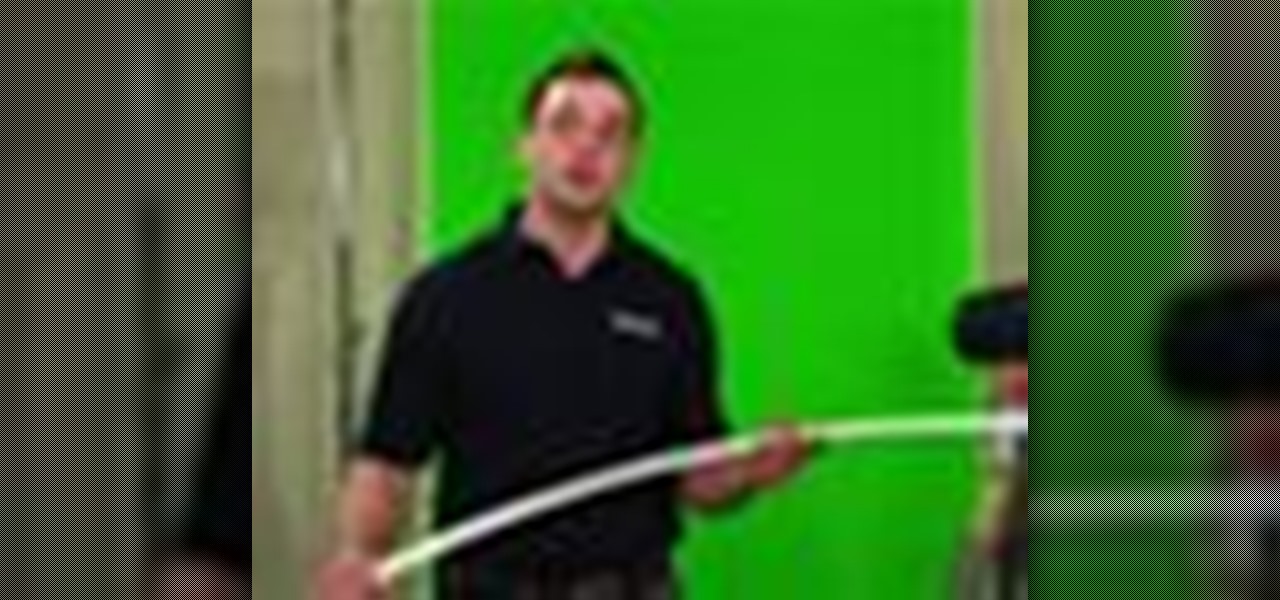
In this video tutorial, viewers learn how to build a green screen. The materials required for this project are: two 10 ft long PVC pipes, measuring tape, saw, duct tape and pipe elbows and couplings. Begin by marking the two PVC pipes with 6 ft on one side and 4ft on the other. Then cut the PVC pipes in half. Now connect the frame together with the pipe elbows and couplings. Build support to the fame by adding some duct tape. Finish by attaching the green cloth on the frame and tape it at the...
In this tutorial, we learn how to craft a pom-pom ladybug with your kids! The materials you will need are: 1 large red pom pom, 1 medium black pom pom, 1 pipe cleaner, 2 googly eyes, and one piece of lace. Start off by gluing the black and red pom pom's together with a hot glue gun. Next, use a hot glue gun to glue the googly eyes onto the black pom pom. Now glue black pipe cleaner around the red pom pom to make a stripe on the back of the ladybug. cut the pipe cleaner into little round shape...
In this tutorial, we learn how to work with memory wire to make jewelry. This is a coil material that remembers its shape and comes in a variety of different sizes. First, decide how thick you want your jewelry piece to be, then cut the excess wire with wire cutters. Next, apply a drop of superglue to one end of the coil followed by a Memory Wire end cap and let dry. Now, string your beads onto the wire. When finished, put a bead stopper onto the wire and apply glue to the very end with anoth...
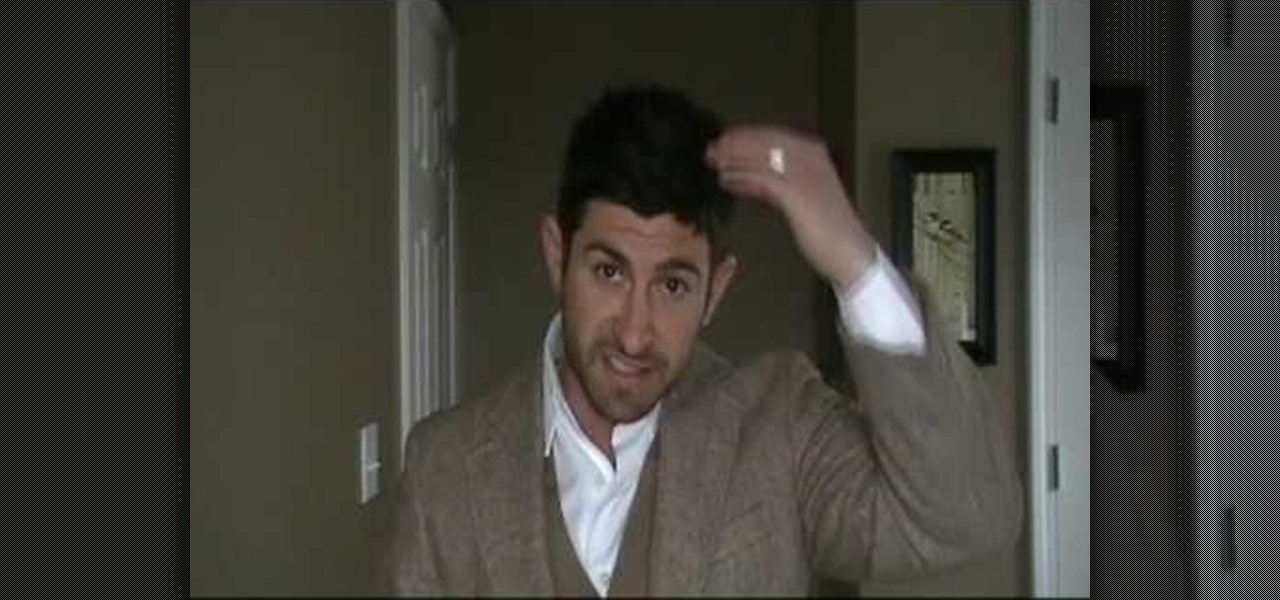
In this video, we learn how men can wear hats correctly. Hats are a great way for men to "up" their style and set them apart from other men. When wearing a baseball cap, remember to not spin your hat at different angles, because this will make you look more stupid than if you were to wear it normally. If you're trying to impress somebody, don't wear a baseball cap. If you would like to wear a fedora, you can experiment with different materials to coordinate with different types of outfits. Th...
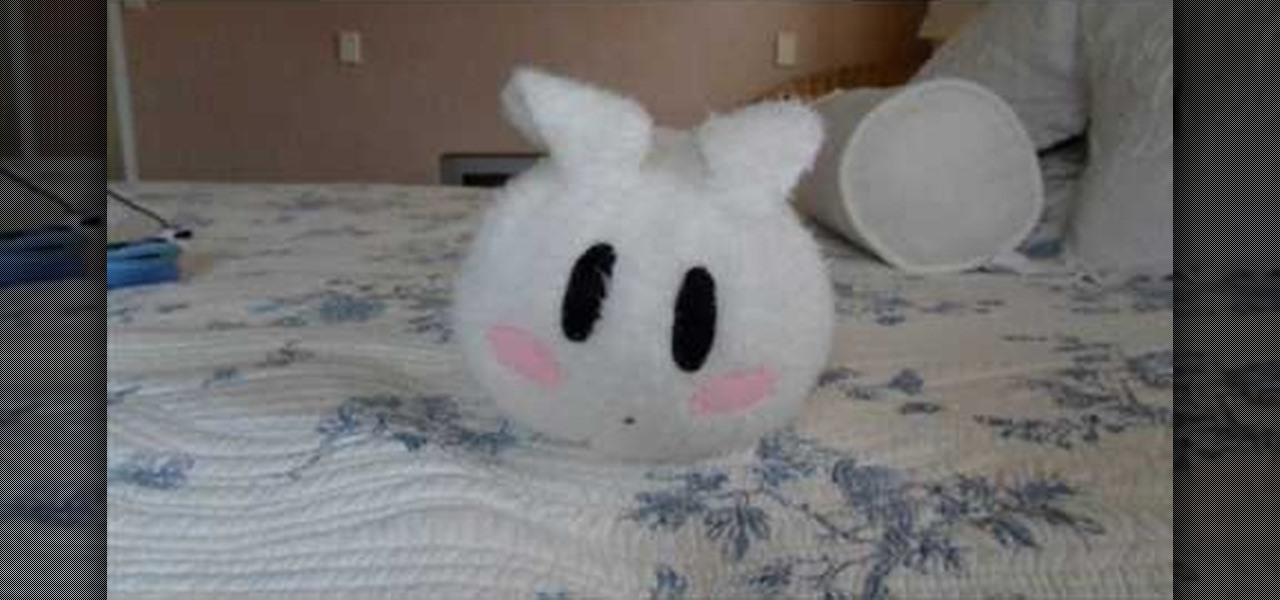
Want to know how to make the most adorable pillow in the world? Then you've stumbled upon the right tutorial. This video will guide you through how to sew together a blasphemously cute round rabbit pillow with eyes done in the anime style.
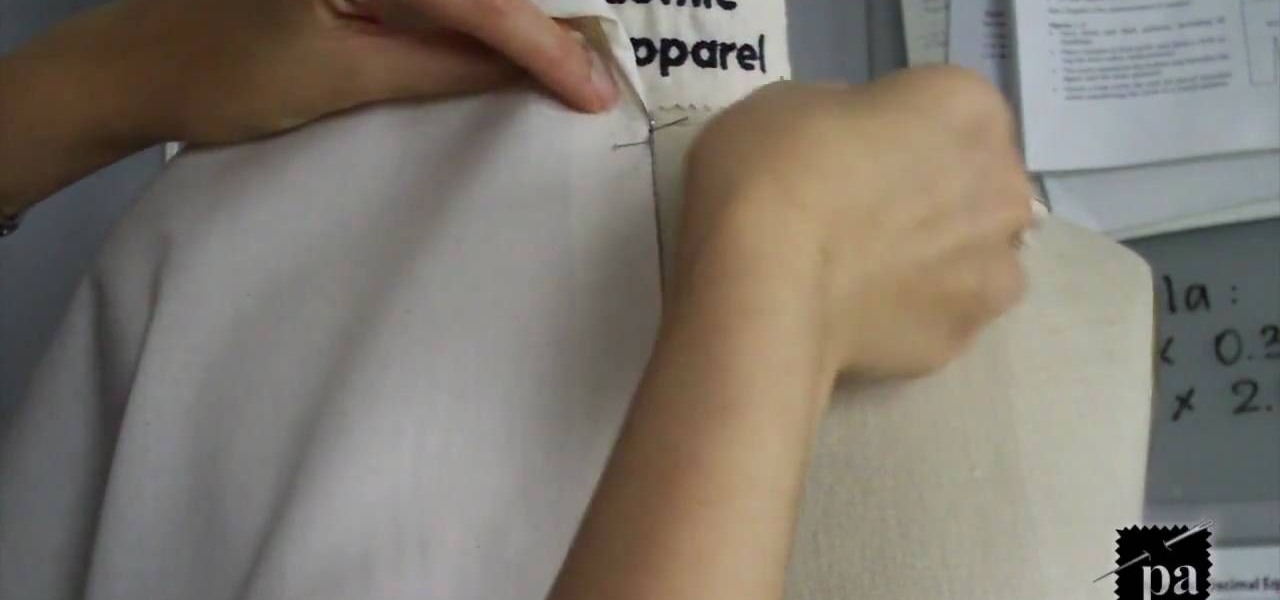
For beginners, sewing can be a confusing a difficult hobby that requires patience and the right tools. Whether you're adding a button on a shirt or creating a dress from scratch, being detailed and precise is important.
In this time of economic uncertainty, trying to save money is more important than ever. There are many ways that this can be done, and one is by making your own clothes. This can be achieved using materials that can cost less than regular clothing found in stores.
If you are looking to create something that will keep the cold air out and the warm air in, a draft stopper may be a good idea. It's a great alternative to buying weatherstripping and can be made from scratch in your home.
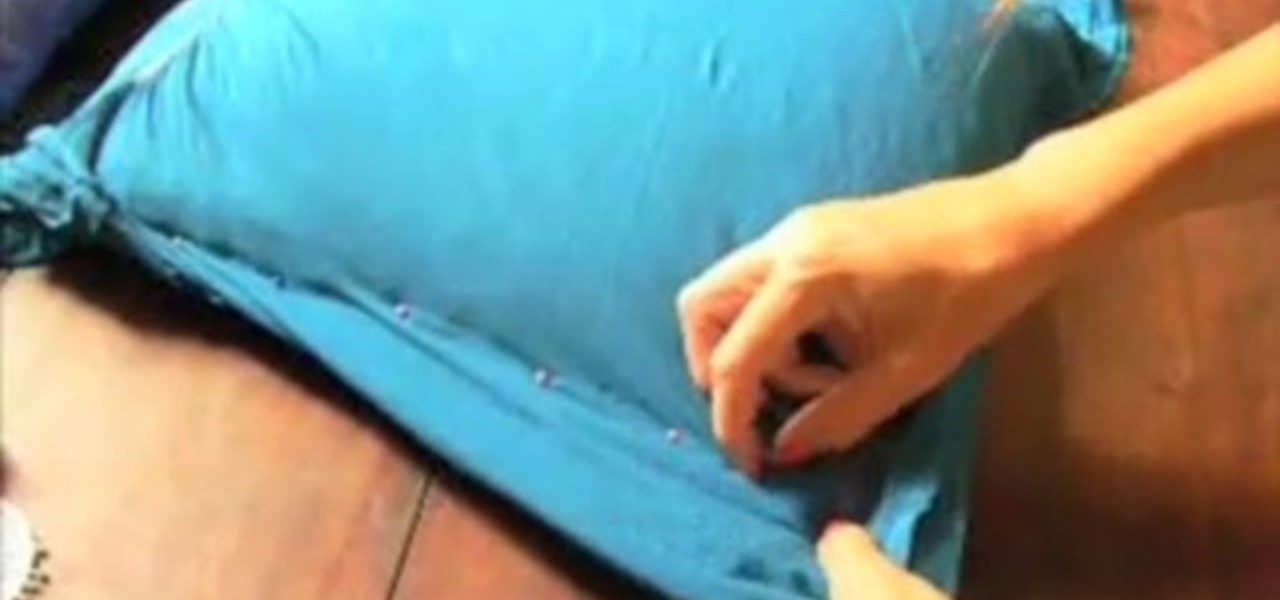
In this video tutorial, viewers learn how to turn a t-shirt into a pillowcase. The materials required for this project are: a pillow, a shirt (that fits over the pillow), pin, needle, thread, decorative trim and a sewing machine. Begin by flipping the shirt inside out and slip in the pillow. Position the pillow to how you want it and pin down along the sides to hold it. Now stitch the shirt together along the pin points. Trim off the extra fabric, leaving a 1/2" at the seam. Fold the bottom a...
In this video tutorial, viewers learn how to make a beaded watch band with a non-loop watch face. Begin by cutting 2 pieces of the stringing materials to approximately 10 inches. Then put one end of the string through the hole of the watch face and pull it to about halfway. Now users will have 2 strands to work with. Users may choose to making a double strand watch band by putting beads on both strings, or a single strand watch band by running both strands of string through a single bead. Fin...
In this video tutorial, viewers learn how to draw a rebel flag. The materials needed are a ruler, sheet of paper and drawing utensil. Begin by using the ruler to draw a rectangle for the flag. Then draw an X in the center of the flag, going diagonally from the top corners to the bottom corners. Now draw outer lines on the X. Then draw the 13 stars on the flag, The first star is in the center of the X and add 3 stars on each side. This video will benefit those viewers who enjoy drawing, and wo...
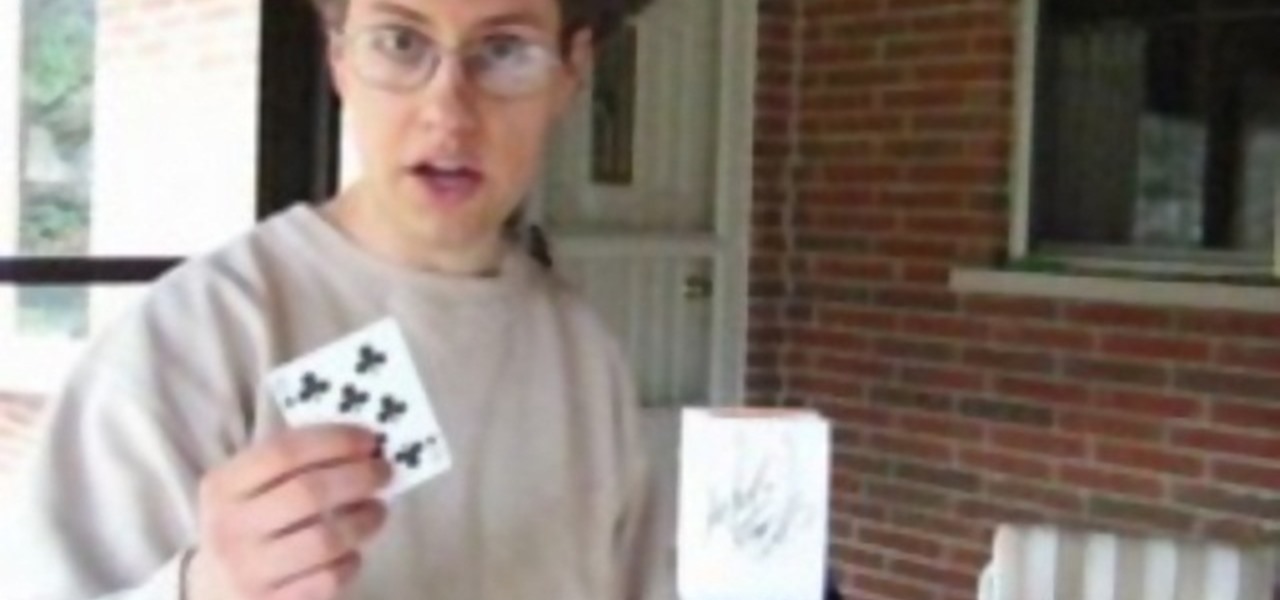
In this video tutorial, viewers learn how to do the card on a rope magic trick. The materials required for the trick are: deck of playing cards, rope, magnets and a bag. The magician begins by allowing the spectator to randomly select a card from the deck. Then the spectator places the card back in the deck and shuffles it. The deck is then placed into the bag. The magician takes a rope, places it into the bag and fishes out the select card. This video goes over the preparation and techniques...
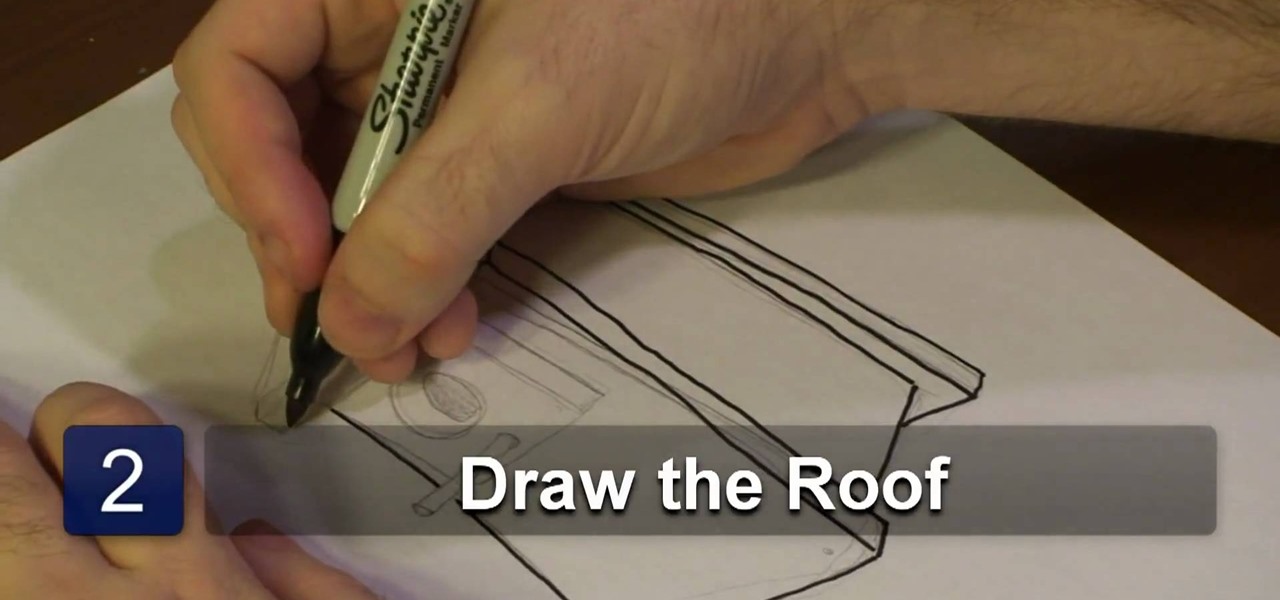
In this video tutorial, viewers learn how to draw an animated birdhouse. The materials required are paper and a drawing utensil. Begin by drawing a rectangular base. A bird house is usually geometric, show the base should only contain rectangle and square shapes. It is recommended to use a ruler, instead of drawing the lines free handed. Add a rectangular roof on top and an entrance in the front. Draw a circle to represent the entry way and add a post. Draw another circle inside the entry hol...
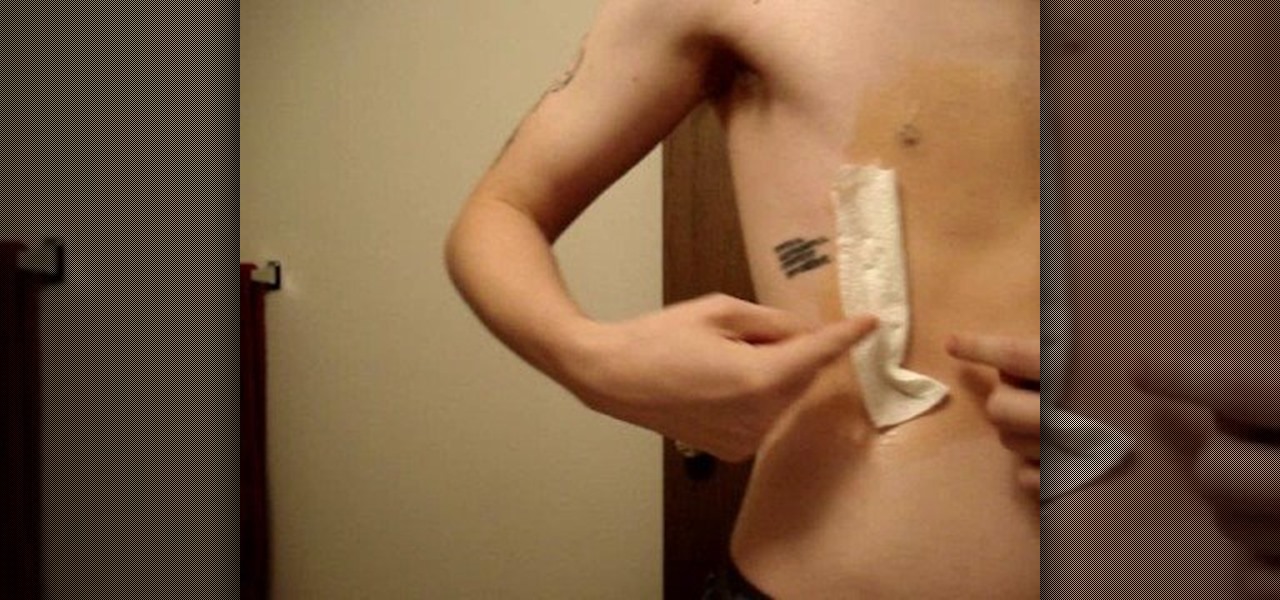
There is no such thing as a sucking chest wound. All chest wounds suck. Except perhaps for fake ones, which are essential to making a really gritty, gory film in most cases. This video features detailed instructions on how to make a fake chest wound out of latex and other special effects materials. Since it is a prosthesis, it can even be reused! It is a little complicated, but the end result looks great, so try this out in your next movie!
This adorable bird pendant on a gold chain is a common sight at fashion forward indie stores like Urban outfitters, where similiar pendant necklaces sell for upwards of $30. While this necklace may look difficult to make, the materials are actually extremely easy to assemble (and no one expects you to cast and mold the bird yourself, so that saves a bit of time).
During this rough economic period, more and more people are looking for better ways to save on money, but still look good in the process. One of the best ways of doing that is by making your own jewelry. Much of the materials can be bought at stores like Target and Wal-Mart and are easy to put together. So in this tutorial, you'll find out how to make beautiful looking pearl cluster earrings. Good luck and enjoy!
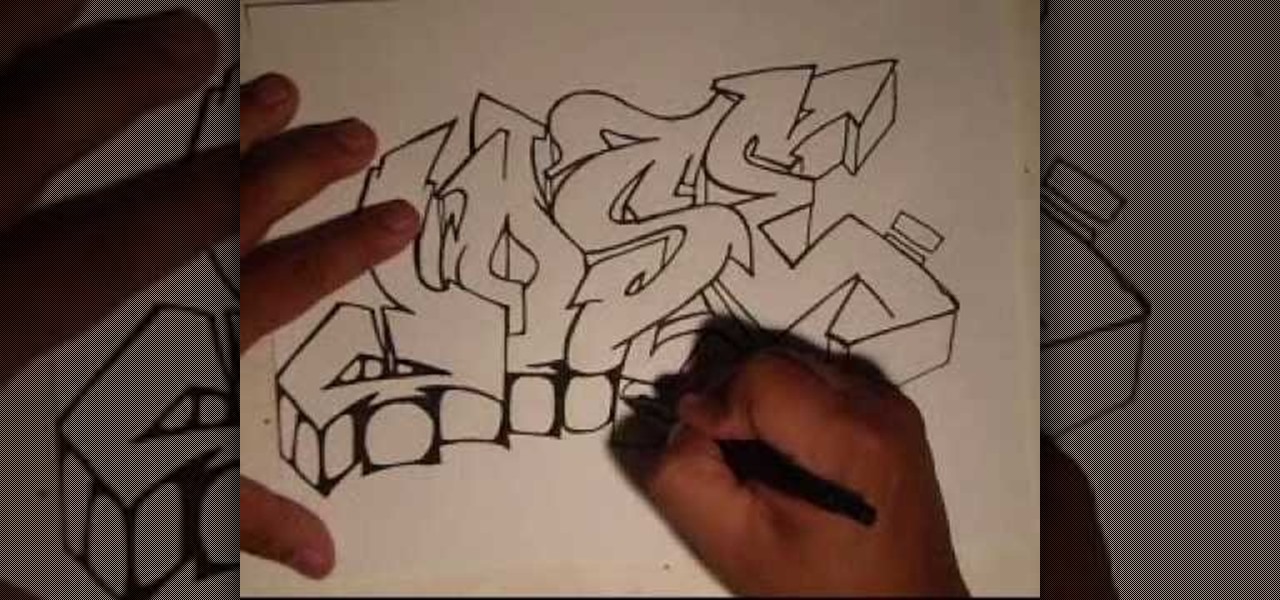
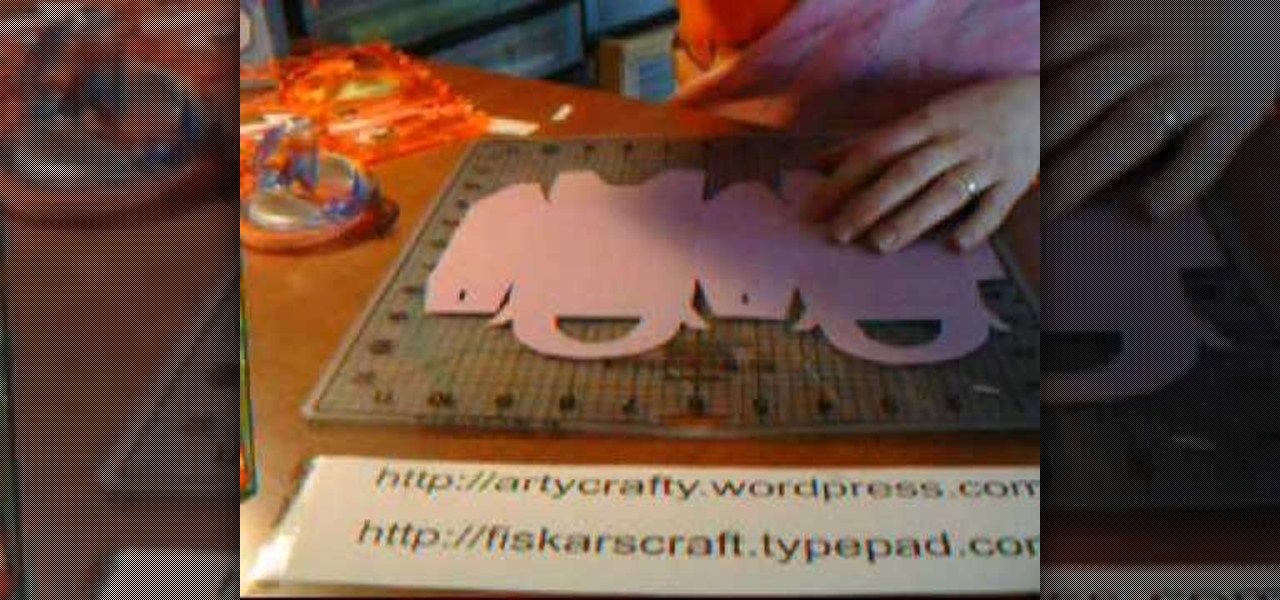
Although many may consider it disgusting, there are still people out there who see graffiti as an art form. It requires skill and the right type of materials in order to write anything in graffiti style. Now doing it on other people's properties not so good, but on a piece of paper, that's much better. In this video tutoria, you'll see how to write a name in an old school graffiti style. So good luck, enjoy, and please don't break the law by tagging up things that don't belong to you!
Time bombs are a stimulating and ubiquitous part of action films. This video features a handy tutorial on how to make a realistic-looking time bomb at home out of basic, cheap materials that can be used to add tension and drama to any of your movies. Warning: do not let the authorities see your bomb without knowing what it is first! It is very realistic.
There's nothing like spending time outside with friends and family members during chill winter nights. What makes those nights so great is usually a nice, warm fire. You can easily build one by gathering some stones together to make a pile or you can build one from scratch using material you can find at home improvement stores. These can last for many years and make it much more safer to use, especially when you have little ones hanging around the area. So check out this tutorial on how to bu...
Over time, a bench seat can become worn out and tattered making for an ugly looking thing. If you don't know how to re-cover a bench seat, then this tutorial is what you'll need. This video shows you how to take new material and apply it to the cushions of your bench seat. It's an easy process that will result in a great looking piece of furniture. Enjoy!
You will see a great way to light and set up a blue/green screen for your next video. There are a lot of tips that will come in handy if you want to film on a blue/green screen and don't want to pay outrageous fees to do so. The key in setting up is to block out all outside sources of light so you have just the desired amount of lighting coming just from your own sources and also setting up the screen and stretching it out as tight as possible so you won't see any creases or snags in the mate...
In this video tutorial, viewers learn how to apply foundation on the face. The material required are: liquid foundation, concealer stick, loose powder, foundation brush and powder brush. All the products are from the brand, BYS. Begin by adding some liquid foundation onto your hand and apply it on your face with the foundation brush. Now apply the concealer stick around the eyes and nose. Then finish by apply the loose powder all around the face with the powder brush. This video will benefit ...
In this how-to video, you will learn how to choose a dress that flatters your body type. Jazmin Whitley, the designer for Li Cari, will help you with this. There are three body types in this example: long and lean, curvy, and small and curvy. If you are lean, you should accentuate the waist line. A waist band will help. For a curvy figure, look for an empire waist and materials that have flow. For the last body type, clothes should accentuate the waist line and bring balance at the top. This ...
In this video tutorial, viewers learn how to make a ribbon covered pinch clip. The materials required for this hair clip are 4 1/2" x 3/8" of ribbon, glue gun and an alligator clip. Open the pinch clip and place the ribbon inside it. Align it to the clip so that it is straight. Then apply some hot glue onto the surface of the pinch clip and then fold the ribbon to glue it. Alight the ribbon to the top of the clip and flatten the ribbon. Now apply some more glue on the ribbon and push it into ...
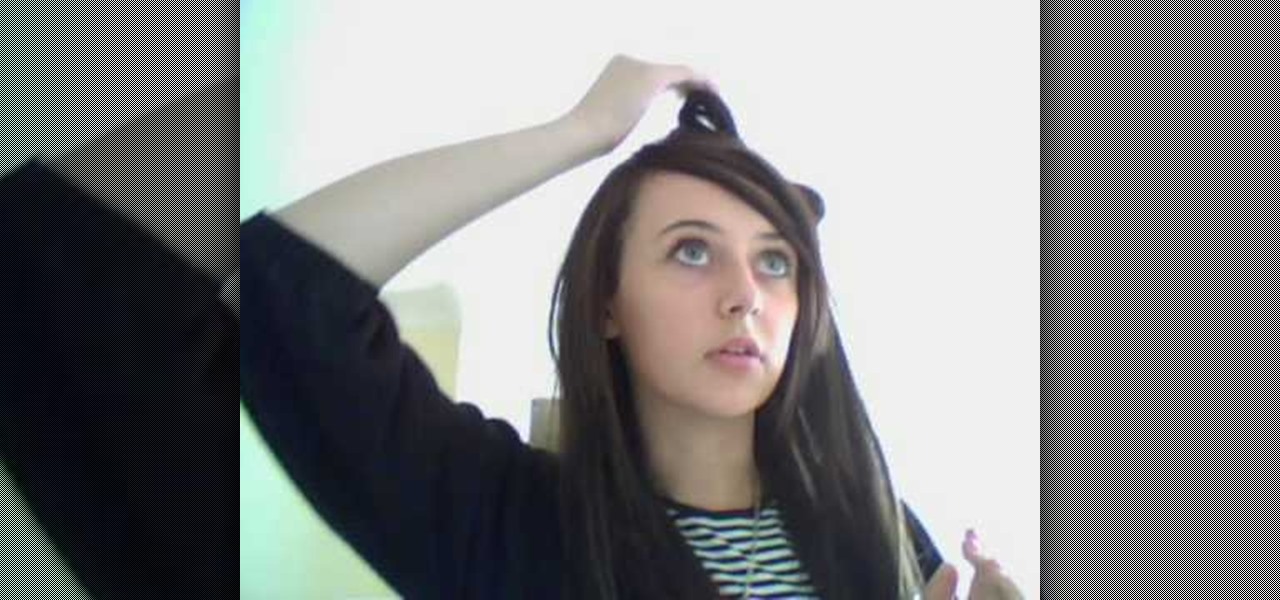
This video explains step by step how to create a "Lady Gaga hair bow with your own hair". The only materials needed are three bobby-pins, and your choice of hairspray. Take a section of hair from the side of your head and loop the hair (like a loop of a bow), pin this piece down (where the middle of bow will be). Take another section of hair close to the first loop, loop this second piece a crisscross the second bobby-pin with the first (creating the middle of the bow). Section off a piece of...
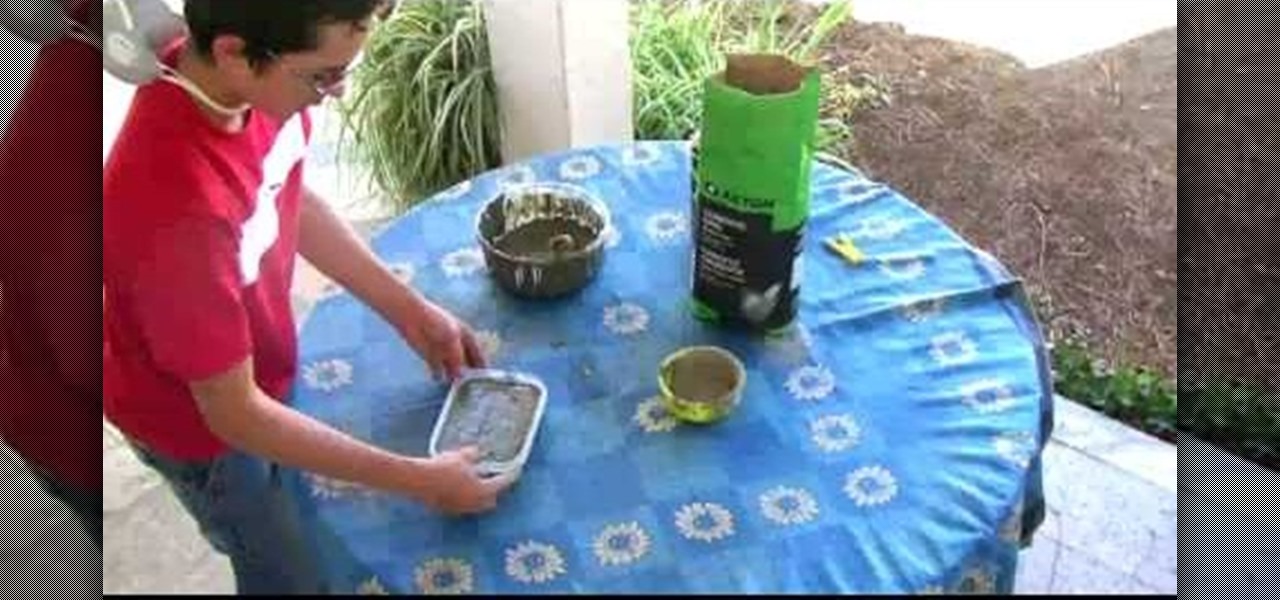
In this Home & Garden video tutorial you will learn how to make a concrete obstacle. Materials required are cement, 1 big receptacle, 1 small plastic receptacle, a cup for measuring, a spatula, 1 mold, WD40, paper towels and protection mask. Wear the mask, spray WD40 on the small receptacle and the mold, and wipe off with paper towel. Pour two cups of cement in the big receptacle, add one cup of water and mix slowly with the spatula. You can add more cement, water and make it to a watery cons...
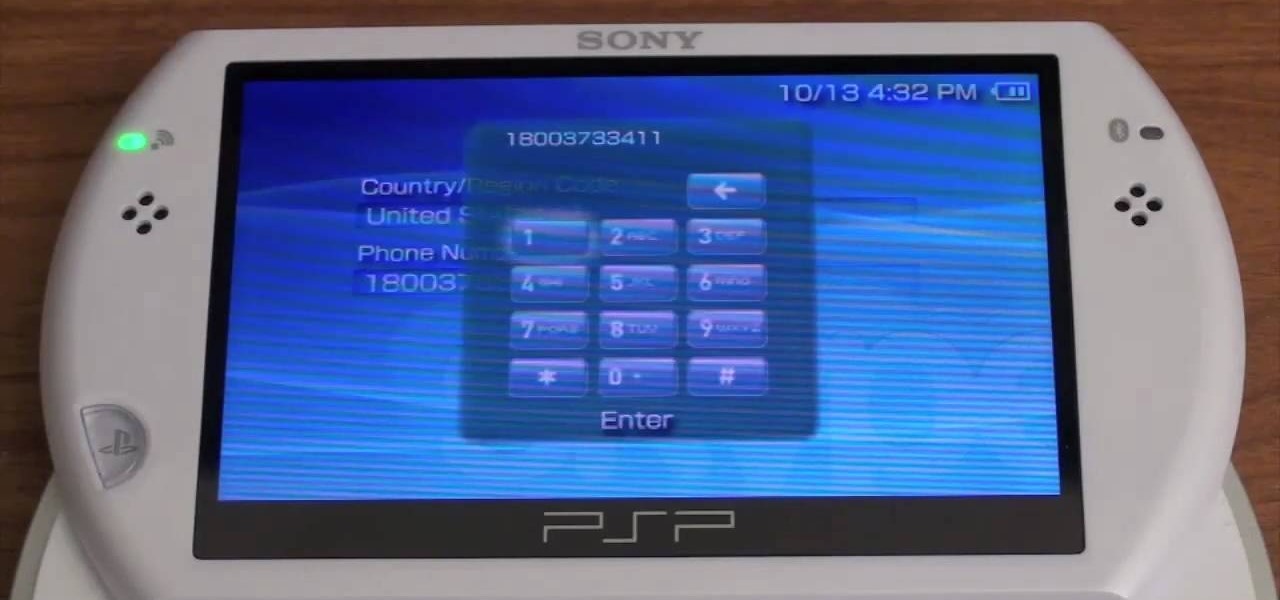
The materials you will need to do this are a "PSP GO" and the downloaded program "Skype". Once you've got the program and are ready to make some phone calls you can open up the program and scroll down to dial. Before you began using this to make call there's a few things you should no. For example you cannot make any phone calls except for business calls. Once you've got The dial tab open simply type in the number you wish to call and then enter the number. Then it will make an attempt to cal...
Channel Pullip teaches how to make a round doll dress. To accomplish this, you'll need fabric. In the example she used sailor color themed material. You'll need lace and trimming, an elastic band, and velcro for closure. To start, cut the fabric to 17cm x 3cm, fold in half and sew to a tube shape. Then you'll turn it inside out and fold both ends in. Cut a 10cm piece of the elastic band. Then, sew the band to the material. You've just made the dolls headband. To make the top of the dress, you...
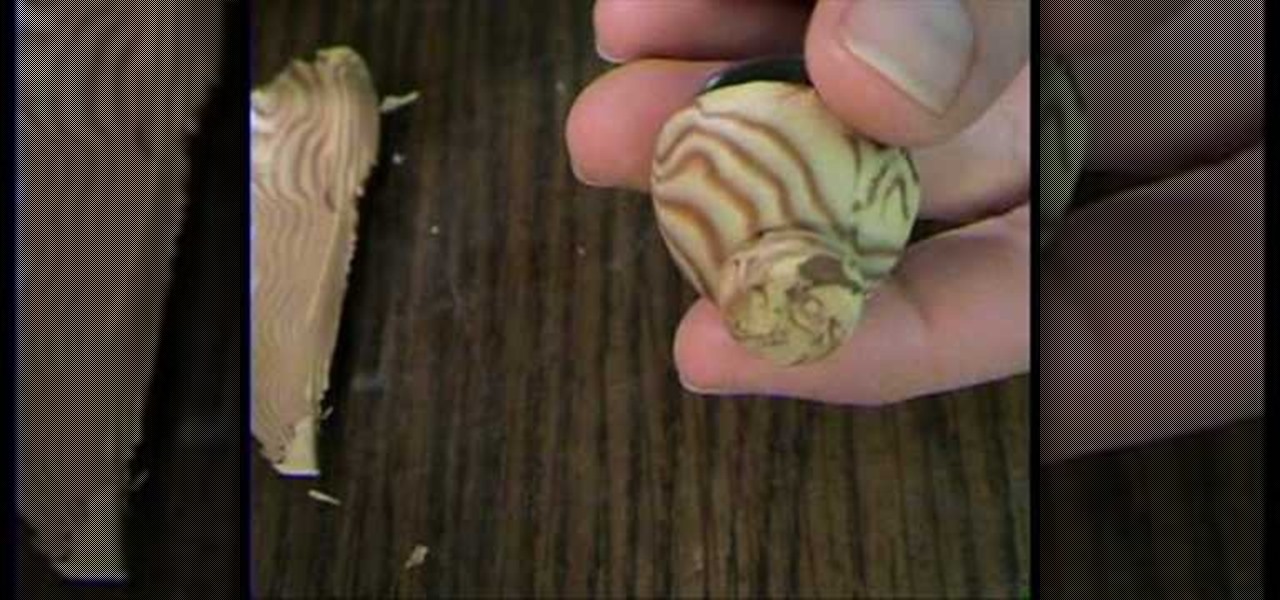
Following are the steps to describe how-to make small decorative bowls using polymer clay at your home:
Nick Spadaro shows how to make a fire with a fire piston. This device creates fire by compression, just like a deisel engine. You can find these online. Lubricate the gasket with just about anything, including chapstick or animal fat. Then put it in and make sure you have a nice fit. Pick your tender, preferably birch tender fungus, a nice spongy material. Put it in the piston, and put the piston on your leg. Your going to want to strike the piston sharply, straight down, so as not to break t...
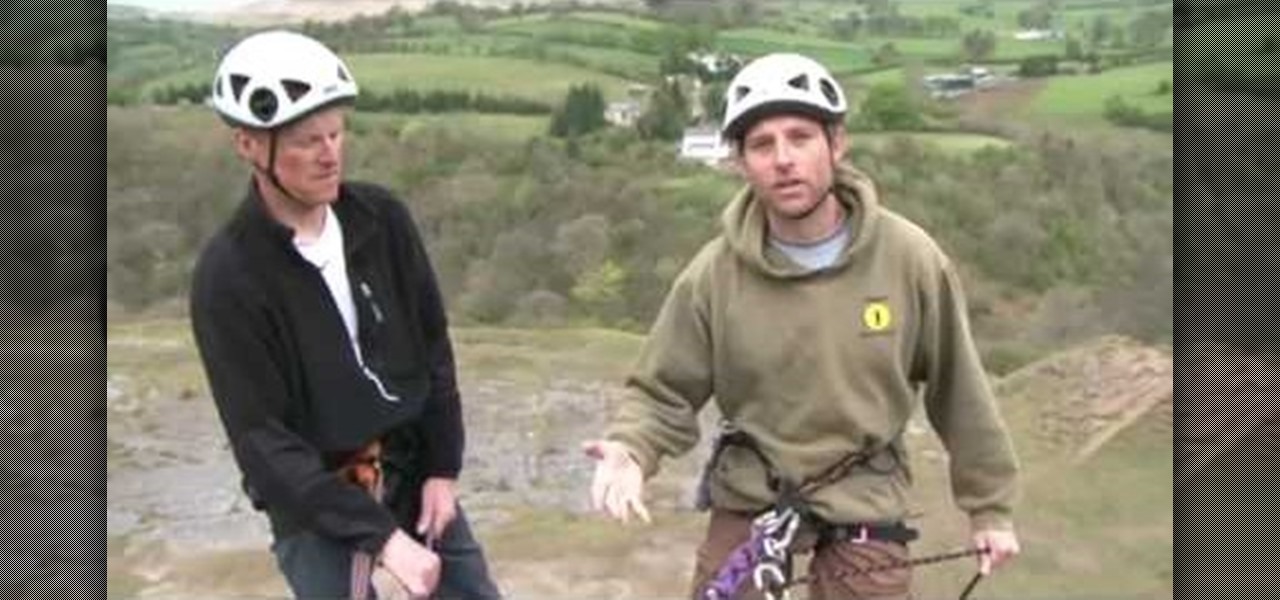
In this Outdoor Recreation video tutorial you will learn how to abseil (decend) in rock climbing. You will need some friction device for this purpose. Earlier people used to wrap the rope around their body and used the body as the friction device. That is a painful process. In the modern method, a figure 8 friction plate is used. There should be no jewelry or other hanging material around the body that can get entangled with the figure 8 plate. Also check the harness is OK. Then carefully go ...
In this video tutorial, viewers learn how to make their own lip gloss. The materials required are: a lip gloss container, butter knife, chap stick, shimmer dust or pigmented powder, candy powder, bowl and microwave. Begin by cutting the cap stick tube into pieces and place it into a bowl. Heat it in the microwave 45-60 seconds. Stir the melted mixture and add some shimmer dust. Stir the mixture and add a drop of candy flavoring. Stir once again and add the lip gloss into a container. Finish b...
In this Arts & Crafts video tutorial you will learn how to make handmade treat boxes. Materials needed for this project are trimmer with scoring blade, PDF template, cardstock, scissors, Fiskars fingertip craft knife, Fiskars templates, Fiskars ultra shape Xpress, decorative scissors and embellishments. Download the PDF template from http://artycrafty.wordpress.com, print it out on a cardstock on the non-decorative side and cut out the shape along the thick line. Then score along the dotted l...
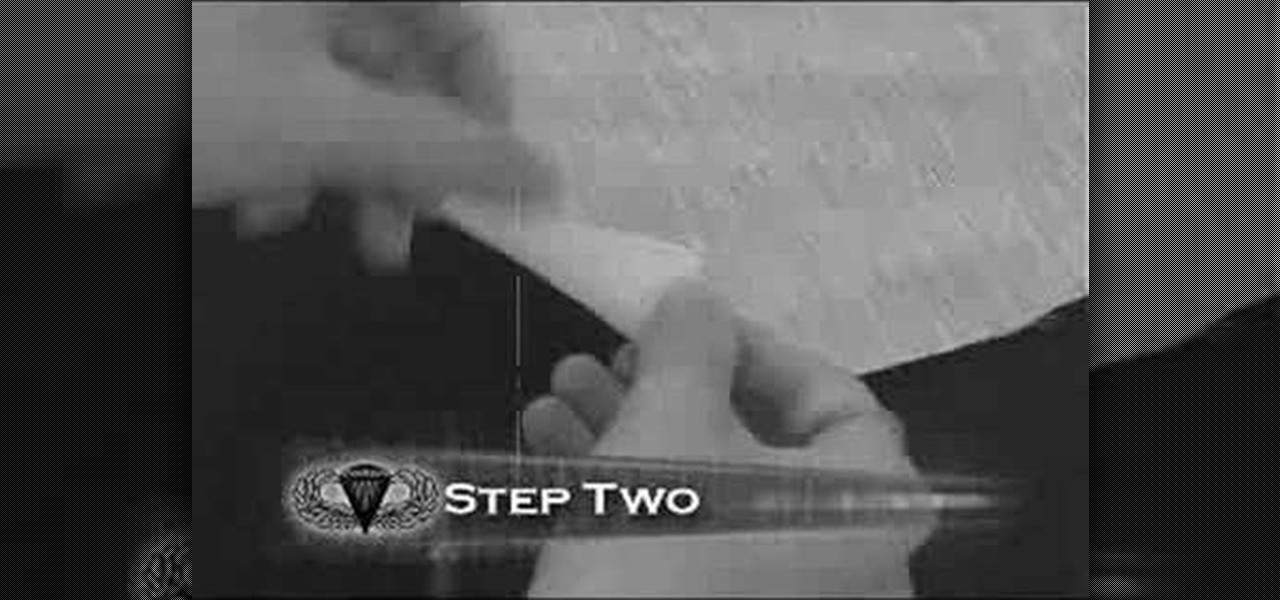
In this video tutorial, viewers learn how to make a toy parachute. The materials required are: lightweight fabric, ruler, scissors, string, 4 hole button and a toy army man. Begin by measuring a 10x10 inch square on the fabric and cut it out. Fold over each of the 4 corners and cue a small hole. Measure and cut 2 lengths of 36 inch string. Take the string and tie it to one end of the hole on the fabric. Run the other end through the button hole and tie it to the diagonally opposite hole on th...