In elementary school, we all experienced the wonders of papier mâché, that wonderfully malleable mixture of paper and glue (or maybe paper, flour, and water). Once it hardens, it's a homemade work of art. And homemade papier mâché is art on the cheap, allowing your imagination to soar without breaking your budget.
The one thing that can make your home garden flourish is by taking care of it and meeting the needs of your plants. One of those needs is great fertilizer. And the best fertilizer comes from the heart, not the store. Get great results in your garden by making your own fertilizer and compost at home.
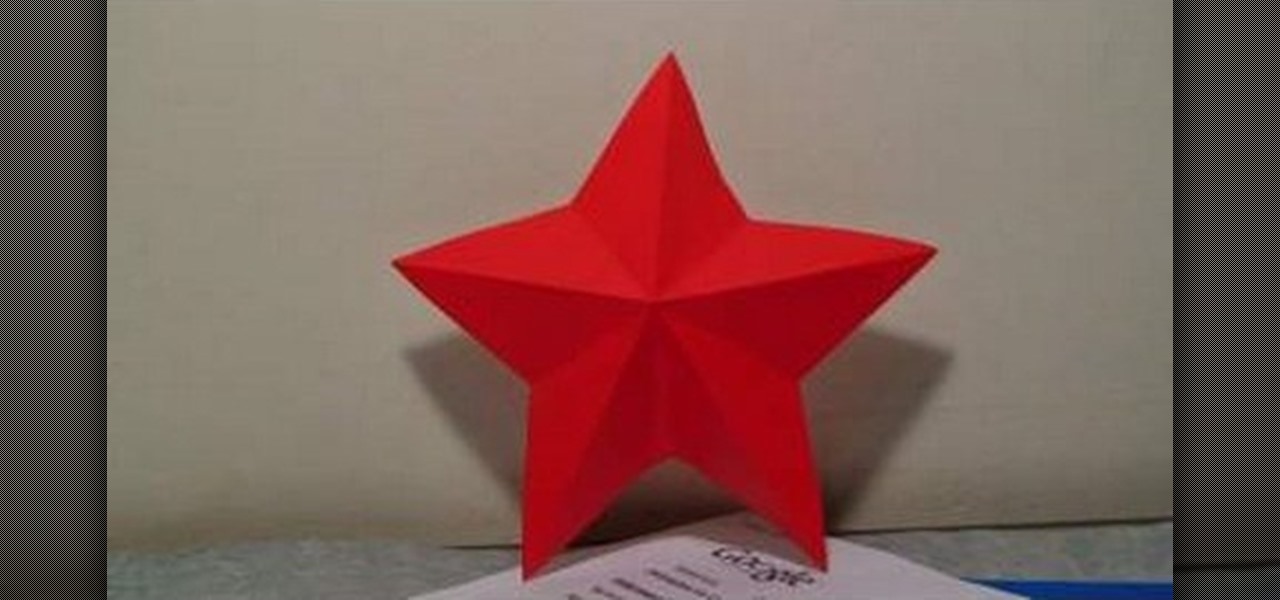
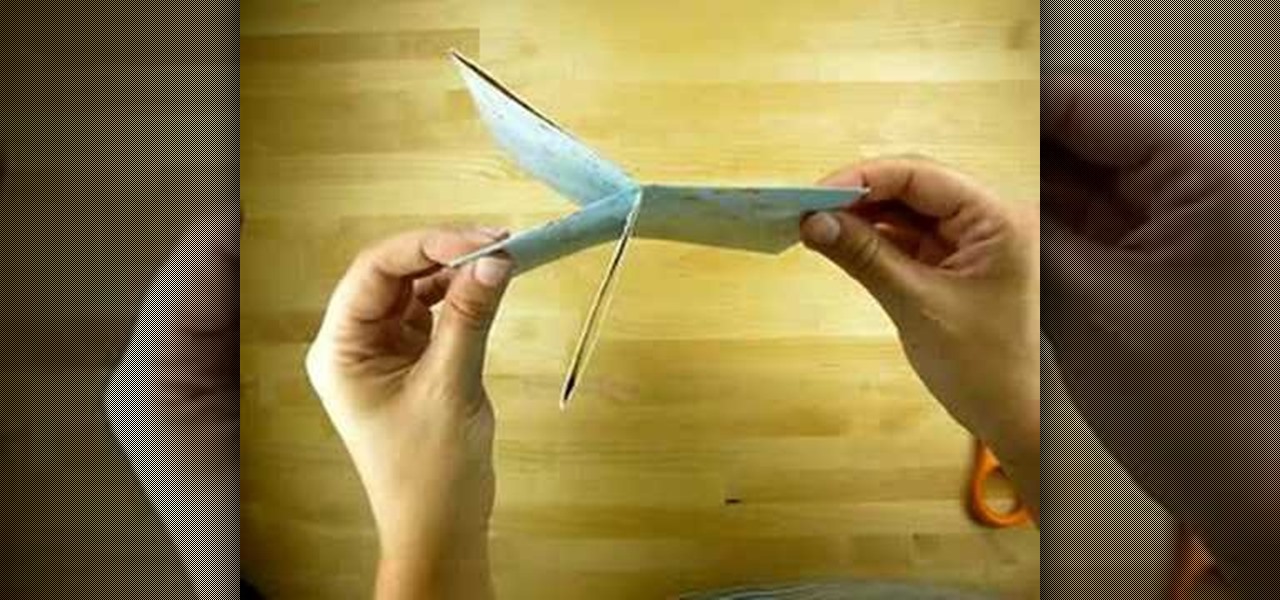
This video is about making a kirigami simple star. The materials required are two sided piece of paper, a scale and a cutter knife. Fold the piece of paper in half to form a rectangle. Now fold the upper and lower half of one end to form triangle. Make sure when you fold the paper it is in a clean line and the unfold the paper. The paper will have a square with four triangles in it. Now bring the other end of the paper such that it fits into one of the triangles of the square. Now fold the pa...
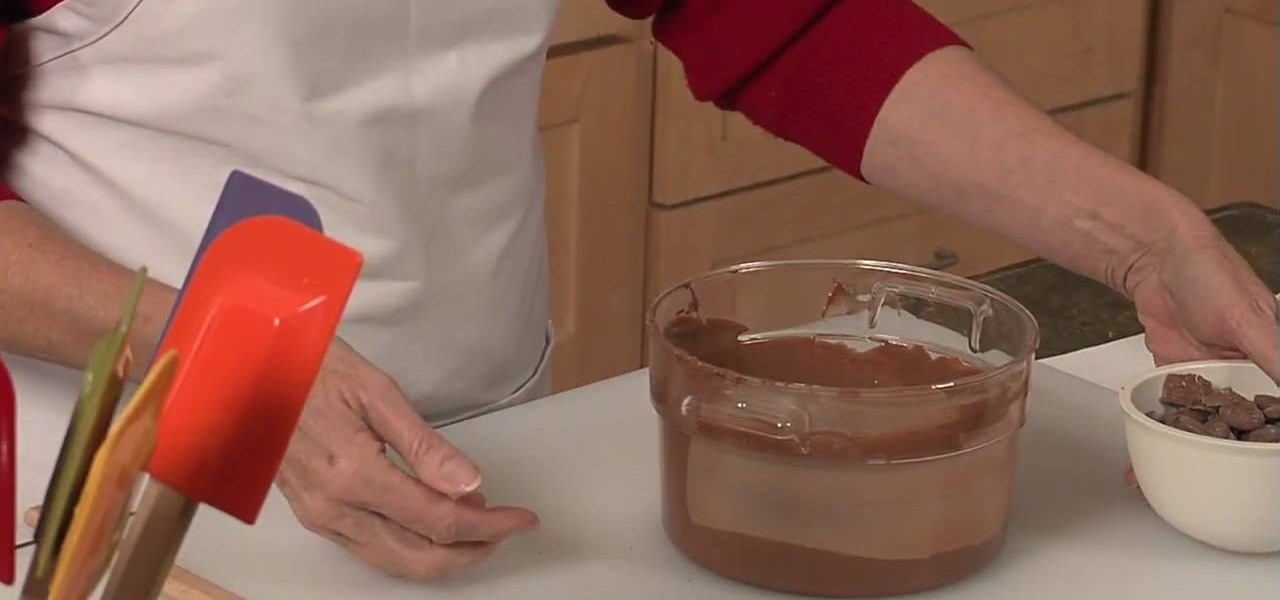
Lynn of CocoDelirious shows us how to temper chocolate - in a microwave! - in this delicious-looking video. She reveals that a sophisticated double-boiler setup is unnecessary; all that you need is a microwave, a candy thermometer, a microwave-save bowl, and a spatula. Glass and ceramic bowls - or any material that will retain heat - are a bad idea when dealing with chocolate. Lynn demonstrates melting the chocolate bit by bit, with short duration microwaving, no more than a minute at a time,...
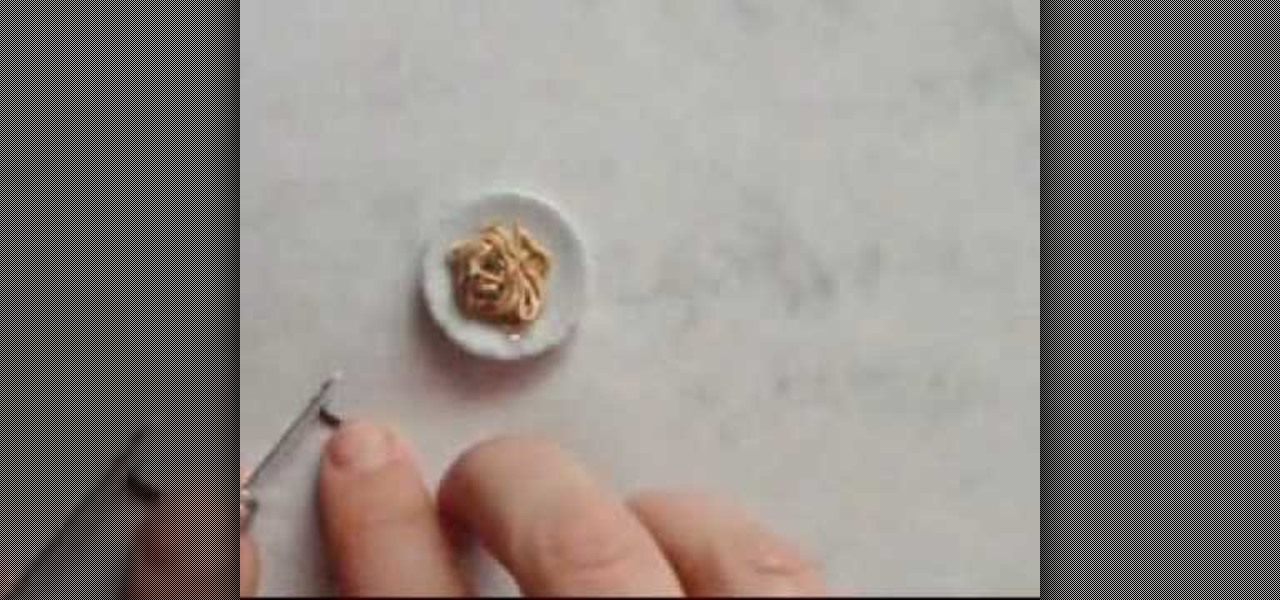
1. Collect all the materials need to create the ramen noodles clay. These are the polymer clay (color light yellow for noodles and green for green onion) ,FIMO Deko Gel, the mini plate, mini metal stick or needle, cutter, scissor, and toothpick.

This video teaches how to increase the surface area of the support under your tripod by using snow shoes. You can get snow shoes from various manufacturers. The bottom of the snow shoe has a very wide surface area. You can compare this with the width of the tripod base. The snow shoe makes the tripod more stable on the ground when you are using it on mud or snow or on sand. The snow shoe stops your tripod from sinking into the ground. On top of the snow shoe, you have a little rubber strap an...

This video shows you how to make a tech deck quarter pipe. You will need the following materials: wood pieces, cardboard, a small metal bar, glue, and scissors. The first thing you will need to do is cut out the base, this requires cutting out three equal parts (as seen in the video). The base pieces are then glued onto a back board for support. Small slits are then cut in each base to allow space for the metal bar. Glue the bar onto the base, making sure that only the bottom of the bar gets ...

A big problem for many women is how to keep your tummy from showing. Well, YouTube user BeverlyLaneTV is here to help show you how by giving you examples of what you can wear. There are many ways to avoid the tummy showing but the easiest and most efficient way is simply clothes. Ruffle dresses are the first and the best way to cover your tummy and what this does is it give you a camouflaged look and it make a slender line across your mid section . Next are banded tops, which the band is at t...

First of all you have to arrange for materials like ink blending tool, ink blending foam, some tags to be used as practice surface and a distress ink pad. The tutor advises that you must not use a blending tool like a stamp and never make a lot of impressions using it on any surface. Instead of stamping the ink on the surface like a stamp you have to be careful while using it. Use a blending tool in such a way that the whole ink goes slowly onto the tag. Start by working the blending tool on ...

The narrator starts by explaining what a squash book is. A squash is designed to keep photos, journalling or what ever you like. To start we require a 4x4 pattern paper and 3x3 chipboard. We then glue the chipboard onto the pattern paper. We then cut the corners of the pattern paper. We then fold the flap in and glue down. We repeat this to form another cover. Next we grab a 6x6 pattern paper, we then complete a series of folds. One diagonal, half horizontal and half vertical folds. We repeat...

You can make beautifully decorated cookies with just powdered sugar, water, and food coloring. Before you start decorating cookies, it is important to understand color theory. Primary colors are blue, red, and yellow. When you mix those colors you get secondary colors. Blue and red make violet. Red and yellow make orange, and blue and yellow make green. If you mix all three primary colors together, you get brown. To make black color, mix together green and red and a few drops of blue. Also, p...

Making a Elephant Toothpaste Volcano!

This video is part of the lawn fawn card series and it explains the making of a card using border punches and a stamp.The materials required are a set card-polka dot basics from paper tray ink.This card has a variety of dots on it. Remove the big open circle polka dot and lay it on the aqrualic and place it on a plastic bock with grids on them.Using a color box cover the stamps with ink.Now place the block over the card so that the grid lines with its length and press on it.The polka dots wil...

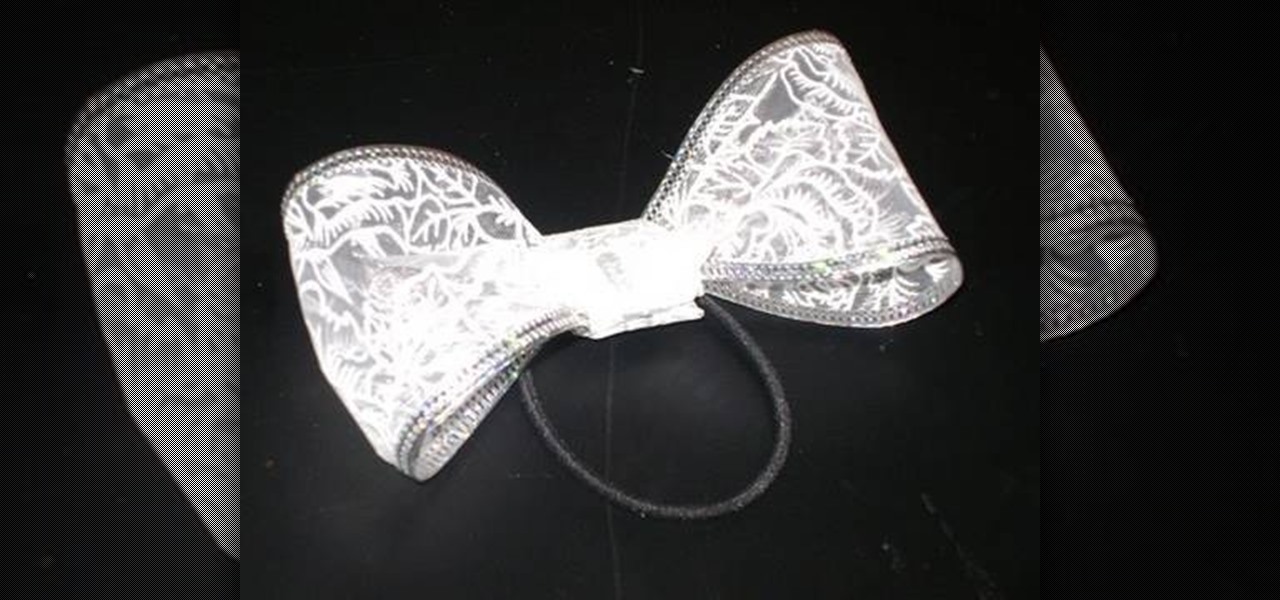
Materials required are lace, hair band, scissors and glue. Start by cutting off a piece of lace around ten inches length using a scissors. Now apply glue at the edges of one end of the lace. And then join the other end of the lace together to form a circle. Now hold this lace at the middle and then push in the middle. Press in at the centre so that it is divided into a Bow as shown. Spread the edges a little to make it appear fine. Now cut off a piece of lace around four inches using a scisso...

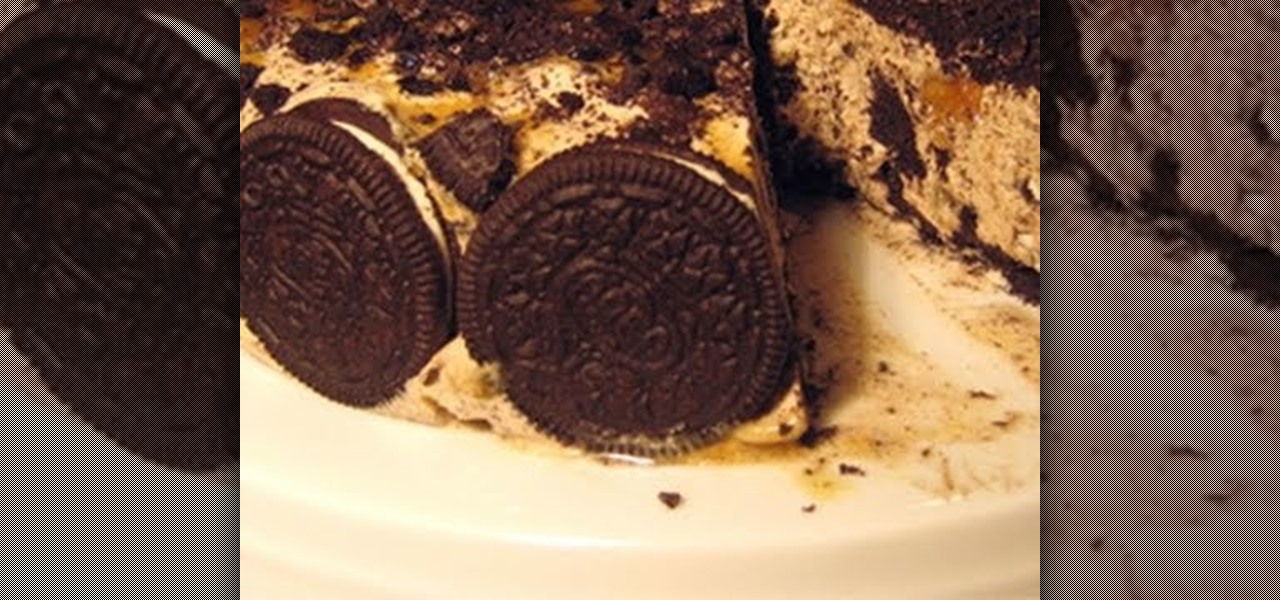
This video is part of Laura in the Kitchen series and in this video Laura explains about the making of Oreo Ice Cream Cake. The materials required are vanilla ice cream, store bottle of caramel sauce, stored bottle of chocolate syrup, some walnut cookies and walnut in syrup. The video begins a plastic wrap in a nine spring can and the wrap is to enable the easier lifting of the cake. You have to place the ice cream in a bowl for 45 minutes at room temperature to make it nice and soft. Laura p...

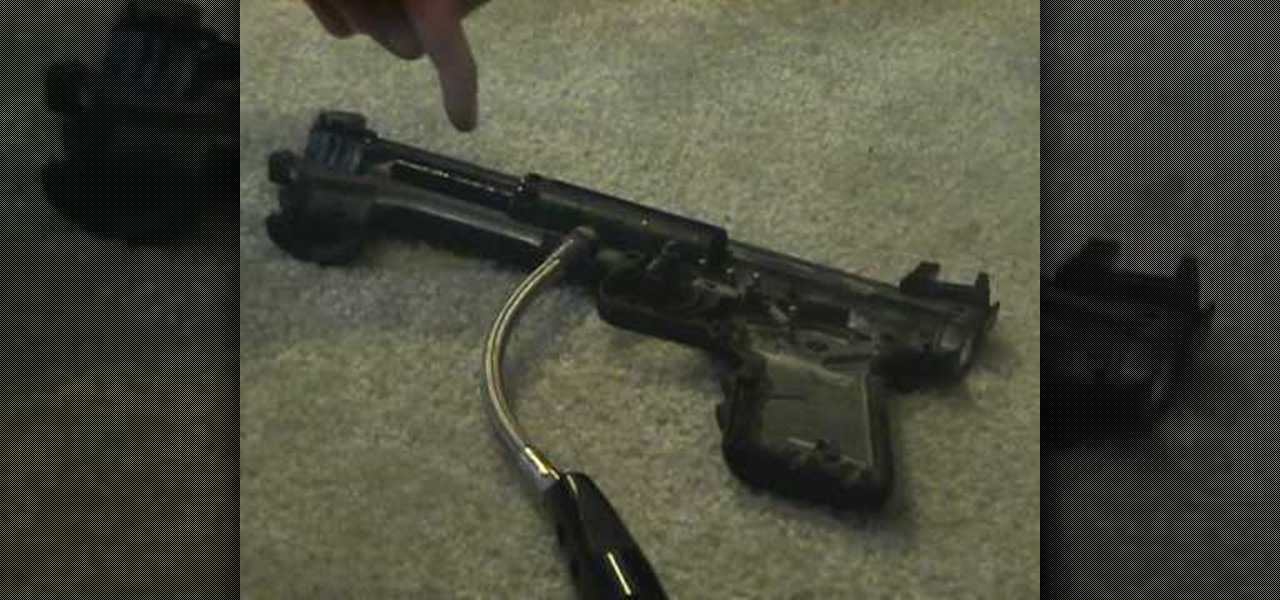
This video shows how to clean a Tippmann 98 Custom paintball gun. Materials needed are Pliers, gun lubricant, paper towels, Tippmann 98 Custom and Appropriate sized Allen Wrenches.Step 1. Unscrew barrel, take off hopper connector and tae off bolt cap.Step 2. Next use the Allen wrench to take off Co2 connector and handle grip.Step 3. Then take out the 6 screws that hold the 2 sides of the gun together.Step 4. Take out the front and back bolt.Step 5. Spray lubricant on the places and on both O-...

This video is about how to make a puppet dragon out of household items. First, a piece of card stock paper is cut in half the long way. Next, you must take an empty 18-pack egg carton and cut off a strip of egg slots. Using a stapler, the two pieces of paper are connected long ways, with the egg strip stapled on top of it. This forms the body. To make the head, a small cardboard box is stapled to one end. A smaller cardboard box (about half the size of the one already used) is glued on top. F...

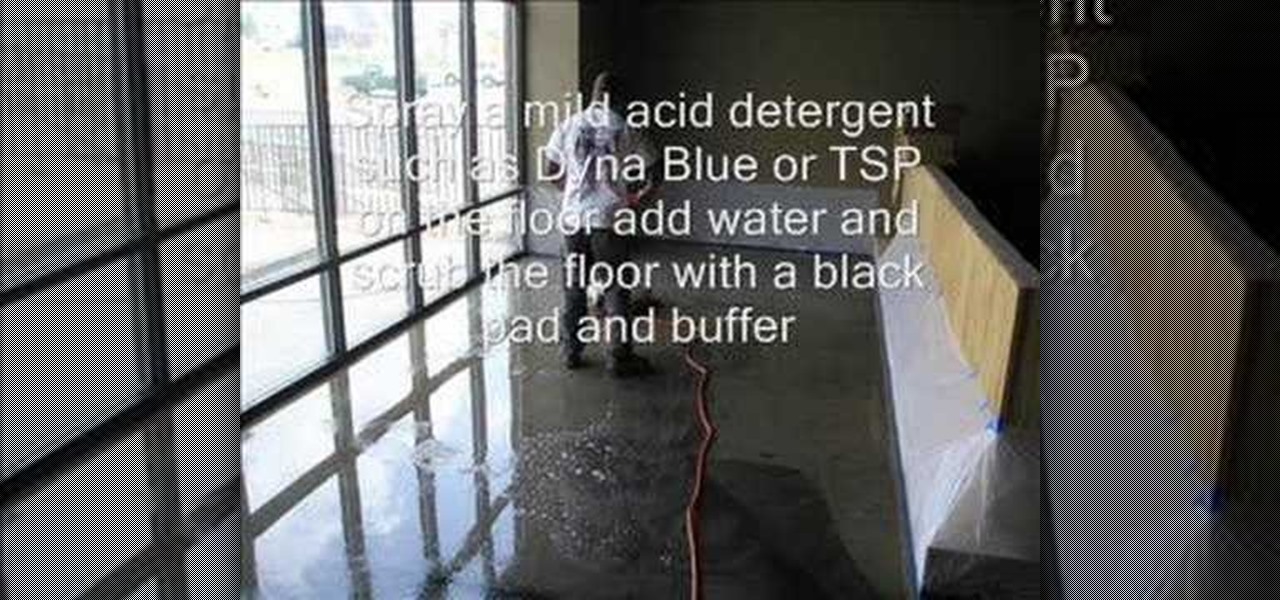
In this video from cdrhead we learn how to save money by staining your own concrete floors. First vacuum the floor and under the sheet rock removing as much dirt and dust as you can. Place plastic on all walls and unfinished wood trim. Now use a 4 inch scraper to remove any remaining materials. Now scrub with a broom with water or buffer. Spray a mild acid detergent on the floor as well now and scrub with a buffer. Now vacuum the floor with a ShopVac. Now spray the acid stain using a handheld...

This video is about making a marble greeting card. The materials required for making them are marabu marble starter kit which consists of six marble paints,a marabu konturf paste, a polyester ball, a bowl, kebab sticks, a pencil, a cutting knife, a glue, sweat pieces of card, three cards of different colors and a bucket of water. The video starts by folding one piece of card into half and then cutting the ball into two pieces. Keeping the piece of ball as the center draw a flower around it on...

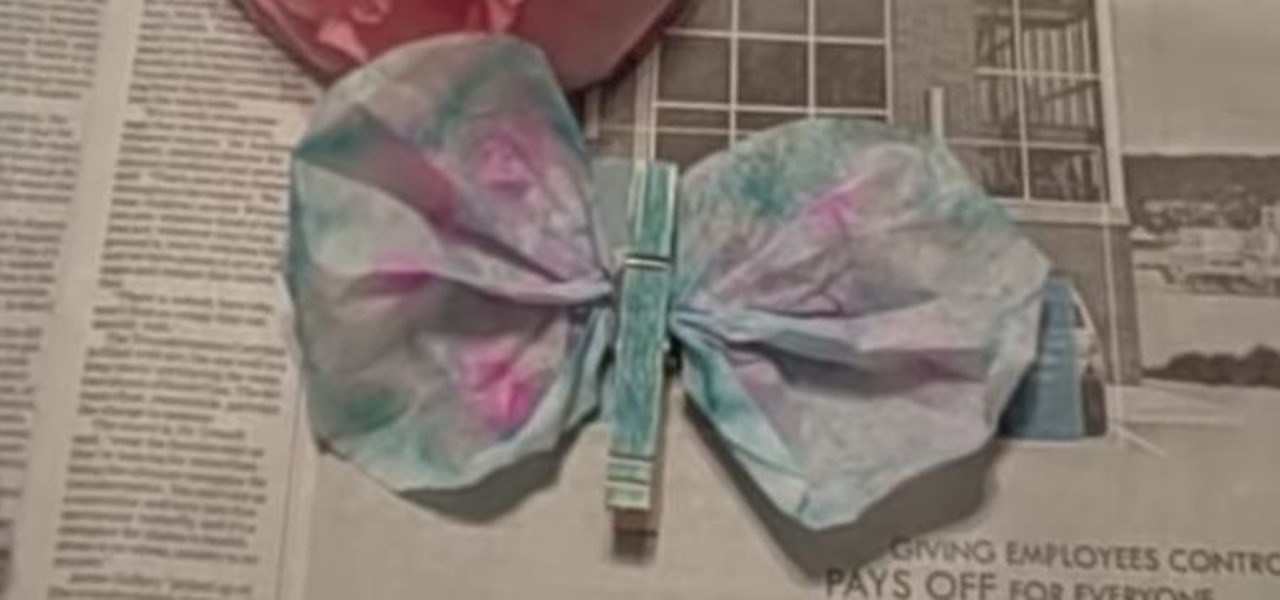
Learn to make beautiful coffee filter butterflies and flowers by watching this video by Kim Janocko. The following materials are required to make them:

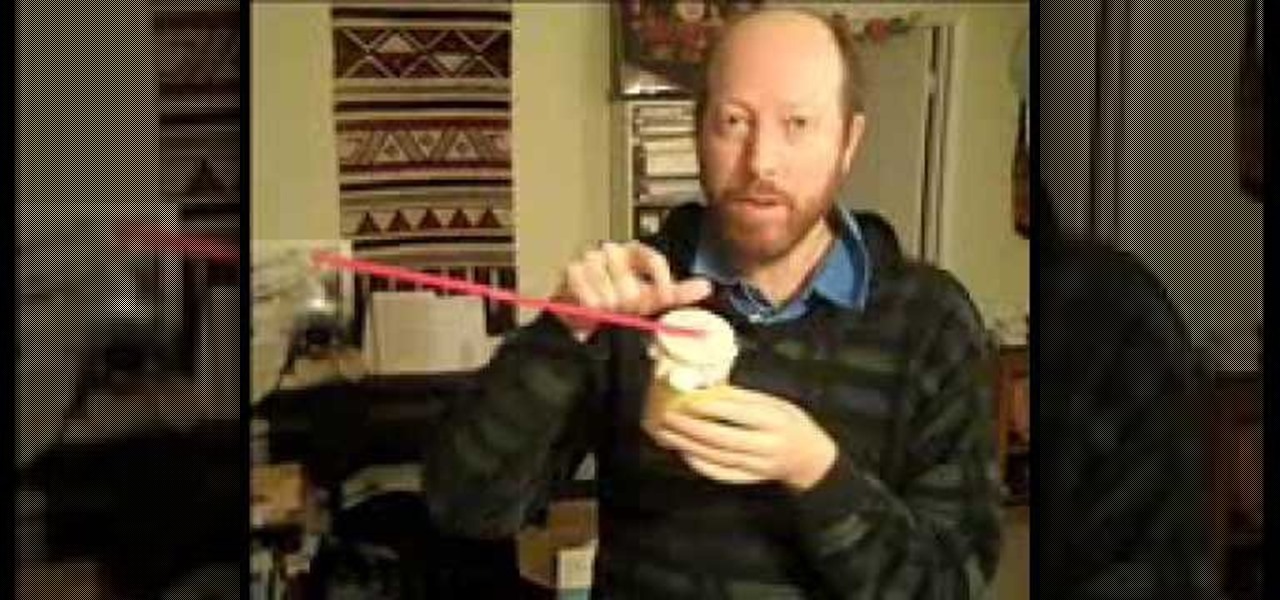
ARHSphysics shows viewers how they can build a simple barometer using household items! First, you need to get a container that is the height of an index card. Your best bet is to get an empty soup can of food can. Make sure you wash the can. Now, you will need a latex glove, cut a semi circle from the glove and attach this to the top of the can using a rubber band. Get two straws and attach them together at the ends. Cut a slit in each one and attach the straws. Attach the straw to the top of...

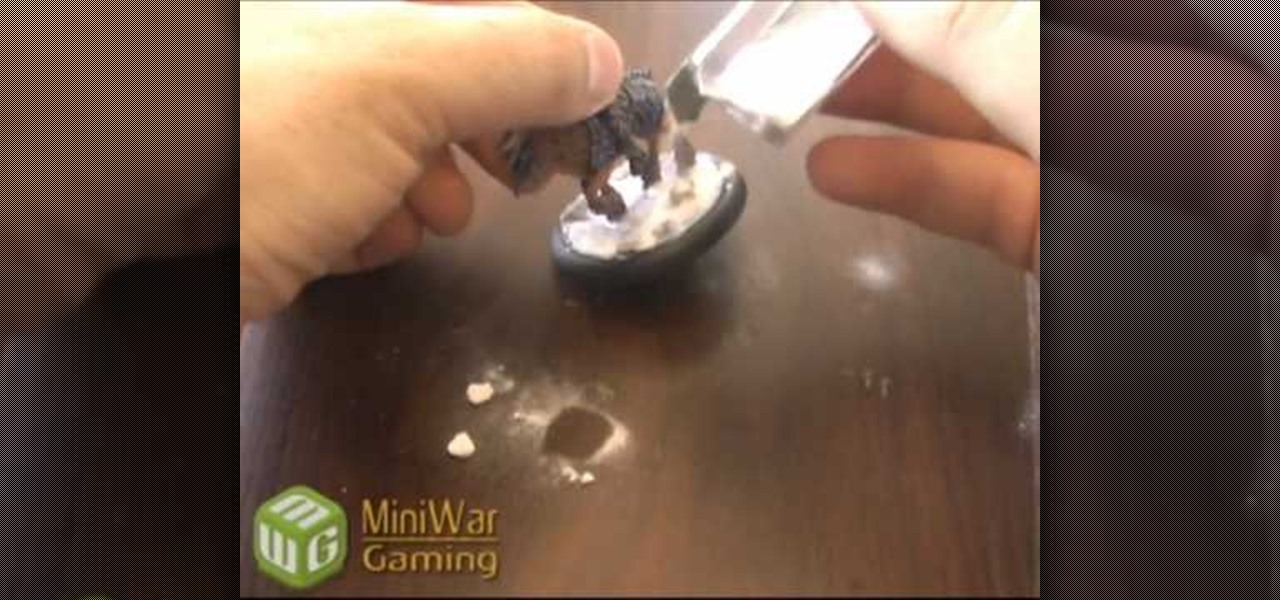
The materials you will need to add snow and other details to the base of your miniature game figure are white tacky or craft glue, super glue, a few small rocks or pebbles, coarse turf, a small paint brush, and baking soda. Begin by using the super glue to apply a few rocks to your base. You don't want to apply too many as the main focus will be on the snow. Add white glue to the base being careful not to get any on the figure itself. Use your paint brush to spread the white glue around until...

Making your own Mondrian-inspired cushion cover is demonstrated in this clear and concise crafting video. Materials required are a plain cushion cover( preferably in a tight weave such as canvas or cotton; water; medium size, firm, flat edge paint brushes; scissors; one inch wide masking tape; a sturdy piece of cardboard , saran wrap and 4 jars of textile paint - one color should be black or graphite. You may choose plain or glitter paints. Cut the cardboard about one inch smaller than the si...

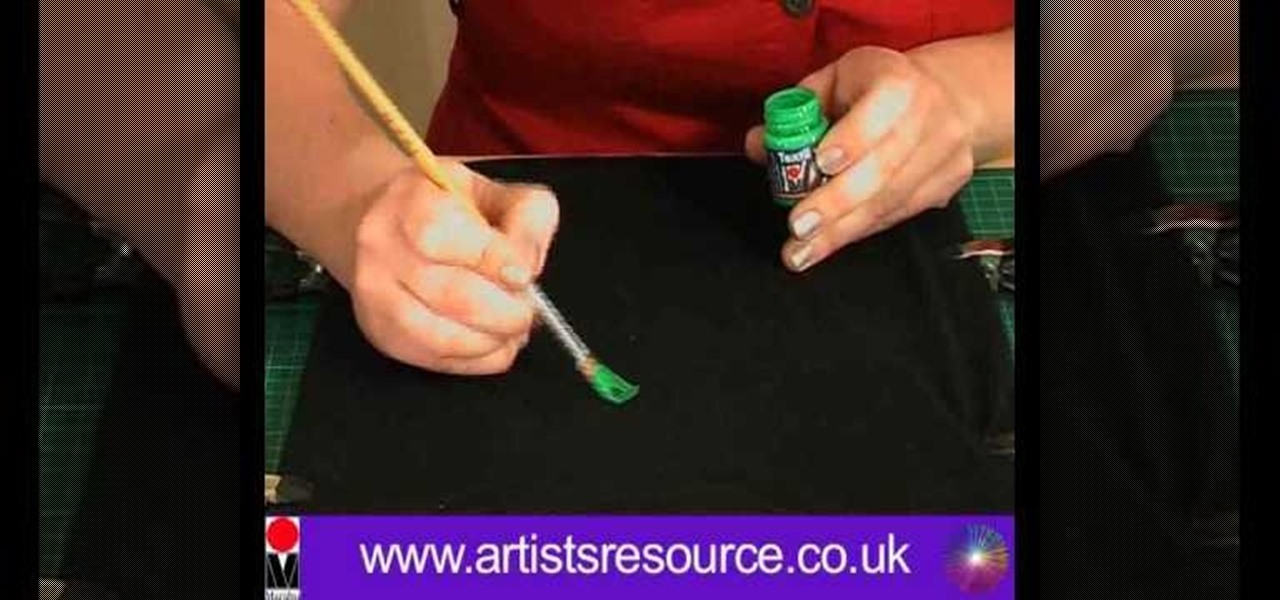
Learn how to ‘Paint onto your T-Shirt’ by watching this video. Materials required for this include the following:•Marabu Textil Plus Start Kit – 6 colors included with paint brush•Marabu Metallic Outliner Paints•Crocodile clips•Masking tape•Pencil•Design printed from the computer•Tracing paper•A large cardboard wrapped in cling film•A dark colored T- ShirtBegin by placing a tracing paper over the design and secure it to the table using masking tape. Next, use a pencil to trace the design on t...

First of all open the box and take out the kit, different parts and the instruction manual. You also need glue, epoxy adhesives, sand paper, 2 mm drill and a 4 mm drill. Start with assembling the outer frame of the camera by fixing in the slots. Use a screw driver to screw the bolts. Now use the glue and fix the inner parts of the camera. Now make the front portion of the camera. Fix it exactly as shown in the instruction Manual. Now drill in the holes on the sides of the camera's outer frame...

This video presentation is a tutorial of how to make a baking soda and vinegar rocket. Materials involved include a water bottle, vinegar, baking soda, toilet paper, and knife. First step is to use the knife to gouge a hole in the cap of the bottle. It should not be too large, and should be placed in the center of the cap. Once the hole is made, the cap is to be removed, and the bottle is to be filled partially to half-way with vinegar. After the vinegar is added, the baking soda is then laid...

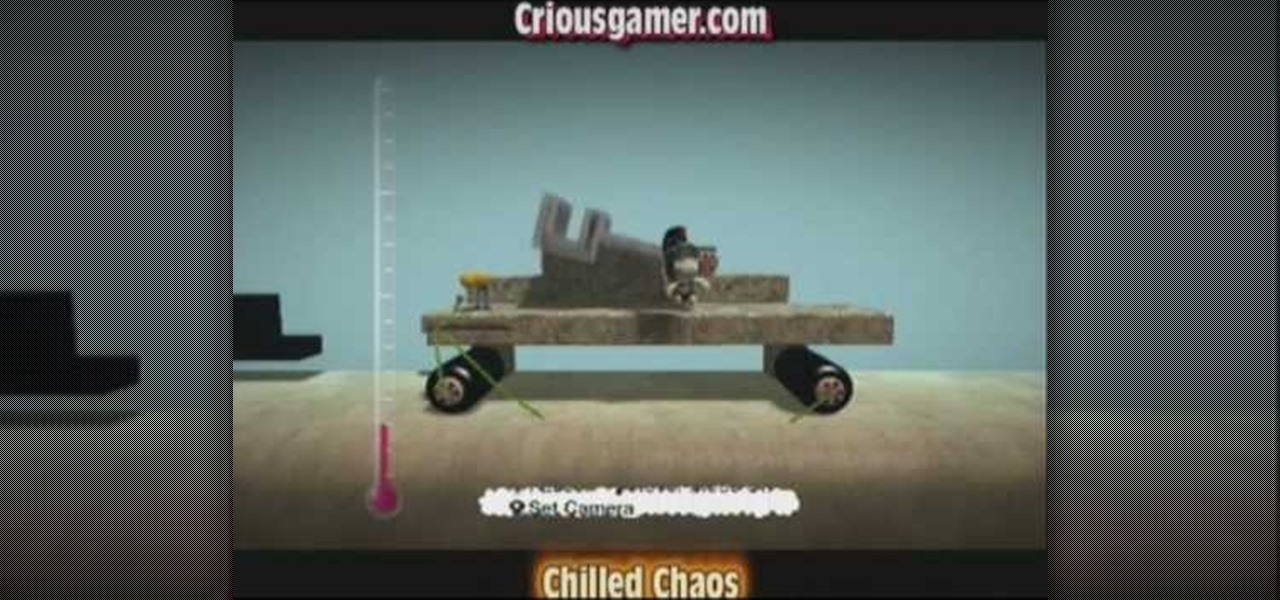
This video is by chilled chaos demonstrates how to make a moving catapult in LittleBigPlanet. In materials first use the cardboard to draw and two legs at the bottom. Detach it from the ground. Take the rubber tool from the tool box and make two wheels. Take bolts and attach to wheels. Make the switches on it and set the right and left direction. Do the setting for the wheels. Make a basket and attach it with the previous structure that it can move up and down. Set the timings to set the spee...

Craig is sharing about how to gain self confidence. Maybe you are feeling not very confident or you don't have a lot of self confidence. Maybe you would like to do some bigger or bolder things in your business or personal life. You can only get confidence from surviving the attempt. The only true way to get the confidence is by surviving the attempt. You cannot get it from a book or tape You have to make the attempt. You have to go out and do things, try things that you are not comfortable wi...

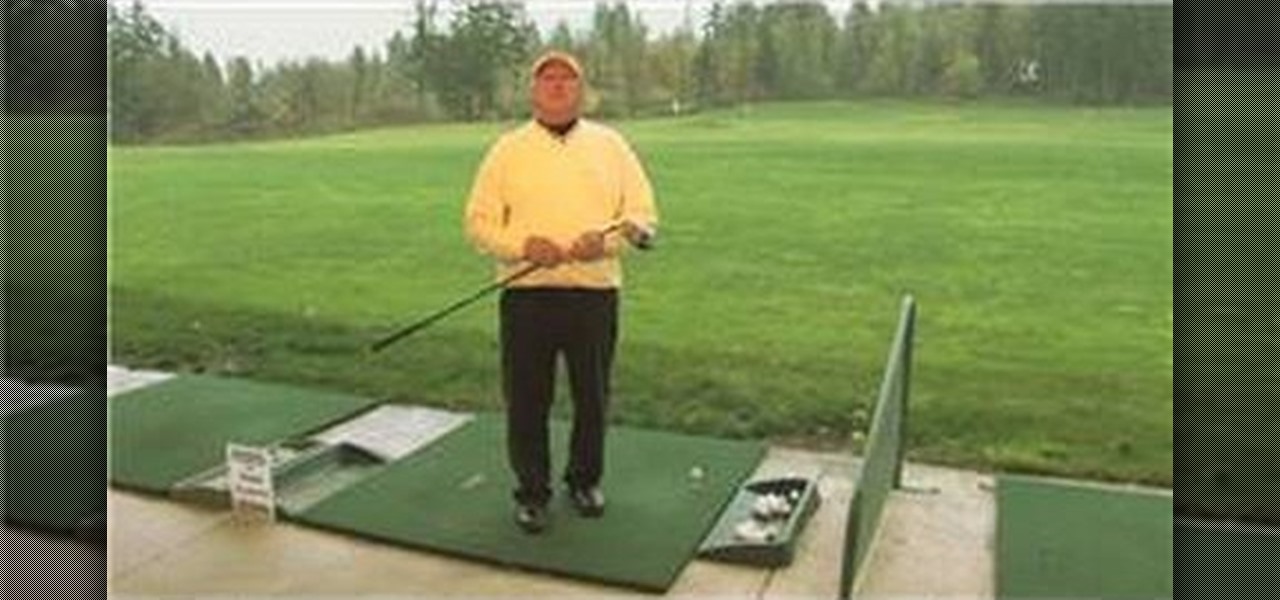
This video presentation details how to control and reduce a slice in golf. Materials required include a golf club, golf balls, and optionally a tee. Ideally a wood would be involved in this practice. How to control the slice is somewhat of a misnomer since the intent of the process is to remove the slice since it can be an unwanted thing. A slice is when a golf club is swung and the club remains 'open', this is when it is facing toward the right as the swing is coming through, this imparts a ...

To make a paper gift box is one of the simplest projects that you can create on your own. In order to do this you need some materials: a Square of Paper, a Pencil, a Ruler & a Folding Bone. Take any size square of paper and draw two lines diagonally from corner to corner. This will form a large X, marking the center of the square. In turn, fold each corner into the center of the square. Firmly crease the fold. Fold the first corner to the line of the first fold made on the opposite side. Repe...

Do you want a unique way to display your vacation photos or present your holiday newsletter? Try making an instant book. This video, you will guide through the simple process. The presenter starts by referencing Esther K. Smiths book: How to Make Books. You do not need a lot of materials, just scissors, paper, and some pictures. After showing examples of different types of paper you can use, she demonstrates the step-by-step process of folding and cutting the paper. She even shows a slow moti...

Materials you need to make a nut cup: 1) A thick sheet of paper; 2) a mat; 3) a Cricut Machine.

Learn how to cheat on a test and never get caught again! 1. Gather the required materials: pen, tape, and a scissors. The pen required is a special kind of pen found at any local store. The tube of this pen rotates inside the click at the top. 2. Type up what you'll need for the test and print the sheet out. 3. Carefully cut out the printed paper. 4. Take apart your pen, take out the tube, take the piece of paper and simply tape around the tube. Note: the size of the font determines the space...

This video shows a demonstration of how to make crepe paper rosettes. The materials used are four strips of paper, two small paper circles, and double sided tape. First put double sided tape on one of the circles and trim the edges. Put a corner of one strip of paper onto the sticky edge of the circle. Fold and crease the paper as you go around paper circle, forming fan-like folds in the crepe paper. Put a tiny piece of double sided tape to hold the end. Trim the edges with scissor to make a ...

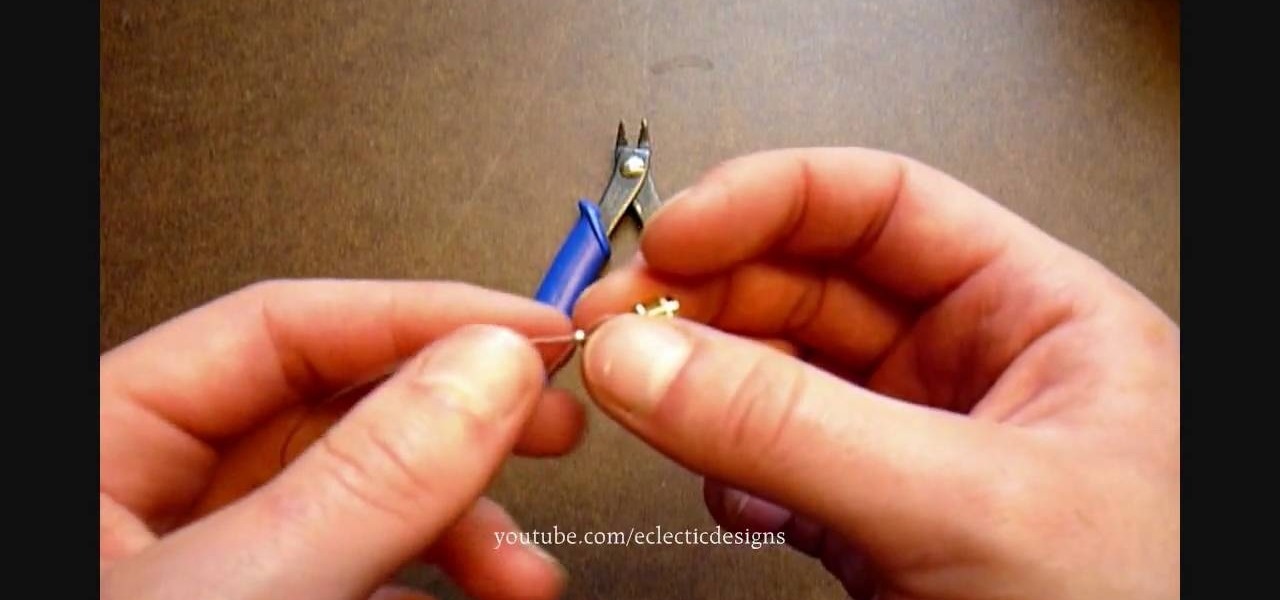
Crimp can be made easily and covered to the jewelry by using the following instructions. First purchase the proper supplies of crimping tool. This tool acts like pliers and is used by placing the bead in the appropriate slot at the tip and then squeeze the handle together. The multiple slotted tips are the key to the tool, and are needed to create a proper crimp. Then, select the proper crimp bead. The thin metal crimp beads come in a variety of materials and sizes. This will be used to secur...

This craft shown in the video is a great craft for children or adults. Materials you will need are: 1. Construction paper (square big enough to trace your hand)

Steps on How to Make a Crochet Snow Flake in minutes! 1) Prepare the materials needed: Size 3 Steel Crochet Hook, Crochet Cotton, and a Small Needle2) Make a loop, place the hook below the left string and pull it up. 3) Make a Single Crochet in a loop, then a chain 3. Repeat this 8 times. 4) Work a Double Crochet (2x) in the same loop and another chain 3 loop. 5) Work another Double Crochet (3x) and a chain 2 loop. Repeat this 7 times. 6) Join the beginning chain and work a cluster through th...

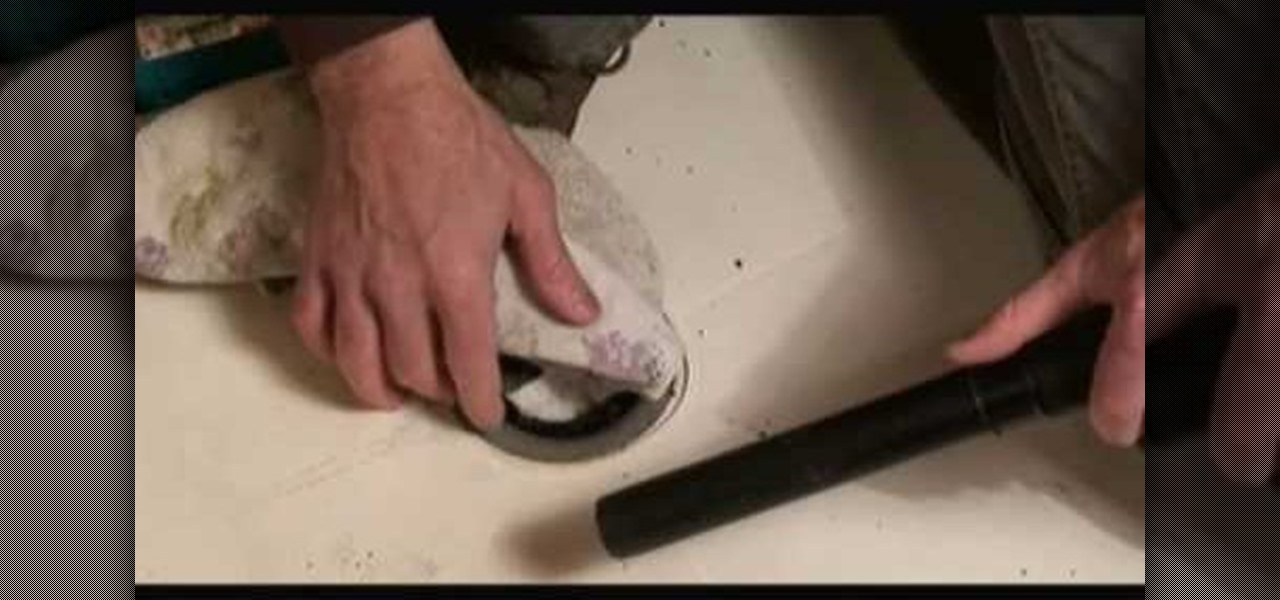
To remove a fiberglass shower pan you will want to start by removing excess water in the drainpipe. Take a turkey baster and put it down in the drainpipe to siphon out the water. Use a knife and cut along the edge of the fiberglass panel where it meets the linoleum. Put a rag in the drainpipe to keep any sewer gas from coming up. Next you want to drill the rubber flange material that is around the drainpipe out so that you loosen it up and allow the fiberglass pan to come loose from the drain...

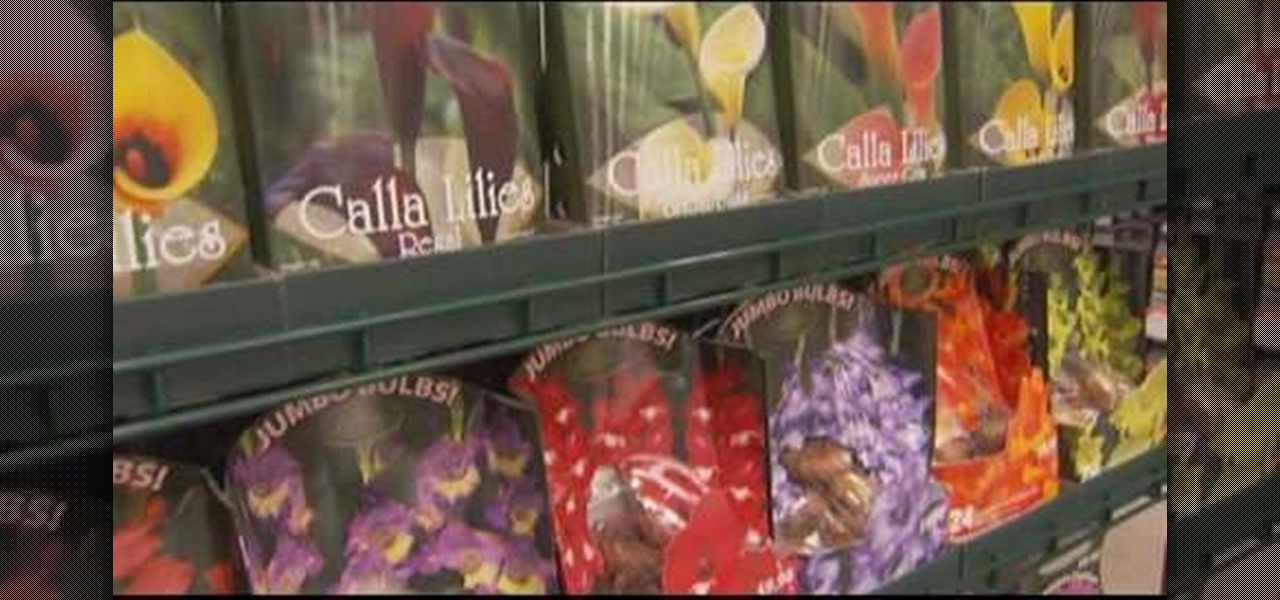
Flowering bulbs require some few common tools before planting such as compost or peat moss, work gloves, fertilizer, garden trowel or bulb planter and the garden bulb of your choice. During the spring season you can plant tender bulbs such as, irises, gladiolus and elephant ears. In terms of fall plantings you can plant bulbs such as tulips, daffodils, hyacinths and crocuses which could give a beautiful bloom in the spring. In general the blooms will last till three to four weeks, bulbs such ...

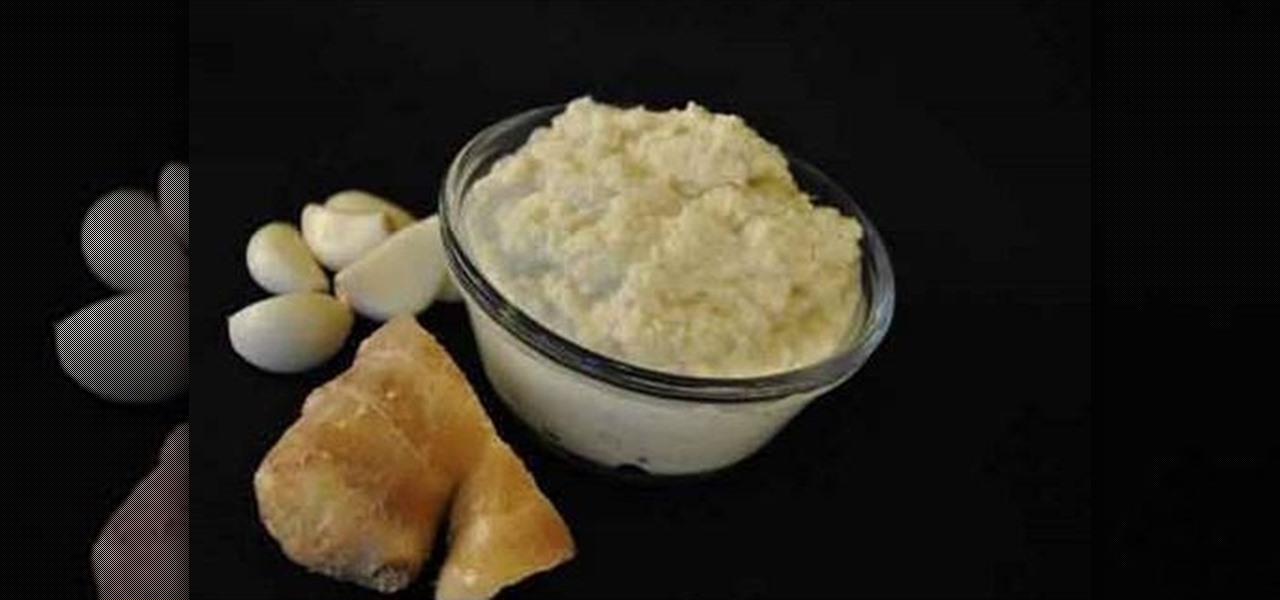
This how-to video is about how to make homemade ginger and garlic paste. This video is provided by Anuja and Hetal, and they explains us the simpler method of preparing ginger and garlic paste which is used in most of the Indian dishes.


