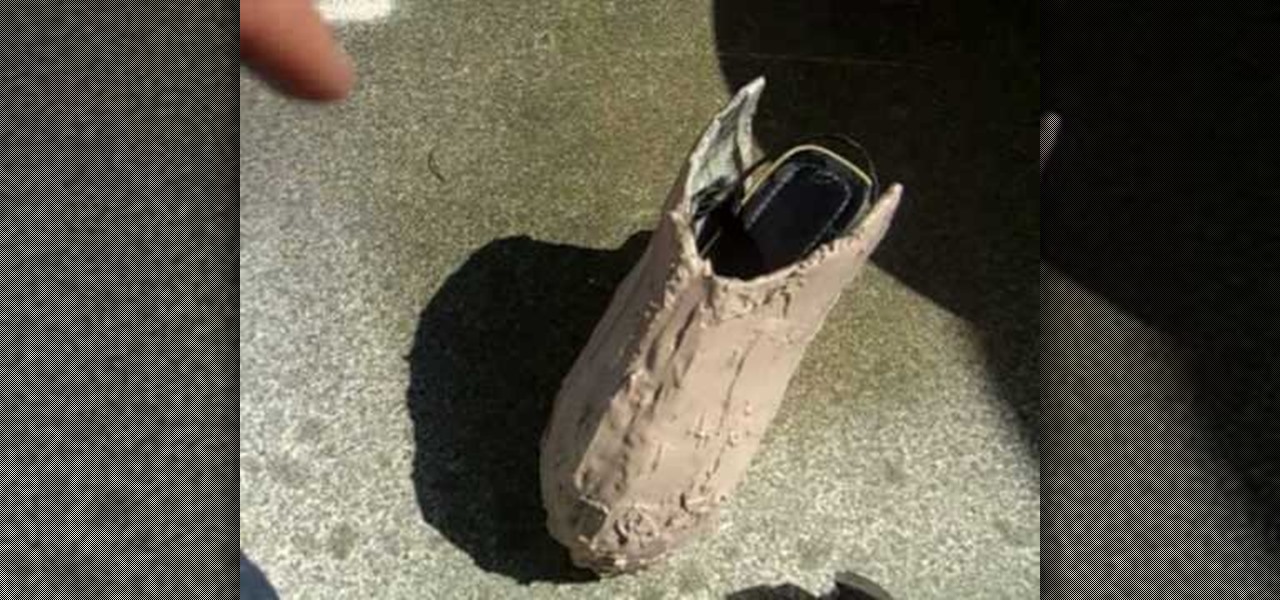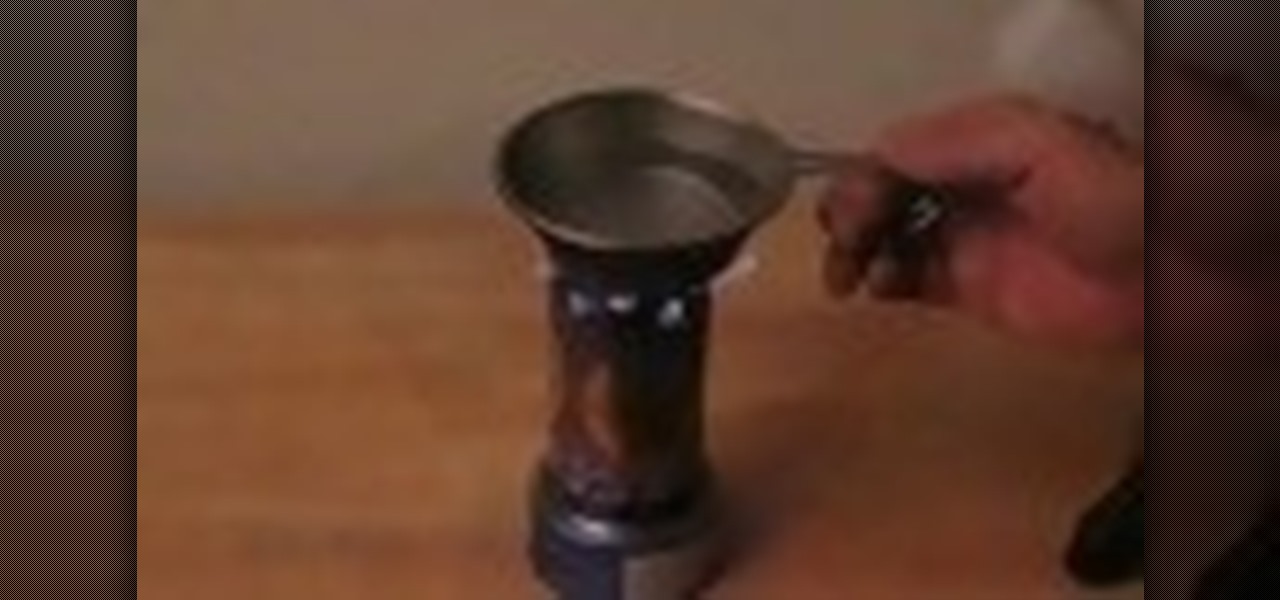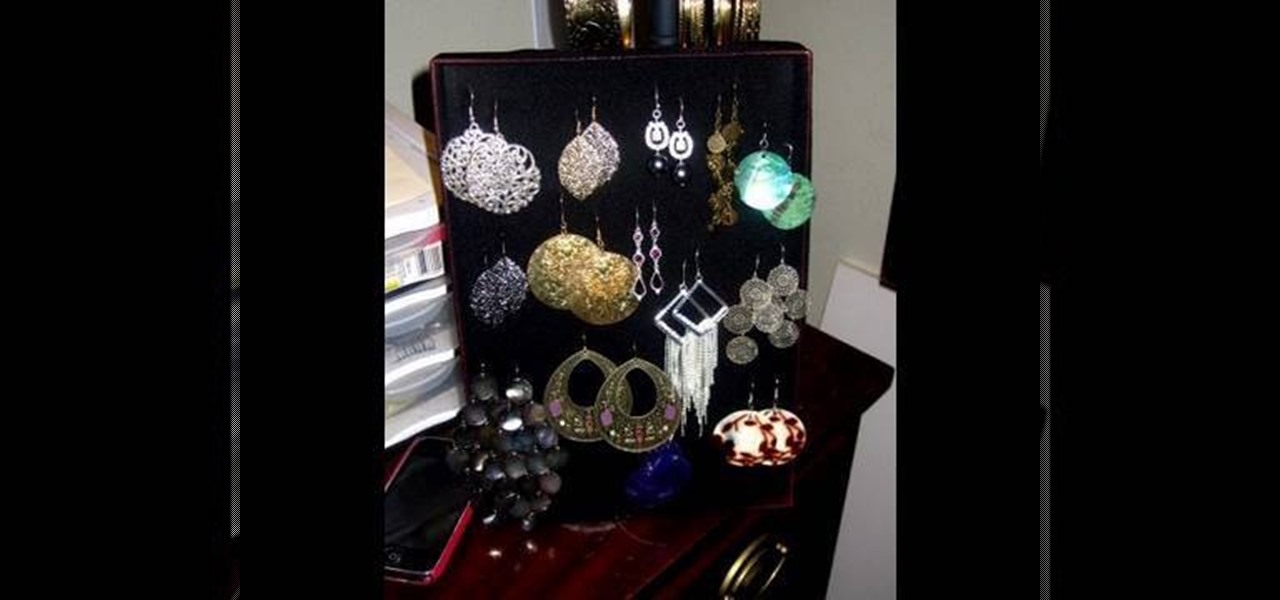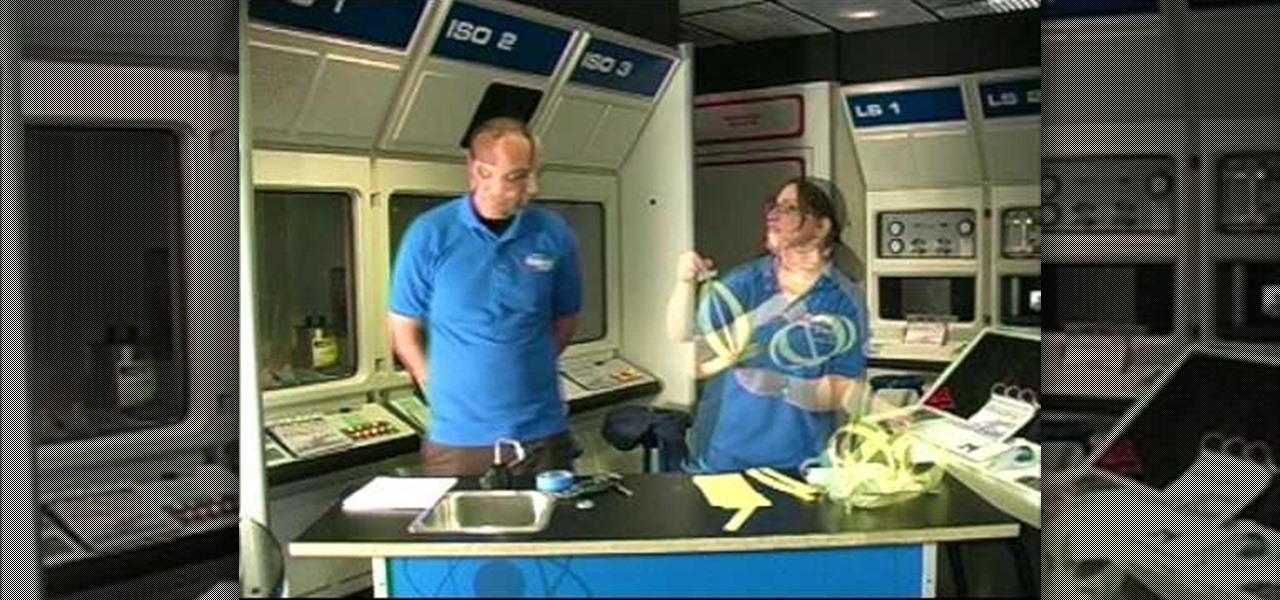
If you like the idea of building rockets that will soar through the air like angels but don't want to bother with operating high explosive, it's possible to build pretty darn powerful rockets out of water. This video will show you how to do so very easily out of junk that you probably already have.
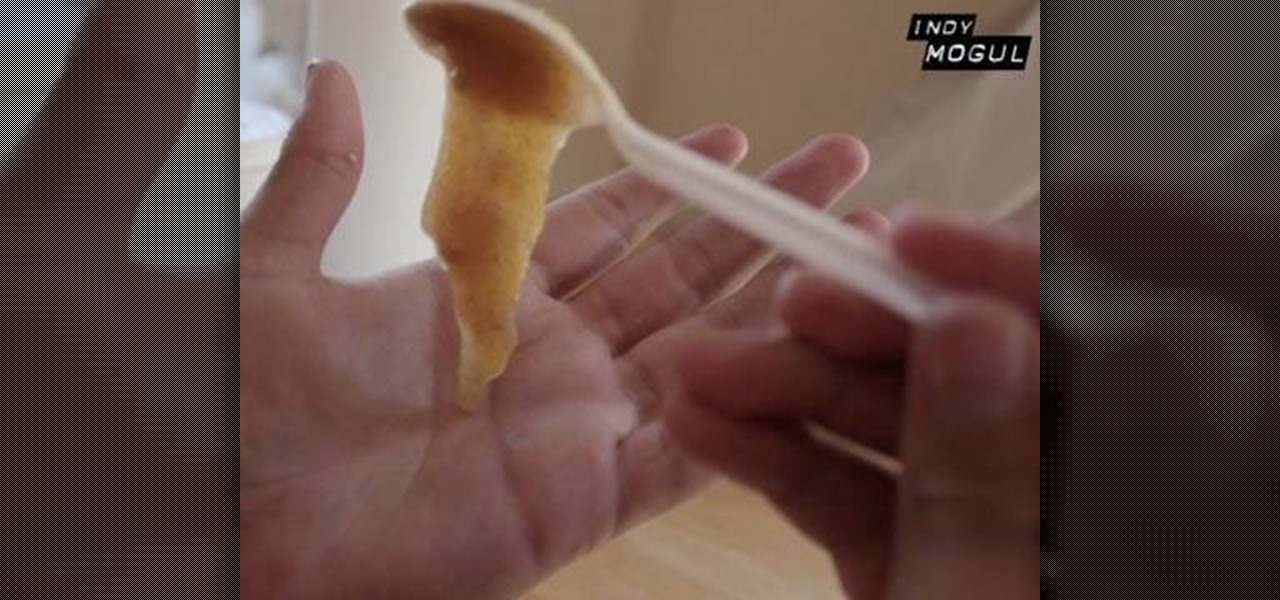
The human body is full of different kinds of fluids, most of which are either gross or dangerous to remove from a person for use in one of your films. Fortunately, most of them are pretty easy to replicate using household materials. This video will show you how to make edible prop fake blood, feces, vomit, and snot. They all look great, are safe, and will make you movie much more realistic.
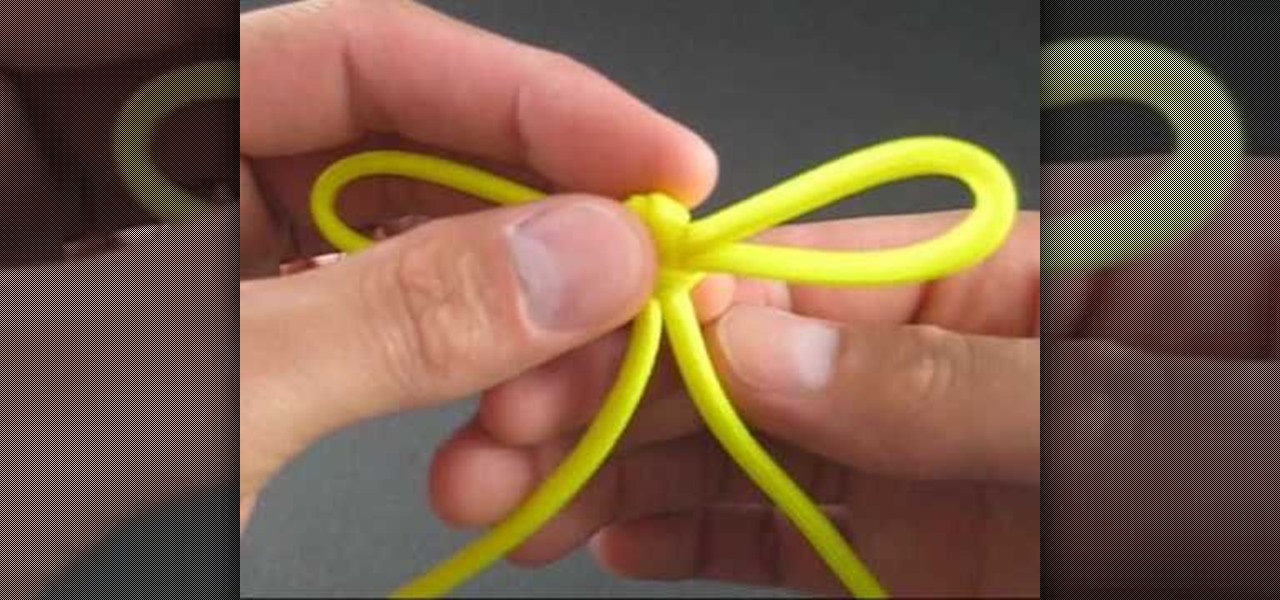
If you're looking to tie something that is elegant and beautiful, then this next tutorial has something for you. This video is going to show you step-by-step on how to tie a Japanese bow knot.
This video is a 2-for-1 special. It will teach you how to make not one, but TWO cool props for a film or costume. They are, in no particular order, a gas mask / ventilator and a laser pistol. Both look very cool, require some materials and carpentry skills, and are sure to make your next sci-fi film much more realistic and enjoyable to watch.
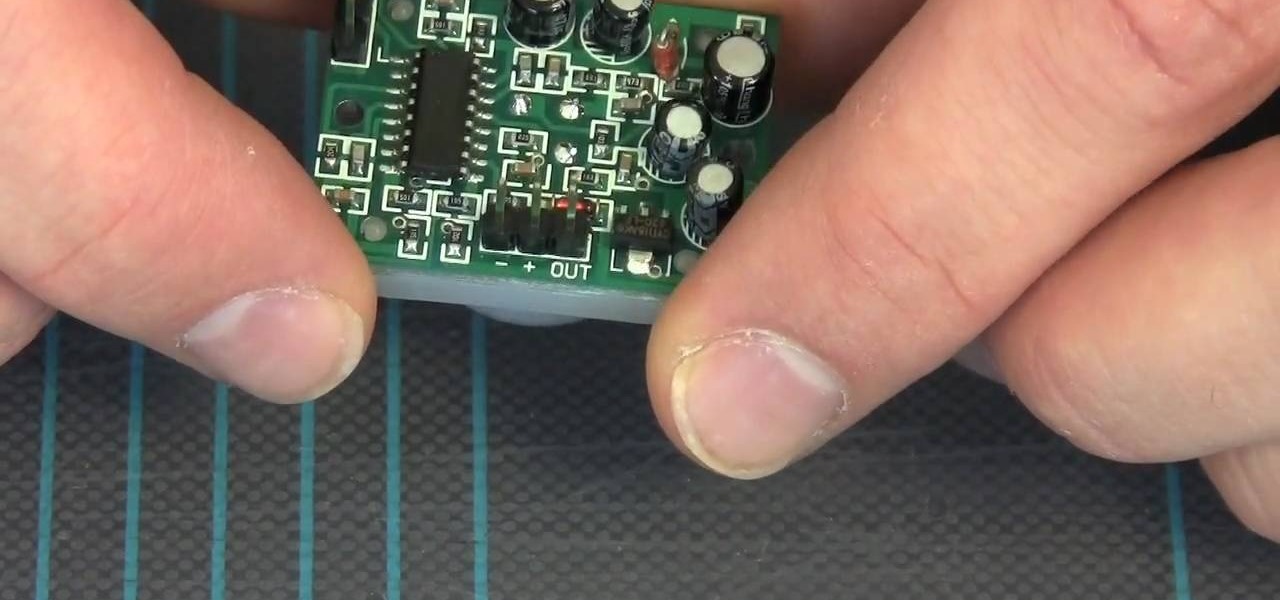
Want to build your own infrared motion detector? It's easier than you think! So easy, in fact, that this video tutorial from MAKE can present a complete overview of the build in under five minutes! For more information, including a full list of materials and detailed, step-by-step instructions, and to get started building your own passive infrared motion alarm, take a look.
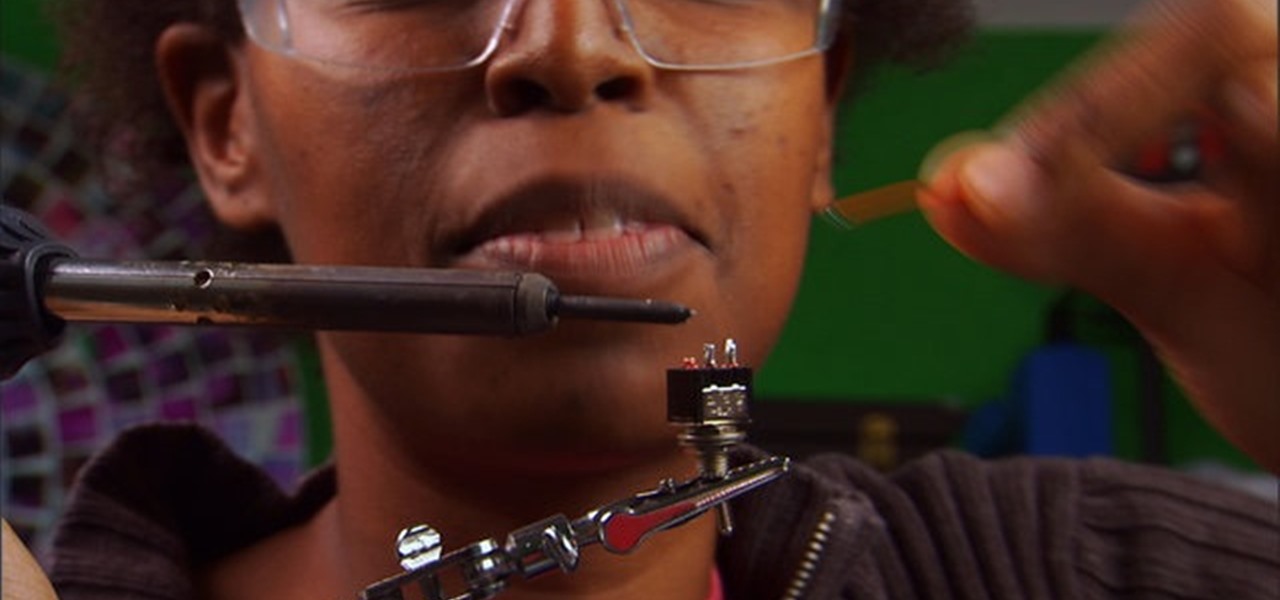
In a time of ubiquitous electronics, soldering is an essential skill. Fortunately, if you don't already know how it's done, it's an easy skill to pick up and the tools and associated materials can be had for cheap. This video tutorial from MAKE will get you started. For more information, and to get started using a soldering iron yourself, take a look.

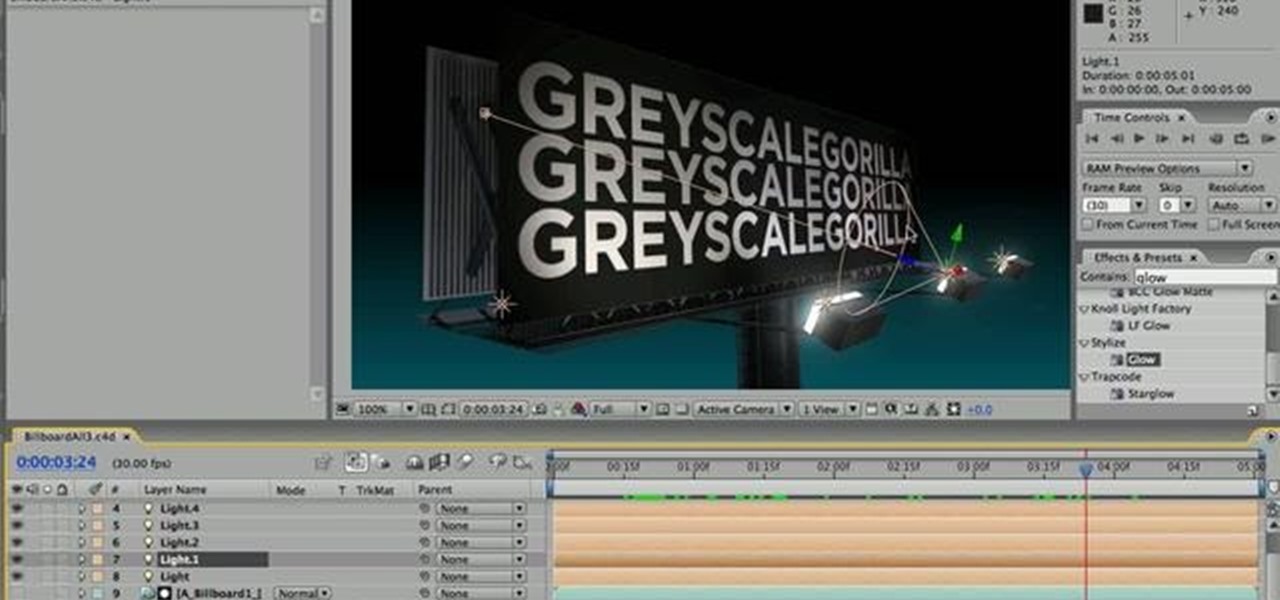
See how to prepare your renders in Cinema 4D for export into After Effects. This tutorial also delves into the process of importing your render into After Effects and adding materials to your 3D scene. For more (and better) information, including step-by-step instructions, and to get started transfering your own work from Cinema 4D to After Effects, watch this free video software lesson.

Real rockets require top ingenuity from physics and engineering experts, but you can construct a smaller replica that costs almost nothing can can be made from materials you already have at home or can find at a hardware store.

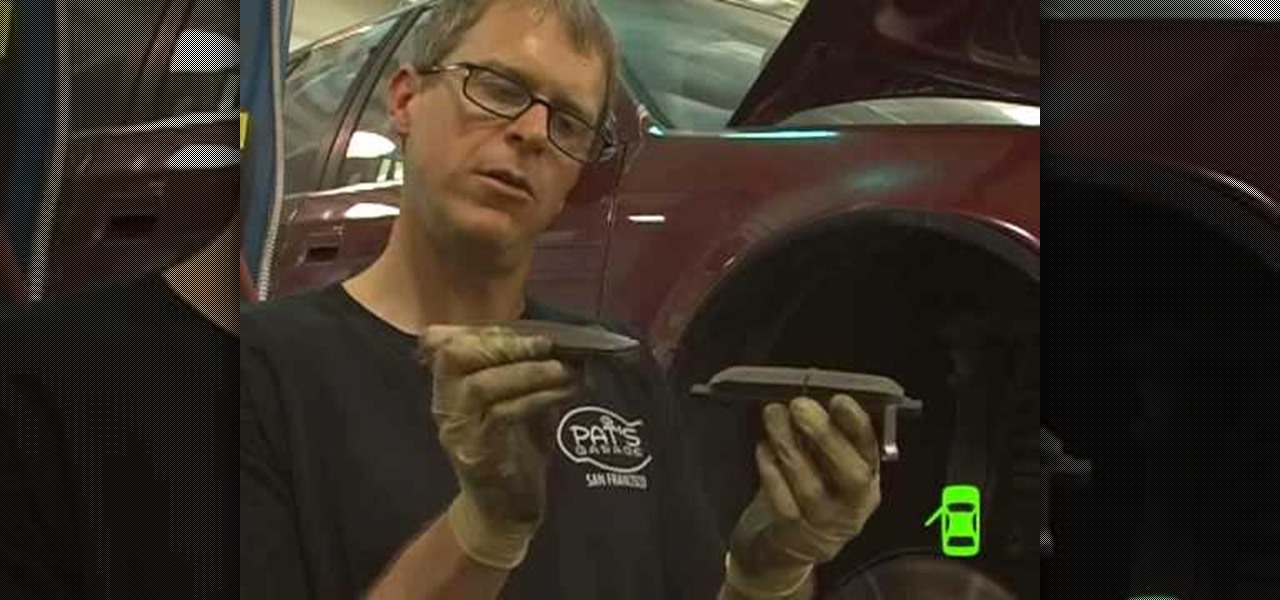
The mechanic highlights about, when and how to check your car brakes. The usual indications that denote the time to check your brakes are when there is a: sound emitted in your brake, feel in the brake, vibration effect while applying brakes, or may even hear squealer tab which is on the brake itself. The ideal way to check your brake is by removing or rotating your tires. A brake check in every 6000miles is also advisable.The difference between a real used brake pad and a brand new one is th...

Kipkay from Make Magazine shows us how to create a photographic illusion, making things look smaller than they really are with tilt-shift photography. Materials needed include rubber plunger, an oversized lens, a plastic body cap, a single lens (or digital single lens) camera, a hot glue gun, a sanding file, and a disposable object for a plastic backing, such as a VHS tape case. With this great tutorial and a little work, create the illusion of a miniaturized world with this photographic tech...

Multi-touch input has been spreading throughout a huge variety of devices, from phones to all-in-one PCs. However, most multitouch (table) displays that can function with your computer tend to be fairly expensive, so with this project we're going to make our own display, that can run on any operating system, and reuses some useless everyday materials.

They are made from a pair of comfortable wedge sandals, and are very durable. Materials used:

In 2 minutes you can make a stove from household materials that you probably already have. Learn this great survival trick by watching this how-to video. You will need rubbing alcohol, a soda can, a sharp knife, and a food tin. Watch this video tutorial and learn how to build a survival stove out of an aluminum can.

Time flies. Particularly when it's projected. The magical box in this how-to uses light and mirrors to project the image of a working clock face on any wall. To build your own working clock projector, you'll need the following materials: a mirror, a jeweler's loupe, a clock and a flashlight. For detailed, step-by-step instructions on the assembly process, and to get started on this Daliesque hack yourself, take a look!

In this tutorial, we learn how to make an earring holder with everyday materials. first, you will need a box lid from a shoe box or a scrapbooking box. After you have this, slide a black piece of nylon over the top of the box and then tie the feet and top together on the back of the board. Cut off any excess nylon that is left over. After this, you can stick your earrings into the nylon and they will hang there securely! This will only work for hook on earrings because there's no back to it, ...

In this video, we learn how to shrink plastic with household materials. You will need: tin foil, plastic container, scissors, glove, and colored markers. To start, you will preheat the oven to 325 degrees. Then, cut a piece of the plastic out in a square shape. Next, draw whatever you want onto your piece of plastic. Make it as colorful as you would like to! When finished, put this in the oven using a glove. Make sure it's on the foil when you put it in. Then, leave it in for less than a minu...

It is a well known fact that due to the rotation of the Earth about its own axis has a bulging effect on the equator and a slight flattening effect at the poles. This experiment tries the reproduce the same effect using simple materials.

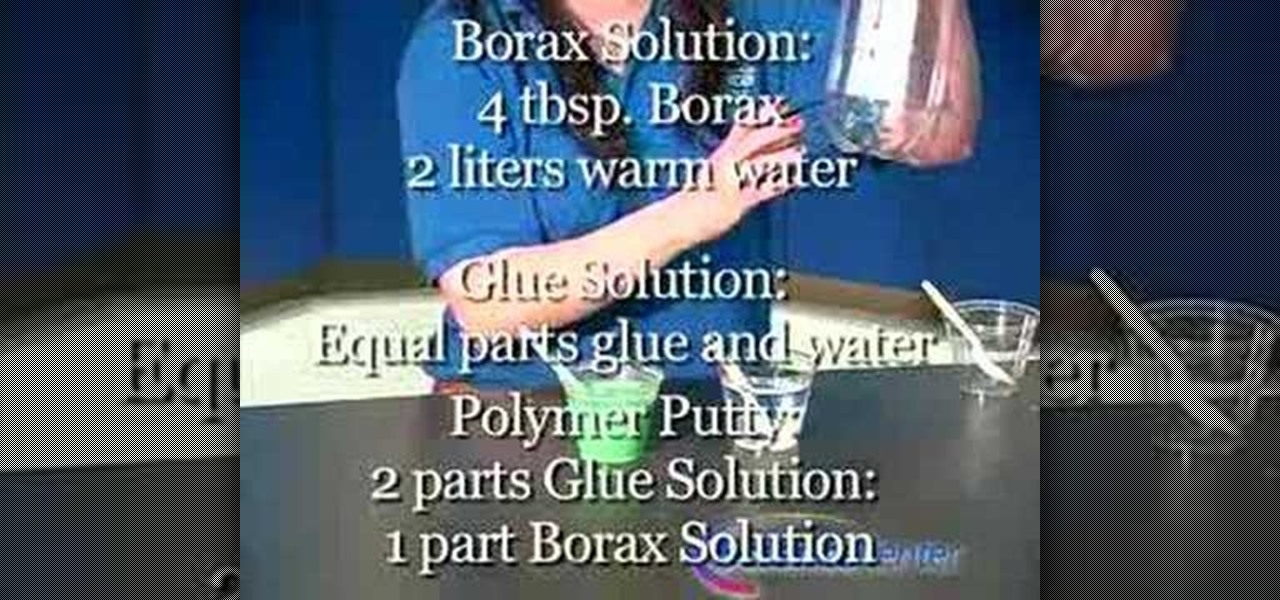
In this tutorial, we learn how to make polymer putty with household materials. You will need: borax, white glue, water, 3 plastic cups and spoons, and food coloring to color your putty. Now, dissolve 4 tbsp of Borax in 2 liters of warm water. Then, prepare equal parts of glue and water together. To make this, you will need 2 parts of the glue solution to 1 part of the Borax solution. Once you mix these together, you can add in some food coloring to it. Pour this into different cups to make di...

In this video, we learn how to make green fire from household materials. You will need: antifreeze, boric acid, and a glass jar. First, pour the antifreeze into the jar until it's 1/3 of the way filled. After this, drop a spoonful of the boric acid into the mixture and mix it up thoroughly. Now, let it sit for 30 seconds and then go into a dark room. Light this up, then watch it burn! You can also put it into a spray bottle and spray it over a flame to see the green fire right in front of you!

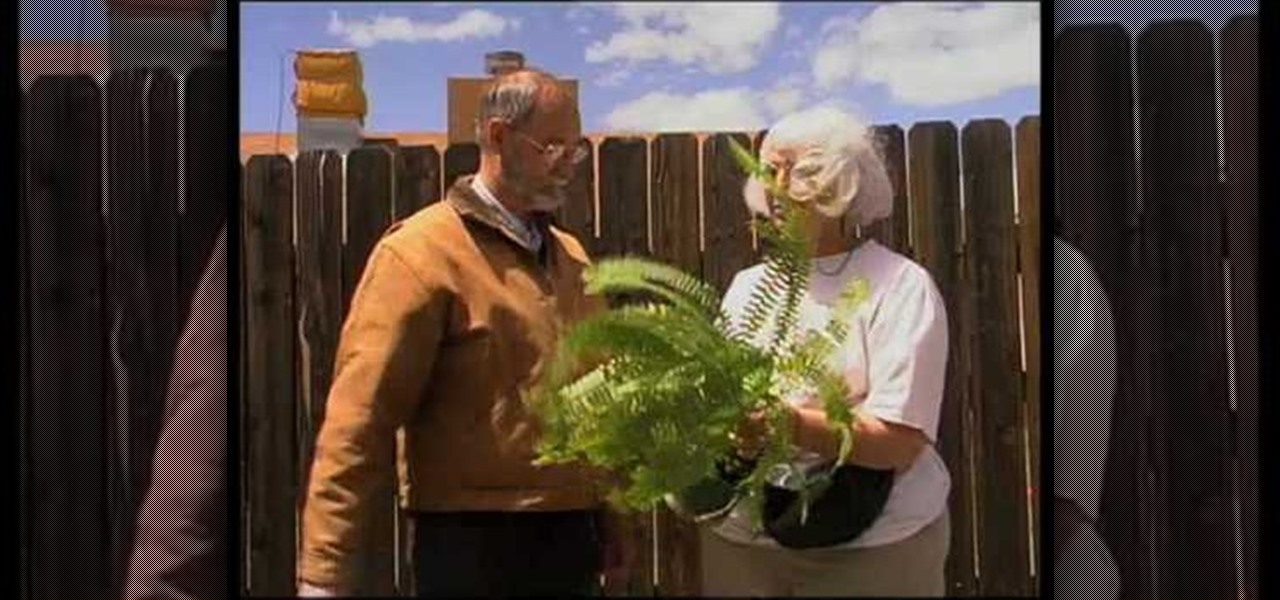
This video explains how to solve several problems associated with gardening in arid environments. Rhubarb is a plant that is commonly grown in colder environments. In arid environments, its very important to not over water it, so keep it in a sandy soil with lots of organic compost material. Plants such as the peace lily also need well irrigated soil, so it is important to pot it in an organic potting soil in a location that allows the water to drain away from the pot instead of soaking back ...

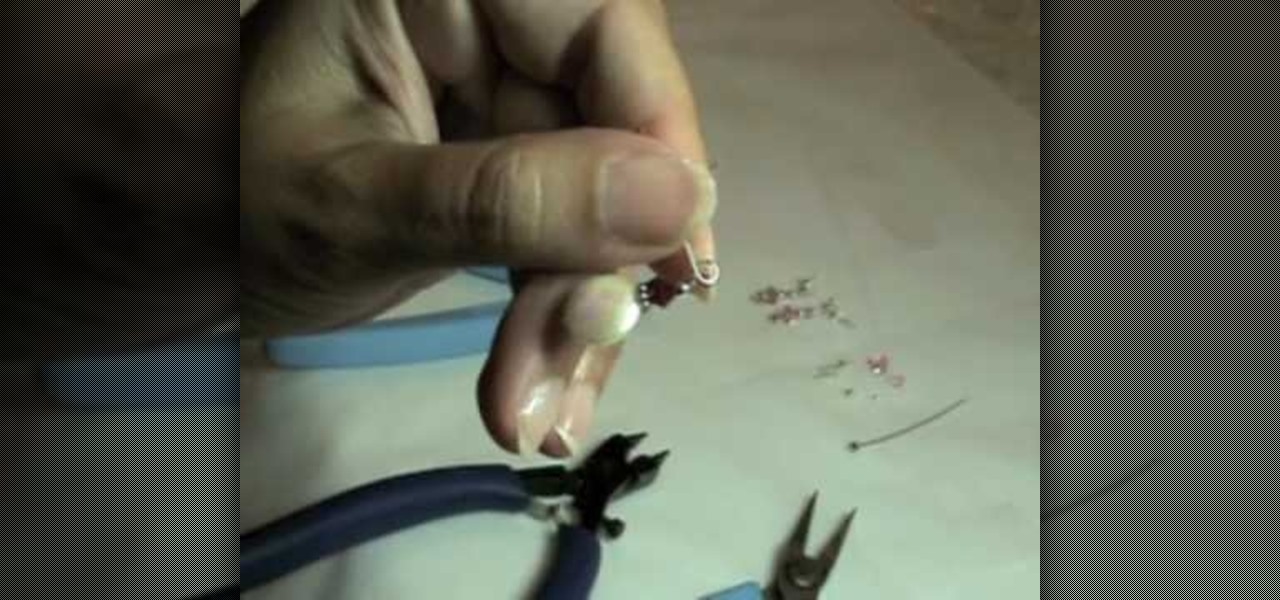
In this video tutorial, viewers will learn how to make two pairs of simple earrings. The video provides all the materials required to make the earrings. The materials required include: freshwater pearl disk, 4 mm Swarovski crystal, bally bead accent, 2 mm silver bead, head pin, flat nose pliers, round nose pliers and wire cutter pliers. This video provides step-by-step instructions and a visual demonstration for viewers to easily understand and follow along. This video will benefit those view...

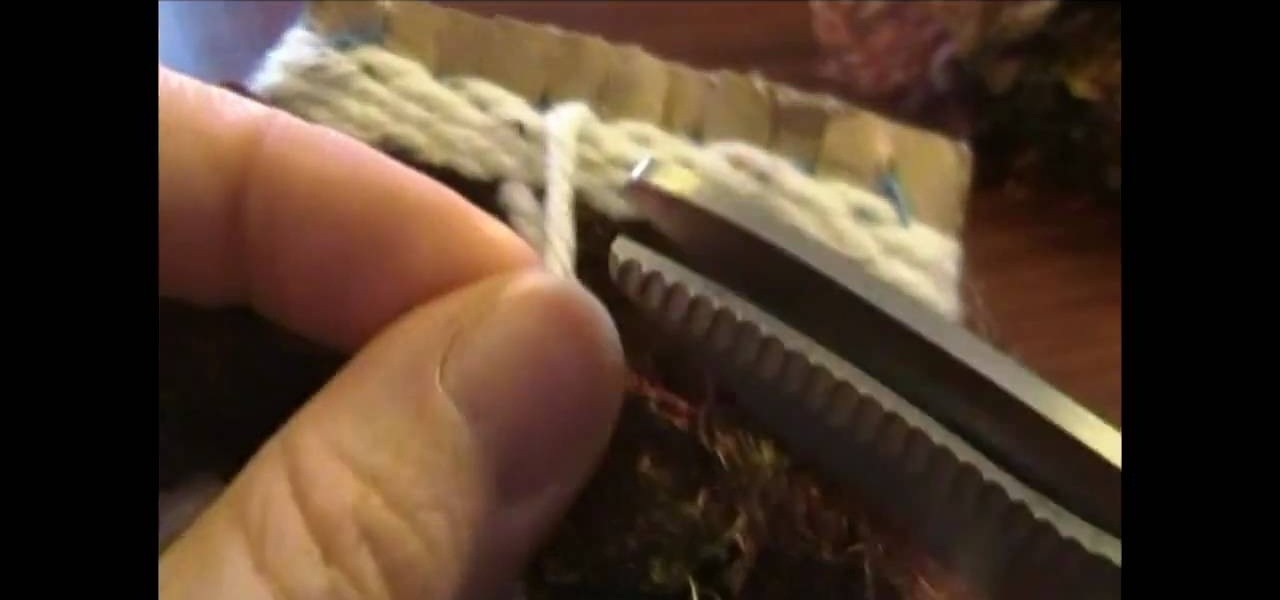
In this video tutorial, viewers learn how to weave a pouch for an MP3 player. The video lists all the materials required to make the pouch. The required materials include: cardboard, a ruler, scissors, yarn needle or bodkin, scraps of yarn or 10 crochet yarn and a marker or pencil. This video provides voice narration and a visual demonstration for viewers to easily understand and follow along. This video will benefit those viewers who enjoy homemade accessories. This is for those who enjoy we...

This is Part 1 in a series from FollowThePaperTrail. In this arts and crafts how to video the host will lead you through the process of preparing the materials necessary to create paper roses, from punched or die cut flower patterns. She teaches you how to soak the materials, once they've been cut, and spray them with starch so that they retain their shape. Following up on that she demonstrates the techniques she uses to form the flower patterns into a more three dimensional shape.

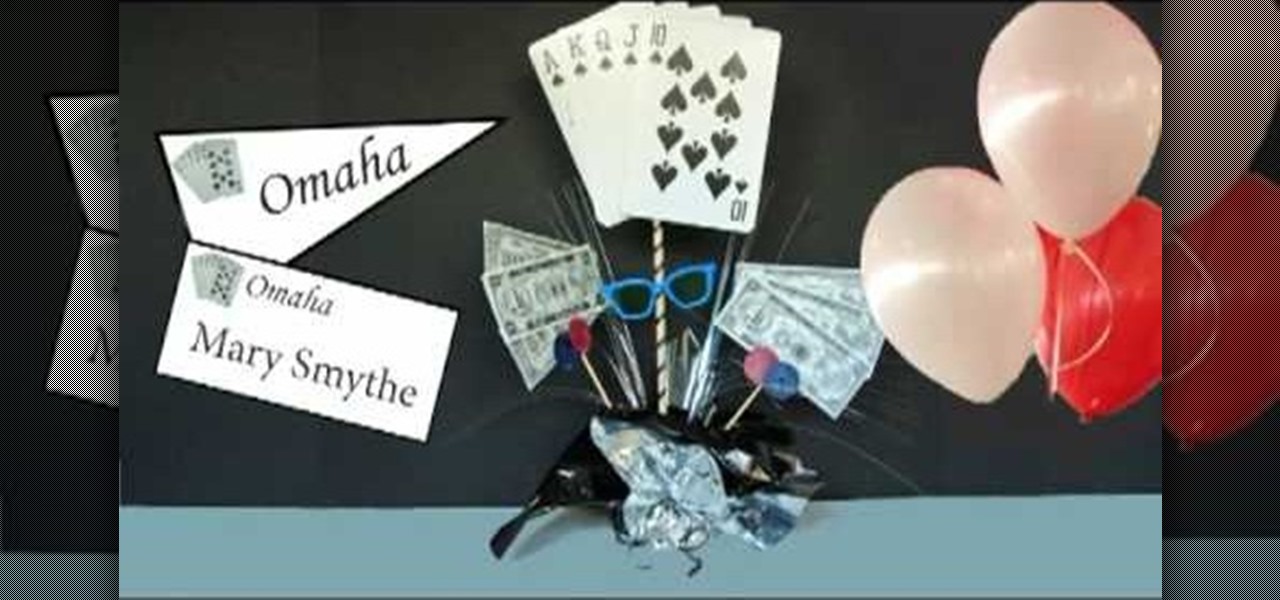
This video is a demonstration by A-BnC parties on the making DIY poker theme centerpiece. This is a rather simple do-it yourself video. The start of video lists a couple of materials needed to make the centerpiece like over sized playing cards, play paper money, power chips, card stock, shish kabob sticks, optional sun glasses and a just add sand centerpiece. The optional things required are glue and scissors to make changes to the materials and to stick them together. Following this video on...

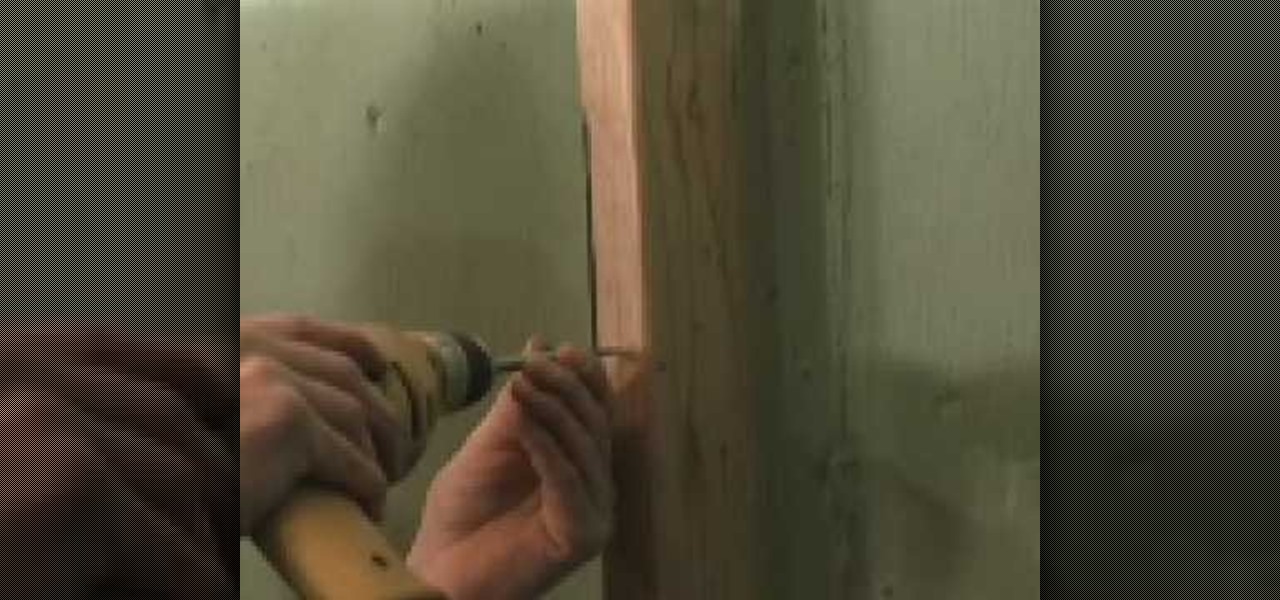
In this video we learn how to remove door material to install a mortise lock. If you live in an older home where you have to take out a chunk of the door to change the lock, there are ways to prevent doing this. First take a spade bit and slide it over the lock. After this, take the mortise lock and hold it so it's flush with the door. Go below the hole and above the closest obstruction and put a mark. On the back measure slightly beyond what it would take for this to bottom out. Once you hav...

In this video, we learn how to easily make a tutu. First, you will need to gather all your materials, then cut the length of the ribbon or elastic you need. Then, grab your materials and cut out strips of it to place onto the elastic. After this, tie the tulle onto the elastic going from color to color as you continue. Once you reach the end of the skirt, you will have a cute tutu that is ready to wear. Making this yourself can save you a lot of money, and it can make several rather than just...

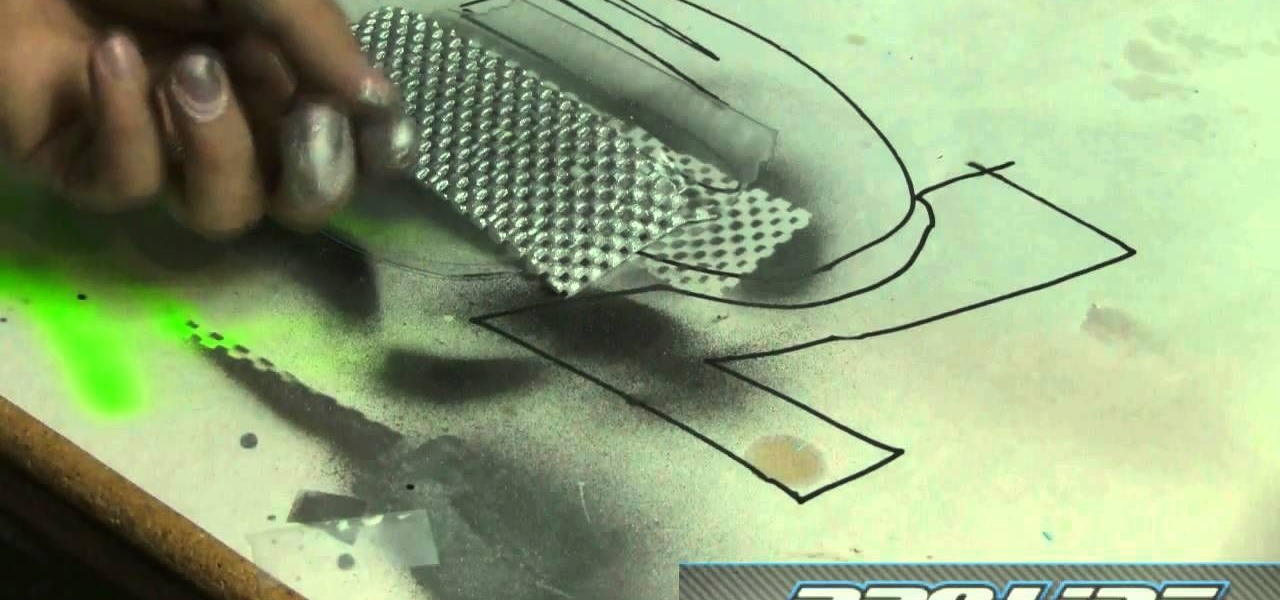
If you're a fan of remote control vehicles or plan on taking up the hobby, you'll need to know some tricks and tips. From putting together the tires for your vehicle to properly painting certain parts of the car.

In this tutorial, we learn how to make a journal from packaging materials. First, cut a cardboard at 5.5" x 4.5" on each side. When you are finished, create another cut that is 5.5" x 1" for the side. Now, cover the two large sides with a piece of fabric that you choose. After this, cover the middle piece with fabric, and then tape it on with double sided tape. Next, place all pieces next to each other, tape it, then place a solid piece of paper on the inside, and use a glue stick to adhere i...

In this video tutorial, viewers learn how to make a toy car with CD wheels. The materials required for this task are: 2 thread spools, long piece of thing wood, 4 CD's, 2 screws, 2 washers and 2 bolts. Begin by drilling a hole in the spools and 2 holes in the wood. Then place a washer on the screw. Now place the CD on the washer. Then add another washer and secure it by screwing on a bolt. Now put the wheel through the first board of wood. Then put it through the spool and other wood board. N...

In this video tutorial, viewers learn about patrol boxes. There are two patrol boxes that are mentioned in this video. The materials that are contained in the first box are: a twin burner stove, propane lantern , adapter hose, propane converter, fat wood, fire starter, matches or lighter, trash bags, aluminum foil, rope and a large paper mat. The materials contained in the second box are: several sized pots, pot lids, frying pan, griddle, colander, backpacking gear, plates, cutting board, tow...

Piping cones are indispensible when applying flowers, leaves, and frilly trims on cupcakes and cakes, and cones with particularly fine points can be used to apply henna in intricate patterns.

When measuring for borders on your quilt, begin by spreading your quilt out on your work surface making sure that it is laying flat but not pulled tight. With a tape measure, measure from one edge to the opposite edge across the length of the quilt. You should measure along two or three different seam lines and cut the border material to correspond with your longest measurement.If you would like a two-inch wide finished border then you should cut your border material two-and-a-half inches wid...

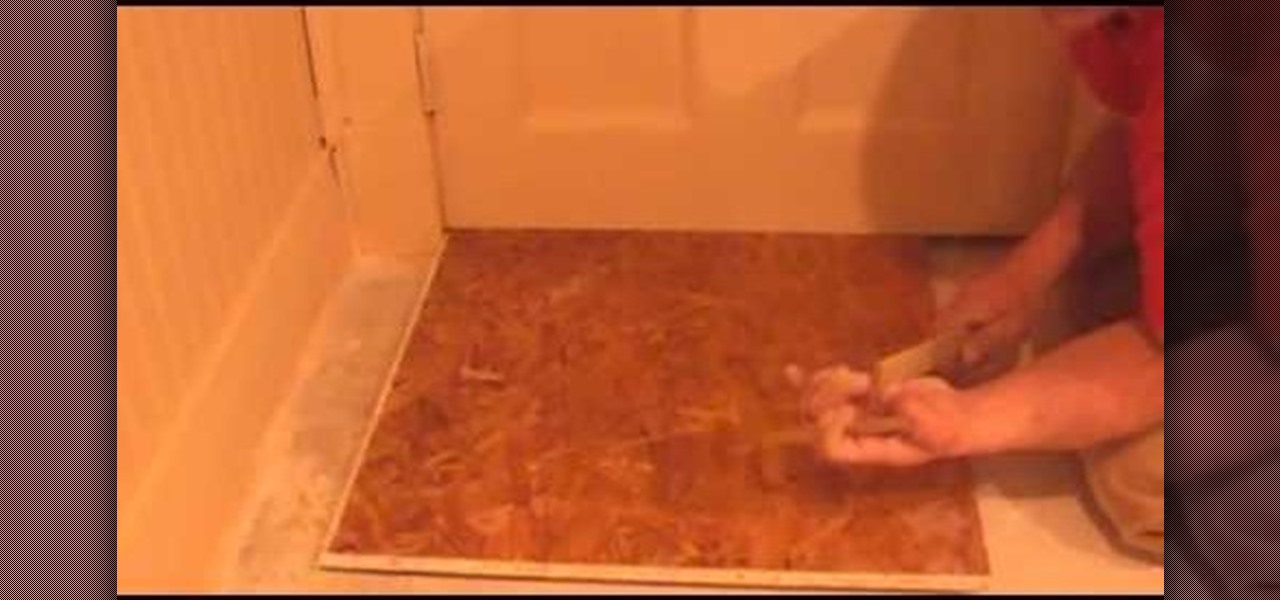
First, the plywood or oriented strand board (OSB) subfloor floats on a corrugated or “cleated” waterproof underlayment, so the wood never actually touches the floor. The underlayment material can be made of Styrofoam or heavy-duty polyethylene, the same material used in corrugated plastic drain pipe (one of the toughest plastics available). This underlayment creates an air gap above the concrete. Combined with the wooden panels, the air in this space provides a thermal break that acts as insu...

In this how-to video, you will learn how to find pine resin on your trees. This is very difficult to find at first, but with the right knowledge, it can be very easy. First, look closely into the tree's bark. Look for an area where there was once a branch. In the center, there will be a material there. This material should be the pine resin. You can dig it out without damaging the tree with a sharp stick or knife. This is how the tree protects itself from damage. It produces pine resin to fil...

In this video by, you are shown how to make miniature pomegranates out of clay for use with doll houses or however you may want to use them. You will be shown exactly what materials to use, how to make the items, painting and even exactly how to glue everything together. There are even suggestions for where you might want to shop to find the materials you will need. She shows you step by step how to make the items, and describes in detail the tools required to make incredibly realistic lookin...

In this video tutorial, viewers will learn how to make a charm bracelet. The materials needed to make the bracelet are: a light silver plated chain, 100 grams of plain glass mix, 1 toggle clasp and 100 headpins. All these materials can bought from Beads Unlimited. The tools needed for the bracelet are: flat-nosed pliers, round-nosed pliers and cutters. This video is descriptive and clearly explains all instructions. This video is at a slow pace and provides step-by-step instructions that will...

Learn how to make a fly fishing leader by following this tutorial. First, the easiest way is to purchase a tapered leader, obviously. However, sometimes as you are fishing this will break and you may not have a backup leader. Your only option in that scenario is to make a new one from your broken leader. Take approximately 18 to 24 inches of the 3X wire and double knot it to the but section that is broken. Then use another wire material to attach for the fly section. To decide what type of ma...

In this how-to video, you will learn how to build a wilderness survival shelter. One thing you can do is use a rain poncho, blanket, or piece of plastic and make a water impermeable shelter with a rope like material. These materials could include anything like a cord or dental floss. You can build a debris hut by using a large stick leaning against a tree. Stack many other sticks around this large stick, and then pile up debris such as dirt or leaves to build up walls. Once the structure is b...

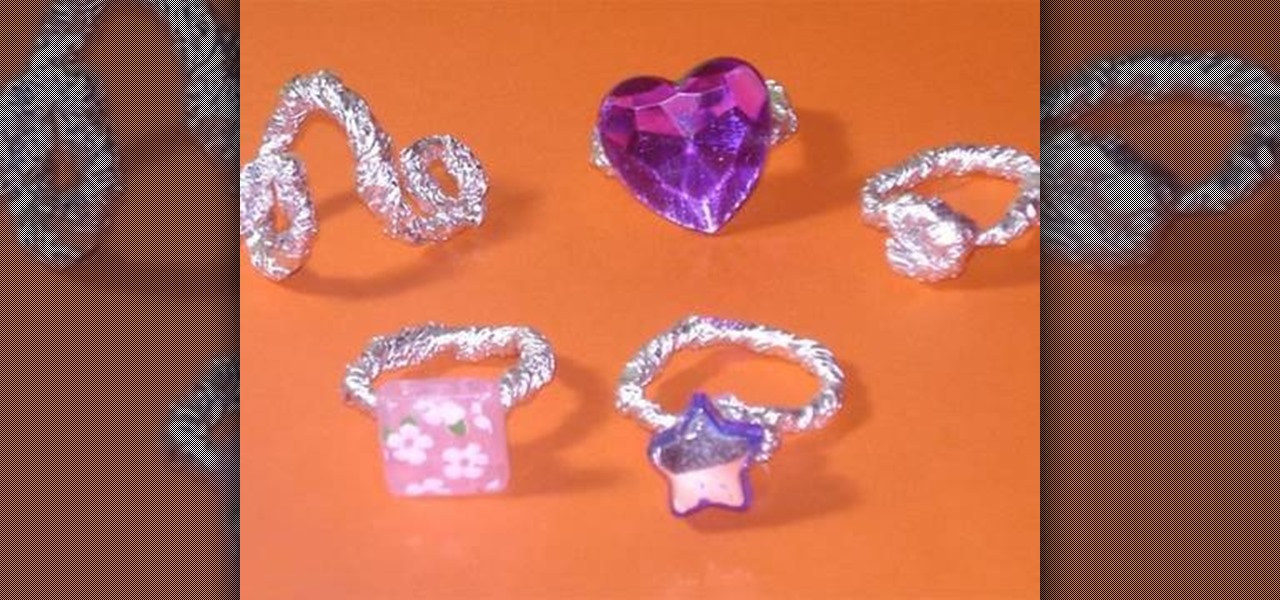
In this video tutorial, viewers learn how to make aluminum paper rings. This video provides all the materials required to make the rings. The materials required include: aluminum paper, glue, plastic gems, beads and the bottom of any decorative element for the top of the ring. Begin by folding the foil into a thin line and twist it. Now bend the foil around your finger to shape it into a ring. Then tie and wrap up the top. Put some glue on and add the bead or gem to the center. This video wil...

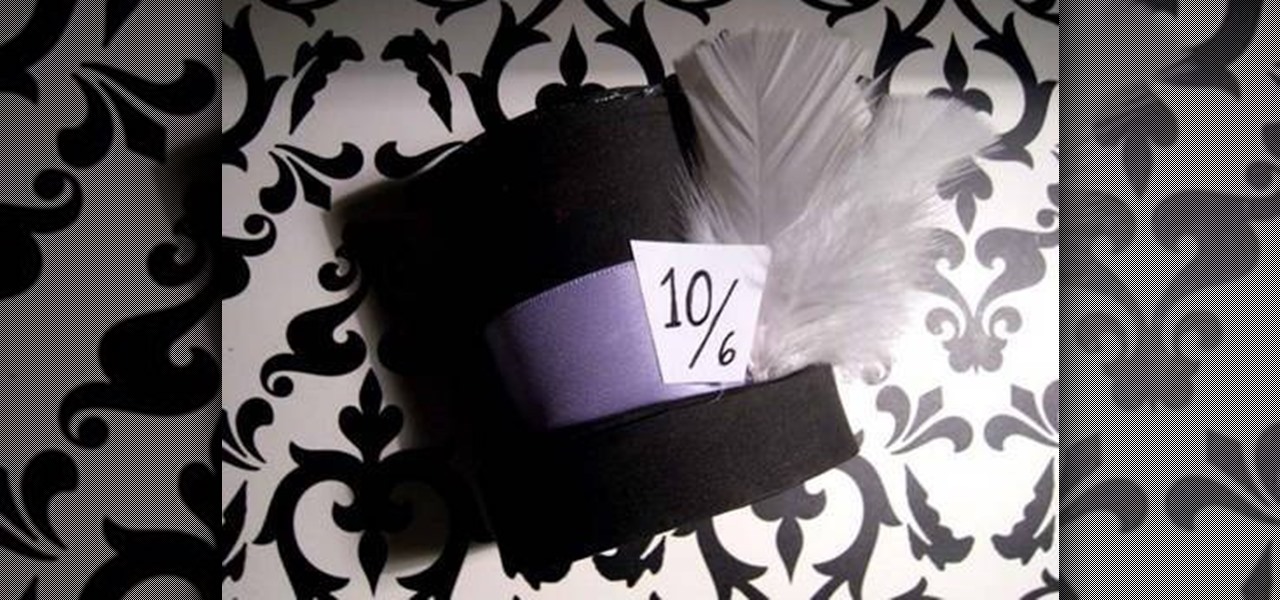
In this video tutorial, viewers learn how to make a mini Halloween top hat. This video provides all the materials required to make the top hat. The materials required include: a Styrofoam cup, X-acto knife, scissors, 2 8x10 sheets of craft foam or felt (choice of color), ribbons, feathers and any other embellishments. This video provides a visual demonstration and step-by-step narration that allows users to easily understand and follow along. This video will benefit those viewers who enjoy do...


