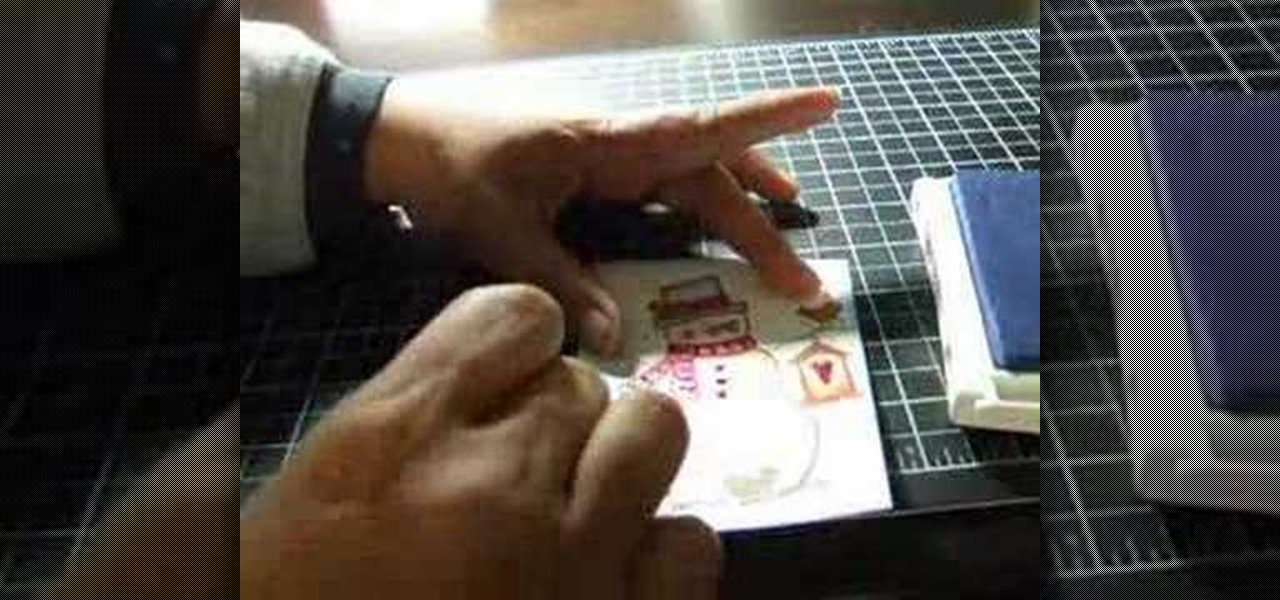
In this video tutorial, viewers learn how to shade and color the background of an image. This video explains all the materials required to shade and color the background of an image. The materials required are: a stamped image, a spoon dauber and an ink pad. Start by inking the sponge dauber and rub the edge of the cardstock. Continue to color the edge. Add more ink if you want the color to be darker. Color the background with the sponge dauber. Add link to the sponge dauber. Dab and rub the ...

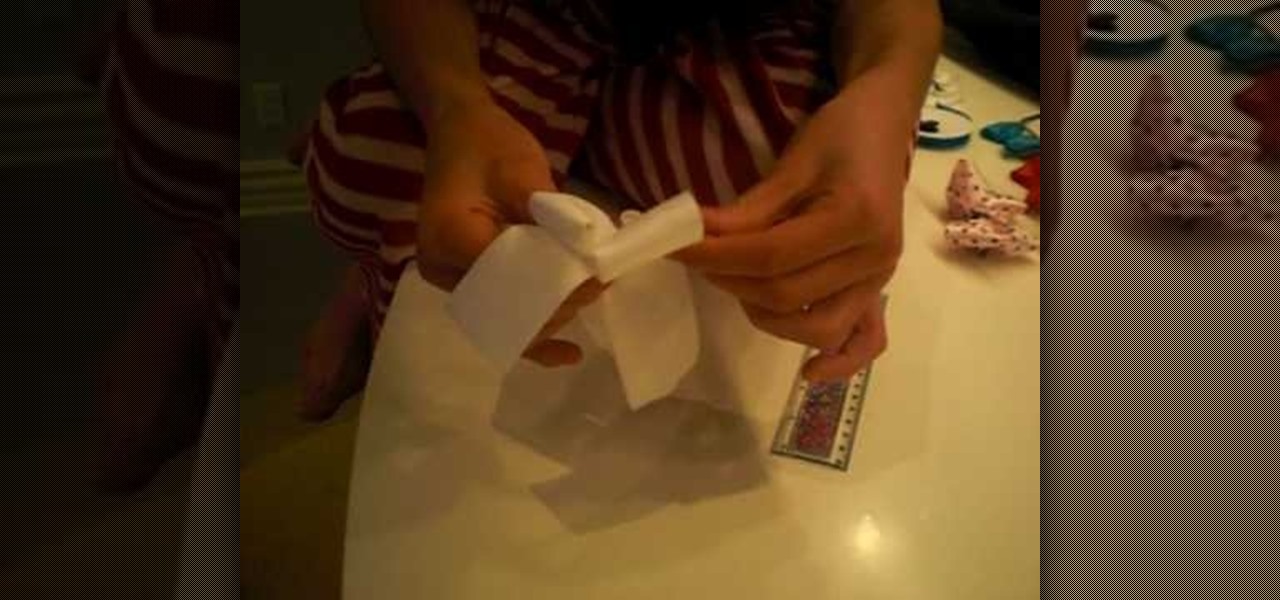
This video tutorial shows how to transform a paper bag to a picnic bag designed with Frankenstein's face on the front. The ending result of the tutorial is shown in the beginning. The materials needed are listed after the example, including the total number and color of each material needed. The tutorial starts by cutting down the paper bag and folding the top of the bag. Handles for the bag are then cut out and stapled onto the top of the bag – one on each side. To prevent the staples from a...
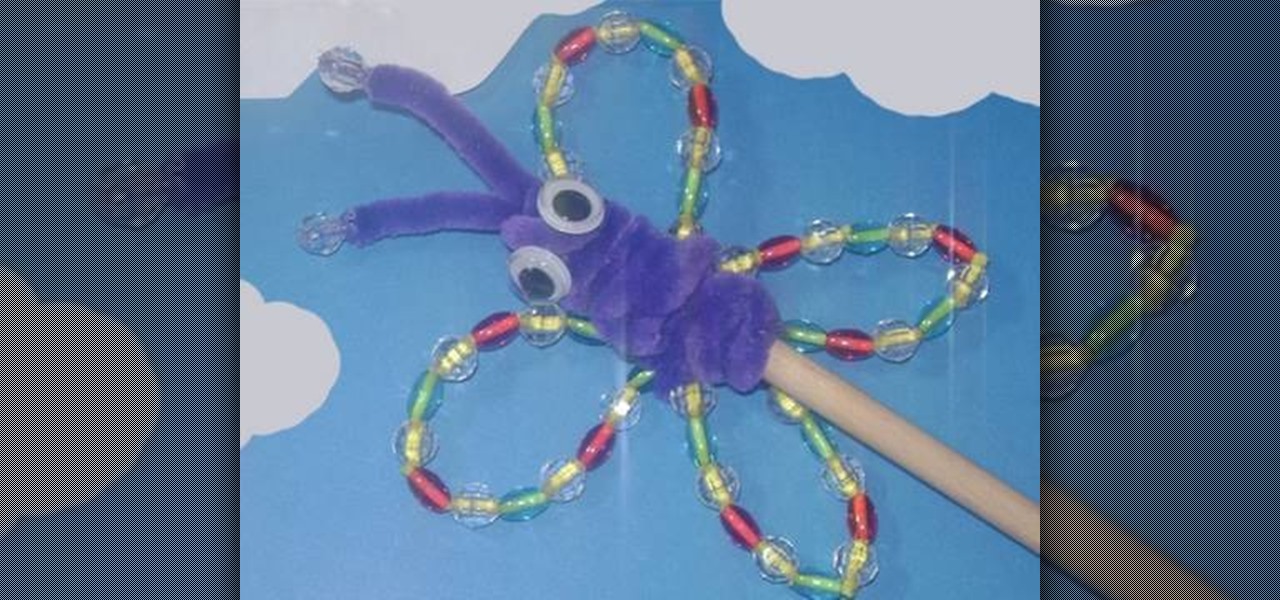
In this video tutorial, viewers learn how to make a garden rainbow butterfly puppet. This video describes all the materials that are required to make the butterfly puppet. The materials required include: beads (blue, red and transparent), 5 pipe cleaners (2 yellow and 3 purple), 2 googly eyes, a stick and one glue stick. This video provides a visual demonstration for viewers to easily follow along. The video is at a step-by-step pace and allows viewers to pause or rewind the video. This video...
This video teaches the viewer how to make a bow for your hair. You need a few materials to do this including 12 1/2 inches of ribbon that is approximately 1 inch wide, Two to three inches of contrasting ribbon for your center piece, a glue gun, 5 inches of craft wire and a hair clip. You can chose the colors or create several different ones to coordinate them with your wardrobe. They take only about 5 minutes to complete as long as you have all the materials on hand. Make sure to have a pair ...
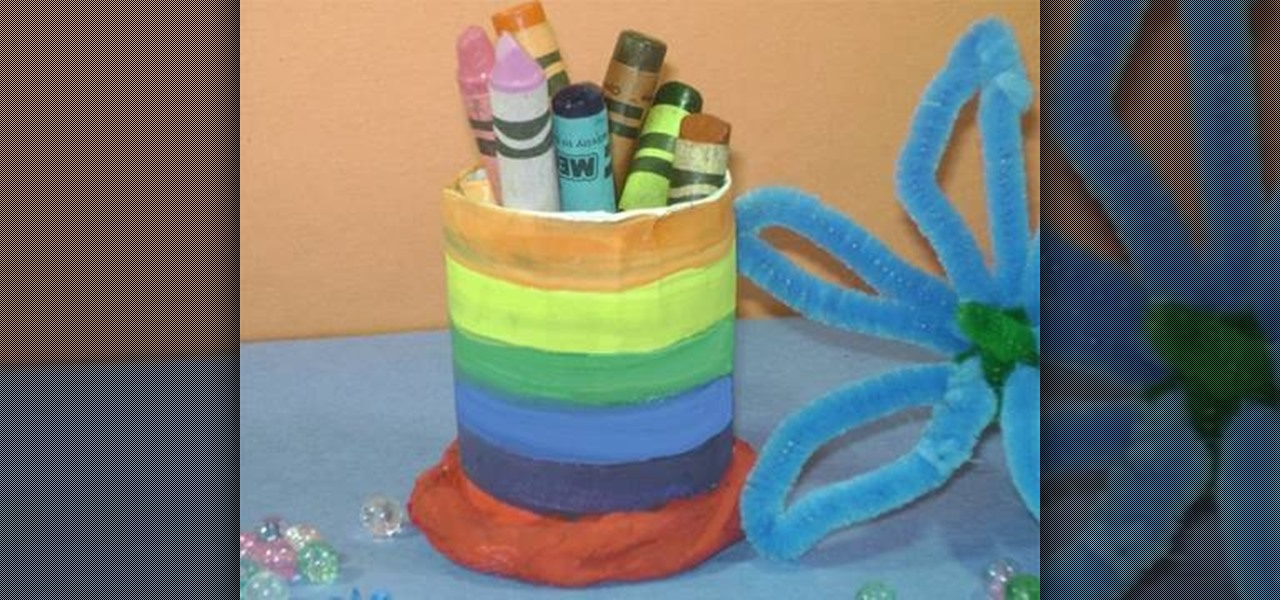
In this video tutorial, viewers will learn how to make a simple pencil holder. This is a child's art and crafts activity. The video provides all the materials that are required in order to make the pencil holder. The materials required include: a toilet paper tube, paint, paint brush, glue, scissors and a sheet of white paper. Users simply decorate the paper with paint and wrap it around the toilet roll. Next, cut another piece of paper for the bottom of the roll and secure it with some tissu...

This is step-by-step video tutorial on how to make a basic but adorable cat puppet. The kids will have such a good time cutting and gluing the materials to make their very own puppet. The process is very quick and very easy. The materials you will need are: Felt (black, white and yellow), 2 googly eyes, scissors, and fabric glue. First cut out 2 triangles for the ears. Glue the circular edges of a half circle of felt together and glue the ears to it. Glue the eyes, nose, mouth, whiskers, and ...

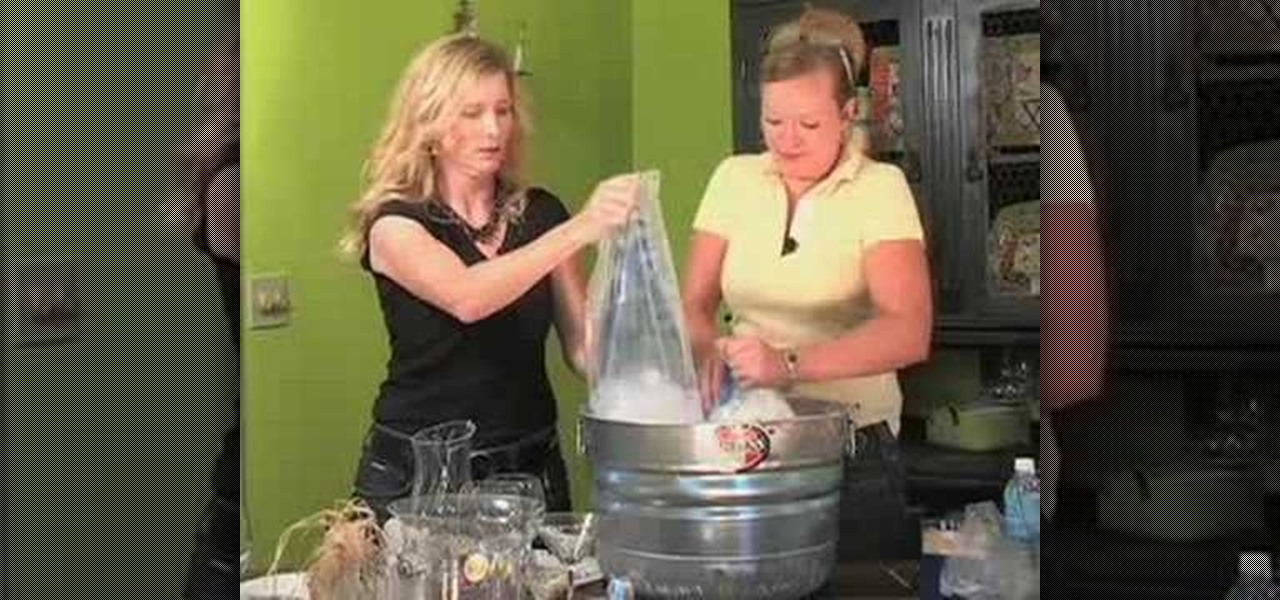
In this video tutorial you will learn how to decorate for a party using household stuff. The materials you will according to the hosts are wires of all sizes and colors (whatever you'd like), beads (the bigger the easier), a drill, an ice bucket, and indoor outdoor lights. With these materials you can learn how to decorate a ice bucket, and your stemware. Its very fun and easy according to the hosts and they will guide you step by step sharing there ideas and ways to decorate these items so t...
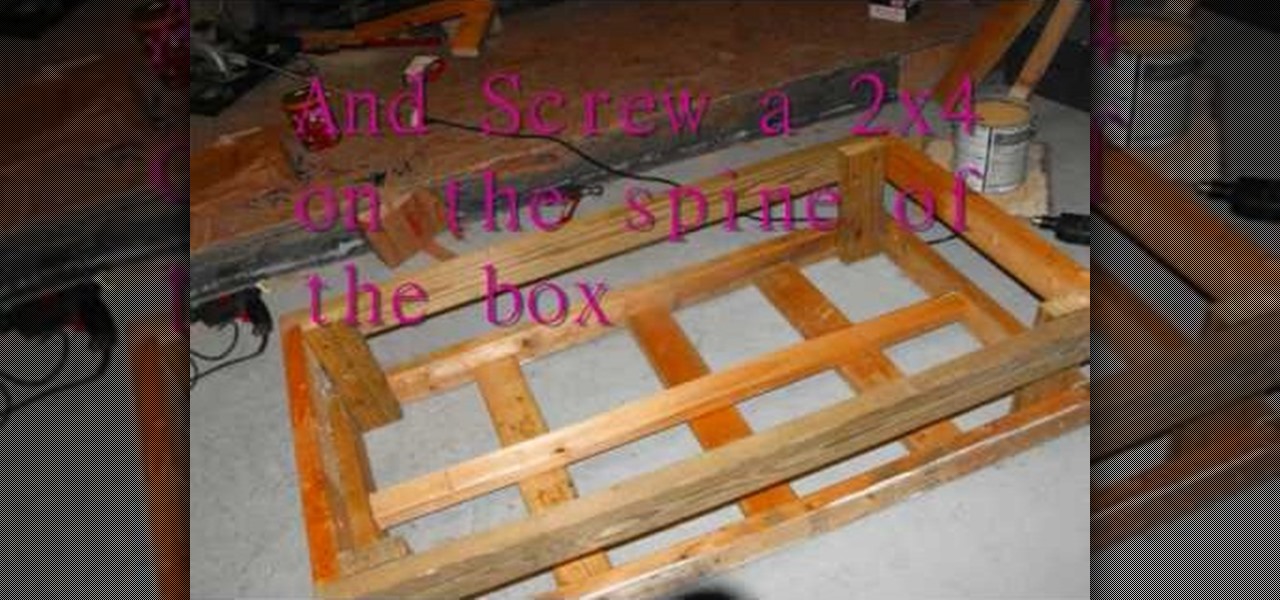
In this six minute video tutorial, viewers will learn a process for which to make a skateboard "grind box." A skateboard grind box is used for skateboarders to perform certain tricks on and to practice. In this tutorial the narrator goes over the different materials that are required for the grind box, the different tools that are required, and the steps for putting the materials together to form the grind box. By completely viewing this video, viewers will have gained an understanding on the...
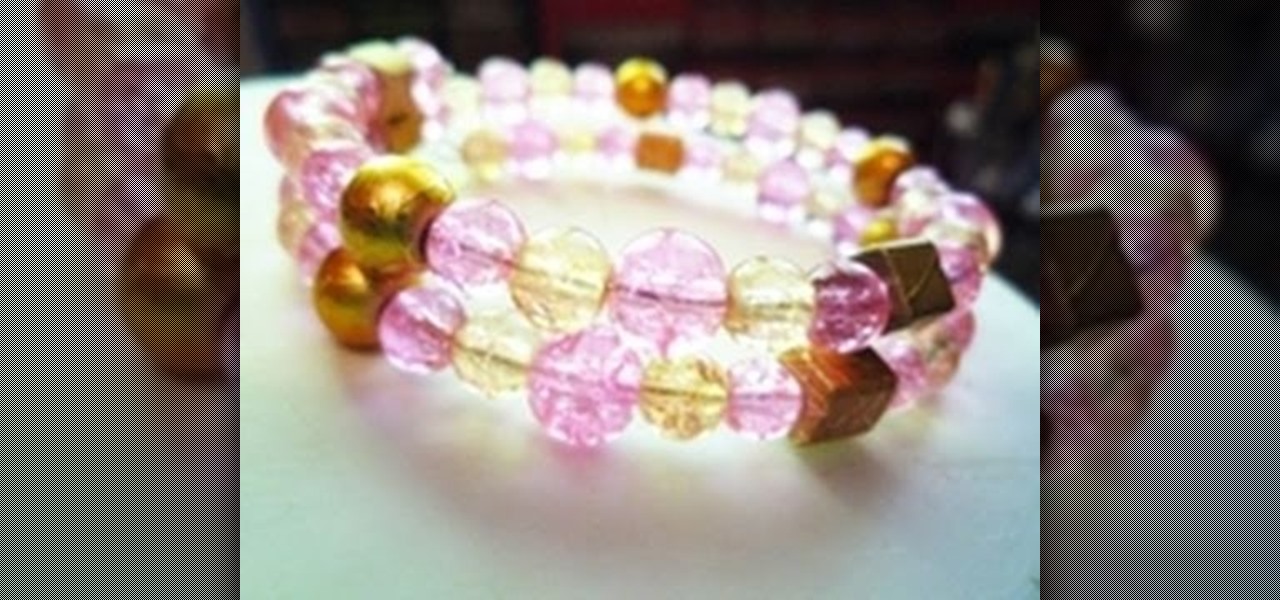
In this video tutorial, viewers will learn how to make a memory wire bracelet. This video provides all the materials required to make the bracelet. The required materials include a memory wire (bracelet size), heavy duty wire cutters (memory wire shears), round-nose pliers and several beads. First, determine how thick you want your bracelet to be and cut the wire according to that size. Now, layout the design of your beads; make a loop on one side of the wire and add the beads on. Once finish...
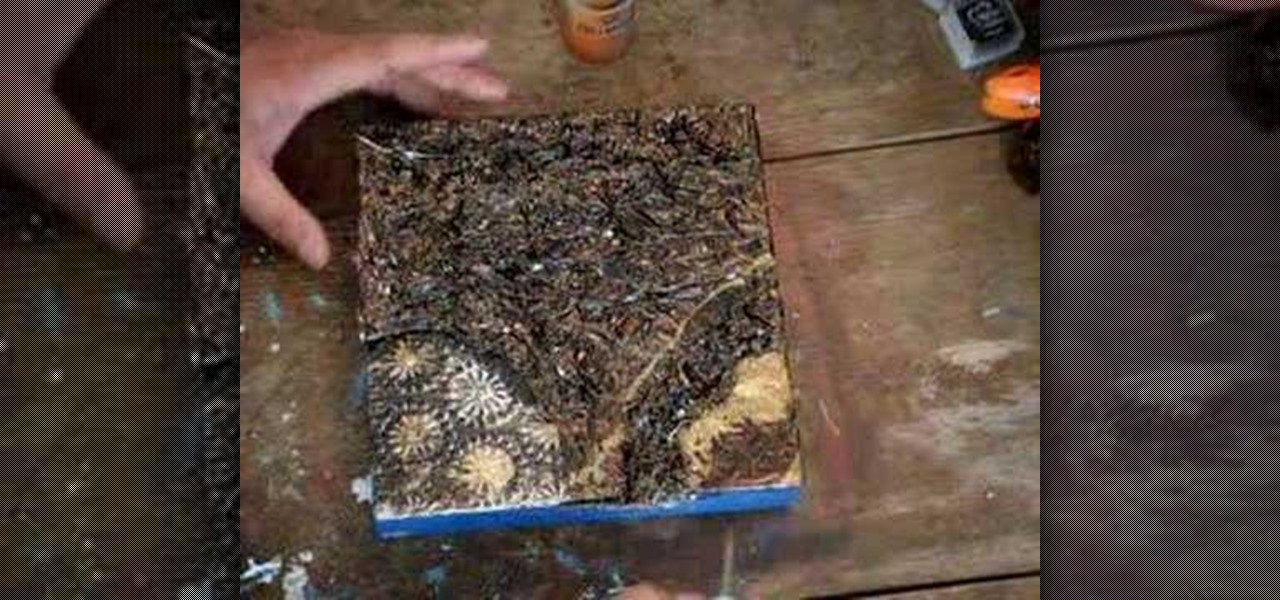
Ever find yourself short on material and that one board you really need has a nice open knot in it? You could always go out and buy more material, but sometimes its just easier and faster to stabilize and repair the knot. And instead of trying to hide the knot, sometimes it's just better to embrace it and make it look look resinous and natural. And that's the goal here. Our guide uses an epoxy/dye mixture to create a stable and decorative knot. With a little elbow grease, and this video from ...
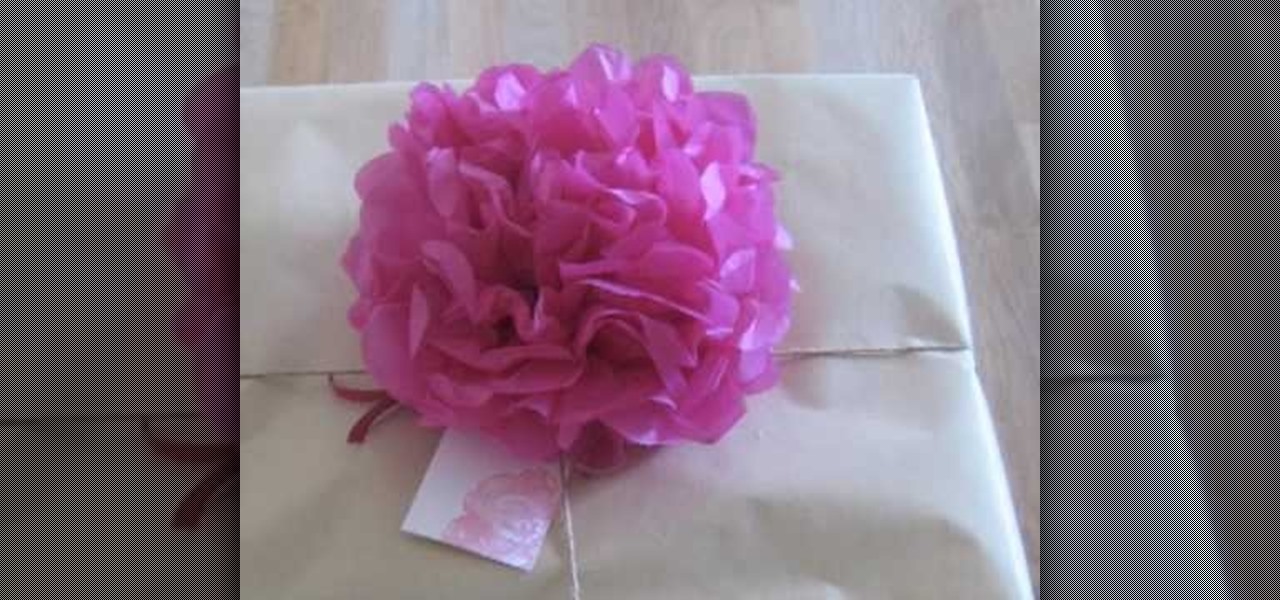
In this video tutorial, viewers learn how to make a paper flower. This video provides all the materials that are required in order to make the paper flower. The materials required include: colored tissue paper, scissors, and 10 cm of colored string. Begin by cutting the tissue paper to preferred size. Fold 1cm on the tissue paper, flip it over and do the same on the other side. Continue this until you've reached the end. Tie one end of the string onto the middle of the tissue paper and fold t...
In this video tutorial, viewers learn how to use the traditional Japanese stab stitch binding to make books. Stab Stitching is used mainly for office documents and in essence is two or more very strong, long staples that bind together loose sheets up to 25mm thick. The video provides all the materials required to make a book. The materials include: filler paper, two sheets of card stock(must be same size as paper), string, pencil, ruler, ice pick, X-acto knife, needle(must be same thickness a...
Kristina tells us the key steps to making a cheerleader styled hair bow. All you need is one simple thin strip of material, of whatever color or pattern you might want, there being a huge variety to choose from, thread and a needle, and the hair tie that you will then be attaching the created bow to. You make a simple "breast cancer sign" with the material, then further twist it into a bow, then thread the center to hold it together. The last step, of course, being to glue the aforementioned ...
In this video hostess Charlotte instructs us, on how to make "Inner Tube" Bracelets, a rock style associated accessory. Employing either Black Plastic, Leather, or even Tape. Creating these alt accessories requires only scissors and a needle and thread of some type of adhesive to attach the clasp or fastener that will allow you to attach it to your wrist. With a few simple Scissor cuts along the material's length to create a design. Charlotte shows us exactly how it is done with helpful tips ...
Sometimes it's more than just inconvenient when your electronics lose power. Sometimes, losing power could be dangerous. Never worry about a dead cell phone again! Charge your portable electronics by harnessing the power of the sun.
Interested in using fiberglass? In conjunction with the 405th, an online e-zine dedicated to Mjolnir Armor costuming for the Xbox Halo video game series, this tutorial shows you a step by step process of how to layer fiberglass on the inside of a costume mask. Materials needed include latex gloves, respirator or ventilation mask, fiberglass resin, fiberglass cloth, scissors, and a foam brush. Be sure to give up the cash for a great ventilation mask... some of these materials can be toxic to y...
You've organized your materials and chosen your book. Now it's time to get down to brass tacks. . . and tapes, stamps, stickers, cardstocks, markers... Watch this how to video to learn how to make your own scrapbook.
A place to sit and relax can add greatly to the enjoyment of your backyard, garden or flower beds. A garden bench is one answer and also a fun workshop project. Garden benches, as seen by the examples here, can range from classic designs requiring a fair amount of materials and woodworking expertise to simple slab benches that require little effort, can be built from scrounged materials and add a “rustic” appeal to yards. In this DIY video tutorial, you'll find step-by-step instructions for b...
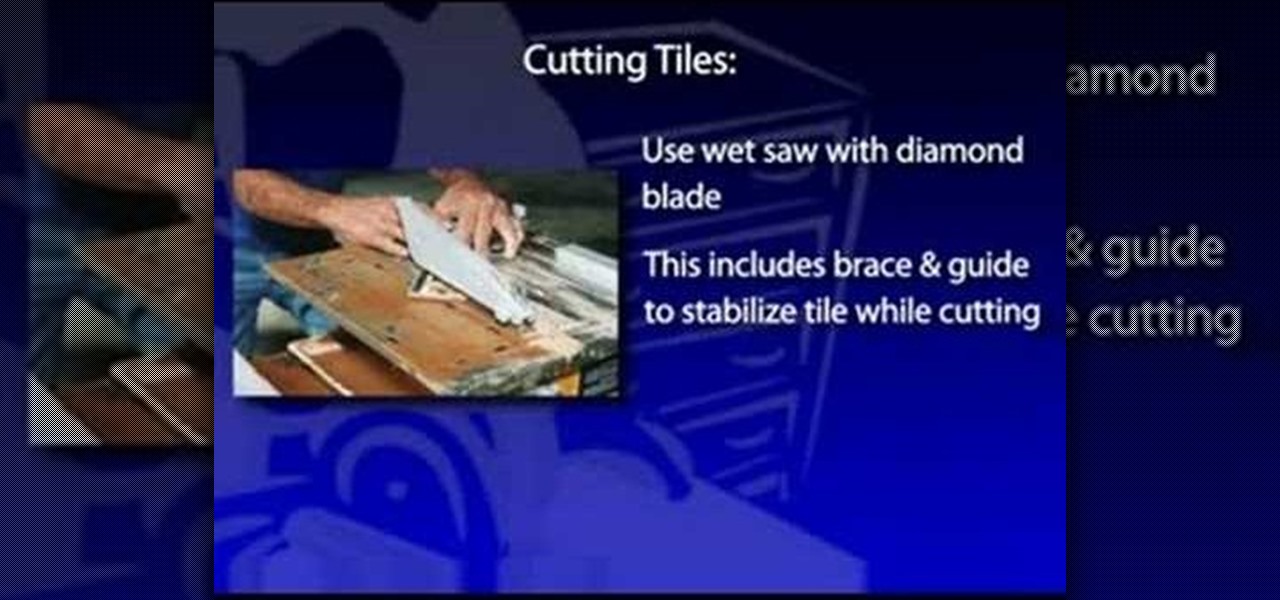
Installing wall tile is basically the same procedure as installing floor tile. And it offers the same advantages: flexibility of design; a wide range of colors, materials and patterns; and if installed correctly, years of durability. Ceramic or porcelain tile makes an attractive backsplash behind sinks and stoves, or encasing a bathroom or shower. It's a strong and easy-to-clean material that offers great decorative advantages for areas exposed to water, while resisting moisture intrusion and...
This video demonstrates how to create an artwork using ordinary aluminum foil from your kitchen. This technique is good for those people who have no inspiration of what to paint but want to be creative. This collage technique is a fun way for beginners to experiment with textures, composition and color. Materials used in this video are aluminum foil, a glue stick, Bitumen (a material used as primer for painting on metal without rusting), collage or textured paper, spray paint, acrylic paint, ...
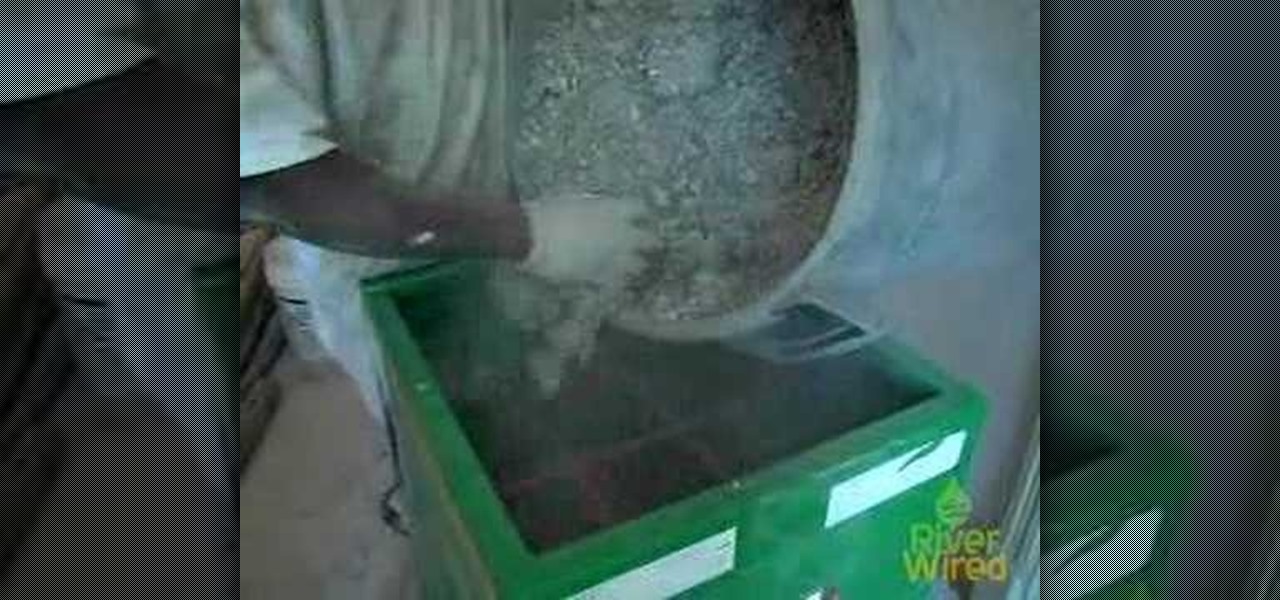
Get tips on how to make your home more eco-friendly, especially if you plan to renovate it.
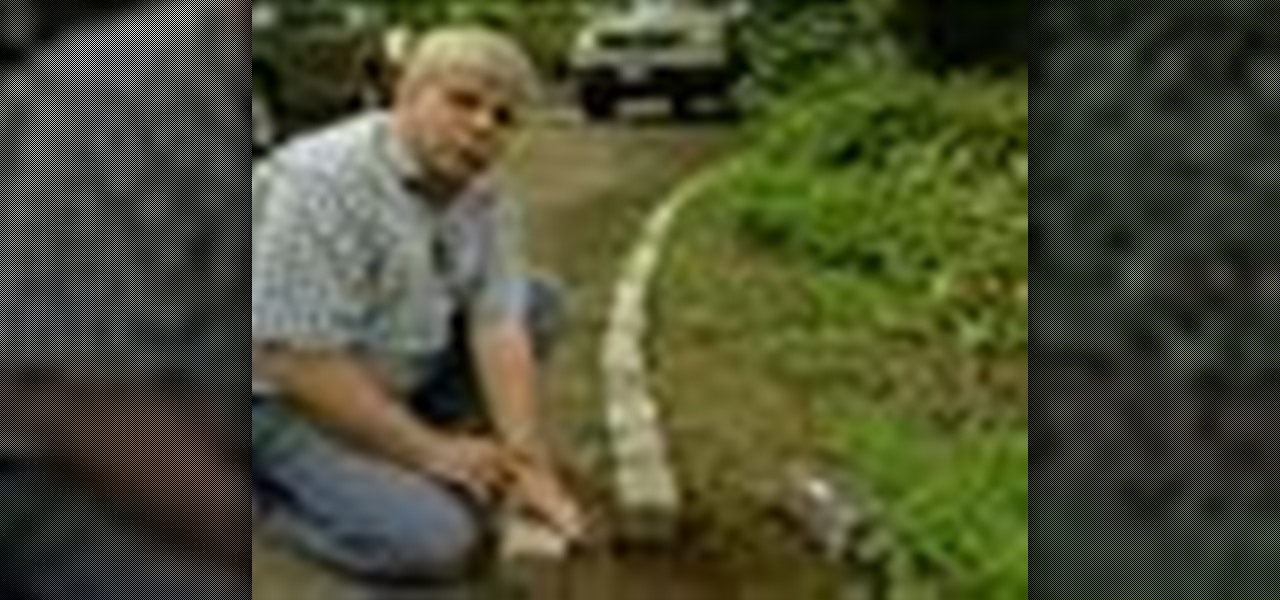
Tim Carter demonstrates how to use recycled cobblestones. Cobblestone can be used to edge gardens, driveways and walkways. These paving stones make a great border.
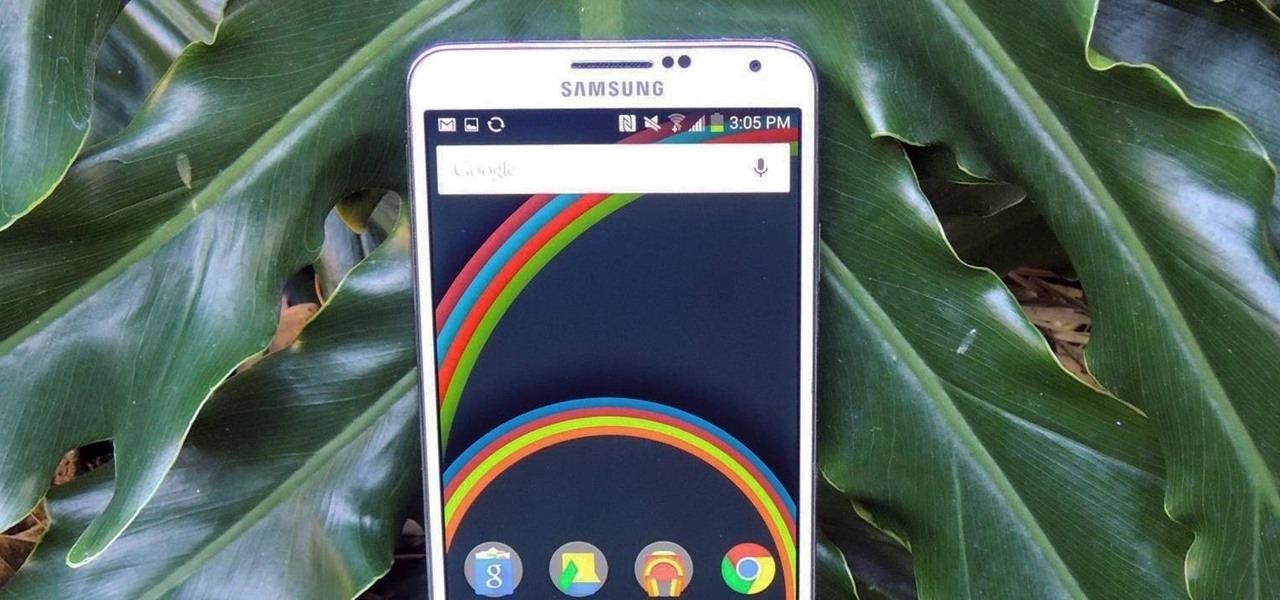
Samsung's recent TouchWiz rebranding didn't really change much — the skin is still as bloated as ever, and the UI still uses tacky accent colors. But while you can't fully remove TouchWiz without rooting, there are ways to make it look a lot better.
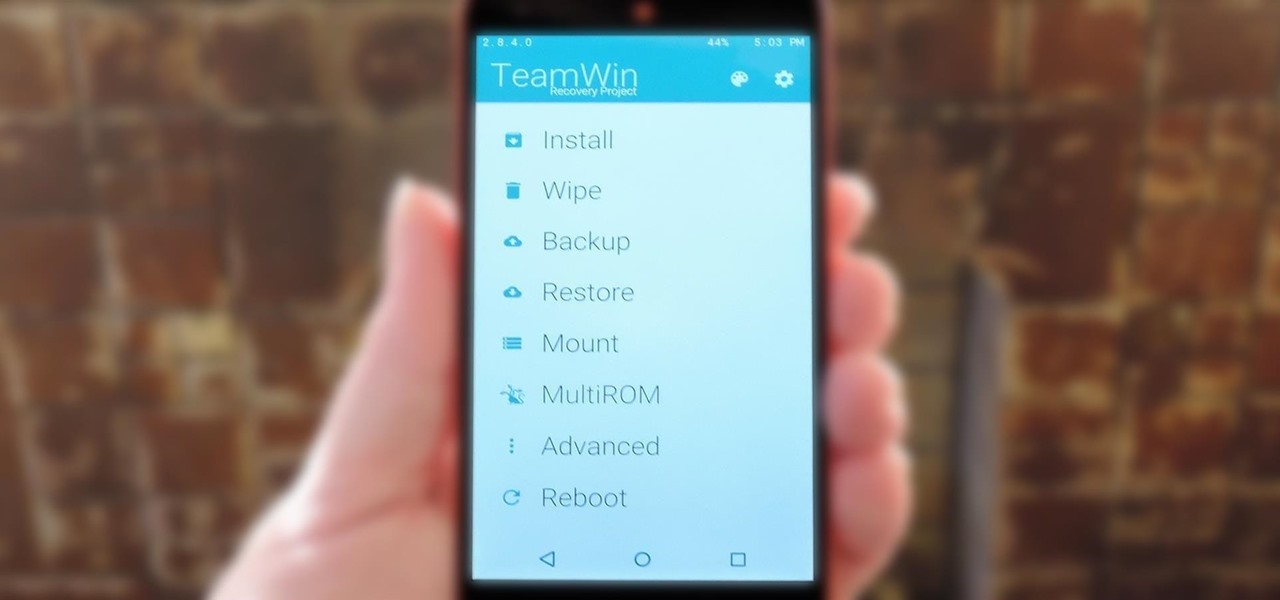
TWRP is hands-down the best custom recovery out there. Its interface, on the other hand, is... well, let's just call it utilitarian. The guys over at Team Win made sure that their product was robust, functional, and easy-to-use, but they didn't put a tremendous amount of effort into polishing the looks.
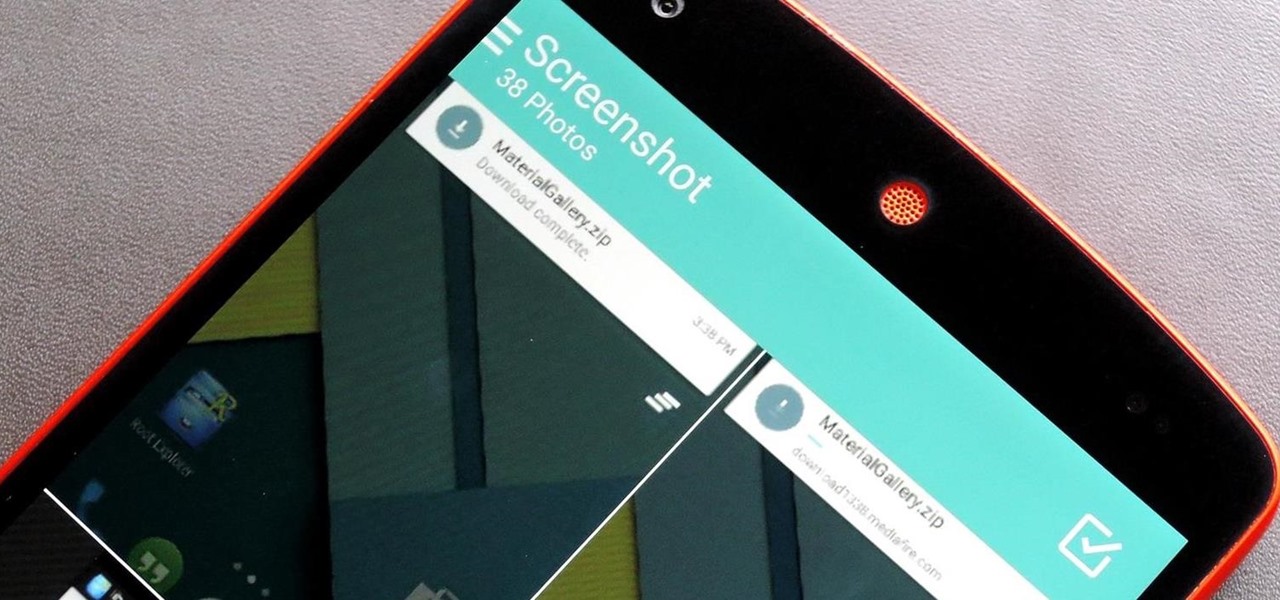
These last few months have been a Lollipop lovefest, and I'm not talking about the candy. Android's latest OS has been exalted for its embrace of Material Design, and we've certainly given Lollipop its fair share of coverage as well; check out all its new features and ways to make older devices get some of the new look and feel of Android 5.0.
There were over 1.2 million changes made to Android when the OS got updated from KitKat to Lollipop, but a minor front-facing modification has many users in an uproar.
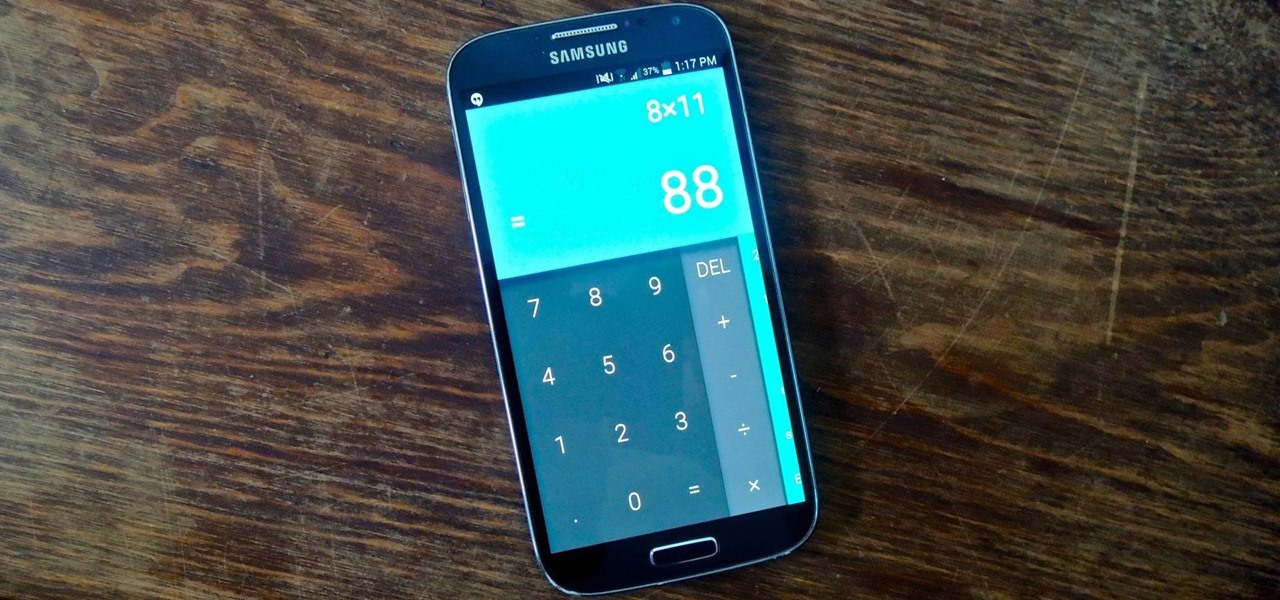
Android's new Material Design language is truly a thing of beauty. Slated to make a full debut alongside the upcoming Android "L" release, the vision and simplicity of this UX design recently won Gold Prize at the annual User Experience Awards.
With Google's latest version of their mobile OS, Android L, the most notable aesthetic difference is the newly introduced Material Design concept that will soon be ever-present through the interface. The objective of this bold design is to create "hierarchy, meaning, and focus," as described by Google, and the deliberate choices of color and white space "to create immersion and clarity."
Paracord, or parachute cord, is one of the most versatile ropes out there. Originally made for parachute suspension during WWII, it is now used for everything from tying knots during a camping trip to weaving sturdy bracelets as a fun DIY project. The tutorial featured in this video is the latter.
Sometimes, hand sewing is a better idea than machine sewing - or maybe you just don't have a sewing machine, but still want to sew a few things. This tutorial shows you the materials and techniques you'll need to get started hand sewing.
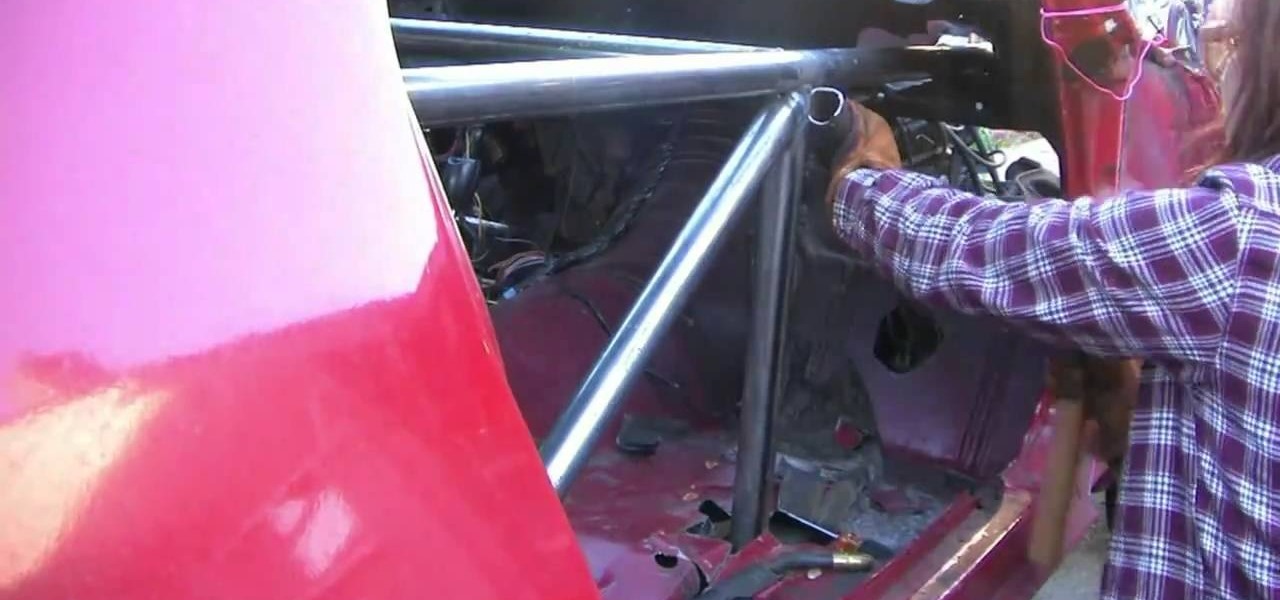
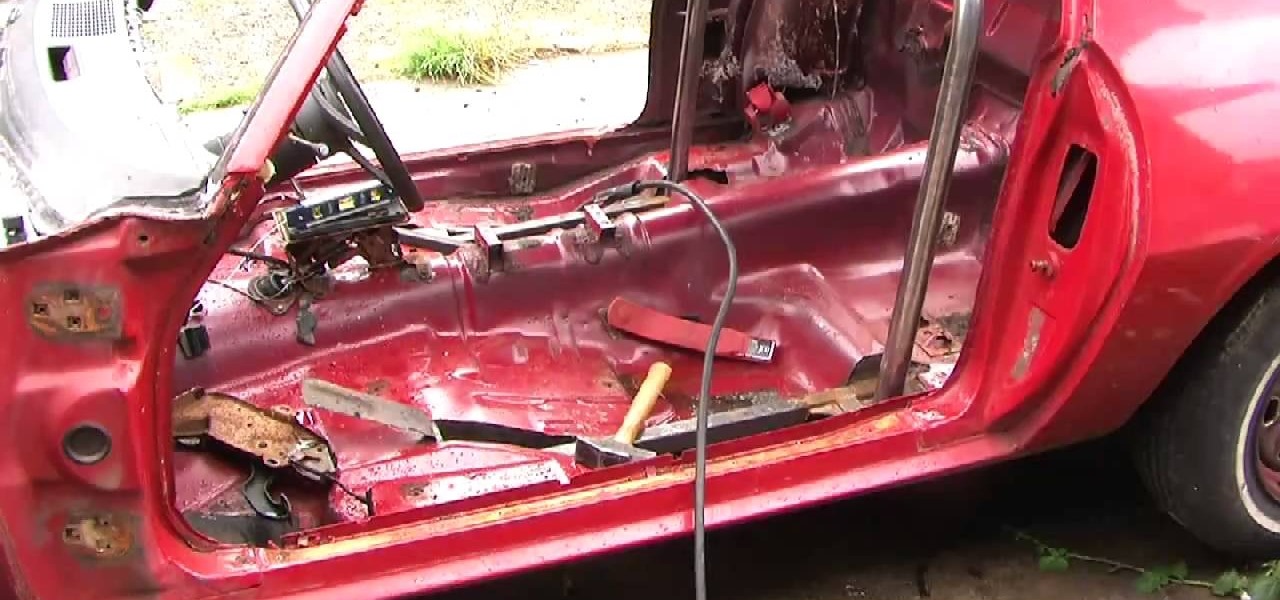
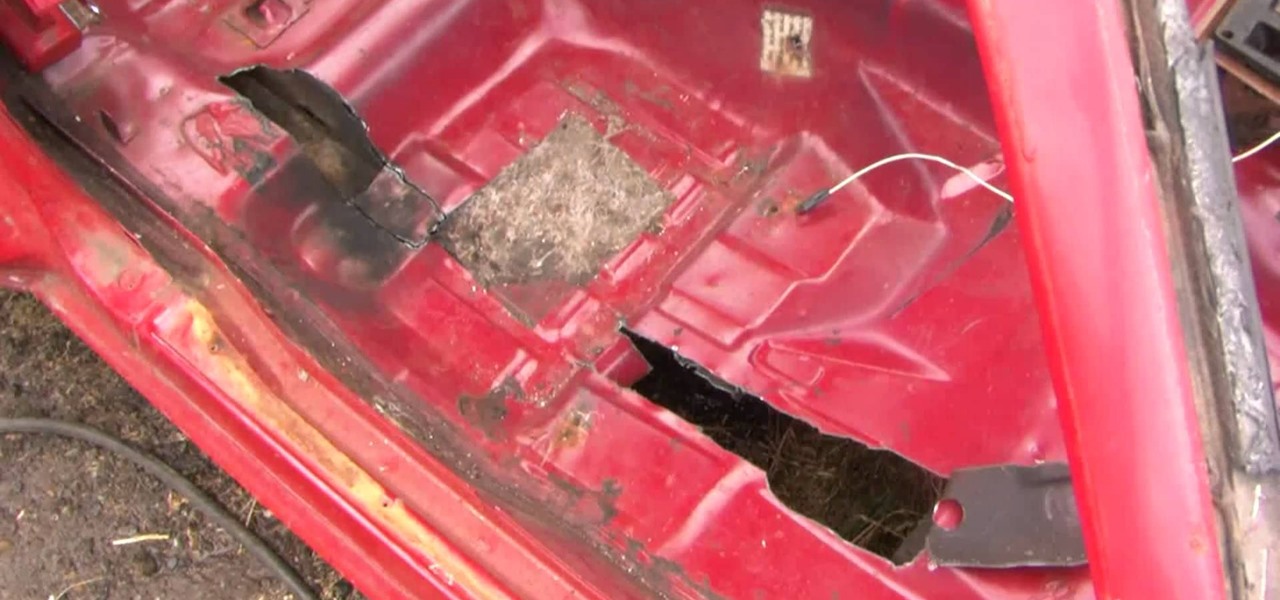
Follow along in this instructional video as Jeri Ellsworth demonstrates how to fabricate and install the passenger side bracing on dirt track racecar being built from a 1981 Camaro. The materials and tools needed for this project include a 1 3/4 x .120 tubing, an "Affordable Bender" bender, a Millermatic welder and a Hypertherm 43 plasma cutter.
Learn to fabricate the halo and window posts with some tubing and a Millermatic welder into a dirt track racecar being built from a 1981 Camaro. The materials and tools needed for this project include a 1 3/4 x .120 tubing, an "Affordable Bender" bender, a Millermatic welder and a Hypertherm 43 plasma cutter.
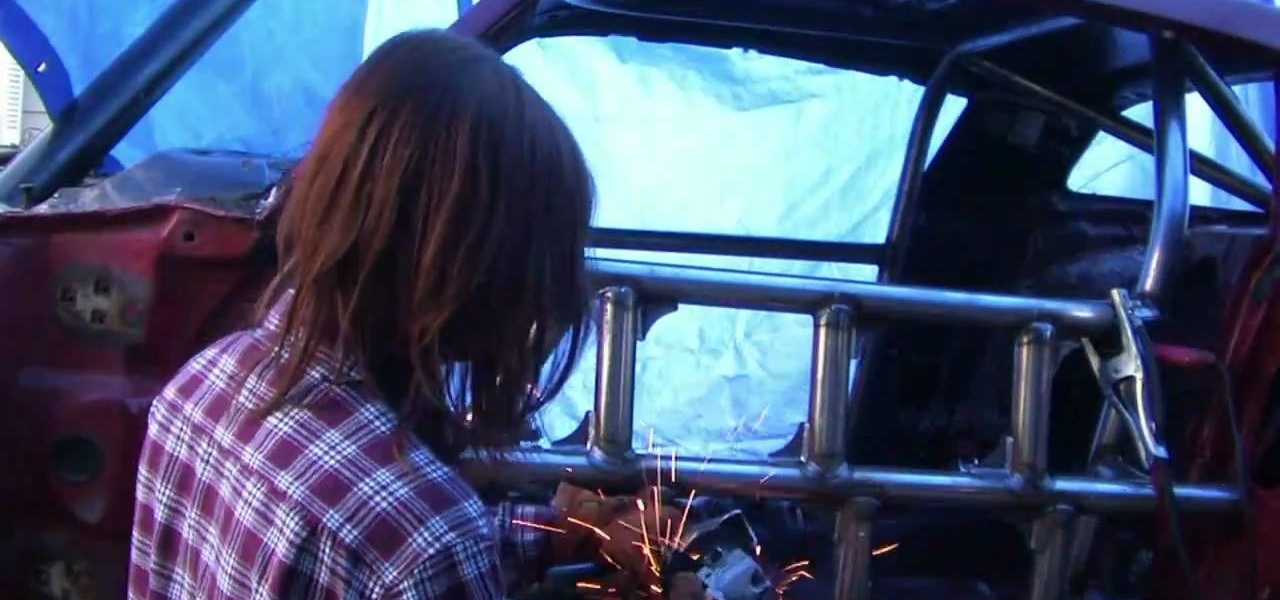
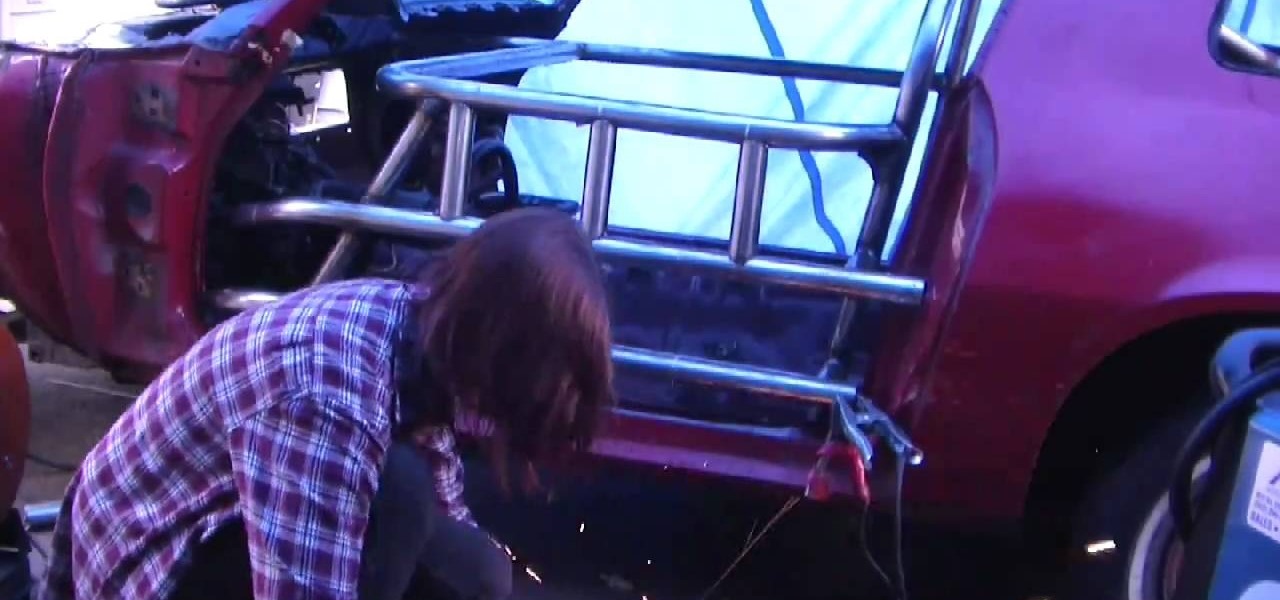
Fabricate and build door bars (aka sissy bars) for a full tube chassis 1981 Camaro racecar by following along in this instructional video with Jeri Ellsworth. The door bars are being built for a very rugged car, designed to withstand a large amount of side impact. Tools and materials needed for this project include 1 3/4 x .120 tubing, an "Affordable Bender" tubing bender, a Millermatic welder and a Hypertherm 43 plasma cutter.
Learn how to fabricate and install a rollbar into a 1981 Camaro being converted into a racecar. In this video, Jeri Ellsworth bends and cuts tubing into a rollbar and welds it into place. Tools and materials needed for this project include 1 3/4 x .120 tubing, an "Affordable Bender" tubing bender, a Millermatic welder and a Hypertherm 43 plasma cutter.
Learn how to tie subframe rails together with a Millermatic welder as this 1981 Camaro gets rebuilt into a racecar. In this video, Jeri Ellsworth welds the rails and shows proper preparation and technique. Tools and materials needed for this project include 1 3/4 x .120 tubing, an "Affordable Bender" tubing bender, a Millermatic welder and a Hypertherm 43 plasma cutter.
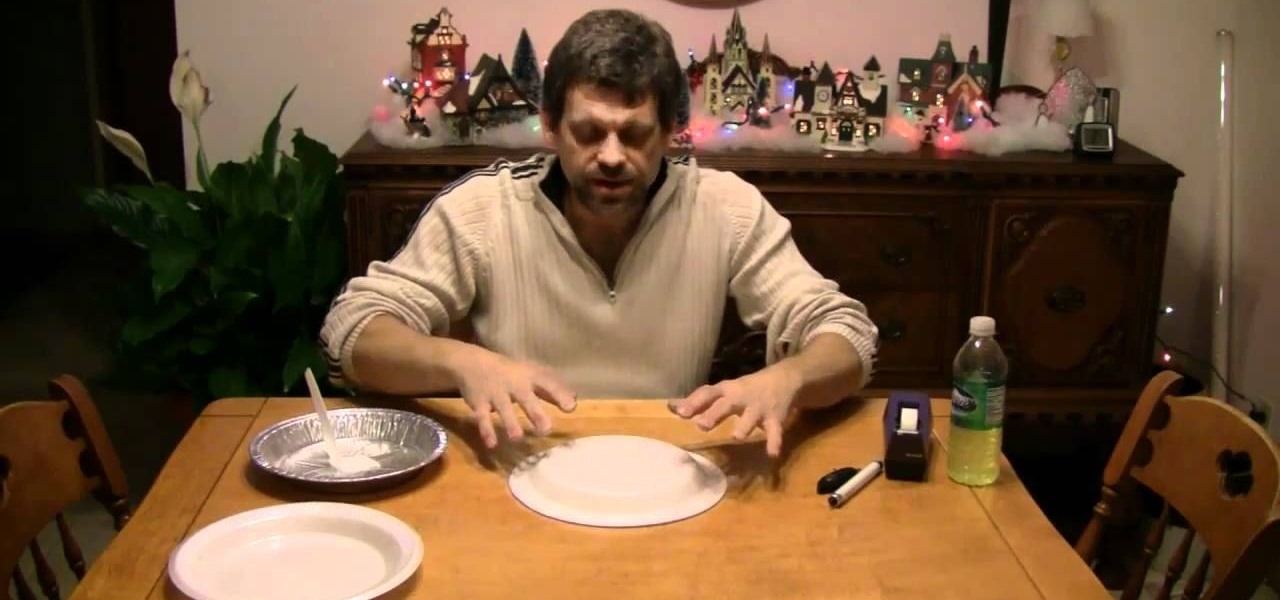
Make lightning and generate tens of thousands of volts in your own kitchen at home using ordinary household objects! Mr. G demonstrates the amazing Triboelectric Effect and explains the electron exchange via adhesion and separation that makes it all possible.
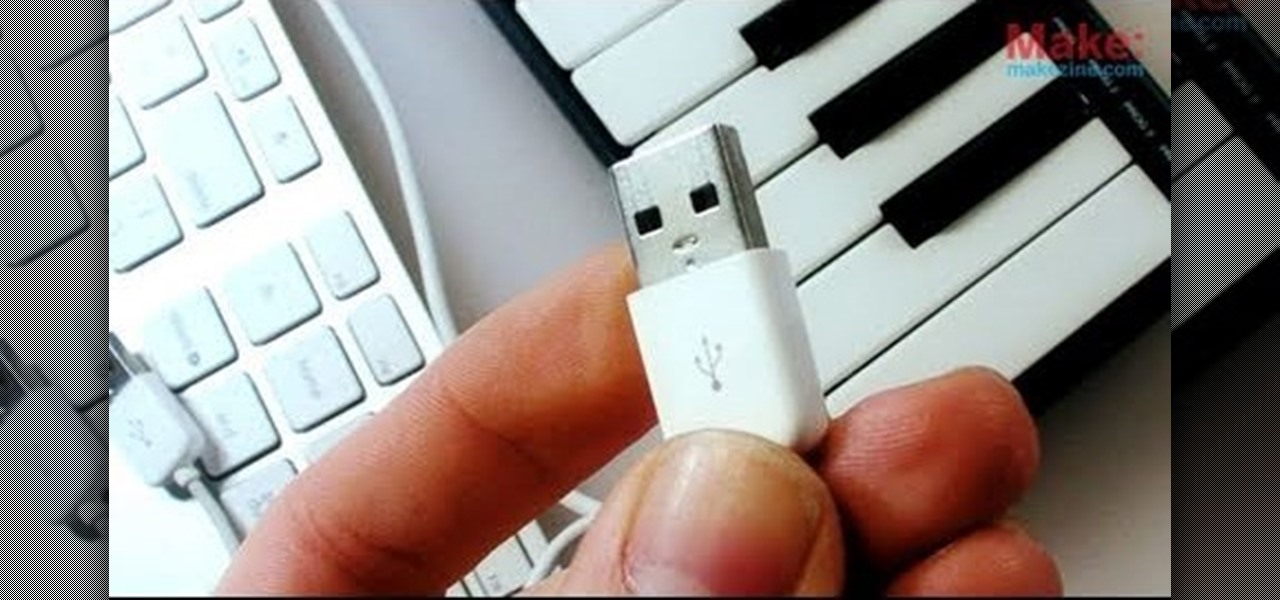
USB devices are ubiquitous and cheap nowadays, which means they make great raw materials for hacking and electronics projects. This video will show you how you use a USB host shield to hack USB devices and use them with MIDI controllers, game controllers, and other devices.
Latex can be a sexy and cool material to make fabric out of, but a plain black latex shirt can still be a bit boring. You can create your own appliques that you can apply to latex clothing using sticky paper.
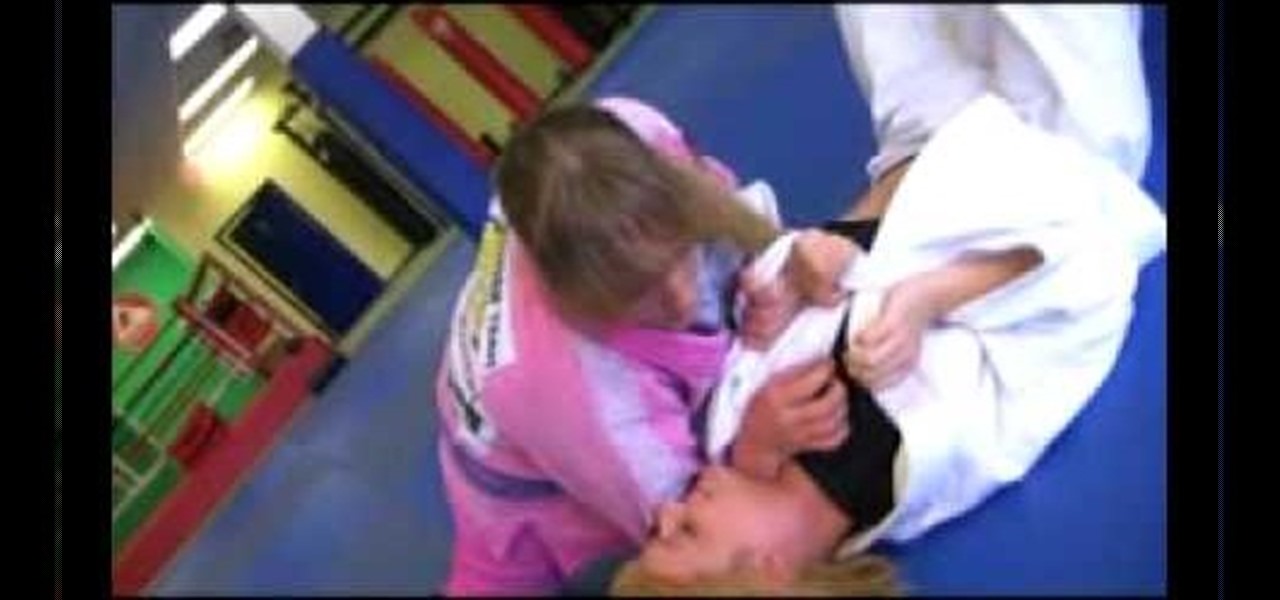
The nice thing about fighting an opponent wearing a Gi is all the material that you have to grab for starting chokes. Watch this video to learn how to execute a kimura to collar choke from side control and end your fight with a submission.