This video illustrates in great detail how to create a perfect urethane rubber mold. Urethane Rubber molds are widely used when a flexible mold material is required and a more expensive or less abrasion-resistant silicone rubber is not desired. However, their use requires careful application of release agents. This process can be used in automotive, mechanical, fine art and film special effects uses.
Check out this video to learn how to make a RepStrap robot. This project entails LOTS of materials. The only way you can learn what to use is by watching.
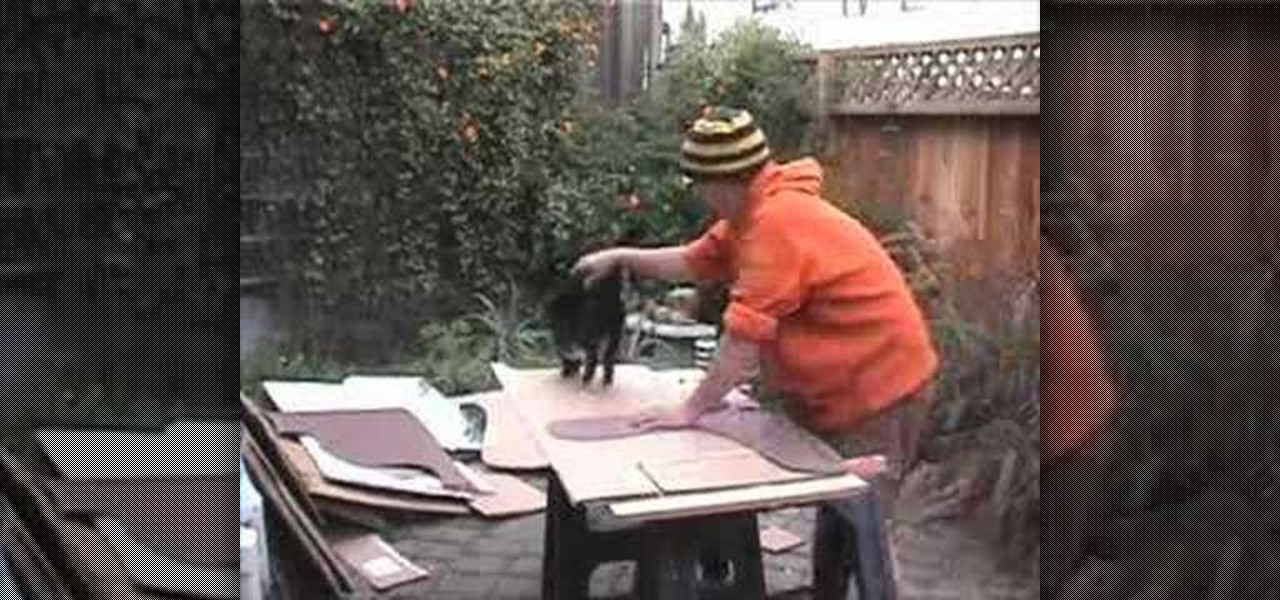
We recycle cardboard, but Gomi Style is going to re-use the cardboard and create chairs with the fine found material. The gang at Gomi style made a two different types of chairs from tossed out cardboard, simple and easy
The helpful folks over at Threadbanger take today to teach us how to make a tote bag. And not just any tote bag, but one made from recycled material. It's stylish, environmentally conscious, and...actually that's it. Just those two things.
Watch as Bre Pettis teaches you how to make a hovercraft, bering-less motor, and dirigible all from materials found in your grocery store. This is a good rainy day project to do with your kids, as the most advanced tools needed are a hot glue gun and balloons.

Bob Fenwick shows us how to hang our own drywall from the basic tools needed for the job, to the actual hanging of the material. He gives a number of great tips for the beginner.

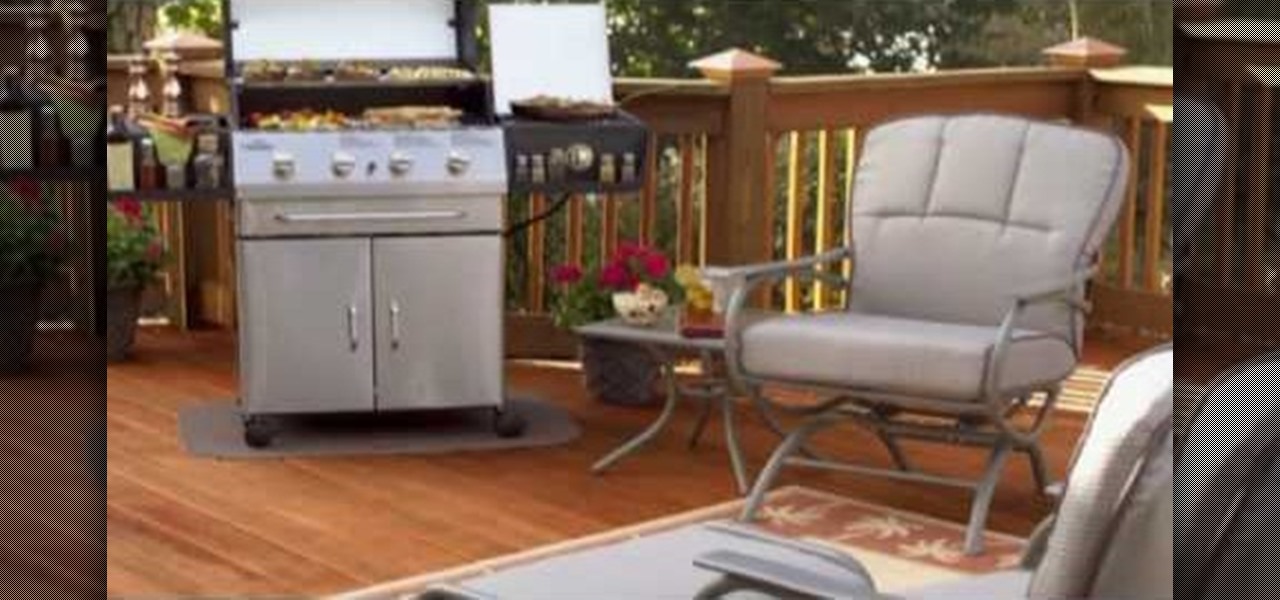
If you're not an everyday woodworker, then building a deck may be a challenge for you. But it's not as hard as it might seem. If you follow all of the required steps for deck building, you'll have one of the best ones on the block, and be pretty darn proud of it, too!
Tie a double overhand knot 4" from the end of the shock tippet or other material to which you want to connect your class tippet. Gently tighten the double overhand knot, but only until it turns over and forms a figure-eight. This leaves two gaps through which you can pass the tippet material. Create a doubled section of your tippet 18". Putting a sharp angle on the tip of the doubled loop will help it pass through the figure-8. Pass the doubled tippet line through the top of the figure-8 knot...
Got some valuables that need to be protected in your Minecraft world? Watch this video to learn how to build a seriously secure, heavy duty, combination lock. This video will show you what materials to use to make this combination lock.
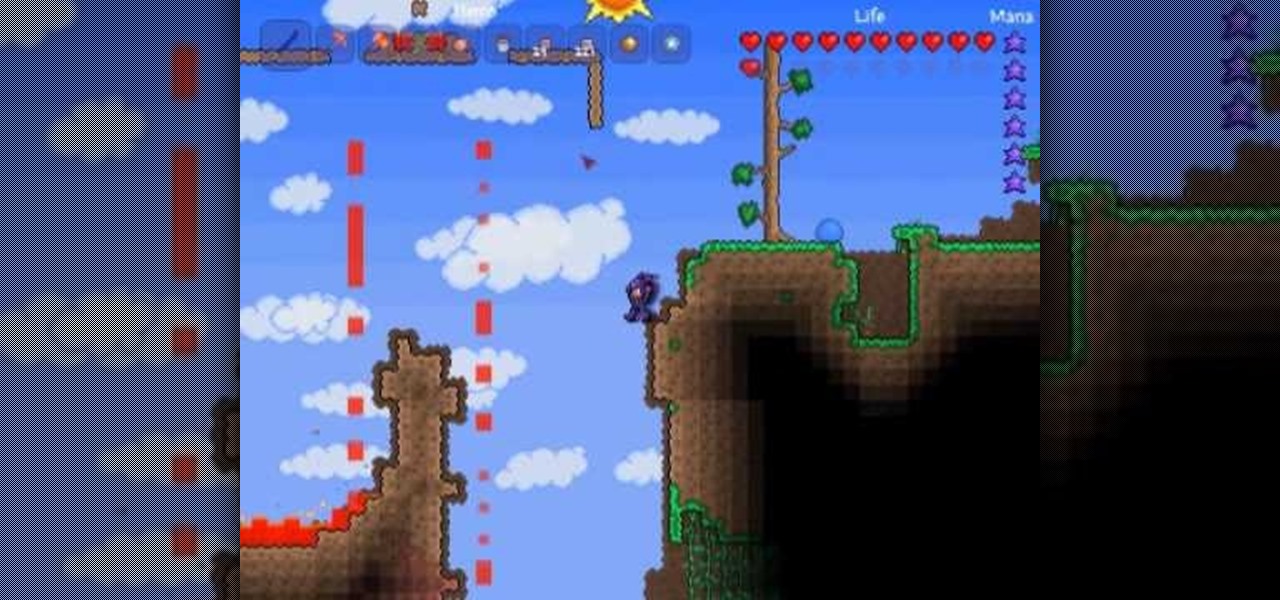
How would you like more lava in Terraria ? A lot more lava. Infnite lava, to be exact. Watch this video to learn a technique for designing an infinite lava fall in Terraria. This Terraria guide will show you what materials to use.
This Terraria video guide will show you what materials to use in your craftbench to get the phoenix blaster, and meteor shots which work as ammo. Watch this Terraria video and learn how to put your handgun and meteorite to use.
If you are interested in low-budget filmmaking, this video will show you a clever way to construct a camera mount. Instead of spending money on a tripod or camera mount, pick up a few materials from a hardware store and make your own.
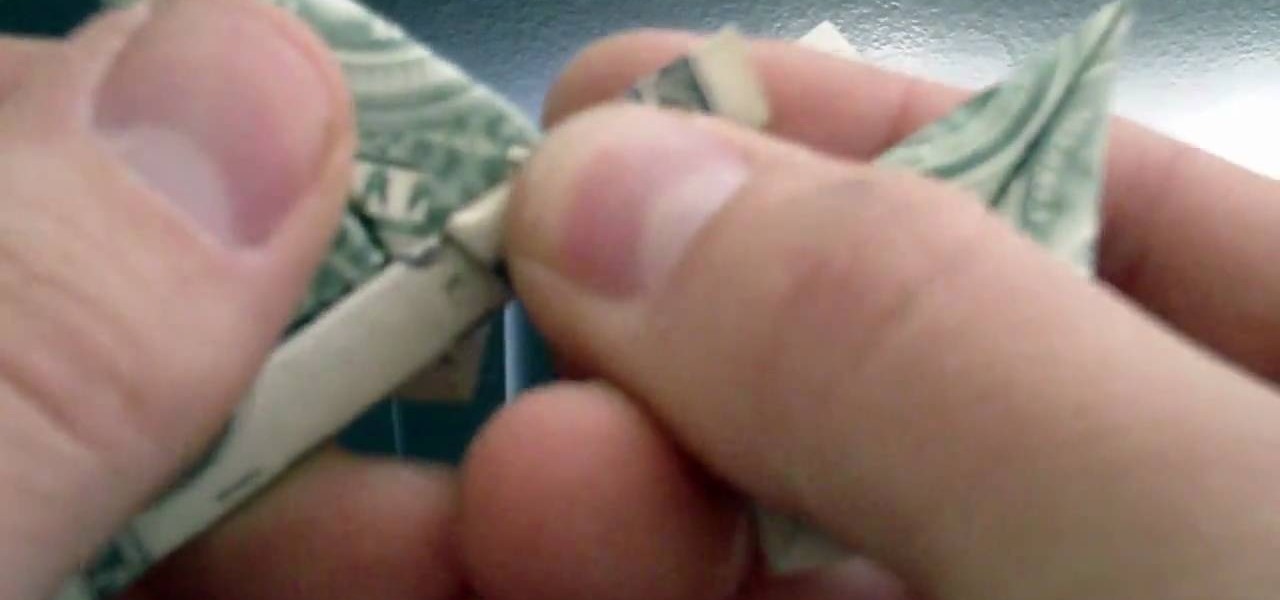
If you've already mastered the crane and the basic origami lucky star, then this five-pointed star is the next logical step to take. Made from a dollar bill, this origami project doesn't even require special materials to assemble.
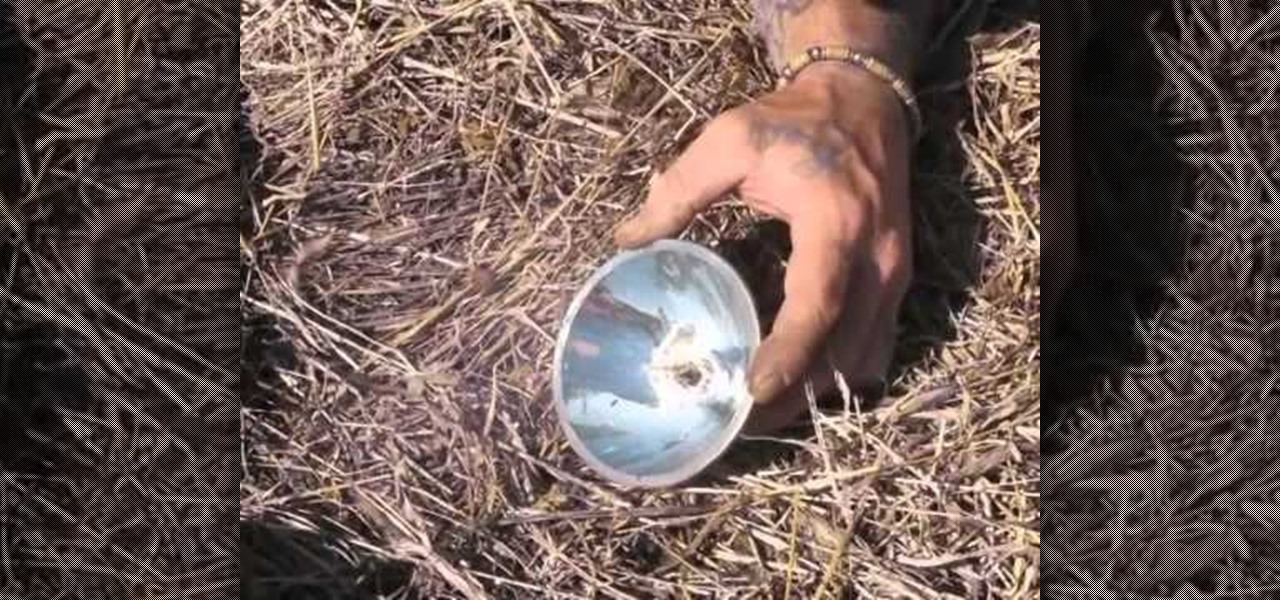
OK, your flashlight just died, but wait, don't throw it out! In this quick and simple video, you can learn how to use the parabolic lens from that dead flashlight to start a fire in the wild. You'll need a parabolic lens, some dry ignition material for kindling and you'll need a bright, sunny day.
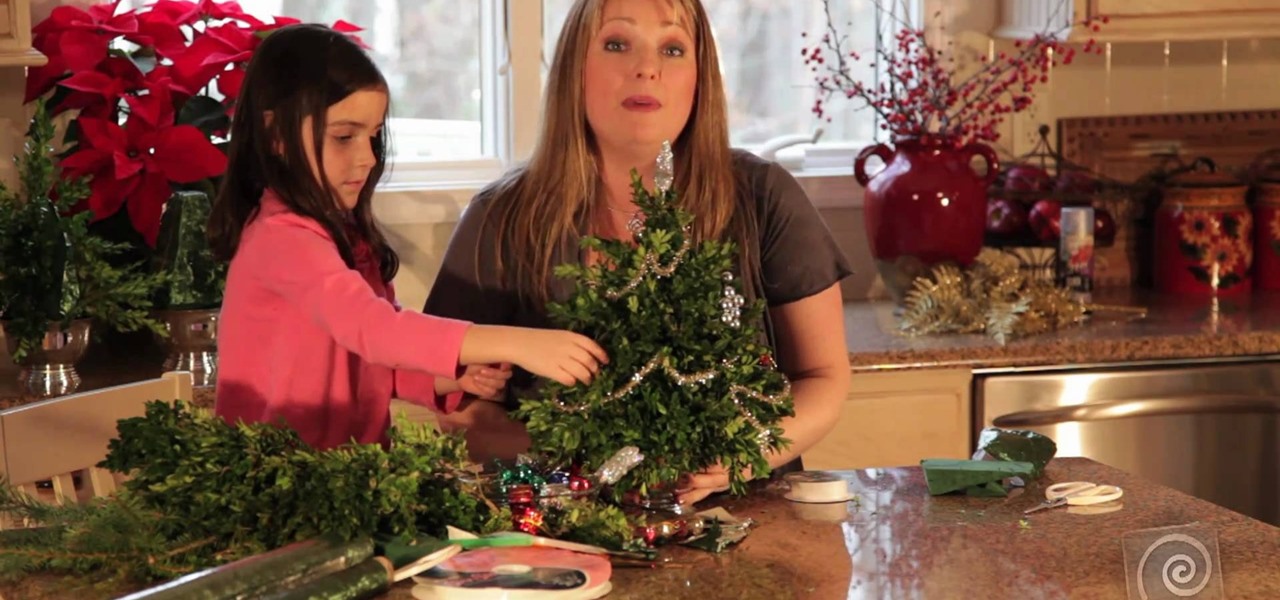
In this video, you'll learn how to create and decorate a miniature boxwood Christmas tree. It's a fun and easy project you can do with your kids for the holidays. All you need are a few branches from a boxwood bush and some decorative materials to get started!
Gumpaste is like the polymer clay of the cake decorating world: If you can imagine it, you can make it. Gumpaste is an excellent material, then, for crafting edible flowers for a wedding cake or a birthday cake.
This has got to be one of the all-time easiest pranks to set up. All you need is string, some sort of messy material like dog food, and a closet door. As we said, perhaps the easiest prank short of tripping someone.
Real iPods are as quite common, but still so expensive that there are times, especially for films and pranks, where you may want to do something to one that will break it and necessitate buying another. You can't afford that can you? This video will teach you how to make a prop iPod out of common DIY materials.
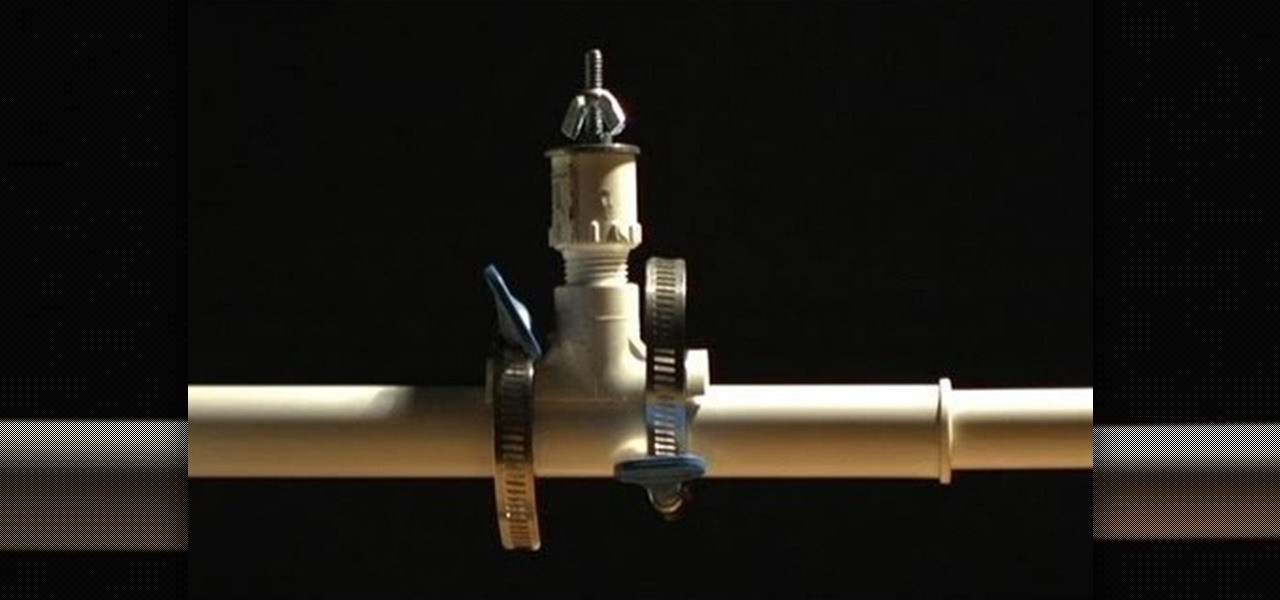
In this video, we learn how to build your own stomp rocket out of household materials. Materials you will need are: plastic bottles, bicycle inner tube, 2 feet PVC pipe, duct tape, masking tape, and file folders or card stock. Now, take your PVC pipe and roll paper around it and tape it. Then, remove the paper from the pipe and tape it more so it's completely closed. Then, make your nose cone for the rocket. Place this and the wings onto the rocket in your choice of colors. Then, make the lau...
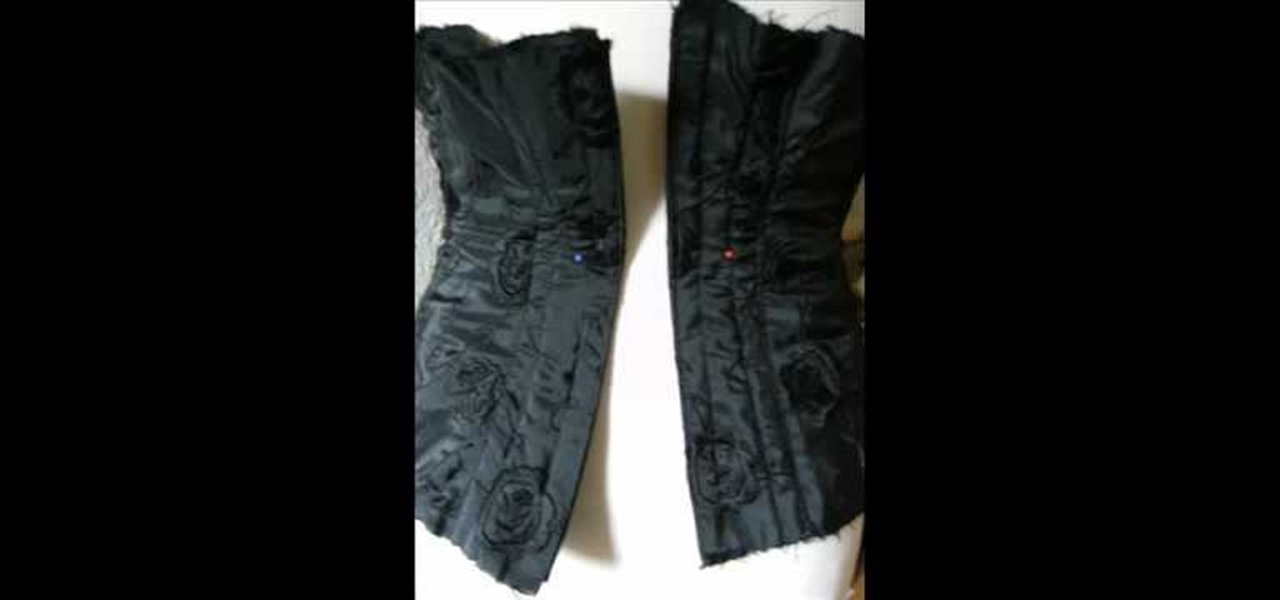
This is all about how to make a corset. First you're shown how to trace the pattern onto your chosen material, and then you're shown each step along the way to make a sexy and well fitting corset or waist cincher.
Ezio Auditore da Firenze, the star of Assassin's Creed, is one of the coolest protagonists in the history of games. His costume is a part of that, and if your want to reproduce it for Halloween or cosplay you've come to the right place. This video will teach you how to make a sweet Ezio costume using some storebought materials and basic sewing skills.
In Medieval Japan, Lords were essentially the wealthy men of the country who possessed land. Loaded as they were, Japanese lords wore elaborate clothing made of the finest materials, including silk.
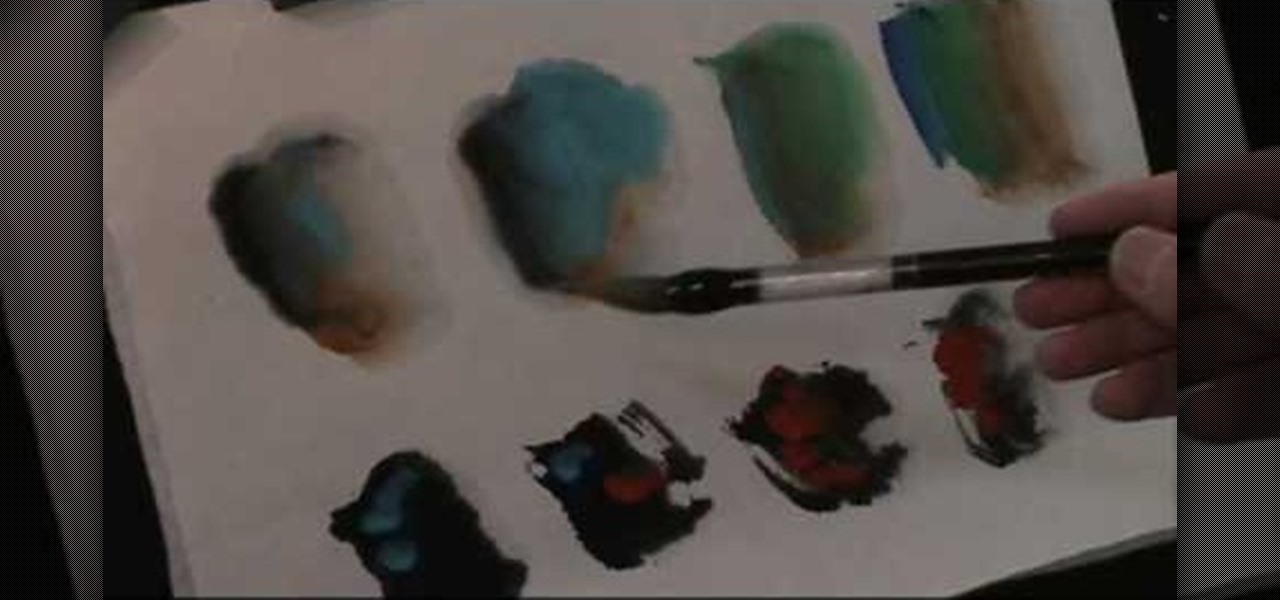
The esteemed tradition of Chinese watercolor goes back thousands of years and hasn't changed much in terms of composition, subject matter, and materials used. So back then as much as today sky dieties and kings would sip green tea outside pagodas perched high above the clouds, surrounded by monumental mountains and far removed from mortal space.
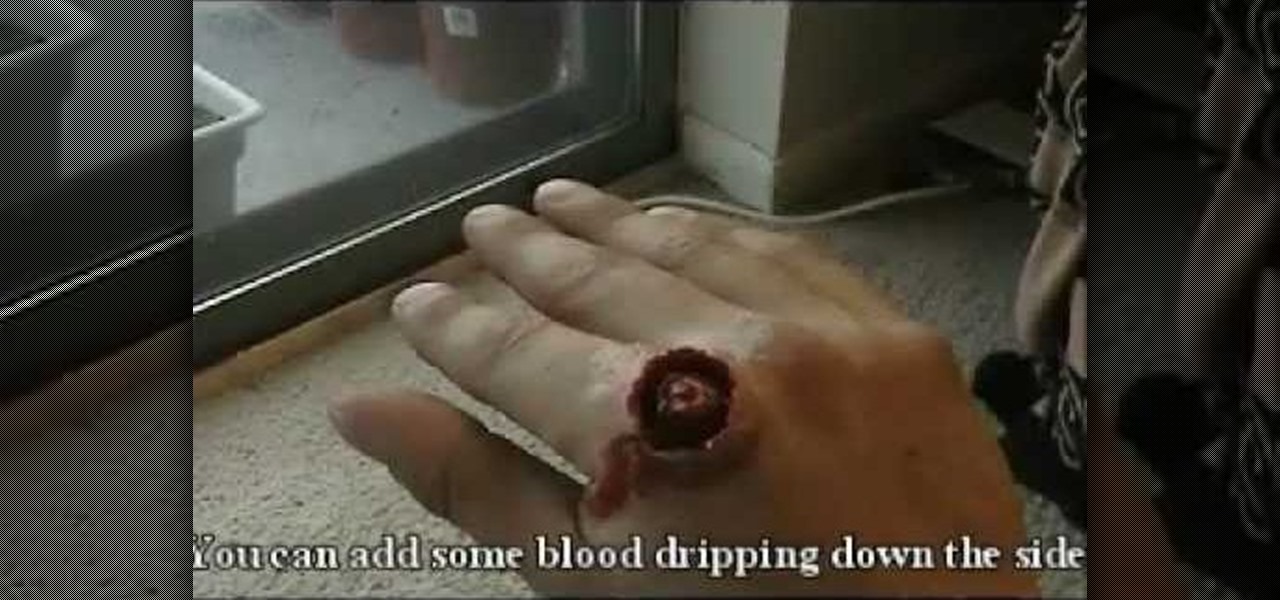
If you want to have your character punch a very hard object, or punch a person very hard, then it will help if you can show their damaged, bloodied knuckles afterwards. Now you can with help from this video. It will teach you how to create a very gory fake knuckle wound out of basic prop and makeup materials. Now your characters can punch with authority.
In this clip, learn how to make a voice changer and mess with your friends for less than 15 bucks! This clip will show you exactly where to get the materials and how to assemble them. You will also get a demonstration of how to use this cool new toy and see how great it works.
In this clip, Elizabeth Gleeson shows us how to make a cute flowered headband a la Carrie Bradshaw from "Sex and the City" or Blair Waldorf from "Gossip Girl" using materials you already have around your home. This headband is easy to make and won't cost you much, and you will look incredibly stylish and great.
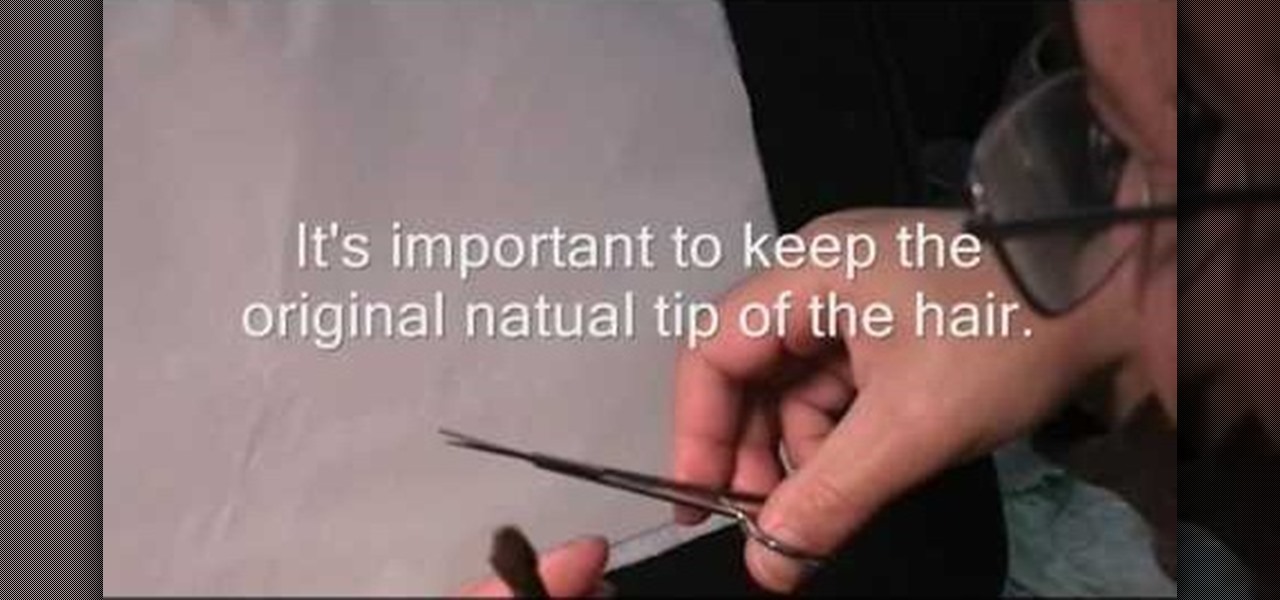
This video will be very handy to all the Chinese painting enthusiasts out there. It demonstrates how to trim an old split brush in to a sharp liner by trimming it with scissors. This allows you to do multiple kinds of brushstrokes without changing brushes, saving time and allowing you to purchase fewer brushes.
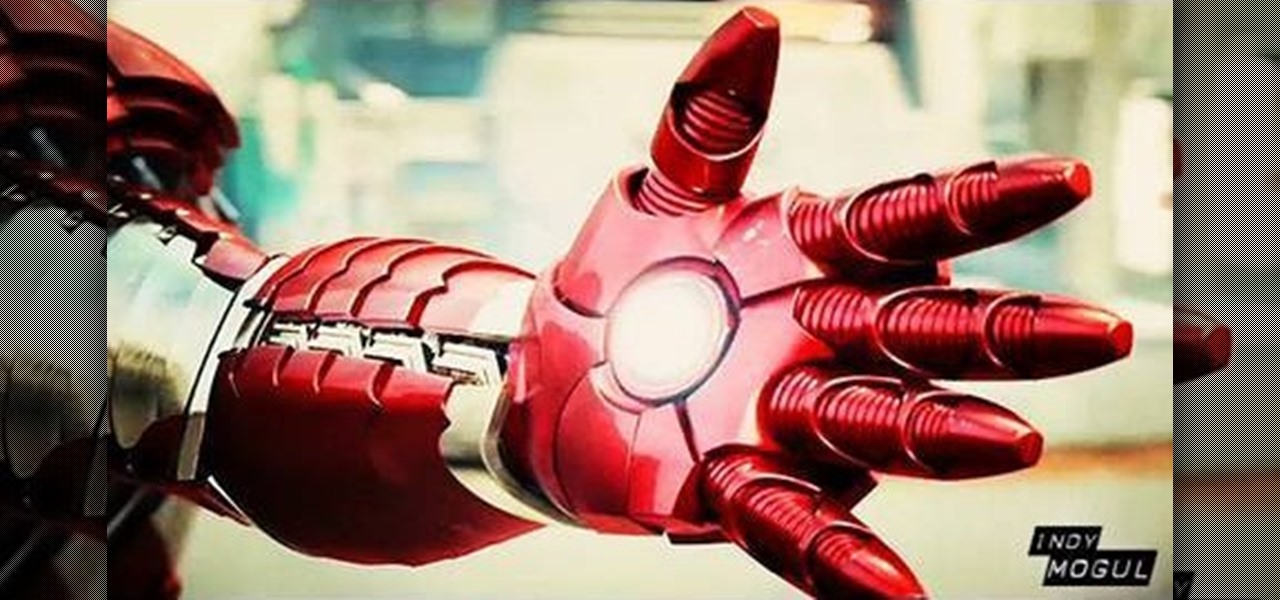
If you love Iron Man 2 and wish you could have his gadgets or want to have a cool costume for Halloween, you too, can be Iron Man once you're done watching this video. This tutorial will walk you through the steps needed to convert household materials and inexpensive items you can find at virtually any store into an Iron Man suit repulsor arm.
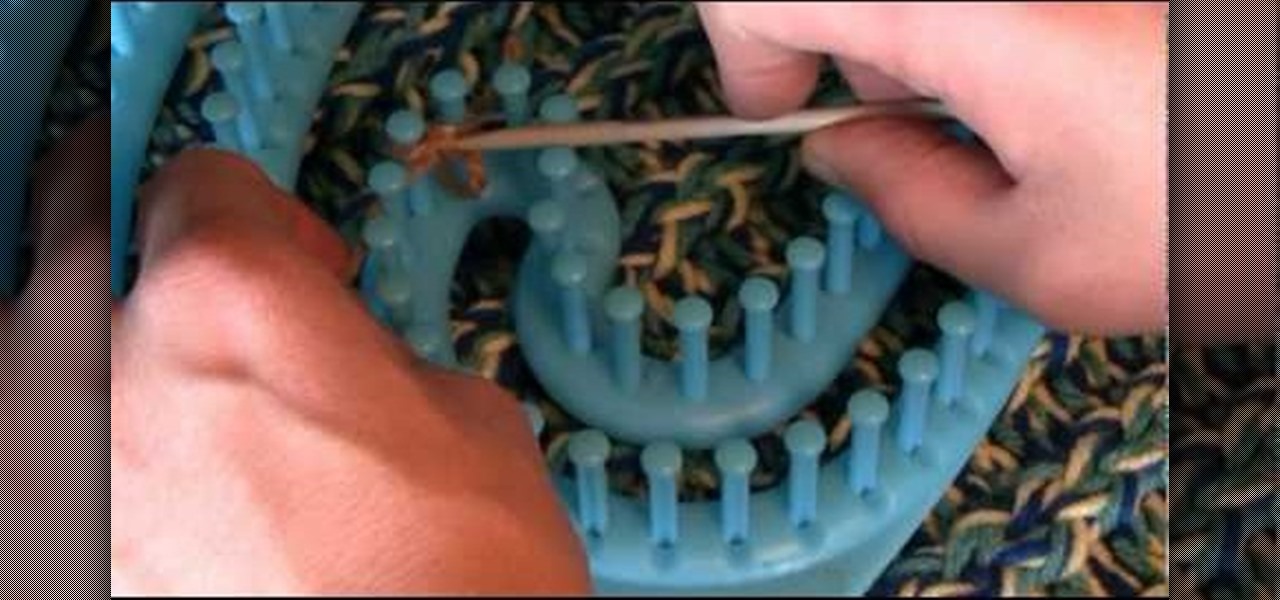
In this video, the author teaches us how to cast on with serenity: wrap your material around twice, grab the back and then up (around your fingers) forming a slipknot. To start off, we will focus on the inside of the loom, pulling the material towards the outside (using a grochet hook). Take needle between two pegs, pulling material through and put the needle down and pull up (rotating towards you) and repeat. This forms a tier duct and if this is done properly, you should be able to do this ...
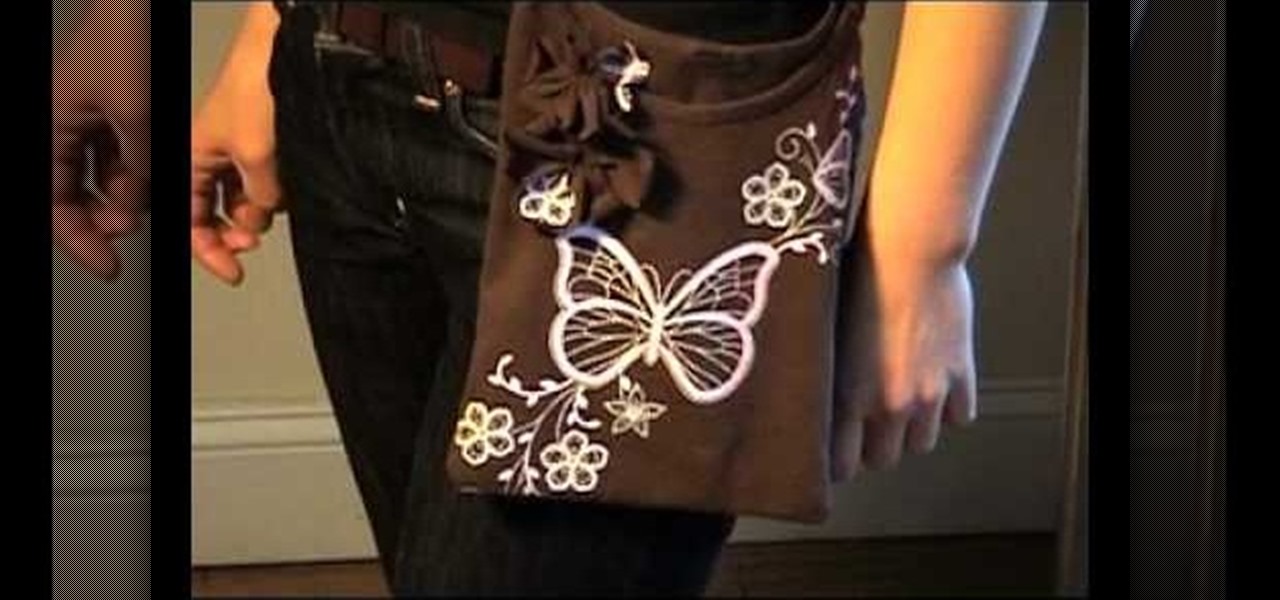
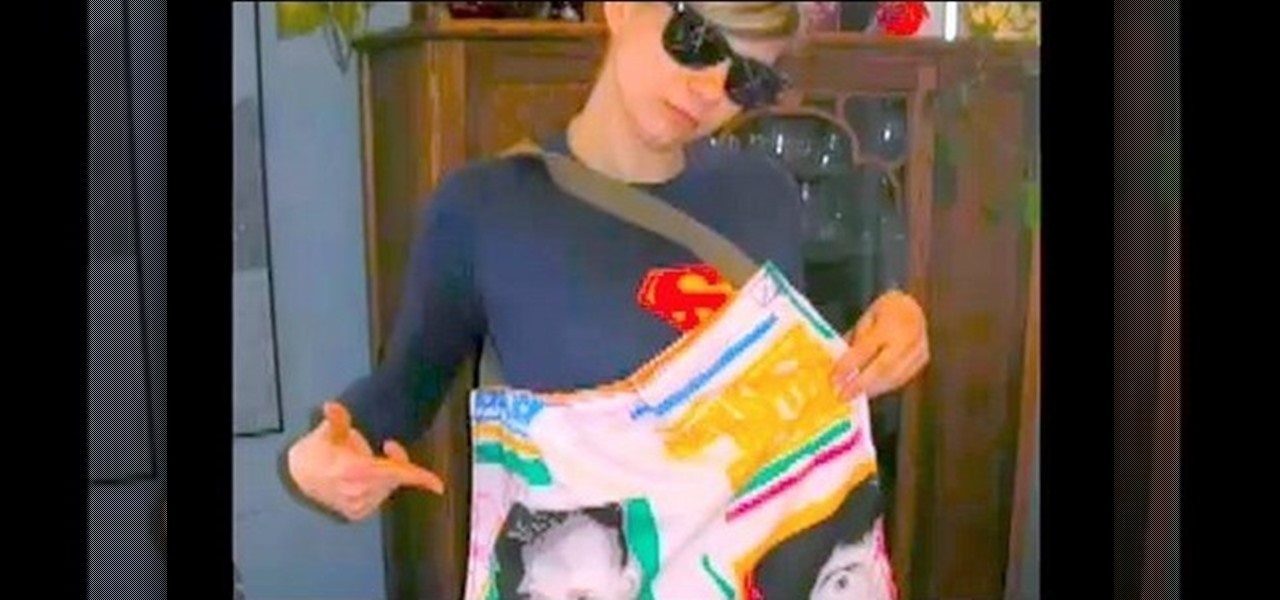
Shiho Masuda demonstrates how to make a T-shirt pochette using recycled materials in this video. You will need an old T-shirt, gardening twine (or leather strap), needle and thread, a ruler, a scissors and a pencil. First, sketch the dimension of your pochette on the T-shirt, staying about 1 inch from the sides of the collar. Next, cut along the lines (save the excess material). Flip the T-shirt inside out and sew the sides together, leaving 1 inch at the top for shoulder straps. Now flip the...
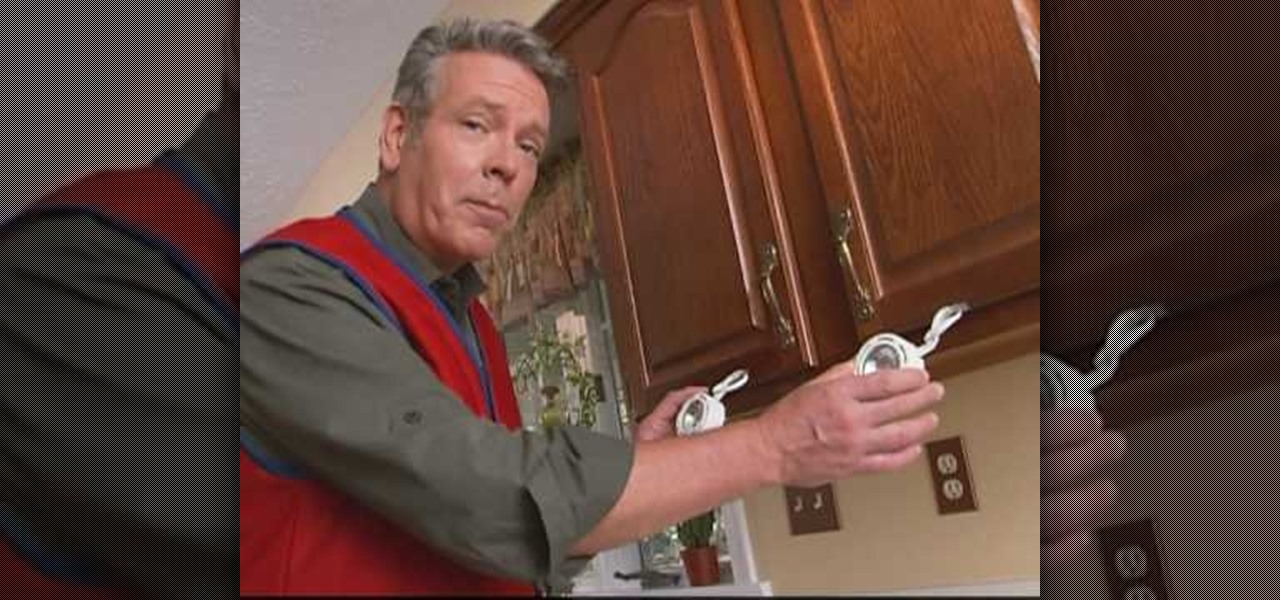
In this installment of the Lowe's home improvement series, host, Mike Kraft, one of Lowe's home improvement experts, demonstrates how to install lighting under your kitchen cabinets to make navigating your counter top easier. Mike lists all the necessary tools and materials you will need to complete this do-it-yourself at home project. You will learn tips and tricks for hanging the light fixtures, as well as how to run the wiring, so that the wires remain hidden from plain view.
Lowe's a leader in the retail home improvement business, brings you this instructional video on how to measure and prepare for hanging wallpaper, for the do-it-yourselfer at home. In this video you will learn useful tips on calculating just how much wallpaper you will need to wallpaper your room, as well as a list of the tools and materials you will need to achieve a good finish, and get the job done right the first time, every time.
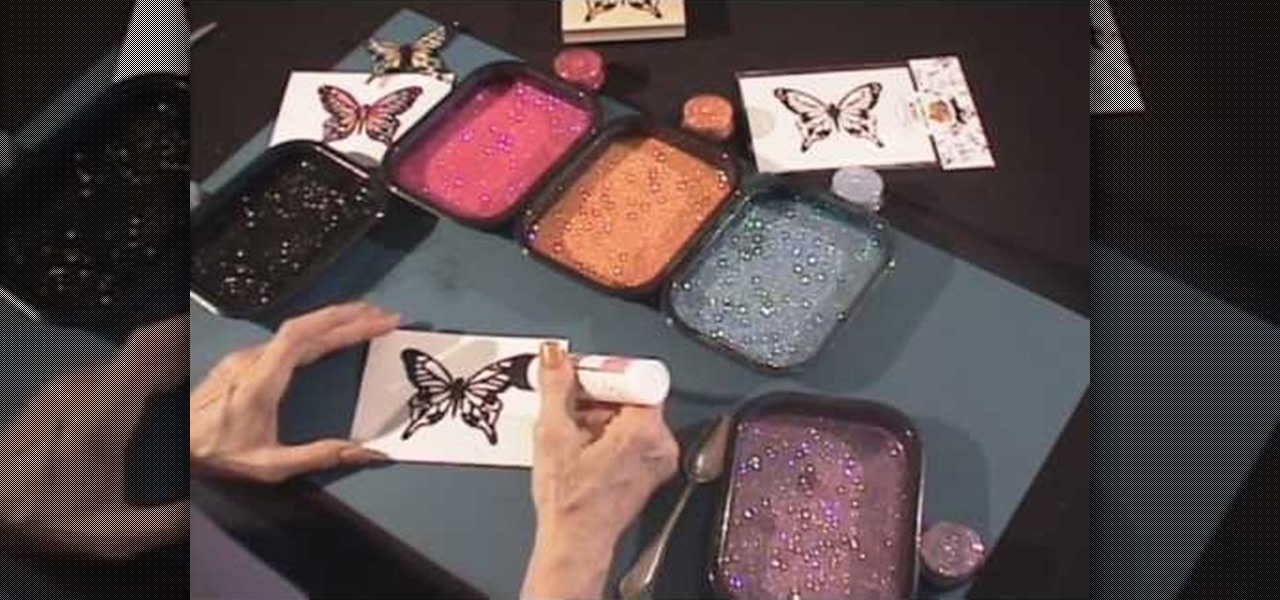
Butterflies are beautiful, even when they aren't real, but merely decorative. In this video, learn how to rainbow glitter a butterfly with Barbara Trombley from Art Glitter. This is a fantastic craft project developed by Barbara. They're simple to make and you only need a few craftsy materials, like opals and card stock.
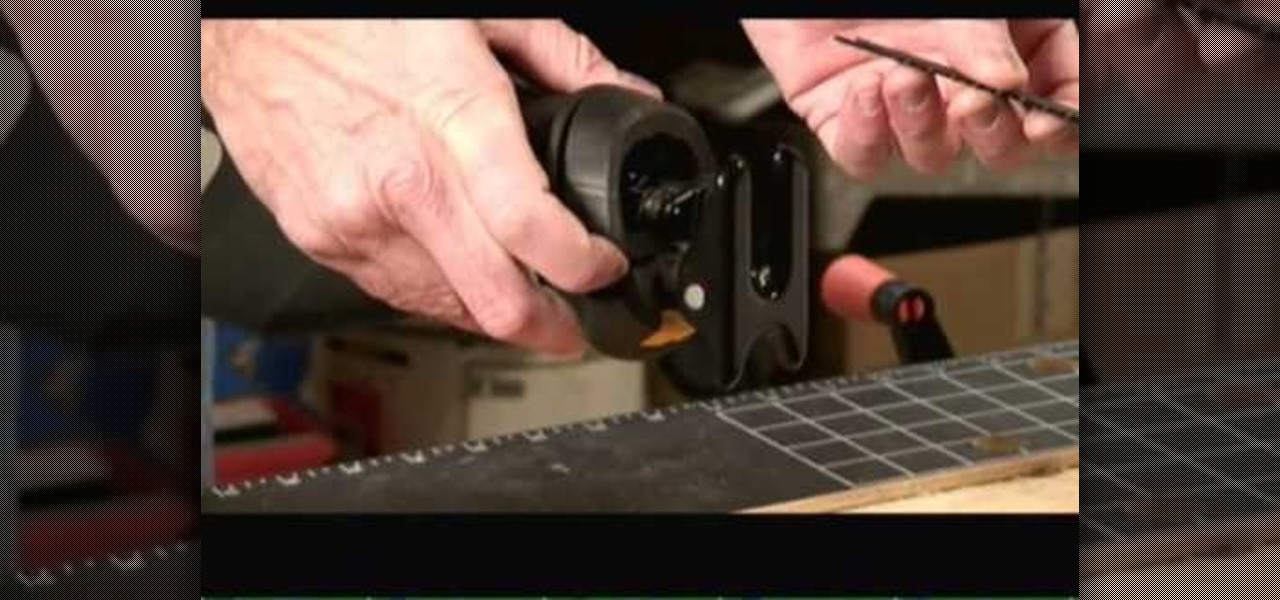
Mark Donovan of Home Addition Plus goes over the key features and benefits of the Rockwell reciprocating saw with active vibration canceling technology. A reciprocating saw is a type of saw in which the cutting action is achieved with a push and pull reciprocating motion on the blade. A positive feature of the Rockwell is that there are no tools needed to replace the blade and it acts great with all materials including wood, metal, plastic, and/or aluminum.
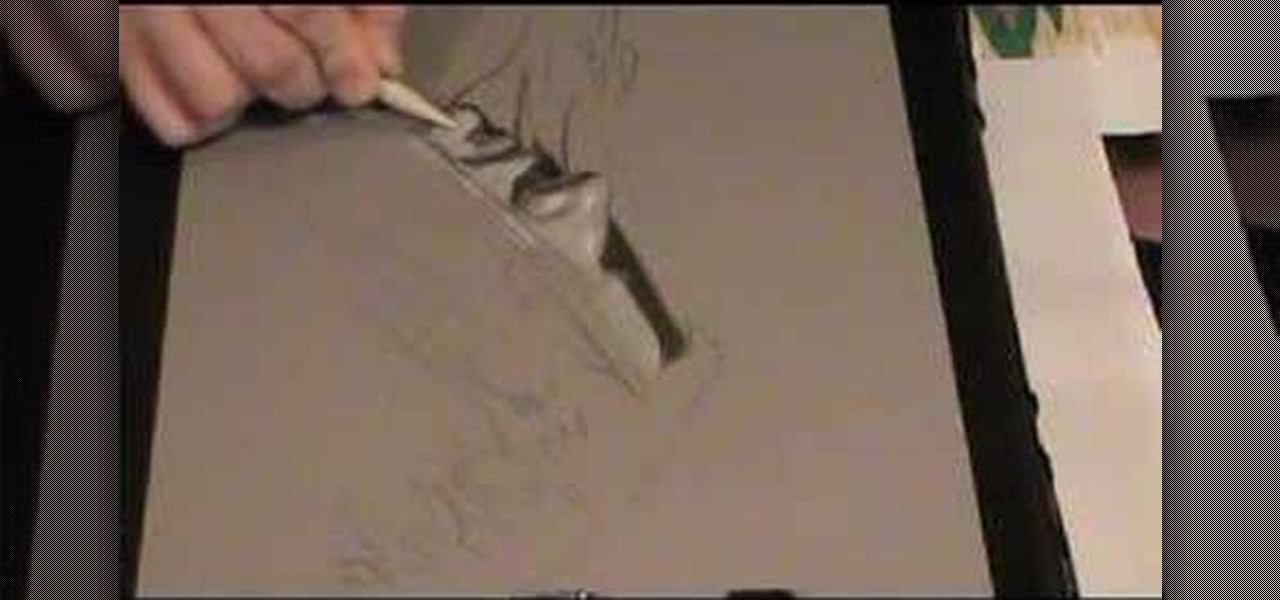
Using graphite and pastel on tinted paper is a great way to give drawings depth and weight. Used right, these materials can really make a drawing pop. In this video tutorial, the artist walks you through the process and discusses the various steps involved.
This great tutorial by BubzBeauty takes us through the step by step process of screen printing your own t-shirts. Materials you will need include Mod Podge glue to make a stencil of your tee design, fabric paint, thin permeable fabric (preferably Organza), a 12 inch embroidery hoop, and a sponge.
If your old Nintendo game cartridges have been sitting around collecting dust, then check out this video for an explanation on how to clean them using Windex and some other household materials.
Need to catch a bird? Only have sticks? This is an intricate method of trapping birds using stick weaving arrangements. This trap is common in Brazil and can be made quickly without tools and only using material on hand. It will result in the live capture of a bird.
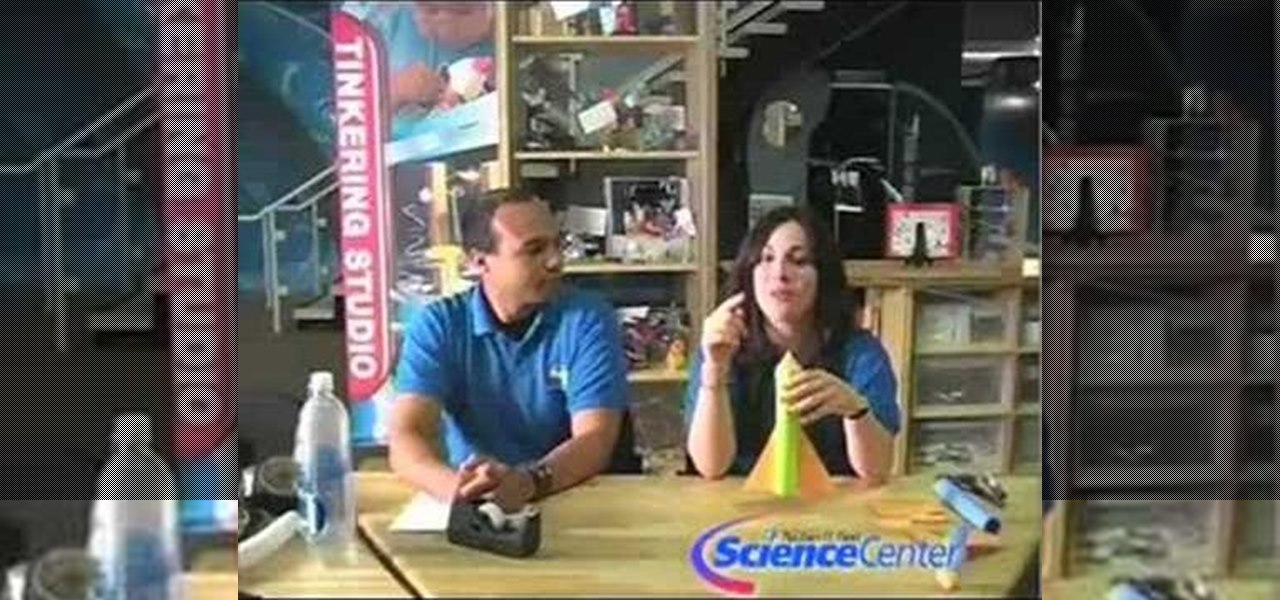
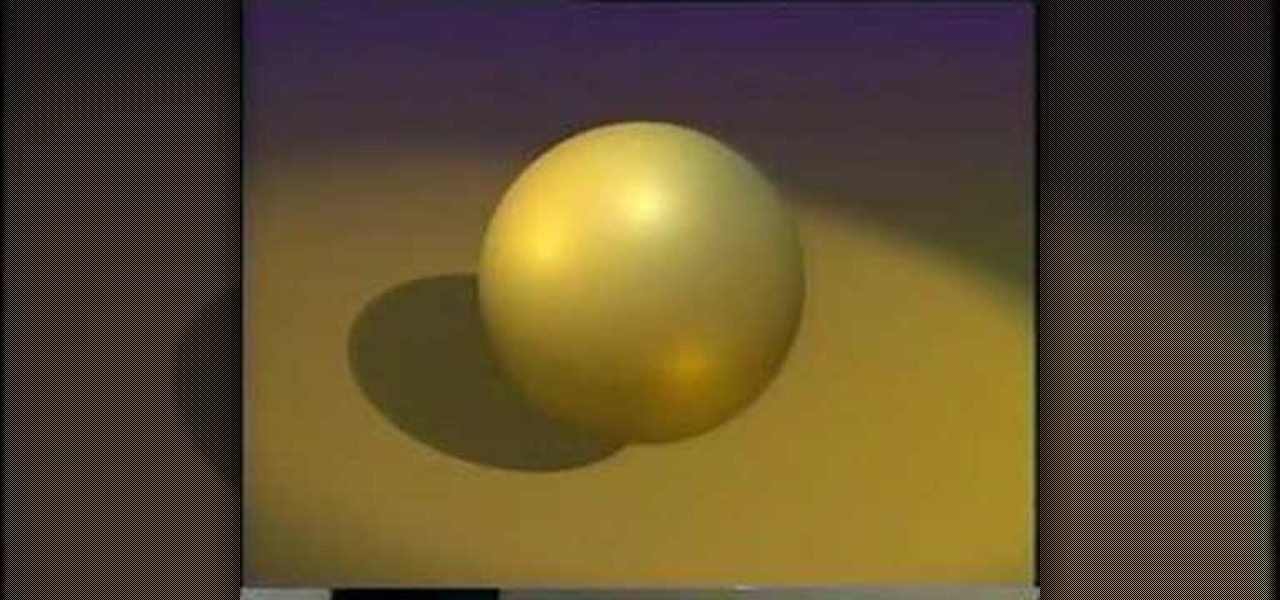
This will blow your mind. Physicists show you how this impossible trick is possible. Spheres of abstract elastic material is necessary. This is theoretical topology and helpful for understanding physics, quantum or otherwise.
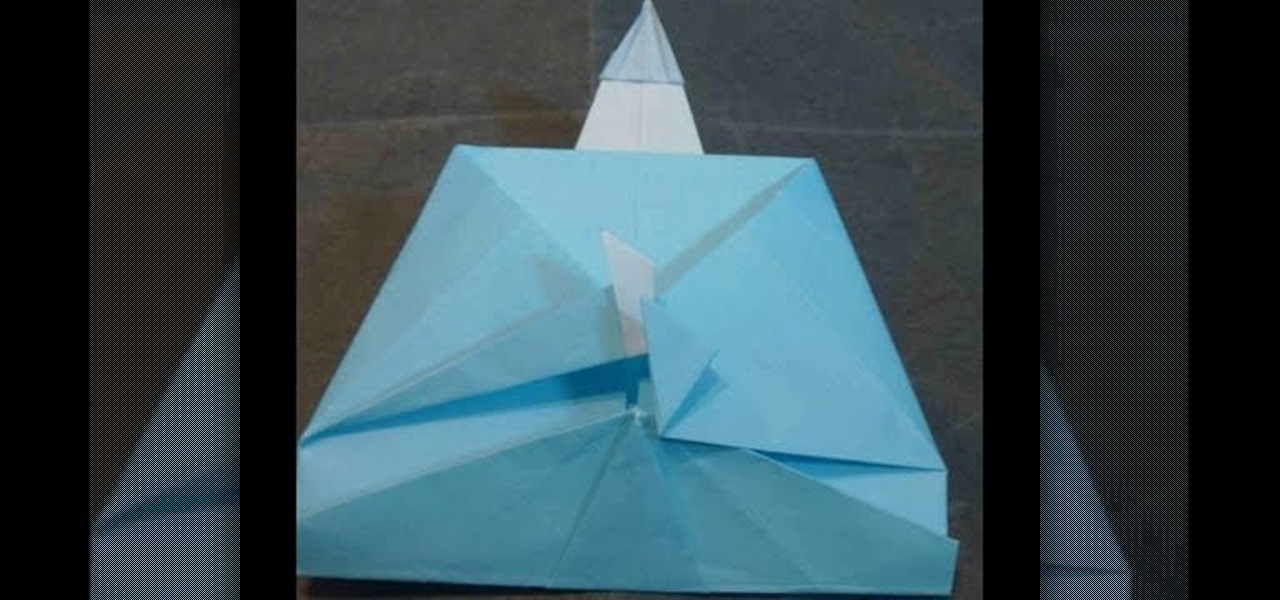
Learn how to fold a paper Jet plane. Materials : A4 size paper (type 80gsm or lower).