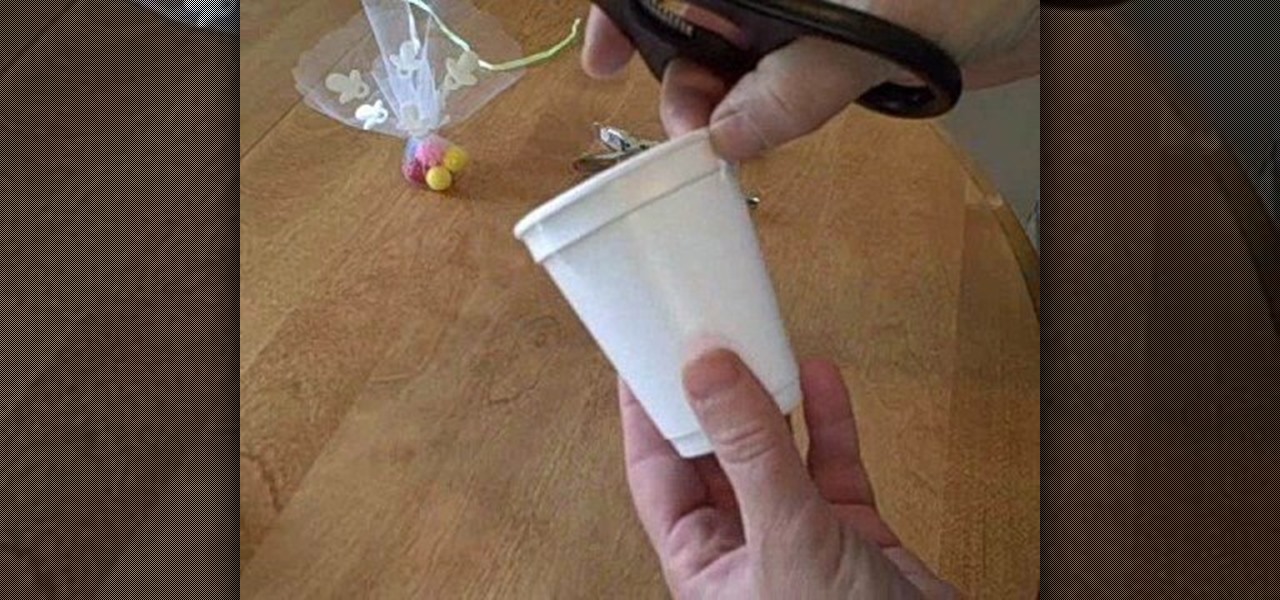
At stores, imitation plastic or cloth baby booties (to be used to contain party favors or small gifts) can be quite costly, and a backbreaking expense considering all the other more necessary expenditures you're considering when planning a baby shower, including finger food, cake, party favors, and decorations.
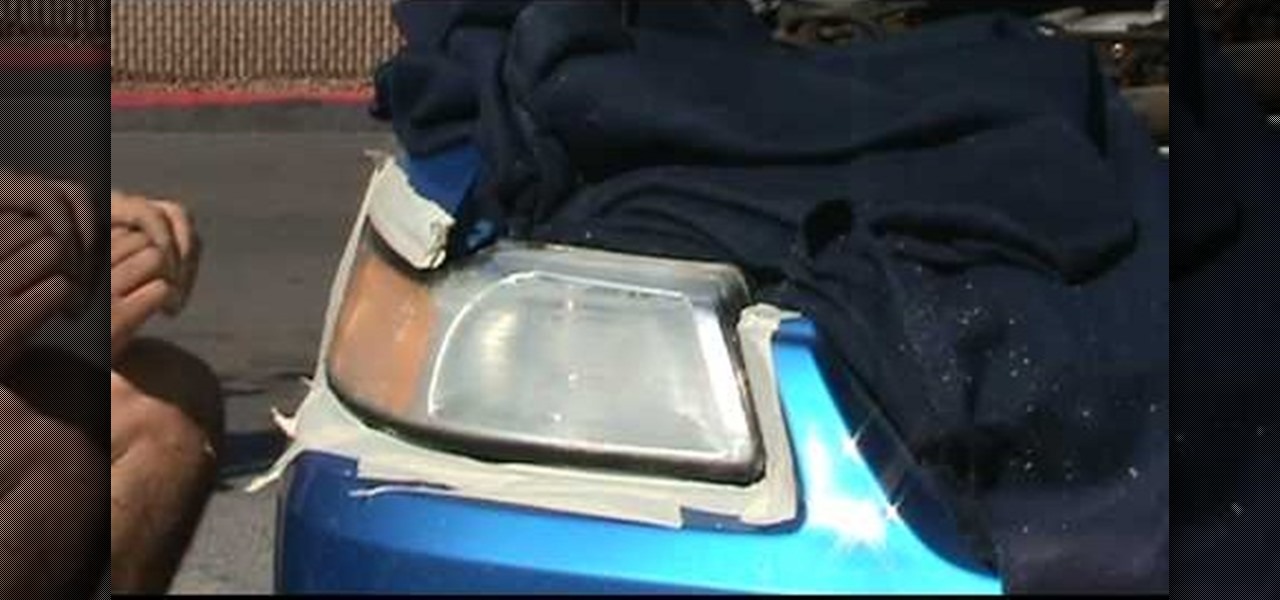
In order to clean and restore your headlights, you will need the following materials: razor blades, tape, liquid rubbing compound, and a power polisher.
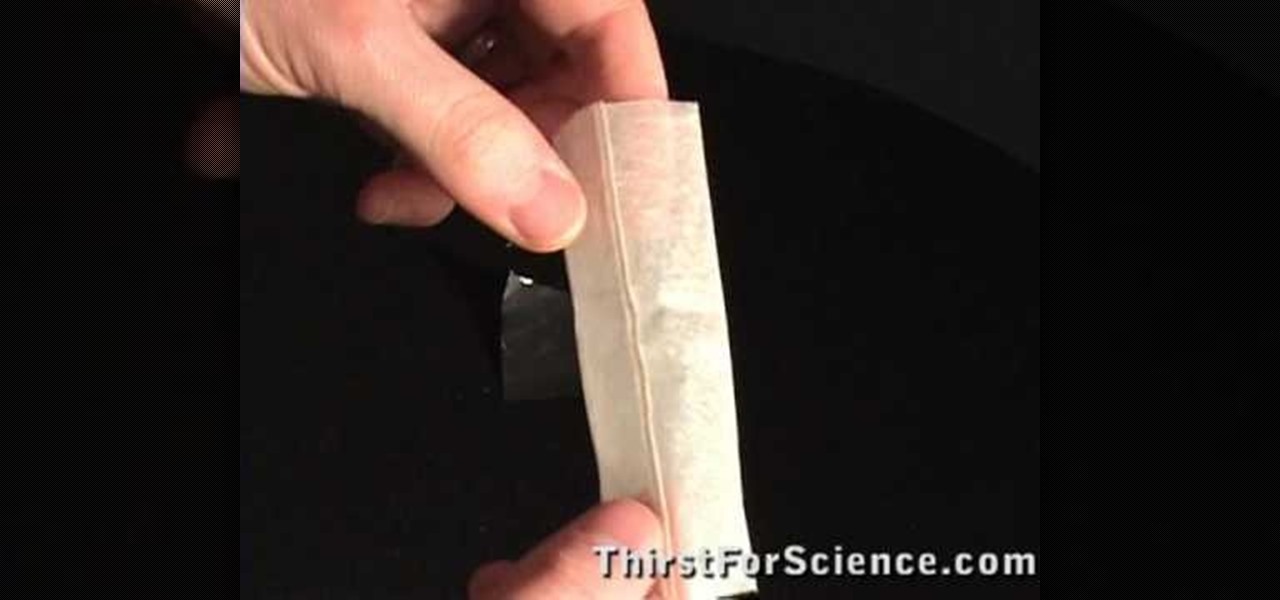
In this video tutorial, viewers learn how to make a tea bag fly with a home experiment. Viewers learn how to make a tea bag fly using convection. The materials required for this experiment are: tea bags, matches, tin foil and scissors. Begin by cutting the top of the tea bag and open it. Empty out the tea. The tea bag should be a cylinder shape. Place the tea bag on top of a piece of tinfoil and use your matches to light the top of the tea bag. This video will benefit those viewers who enjoy ...
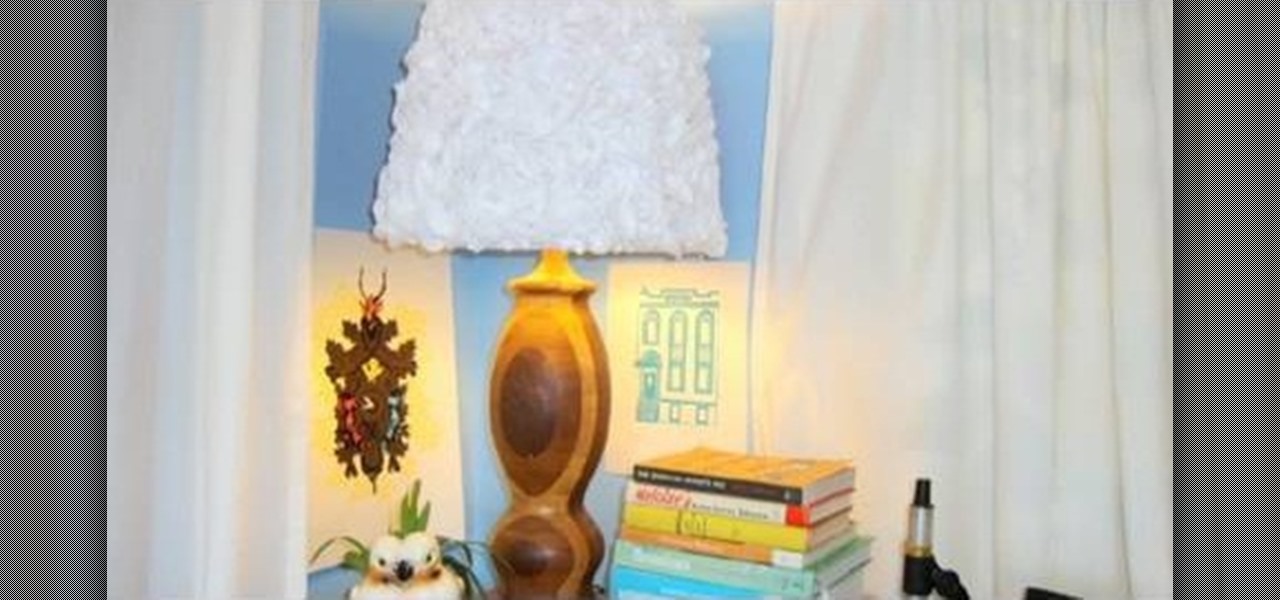
In this video tutorial, viewers learn how to upgrade an old lamp shade into a blossom lamp. The materials required are: 1 1/2 yard of felt, old lamp shade, bias tape, glue gun and scissors. Begin by folding the bias tape in half and iron it down. Then glue the bias tape from the half fold on the top and bottom of the lamp shade. Cut the felt into 3x3" square pieces and then cut them into circles. Fold the felt circle in half and glue it onto the lamp shade. Continue doing this for the rest of...
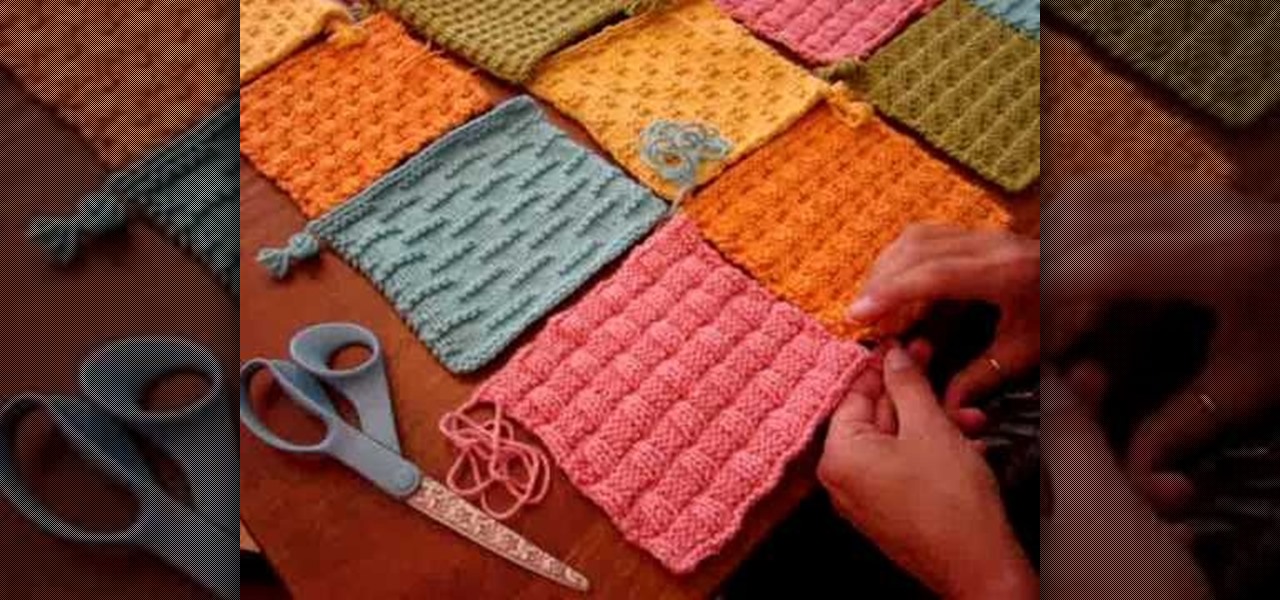
Don't overpay for a marked up baby blanket at a department store or fancy boutique? You can make a beautiful blanket for your newborn and future family heirloom right at home. All you need are some basic sewing materials and your imagination. This video will show you how to sew a dream catcher baby blanket.
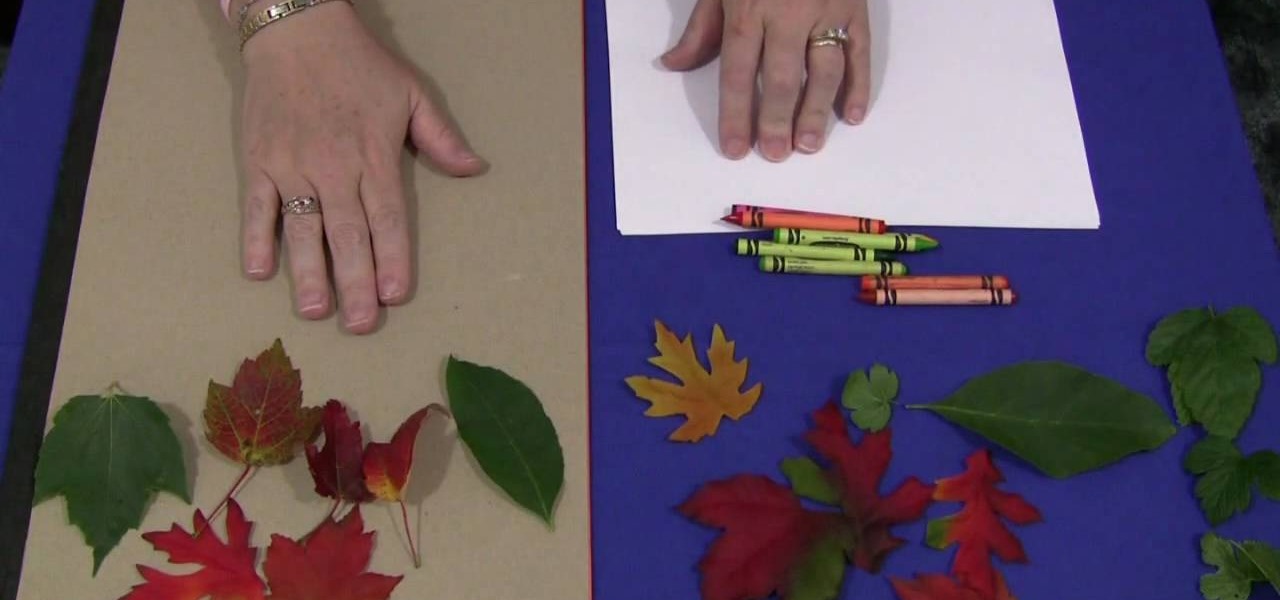
In this Family video tutorial you will learn how to do leaf rubbings for a children's activity. For this you will need a flat surface. If the table top in slightly uneven, put a sheet of construction paper on it. The materials you will need are sheets of paper, crayons and leaves. You can also use fabric leaves if your area doesn’t have any leaves. Take a leaf; put it upside down on a flat surface so that the veins are on top. Put a sheet of paper over the leaf and hold it down with one hand....

In this video tutorial, viewers learn how to make a guerilla spotlight using household items. Users will simply need a cardboard cylinder and a light source. Te materials used in this video were a toilet paper roll, piece of aluminum, gaff tape and a lamp. Begin by cutting a couple of 90 degrees slots in the middle of the foil, slide in the tube ad secure it with tape. It should be a bit longer than the tube. Now wrap it around the light source. This video will benefit those viewers who produ...

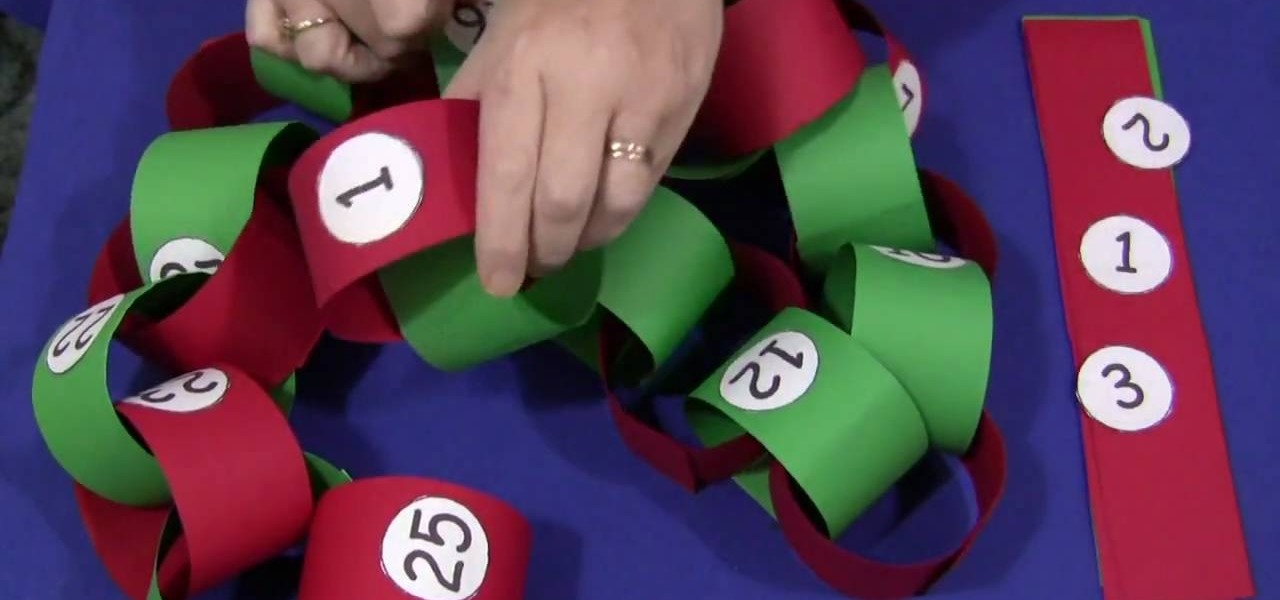
In this video tutorial, viewers learn how to make a Christmas countdown chain. The materials required for this craft are: construction paper, paper cut into small circles, glue and marker (optional). Begin by cutting the green and red construction paper into even strips. Users may choose to write out the numbers or print them out onto paper. Then cut out the numbers into small circles and glue them in the middle of the strips. Alternate the color of the strips each day. Then put the edges of ...

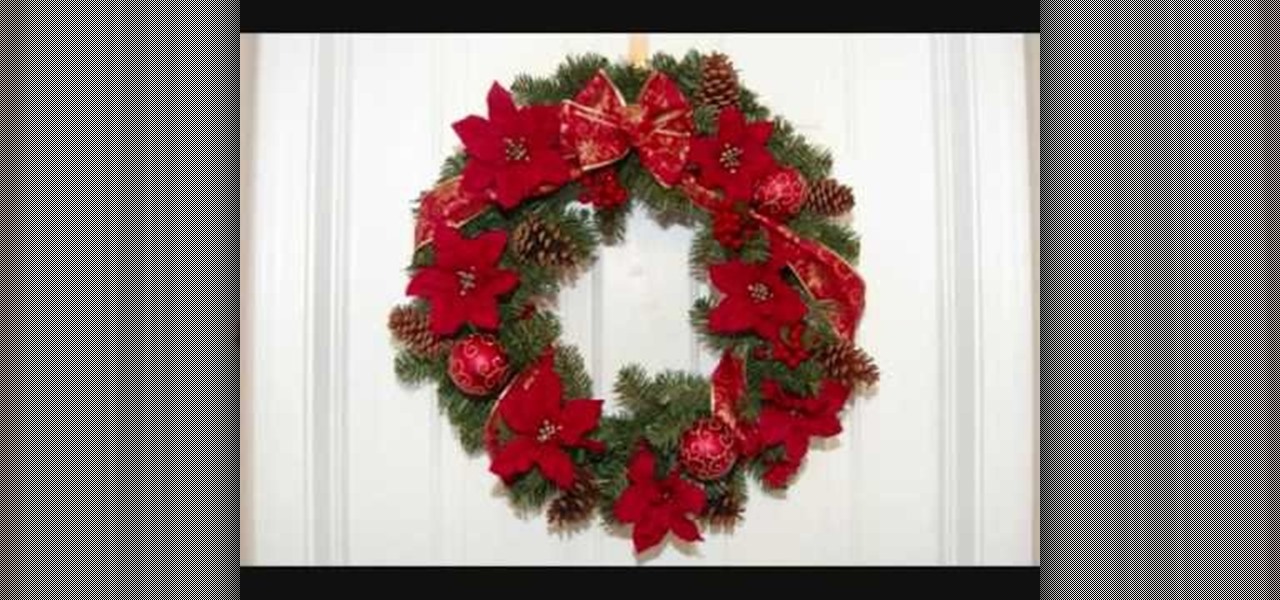
To make a Christmas wreath with poinsettias, by using synthetic materials you will need a Christmas wreath, pine cones, ribbon, berries, poinsettias, and any other picks you may want to use. You can purchase these items at any craft store. First, shape wreath, make bow out of Christmas ribbon (or pre-purchase bow), and attach on wreath. Next, wrap excess ribbon around Christmas wreath and align evenly poinsettias around wreath. Then, wrap around wire from the ornaments, pine cones, berries, a...

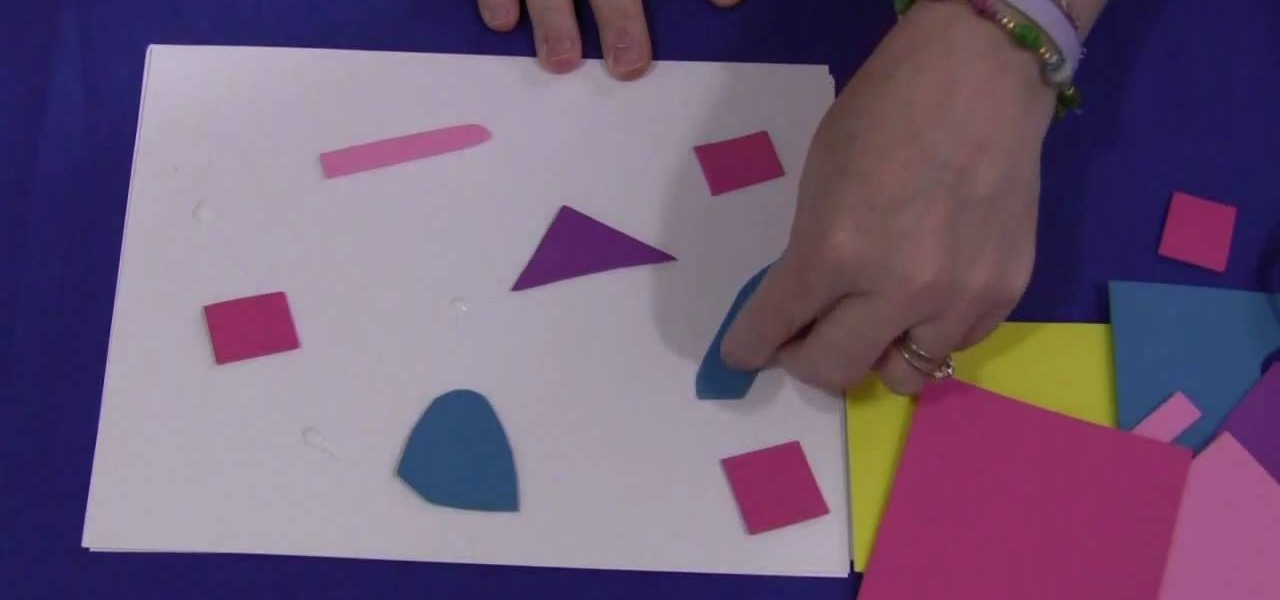
In this video tutorial, viewers learn how to make a foam collage. The materials required for this project are: card stock paper, several different colors of foam paper, scissors and glue. The project focuses on preschool, kindergarten, and elementary school crafts. Begin by cutting the pieces of paper foam into different shapes and sizes. Then simply apply glue on the pieces and stick it onto the card stock paper. Continue doing this to cover the entire sheet of card stock. This video will be...

In this video tutorial, viewers learn how to make a plain paper clip into a spinner. The materials required for this spinner are a paper clip and a pair of pliers. Take the paper clip and straighten it. Now use the pliers to bend the tip of the clip at 90 degrees. Then bend it 90 degrees to left side and start bending the wire into a circular shape. The shape will look like a pretzel. Now bend the end tip of the wire 90 degrees to the opposite direction of the first bend. You should end up wi...

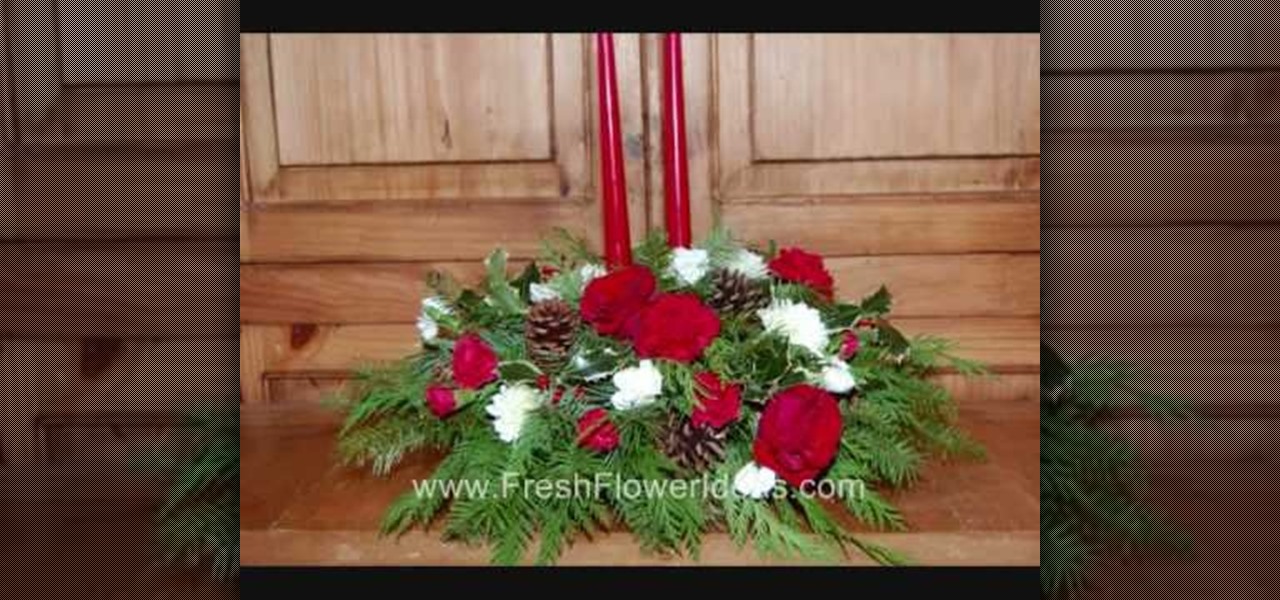
This video will help you to make a Christmas centerpiece with flowers and evergreens. The materials required are a plastic centerpiece tray, floral foam, two candles, two candle cups and wired wooden pegs. Flowers like red carnations, white cushion chrysanthemums, red and white pixie carnations and roses can be used for this arrangement. Evergreens used are cedar, pine, princess pine, and variegated holly. The foam is placed in water in the tray. The candle cups with the candles are placed in...

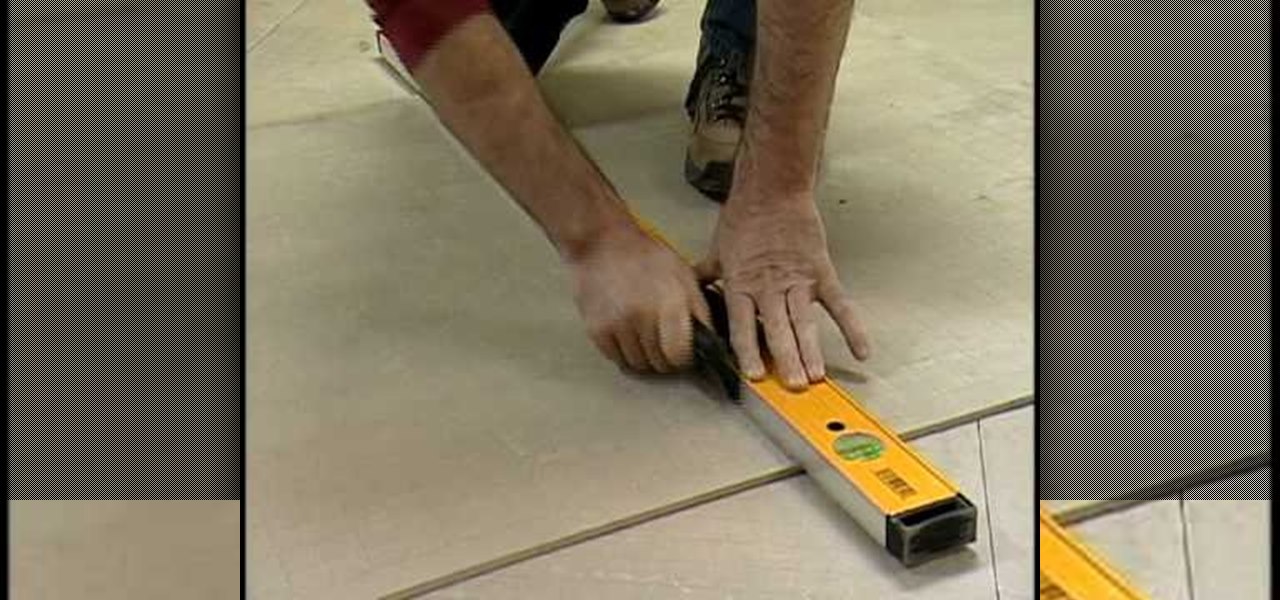
Whether updating your home design or protecting against mold and mildew, the installation of kitchen tiles is a simple process that any home crafter can do. This video tutorial shows how to install backer board and tile your kitchen floor. Once you've cleaned the area where your backer board will go, measure to make sure all materials will precisely fit into place. Before setting the tiles, plan the layout on a sheet of graph paper to figure out if you'll need to cut tiles. Finally, apply gro...

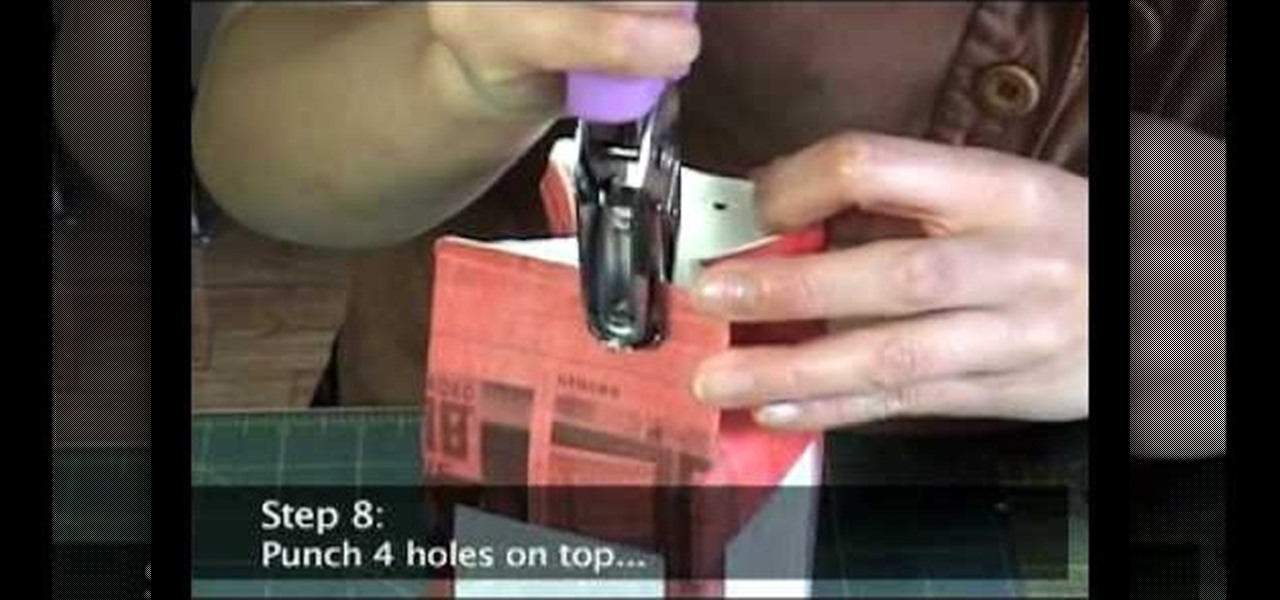
In this video tutorial, viewers will learn how to make a milk carton lantern. This lantern uses recycled items. The materials required for this lamp are: a milk carton, unryu paper, colored newspaper, raffia, ruler, glue gun, hole puncher, X-acto knife, glue stick and scissors. Flatten the milk carton. Draw a rectangle with each panel and measure about 1/2" form each of the sides. Measure about 3/4" from bottom and top. Cut out the rectangles with the X-acto knife. Glue the newspaper to the c...

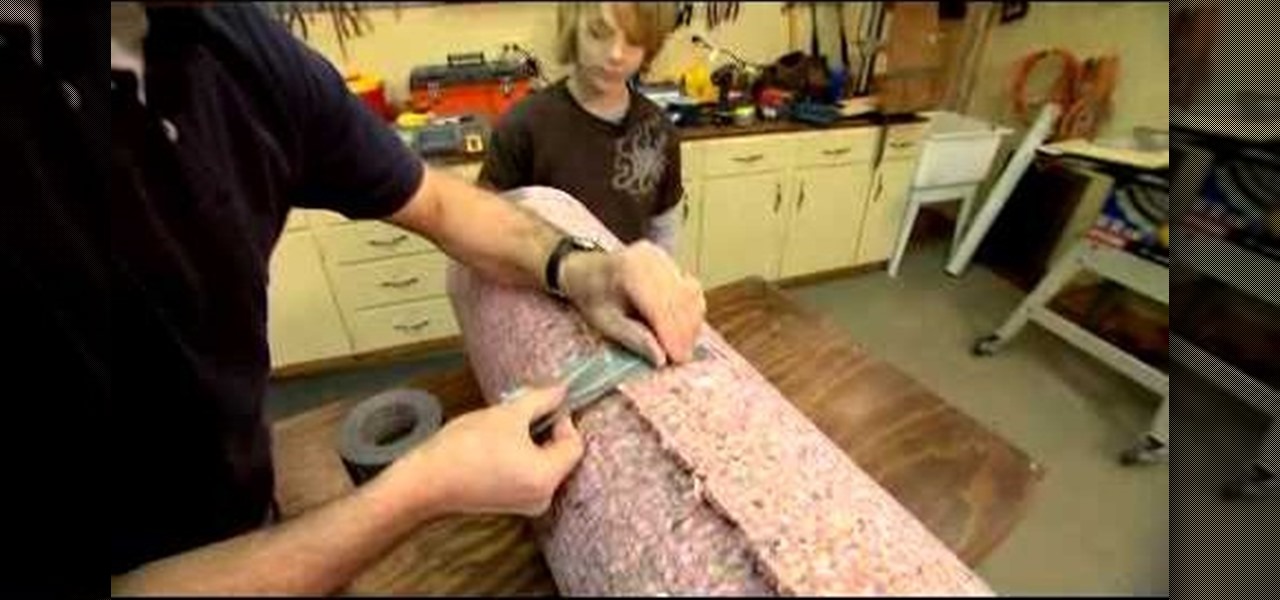
In this video, Danny Lipford will show you how to make a punching bag with trash found at a construction site. First, a circle of plywood is cut out about one foot in diameter (in this video, a bucket is traced in pencil over the plywood). This is for the base of the punching bag. A large piece of PVC pipe is used for the center of the punching bag, which carpet padding is wrapped around to makeup the main part of the bag. Finally, duct tape is wrapped around the whole thing. Out of these ver...

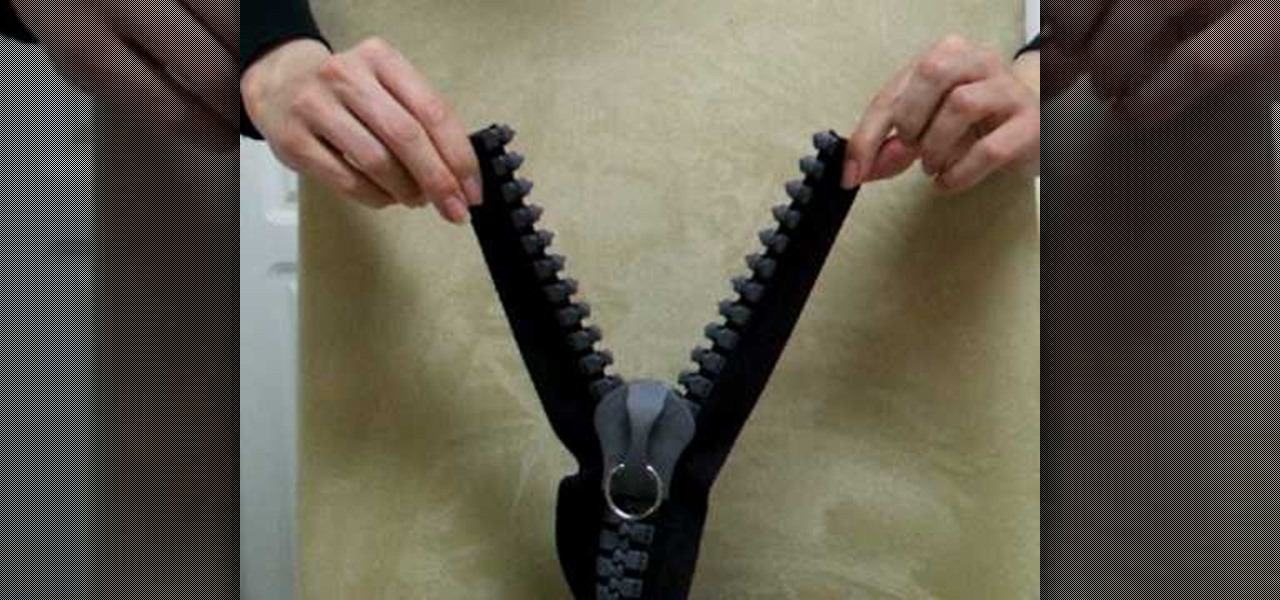
In this video tutorial, viewers learn how to attach a giant slider to a zipper chain. This task is very simple and fast to do. This zipper is for large materials that can not be enclosed with the regular sized zipper. The slider is removable and able to reattach to the zipper chain. It is very convenient and makes the zipper look more neat. Just set the slider on the top of the connected teeth track and pull it up. Then twist each side and pull down. This video will benefit those viewers who ...

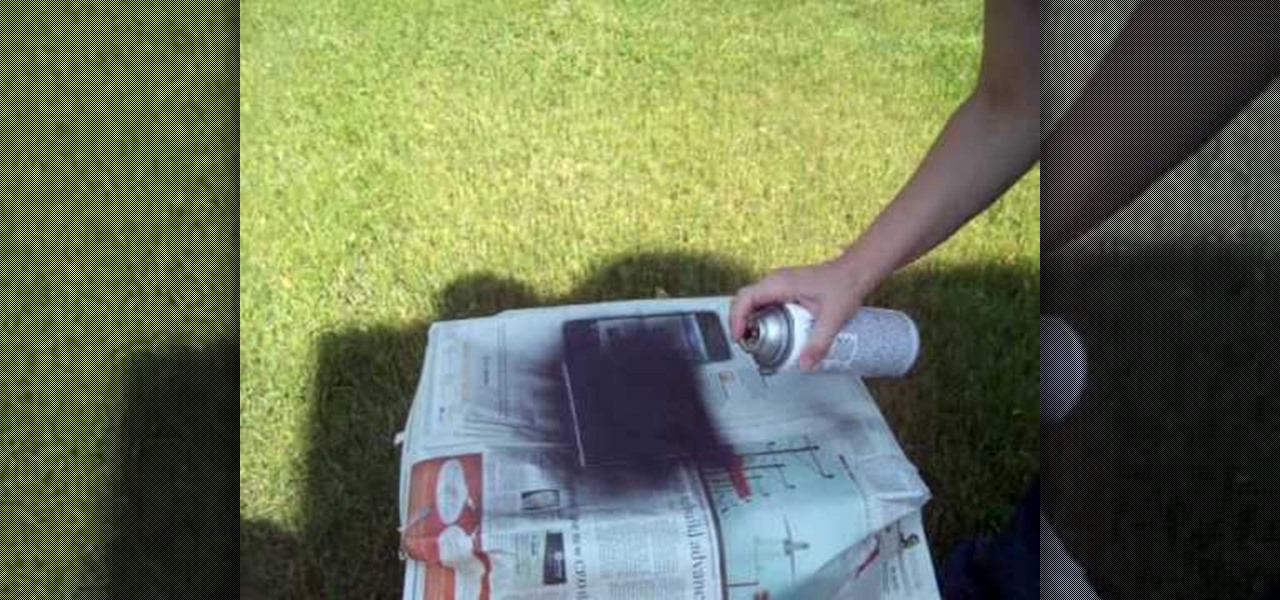
In this video tutorial, viewers learn how to make a black scrying mirror. This activity is simple and inexpensive. The materials required are: a picture frame, tape, newspaper and black matte spray paint. Take out the glass from the frame and lay it on the newspaper. Now spray the black paint on the glass frame. Make sure you use short little bursts of spray. Make sure each coat dries before you apply another one. When it's dry, put it back into the picture frame. This video will benefit thos...

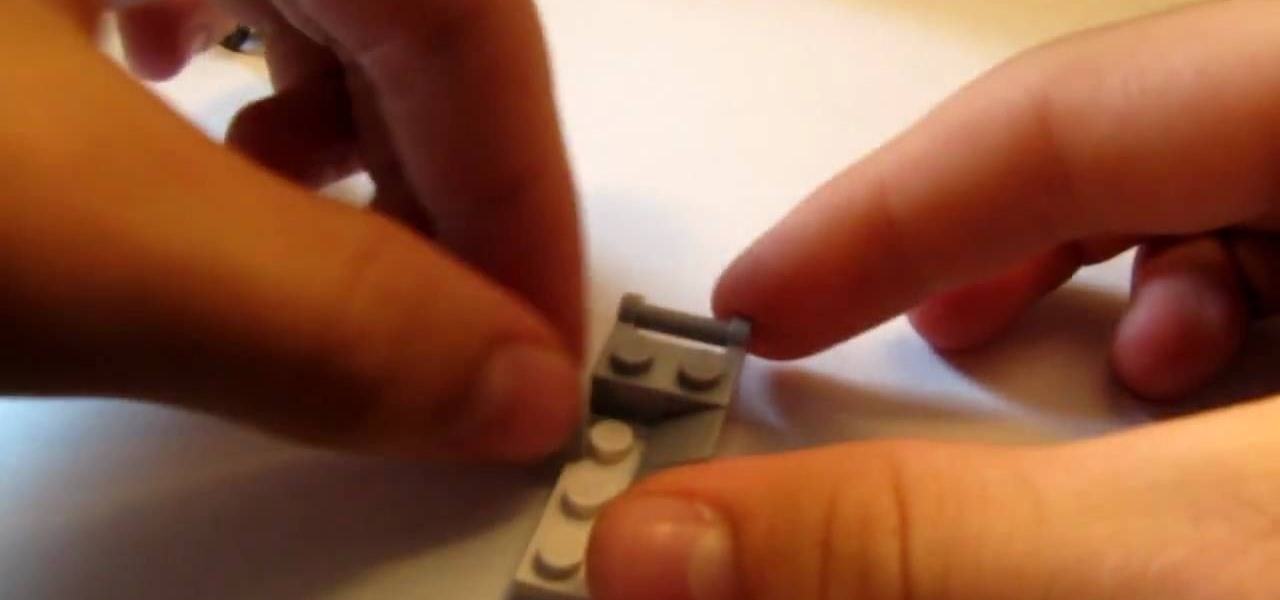
In this video you will learn how to build a LEGO stroller. The materials you will need are 4 of the small slanted bricks, one two by four thin brick, 3 two by 1 thick bricks, 2 one by one thin bricks, 2 one by one by four studded bricks, a small smooth brick, two odd angled smoothed bricks, 4 wheels, one one by two with dot in center bricks, and one one by two handle bricks. Then after carefully assembling the bricks as shown he will show you a example of what it will look like when you're fi...

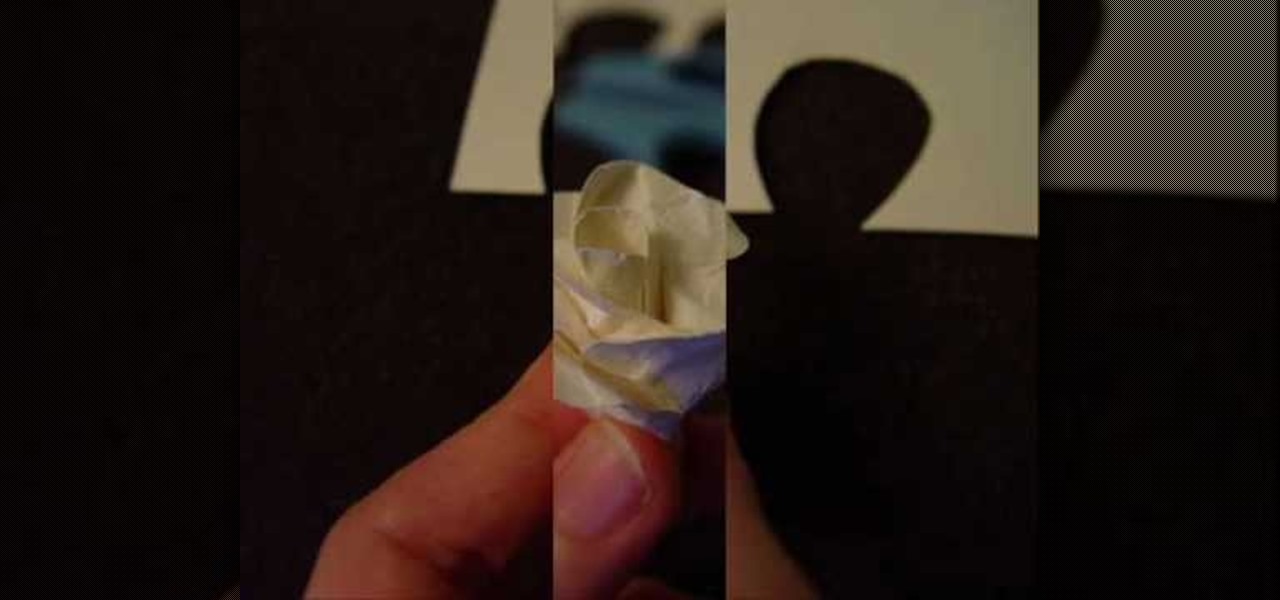
This tutorial demonstrates how to make simple yet beautiful paper roses using only a few materials. The image displayed at the end of this video is just one example of how realistic a paper rose can look. In order to do this, you will need at least one sheet of plain or colored paper, tacky glue, wire and a pair of scissors. Initially, you must first cut your paper in to the shape of your pedals, then crumple them up. Crumpling your pedals not only makes them more flexible, but can also add a...

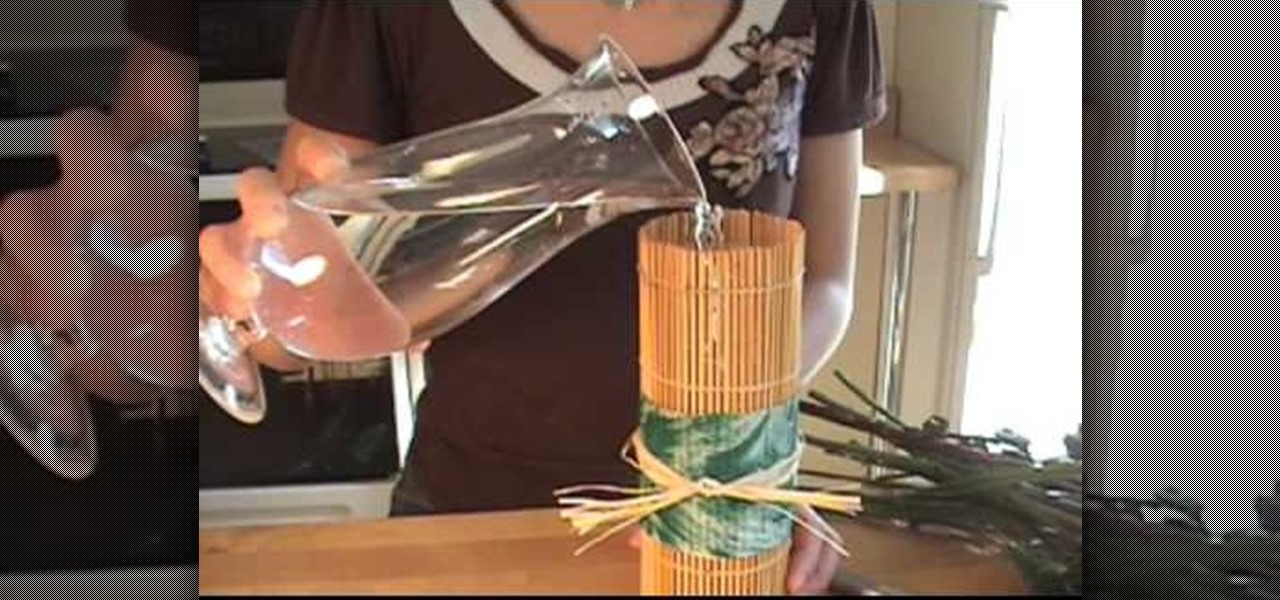
In this video tutorial, viewers learn how to make a Japanese-style sushi roller flower vase. This flower vase uses recycled items. The materials required to makes this vase are: a newspaper, scissors, raffia, sushi roller, acrylic paint, brush, tin foil, tape (or glue gun) and an empty bottle (300 ml). Cut the newspaper to about 3" x 12". Paint the newspaper to your preferred color. Cut the top part of the bottle. Roll the bottle in the sushi roller. Wrap the newspaper around it and tape it. ...

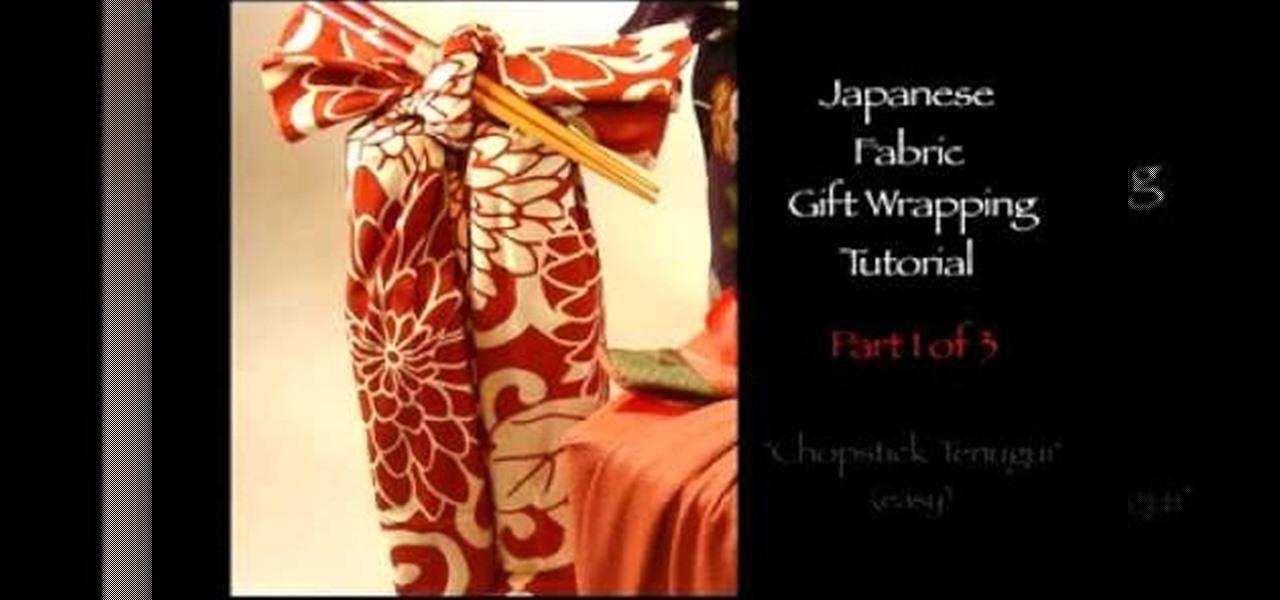
In this video tutorial, viewers learn how to gift wrap two bottles using the chopstick tenugui wrap technique. Tenugui is a thin Japanese hand towel made of cotton. The materials needed for this gift wrap are: a tenugui, chopsticks and two small bottles. Begin by laying the bottles horizontally as the bottom bases touch on the tenugui. Roll the tenugui and fold it up. Tie the ends with a double cross and add the chopsticks in the knot. This video will benefit those viewers who are planning to...

This video, by GC Productions, brings you this segment of "Hammered and Screwed". In this episode, they teach you how to make your own skateboard at home, using materials you may have around the house or may find at your local hardware store. You will need 6 to 9 pieces of wood veneer, cut to 30" by 10", (the amount of pieces you will need depends on the thickness of the veneer, and how much flex you would like in your skateboard), and enough wood glue to coat each piece. Once they have glued...

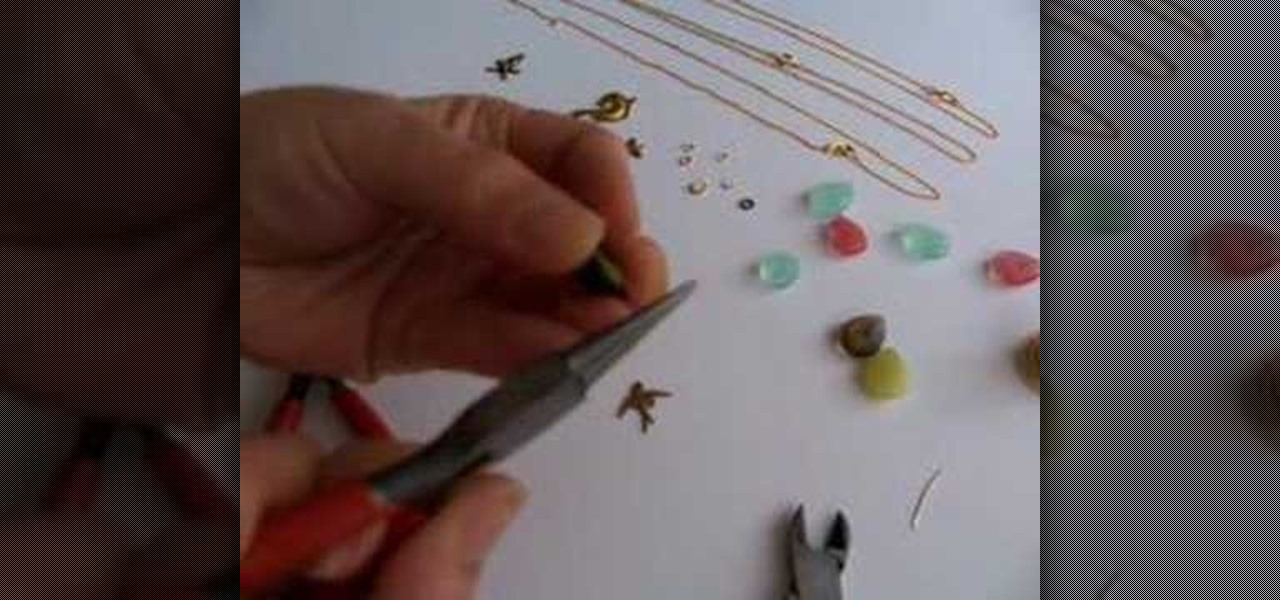
In this video tutorial, viewers will learn how to make a briolette charm drop necklace. The materials required to make the necklace include: a small piece of wire, briolette bead, charm of your choice, a jump ring (for the charm), chain necklace, round-nose pliers, long-nose pliers and cutters. Begin by putting the wire through the bead. Bend and cut the wire to shape a loop. Put the charm on the jump ring and attach it to the bead. Then add the bead to the chain and tighten the loop. This vi...

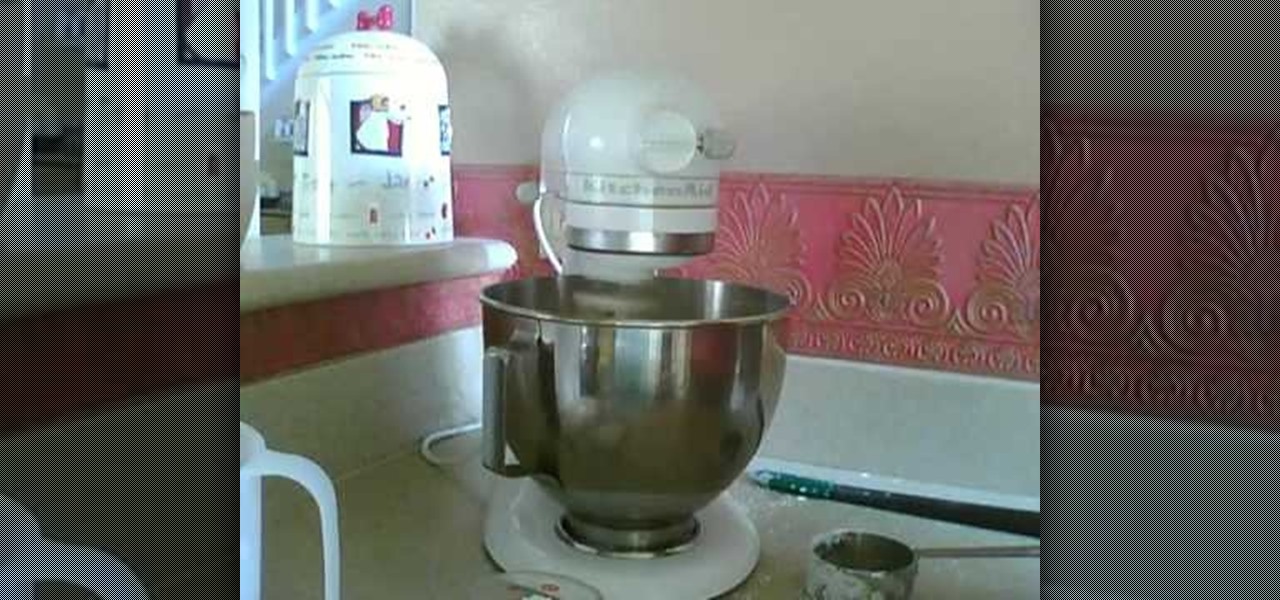
In this movie Edna shows us how to make gum paste. The recipe is very easy to follow and Edna begins with the materials. Sift the sugar through a regular sifter first. Then you have to carefully separate your eggs so that you can utilize the whites for this. The whites get whisked briefly at high speed and the sugar is added. It takes a while for the sugar and egg white to bind. When it reaches soft peaks you add tylose. The paste can be rolled out and left to rest in the fridge as it dries o...

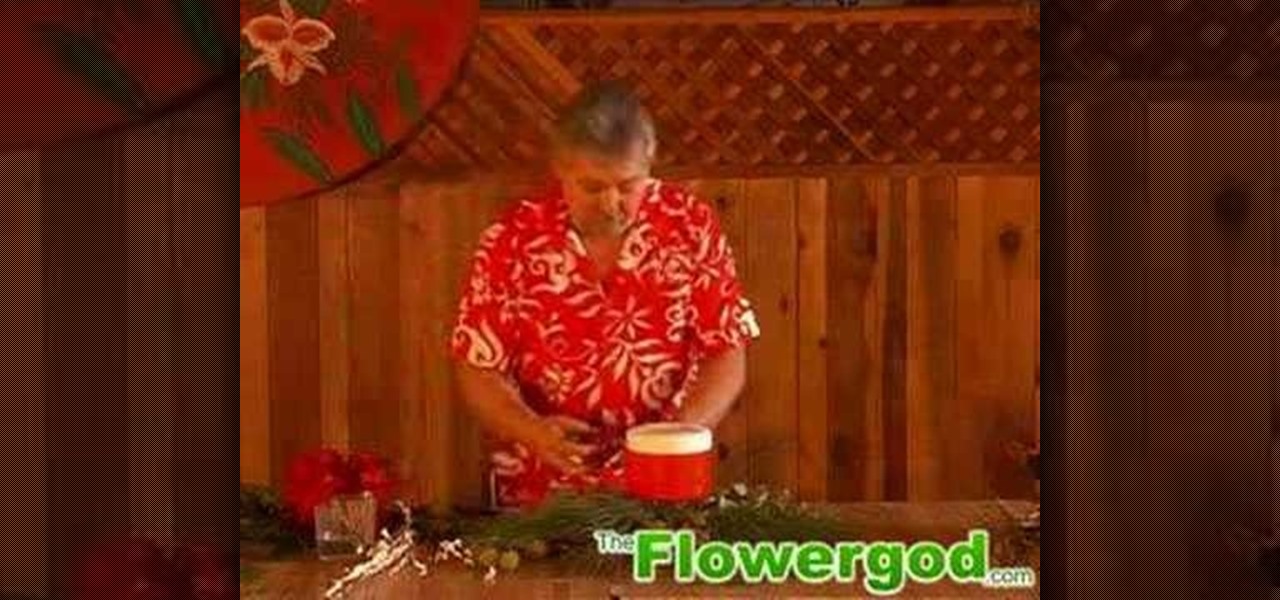
Are you looking for some fresh ideas to decorate your table for Christmas or any other special occasion? Then watching this video might give you some new and creative ideas to transform your table. The Flowergod shows you how to design a beautiful and innovative candle centerpiece for your table. He uses pine needles, cedar, pine cones and roses to create a decorative style. The candle is placed above a container to keep the wicks dry and the greens are placed in the container with some water...

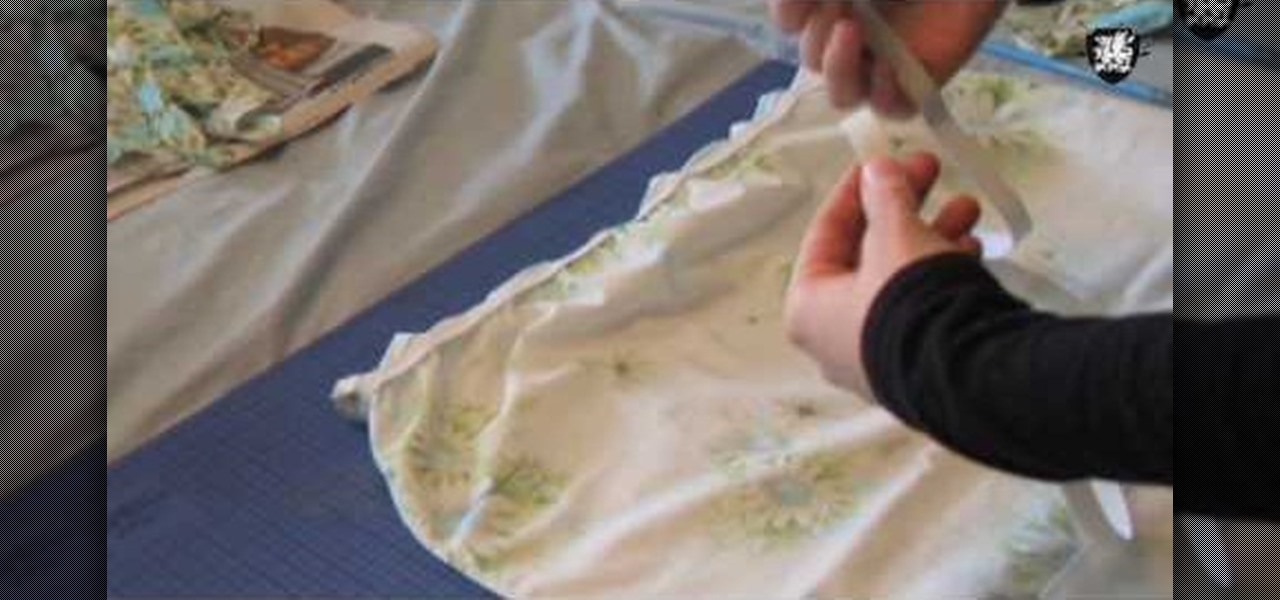
In this video Threadbanger Projects shows how Anne made her nightdress out of a pillow case to match panties up loader Clare Bear showed how to previously for Valentines Day. Materials needed are a pillowcase to match the frilly panties, elastic, ribbon, scissors, and a sewing machine. She explains how to measure elastic points using your body and shows how to attach the elastic using pins and a sewing machine. She finishes the nightdress with ribbon for the straps and a bow on the back.

Stampin' Up! with Dawn presents a video on how to make a cute snowman ornament that is perfect for the holiday season. The design was made by one of her viewers and she was able to get all the proper measurements and instructions needed to make this piece. She shows us how to do it step-by-step and shows us which materials and techniques should be used in order for the snowman to come out just right. By following the instructions in the video you can make an adorable magnet yourself without h...

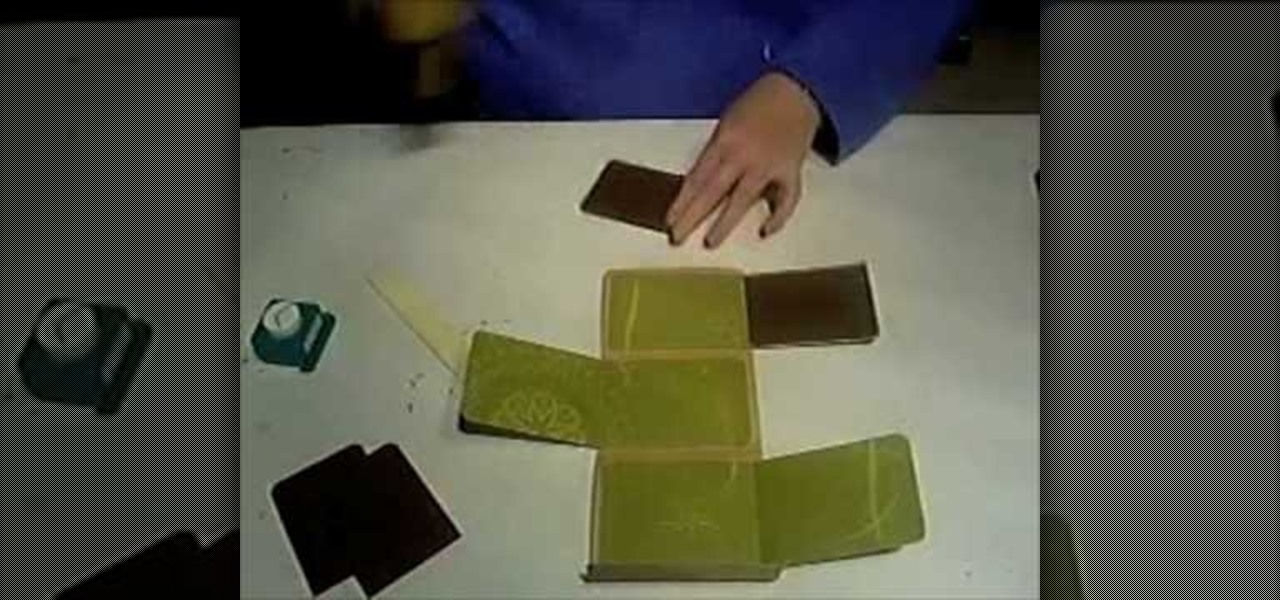
The viewer learns how to place make a photo wallet. This is a very detailed description of a simple yet beautiful project. As noted at the start of the video there are many ways to make a photo wallet. This video serves as a example of one of the many ways a photo wallet can be made. Before attempting this project the viewer should watch the video to make sure that they have all the materials needed. (Scorer, paper, tool for measurement etc.) This is a detailed project that may take some time...

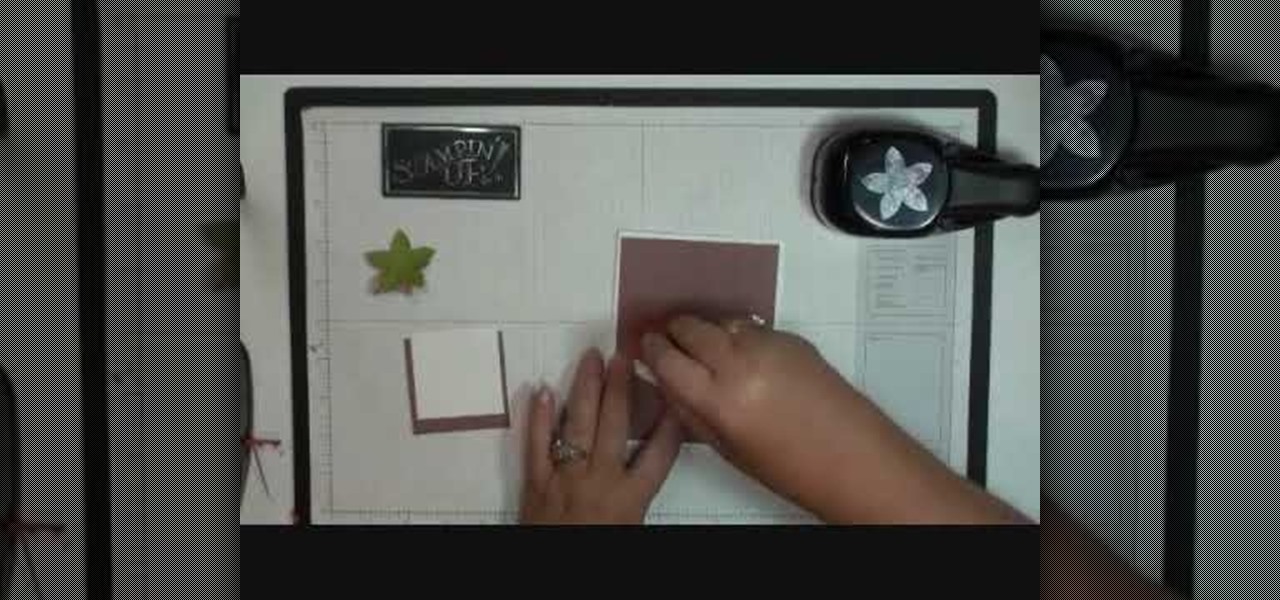
This art and craft video shows us how to make a five petal paper flower with stamping up. One can make this pretty card easily by following the instructions which is given clearly in the video. One can come become aware of various modern craft materials like different papers, punches available in the market and how to use them creatively. By watching this video one would be more interested in such craft work as it is done neatly without any mess.

Need a new purse but no money in the budget to go out and by one? Missa from fashionclub.com will show you a do-it-yourself option. In this instructional video, you will learn how to make a flapper 1920's style purse. Step by step instructions take you through the materials you will need, how to make a pattern for the purse and how to construct the purse. You will need a basic sewing machine and sewing skills to complete this design.

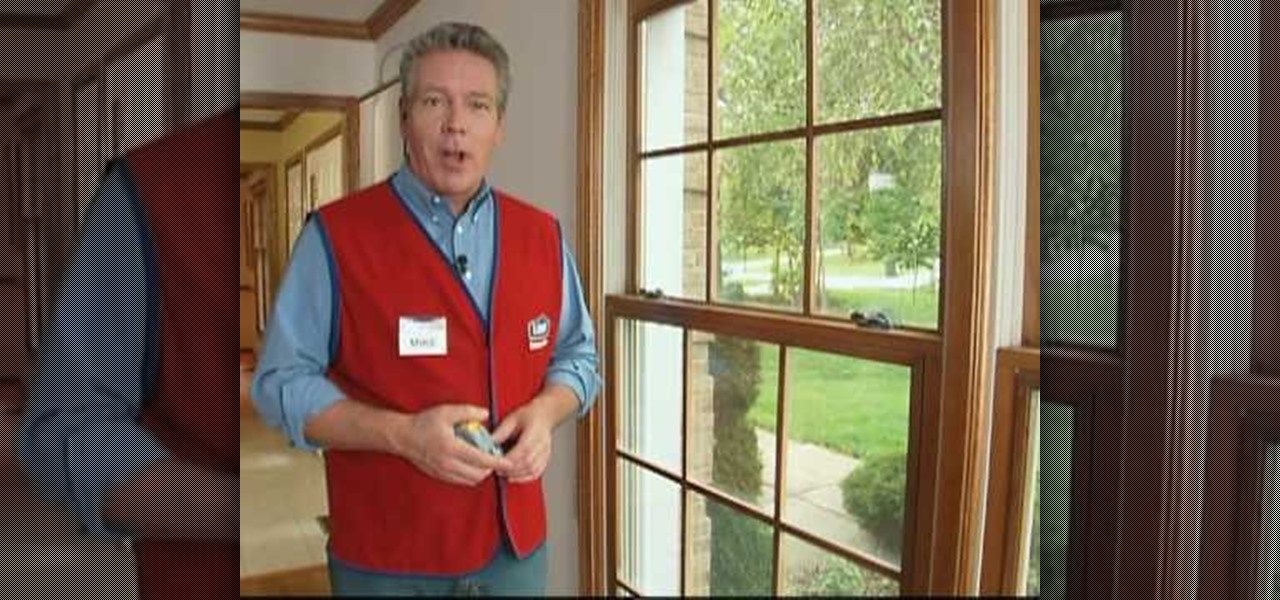
Host Mike Kraft, a Lowe's home improvement expert, demonstrates how you measure windows and doors, so that you can properly install new window and door blinds. You will learn what tools and materials you need to complete this do-it-yourself home project, as well as how to decide whether you need to use inside or outside mounting blinds, and how to measure and lay out your measurements in both cases. Knowing how to correctly measure your windows and doors for new blinds will aid you in choosin...

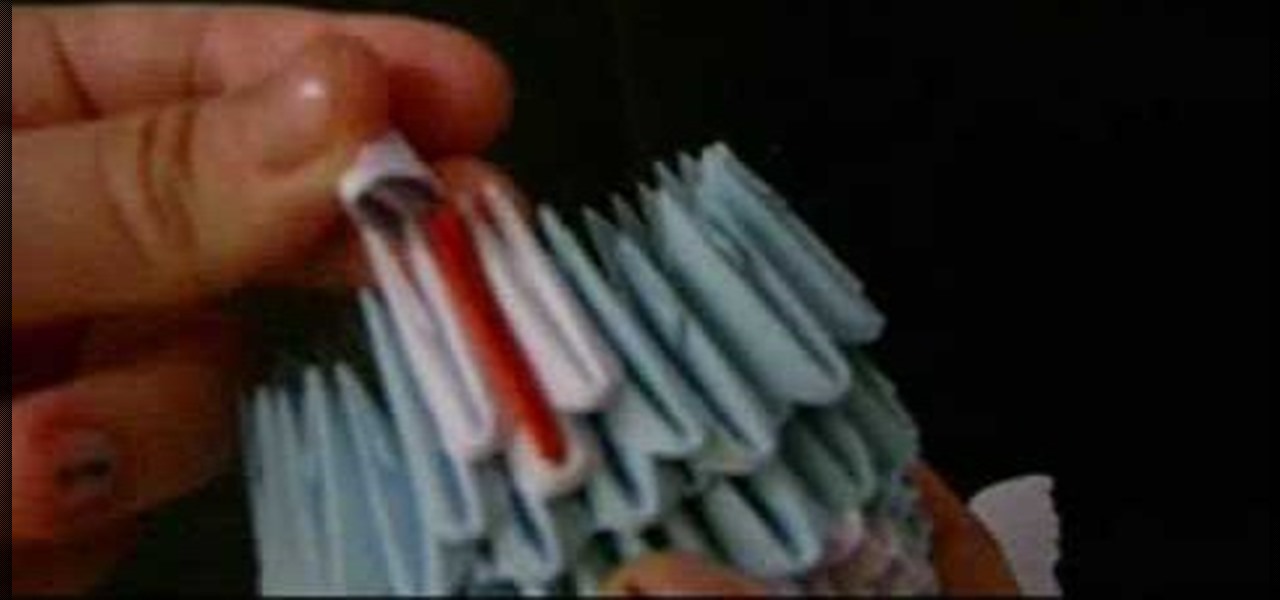
In this video, Jewellia describes how to create a 3 dimensional origami teddy bear. First, she lists the materials needed and the quantities necessary. She then begins the actual process of building the teddy bear, which is broken into steps. Step 1 is "creating the base". You will create 18 "pairs" out of origami paper which you then put small blue origami triangles on top. It looks circular. She then demonstrates how to repeat this circular pattern of triangles upward until you have a cylin...

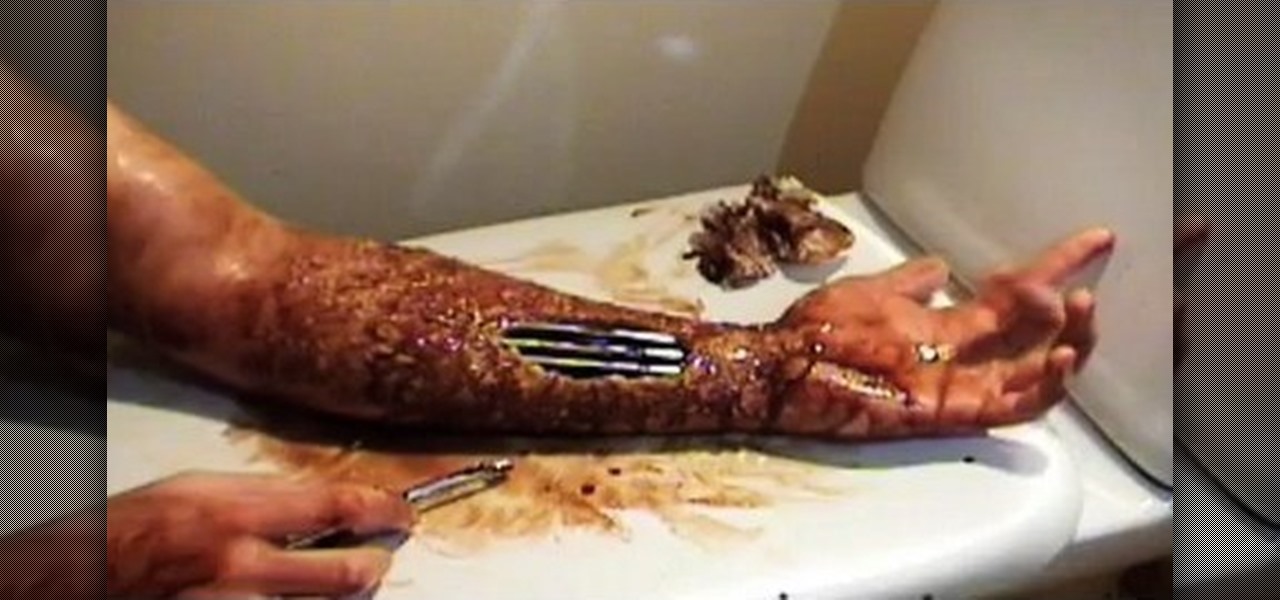
Want to look like the terminator for Halloween or have an upcoming costume party? Learn the easy steps to get the look of the terminator with the easy to follow instructions to applying arm makeup to your arm to get the terminator look. With a couple of simple materials and makeup you will easily get that robotic look. The easy to follow steps demonstrated in this video will allow you to follow along and complete your look and make it more authentic with these makeup tricks.

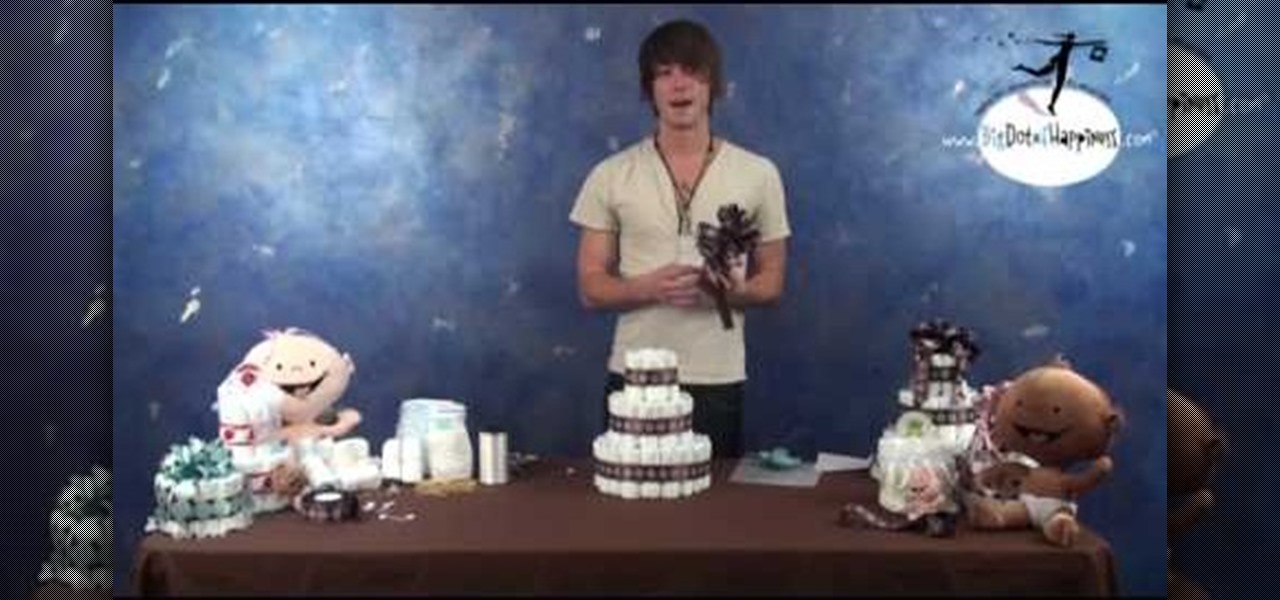
Here is an interesting idea for a baby shower: a diaper cake. Using various materials such as a tube, a glue gun, some safety pins, string, rubber bands, scissors, and 63 diapers, you are on your way to making this bizarre yet interesting cake. After rolling together each individual diaper, holding them together with rubber bands, you are on your way to making this cake. While this cake is not meant to be eaten, it is a very interesting centerpiece or gift for your next baby shower.

Attention origami fanatics! In this two part video how-to, learn how to fold an orgami lily. Step-by-step instructions are given and discussed. To complete this lily, materials neede include: paper, your hands, and brains! Check out the second video for the final results!

Start screenprinting your own T-shirts at home! If you have the screen printing equipment, then you have practically all the things you need except the knowhow. So check out this video tutorial to learn how to start screen printing at home with Etsy.

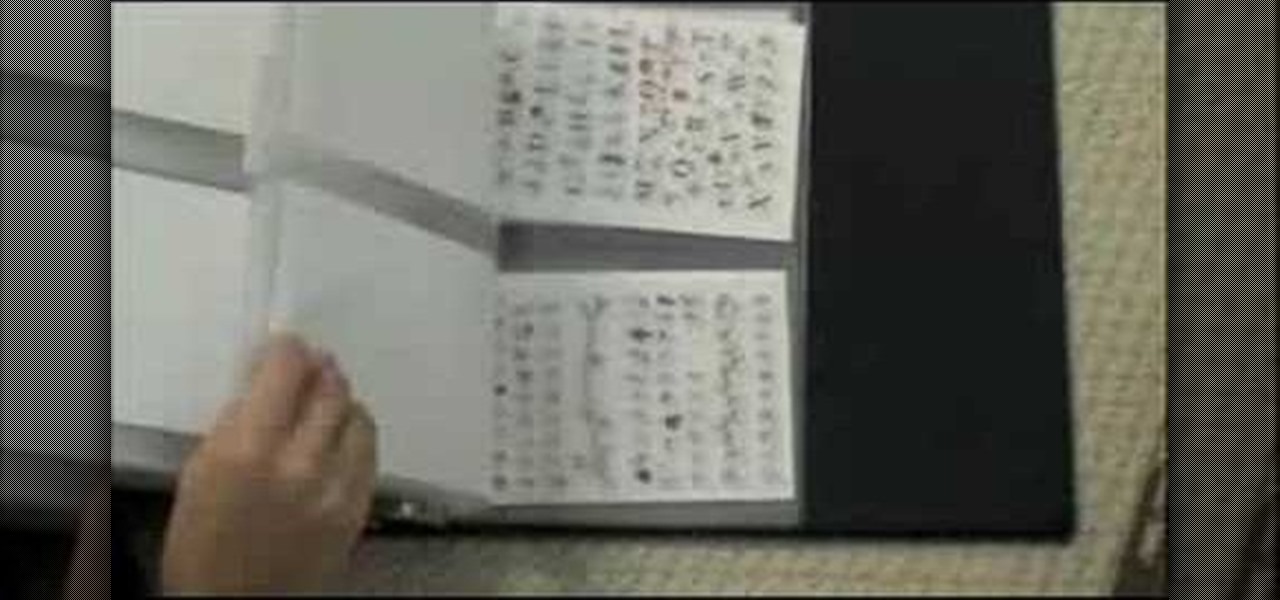
If you like to collect clear stamps, you've probably learned how challenging it can be to keep them all organized. In this video you'll learn how to store your clear stamps in a clean, organized system.

The FN P90. Everybody wants one, but more than likely, you can't get your hands on one, especially if it's illegal in your area. Designed by FN Herstal back in the 80's, the P90 personal defense weapon is the cream of the crop. It's full name, Project 90, specifies a weapon system of the 1990's. If you want this firearm for a weapon prop or just to have, you can easily build one yourself with household materials, mostly cardboard. Watch this video tutorial to learn how to build a P-90 prop ca...

This video sequence demonstrates the process of building a rather professional looking skimboard with a foam core and wood spine. All the materials are readily available at home improvement stores. While this build might seem a bit laborious, it's a great way to customize your skimboard to suit your needs. The instruction and advice the demonstrator provides also makes the skimboarding project less intimidating. So watch this video and learn how to make your own foam core skimboard.

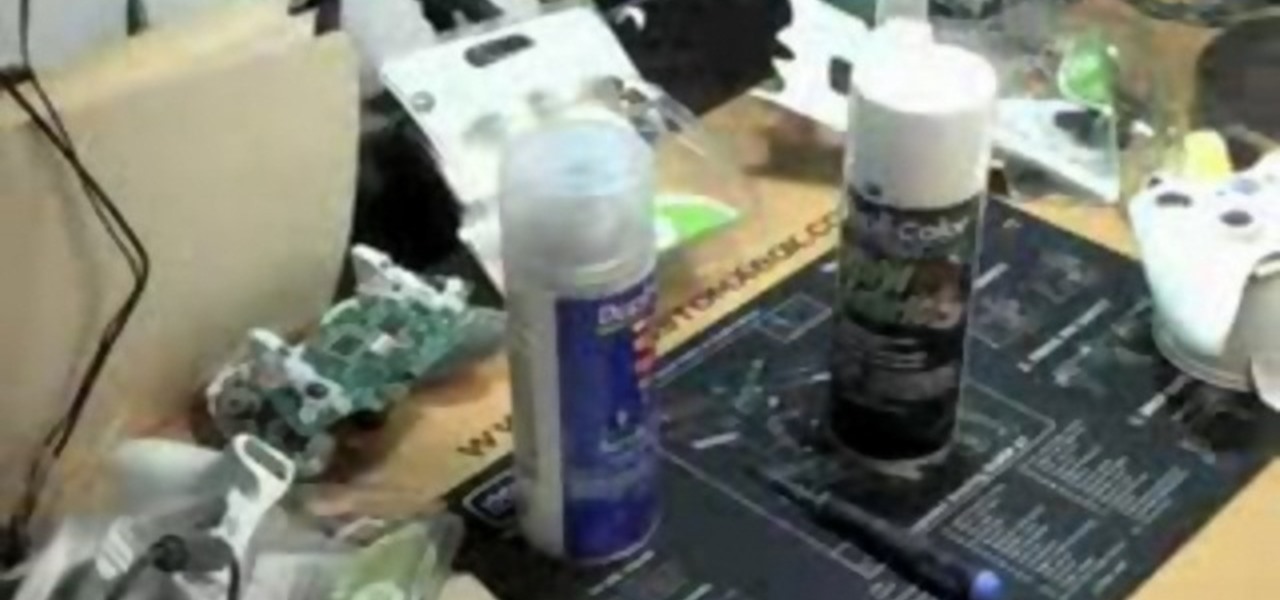
This is a quick guide on how to use Vinyl/Fabric Spray to Custom Paint an Xbox 360 Controller. When people refer to vinyl dye they are referring to paint.


