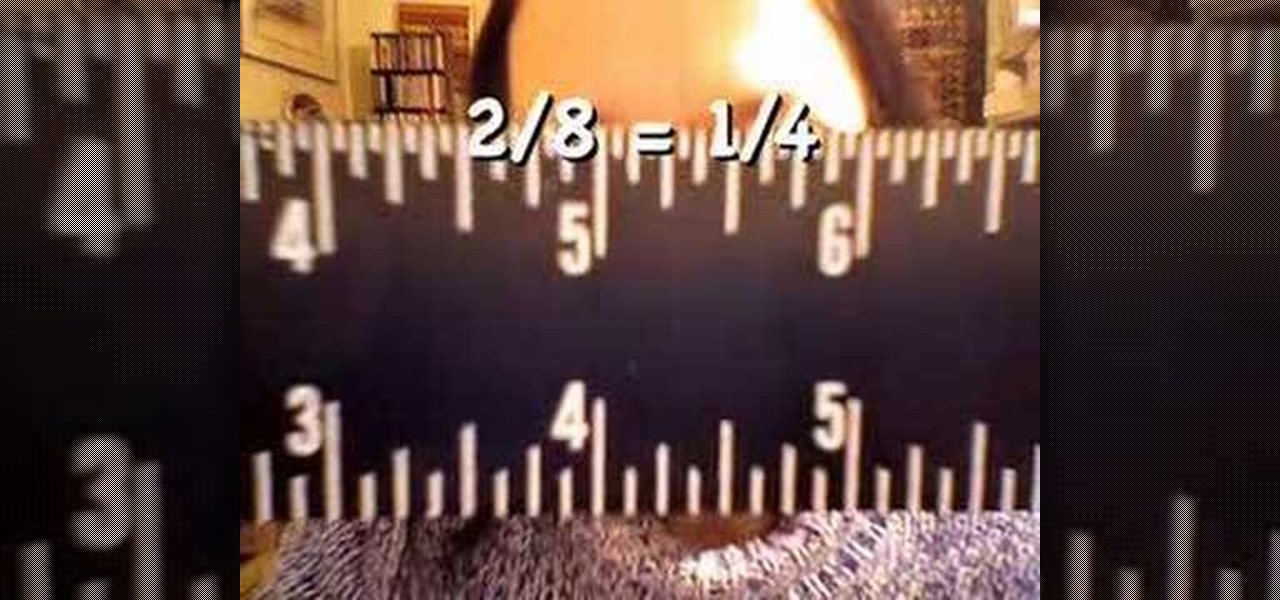
In this video, we learn how to read a ruler. First, grab you ruler and look on the top and the bottom of it. The top is divided into different marks that shows inches, half inches, and quarter inches. If you aren't familiar with reading this, just use the markers at the top to help you count between 1/4, 1/2, 1/8, etc. The other side of the ruler is used for centimeters, which you usually will not use in the United States very often. Learning how to read a ruler can help you get better with f...

In this tutorial, we learn how to build a catapult out of rubber bands & a wire hanger. To do this, you will first need: one wire hanger, plastic spoon, rubber bands, small marshmallows, and measuring tape. Now, hold your hand in the center of the hanger and pull up both sides around it. After this, fold back the front for balance and straighten it up so it's stable. Next, you will take one rubber band and put it around the sides. Then, take the spoon and put it in between the rubber band and...

In this video, we learn how to strop on a stropping block. There are two layers to the strop and they measure different lengths. On the bottom you should put two mouse pads to make sure it stays put. Now, charge the strop with a stropping compound and rubbing it against the grain until it flakes off. Next, gauge the angle of your knife and place the blade against the strop. Push against the edge of the blade and work from the top to the bottom in a long and slow arch. This is all there is to ...

In this tutorial, we learn how to read a school box ruler. A ruler will be divided into inches, each inch will be divided in half. From there, it will be in quarters, then eighths, then sixteenths. Once you understand how the inches get divided up into halves, you will be able to read the ruler better. Start off by counting the small lines that you see on the ruler to get an idea of where the eight, quarter, and half inches are located at. After practicing this, you will be able to read a rul...

In this tutorial, we learn how to make a Duct tape hat. First, grab a hat that you want to duplicate and measure it out with a piece of paper. Then use this piece of paper as reference to how you will cut your pieces of duct tape. Now, cut the duct tape and stick them together to create the top of the hat. After this, you will connect the other areas of the hat together and make the bill of the hat. This will need to be thicker than the other areas and you will also have to cut it into a curv...
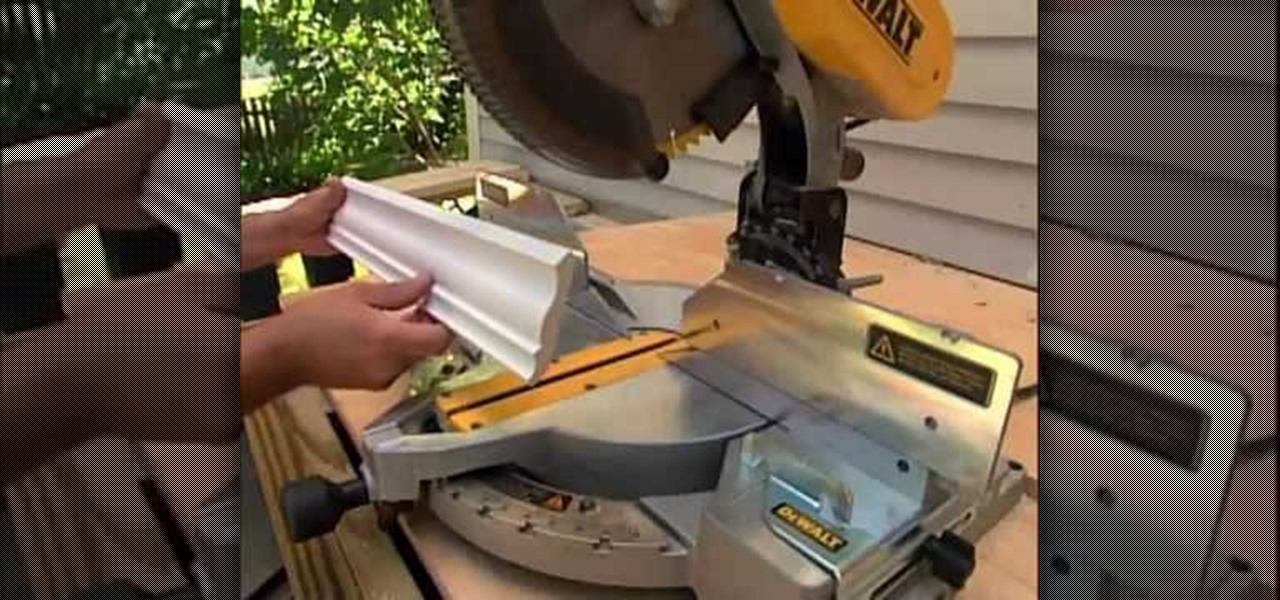
In this tutorial, we learn how to install crown molding to your room. First, choose the right size and style of molding for the room, then measure your room to find out how much you need. After this, you will need to buy a saw to cut the molding when you're ready to install. After you have the pieces cut, you will need to place these against the wall and then nail them in with a nail gun. Secure the molding to the joints in the ceiling and to the studs in the wall. To finish, putty the holes ...

In this tutorial, we learn how to make grandma's oatmeal cookies. First, combine 1 c sugar, 1 c brown sugar, 2 beaten eggs, 1 tsp vanilla, and 1 c butter. Mix this all together using a wooden spoon until everything is combined. Once it's all mixed together thoroughly, set aside an measure out 1.5 c flour, 1 tsp baking soda, 1 tsp salt, and 1 tbsp cinnamon. Stir this together, then add in with the wet dough and mix together. Then, add in 3 c oats and 1/2 c butterscotch and white chocolate chip...

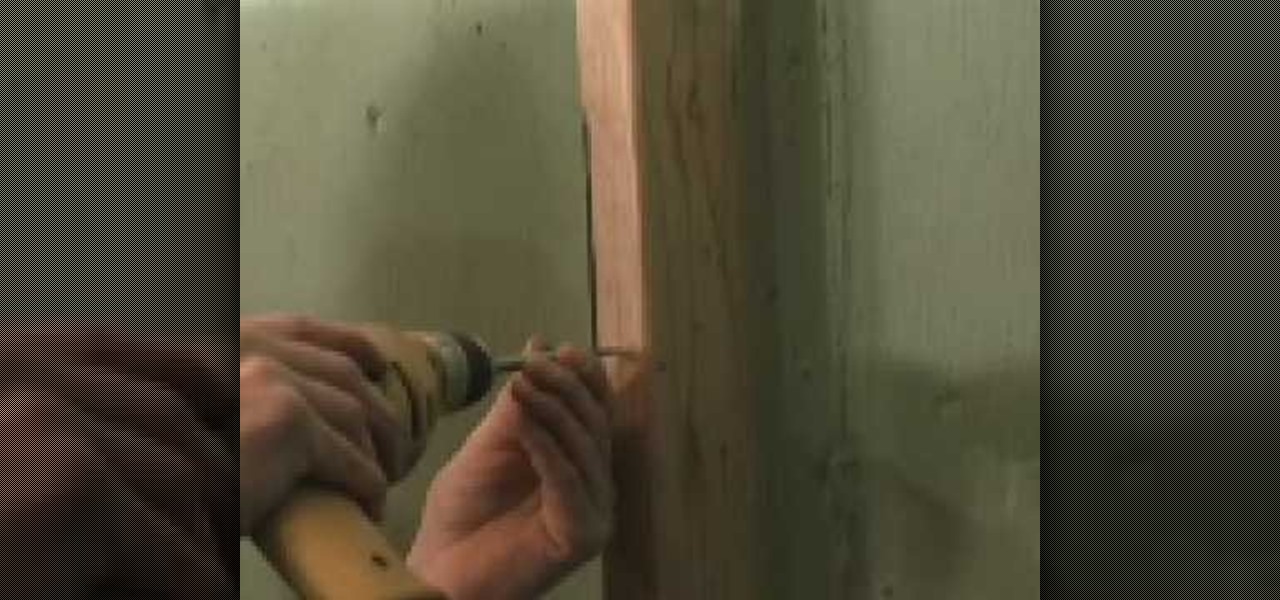
In this video we learn how to remove door material to install a mortise lock. If you live in an older home where you have to take out a chunk of the door to change the lock, there are ways to prevent doing this. First take a spade bit and slide it over the lock. After this, take the mortise lock and hold it so it's flush with the door. Go below the hole and above the closest obstruction and put a mark. On the back measure slightly beyond what it would take for this to bottom out. Once you hav...

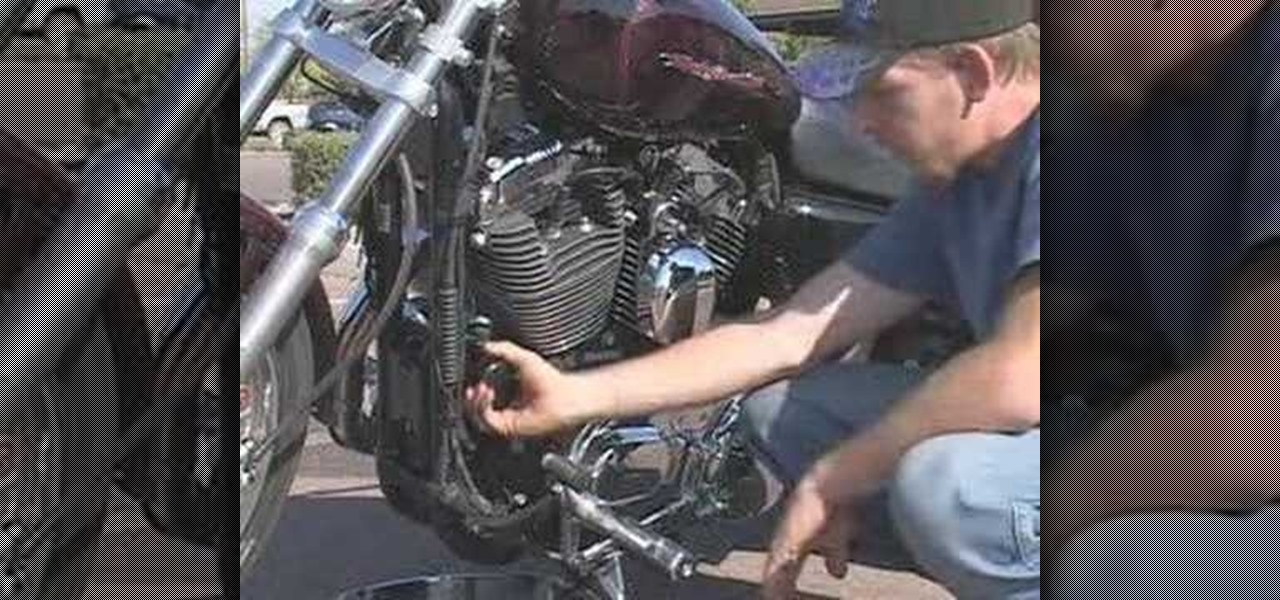
In this tutorial, we learn how to change the oil in your motorcycle. You will need: a drain pan, funnel, oil, screwdriver, filter, and paper towels. First, grab your oil pan and find your drain plug. Then, remove the plug and let the oil drain. After this has drained out, replace the plug to the motorcycle. Then, find the filter and let it drain out. Add in oil to the filter, then replace back into the motorcycle. From here, fill the motorcycle with oil, then measure it to make sure you have ...

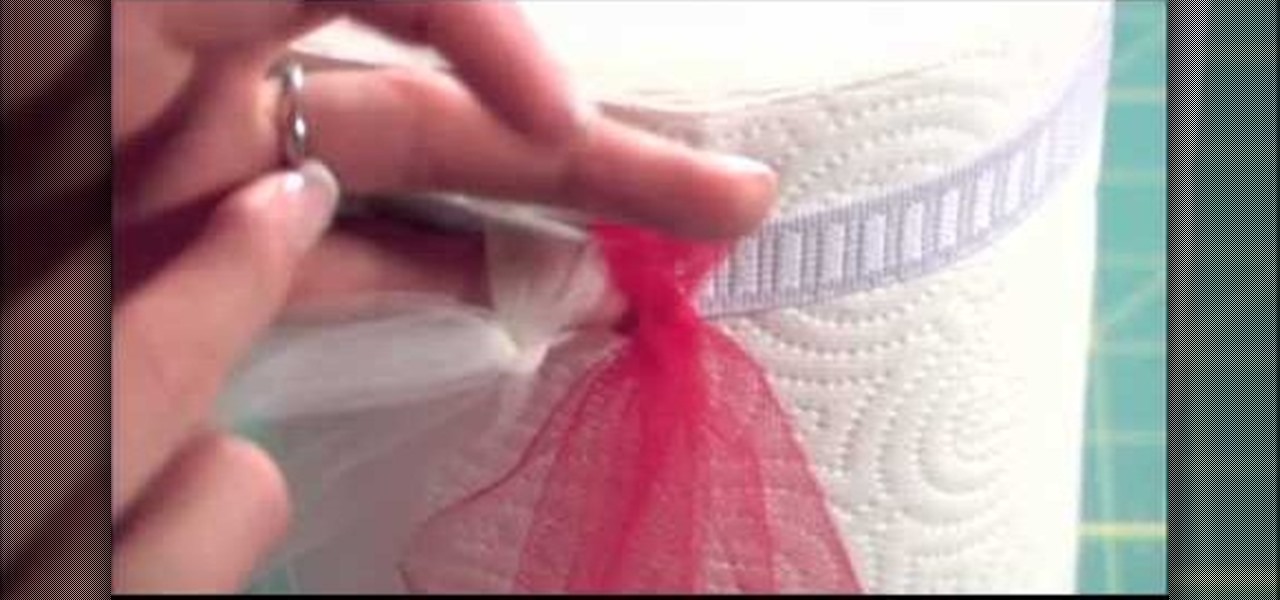
In this video, we learn how to make a colorful tutu. First, you will need to grab all the colors of fabric that you want to use on your tutu. Then, roll up the fabric of each color carefully, then cut it out to the length you have measured for your subject. After this, cut out one more smaller section of fabric from each piece until you have done this with all of the colors. Now, using a piece of ribbon as the waistband, tie each piece of colored fabric onto it, alternating colors each time. ...

In this tutorial, we learn how to make a tutu. First, you will need to grab a rotary color and some tulle, along with an elastic band for the waist. Now, measure out the tulle for how long you want your tutu to be. Now, cut out the measurements you have made. Gather up the tulle together in different colors, and then grab the elastic. Tie the top of the fabric onto the elastic, then secure it. Once finished going all the way around the elastic, tie the waistband and then you will be ready to ...

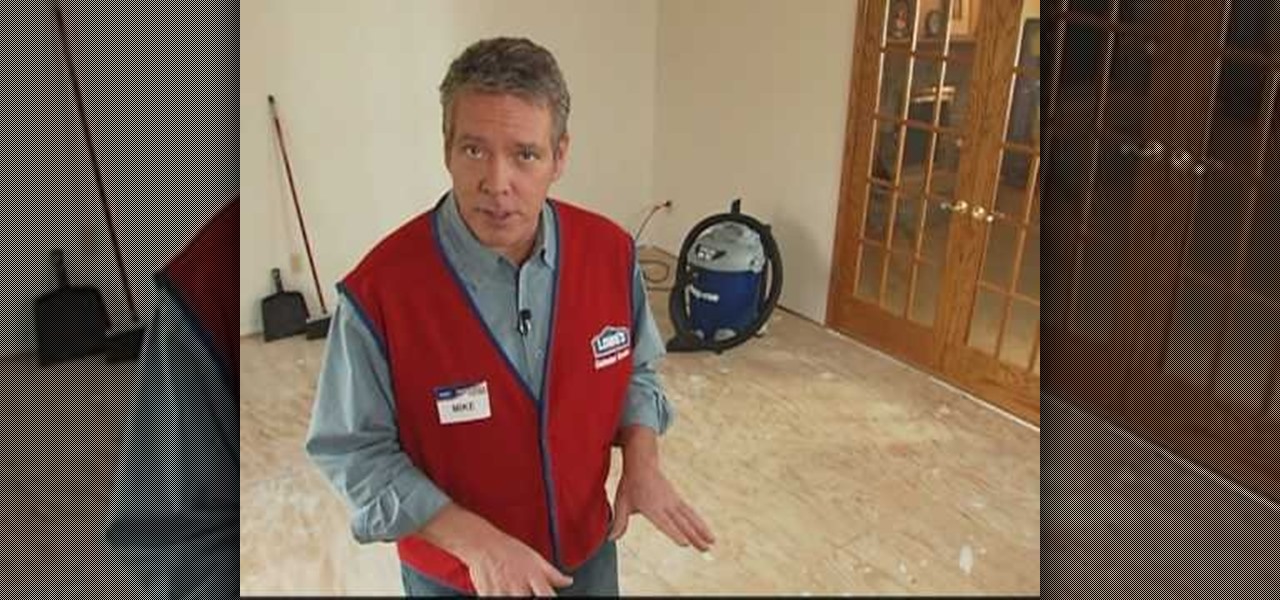
In this tutorial, we learn how to prep plywood subfloor for hardwood and laminate with Lowe's. Before you prep your floor, read the manufacturers direction and information on the flooring. After this, gather all of your materials and tools you need to complete the job. Then, measure out the floor to figure out how much material you will need. Take off all the carpet and base boards from the room, then clean off the floor from dirt or dust. When finished, cover the subfloor with the right type...

In this tutorial, we learn how to bake homemade white bread. To make this you will need: bread flour, garlic powder, an egg, butter, 3/4 c warm milk, 1/4 c sugar, 1 tsp sea salt, and 1.5 tsp dry yeast. Measure out all of the ingredients, then add them into the bread maker tray. Start with the wet ingredients, then add in the dry. After this, turn the machine on and set it to making white bread. Don't mix it, the machine will do this for you. After you set this, it will start to make itself an...

This video tutorial is in the Fine Art category which will show you how to fashion a wallet from duct tape. For this you will need an X-acto knife, duct tape of any color and a tape measure. Rip off a piece of tape about 10 inches long and place it sticky side up. Rip off another piece of same length and place it on the 1st piece face down but, covering only half of the tape as shown in the video. Fold down the 1st piece on top of the 2nd so that you will have only one half piece of sticky ex...

In this video, we learn how to draw Rukia. Start out by drawing a circle with a triangle shape at the bottom. Then, draw reference lines in the face to measure where the features of the face are going to be. After this, start to draw in the details of the face. Draw the eyes, mouth, nose, eyebrows, and any other details you need. Make sure the eyes match the original character and leave white for the pupils to show. Draw in the hair to finish up the drawing, making sure to draw the eyebrows a...

In this tutorial, we learn how to laminate stairs. First, you will need to grab your laminate and measure out the stairs. Then, cut out the nosing to the stairs. After this, you will need to cut out the laminate with a chop saw to place it on the front of the stairs so it looks nice and is fully covered on the stairs. You will need to place down glue on the laminate then press it down on the stairs and allow to dry. Behind the front piece you will place another piece of laminate and glue it d...

In this tutorial, we learn how to draw manga eyes. Start off by drawing the top of the eye, the measure how long it is. Then, make one eye width between each of the eyes and draw the other eyelid. Now, if you want to draw eyes in a different perspective, you will draw the line from the outside of the eyes to see where the line of vision would be. Next, draw in the lower lid and go around the form slowly. Draw large irises to make it look more like a manga character, then you will need to draw...

In this tutorial, we learn how to draw a parallelogram given base, angle & altitude. First, you will draw the base of the parallelogram, using your ruler to measure out the line. Next, you will draw a dotted line perpendicular to the line that you just drew that is 3 cm in length. Then, you will draw another dotted line on top of the one you just drew. This dotted line shows where the top of your parallelogram will be. Then take your protractor and draw it at the angle the problem gives you. ...

Having trouble with word problems in algebra? Watch this video to clear a few concepts as well as to learn how to systematically tackle word problems in exams.

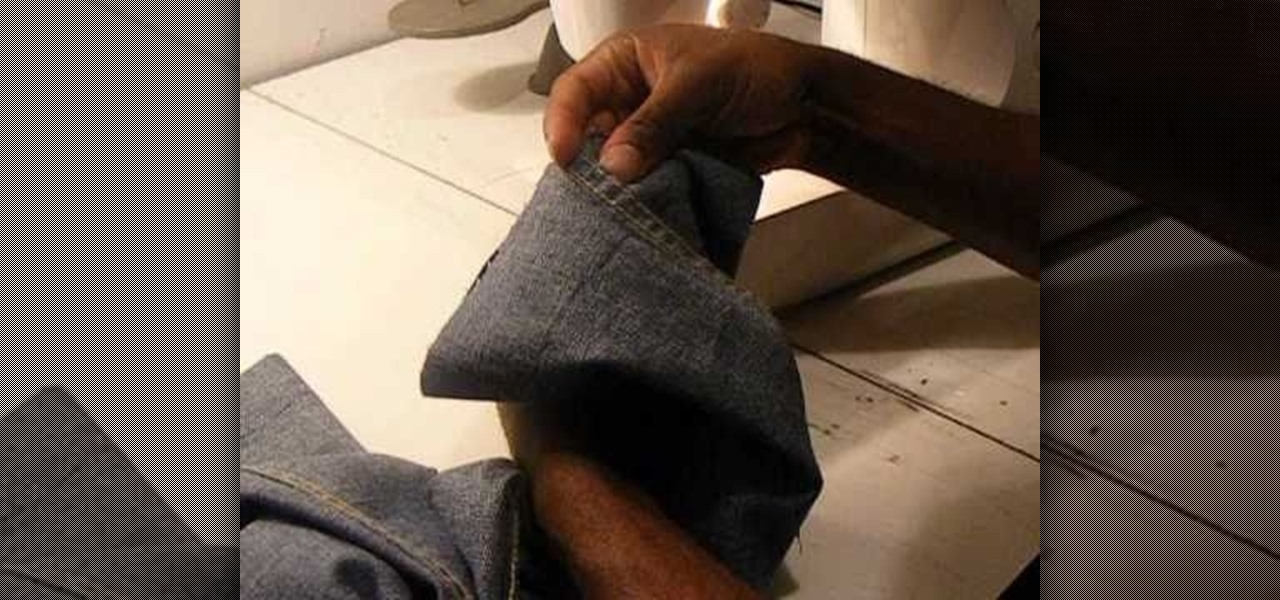
Are your jeans to long? How about your khakis? Corduroys? No matter what kind of pants you have, if they're too long, you can easily shorten the length with a few snips, a few marks and a basic sewing machine. The Brother LX-3125 compact sewing machine is used in this video, but any will do. See how to take a pair of jeans, cut and resew them like new again!

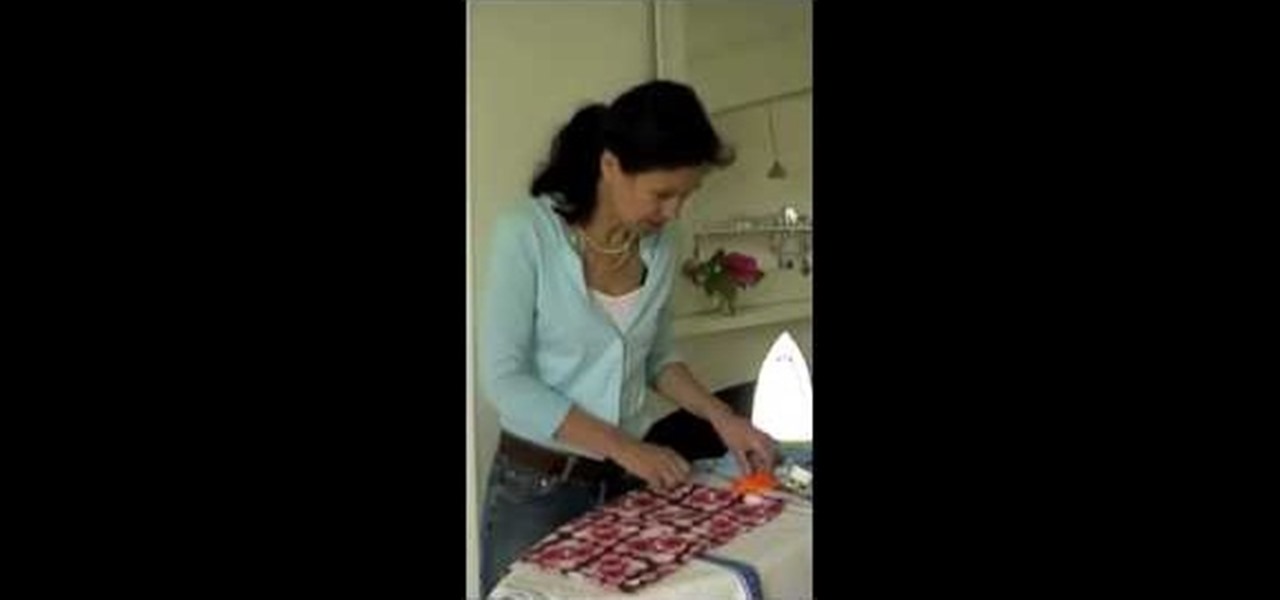
In this video, we learn how to make a "purt" or a "shirse". To start, grab an old shirt with buttons and measure out an area from the top to cut down. After this, cut the area out cutting the top and the back of the shirt. Then, take a sewing machine and sew the sides together. After this, grab a tie that you have and wrap it around the front of the shirt that you have just sewed. Now, when you want to look like you are wearing a shirt and tie without actually wearing one, you can slip this o...

Could you use a hand tackling metric conversions? You're in luck. From Ramanujan to calculus co-creator Gottfried Leibniz, many of the world's best and brightest mathematical minds have belonged to autodidacts. And, thanks to the Internet, it's easier than ever to follow in their footsteps. With this installment from Internet pedagogical superstar Salman Khan's series of free math tutorials, you'll learn how to convert between metric units in basic mathematics.

In this video, we learn how to play Nickelback "If Today Was Your Last Day" on guitar. This is a faster strumming song that has a lot of B minor chords played in it. The other chords you will play for it are a D and an A. The D and A will be played in two measures, then the rest will be played with a B minor. The song goes up and down, then goes back to the quick strumming pattern as before. You may need to get used to how quick this song goes, but it can be done easily after you get the hang...

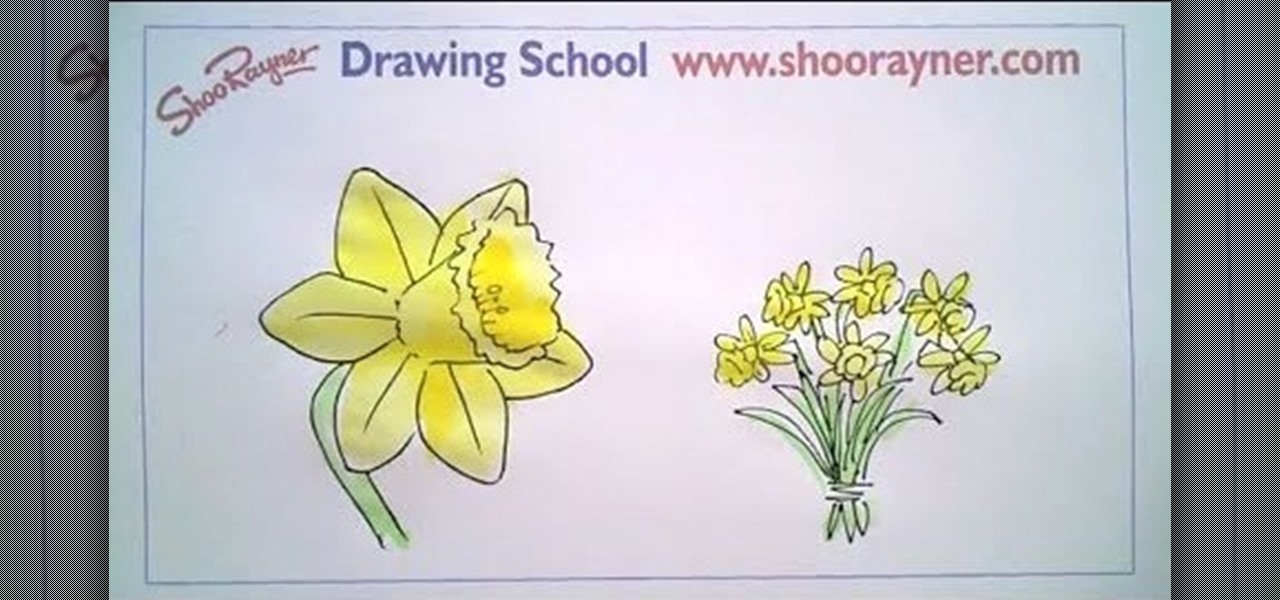
In this tutorial, we learn how to draw a daffodil for St. David's Day. Start off by drawing a circle to measure out where all of the different petals are going to go, then draw a circle in the middle you know where the middle will go. Next, start to draw out the petals onto the circle. After this, draw the middle of the daffodil with the seeds that are in the middle. After this, draw the lines that are in the middle of the leaves. You might want to use a real flower for a reference picture on...

In this tutorial, we learn how to revamp a junk shop dress. First, you will need to measure out how short you want the dress to be while still wearing it. After this, take the dress off and pin it where you want to sew it. Cut off excess fabric, then sew the hem of the dress where you want it to be. Next, place the dress back on and pair it with some cute leggings. You can buy a cheap dress and make it look nice without having to pay a lot. Pair this will some cute accessories and you will ha...

In this tutorial, we learn how to make a wallet with card holders from duct tape. First, you will need to cut out duct tape in several strips to the size you want. You can use any color of duct tape you want. Next, you will start to overlap the duct tape on top of each other so there are no stick sides, then finish it by overlapping the last piece. Continue to do this, then fold it in half to make a wallet shape. Next, you will make card holders. Measure out how large the holders should be by...

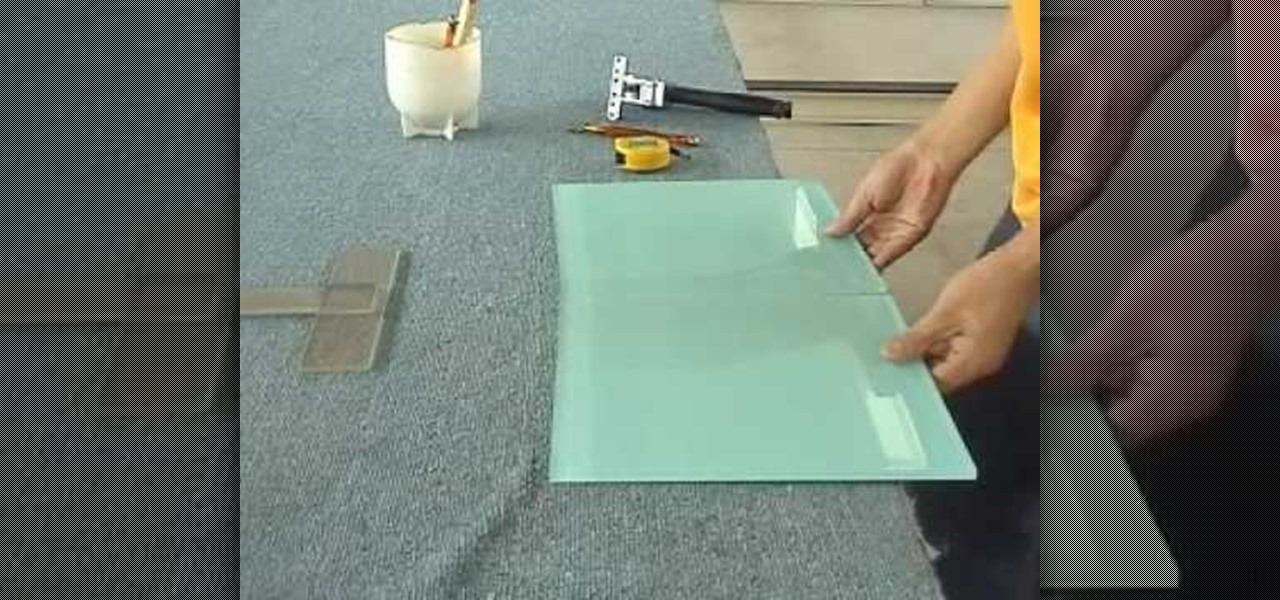
In this video, we learn how to cut large format glass tiles. First, measure out where you want the cut to be on the glass, then cut it with a sharp X-acto knife. After this, use a glass cutter to cut the bottom of the glass and create a crack what will go down to the cut that you just made. After this, break the two sections apart and you will have two piece of tile out of your large one. You can do this on any kind of tile and it takes just a few short steps. When you're done, sand down the ...

In this video, we learn how to make a gift Christmas jar with Stampin' Up! First, take any type of jar you want to collect money in. After this, rinse out the inside and remove the labels off of the bottle and measure them. Now, take a piece of card stock and cut it out to make the length of the label from the bottle. Now, decorate the bottle with different Christmas decorations and then tape it onto the jar or bottle. Next, add on different types of felt cut outs to the jar as well. To finis...

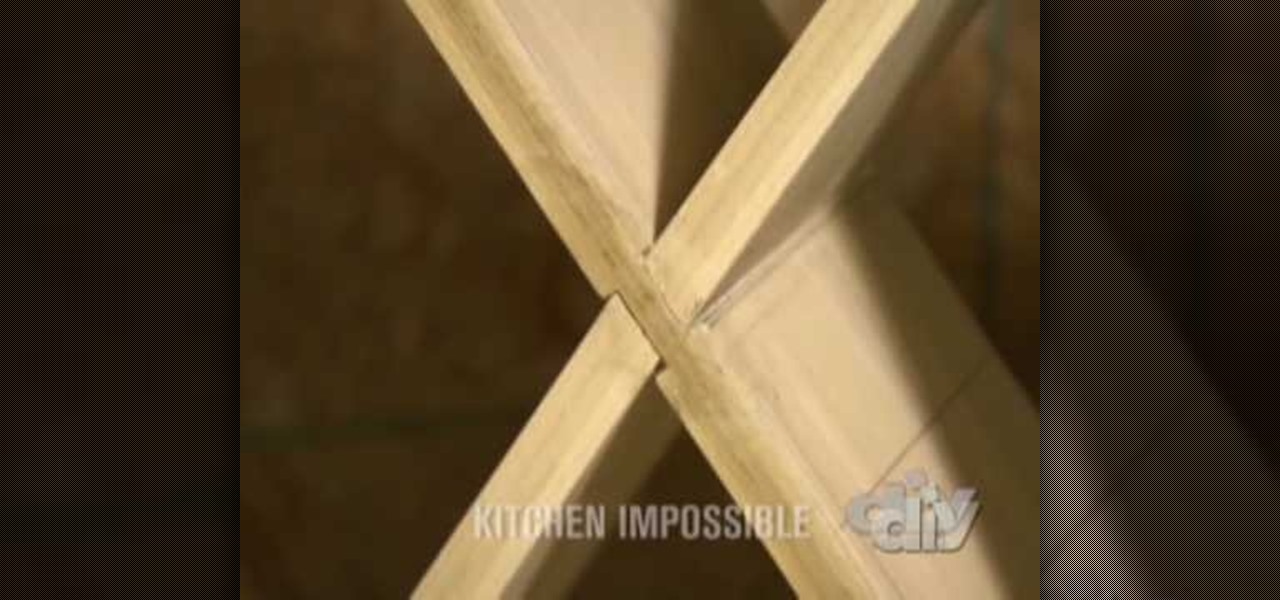
In this tutorial, we learn how to make a poplar wine rack. First, cut the top, bottom, and sides of the rack. Then, use a router to cut out the center of it. Now, assemble the rack together by using wood glue. After this, measure the length of the diagonals, then add in pieces of wood that are criss crossed throughout the box. Next, keep these in place with some wood glue and then place wine bottle on the inside of them. This will make a great wine rack for any home and you can paint it as we...

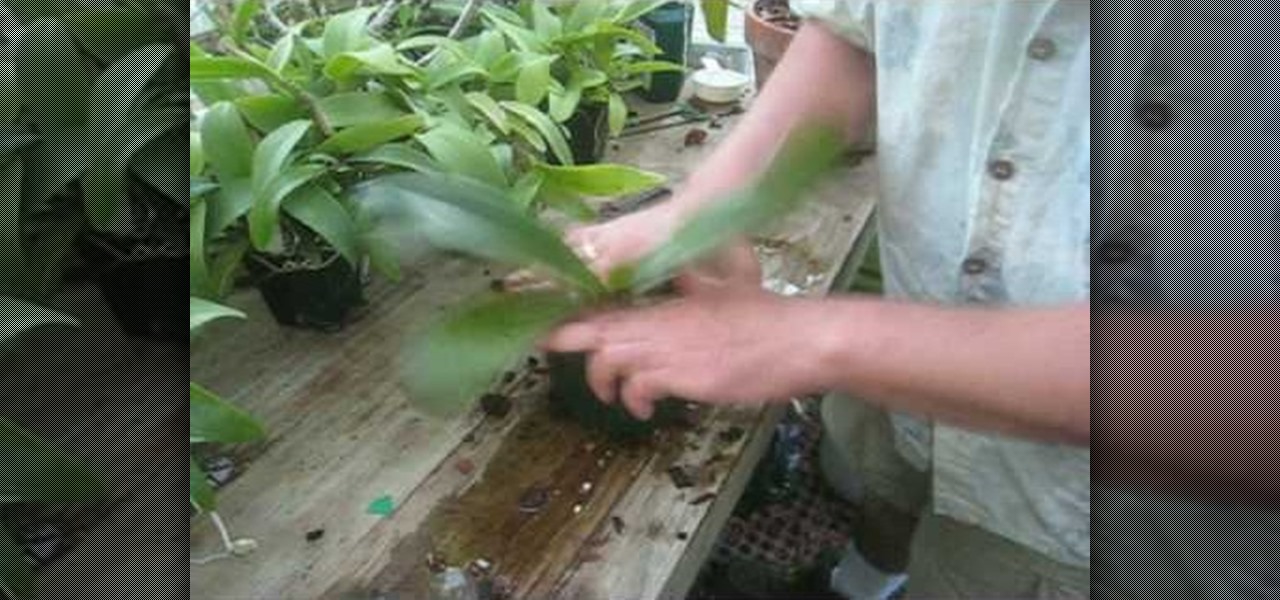
In this tutorial, we learn how to repot a phalaenopsis orchid in a bark mix. First, take out all the moss from the plant and wash off the roots. After this, get the plant ready for trimming and trim it at the very bottom of the roots. Measure the depth of the pot to make sure the roots aren't too long. Now, gather the roots and place them down into the pot with packing peanuts and soil inside of it. After you do this, pack in soil around the sides of it and keep it watered so it doesn't die out.

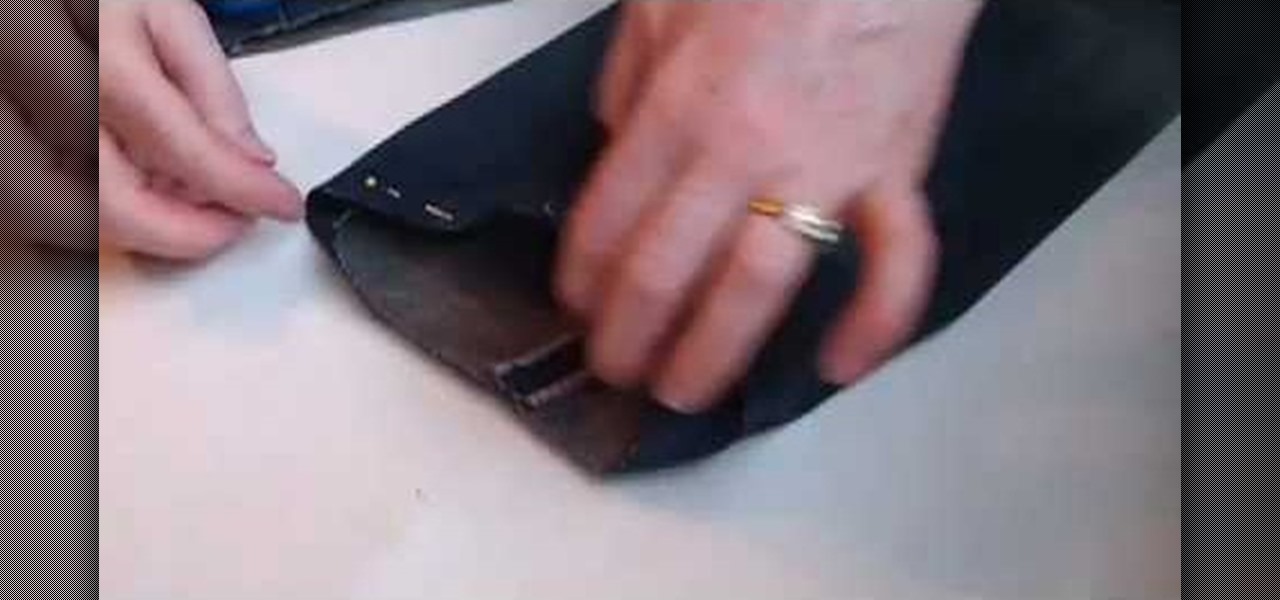
In this tutorial, we learn how to hem your favorite jeans with Laura. First, place your jeans on your body, then cuff them where you want to hem them. Next, take your jeans off and pin the cuffs where you wan to hem them to keep them in place. Next, measure out the length of the hem and mark it with a piece of chalk, then you can take out the pins. Next, you will cut the pants, then pin them back where you want to hem them at. After this, you will take them to the sewing machine. After this, ...

This video tutorial is in the Home & Garden category where you will learn how to install a kitchen backsplash with glass tile accents. A tile can be attached to walls with the help of mastic. It doesn't require mixing and it is stronger than mortar. Before applying mastic, sand the wall surface lightly. Don't sand away the paint. Clean the surface with damp cloth. Layout the tile pattern below the space and measure the dimensions. Do the marking on the wall of the centerline. Apply a thin lay...

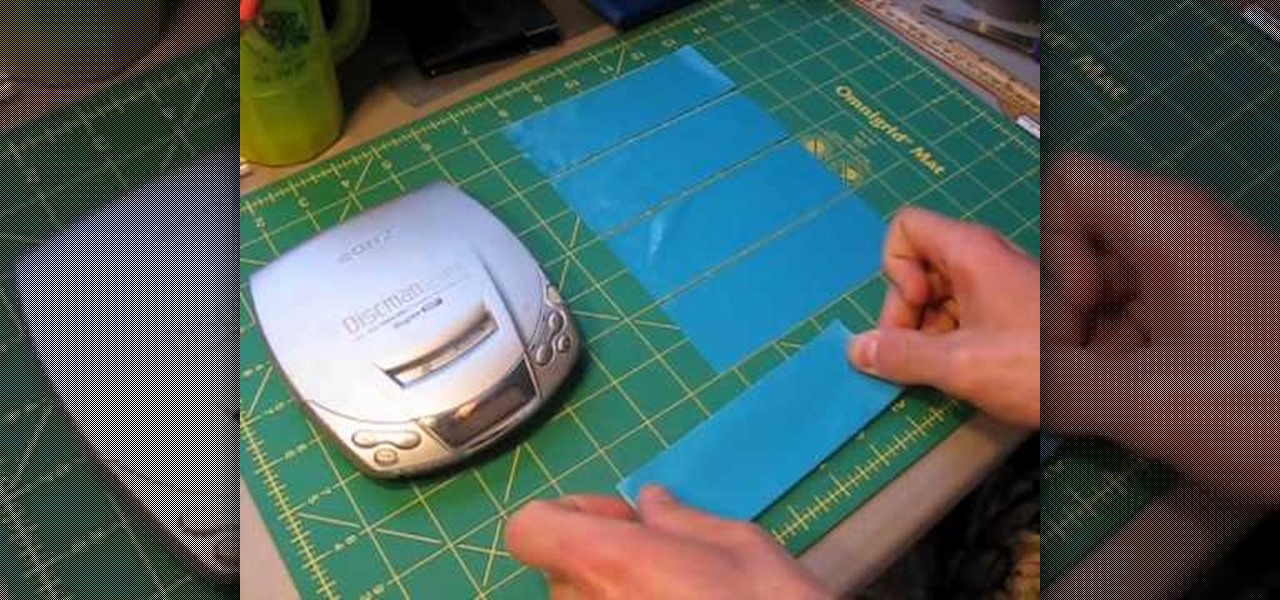
In this tutorial we learn how to make a duct tape CD player holder. First, measure your length, width, and height of your CD player. After this, cut out the color duct tape you like in strips that are the right size for your player. Now, take your first two strips and stick them together. Now, take the third one and apply it to the bottom, flip it over and stick another one on top. Keep overlapping these with several strips until you get to the height of the CD player. After this, place the s...

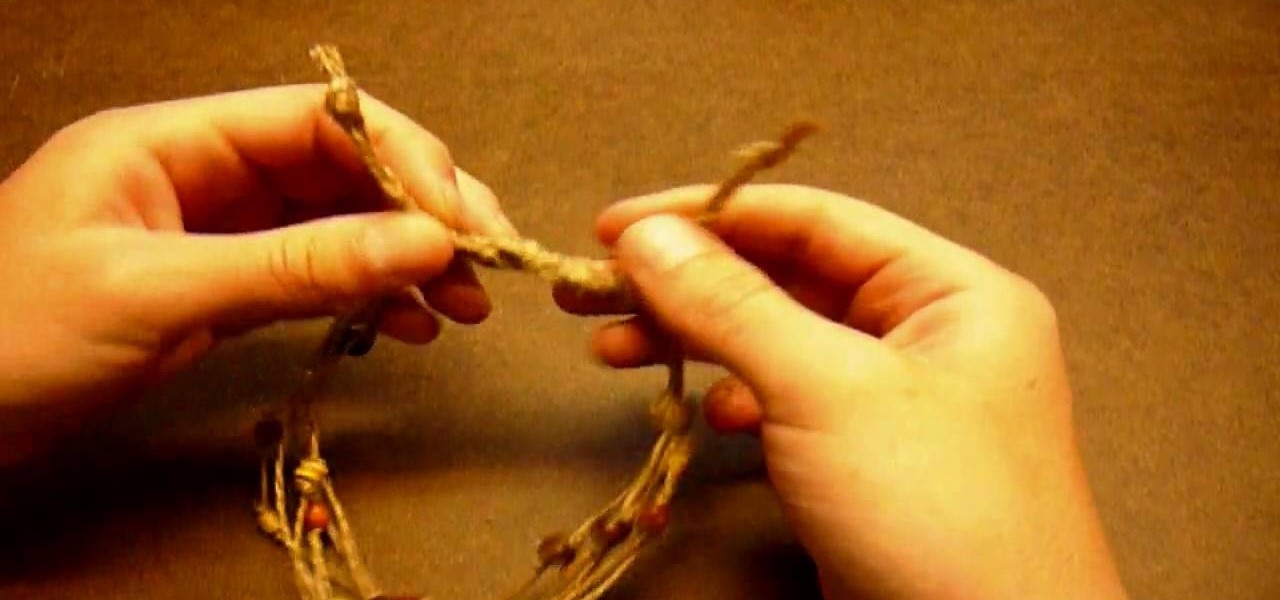
In this tutorial, we will learn how to make a simple beaded hemp anklet. Start off by measuring six 34" strands of hemp. Now gather the hemp strands and tie them into a knot at the end, pulling the strands tight. Clip the end into the clipboard and start to tie your hemp strands into a braid. When you reach the bottom, tie a knot and pull tightly. Now, add wooden beads onto your anklet and keep braiding in between these on other anklets. When you are finished, you can give these to friends as...

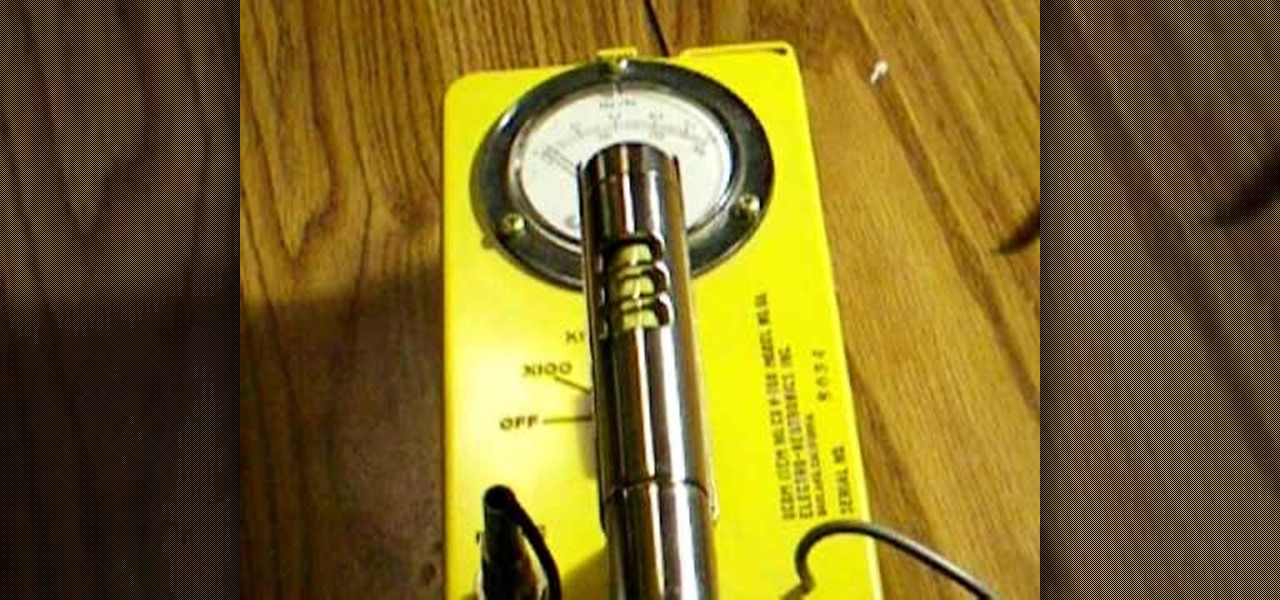
In this tutorial, we learn how to use radiation detection equipment. To use the dosimeter, you will remove the cap, then place the pipe on and push down on it. A light will come on, and you can use the knob to zero it. When you look in, you will be able to see it's measured in Roentgens per hour. When you are done using this, zero it again. Next, you will have a CD Geiger counter which has three positions for the knob. Whatever it is set on, you multiply the reading by that number. If you tur...

In this tutorial, we learn how to increase your Wi-Fi signal with a coffee can. Materials you will need are : a knife, a coffee can, tape, USB Wi-Fi adapter, and marker. First, measure 1 inch from the bottom of the coffee can then trace your USB around that mark. Now, cut a hole in that shape in the can. Next, cover the hole with your tape. Next, hook your USB up to your cable adapter, and then place it in the coffee can. Now, plug your USB into your computer and you should have more signals ...

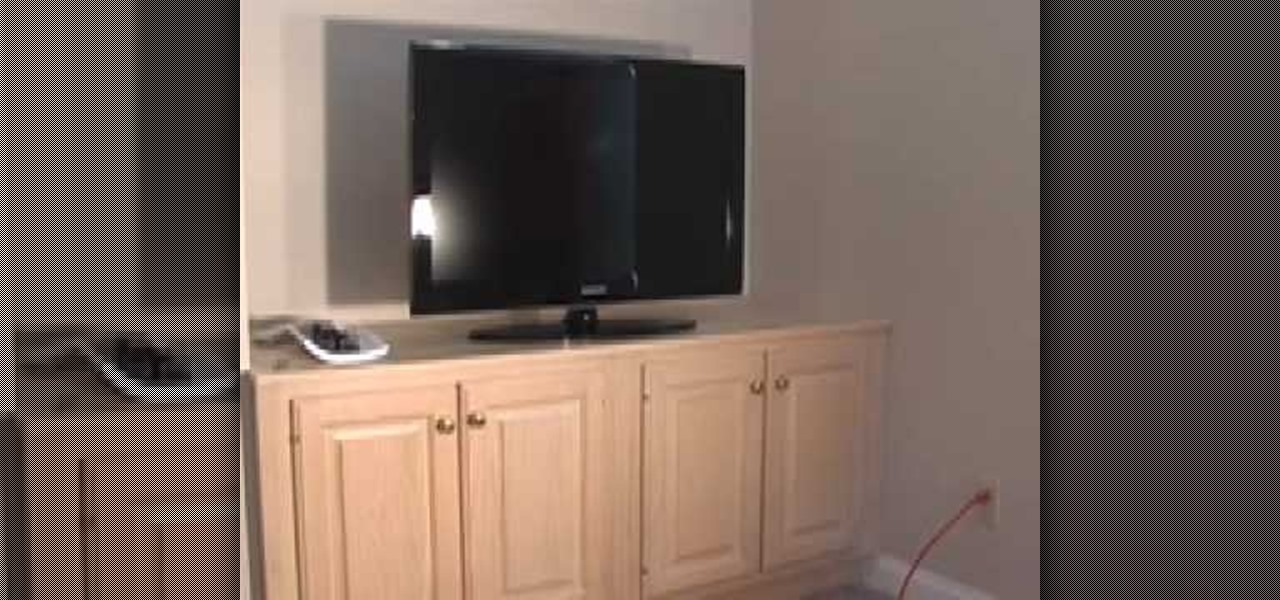
Bob Schmidt tells us how to set up cabinets for an entertainment center in this tutorial. First, make sure you set base cabinets next to your wires and put a hole in the back of them so you can cover the wires up, but still have easy access to them. You can easily make these holes by using a small saw to cut them out after measuring the correct sizes. Next, Set your counters so they fit perfectly inside of your wall space. If you need to, cut out your panels and replace with mesh ones that le...

This video tutorial is in the Home & Garden category where you will learn how to install an interior door set on a pre-bored door. For this you will need a tube latch, straight plates, door plates, two knobs, two sets of ring guides and a spindle. You will also need a tape measure, ruler, screwdrivers, a drill and safety glasses. A pre-bored door has a face and an edge bore. First install the tube latch through the edge bore ensuring that the angle side of the tube face is towards the door ja...

In this tutorial, we learn how to find the North Star. To find this, measure the angle distances on the sky, while using your hand stretched out at arm's length. For the angles, three joined fingers make 5 degrees and a fist makes 10 degrees. You can make 15 to 20 degrees using your entire hand. Polaris is in the center of the sky, but it is not the brightest star there is. If you can find the Big Dipper, you will be able to find the North Star because it's in line with this. By using this te...

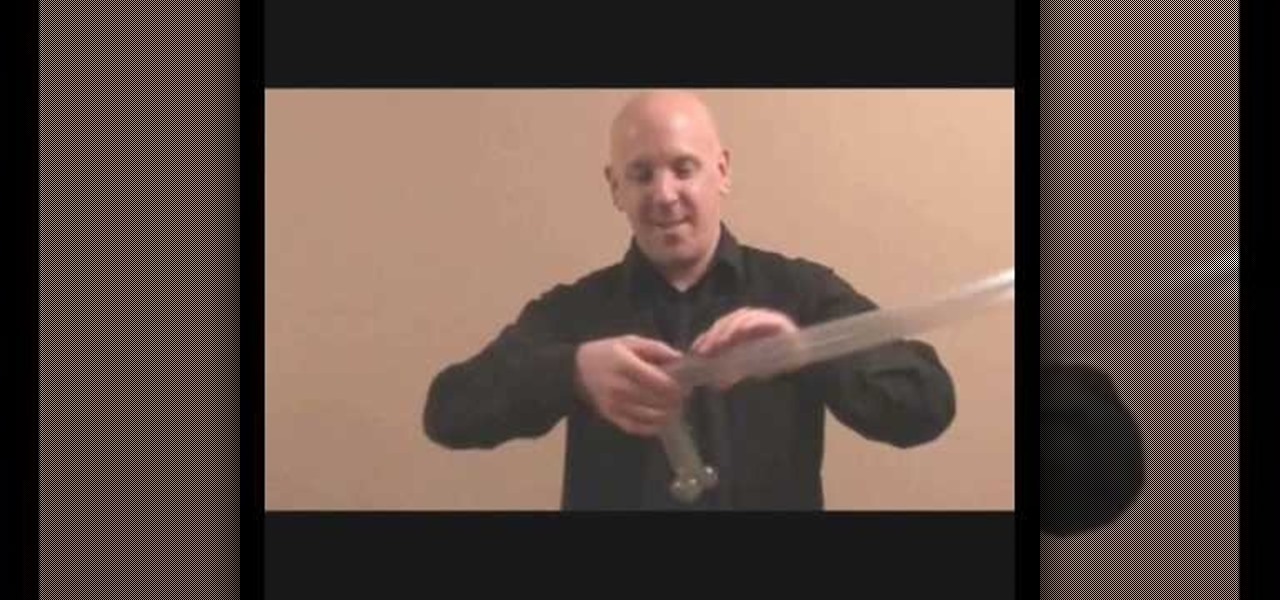
In this video tutorial, viewers learn how to make a basic balloon laser sword. Users will need a tube balloon with approximately a 3 finger tail. Begin by twisting a 2 finger bubble and then turn it into a pinch twist. Now make a second finger bubble and turn it into a pinch twist as well. Measure the size of the handle and then twist it at that point. Now create another 3 finger bubble with a pinch twist for the top of the handle. Pull the blade part in between the 3 pinch twist and straight...


