The video explains how to change the background color of objects using Photoshop in a simple manner. This way is better quick mask mode, because this way is more efficient and more advanced. First you click control G, Image control color and then you take the Image samples. The tutorial shows how the oranges are changed from their original color into a reddish color. Then it shows you how it adjusts the shadows of the oranges and the color of the leafs. The video is quick and it explains full...

In this video the tutor demonstrates the magnifier tool of Microsoft Windows 7. If the size of text is very small on your screen and you are facing difficulty reading it you can use the magnifier tool to resize the text to read it clearly. You can change the resolution but this makes the LCD screen look blurry. So to do this go to the Start Menu and select the Magnifier tool. Now there are two buttons with minus and plus symbol on them. Click the plus button to magnify the screen around that ...

In this episode of Digital Photography 1-on-1, host Mark Wallace goes in depth on the subject of light metering and flash balancing. Making use of a Sekonic light meter, Mark shows how to read the light levels in a room, and explains how to interpret those readings in order to adjust flash levels, ISO levels, and alternative light source manipulation. Mark also goes over the important roles that aperture settings and film speeds play when attempting to successfully balance flash and ambient l...
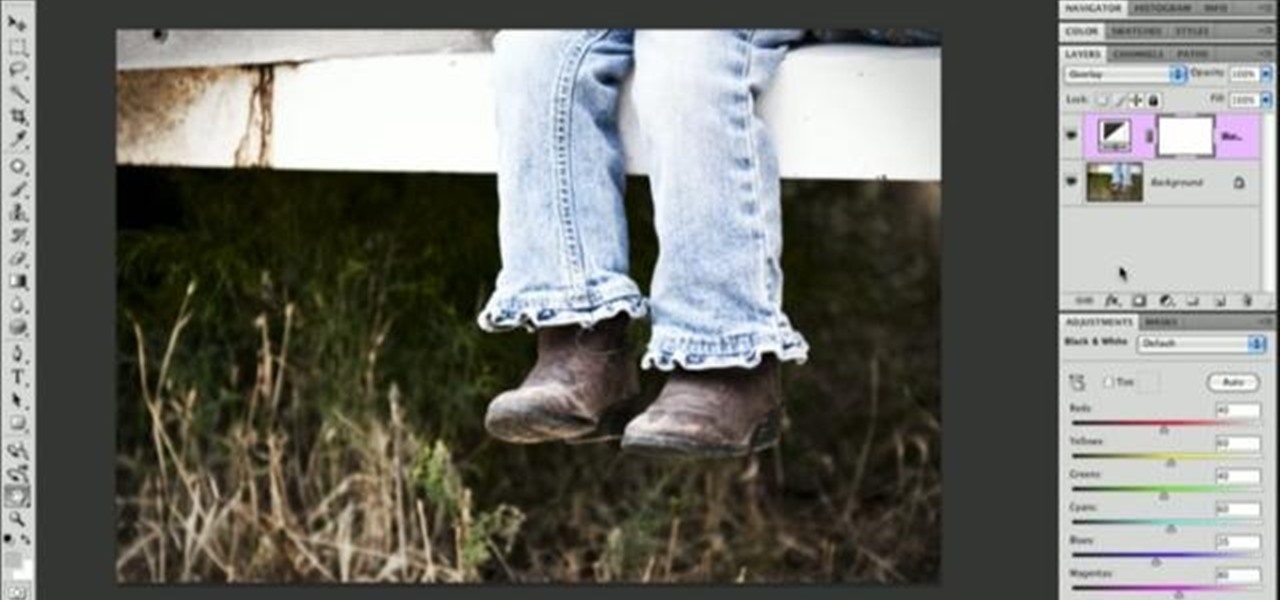
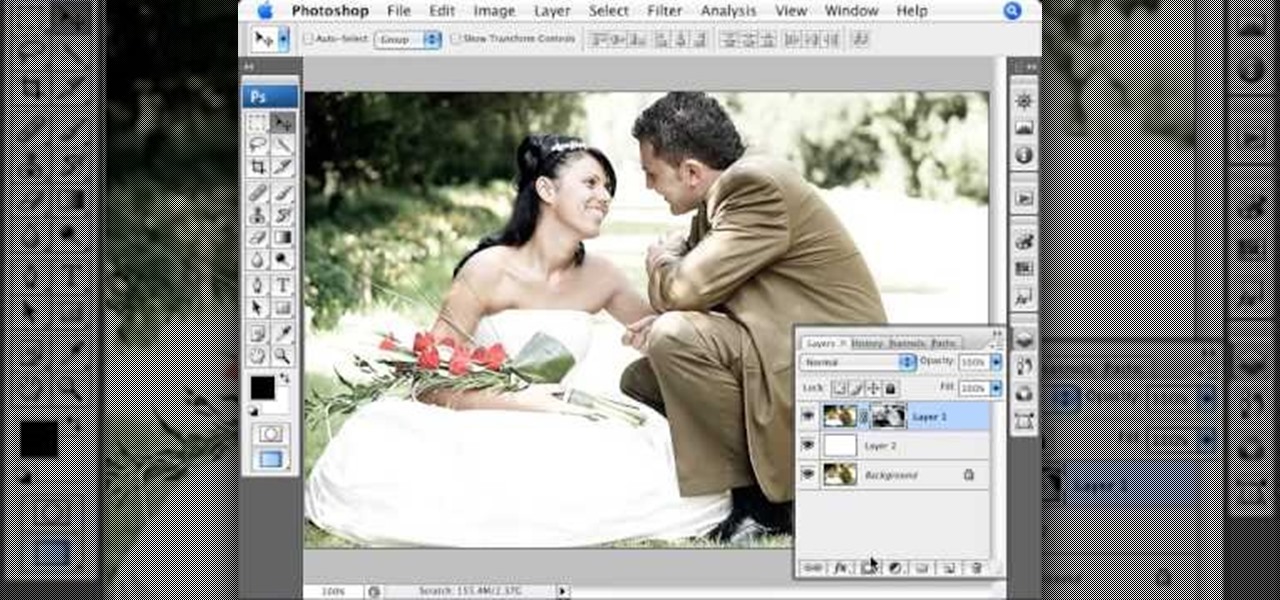
In order to add a nice contrast punch to an image using Photoshop, go to your adjustment layer and click on the black and white adjustment layer. Then go to your "blend modes" and change it to "overlay". If you find that the effect is too harsh you can adjust your opacity settings or you can switch your blend mode to "soft lights". In "overlay" using the black and white adjustment panel you can change your settings to meet your preference. If you are using a previous version of Photoshop that...
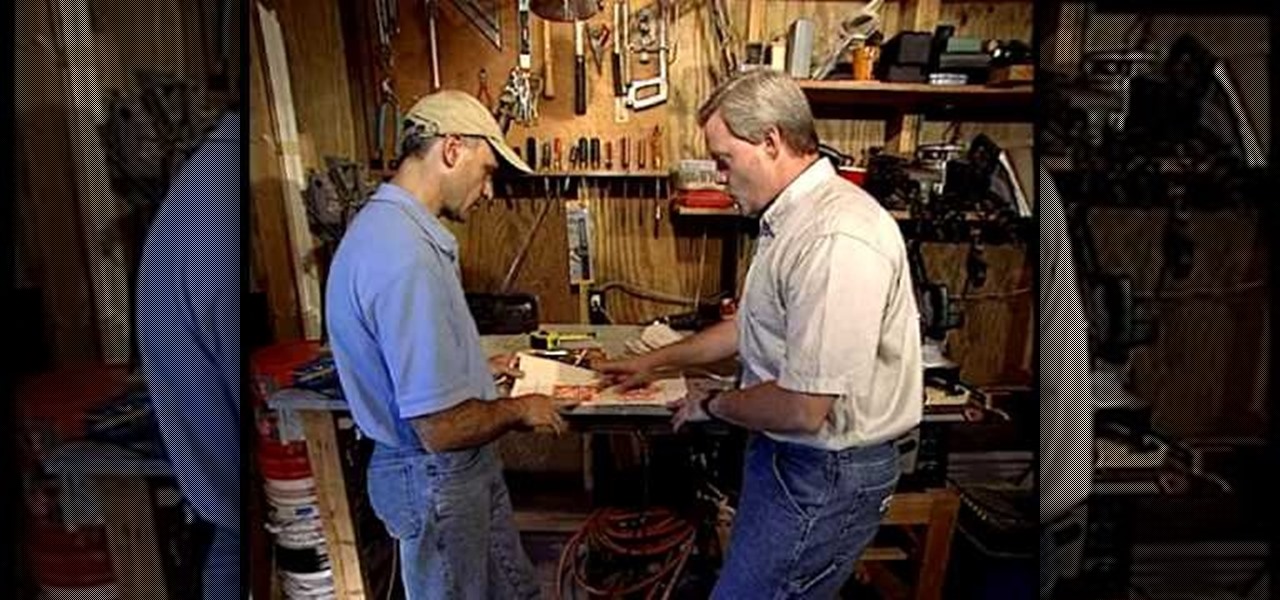
In a tool shed there are two gentlemen discussing how handy a well organized tool shed or tool box is. One man starts to say that he has come up with a easy and in expensive way to keep hand tools organized. Find a old simple nail apron and draw some lines down the pouch. This lines will later turn into places to put tools so it is a good idea to think ahead about what tools you will end up using and adjust the size accordingly. Next, snitch up those lines that you have drawn. Finish up by pu...

This is a fantastic video, which guides us how to adjust auto play setting in our laptops. It shows systematic moving snapshot demonstration of the auto settings procedure of Windows 7. The speaker tells us to go to the start menu and then click on the control panel. Inside the Control Panel click on the Hardware and sound menu, which will open a new window, and then click on the Auto Play option? The window that opens now gives us several options to choose when we insert different types of d...

This video is a tutorial on how to set the screensaver in Windows 7. To start, you need to click on the start menu. Next, click on control panel. Click on the personalization link in the first column. On the next screen, go to the bottom right and click on the box labeled 'screensaver'. It will open up a new window. From that window, you can click on the drop-down menu to select a variety of screensavers. You can see the preview of the screensaver in the animation above the buttons. You can a...
DominickDiy teaches you how to use a wood router. You figure out what and how you will use it for by looking at it and adjusting the blade. Then lock it into place and you're ready to cut. The piece of wood you'll be working on should be on top of a piece of rubber mat, so that the wood doesn't slip. You also don't want the router to slip, as it might injure you or cut a wrong way. You go from a rip to a cross cut, when going from one side to another, via a corner. So one time you will be pus...
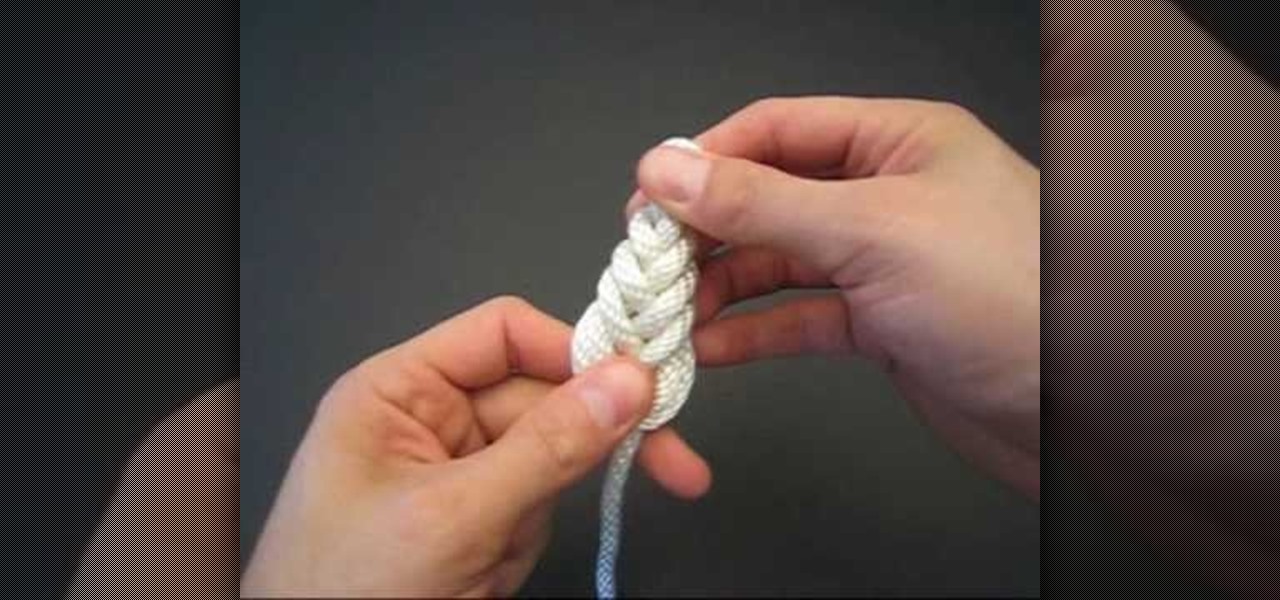
In this Tying It All Together video tutorial, you will learn how to tie a decorative pipa knot. To begin, take a piece of rope and fold so that you have two strands. Create a loop and take the left strand and loop it around the original loop. Continue doing this until you have layers of loop-like structures, gradually getting smaller and folding into one another. The effect is a woven-like structure. To actually secure the knot, fold the end strand into the last loop and then pull this end st...
In this video the instructor shows how to user printer options in Microsoft Word 2007. To do this go to the Microsoft button and click it. Form the drop down menu select the print option. Now you are presented with the three options of Print, Quick Print and Print Preview. Print is used to directly send documents to the printer by selecting the necessary settings. Quick Print is used to quickly send the documents to the printer using the default settings. Print preview is a useful way of seei...
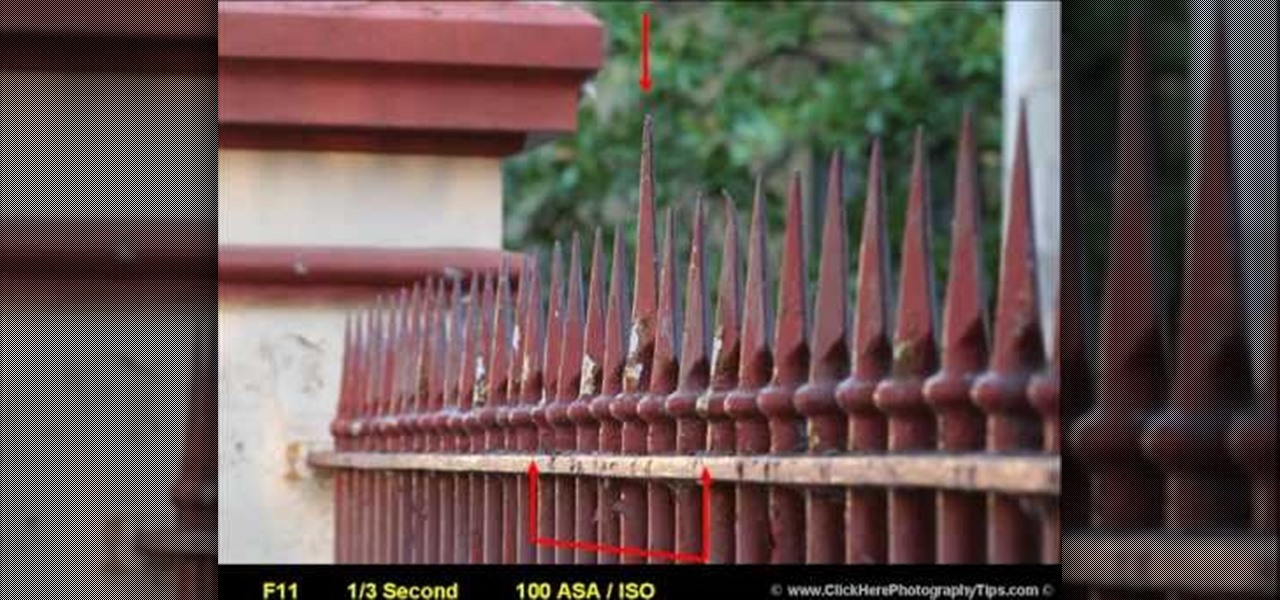
Attention ghost hunters! Capture your ghostly findings on film with help from this video tutorial on how to photograph ghosts. Ok.... Yes, they aren't real ghosts, but merely physical people looking transparent and lucid. Nonetheless, this is a great technique to learn for beginning photographers who are looking to get started experimenting with their cameras. This instructional video hosted by Click Here Photography goes into depth about what equipment was used and how to adjust your camera ...
Learn how to use depth of field with help from this photography tutorial. Although it may seem that depth of field is a confusing factor in photography, it's actually quite easy to understand & adjust once you've gotten the hang of it. Depth of field (or, DOF) is a great way to experiment with your photography & improve your skills as a beginner photographer. When taking your photograph using DOF, it is imperative to remember that the shutter speed and aperture (or F-stop) need to change at e...
If you have ever wondered how to create a Rorschach knot, this tutorial will show you how to do it in no time. A Rorschach knot is indicative to the blotchy silhouette of Rorschach inkblots, which are primarily used during psychological evaluations. A subject's perception of inkblots are recorded using these. This video is going to be walking you through the process of tying your Rorschach knot, as well as the ways in which it needs to be adjusted while being tied. You will also learn a bit m...
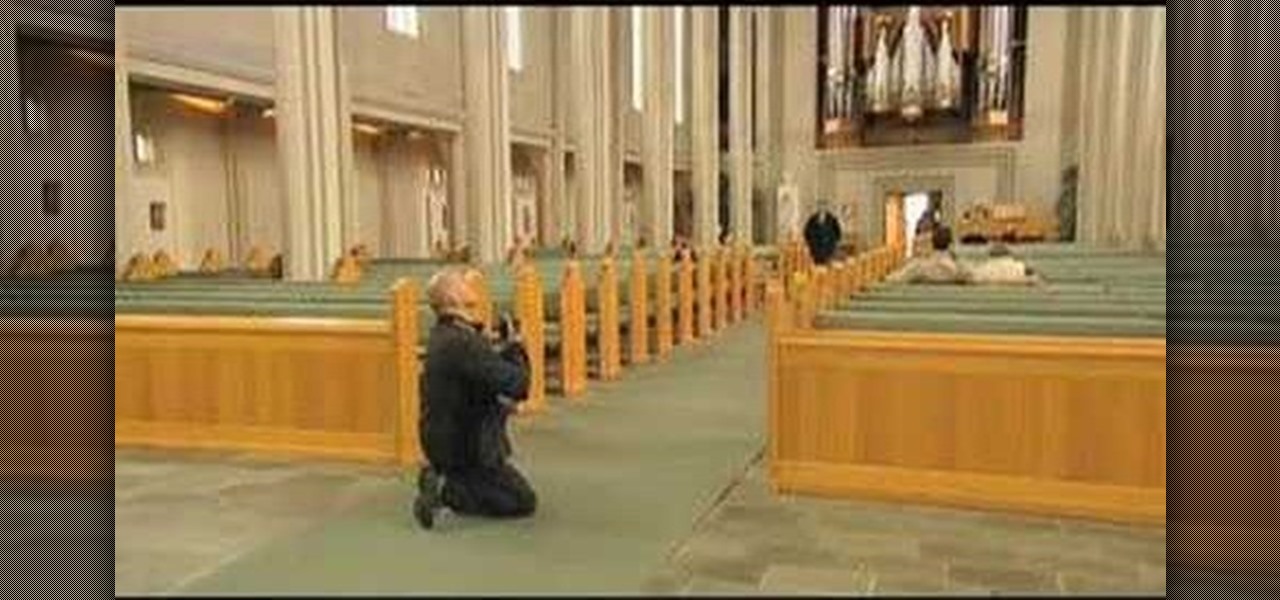
This 5 minute video covers the basics of photographing architecture using Nikon equipment. It gives good basic explanation of basic lessons in architecture photography, including selecting a proper position and distance to either provide or avoid distortion as desired, selecting the proper lens, selecting the film speed for indoor photographs, and how this may affect your choice to use a triPod, and even how to use Nikon's software to correct or adjust photographs after they've been taken. If...
If you're into arts and crafts then you know that there is more that you can do with a long piece of string than just tie your shoes. On this TyingitAllTogether video you have the opportunity to tie the teacup decorative knot using one long piece of string folded in half. The author of the video first shows you what the end product will look like then methodically begins to walk you through setting up the string in Y-configuration to "crossing each bights crook" which involves overlapping and...
Steve of Element Tattoo Supply demonstrates how to set up a tattooing power supply, specifically the Silver Bullet model. It has a voltage switch on the back. If in the US, set the power supply to the 115-volt setting. Outside the US, switch to the 220 volt setting. There are two power plugs in front for tattooing equipment (such as a foot pedal), and a dial for adjusting the power. The relative power is displayed on a LED display.
In this Photoshop tutorial the instructor shows how to mask a photo to itself and produce a glowing effect. First open the image in the Photoshop tool and duplicate a layer and add another layer in between filling it with white. Now select and copy the whole layer. Add layer mask to it and alt click it. Now paste the copied layer on the masked layer. Now do the control+I to invert the masking. Now the images gets a glowing effect on which you can apply the glossy effect on it. Now merge all t...
Learn how to keep a knife sharp with this video. Just follow a few steps. When your knife is not sharp it poses some problems so follow the steps.
Step 1: Film yourself in the first position which you want your audience to see. Step 2: Film yourself in the second position you want your audience to see.
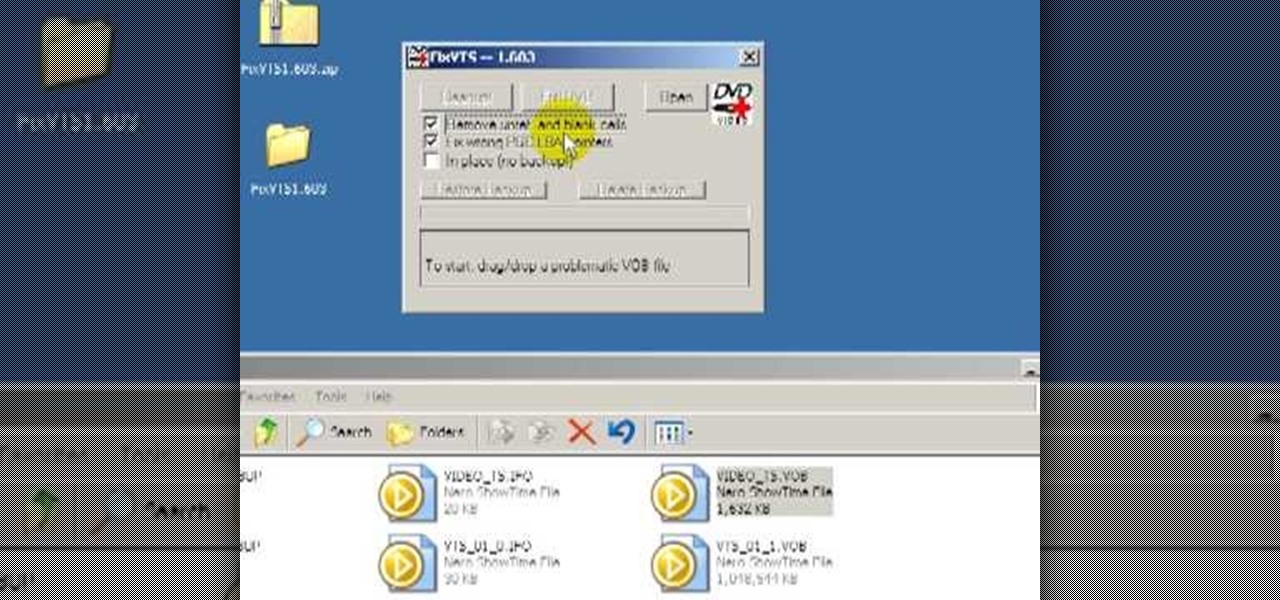
See how to repair invalid DVD navigation and structure with FixVTS. With FixVTS, you can easily repair the internal structure of a DVD. This is good for DVD menu correction, invalid DVD file structure and invalid navigation error messages.
This image editing software tutorial shows you how to redo levels settings in Photoshop CS3. You've spent time working on adjusting the RGB levels of an image, or ANY levels settings and you make a mistake and accidentally lose those changes. The history panel doesn't have them so what do you do? Think you lost the last settings you used while using levels and you have to start over? Think again and watch this Photoshop tutorial to get them back!
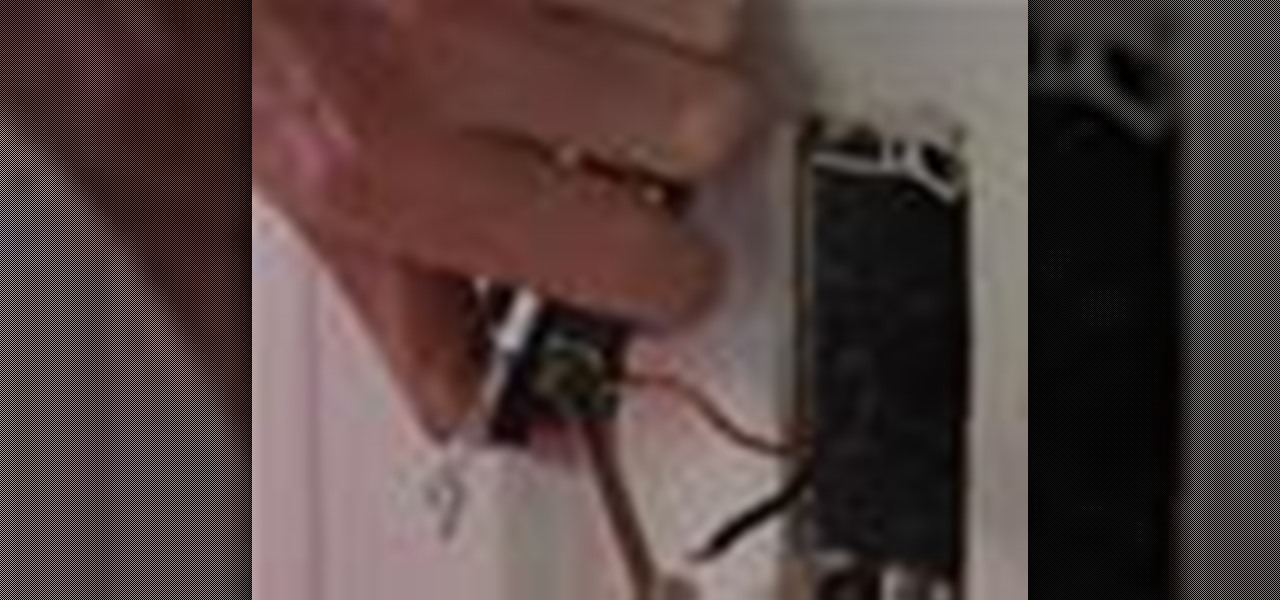
How many handymen does it take to install a dimmer switch? None, you can do it yourself in a snap. A dimmer switch can make a room more comfortable, by allowing you to adjust the light to just the right brightness at the moment. You will need a screwdriver, a circuit tester, a wire cutter, a wire stripper, and 3 twist-on wire connectors. Watch this video tutorial and learn how to install a dimmer switch.
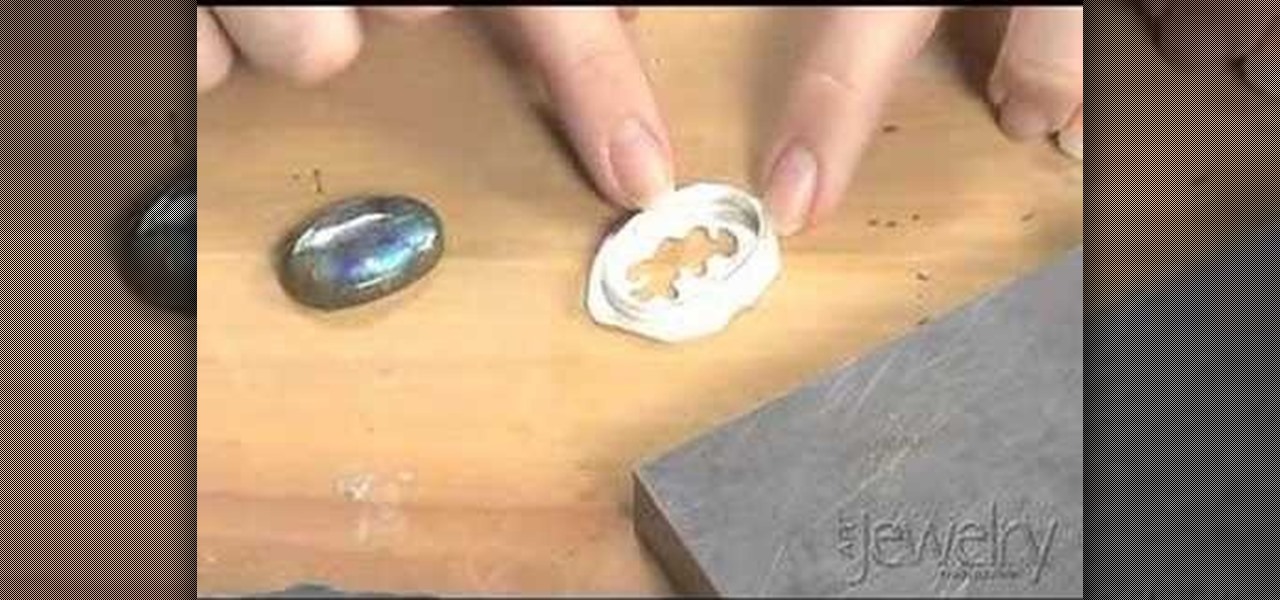
In part one of her three part instructional video series on setting a cabochon in a bezel, Art Jewelry Magazine associate editor Addie Kidd shows you how to adjust your bezel's height to match your cabochon. This technique is essential for making pendants or any jewelry with a large stone centerpiece. Learn how to set a stone or jewel cabochon by watching this video jewelry-making tutorial.
Watch as Manjula prepares for you a delicous spicy puffed pastry, or khasta kachori. For this recipe you will need:
Watch as Majula show you how to prepare a dal makhani, a favorite Indian dish. You'll need:
Continuing on with budget lighting, we explore using Fluorescent and LED lights, along with using available light, bouncing it with a reflector. These setups will work great for interviews, video casting, vlogging, and the likes. These lights use less power and also generate much less heat then big halogen work lights, and the price can't be beat. We also show the benefits of adjusting white balance on your camera, with lots of before and after shots. If you are shooting independent movies, s...
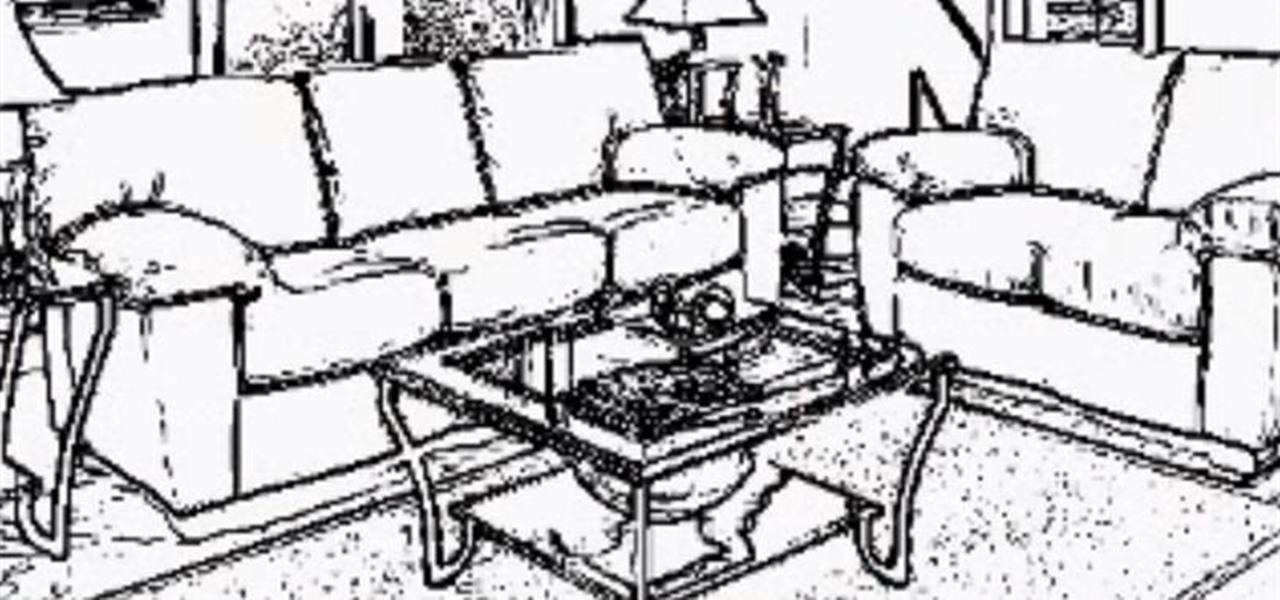
If you're not much of a drawer, you can still get the look of a detailed drawing simply by taking a picture and using Photoshop's tools and filters to transform it into something that looks drawn by hand.
Over the last few years, Apple has significantly improved and scaled up your iPhone's ability to edit photos. Using the Markup feature, which was introduced back in iOS 10, you can add doodles, highlights, important text, your signature, and arrows and other objects onto pictures and screenshots. One of the lesser-known tools in Markup lets you zoom into essential details without cropping.
No matter how many camera improvements a phone adds, you're always better off using manual mode. Known as "Pro Mode" on the Galaxy S20, this feature can remove Samsung's pre- and post-processing from photos, putting you in total control.
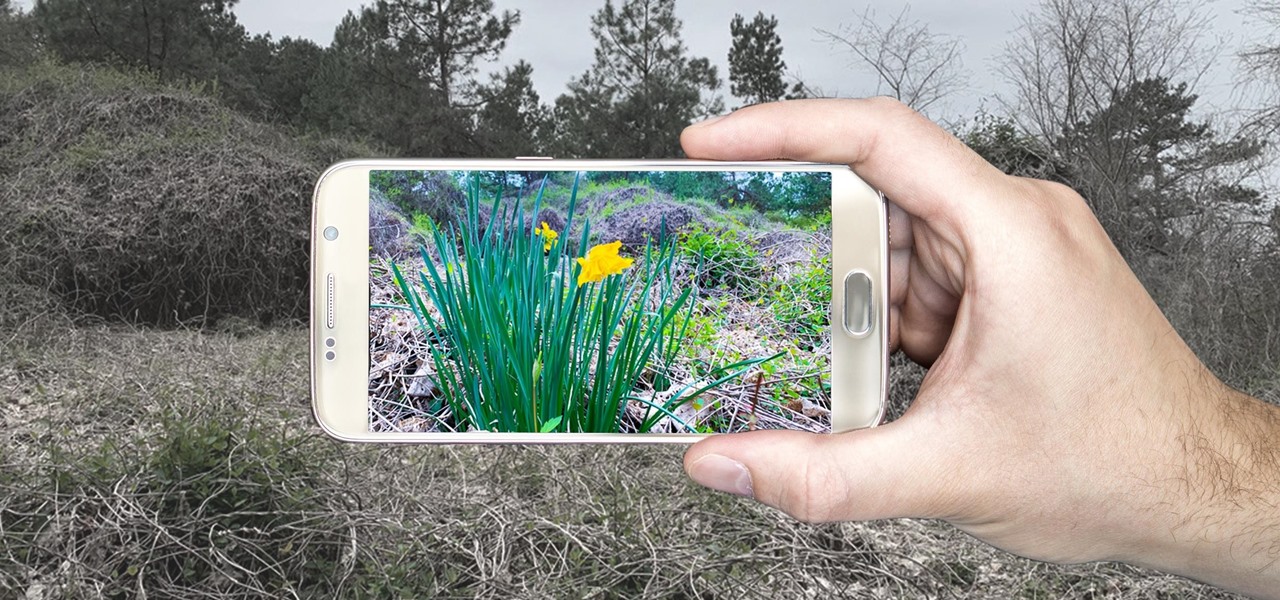
Imagine an Instagram feed filled with a wild array of vivid color. Beautiful right? But when you look at the photos in your iPhone or Android phone's albums, they're all just too dull to pull off that dynamic look. There's no doubt that colorful images are more eye-catching than dull ones, so how do you get your photos to overflow with vibrant color? The answer: Add it in post.
Picture this: You finally get that awesome angle, the perfect selfie. You can't wait to post it on your Instagram, except there's one problem — it looks a little flat and the colors just seem off. Maybe it's the lights? Or maybe your new smartphone camera isn't as good as you thought? How are your friends getting those beautiful photos they've been posting on social media?
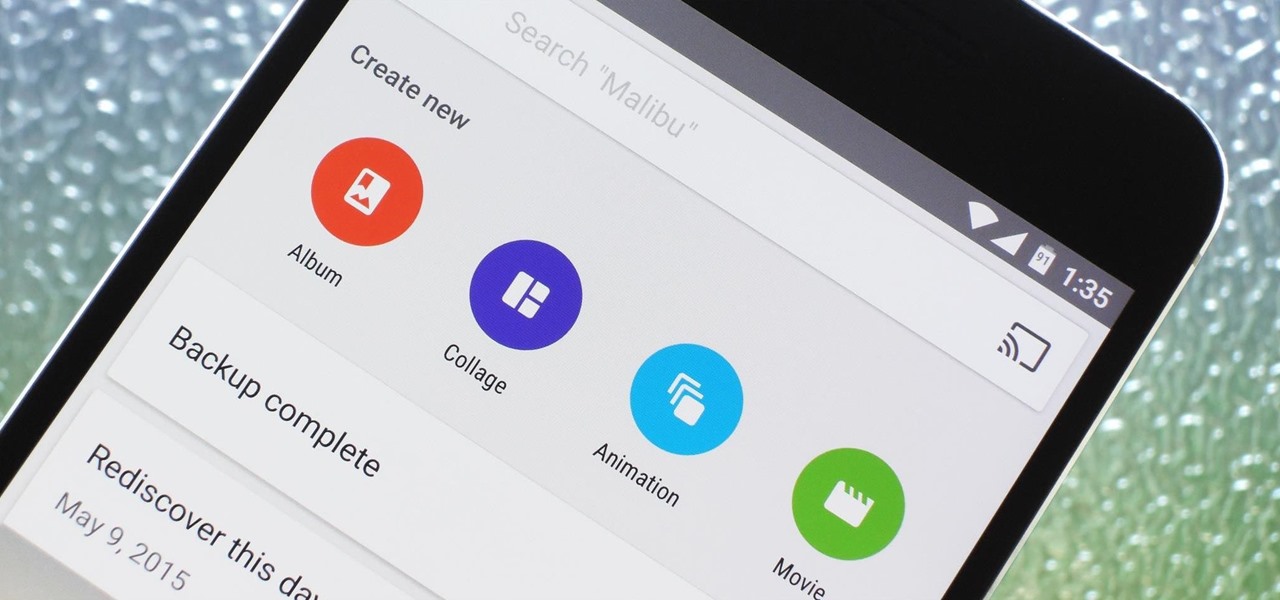
Google Photos is one of the best photo management services out there. It allows you to back up an unlimited amount of high-quality images without ever paying a dime, the photos and videos sync flawlessly across all of your devices, and its neural network-powered visual search feature seems like something that was pulled directly out of a Sci-Fi movie.
The stock Camera and Photos apps are great for taking basic pictures and doing some quick edits, but if you're serious about making your iPhone photos the best they can be, you can't stop there.
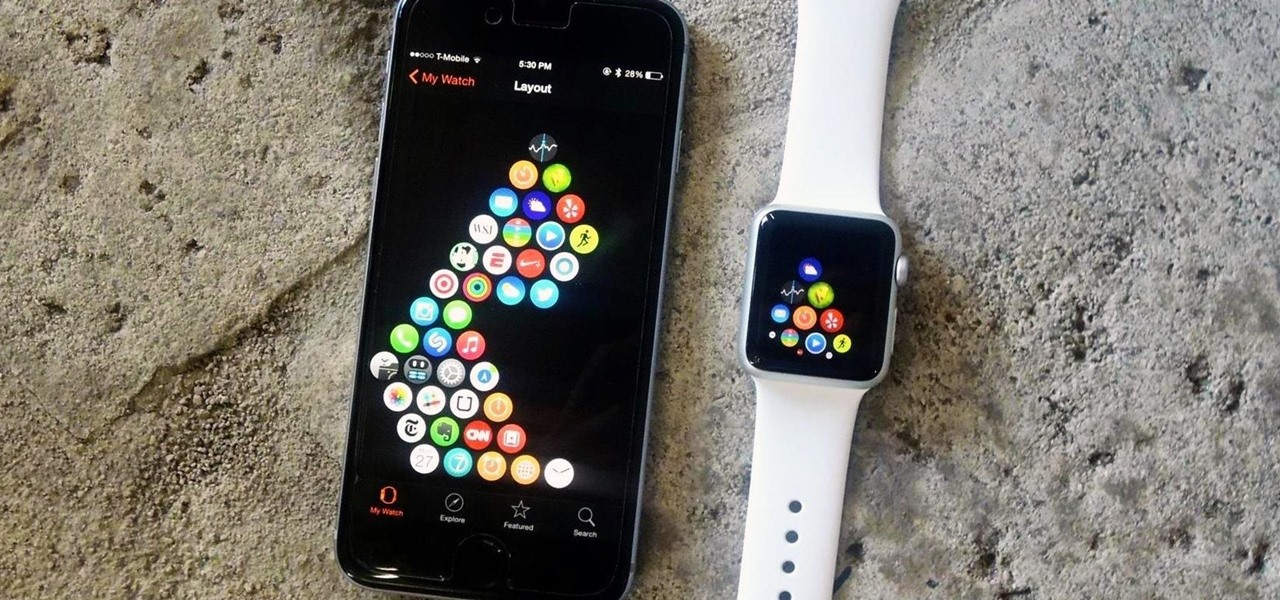
Depending on how many Watch-compatible apps you have, the Home screen on your Apple Watch is either insanely clean or absurdly messy. When I first synced my Watch with my iPhone, I was attacked with a huge honeycomb of apps, strewn across my Home screen in no particular order.
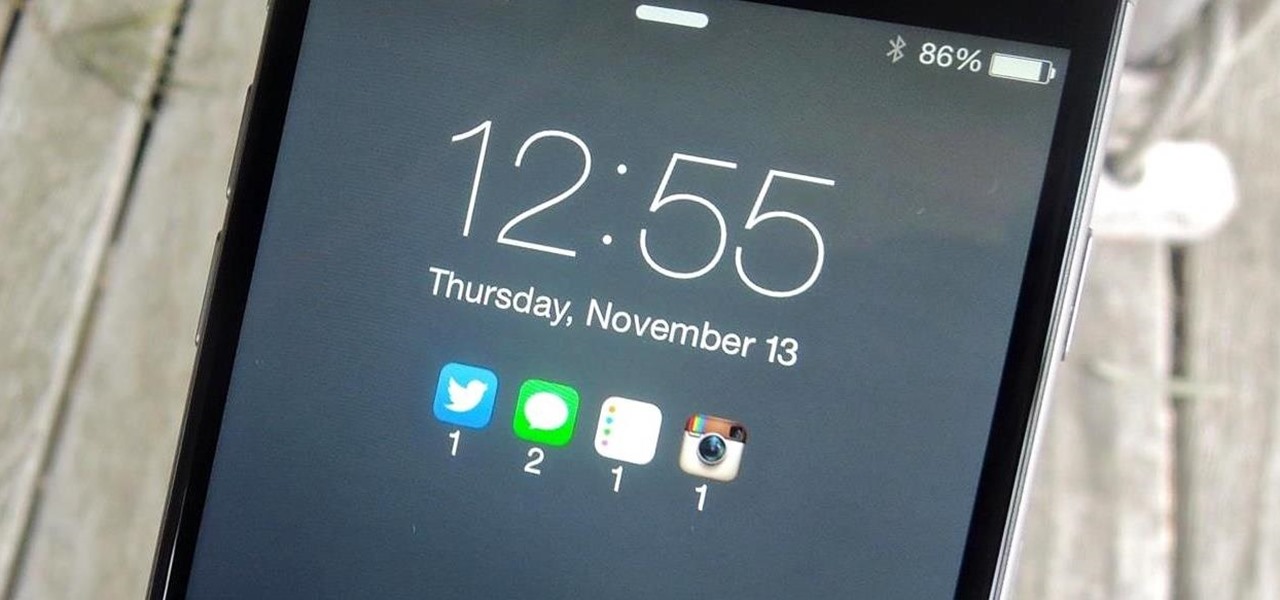
Lock screen notifications can sometimes be overwhelming and difficult to manage, especially in the morning when I receive a massive influx of emails, texts, reminders, and social media alerts. At some point it's not even worth scrolling through all of them on your lock screen when you can get a better grasp of everything by just checking out the Notification Center instead.
Although sleep mode and screen savers contribute to the security and energy preservation of my MacBook, it can become a nuisance when they initiate unwelcomely. Yes, I could just change these settings in System Preferences, but to do this every time I momentarily leave my Mac unattended would be tedious, to say the least.
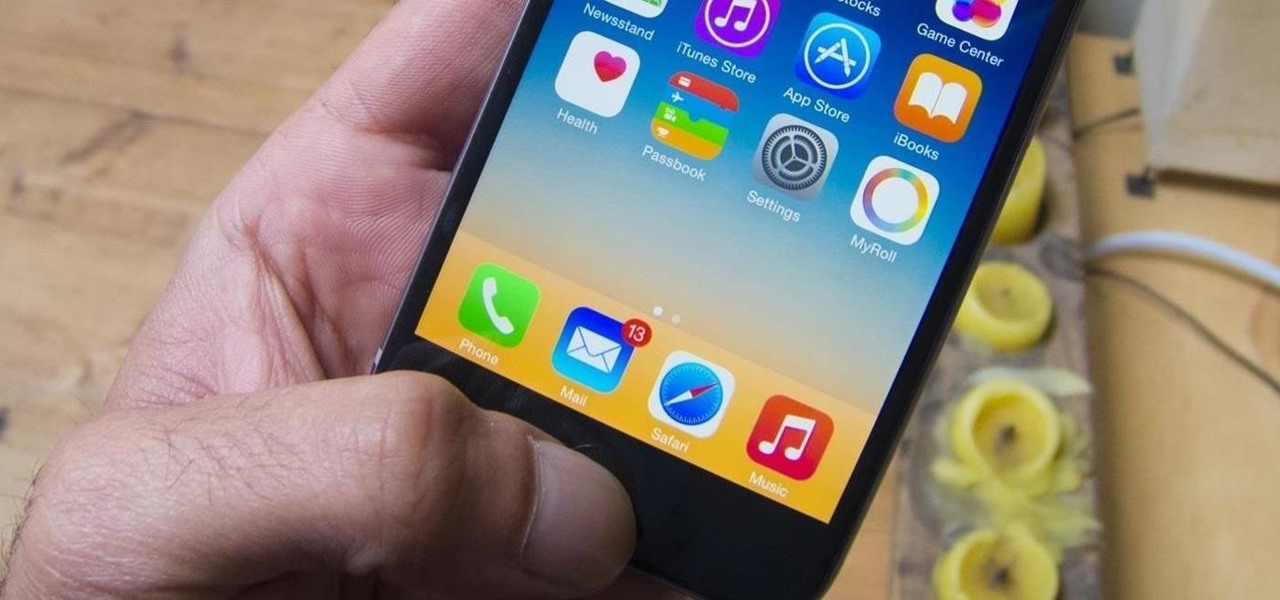
Automatic brightness adjustments are supposed to make it easier to maintain good visibility on your phone, but it really never works as intended. It usually doesn't adjust properly, leading you to manually pull up the Control Center to adjust brightness via the slider.
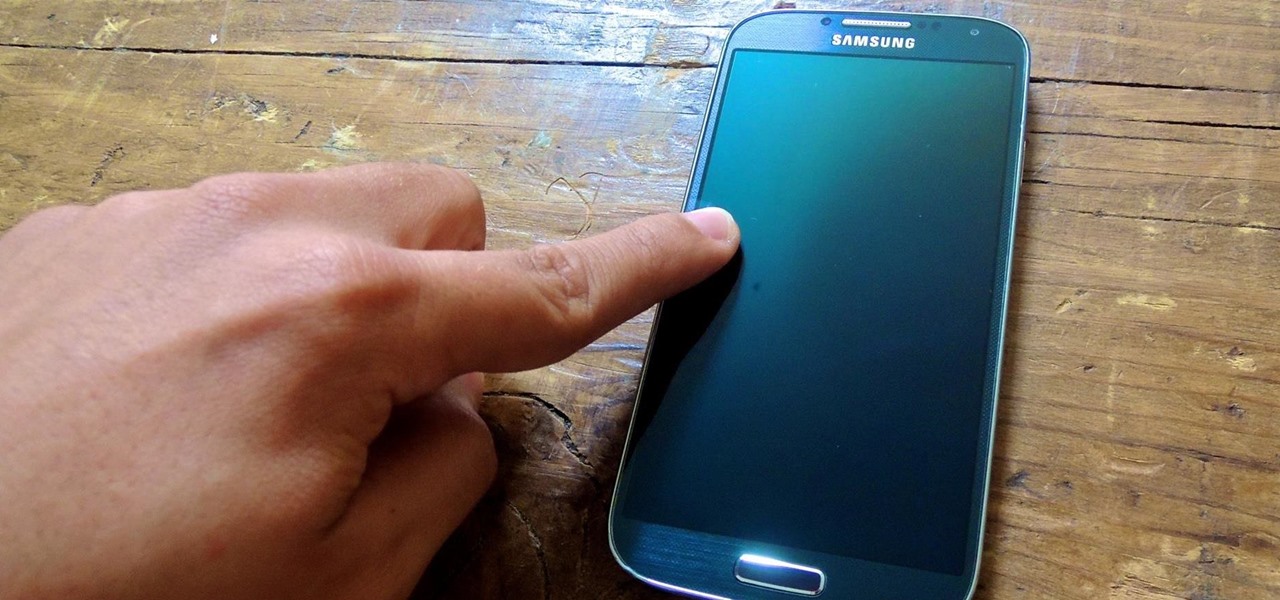
Unless you're sporting an LG G3 or a mod that allows tap-to-sleep and/or tap-to-wake functionality, you're probably hitting the power button to sleep and wake your device. But that button may be awkward to hit, may be worn down, or may just stop working due to a manufacturer's error or a device drop. In any case, it is possible to end reliance on the power button, opting instead for a simple swipe gesture that will instantly lock your device.
If you've done any root-level hacking or modding on any of your previous Android devices, you're probably well familiar with Rovo89's famous Xposed Framework.
Personally, I know life would be a lot easier if the people in it could just read my mind. Since that technology is currently unavailable, it's comforting to know that your air conditioner can be your personal telepathist with Sensibo.