In this tutorial, we learn how to unlock the iPhone 3G to work on other carrier networks. First, purchase an ATT Universal unlock SIM card and cut it so it is the same size as the SIM card in your phone. Don't cut any important parts off the back of the card. Now, remove the card from the iPhone and install the Universal unlock card. This is all you have to do and now you can run your iPhone on a different network. This is the most simple way to use your phone on another network. You can rese...

In this video, we learn how to change the color of clothing in Photoshop. First, click "enhance", then "adjust color", then "saturation". Now place a magnetic lasso around the shirt color you want to change. You can now use a slider to go through all the different colors, and pick that one that you want to use in the picture. Play around with the saturation, hue, and brightness to change what the color looks like in the picture. If you want to add more contrast, it will look more real like it...

In this tutorial, we learn how to download and install Firefox web browser. First, go to Google and search for "Firefox". Once you find this, click on the official Firefox website and click on the free download button. A new window will pop up, click "run", then the program will download. Once it's finished, click on the Firefox download and go through the steps to install the program. Now, an icon for Firefox will appear on your desktop, and you will be able to use this to run Firefox. Once ...

This video tutorial is in the Autos, Motorcycles & Planes category which will show you how to heat shrink metal with oxy/acetylene. A stud nail gun or a heat inductor may also be used for heat shrinking. Metal popping in and out is called oil can effect, which is caused by stretched metal. You got to shrink that part of the metal to remove this defect. For doing this, first you set up everything correctly, light the flame and adjust the gas flow so that the flame is of blue color. Heat an are...
This video tutorial is in the Fine Art category which will show you how to use & understand studio flash. Right in front is the flash ring. It controls the direction of the flash. The most important buttons are the up and down button that controls the power of the flash. Five is the lowest power and it goes up to ten. Starting with five it goes up by one stop increment. You don't need to use any of the other buttons. All you need to do is to turn on the flash with the ON / OFF button, point i...
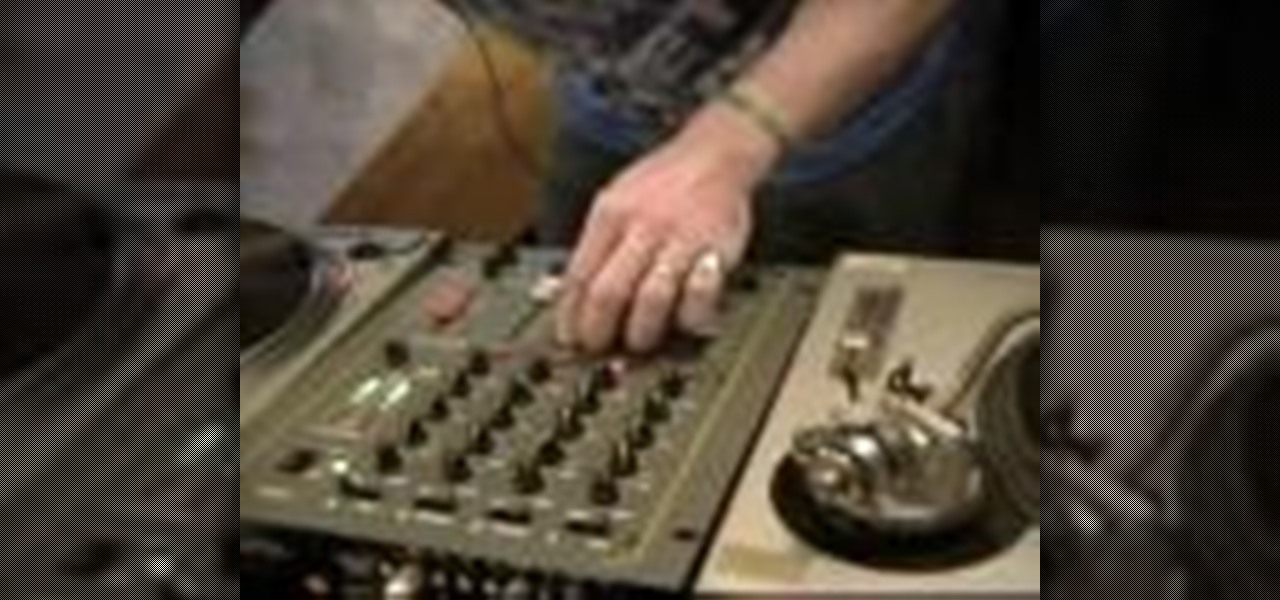
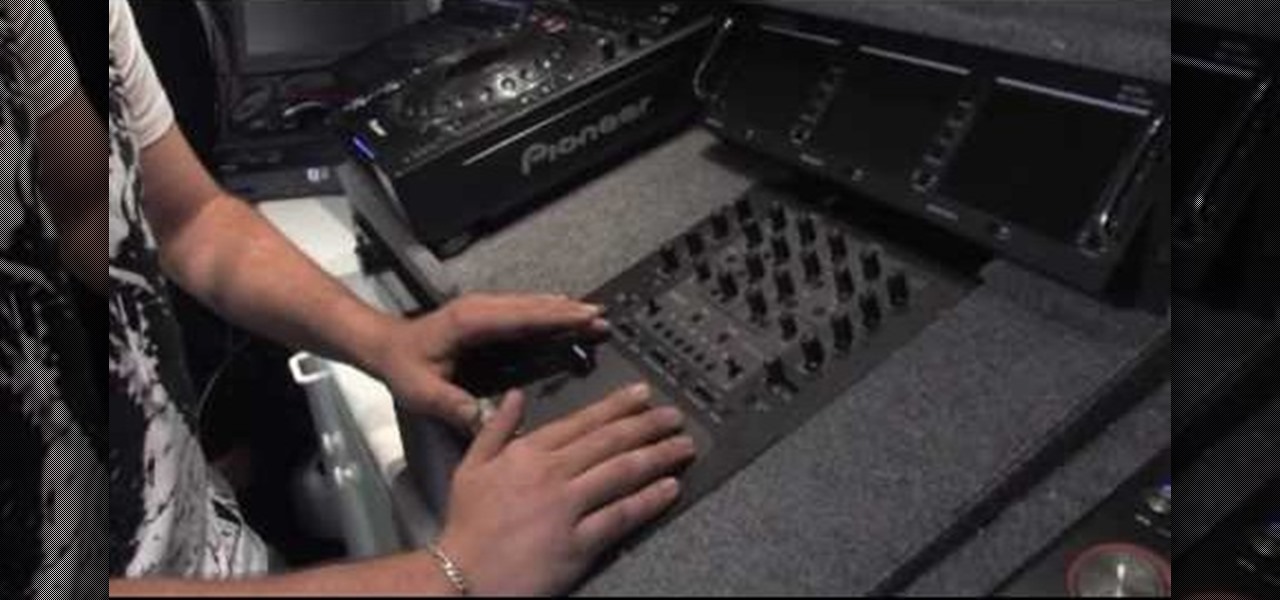
Learn how to adjust volume and the relative levels of the bass, mid and high frequencies. While DJing might appear simple to the untrained eye, truly mastering the turntables requires as much time and dedication as mastering any other instrument. Fortunately, the internet is awash in free video DJing lessons like this one, which make the learning process easier than it's ever been. For complete instructions, take a look.

Learn how to tweak image quality and resolution settings when using a Panasonic G1 or GH1 digital camera. Learn how to set the auto mode on a Panasonic G1 or GH1 digital camera. Whether you're the proud owner of a Panasonic Lumix DMC-G1 or DMC-GH1 micro four thirds digital camera or perhaps just considering picking one up, you're sure to like this free video tutorial, which presents a complete overview of how to adjust image size settings when using a G1 or GH1 camera. For more information, i...
In this tutorial, we learn how to read body language and how to flirt with your own body language. The first way to attract someone's interest is to look them in the eye, without glaring or staring at them. When you get eye contact for a short period of time, you will get the other person's attention. If you want to get attention from another person, face towards them and adjust your hair. Another way to show someone you are interested in them is to lean towards them and point towards them wi...
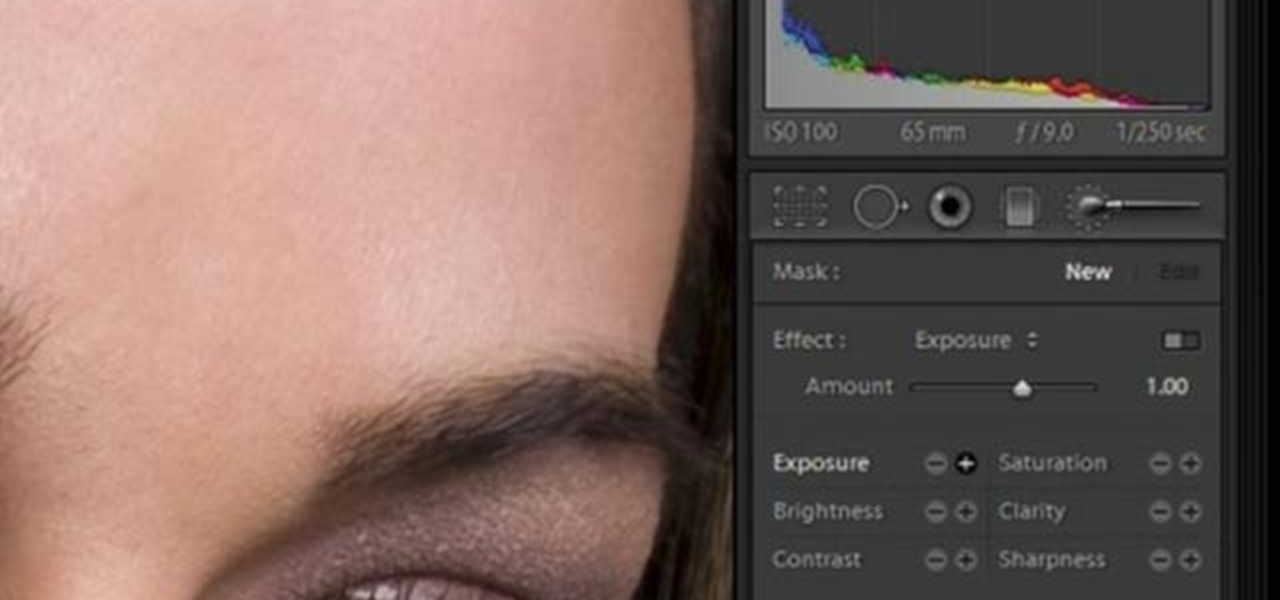
In this software video tutorial you will learn how to soften skin feature in Lightroom 2 in Yanik's Photo School. Select a photo and zoom in to the skin area. Click on the adjustment brush, or ctrl K. Here you can adjust 7 features; exposure, brightness, contrast, saturation, clarity, sharpness and color. But, if you click on the other 'exposure' dropdown menu, you will get these 7 options and additionally a 'soften skin' option. Click on 'soften skin' and it gives you the options to add nega...
In this video tutorial, viewers learn how to mix beats as a DJ. When beat matching, a DJ usually uses headphones. Start by just listening to one song. Figure out where the beat of the song is and find the first beat of the bar (the beat count). To sync the two songs together, adjust the pitch controller. Some pitch controllers have a high pitch range than others. When the beats are properly mixed, it should sound like one complete song, almost like a remix version. This video will benefit tho...
In this video tutorial, viewers learn how to install the Roman shade orb on Roman shades. Begin by threading the lift cord through the bottom ring of the shade and then slide the end of the cord through the orb. To do so, squeeze the orb to reveal an opening and slide the cord through the hole. The orb allows the user to easily adjust the tension of the Roman shades. Simply slide it back and forth to tighten or loosen. This video will benefit those viewers who have Roman shades, and would lik...
Whether you're interested in learning Microsoft Excel from the bottom up or just looking to pick up a few tips and tricks, you've come to the right place. In this tutorial from everyone's favorite digital spreadsheet guru, ExcelIsFun, the 45th installment in his "Highline Excel Class" series of free video Excel lessons, you'll learn how to perform debt analysis with the following input variables: % Down Payment, APR, Years, Points, Extra Fee. See how to calculate Amount to Borrow, Monthly Pay...
The strength of your torso is helpful in many exercises. If you plan on body sculpting or weight lifting, you will need to have a stong enough upper body to support it. In this tutorial, learn how to use a tornado ball to increase your strength.
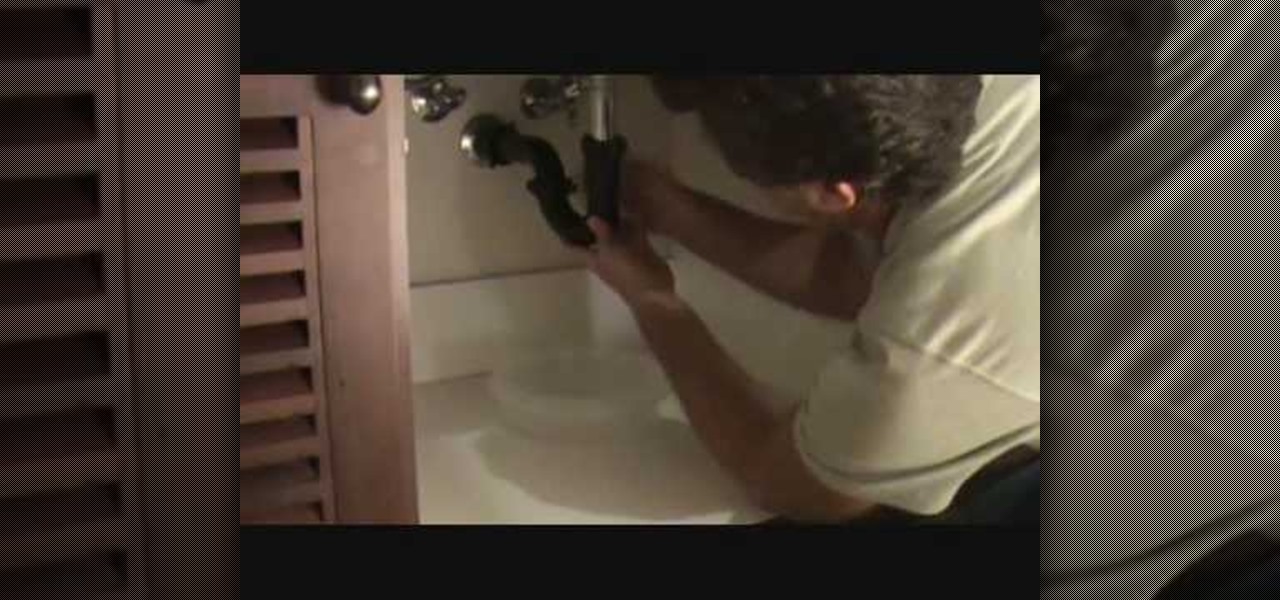
It is apparently all about the "P-Trap". If you have a hard to unclog drain in your sink, watch this tutorial for tips on how to fix it.
Bobbers are great fishing tools. Not only do bobbers keep your line above water, they also bob up and down in the water when you've caught something, so you know when to reel it in. In this tutorial, you will learn how to attach and use a bobber. Bobbers, or floats, have buttons on top that can be depressed and attached to the line by a hook. In this video you will learn to adjust the depth when using a fishing bobber with help from a commercial fisherman.
In this Software video tutorial you will learn how to make a winking animated GIF in Adobe Photoshop. Select a photograph of two eyes and duplicate the layer. Now copy the top eyelashes and paste them on top of the bottom eyelashes. Go to the eye drop tool and select a dark color. Then go to paint brush, choose a brush with size 1 and select darken in the ‘mode’ dropdown menu. Reduce opacity to 50%. Now darken the lower eyelashes as shown in the video. Then go to healing brush tool and se...
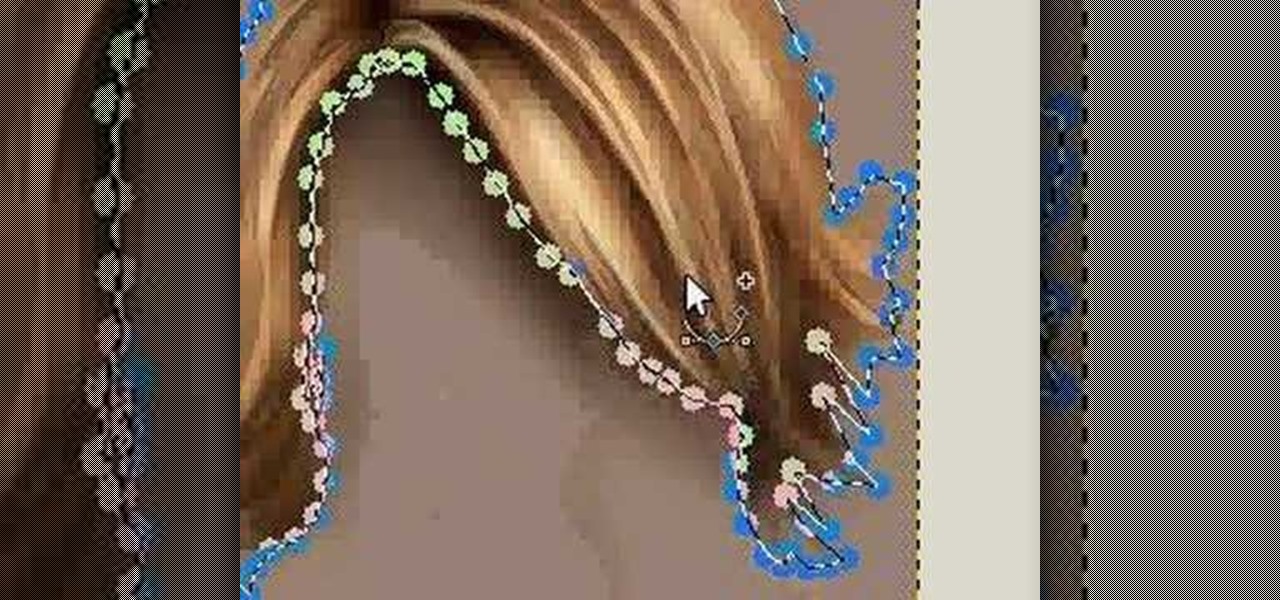
In this how to video, you will learn how to change hair color in a photo using GIMP. First, download and install the program. Open it and find the image you want to change. Next, zoom in to get a full view of the hair. Now you should go to the paths tool. Highlight all around the hair to select it. Once this is done, go to select and select From Path. Marching ants should go around the selection. Now, go to colors and select Color Balance. Adjust the color sliders to change the hair color. On...
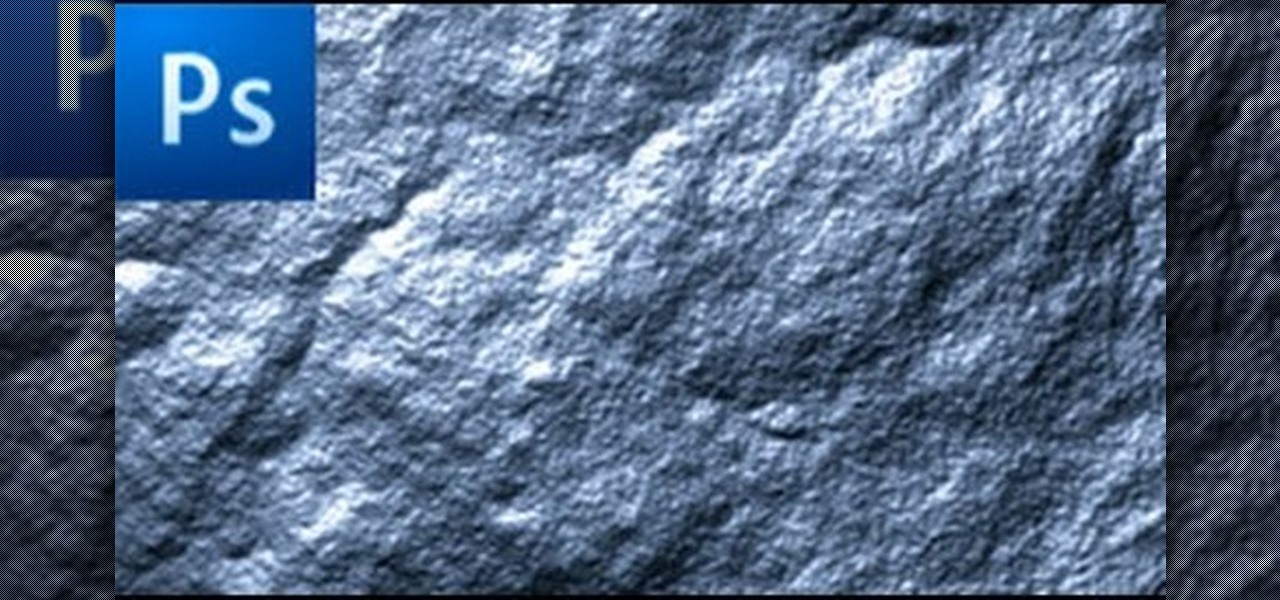
In this how to video, you will learn how to create a rock texture in Photoshop. First, open the program. Select your foreground as a gray color and the background as a darker gray. Go to filter and render clouds. Go to filter and noise to add noise. Add about 3 percent and click okay. Add a channel and click filter. Apply the difference clouds multiple times until you get something very dark. Add more noise and then fade the add noise filter. Go back to the original layer and go to filter and...
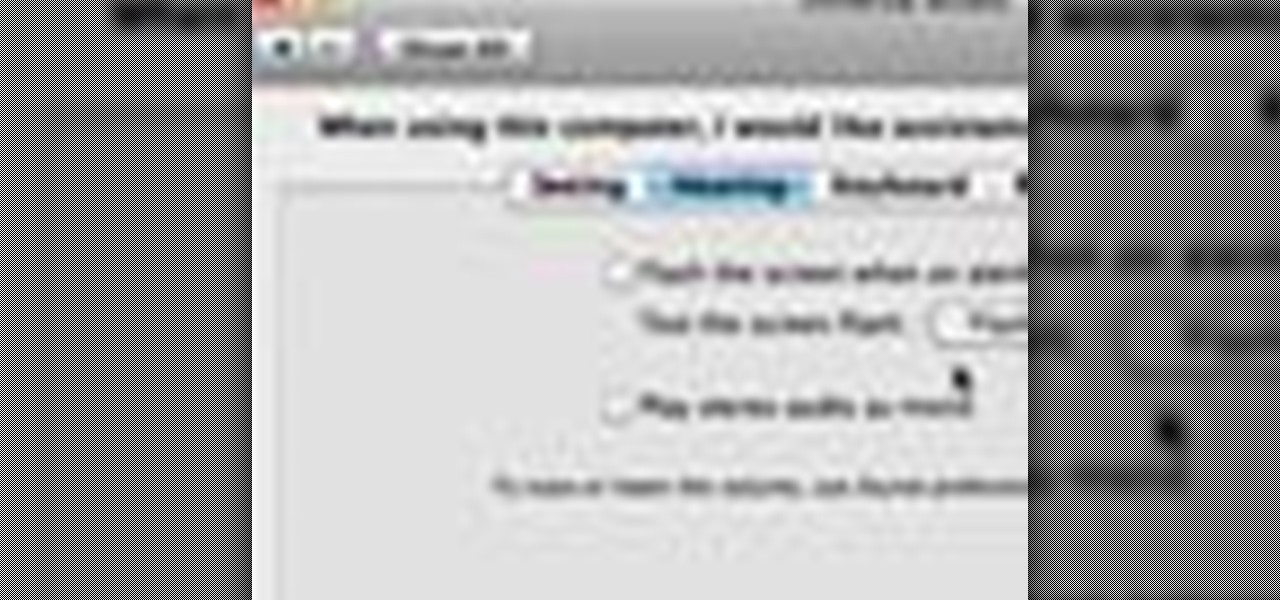
In this video tutorial, viewers learn how to flash the screen when receiving an alert in a Mac OS X computer. To turn on this option, go to the Universal Access window and select the Hearing tab. There will be 2 options for users to use. The first feature allows the user to flash the screen when an alert sound has occurred and the second feature allows users to stereo audio as mono. To test the flash the screen, click on Flash Screen. This video will benefit those viewer who use a Mac compute...
Clicks are made on "Image",then "Adjustments", followed by "Brightness/Contrast" ; contrast is set to 30 and brightness is set to 60 to add more light to the picture. "Adjustment", "Variations" are clicked in that order and both yellow and red are increased. "Filter", "Render", "Lightening Effects" are chosen in that order and a new window appears; within which the style is set to "Soft Omni". The brightness is decreased ;similar to the way it was increased, and contrast is increased to 60. T...
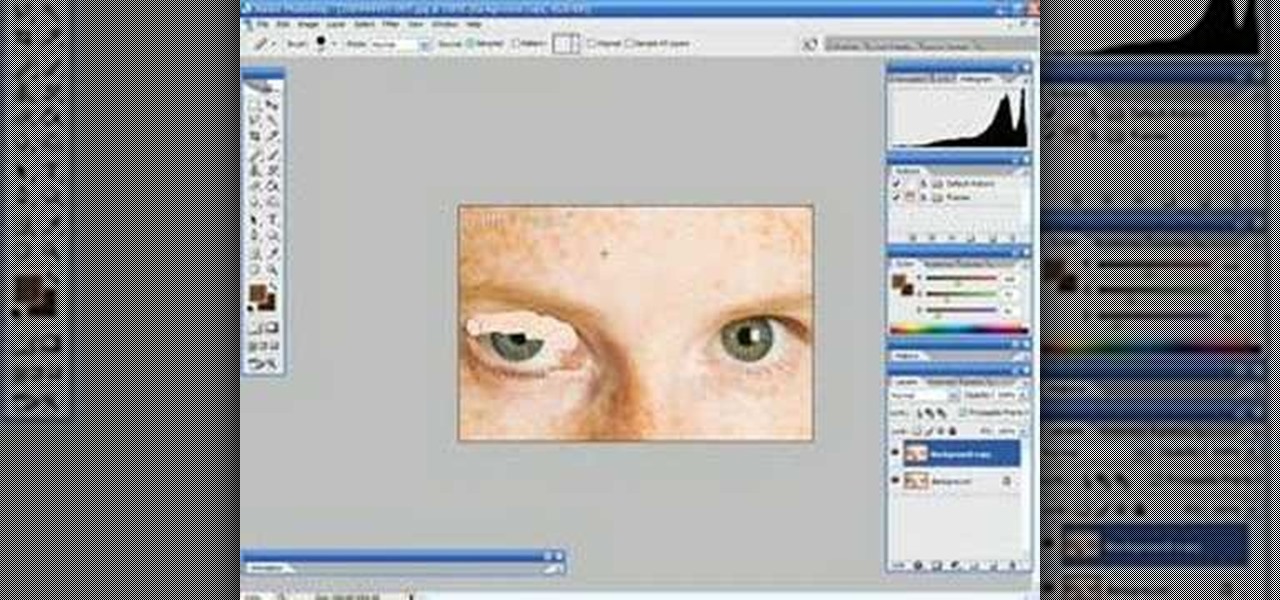
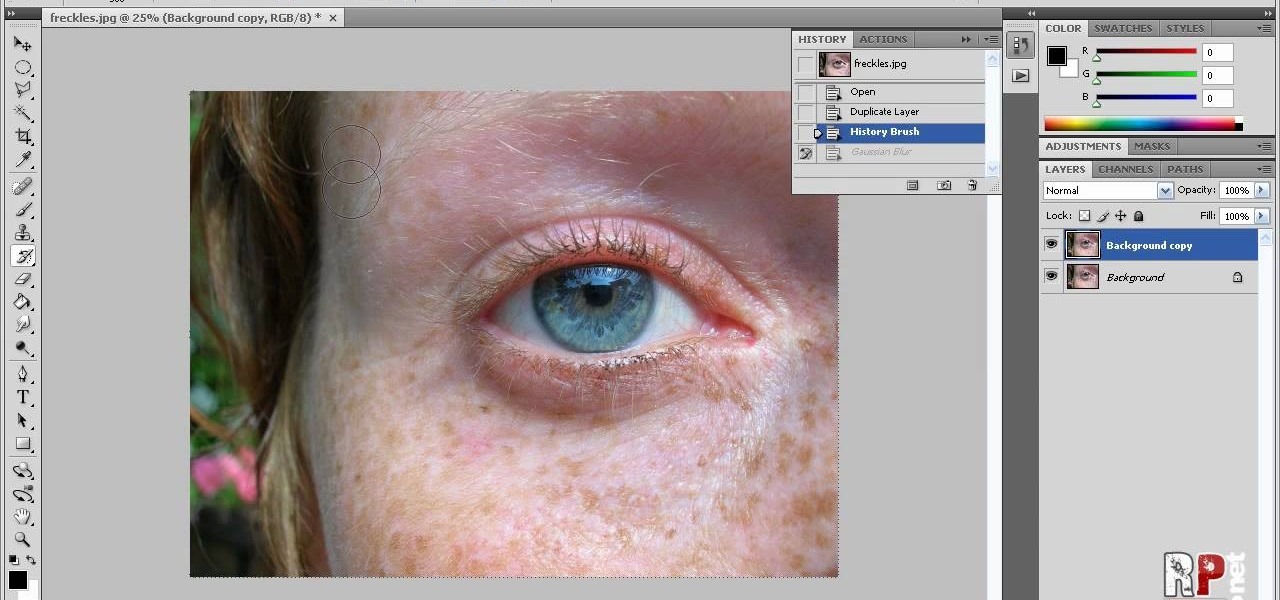
In this how-to video, you will learn how to reduce freckles in Photoshop. This is useful for editing people who have a lot of freckles. First, open the file in Photoshop and copy the background layer. Apply a Gaussian blur to the layer. Adjust it so that the freckles are no longer visible. Click okay and then open up the history palette. Click on the duplicate layer in the history window. Set the source for the history brush. Set the mode to light. Next, paint over the freckles. Now the freck...
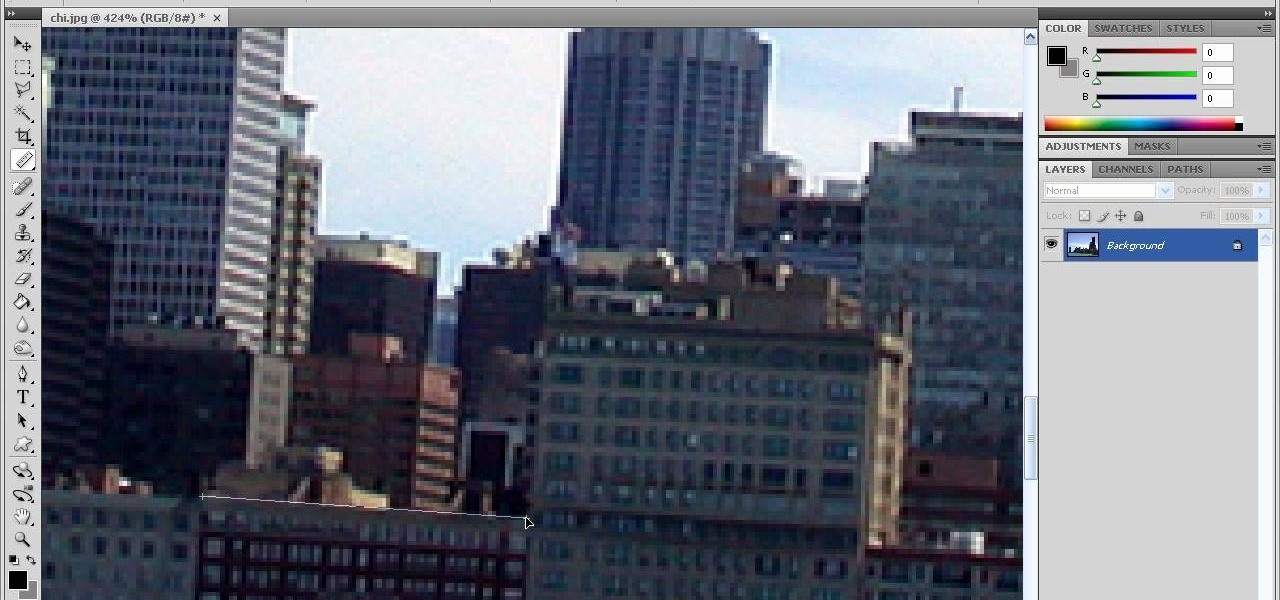
In this how-to video, you will learn how to straighten crooked photos in Photoshop. First, open the photo you want to straighten in Photoshop. Next, use the ruler tool under the eye dropper tool. Select it and zoom in to an area. Find a crooked line to straighten, such as a building rooftop or ground line of some sort. Click, hold, and drag. Next, zoom out. Go to image, image rotation, and arbitrary. Click okay and your image will be adjusted. Go to the crop tool and crop out the spaces. Hit ...
This video gives a demonstration of how to make a double bow for scrapbooking. First, cut a short piece of your ribbon off the end. Make this piece about 5 inches long. Next, after leaving a tail of ribbon bend a longer piece of the ribbon over and over, smoothly, until you have 2 loops on each side which creates the double bow. Cut off the end of the ribbon, leaving a tail. Pinch the middle of the double bow. Use the short piece which you cut earlier to tie around the middle of the bow. Adju...
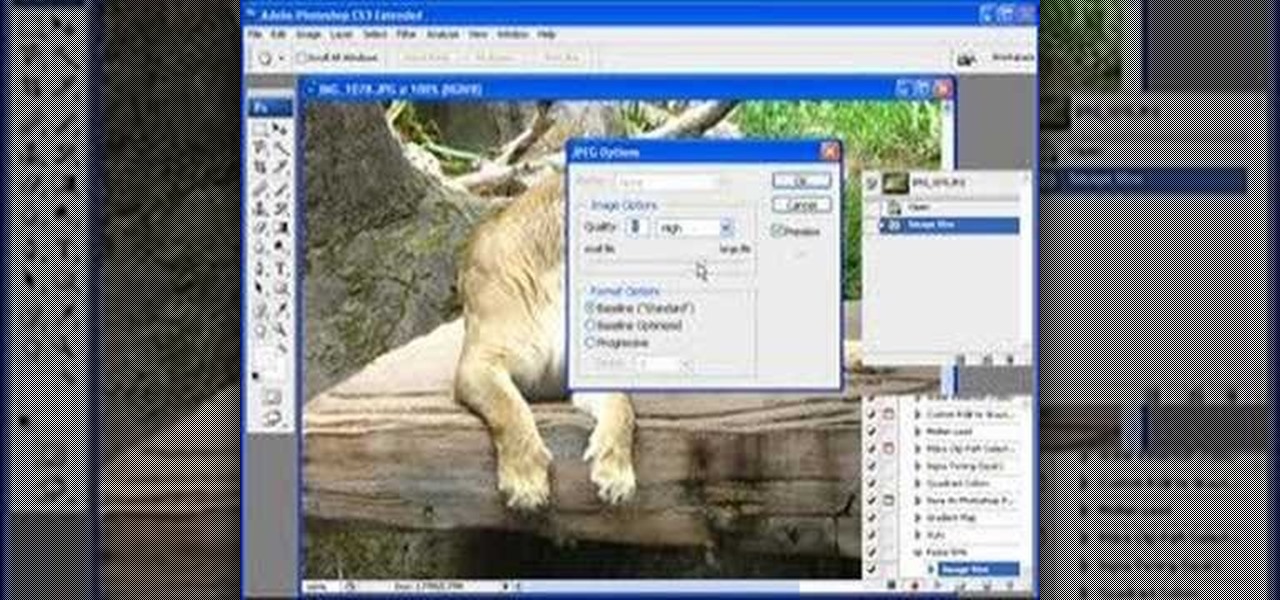
Here is a simple technique to resize multiple pictures in Photoshop by creating an action, to adjust the image size. The only requirement is for the pictures to more or less the same size. First we go to windows and select action then we open up an image to determine the appropriate size that we require. Then click on the create new action and, give it a name then hit record now go to image the image size resize the image and then save and hit ok .You can see that its still recording your act...
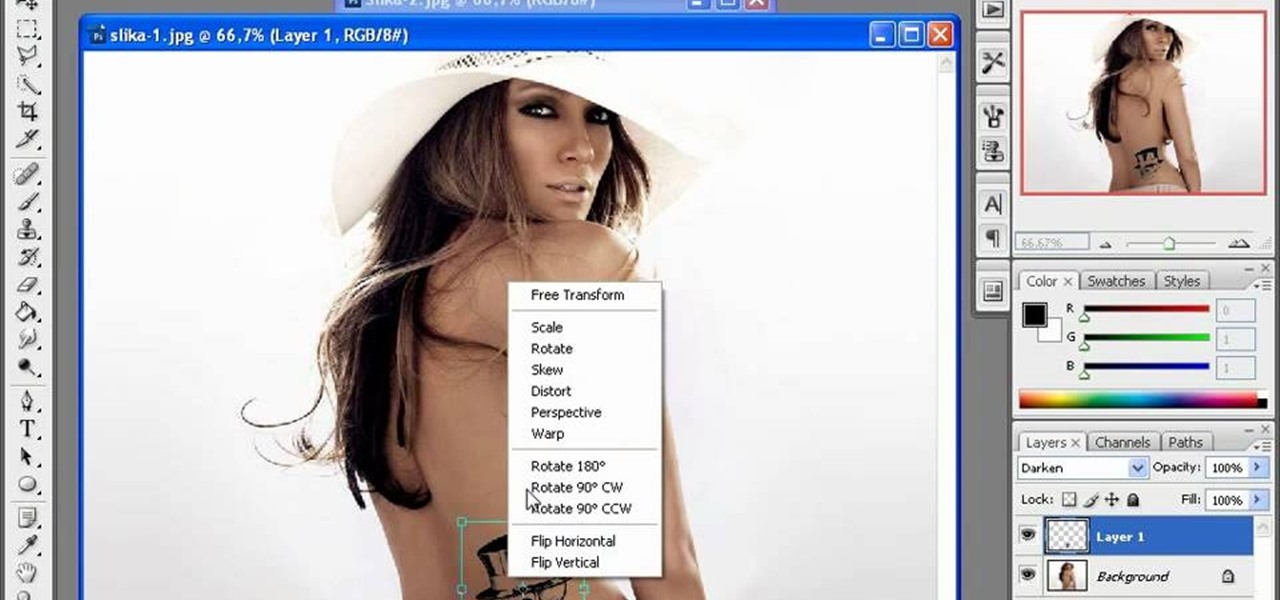
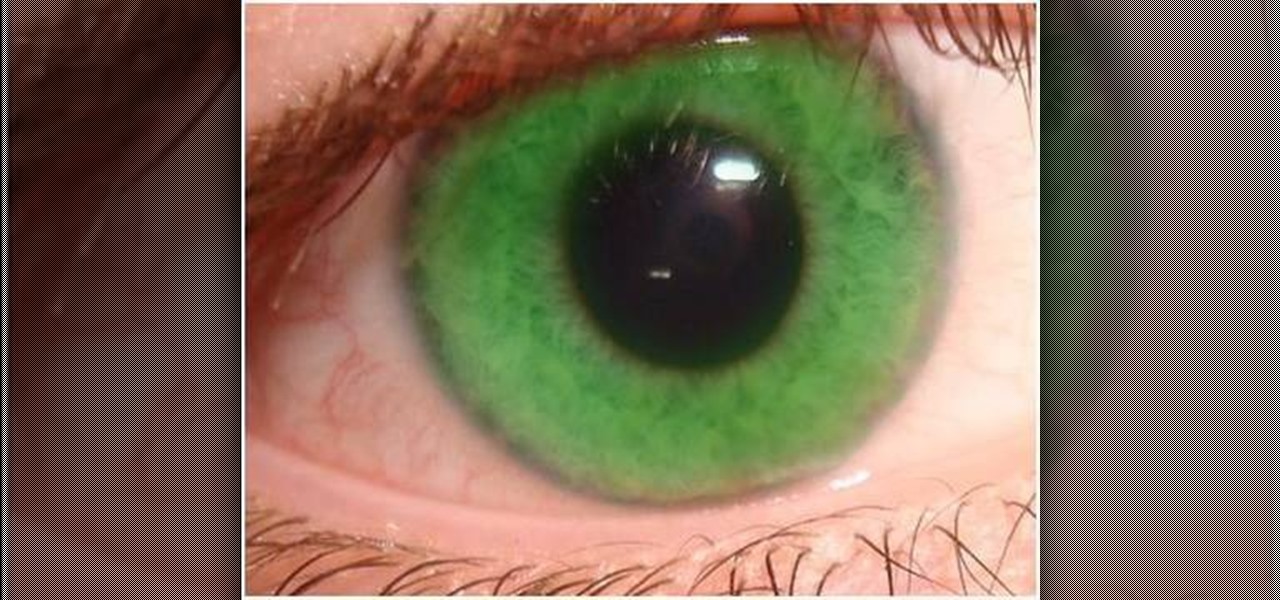
In this video tutorial, viewers learn how to change the color of eyes using Adobe Photoshop. Begin by selecting the Magnetic Lasso tool and create a selection around the eye. To create a second selection without losing the first one, hold the Shift key. Now go to Image, click on Adjustments and select Hue/Saturation. Now adjust the hue and saturation of the eye to change the color. This video provides a visual demonstration for viewers to easily follow along. This video will benefit those vie...
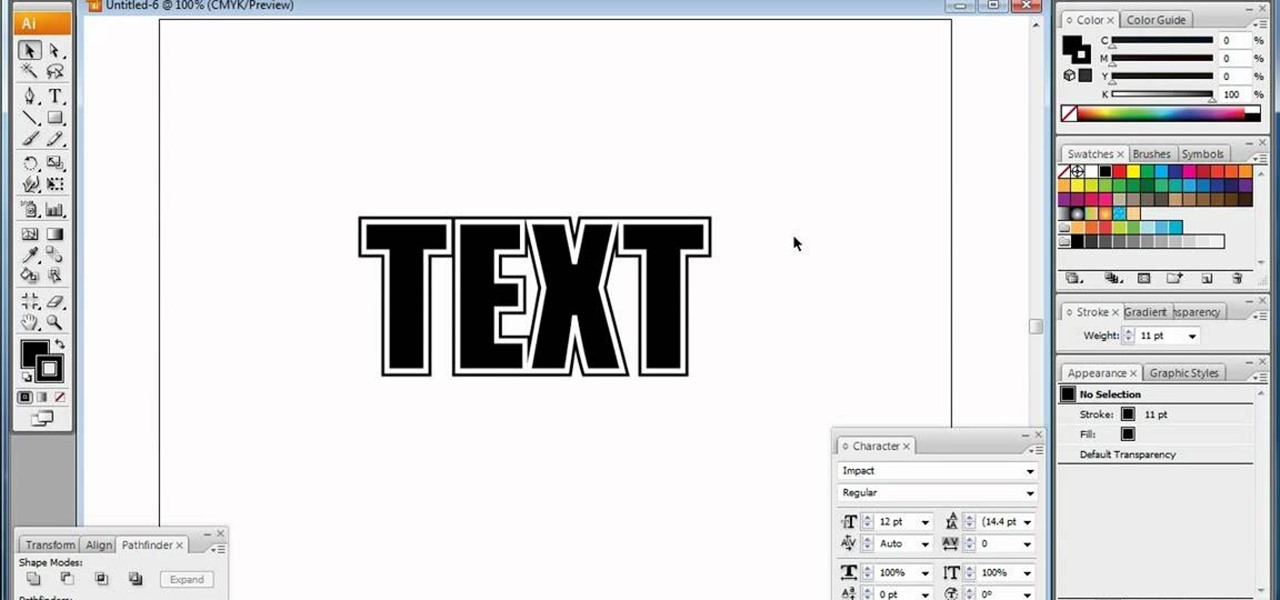
In this video, we learn how to do basic text effects in Adobe Illustrator. First, open up Adobe Illustrator and make a new document. Now, type in your desired text and change your font to one that you prefer. To make your text turn into a radiant, you will click "file" then "type" then "create outline". Now you will click on your text then click your radiant swatch. Then, go to "gradient" and adjust your colors to which you prefer. You can now put a stroke on it using the "stroke" tool and ch...
The first thing to do is open up Photoshop. Find a pic of a person and clip art you would like to use. Open those documents. On the side of the toolbar, find the brush tool to adjust the clip art correctly. Make a rectangle inside the clip art. Then hit Ctrl+c to cut the clip art out of the box and paste in the picture of the person. Then you remove the white in the picture by clicking on layers, and darken. When you do that, you are ready to shape the clip art to the body by clicking the box...
In this tutorial, we learn how to maintain a butane lighter. There are a variety of butane lighters available, but basics for all of them are all the same. First, adjust the flame dial all the way down to negative. Then, purge the lighter using the back of a wooden match. You will hear a hissing noise as the butane and air escape. Do this until you can no longer hear the noise. You will now clean the lighter by holding a canister of air at a 45 degree angle 3 inches away, spray a few times an...
In this video tutorial, viewers learn how to change a Mac book Pro's dock. To turn the magnification off the dock, go to the Apple menu, click on Dock and select Turn Magnification Off. Users can also turn the hiding on, to hide the dock when not in use. Users can position the dock to the left, right or center on the bottom of the screen. In the dock preferences, users can adjust the size of the dock. This video will benefit those viewers who use a Mac computer and would like to learn how to ...
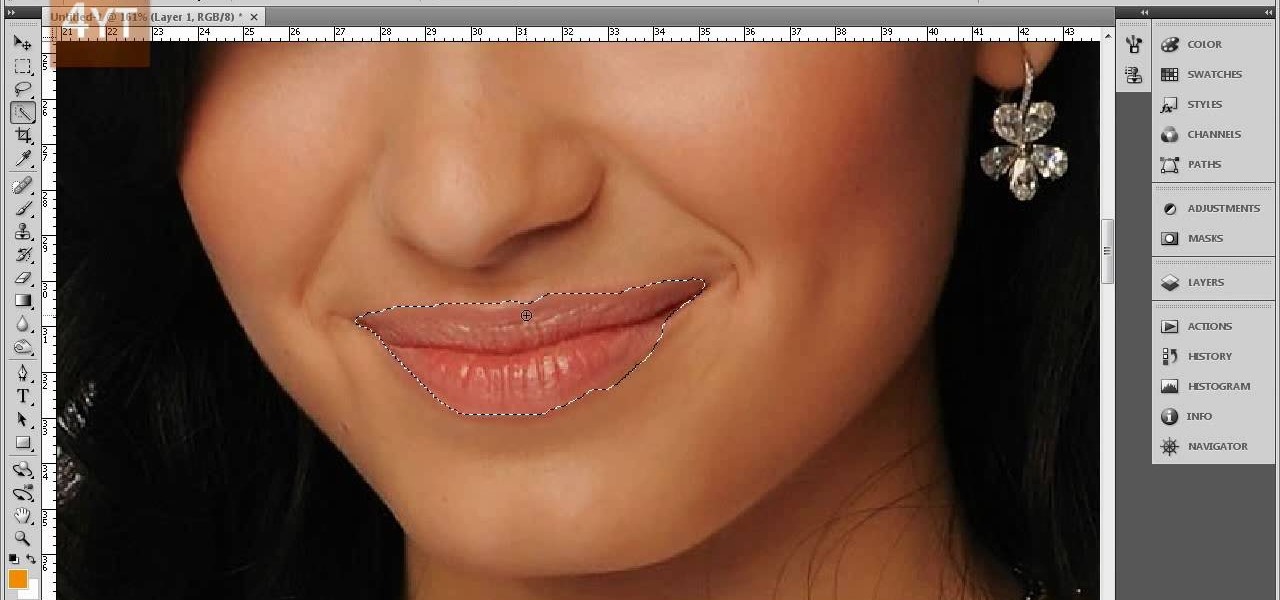
Forget to put on lipstick before a photo? Or perhaps you want to spice up an old photo of someone you love. Well their is a way, as 4YouTutorial demonstrates step by step using Photoshop CS4. First upload a photo or image into Photoshop. Next access your Photoshop layers and delete the default locked layer. After, activate the zoom tool and zoom in on the photo where the lips are located. Next choose the quick selection tool (make sure it's on plus) and drag it over her lips. This process can...
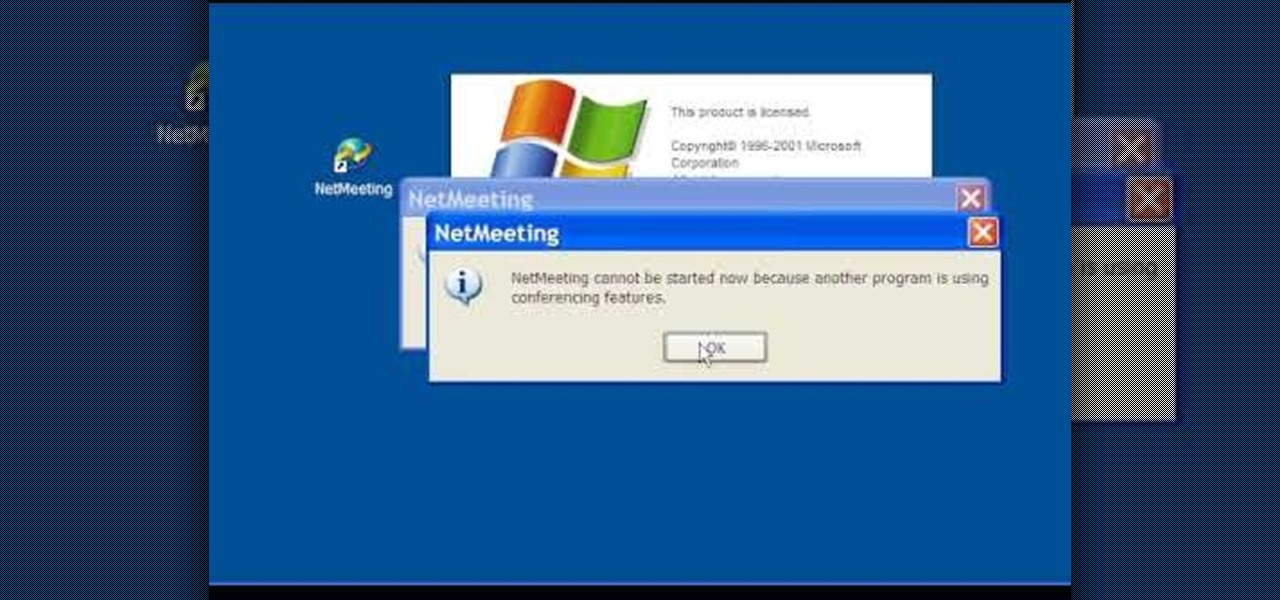
In this Computers & Programming video tutorial you are going to learn how to configure Windows Netmeeting. It is very easy to do. This video is from Fix PC Freeze. Go to start > all programs > accessories > windows explorer. Now click on SA(C:) > program files > Hewlett-Packard > Netmeeting > conf. On the NetMeeting installation dialog box click next and type in your name, email and other details and click ‘next’ twice. On the following box, select ‘local area network’ and click ‘next’ thrice...
This video guides you through a process you can use in Adobe Photoshop CS3 or CS4 in order to change a persons eye color. The computer user shows how to first select only the iris of the eye by guiding you through which tool bar buttons to use. You should then zoom in close to the eye in order to very accurately select just the iris. Once the iris is selected you will go to the select menu then click "New Fill Layer" then "Solid Color..." When the dialogue opens up you will change the Mode to...
This video shows several tips that will help you cut down the electricity usage of your refrigerator. Think about what you want from the fridge before opening the door, instead of standing there with the door open while deciding what you want. Set the temperature of your fridge only as cold as necessary, and allow 24 hours for any temperature changes to take effect. Keep exterior condensation switches off unless you need them. Make sure the door gasket is clean and in good condition. Clean it...
This video shows you how to tune the ACME attacker 1/8th scale nitro engine buggy. Use the high end valve and the idle speed screw as show in the film. Turn the engine and get it to the operating temperature and drive round to the see how the car performs. If the acceleration is sluggish then the low end valve should be adjusted. If the engine is having too much RPM then the idle speed should be reduced using the idle speed screw. If the engine bogs down and makes noise on full throttle and i...
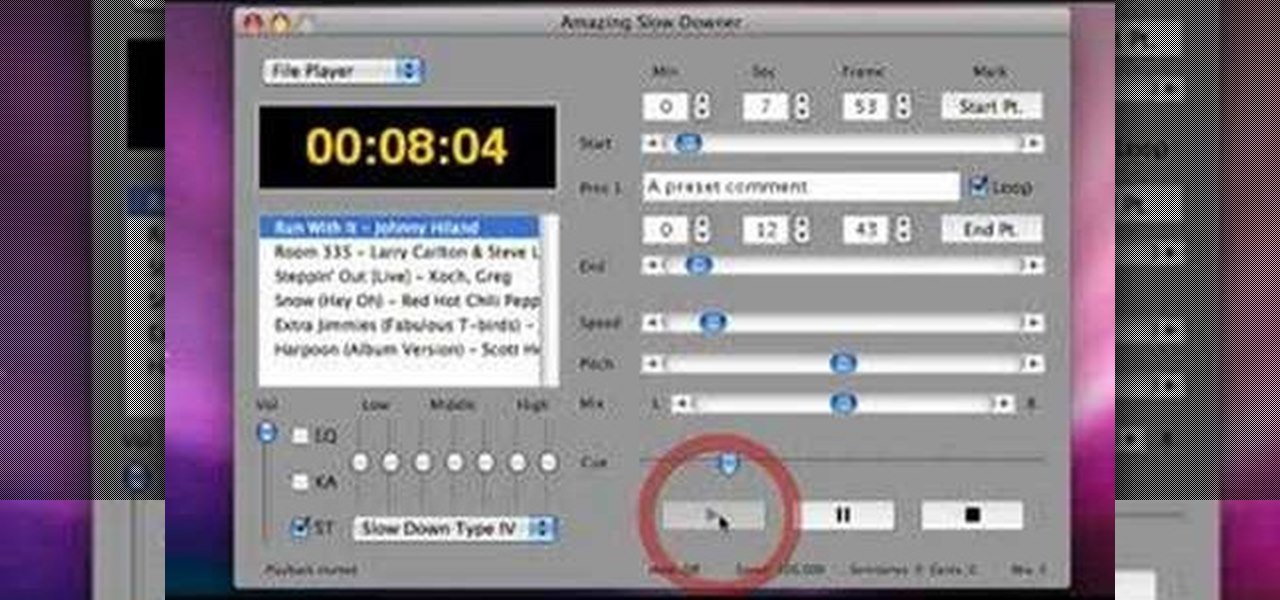
This is a software demo. This Mac software allows you to play a song or music or audio track and reduce its speed without affecting the pitch. Select a guitar riff or chord sequence, loop it, and speed up or slow down that loop so it runs faster or slower, without changing the pitch. The program has some sound editing functionality, like EQ, but is mainly a tool for changing a recording's speed. Import a track from iTunes, or directly from a CD, adjust the speed, apply the optional equalizer ...
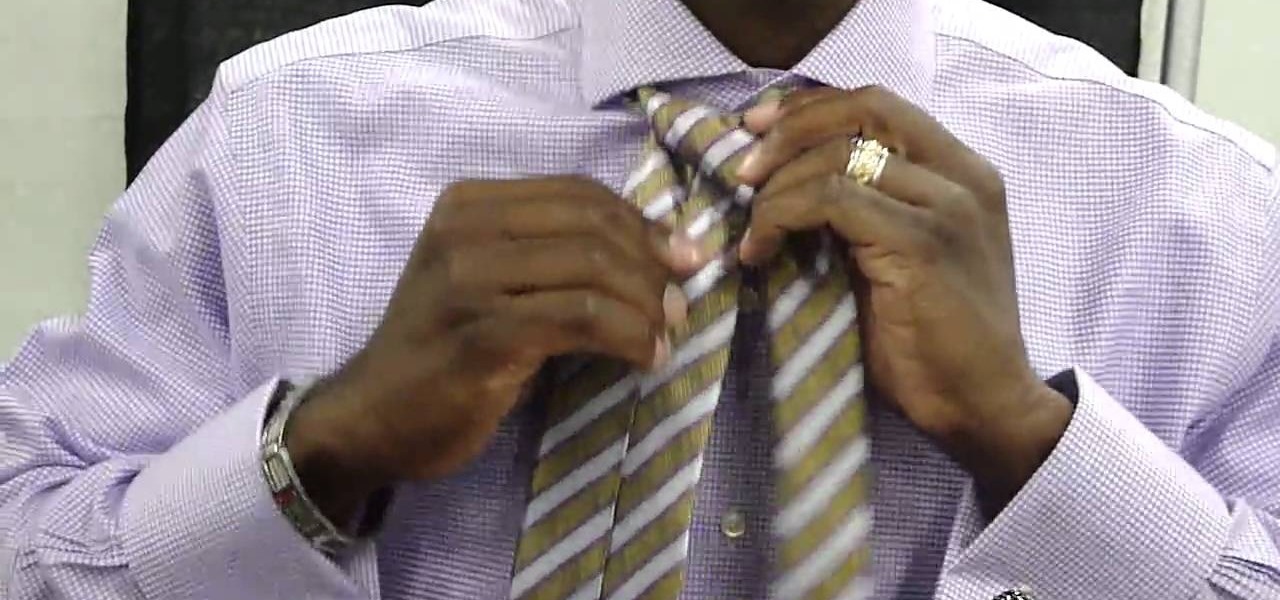
In this how-to video, you will learn how to tie a single Windsor knot. This will be useful if you need to wear a tie at a formal event. First, place the tie around the back of your neck. Next, cross the bigger side over the smaller side and then pull it up through the loop. Next, bring it underneath the knot and around the front of it. Bring it through up through the loop one more time. Pull the end through the knot. Make sure to adjust the tie so that it is at the desired length. By viewing ...
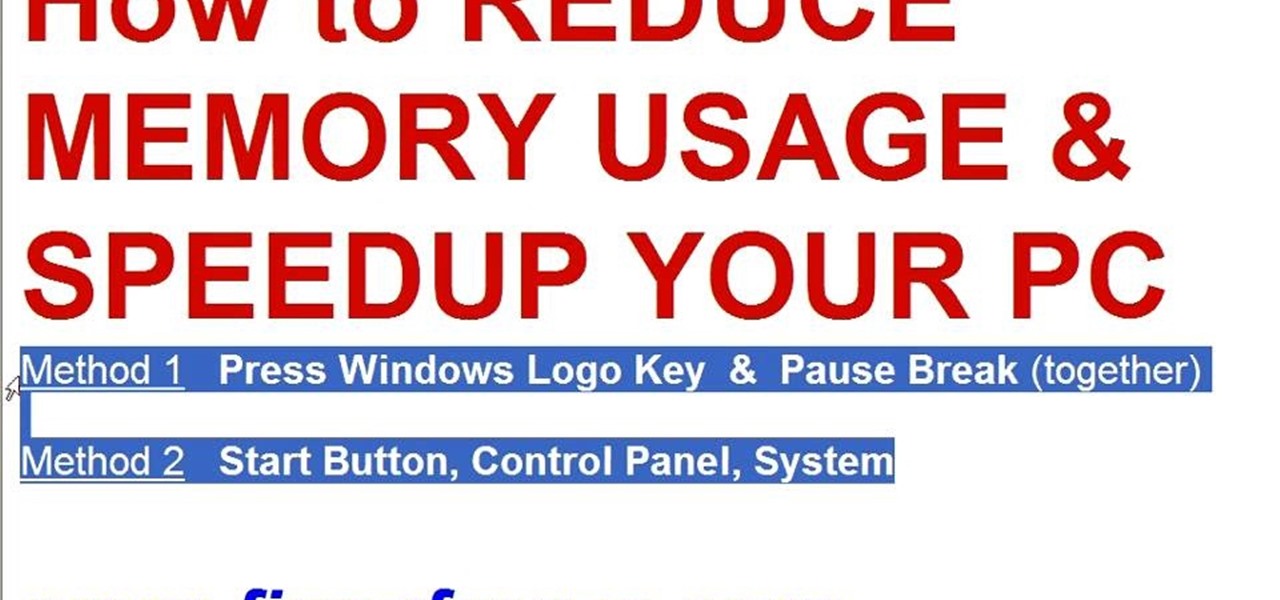
This video tutorial in Computers & Programming category will show you how to reduce memory usage in Windows XP to speed it up. The 1st method is to press Windows logo key and pause break together. The 2nd method is to go to start > control panel > system. Now the system properties box will come up. Here you click on ‘advanced’ tab. Now click the ‘settings’ tab under ‘performance’. Click on ‘visual effects’, select ‘adjust for best performance’ and click ‘apply’. Then under the ‘custom’ drop d...
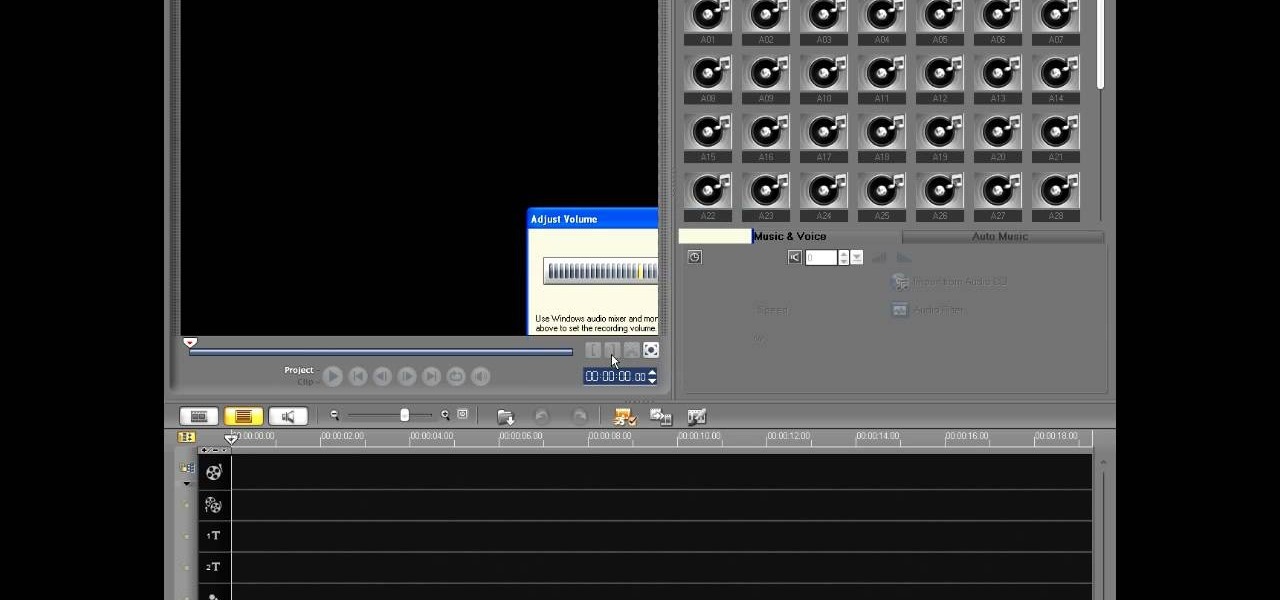
In this video tutorial, viewers learn how to record voiceovers in Corel Video Studio. Begin by plugging your microphone into the computer and open the program. Click on the Audio tab and click on Record Voice under your audio media library. A dialog box will appear that allows you to test and adjust your microphone. Begin speaking into the microphone. If you can hear yourself and see the yellow bars move, then your microphone is working properly. Now click on Start to begin recording and clic...
Stevmay09 will be teaching you how to digitally modify your eye color for free using GIMP. First you need to zoom in on the eyeball then click on the free select tool. Then start on the corner of the eye and make your way around the entire eye. Once you have the area around the eye selected you need to create a new layer. Make sure its filled with transparency then select the color you would like the eye to be. Then get the paint brush tool and select the icon shown then increase the scale an...
Ike, from Ike's Outdoors.com gives basic information on Sighting a Bow. He explains a few things he does before he even goes out and shoots. He explains how to line up the site with your arrow whether you are left handed or right handed and then gives pointers on "following the arrow" with the site to get the best results. He recommends shooting at a closer range and with 2-3 arrows before making any adjustments in case of error on your part, and adjusting the site accordingly before moving b...