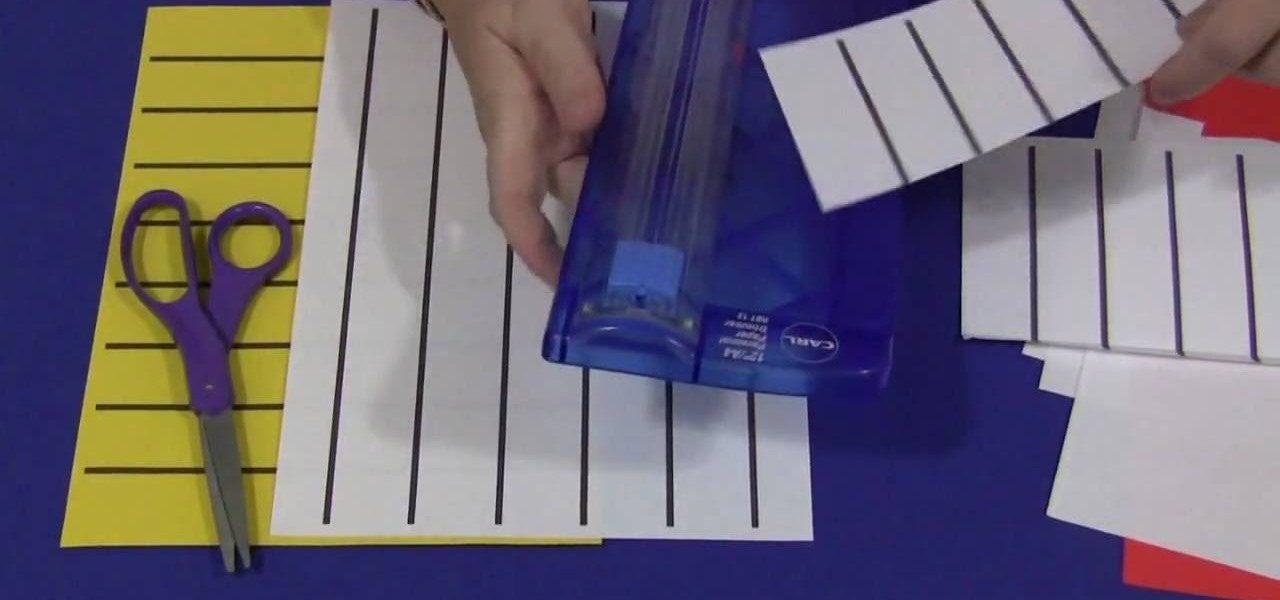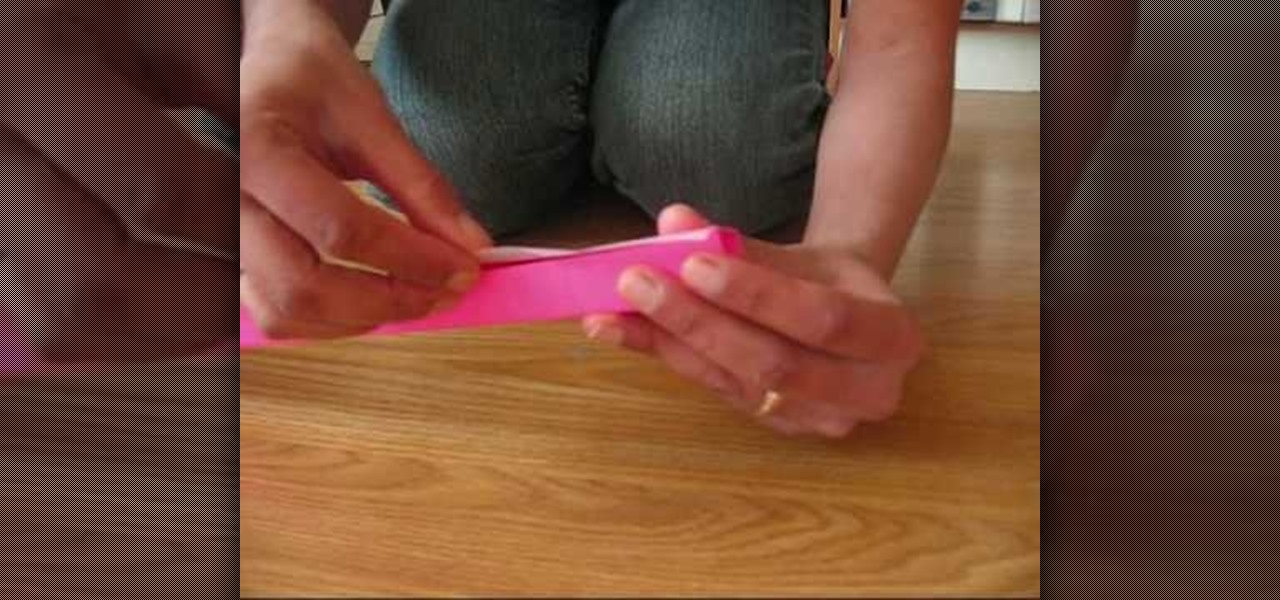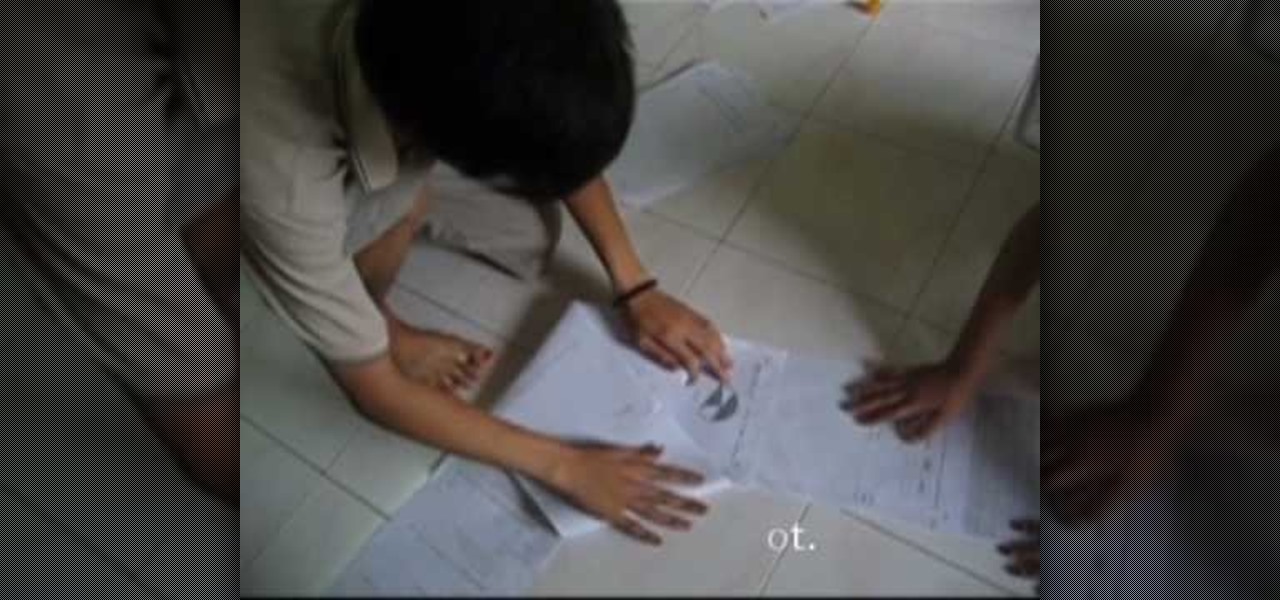
Paul shows us how to make a gigantic three dimensional five-point star out of paper. First, glue A4 sized paper together to make a long strip. Make a U-shape on one end, cross the shorter end under the strip and make a knot by placing the end into the loop. The knot now looks like a pentagon. Flip the pentagon over and over until the end of the strip so that the paper strip is bundled into the pentagon shape. Stick the end of the strip to the pentagon shape. Press the centre on each side of t...

In this how-to video, you will learn how to make a rainbow in an image. First, open the program. Make a new layer and go to the gradient tool. Change the style to the one that looks like a rainbow. From here, change the sliders that you have the colors of the rainbow selected. Once this is done, slide the rest of the sliders near the last color, which should be red. Save the gradient and click okay. Now, go to the bottom left hand corner until a plus sign shows. Click and drag until you get t...

In order to build your own mini fridge, you will need the following supplies: a heatsink, a cardboard box, a petier unit, popsicle sticks, standoffs, an AC adapter, scissors, and on/off switch.
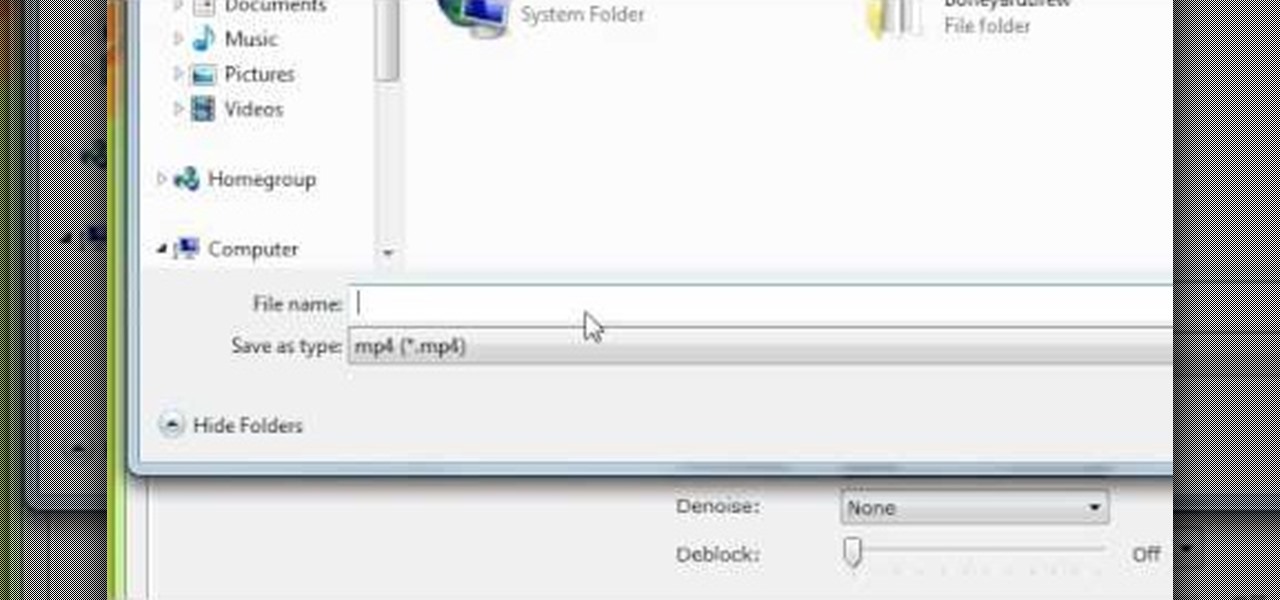
After building up a DVD collection over the years can make you realize just how much you've invested in your movie collection. DVds are far from the sturdiest media for storing a valuable collection like that. Luckily, programs like Handbrake makes it possible to backup your valuable movies. This video will show you how to do it.
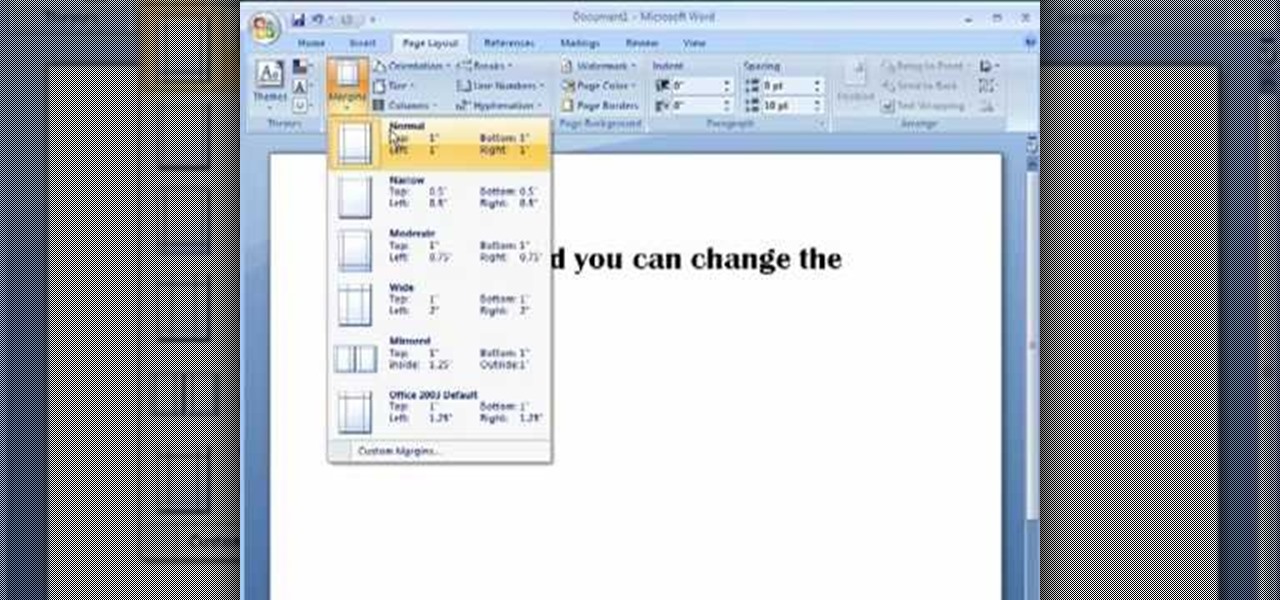
Mike Callahan aka Dr. Filefinder of Butterscotch explains how to adjust the margins in Microsoft Word 2007. While working on a document navigate your mouse to the 'Page Layout' tab at the top, center of the page. On the far left of the resulting page you will find 'Margins', click on that. A drop down window will display some default options that may suit your needs. If not, then click on the bottom option 'custom margins' to change the margin width to any size that you choose. You will now b...

In this video tutorial, viewers learn how to get ripped triceps muscle. The triceps are about 66% of the arm. Building the triceps adds size and dimension to the arms. This video provides 2 triceps exercises. The exercises are one-arm triceps extensions and triceps push downs. When doing the one-arm triceps extensions, extend the arm and keep it straight. For the triceps push downs, keep elbows fixed and close to the body. Flex your arms as you push the weight down. This video will benefit th...

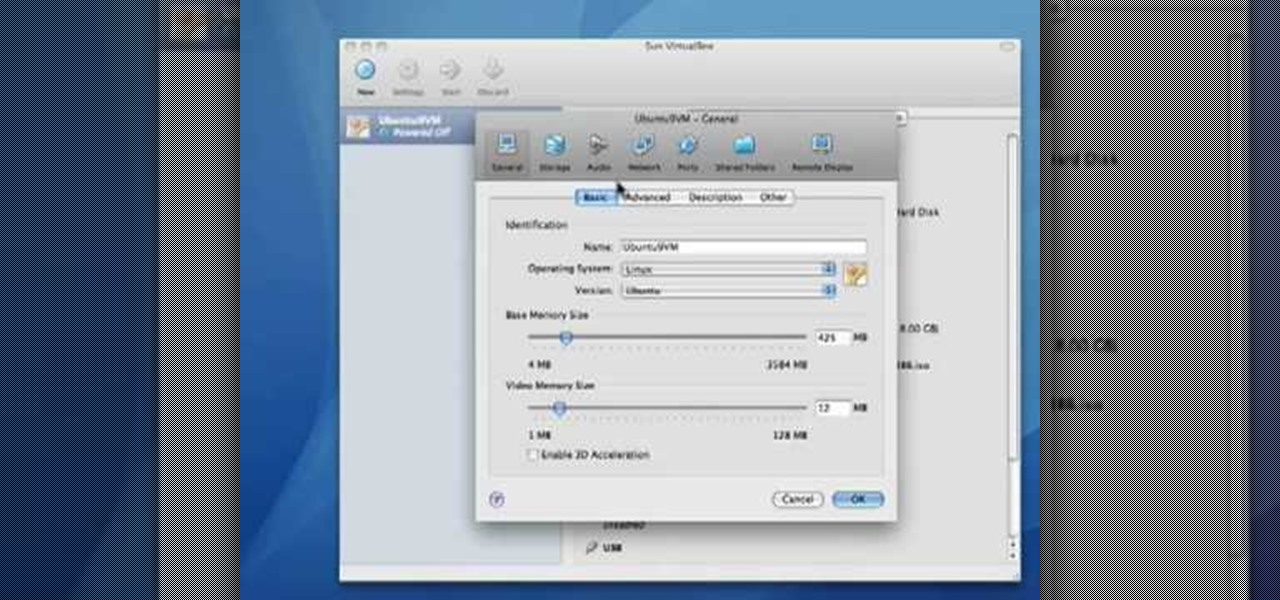
Before you can alter the settings of a virtual machine, you must first have the machine powered off. Load VirtualBox on your Mac desktop and make sure it is powered off on the left hand panel. Double-click General and a window should pop up allowing the changing of several settings. For example, you can include a description to keep many virtual machines separate, or adjust the size of the drive. You can even add virtual devices through ports if they are connected to the physical machine. The...

Mike Callahan with Butterscotch demonstrates how to work with tables in MS Word 2007. Tables are useful for creating information charts and address lists. First, open up Microsoft Word. To create a table, click on the insert tab on the top tool bar. Highlight the elements that you would like to appear in the table by selecting the desired number of columns and rows. Pressing enter inside of a table, it will increase the side of the cell all the way across the table. It will not just increase ...

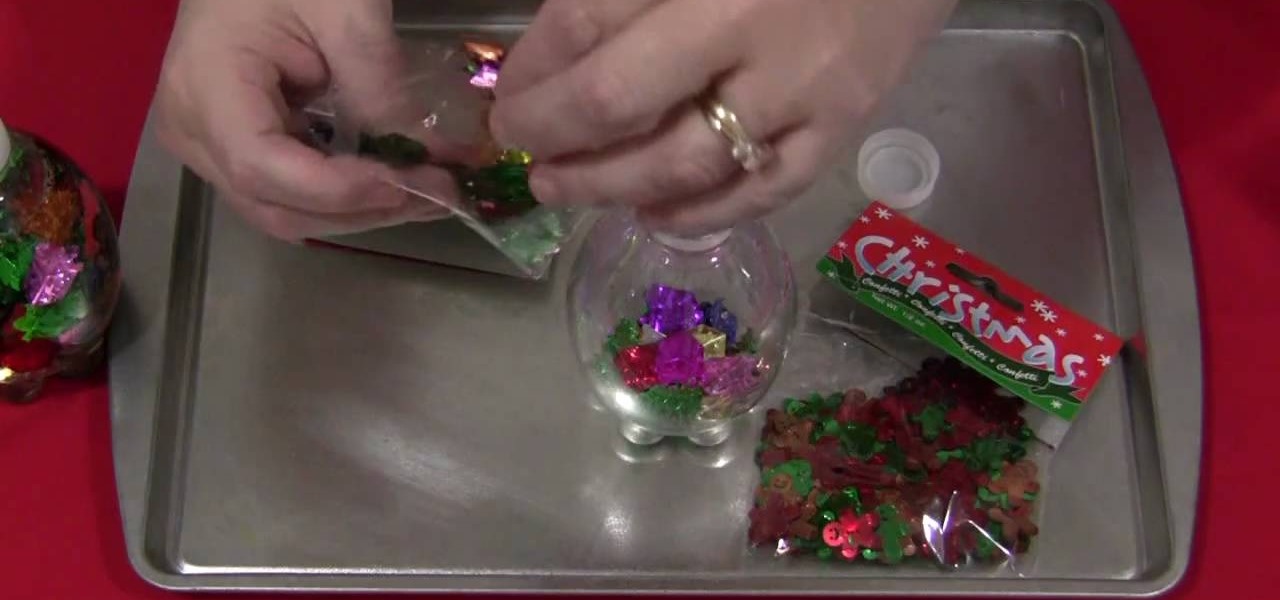
In this Family video tutorial you will learn how to make slow motion discovery bottles with your kids. Shelley Lovett from ChildCareLand presents this video. For this you will need small size empty water bottles, clear corn syrup, confetti and rubber cement to seal the bottles. Fill up to quarter of the bottle with confetti, then pour in the clear corn syrup and fill up the bottle. Then put the cap and seal it. The confetti is all at the bottom of the bottle. So, turn the bottle upside down a...

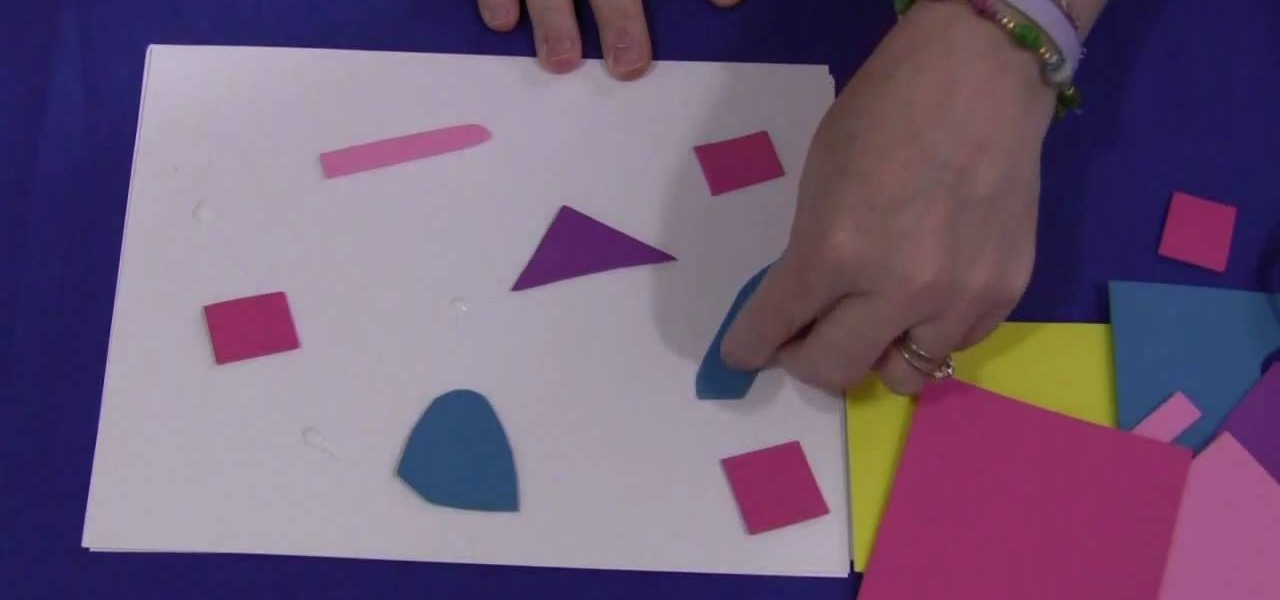
In this video tutorial, viewers learn how to make a foam collage. The materials required for this project are: card stock paper, several different colors of foam paper, scissors and glue. The project focuses on preschool, kindergarten, and elementary school crafts. Begin by cutting the pieces of paper foam into different shapes and sizes. Then simply apply glue on the pieces and stick it onto the card stock paper. Continue doing this to cover the entire sheet of card stock. This video will be...

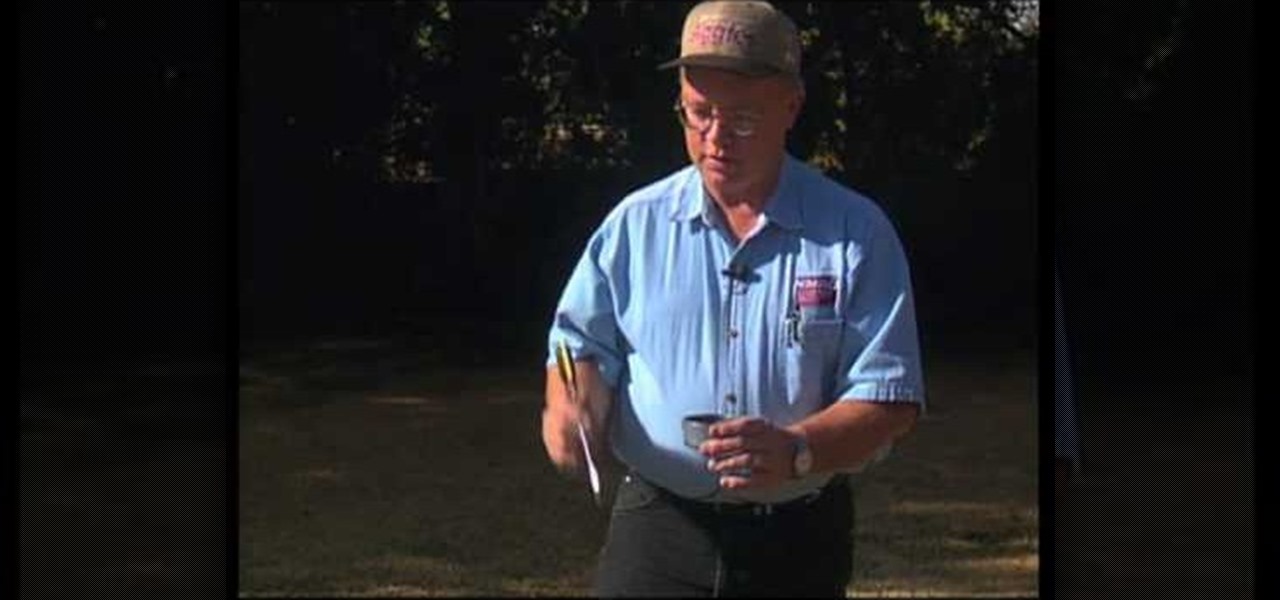
In this Home & Garden video tutorial you will learn how to test lawn irrigation systems. John White presents this video. This is done by a simple can test. Take a few cans of the same size with vertical walls and flat bottom. Place them around the sprinkler head at different distances and make sure they are horizontal. This will show whether the sprinkler is spreading water evenly. Then you can time it and measure the amount of water. This way in future, you will know how long to run the syst...

In this video, we learn how to navigate an HP TouchSmart computer homepage (Windows 7). First, double tap the HP TouchSmart house icon. You will now see several different applications. On the top are applications that are running, on the bottom are applications that are not running at the moment. You can run your finger to scroll along the different windows that you have open. You can use Paint, internet, photos, videos and much more all at the same time! To scroll between pages, grab the top...

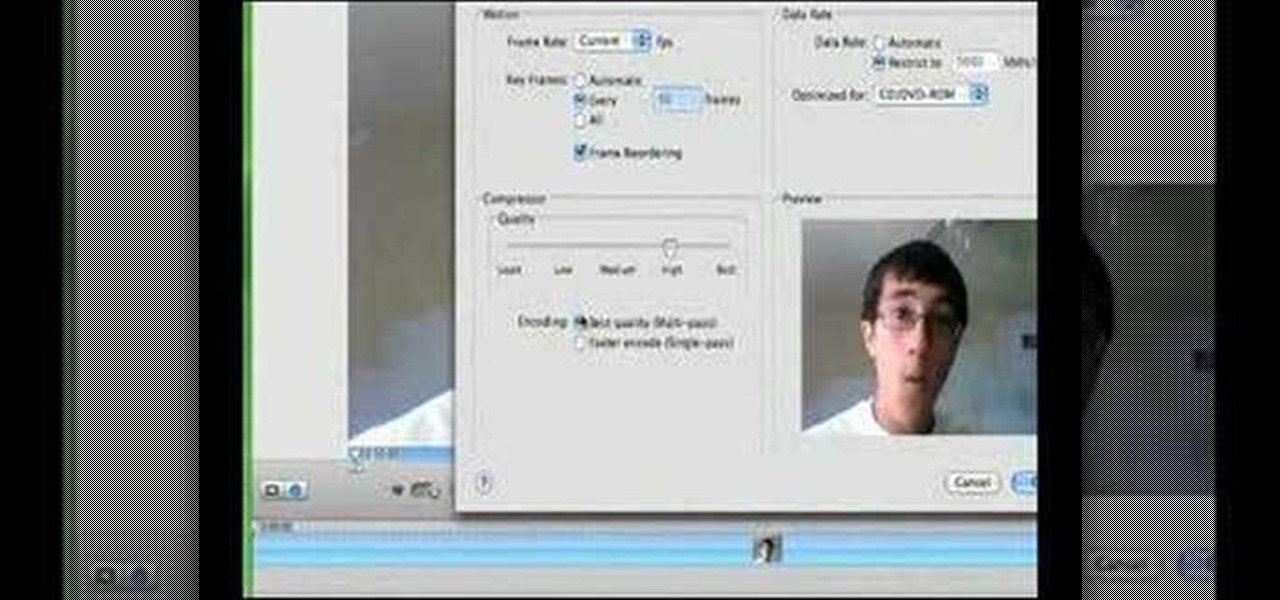
In this how-to video, you will learn how to compress iMovie files into QuickTime files to make them look really good on YouTube. First, open iMovie. Click Share and click Share again. Go to Expert Settings and click on Share. Click on Options and go to Settings. Change it to h264, current frames per second, and every. Restrict should be set at 5000. Optimize it for DVD and change encoding to best quality. Change the size to NTSC 720X486. Check de-interlace video and hit okay. Change the sound...

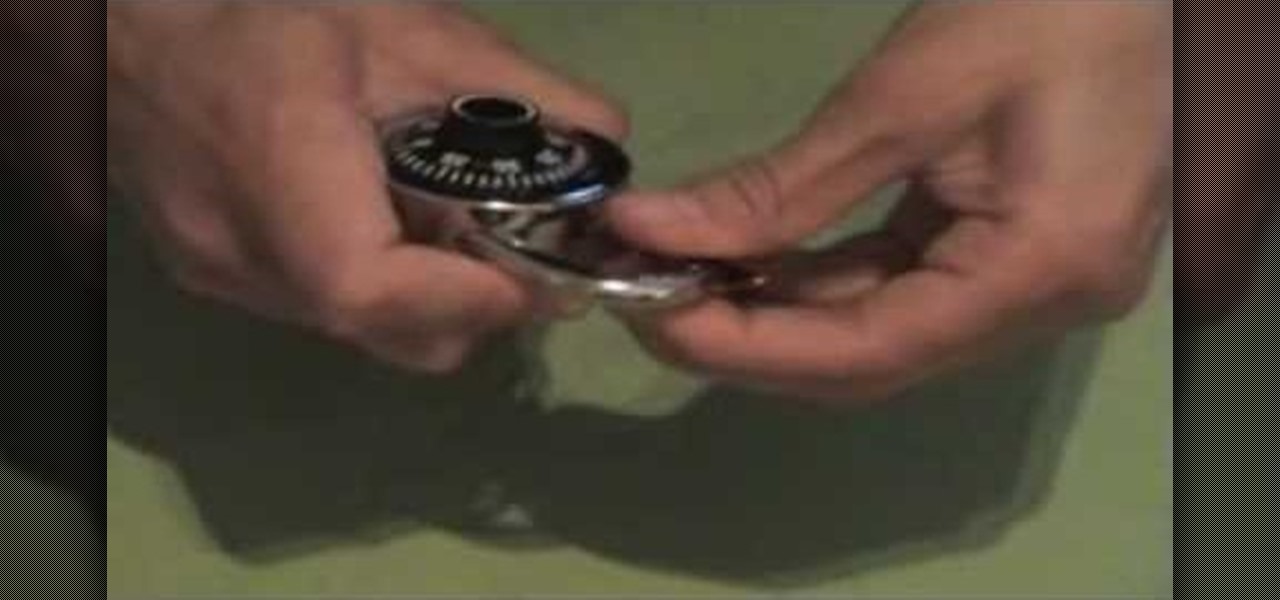
This is episode 3 of the series. You will learn how to hack a basic combination lock. Using some basic household items such as a can of soda, scissors and the lock. He demonstrates and takes you through 7 steps, such as cutting the top of the can off, cutting a rectangle size of the aluminum from the can, cut some lines and shapes into it, fold the tops inward and back. He then uses this contraption on the combination lock arm to slip the aluminum piece down into the lock to release the lock....

According to Shelley Lovett Pop Beads are a wonderful addition to any early learning environment. In this video Lovett starts by showing all of the different shapes, sizes and colors the Pop Beads come in. She also explains to the viewer where the beads can be purchased. Lovett then demonstrates how the unique construction of the beads makes it somewhat difficult to snap them together. Yet is it the required pinching and grasping that makes playing with Pop Beads so beneficial to developing a...

Shelley Lovett has some tips for helping a young child learn how to use scissors. The first thing you need to do is make sure you have paper and child size scissors available for the child to use. A full sheet cut in half is usually more manageable for a young child to work with. Have the child take the paper and just make cuts into the paper however they feel comfortable. Using colored paper can make it more interesting for them. After that very beginning practice stage has been accomplished...

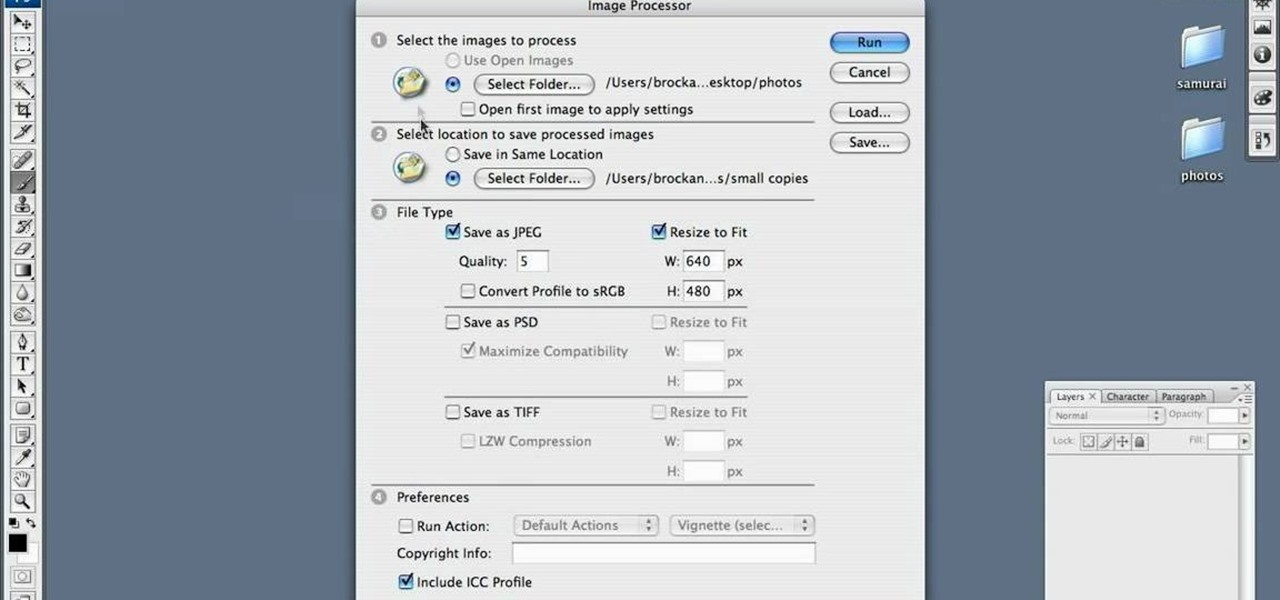
Are your high resolution photos taking too much space on your hard drive? Tired of getting file too large error when emailing photos? Don't worry Photoshop Samurai will help you batch resize your photos as fast as a ninja! You will need: Photoshop (Not Elements version), photos that need to be resized Go to file, then scripts and select image processor. Select the source folder (where your pictures are stored on your computer). Then select a destination location (where you would like the proc...

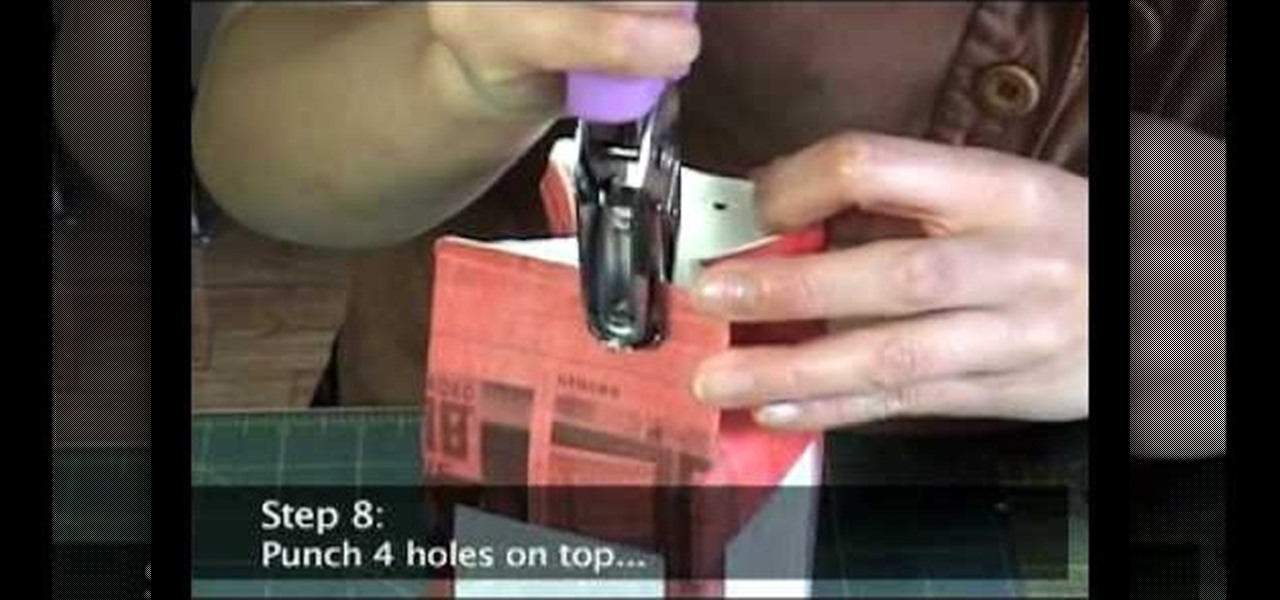
In this video tutorial, viewers will learn how to make a milk carton lantern. This lantern uses recycled items. The materials required for this lamp are: a milk carton, unryu paper, colored newspaper, raffia, ruler, glue gun, hole puncher, X-acto knife, glue stick and scissors. Flatten the milk carton. Draw a rectangle with each panel and measure about 1/2" form each of the sides. Measure about 3/4" from bottom and top. Cut out the rectangles with the X-acto knife. Glue the newspaper to the c...

Delicious shrimp scampi is easy to make with this video. A half stick of butter is melted in a pan, to which 2 chopped green onions, 3 minced cloves of garlic, and some lemon zest. Sautee about one minute, then add 1/4 cup of lemon juice and 1/4 teaspoon of salt. After the sauce become bubbly, add a pound of shelled, cleaned shrimp and cook just until pink - 3 to 5 minutes depending on the size. Add some hot sauce to taste, and toss. Add 1/4 cup chopped, fresh parsley to bring out the flavors...

You want to start by determining what kind of charms and the size of the necklace. Most necklaces are about 16-20". If you wanted to make a choker or a bracelet, then measure out a smaller piece of cable chain. Using a ruler makes it easy to measure and later on to add the charms evenly. Using chain nose pliers and side cutters, you want to cut a jump ring and attach to the trigger clasp and then close the end with the pliers. Take the chain and center it on a ruler, find the middle and that'...

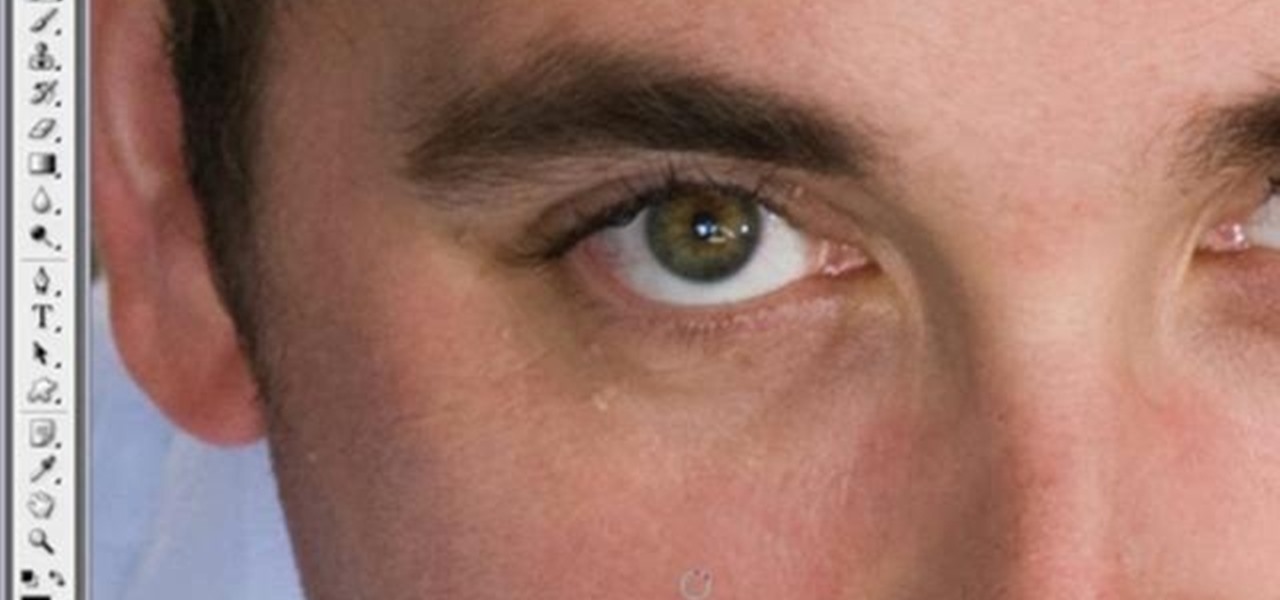
This video in the Software category will show you how to remove pimples and wrinkles in Photoshop. Yanik from Yanik’s photo school presents this video. Select the photo you want to work on. First you duplicate the layer by ctrl+J or select from the dropdown menu. You start off with removing those pimples that you want to remove completely. Select the spot healing or the regular healing brush. Yanik prefers the regular healing brush. Also choose a small brush size. To select a source point, ho...

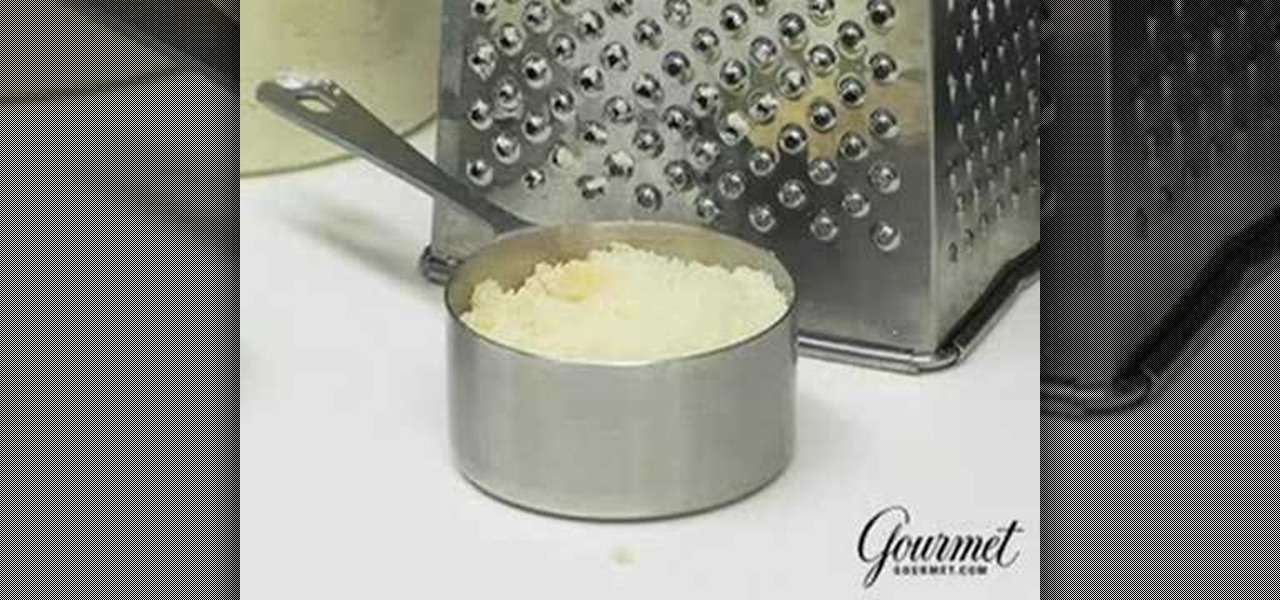
Gourmet editor, Ruth, tells us all about the different graters and why choosing the best grater for each job is very important. The classical grater is called a knuckle bleeder. This is because when you're at the end of the item you're grating, you have to get your hand really close to it and you might scrape your knuckles. The hand grater is easier to use and provides smaller pieces which makes it ideal for most grating jobs. A zester grater is also easy to use and provides more volume than ...

Here's a great summertime treat that won't have you cheatng on your diet. This healthy alternative ice cream is low in fat, high in protien, low in carbs, and is still pretty good. This video will demonstrate exactly how to make high protien low fat, ice-cream.

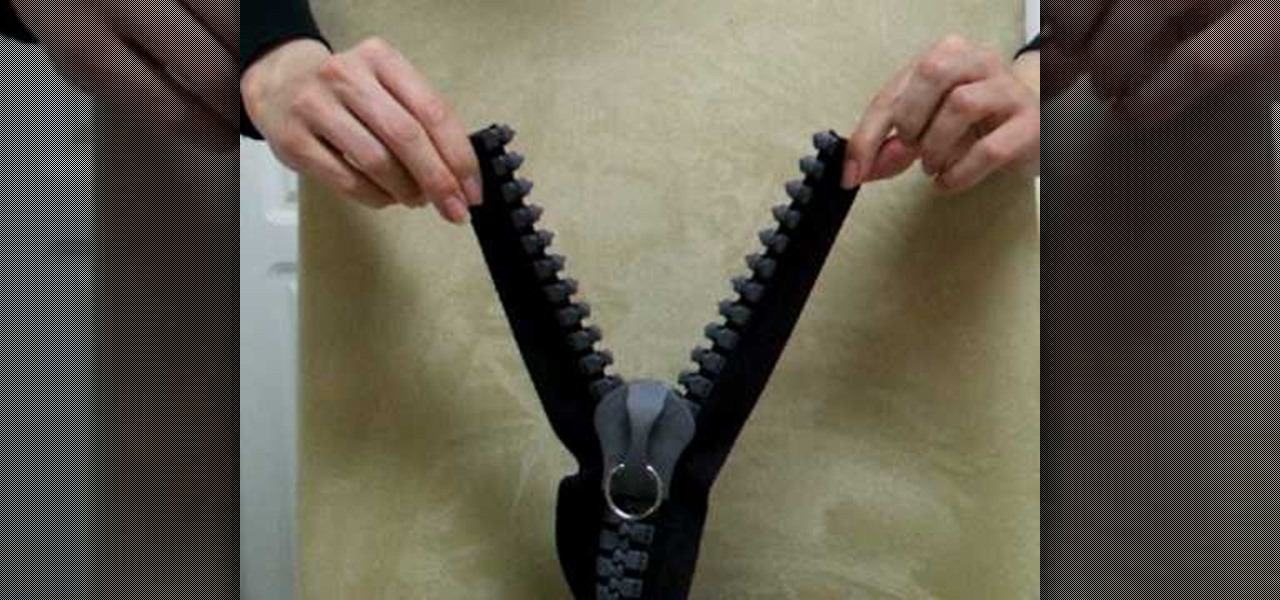
In this video tutorial, viewers learn how to attach a giant slider to a zipper chain. This task is very simple and fast to do. This zipper is for large materials that can not be enclosed with the regular sized zipper. The slider is removable and able to reattach to the zipper chain. It is very convenient and makes the zipper look more neat. Just set the slider on the top of the connected teeth track and pull it up. Then twist each side and pull down. This video will benefit those viewers who ...

How To Make Anything demonstrates how to upload YouTube videos in high definition. To upload your video so the HD button becomes available to YouTube viewers, go into your video editor and set your project properties to 1280 x 720 which is the high definition resolution YouTube looks for to give you the HD option. Then, when you render your project, set your rendering parameters to a format like WMV and check to make sure that you're getting the HD image size upon output. Once your video is r...

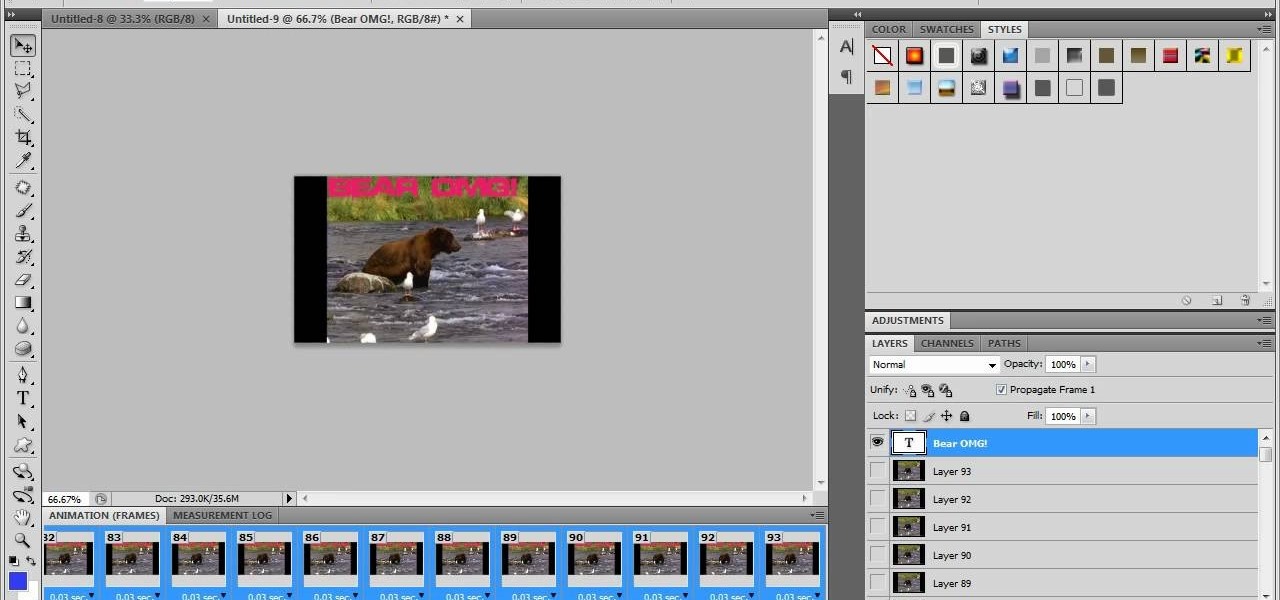
Learn how to make an animated GIF from a video clip using Adobe Photoshop CS4. You'll need to use an external editing program (like Sony Vegas) to create a small clip from your larger video beforehand. From Photoshop, go to "File" and select "Import" and then "Video Frames to Layers" from the pop-up menu and select your video clip. Choose "From Beginning to End" when prompted about range to import. The duration of the video clip will now be displayed in frames. By default, each frame is set t...

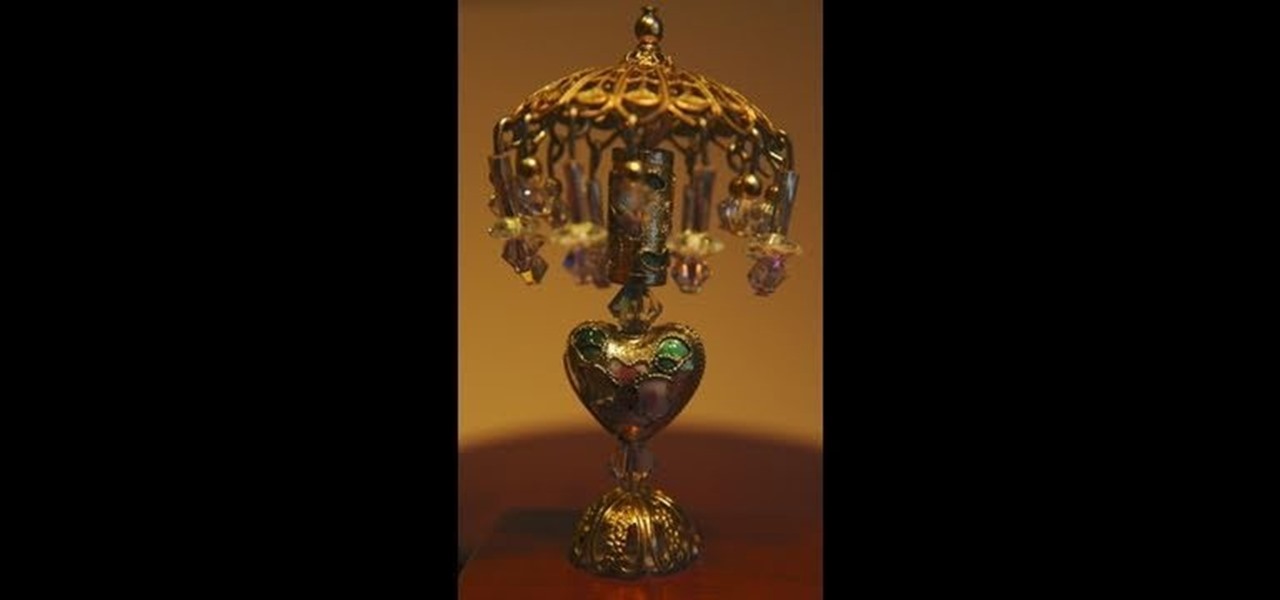
Start with an eye pin. Place a gold bead and end cap on it. Now put on a piece called a stamp, or stamping. You want to find one that is curved like a lamp. Next put on a large crystal (8mm). In this video she uses a Swarovski crystal. Find some beads you like and place them on the pin. At the end, place on a large plastic back of an earring to secure the beads and hold the "lamp" upright. Now to make the little beaded fringe at the edge of the lamp, you take another eye pin and thread on som...

This is a great instructional video on how to build an 8000 lumen CFL and makeshift rain shield. First you need build a PVC frame. For that you will need 3-3/4 'T'S, 4-12" 3/4 pipes,2-2 1/2 " pipes and 4-3/4 caps. You will also need 1-1 " 'T'. 2- 1" 1" pipes and 1-1"-3/4" reducer. Hold the job in a mechanical vice and cut the material into required sizes and make the snap fittings. Then friction fit the rest of the components into this stand. Then lastly you have to make the light box. That i...

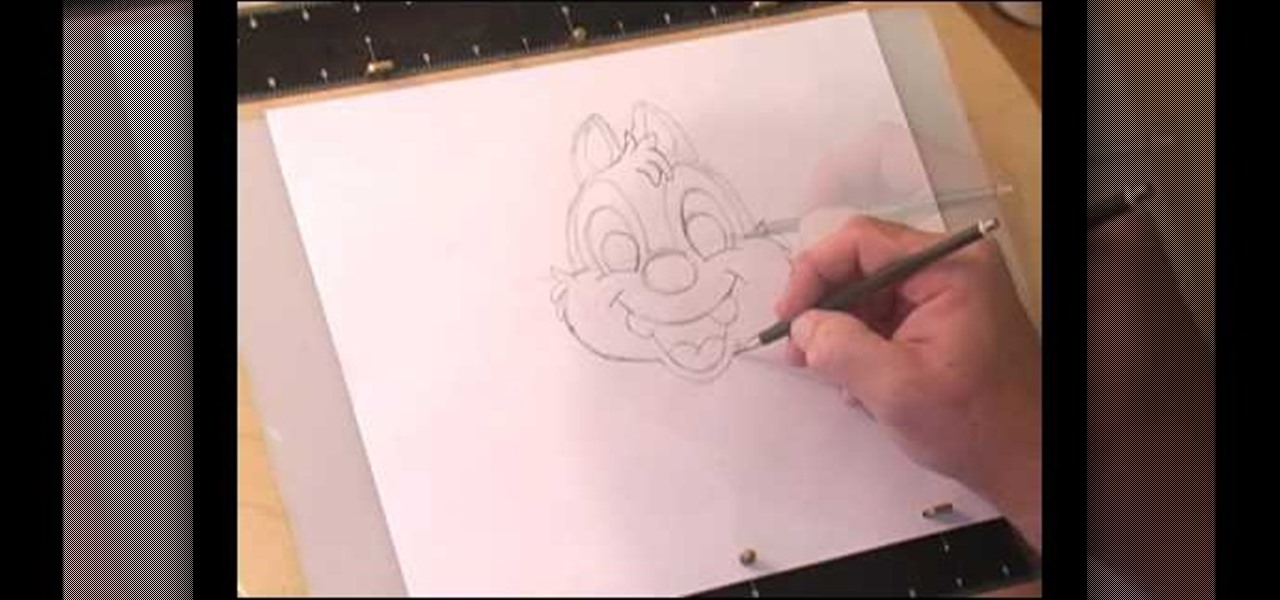
This video shows us how to draw a Dale character. First you draw a ball about the size of an orange. Insert construction lines in the shape of a cross. Starting with the small middle area, draw the mask outline and add the ears at the top. Draw in the nose under the middle line. Draw the cheeks outside the construction line on both sides. Add smile lines on each side and draw a curve between them for the mouth. Extend the lower part of the mouth outside the construction line. Insert teeth and...

In this video tutorial, viewers learn how to make a parchment cone for cake decorating. A parchment cone is basically the same as a pastry bag. Begin by cutting out a piece of parchment paper. It doesn't matter the size of the parchment but it needs to be flat. Using a ruler and a knife, cut the paper diagonally. Take the longer end and curl it inside. Take the other end and wrap it around to form a cone. Fold the top to secure the cone. Once the cream is in the cone, roll the top and make a ...

Go to the Menu and click the Start button. Now select Control Panel. In the Control Panel, you can see the Option Programs. Now you can see Uninstall Programs in small letters below the Programs option. Click on Uninstall Programs. Here you can see the list of programs installed, when they were installed, what is the size of the program, and which version of program is installed. To uninstall a program, simply click on the program you wish to uninstall. Some options get displayed above the ta...

In this video tutorial, viewers will learn how to change text alignment and formatting in Microsoft Word 2007. To format or align the text, you must high light it first. Once highlighted, users are able format the text in many ways. The formatting options are: font type, font size, bold, italics, underline, strike-through, subscript, superscript and change case. The alignment options are: right align, center, left align and line spacing. Users also learn how to add pictures and position the t...

In a tool shed there are two gentlemen discussing how handy a well organized tool shed or tool box is. One man starts to say that he has come up with a easy and in expensive way to keep hand tools organized. Find a old simple nail apron and draw some lines down the pouch. This lines will later turn into places to put tools so it is a good idea to think ahead about what tools you will end up using and adjust the size accordingly. Next, snitch up those lines that you have drawn. Finish up by pu...

On YouTube-irDescent you find a simple way to make your own model of a gliding airplane. The instructor begins by giving some information on how birds inspired the inventing of airplanes. Some clips of flying birds are shown. She also explains all of the general parts of the airplane model and their purpose. After the short introduction, she talks you though making the airplane model from scratch. She begins by making the fuselage of the plane. Then she makes the wings which must be equal in ...

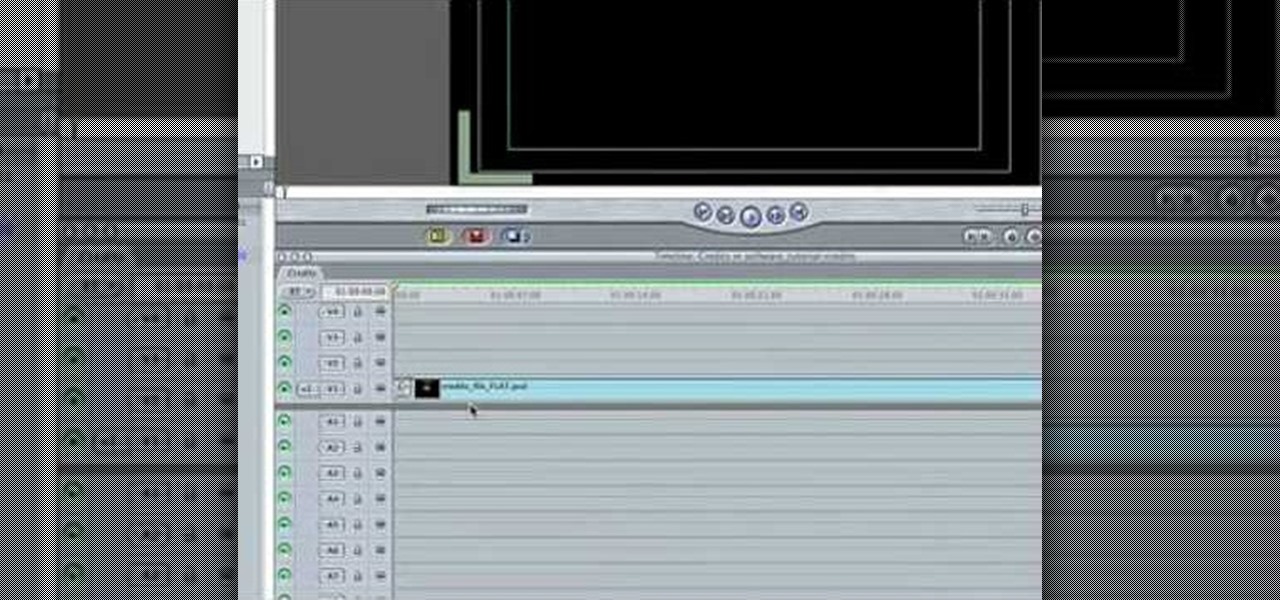
In this video you will learn how to build scrolling credits in Final Cut and Photoshop CS3. He begins by showing you how to do it on Photoshop CS3. He does this by having his own finished credits and the steps you need to take to set up your own. Then, he moves on to Final Cut and drags his Photoshop credits into Final Cut. He explains how it may be off a little in size, but you can readjust everything for accuracy. This is all done through his computer and with vocals.

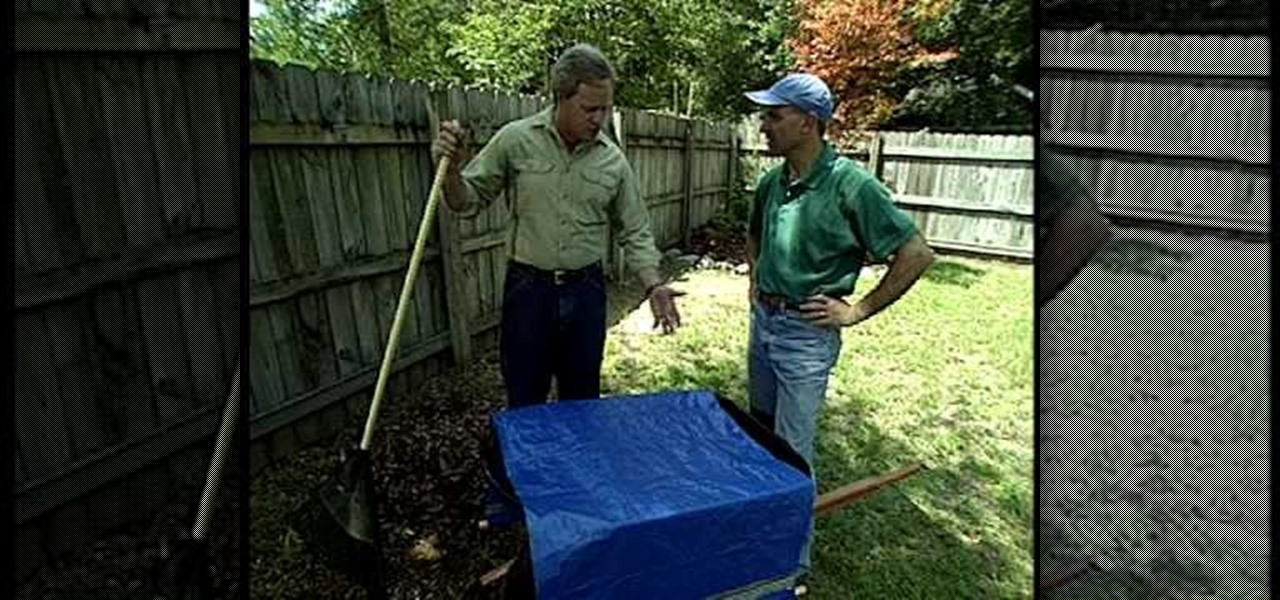
This video from Danny Lipford explains how to make a cover for raked leaves so that the wind won't blow them away. Get a tarp and cut it to the right size. Get two wooden dowel rods and put them along two ends of the tarp. Turn the tarp edge over the dowel rods and tape them down with duct tape. The cover can be used to cover leaves that are in a wheelbarrow or on the ground. You can also lay the tarp on the ground, rake the leaves into the tarp, drag them where you want them and pick up the ...

This video will show you how to create a flow chart in MS Word 2007. First click on the Insert tab. You can see the smart art option, click on it. A "Smart Art Graphic" window will appear.

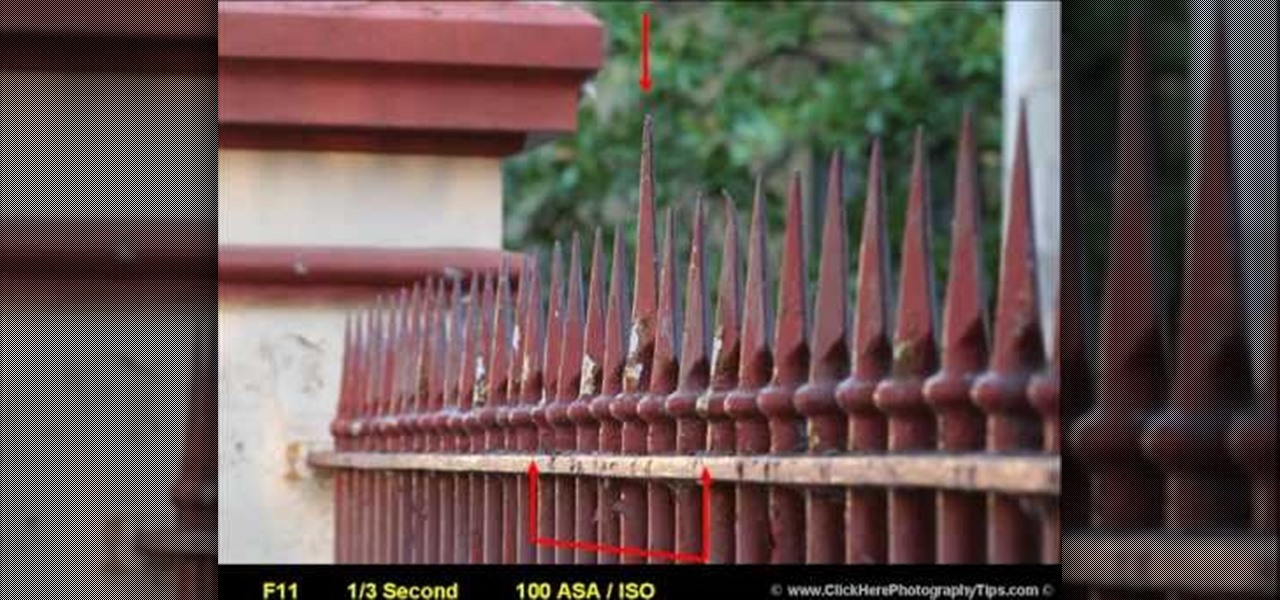
Learn how to use depth of field with help from this photography tutorial. Although it may seem that depth of field is a confusing factor in photography, it's actually quite easy to understand & adjust once you've gotten the hang of it. Depth of field (or, DOF) is a great way to experiment with your photography & improve your skills as a beginner photographer. When taking your photograph using DOF, it is imperative to remember that the shutter speed and aperture (or F-stop) need to change at e...

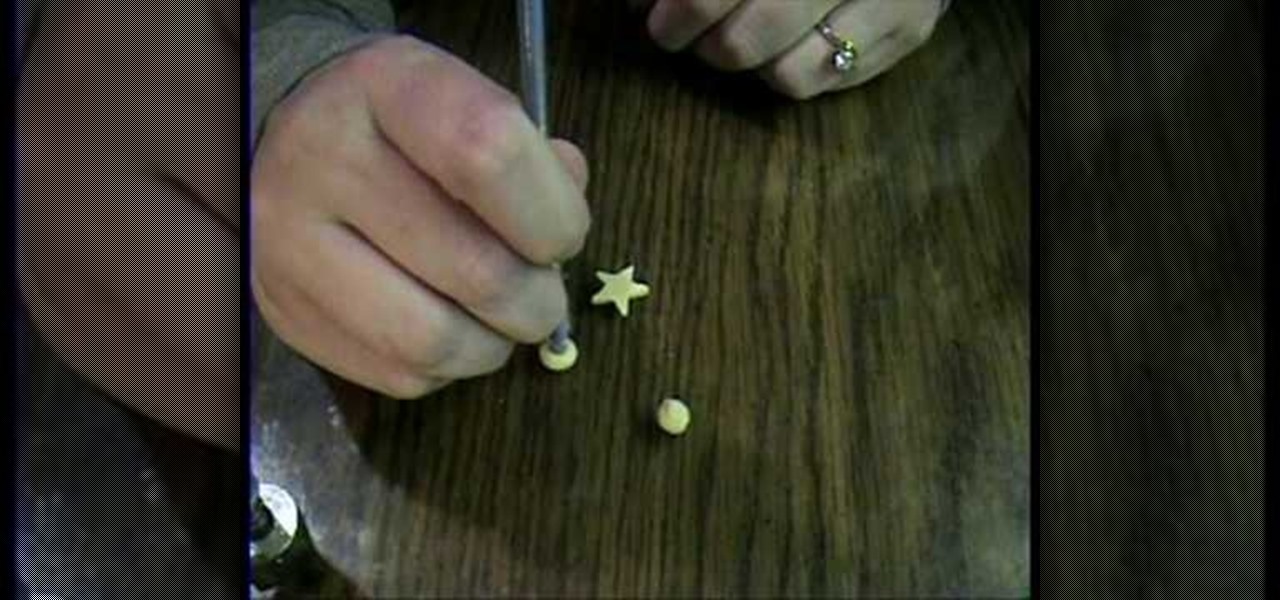
Garden of imagination show you how to make all your donut beads the same size without a clay measurer. Roll out your clay to desired thickness. Use any shape cutter and cut out the desired number of beads. Using your fingers, roll the cut-outs into balls. Press the balls to flatten slightly. Use the end of a thin paint-brush or similar object to puncture a hole in the middle of the bead.

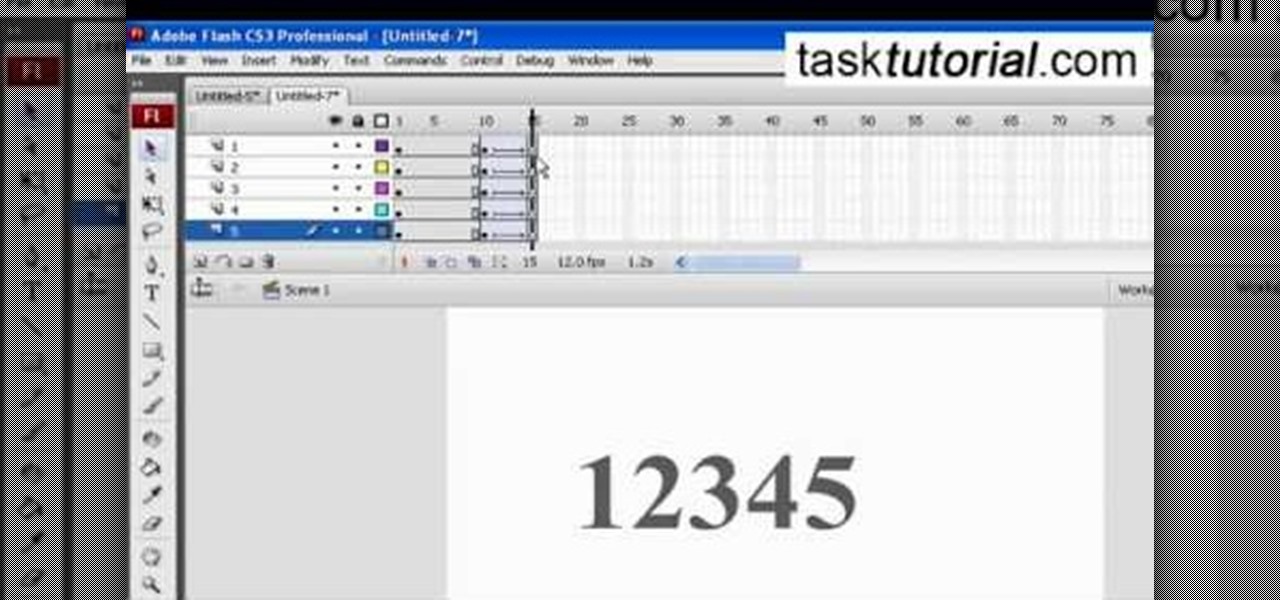
Ever wanted to create a cool appearing text effect in Adobe Flash? This video tutorial will show you how to use Flash to create a text effect that can be used as a website introduction or in other forms of web media. This step-by-step video will have you creating cool Flash effects in no time.


