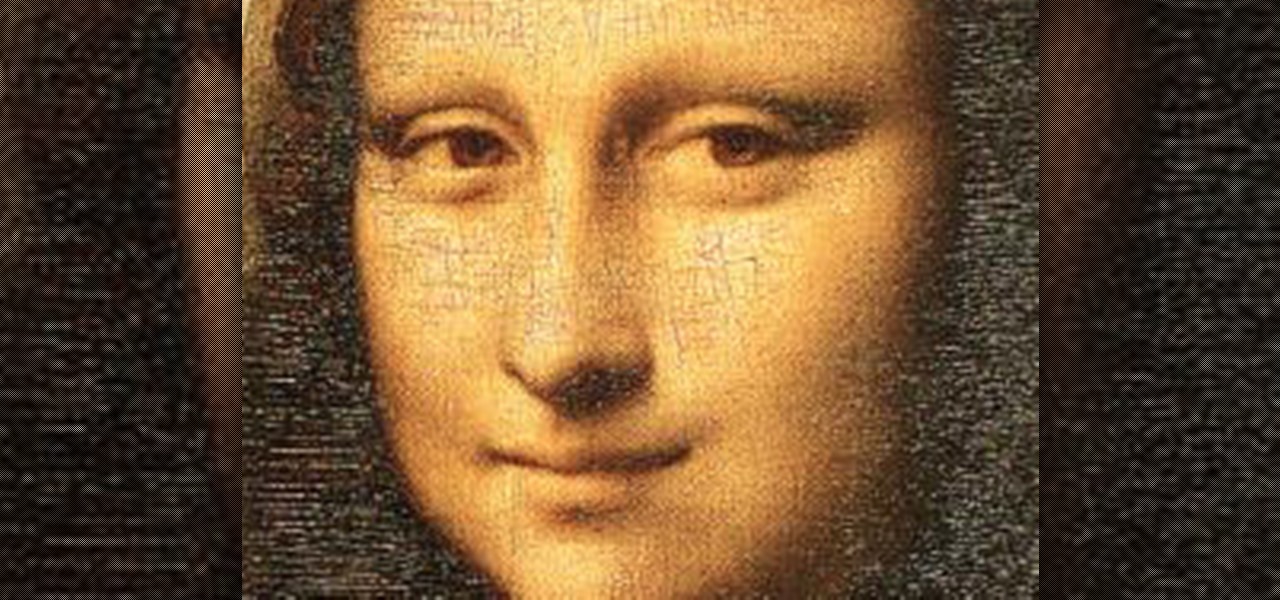
How To: Make Mona Lisa's Eyes Blink in Photoshop (GIF Animation)
If you loved The Da Vinci Code by Dan Brown, then listen up— there's been a new discovery found hidden within Leonardo da Vinci's most famous painting— the Mona Lisa.


If you loved The Da Vinci Code by Dan Brown, then listen up— there's been a new discovery found hidden within Leonardo da Vinci's most famous painting— the Mona Lisa.
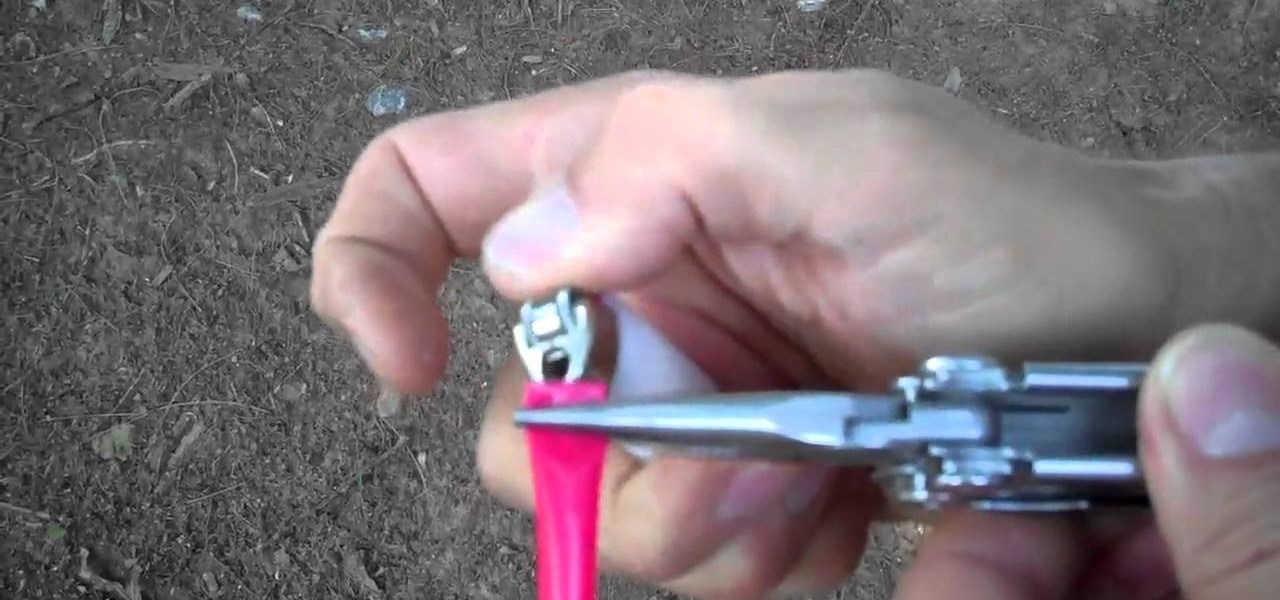
Okay, so you're fishing and you forget the basic essentials… you're fishing pole and your bobber. How are you going to catch a fish with just some fishing line? The answer? Plastic straw.

First of all you have to arrange the ingredients that are two chicken breasts which you have to cut into chunks, two tbsp of vegetable oil, two tbsp of butter, one chopped onion, a quarter of a tsp cinnamon, one tsp of crushed garlic, one tsp of crushed ginger, half tsp of ground turmeric, one tsp of chili powder, two tsp of ground almonds, a can of 225 gm of whole peeled tomatoes, one tsp of tomato paste, one tsp of natural yogurt, two tsp of fresh coriander or chopped spinach, and salt & pe...
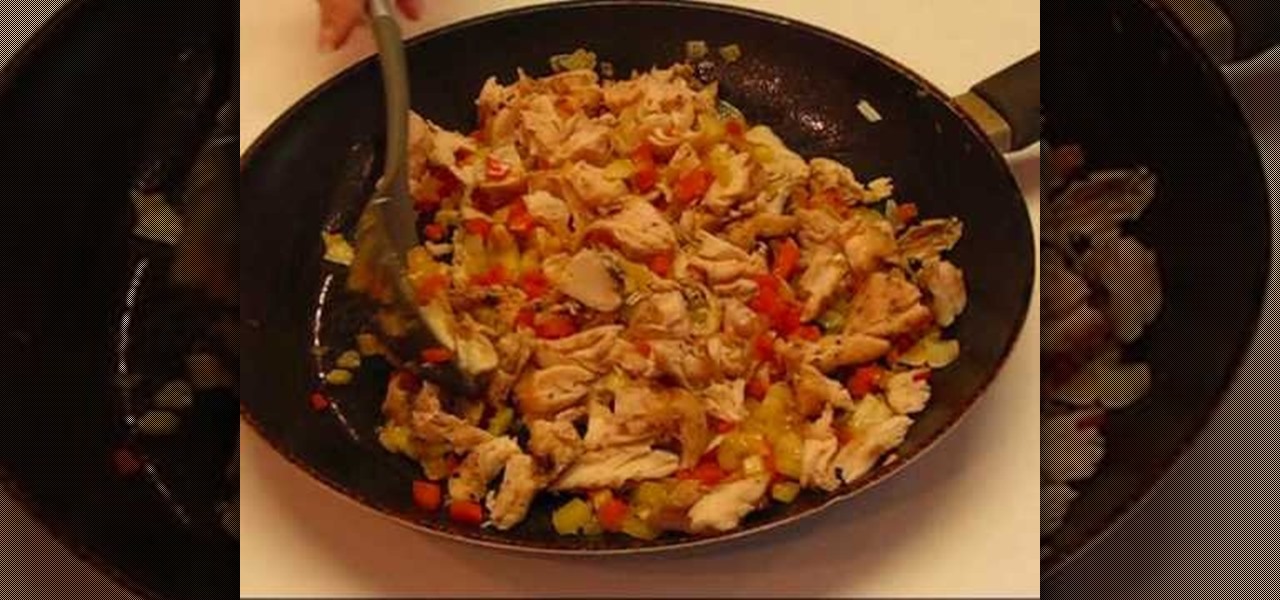
Are you feeling under the weather? When you are feeling sick, or cold, there is nothing more comforting than a bowl of chicken noodle soup. In this tutorial, Betty makes her favourite soup from scratch, using left over chicken pieces. Betty's soup is low in fat and calories and is guaranteed to make anyone feel better.
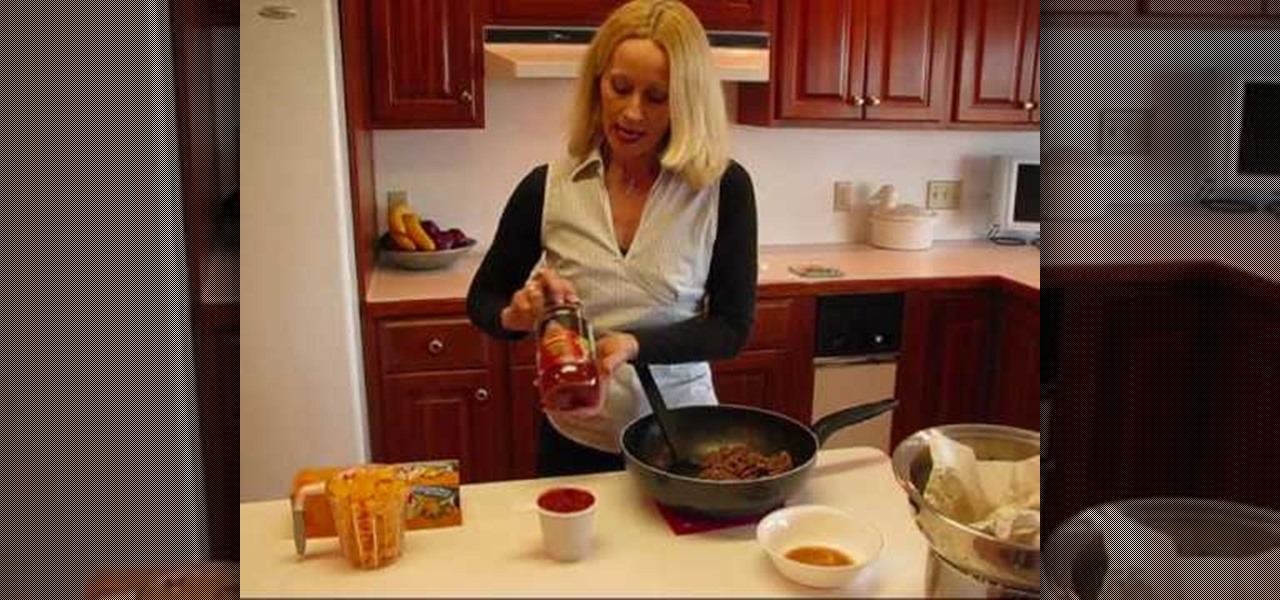
Looking for a cool new party dip? Try Betty's super fast Mexican style meat and cheese dip! It goes great poured over food or with tortilla chips! No party is complete without the dip, so why not spice it up and go Mexican?

First select the pencil tool then click on pencil mode which is located at the bottom of the toolbar, select straighten and draw a line as in the video. Now you can see that the line is automatically adjusted, it will make the round and straight shape in the line depending on how you drew it. Now delete your shapes and select the smooth in pencil mode and draw a line as in the video. Now you can see that the line is automatically smoothed. And finally select the ink in pencil mode and draw a ...
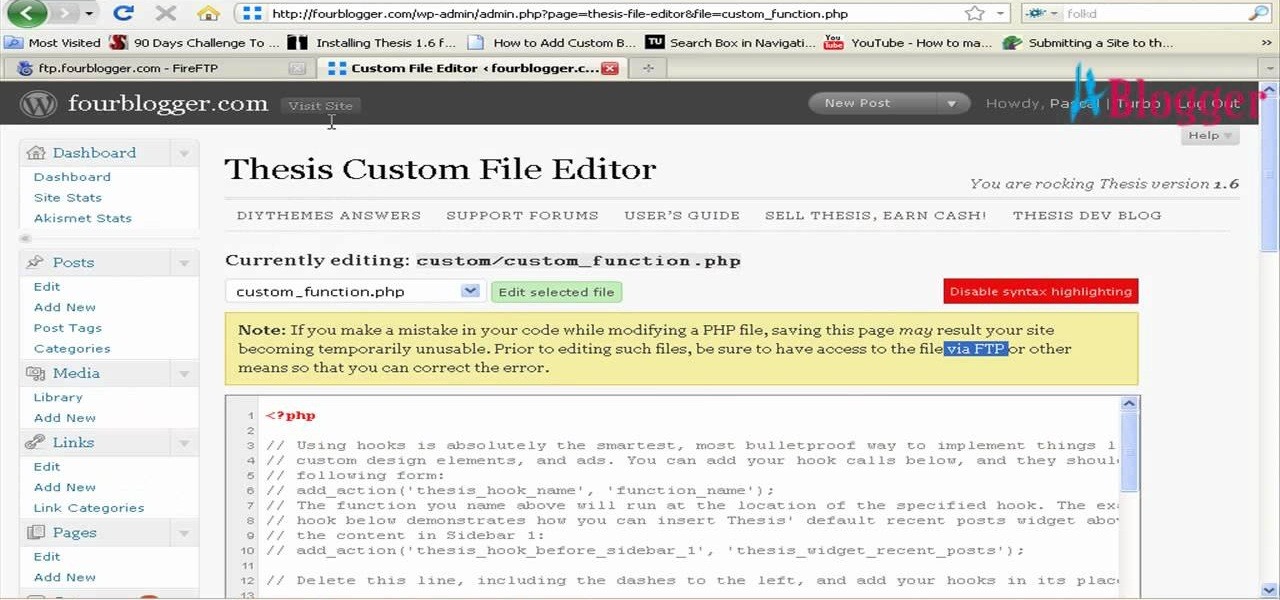
First go to your word press admin and click on "custom file editor" in thesis options. Select custom_function.php in file selected menu and click on "edit selected file". Because of warning, we need to do it via ftp. So go to that ftp path which is showing in the video and open up the launch.php. Now copy that code which is showing in the video and past it in there, close and save the file. Now to change the style of your search box, go to your custom file editor, select the custom.css and cl...
In this Software video tutorial you will learn how to create a vector RSS icon in Illustrator. Open illustrator and open a new document. Select the ‘rounded rectangle tool’ from the rectangle menu. Click and drag to draw a rounded square. Select the gradient fill on the left side and change the color to orange on the right side and make it dark to light from top to bottom. Next grab the corner and turn it around 180 degrees. Move the picture to one side and select the ellipse tool. Draw a...
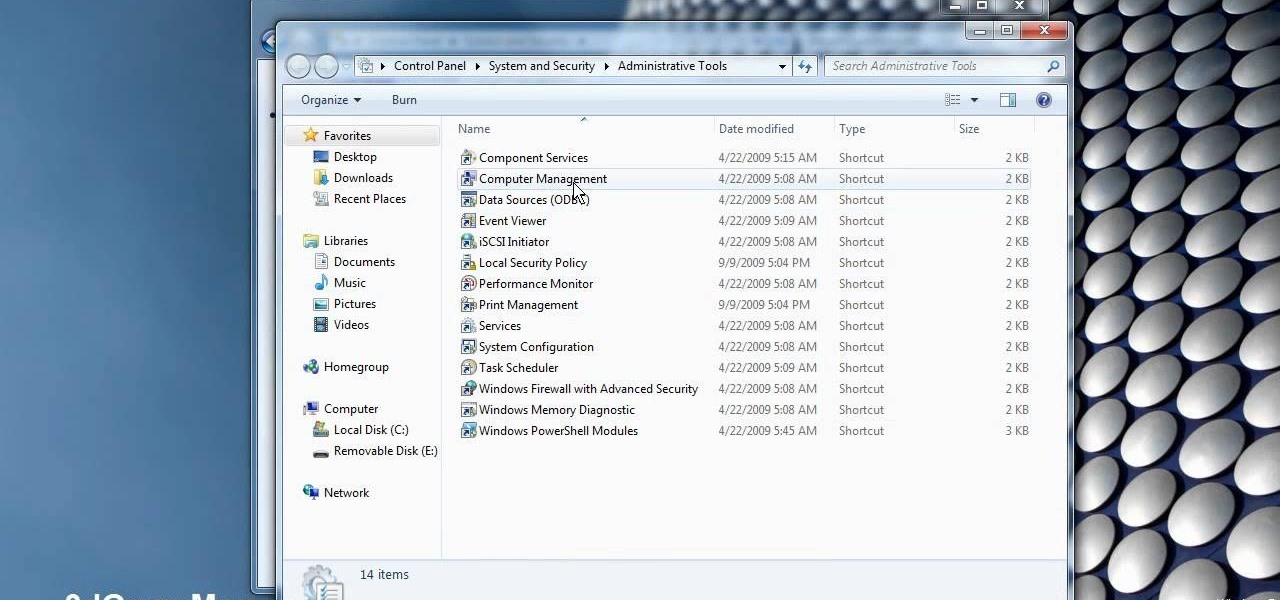
This video demonstrates how to change a drive letter to a certain drive in your Windows 7 computer. On you Windows 7 computer, go to Start > Control Panel. In the Control Panel, select System and Security then open the Administrative Tools. Look for and open the Computer Management tool. On the left side pane of the Computer Management window, select Disk Management. Look for and right click on the drive you want the drive letter changed. Select 'Drive Letter and Paths...'. Click change and s...
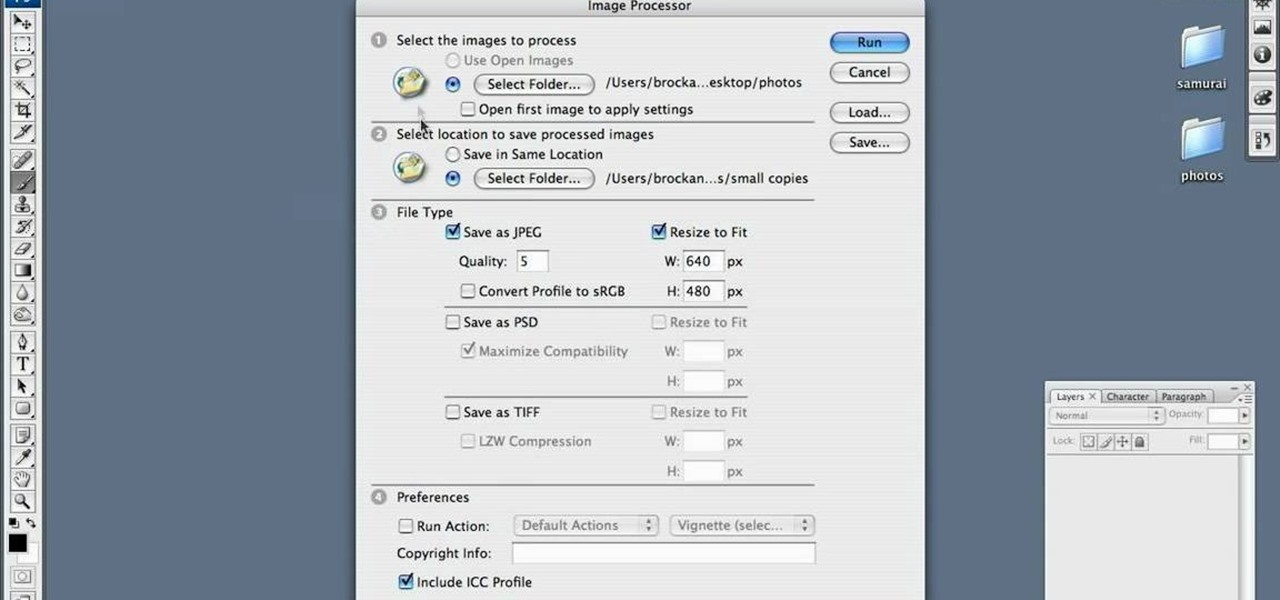
Are your high resolution photos taking too much space on your hard drive? Tired of getting file too large error when emailing photos? Don't worry Photoshop Samurai will help you batch resize your photos as fast as a ninja! You will need: Photoshop (Not Elements version), photos that need to be resized Go to file, then scripts and select image processor. Select the source folder (where your pictures are stored on your computer). Then select a destination location (where you would like the proc...
You can customize and select your preferred monitor settings to improve the clarity of your monitor display. First open the start menu and go to the Control panel. In the Control Panel select the Display link. In the Display option window to the right hand side there are a few options available. Select the screen resolution option from them. Now there are many options present in there like Display, resolution, orientation etc., Using the display option you can select the monitor you want to m...
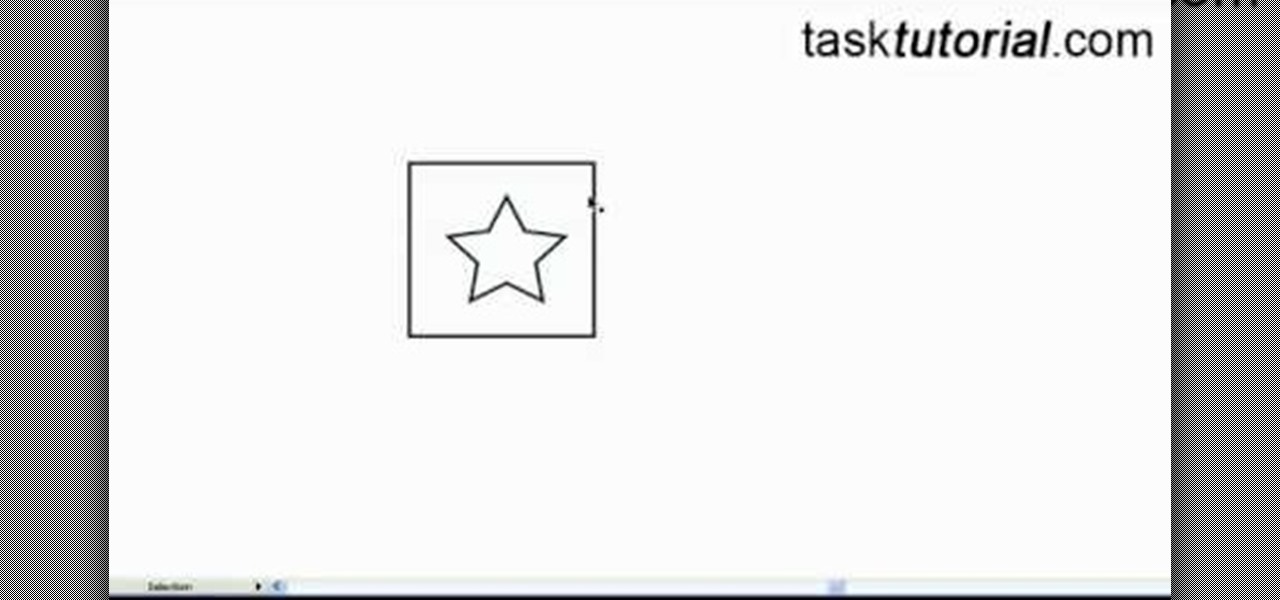
This video tutorial by Tasktutorial shows you how to create a simple swatch in illustrator. Select the star tool, draw a star and select the path and scale it down as shown. Change the fill color to white, the stroke color to black and the stroke weight to 2 points as indicated. Select the rectangle tool and draw a background for the star, bring to back, change the fill color to blue and de-select the stroke as directed. Align the shapes using the align tool and select both paths and bring in...
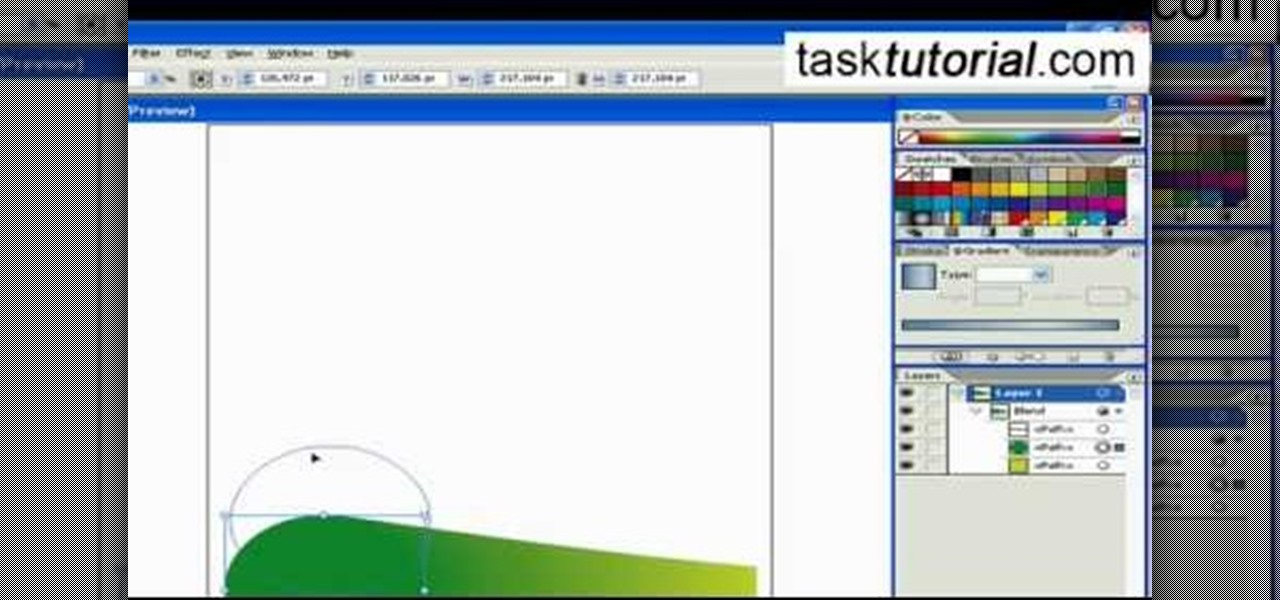
Learn how to blend shapes and colors in Illustrator with this tutorial. Open Illustrator and put the circle with color which you want. Put the square on the color you want. Select the object, go the title bar select the object and then select the blend. You will be shown the result on the screen. Select the square and circle where you place the object by click and drag method. Go to the object and select the blend and choose the blend options. Change in specific steps which you want in the sc...
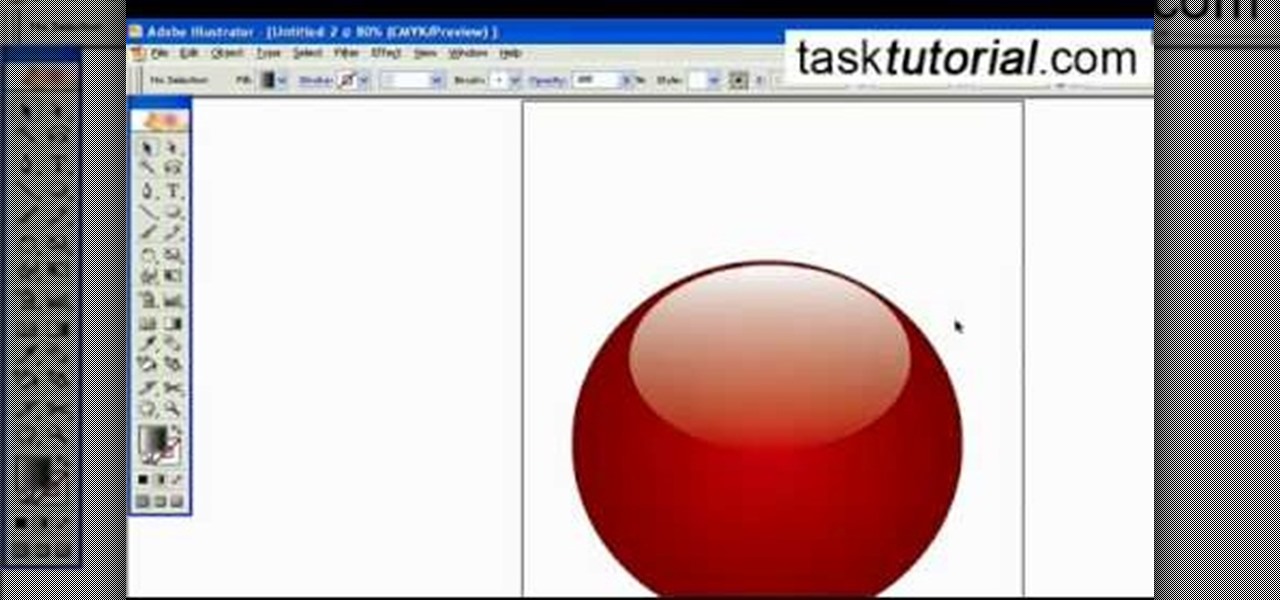
To create a Christmas ornament in Illustrator is very simple if you follow the steps below. Before starting the process one should ensure that all project files used in the tutorial is available. First by holding the shift key draw an oval, then go to gradient and create a new gradient which is at right side of the window. Now select red color and make it darker, then select 'Radiant' from the tool and switch the color positions. Select the ellipse tool once again and create a new shape on to...
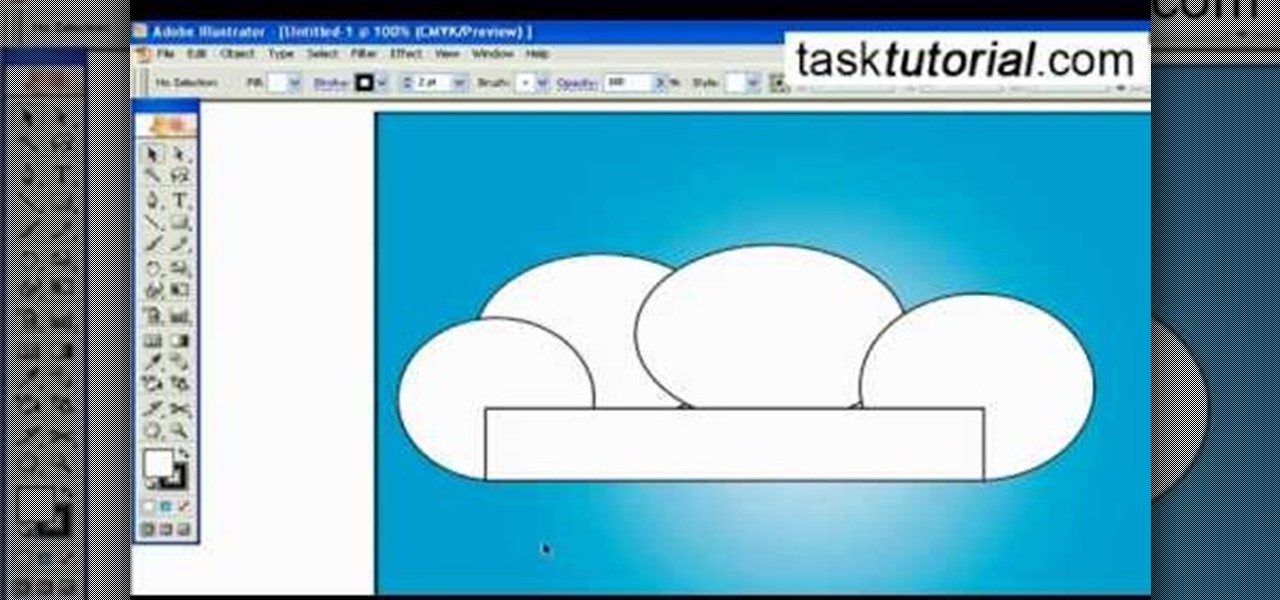
A great free video training from tasktutorial on how to create a cartoon cloud in Adobe Illustrator. All the project files are available to download for free at the Adobe website. First create a background: select the rectangle tool then create a new layer and draw a rectangle across the canvas. Now select the path, go to gradient and edit the it a bit until it's a shade of blue. Lock the gradient and create a new layer. Select white fill color and 2 point black stroke and draw a few oval sha...
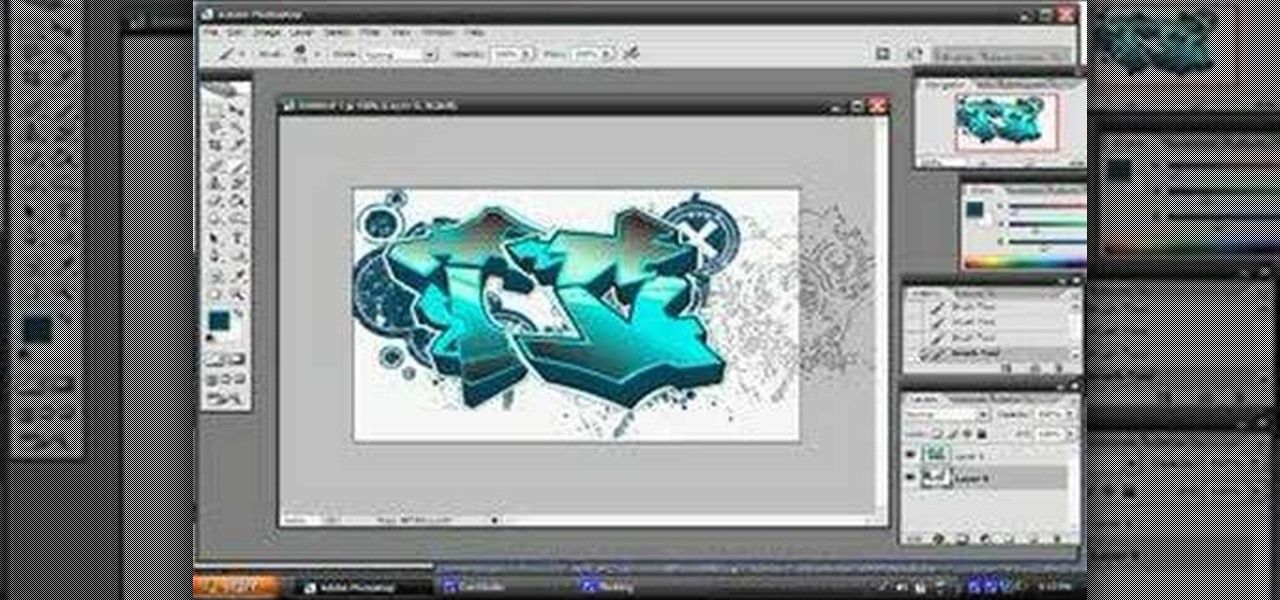
Walagers helps us learn how to make graffiti in Photoshop. First, go to "Select" and click on "Color Range". Use the eye dropper tool to select the color of the background, then press delete. Next, press "alt" and double click on the background layer to convert it to a normal layer. Using the brush tool, select the type of brush you want and the brush's size. Brushes can be downloaded from Brusheezy.com. Use the eyedropper tool to select part of the graffiti. It is recommended to use the same...
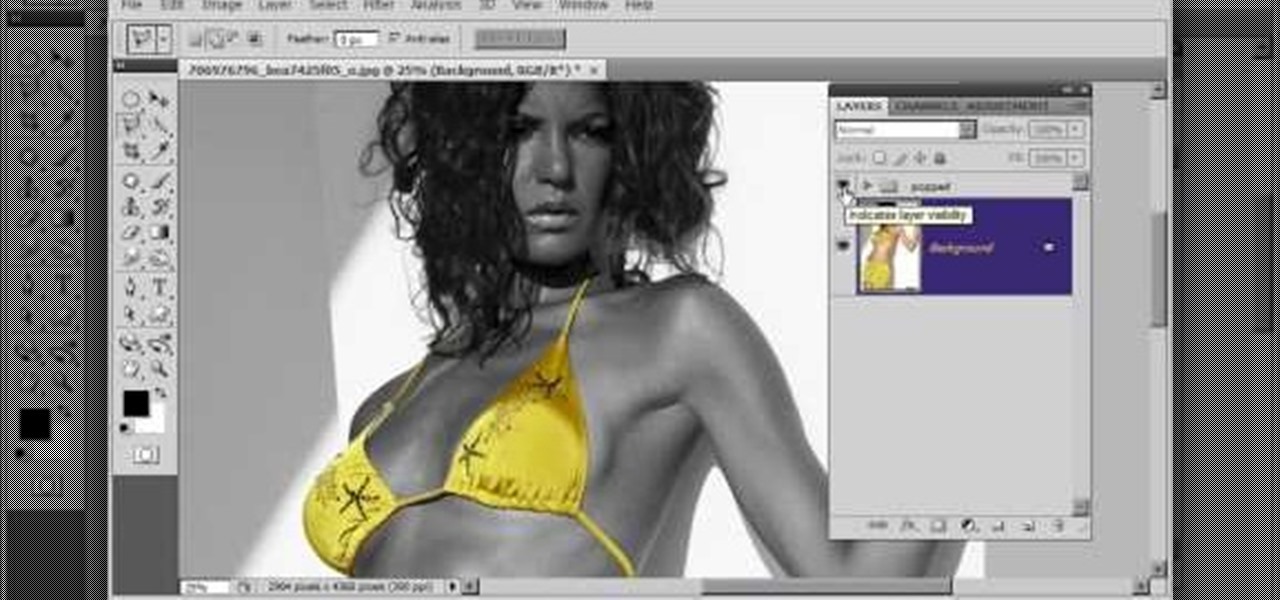
Learn to create a fashion editorial style color in Photoshop! 1. From CHANNELS button select color of the Model. It will show different colors select as per your choice. 2. Click on Levels it will show the image selected. 3. Right click and select Black&White it will open ADJUSTMENTS button adjust the color. 4. Go back to CHANNELS button they all images will look same. Copy channel Blue and Select Blue copy3 and color model's body and hair with black. 3. Click on ADJUSTMENT button and adjust ...
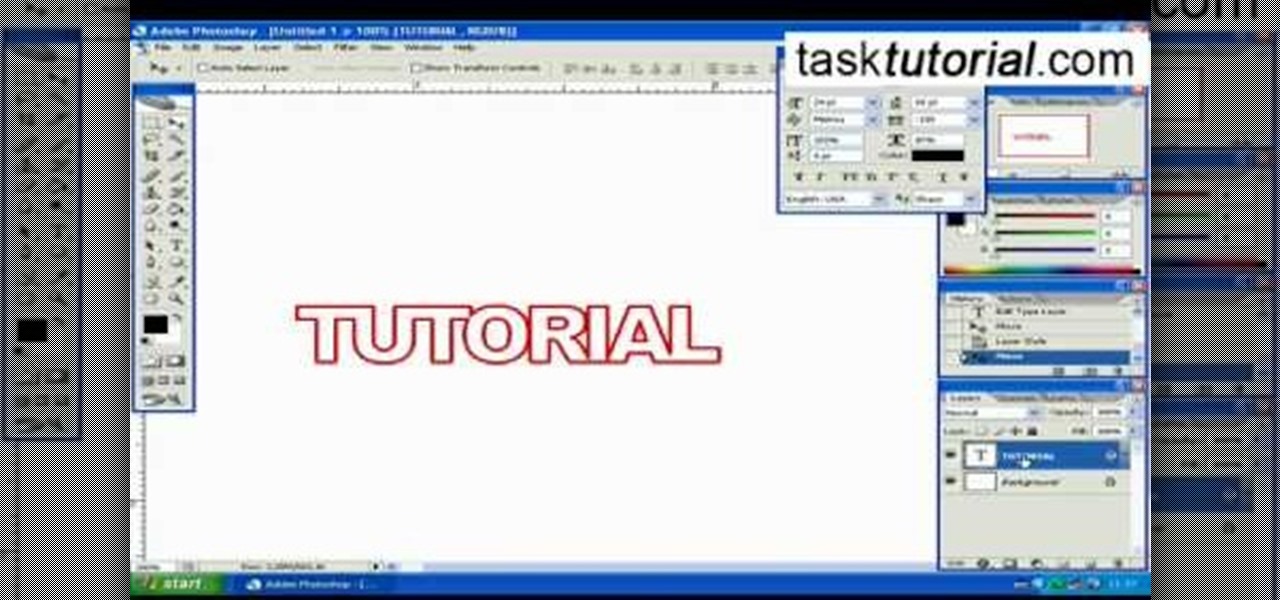
This how-to video is about how to create a simple text effect in Photoshop.
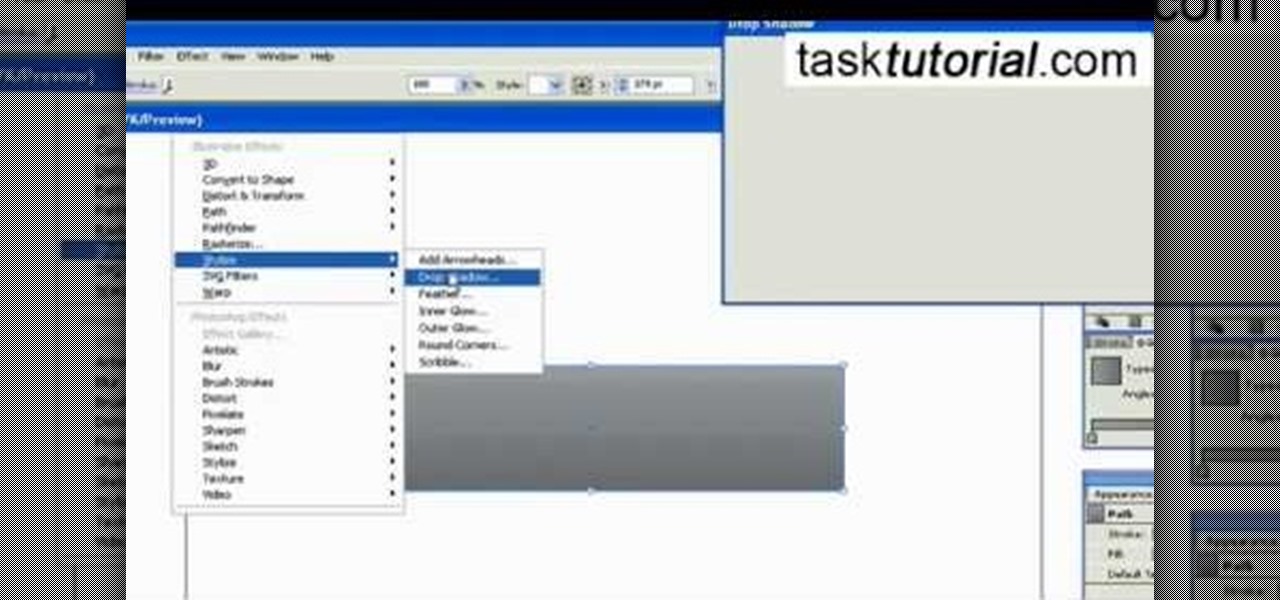
This video tutorial by Tasktutorial shows you how to create an Apple style bar in Illustrator. First, select the rectangle tool in Illustrator and draw a bar as shown. Now select the path, go to gradient and choose the black and white gradient from the swatches. Select two shades of gray and change the angle to -90 degrees as shown. Tweak the colors and go to effects-stylize and select drop shadow, change the opacity value and select black color, normal blend mode as shown. Select the type to...
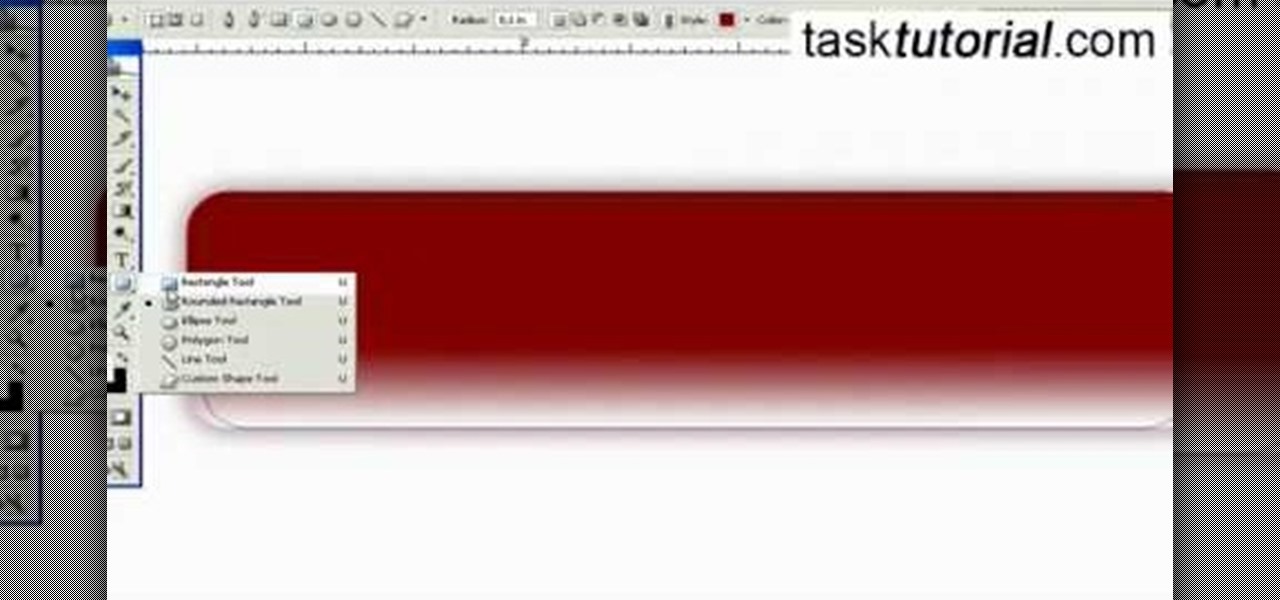
This video will show you have to make a glass bar in Photoshop. Adobe Photoshop is a great program for manipulating photo and adding interesting effects to your pictures. The glass bar is distinctive because of it’s colored shading.
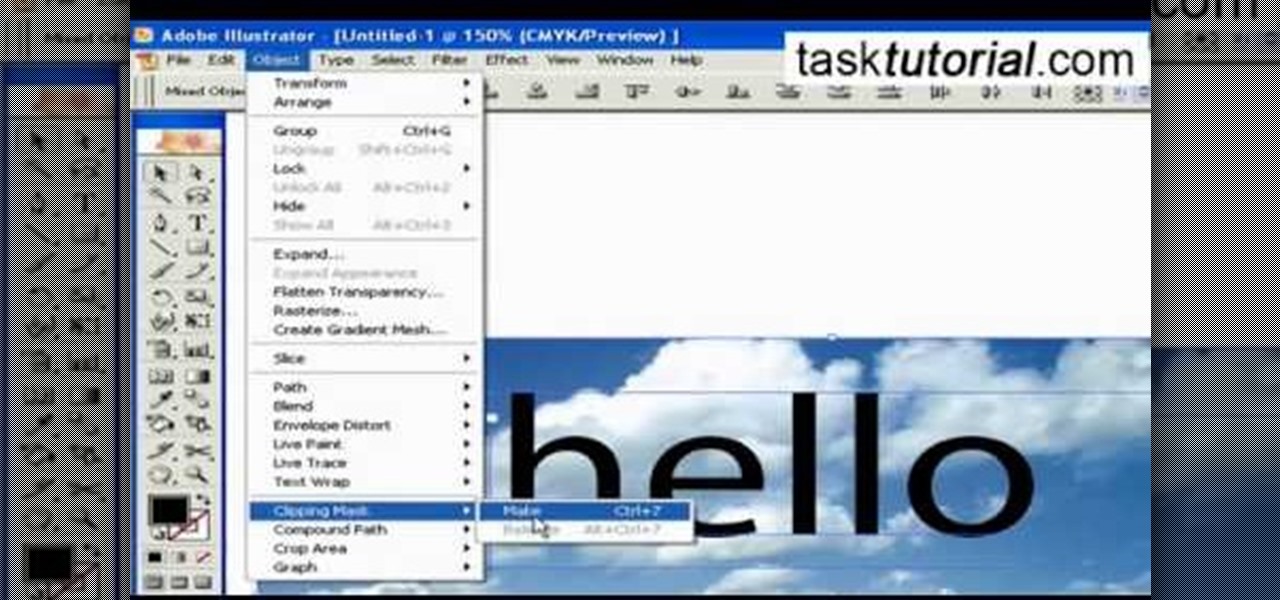
1. To create a clipping mask in Adobe Illustrator, go to File menu select Place button. It will open a dialog box select any picture from there.

Spice up your next party with some unique party dishes, and we're not talking about food here, we're talking about the actual dishes, specifically bowls. But not just any bowls, vinyl bowls, made from authentic vinyl records. The steps are simple: melt the vinyl record in the oven, then take it out and mold it (safely) into a plastic bowl. Change the shape up each time!
In this clip, learn how to make soap from scratch. This method of soap making involves melting and pouring and will produce fine, high quality soaps. Check out this tutorial for a step by step on how to create beautiful, long lasting soaps that your guests will love.

This is a quick demonstration of one of the many ways to turn scrap Bullseye glass in to a ribbon cane. Watch this instructional lampworking video to recycle glass pieces and melt them into a cane. You can then use the glass cane to melt it into finely crafted glass jewelry such as beads, buttons and glass miniatures.

Add text and titles with Windows Live Movie Maker. There are three options for adding text in Movie Maker. This tutorial provides an overview for each type: title (which goes before the selected clip), caption (which is superimposed over the selected clip) and credits (which goes after the selected clip).
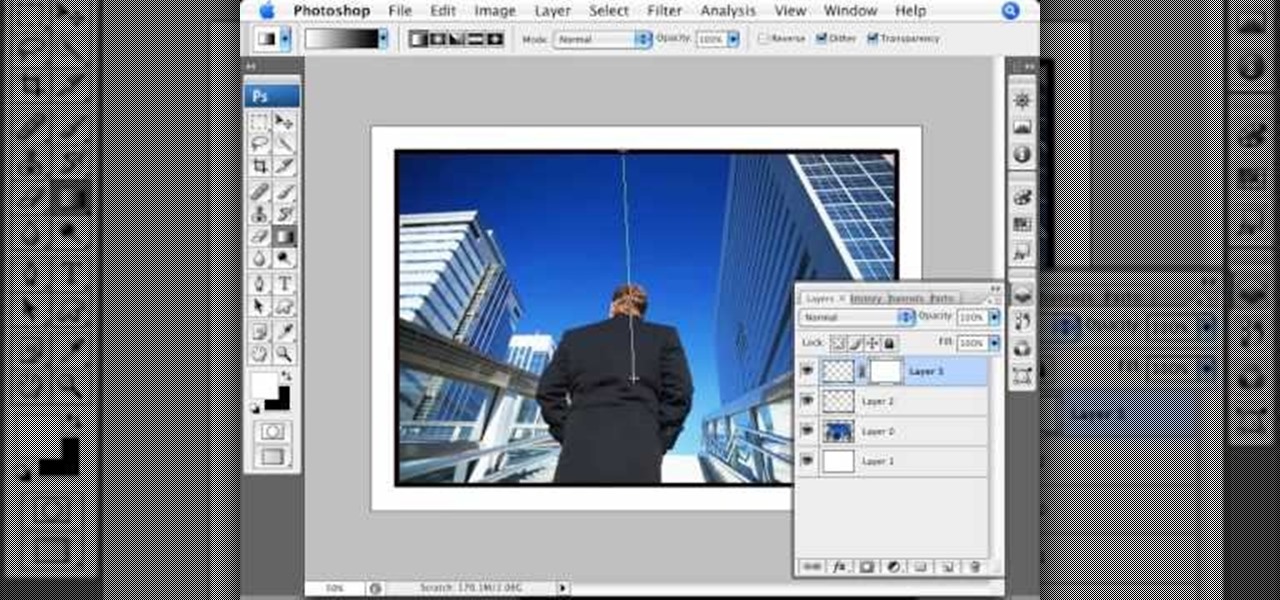
Don't know how to add some line frames in Photoshop? Well, this video teaches the viewers how to exactly add line frames, or borders for their images using Photoshop. First of all, change the background layer into a normal layer. Next, go to image size and add in some more pixels in order to allow room for the border. Next, add another layer and set it to transparent. Now select where you want your border to be, then go to strokes, and select a color. At this point, the viewer should have a b...
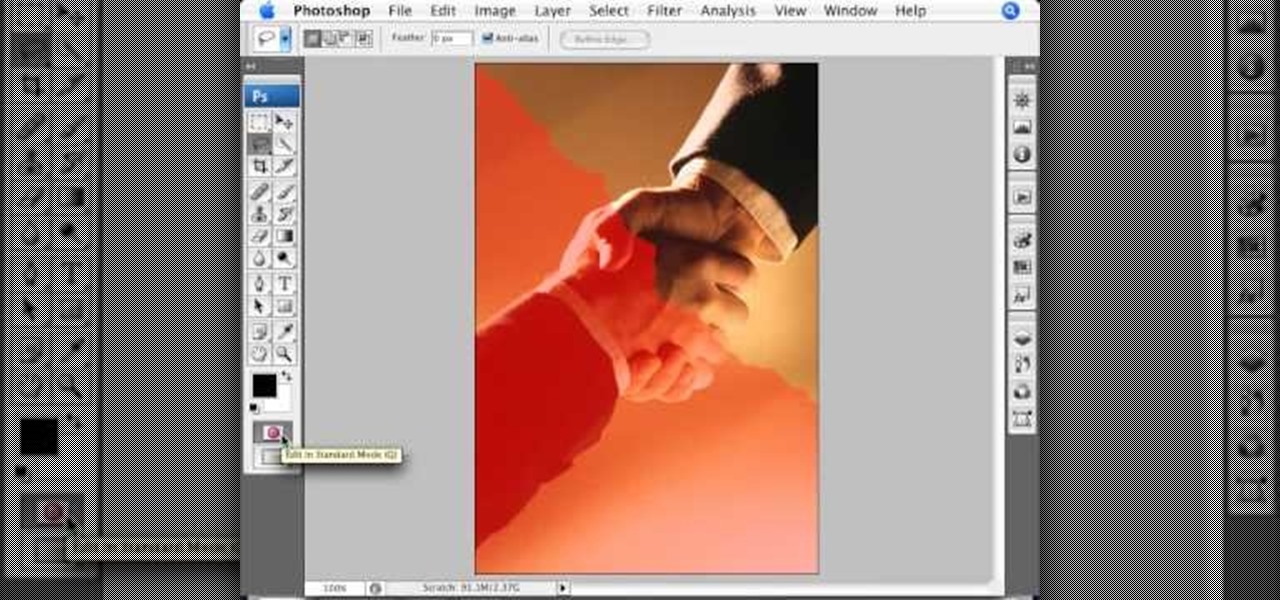
In this video we learn how to make it seem like your photo is torn in half using Adobe Photoshop. The first step is to decide how you would like to have your photo "torn" up. The second step is to select the lasso tool and draw the tear line through the photo. The third step is to select the rest of the image you want to keep. The fourth step is to go into Quick Mask mode and select Filter, Brush Strokes, then Splatter. This creates the jagged edge torn effect. Finally select a smoothness bet...
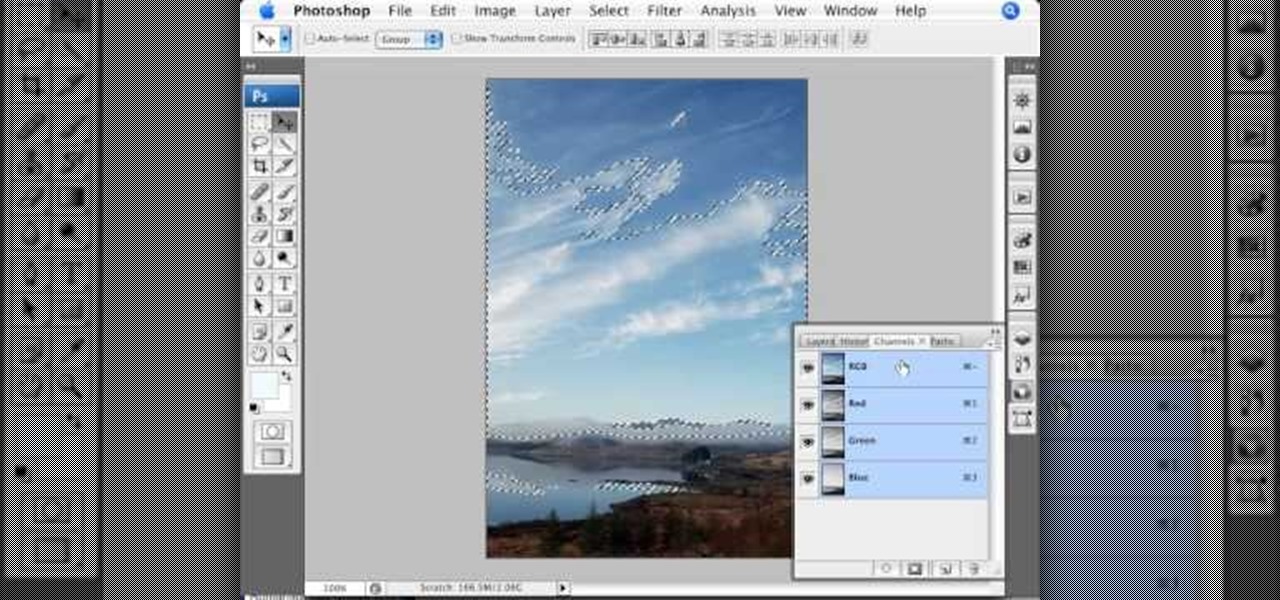
This video is about using a luminosity mask in Photoshop. The luminosity mask is used to enhance the color and contrast in photos that lack each of these. The color is enhanced or punched up. Choose the manipulation tool: channel and RGB. To choose RGB, touch control and then select RGB. Select the 100 % white or light parts of the photo, it will not select the darker or black images. Copy the light parts of the image by using control J. Choose to copy the lightest parts by selecting overlay ...
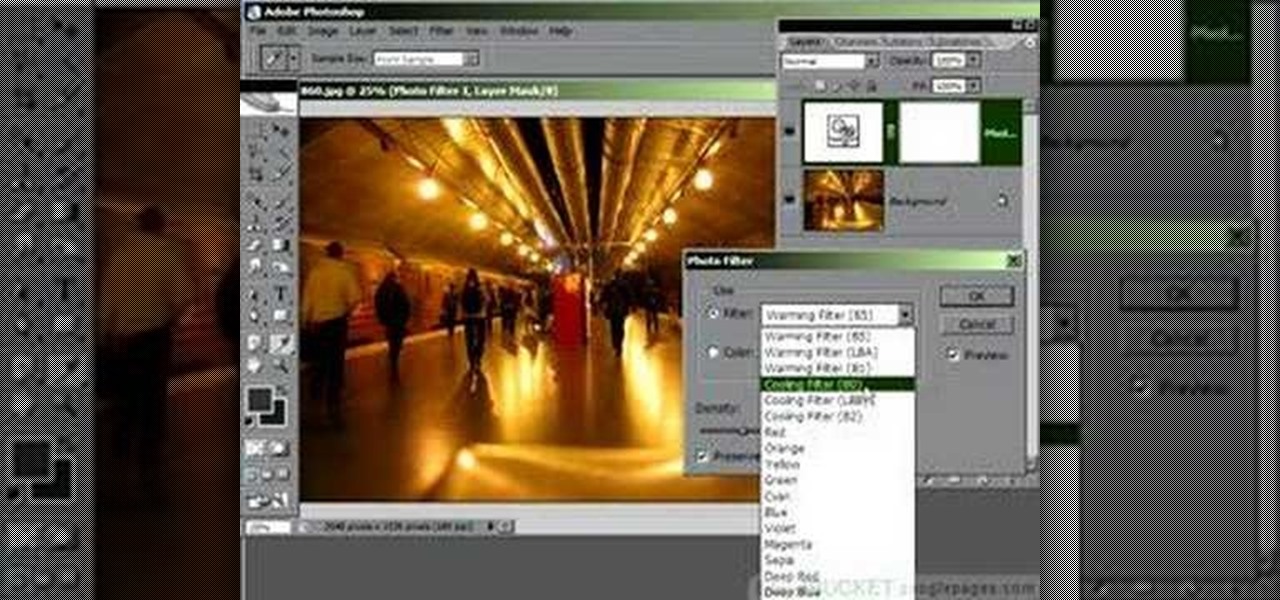
Photoshop is a place where we can edit the image in different styles. One of the features is adjustment layer of a photo that is also called as filter correction. It is an easy step to color filtering of a photo. Open a picture in a Photoshop, and select add layer option that present at the right bottom of the screen, then a pop up menu appears. Select filters from the options available, then dialogue box appears consisting of sub options filters and colors. then select the main color from fi...
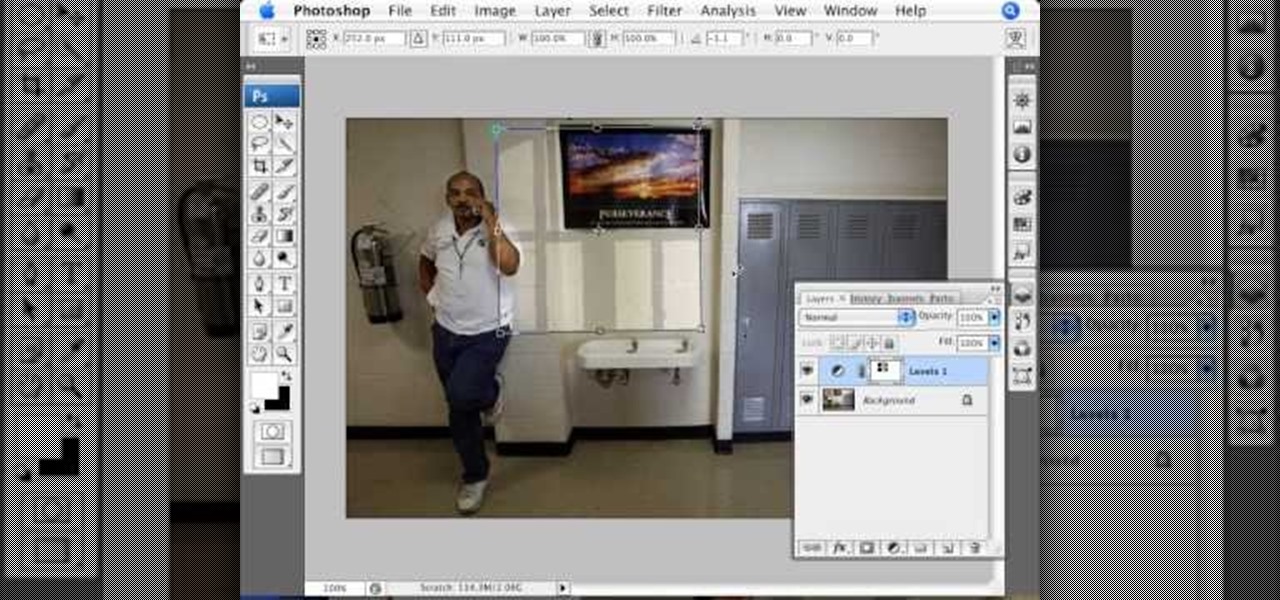
In this video we are going to light cast a window so we can add more focus to the photos. First take unremarkable photo, then find a window image to transfer and select all Ctrl+a. After that copy it to the previous image. Click layer 1, then select the white space in the window that allows the sun light to pass by using magic tool quick select the part of the window. Delete the layer, after that go to adjustment layer, select levels. Adjust the level so that the color of the window is darker...
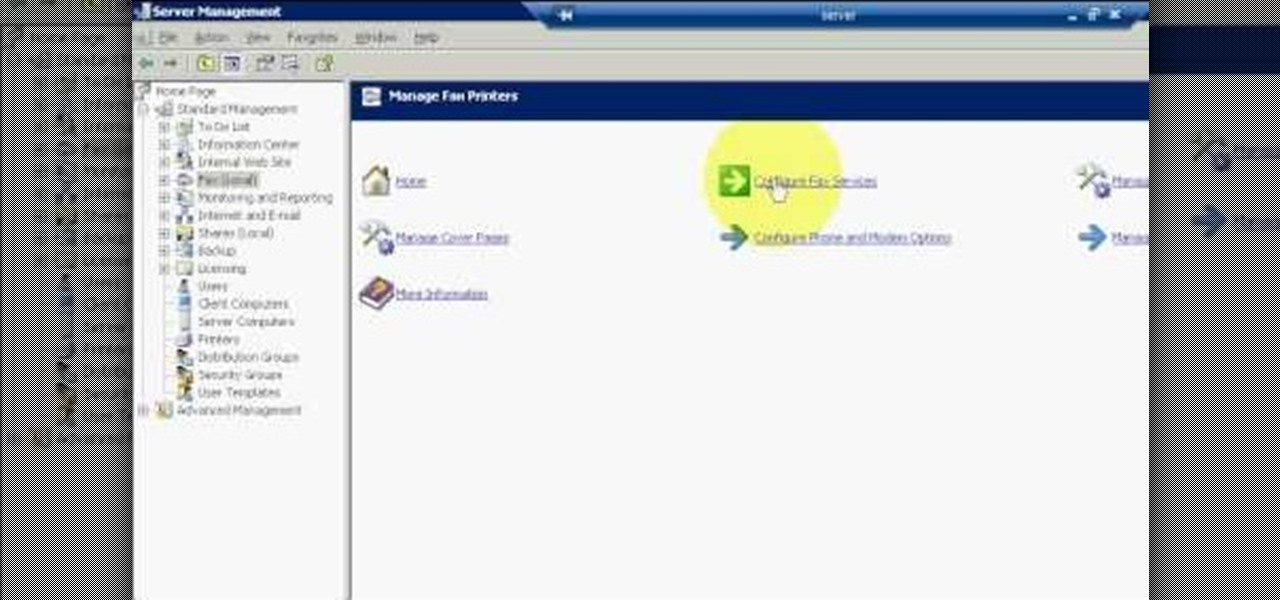
The first step to create a fax using Outlook 2003 and 2003 server. Using add/remove windows component make sure your fax equipment is properly installed. Under the start menu select the printers and fax option and select the share option. Then under administrator tools/users/new/users/fax to enter your password to turn our fax information transfer on. You must now select fax user and select advanced settings and double check to make sure the fax is able to see the object it needs to send the ...

This video tutorial is in the Computers & Programming category where you will learn how to set up an FTP connection using Firezilla. Open up your filezilla program. On the top left, click on the file menu button, and select 'site manager'. In the window that opens up, select 'new folder' and give it a name. Now create a site to store in this new folder. Click on 'new site' and name it. Now on the right hand side, enter the host and the port. The default port is 21. Under server type, select F...
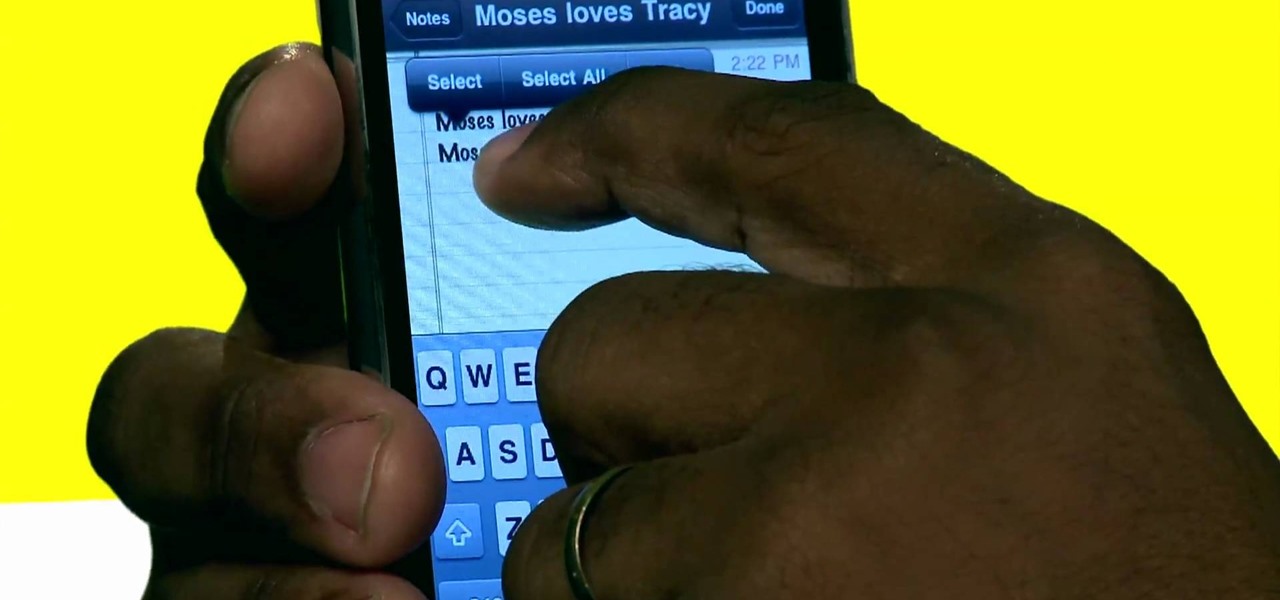
There are plenty of options and shortcuts available on the iPhone, and one notable feature is the ability to copy, cut and paste text or images, just like you would on a normal computer. So how do you do it? Best Buy has answers. The Best Buy Mobile team explains how simple it is to cut, copy and paste text with your Apple iPhone.
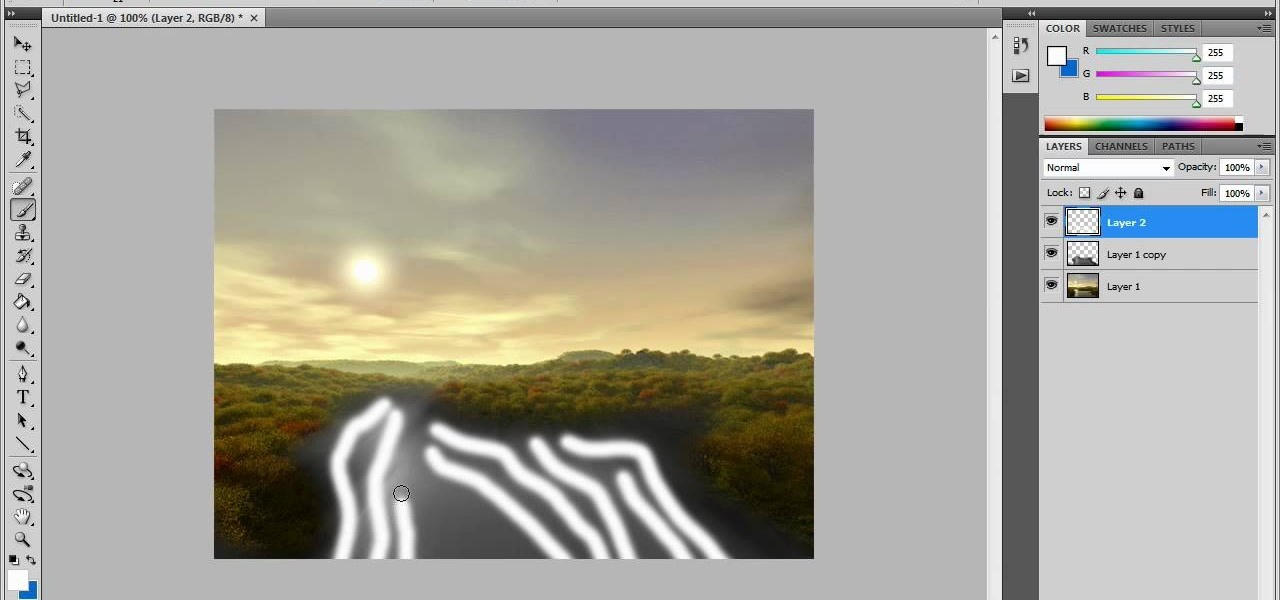
In this video tutorial, viewers learn how to create fog using Adobe Photoshop. Begin by importing the image into the program and duplicate the image. Now go to Filter, select Blur and select Radial Blur. Set the amount to 100, Blur Method to Zoom and Quality to Best. Now select the rectangular marking tool and select the sky. Then open the Hue/Saturation menu and set the Saturation to -100. Use the eraser tool to remove the gray from the edges. Now use the paint tool and paint white streaks o...
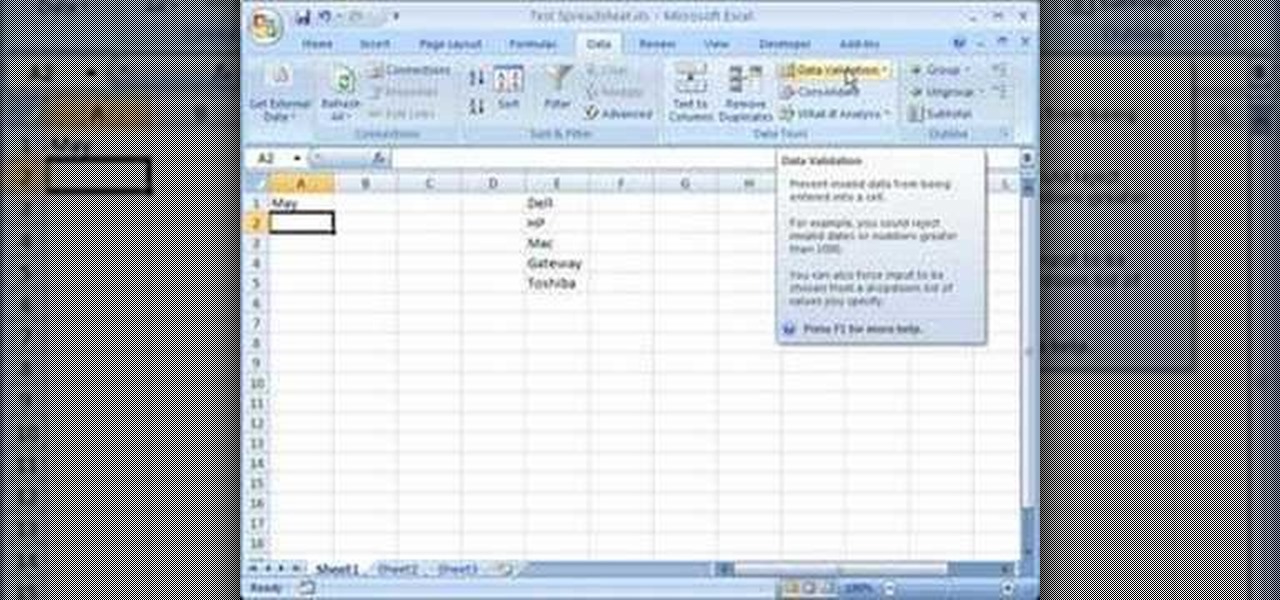
This video is a tutorial on how to create drop-down menus in Excel 2007. Select a cell on your spreadsheet and click on the “Data” tab. Go to the “Data Tools” section and select “Data Validation”. In the window that opens select "Allow" and choose "List". You will create a list of the values you want to allow. Type in the values, separated by commas, and click OK. Now you will see your selected cell has an icon to right that indicates there is a drop-down menu containing the value...
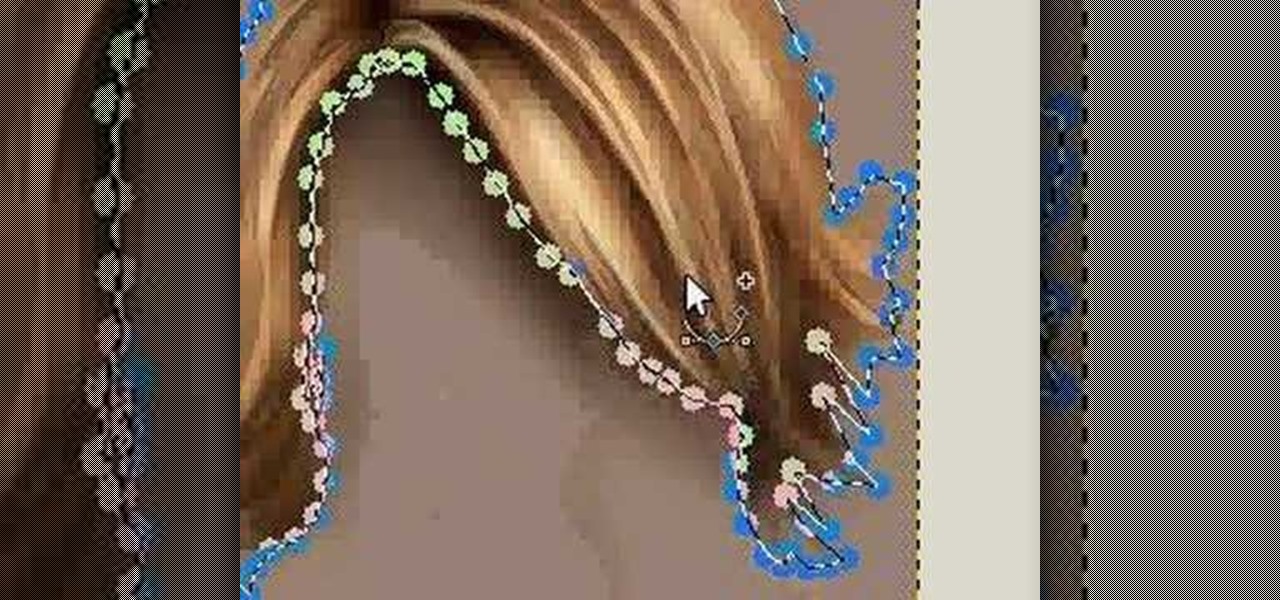
In this how to video, you will learn how to change hair color in a photo using GIMP. First, download and install the program. Open it and find the image you want to change. Next, zoom in to get a full view of the hair. Now you should go to the paths tool. Highlight all around the hair to select it. Once this is done, go to select and select From Path. Marching ants should go around the selection. Now, go to colors and select Color Balance. Adjust the color sliders to change the hair color. On...
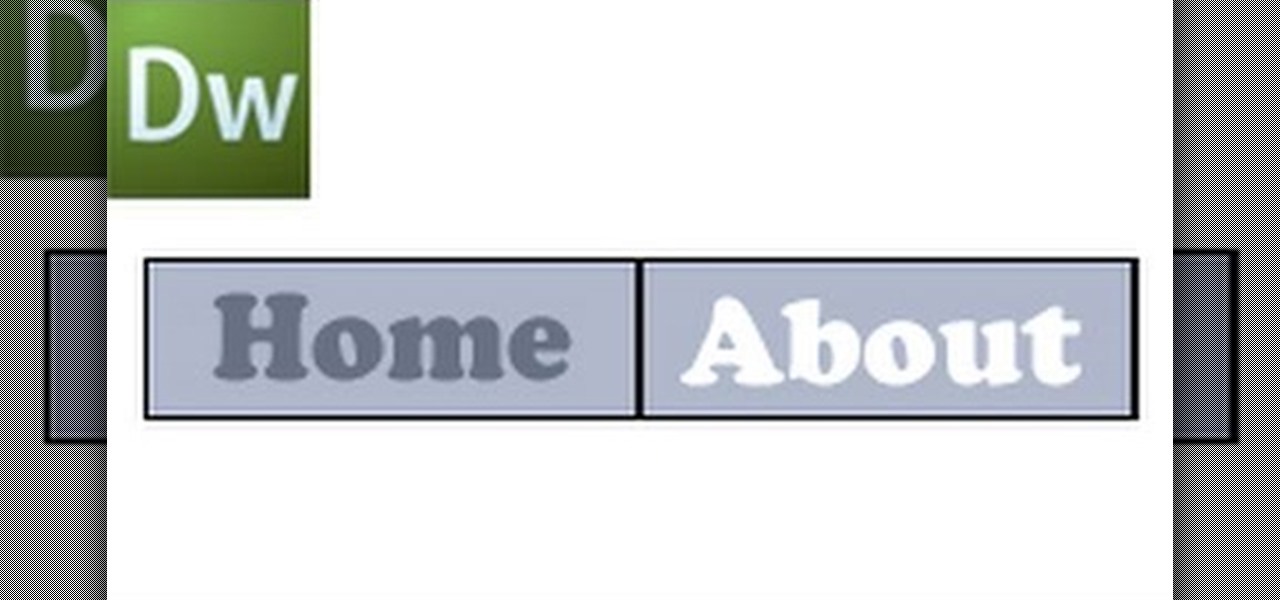
This video shows how to create a menu with rollover images in Dreamweaver. Open a new document and create a table with one row and one column. To add your rollover images, go to the "Image" tab and select “Rollover Image”. In the “Insert Rollover Image” box, give the image a name, then click “Browse” under “Original Image” to find your images. You can select your rollover images in the same window. Then enter your alternate text and click OK.

In this video tutorial, viewers learn how to make a real flame text in Adobe Photoshop. Begin by opening a flame image in the program and select the text tool. Type in the text and position it over the flame. Now go to Select and click on Load Selection. Once the selection is created, delete the letter. Then select the marquee tool. Right-click above the selection and select Feather. Now create a new sheet and fill it in black. Using the move tool, drag the selection to the new sheet. Go to F...
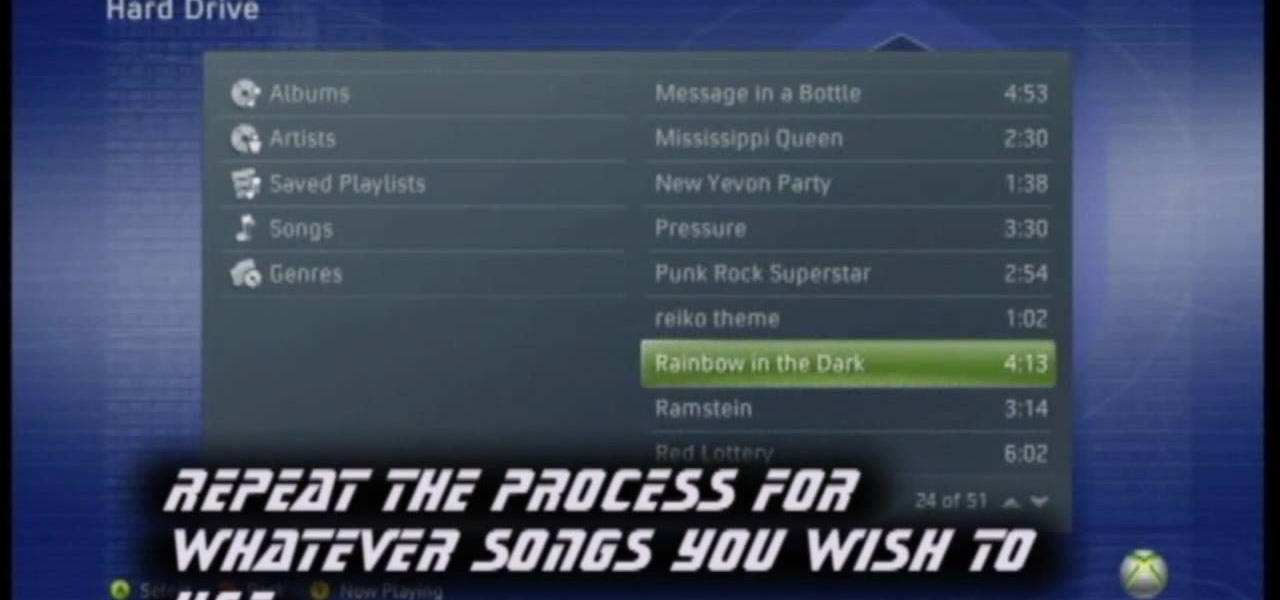
In this video tutorial, viewers learn how to add custom music in the game, WWE Smack Down vs. Raw 2009. Users will need a blank recordable CD and cannot use MP3s or any other audio format. Begin by recording all the music files into the CD and the insert it into the Xbox360. In the Xbox360 dashboard, go to My Xbox and select Play CD. Click on Rip CD and name the information of the CD. Now select the song that you want and add in into a play-list. Now to select the song in the game, select use...

In this video tutorial, viewers learn how to import music from i-Tunes into a Adobe Final Cut Pro project. Begin by right-clicking the song and select Show in Finder. Then drag the song from the Finder into the Final Cut Pro program. Users will not be able to drag songs directly from i-Tunes to Final Cut Pro. If the song is not compatible with Final Cut Pro, right-click and select Show in Finder. Then right0click the song and select Open with Quick time player. Now click on File and select Ex...