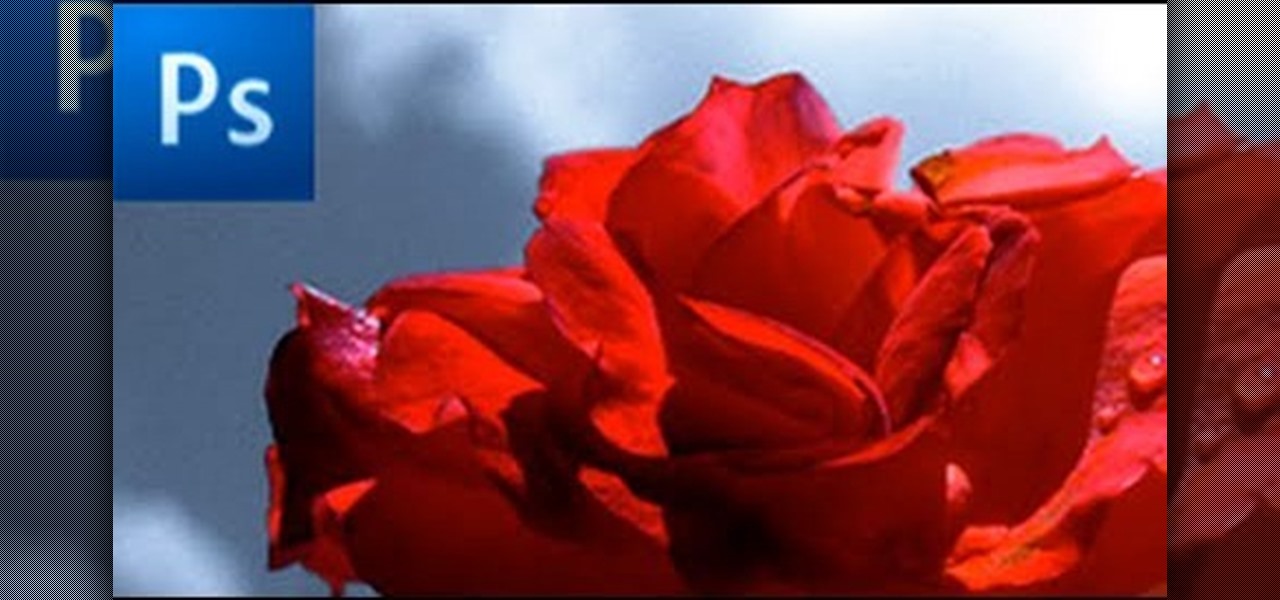
In this how-to video, you will learn how to single out a color in an image with Photoshop. First, go to select and click Color Range. Select all the color of the image by clicking around the object while holding shift. Once it is selected, click okay. Your selection will be made. Go to the magic wand tool. Hold shift and select the color areas that you have missed. Now, go to select and press inverse. This will select everything but the object. Go to image and adjustments. Now, drag the satur...
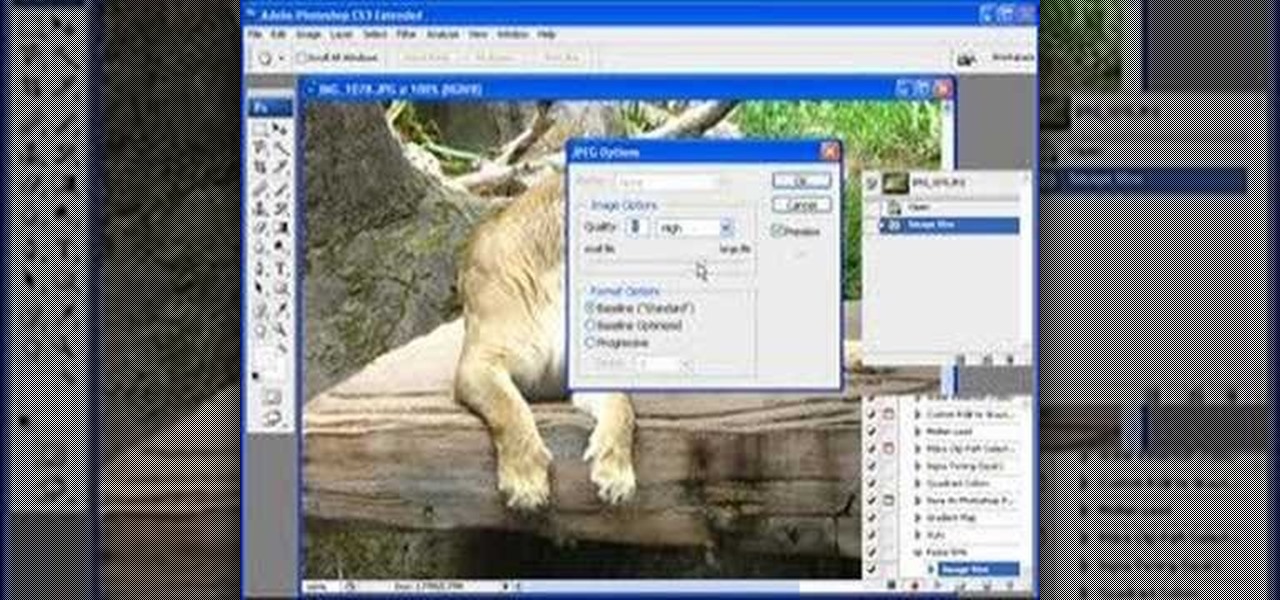
Here is a simple technique to resize multiple pictures in Photoshop by creating an action, to adjust the image size. The only requirement is for the pictures to more or less the same size. First we go to windows and select action then we open up an image to determine the appropriate size that we require. Then click on the create new action and, give it a name then hit record now go to image the image size resize the image and then save and hit ok .You can see that its still recording your act...
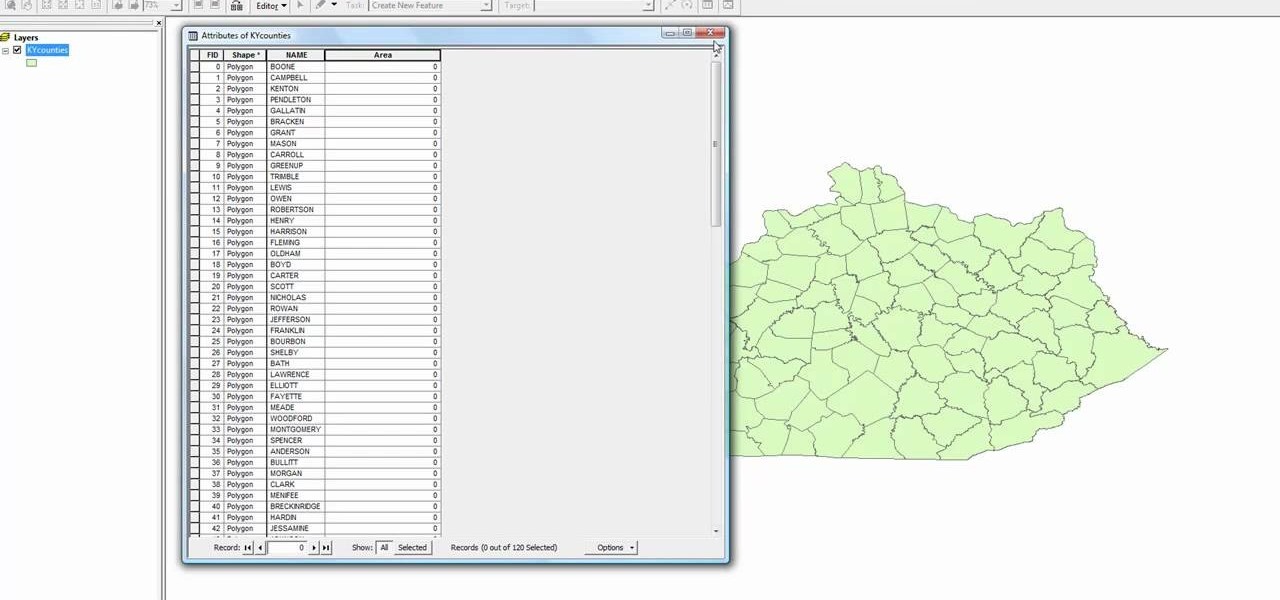
In this how to video, you will learn how to calculate the polygon area in ArcMap. First, open the program ArcMap. Next, go to the left column and right click it. Select attribute table. From here, go to options and click add field. Type in Area and click double. Next, right click area at the top and select calculate geometry. Next, select area disabled. Exit the windows. Next, click the red icon at the top and select data management tools. From here, select project. At the top drop down menu,...

Tool is selected, followed by email accounts and a selection is made at the "add new email account" option , the "next" button is clicked. Pop3 is selected and the next button. The required information is filled in such as name, amail address, incoming and outgoing mail server, username; which is the same as the email address and the password is entered. The "remember password" option is selected, along with the "more settings" button. Within the more settings window, the company name and a r...
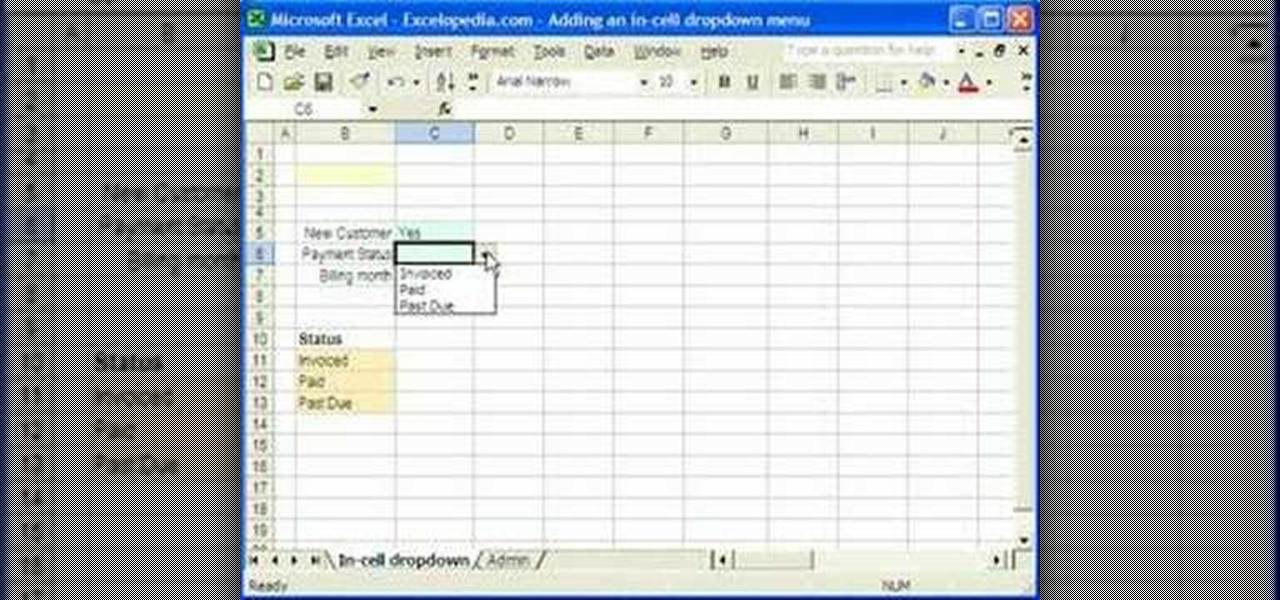
1. Select the cell for which the dropdown menu is to be applied. 2. once the cell is selected goto DATA menu select VALIDATION.Data validation dialog box will be displayed.
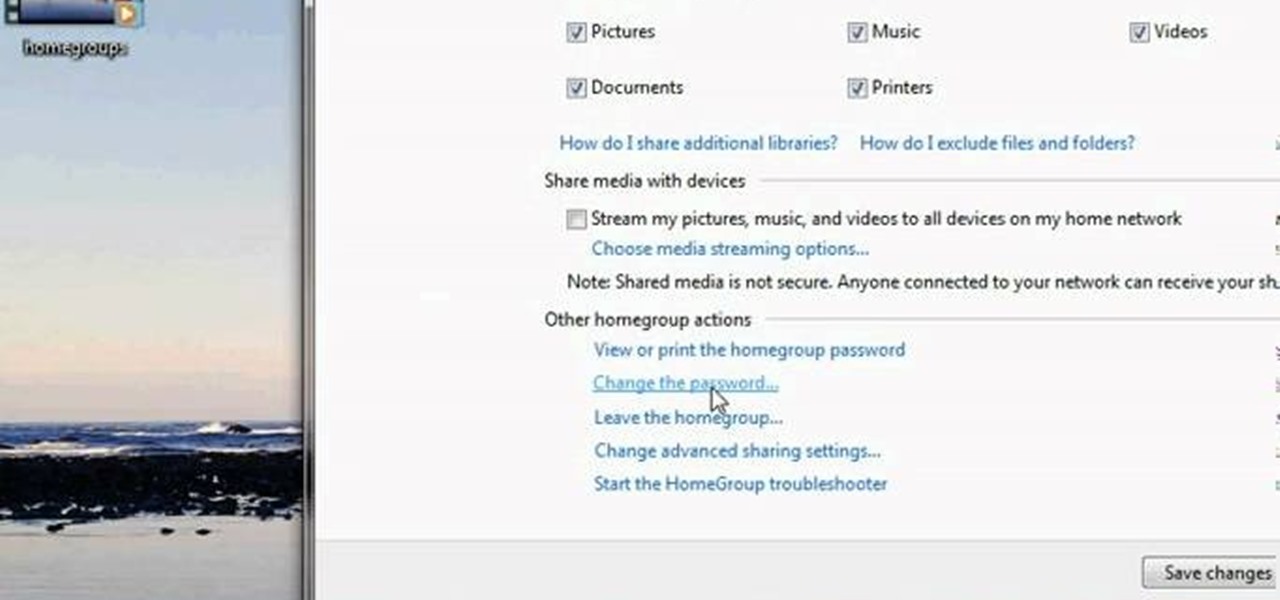
This video tutorial from pctechbytes presents how to quickly set up Homegroups in Microsoft Windows 7.This feature allows to easily share files between computers with Windows 7 operating system.Press Start button, select My Computer option. In the newly opened window select Homegroup from the list to the left. Select View Homegroup Settings link.In this window you can choose what types of documents you want to share with other Windows 7 operating system users.You can share pictures, documents...

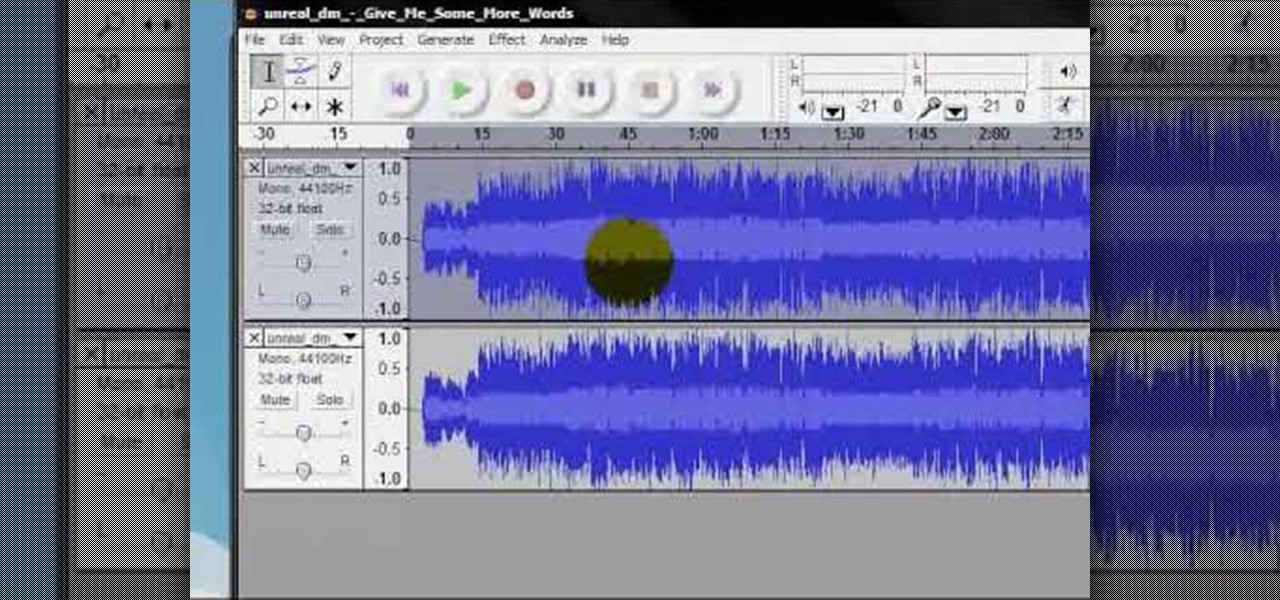
In this video tutorial, viewers learn how to remove the vocals from a song using the program, Audacity. Begin by opening Audacity and import the song into the program. On the left side of the track, click on the downward arrow and select Split Stereo Track.

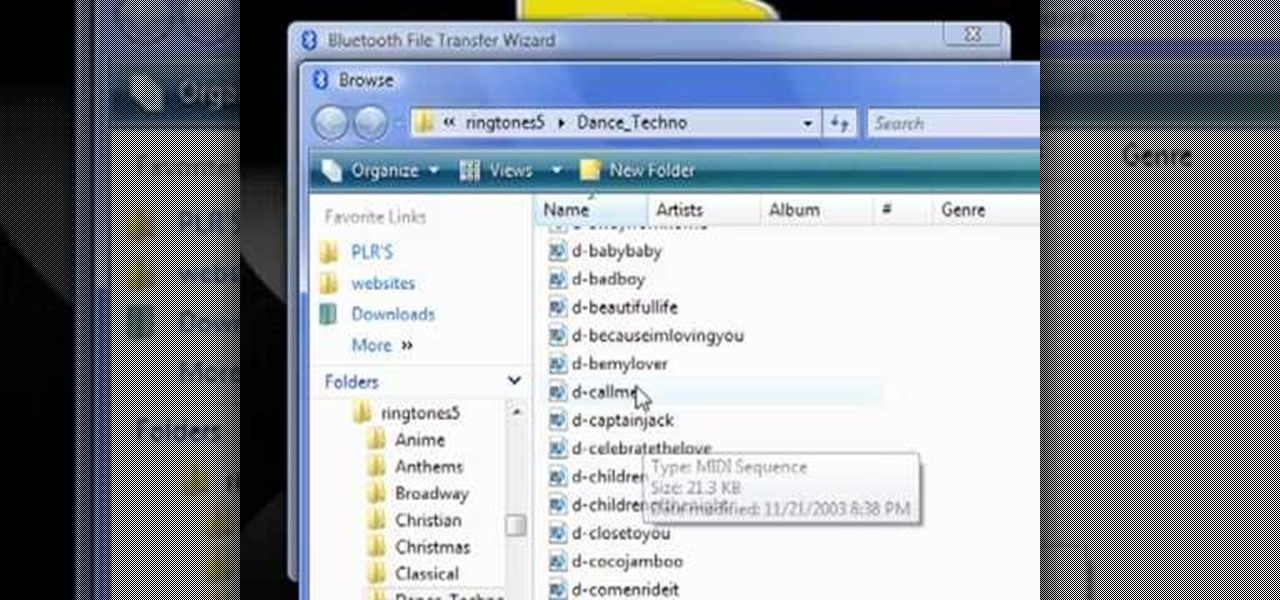
The video demonstrates how to connect your Bluetooth phone to your computer and send/receive files between them through Bluetooth. You need to first switch on Bluetooth in your phone and then click on the icon for Bluetooth connectivity in the computer. Then click on the option called 'Add a Bluetooth Device'. You can see a setup wizard pop up in your computer screen where you have click on the check box and then click on Next button. Once the phone is detected, select it and click on Next. T...

This video guides you through a process you can use in Adobe Photoshop CS3 or CS4 in order to change a persons eye color. The computer user shows how to first select only the iris of the eye by guiding you through which tool bar buttons to use. You should then zoom in close to the eye in order to very accurately select just the iris. Once the iris is selected you will go to the select menu then click "New Fill Layer" then "Solid Color..." When the dialogue opens up you will change the Mode to...

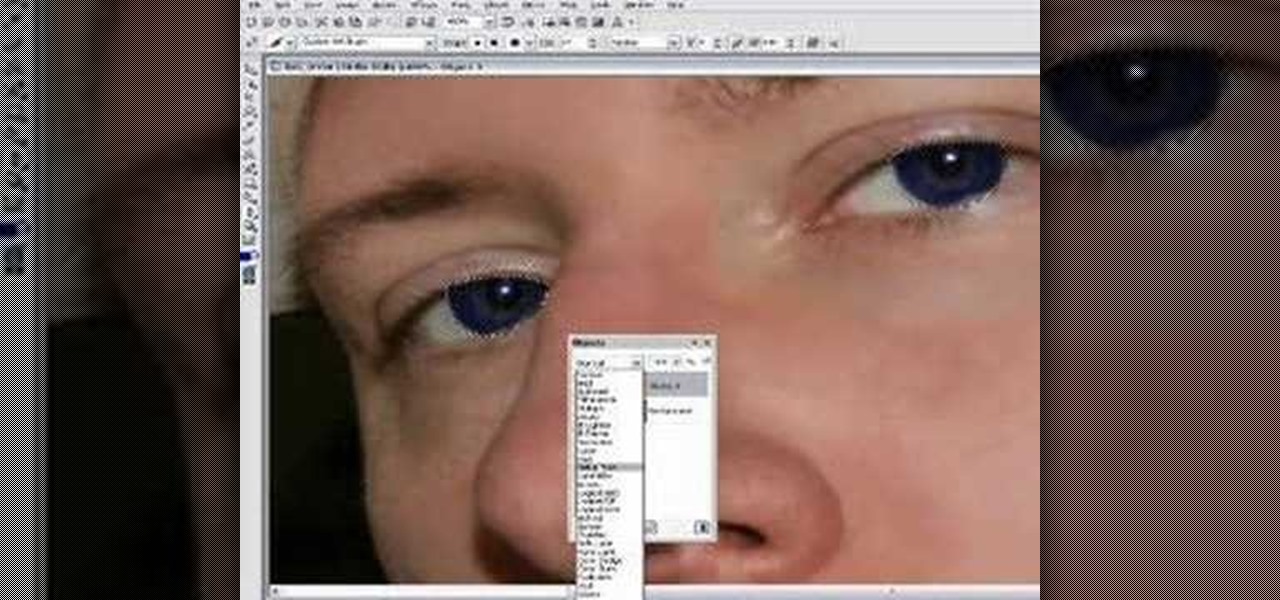
In this Software video tutorial you are going to learn how to change eye color in Corel Photo Paint X3 with masking. Select your picture and the 1st thing you will do is to create a mask around the eyes. Select the standard paint brush tool. Adjust the picture so that it is large enough and both the eyes are visible. Now press Alt and hold down to select the entire eye. Do the same for the other eye also. Then go to subtractive mode and fix the outer edges of the iris of the eyes. Now select ...

Stevmay09 will be teaching you how to digitally modify your eye color for free using GIMP. First you need to zoom in on the eyeball then click on the free select tool. Then start on the corner of the eye and make your way around the entire eye. Once you have the area around the eye selected you need to create a new layer. Make sure its filled with transparency then select the color you would like the eye to be. Then get the paint brush tool and select the icon shown then increase the scale an...

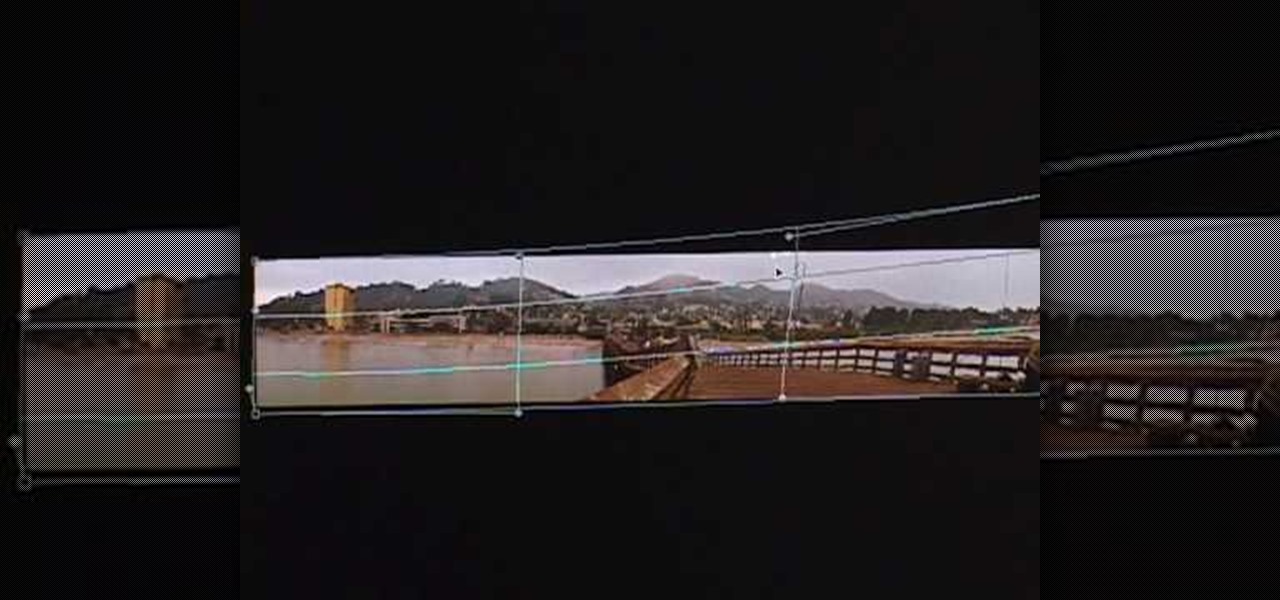
This video in the Software category will show you how to create simple panoramic images in Photoshop. This video uses only five images for this effect. Select the five images and put them in a folder. Go to File -> Automate -> Photomerge. On the Photomerge page select ‘Folder’ and browse. Find and ‘choose’ the folder you created. Under the layout panel on left hand side of the page, select ‘cylindrical ‘option and click OK. Now the panoramic image will appear that will have some blank areas. ...

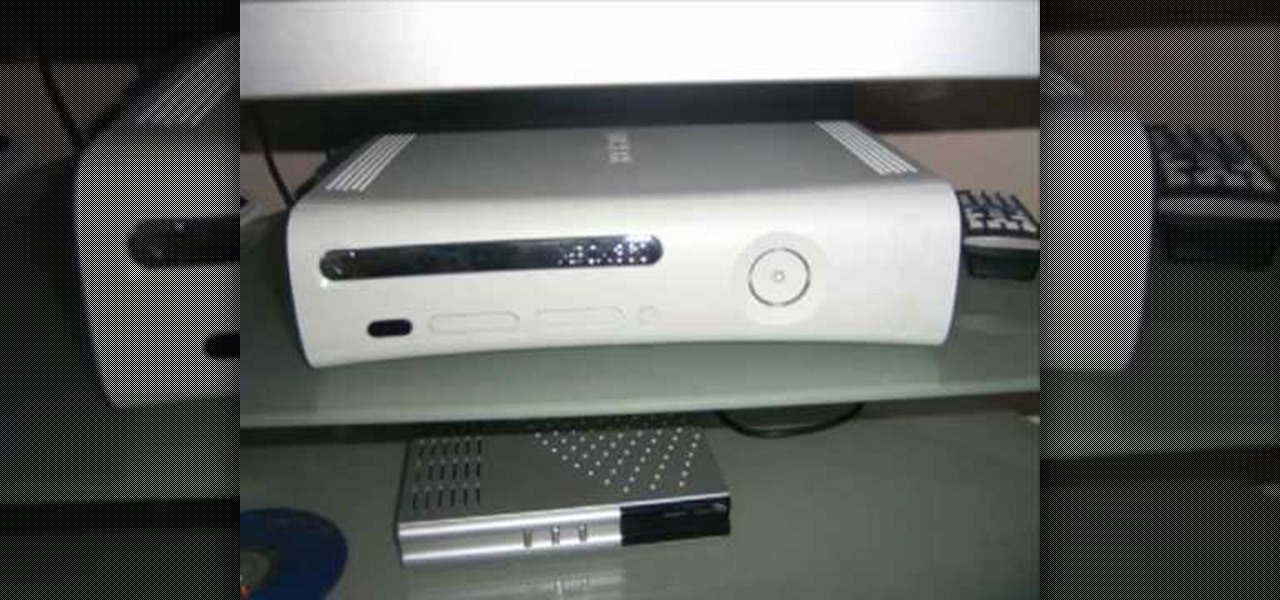
This video shows you how to set up XBox Live using a laptop and Ethernet cable. The materials you will need are an Ethernet cable, an Xbox 360, and a laptop or desktop computer. First, you will need to connect your computer to your wireless network. Next, you must connect your computer to your Xbox 360 using your Ethernet cable. Power up your computer, go to the start menu and select network. In the window that appears, select the Network and Sharing Center located below the address bar. A ne...

This video tutorial by HelpVids, Dave Andrews shows you how to use the transfer files and settings wizard in Windows XP. This program enables you to transfer your documents and settings from various programs and the 'My Documents' folder between computers if you wanted to do so. First go to the start button select all programs, accessories, system tools and select the files and settings transfer wizard. Click next and check old computer to select the PC your currently on and click next. Wait ...

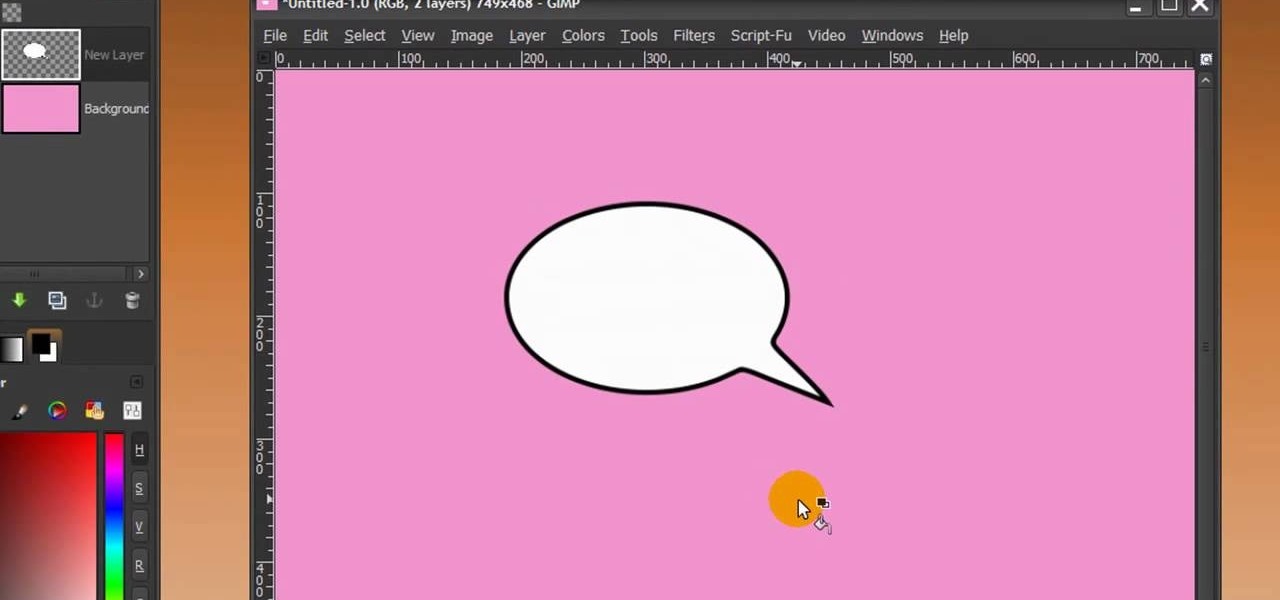
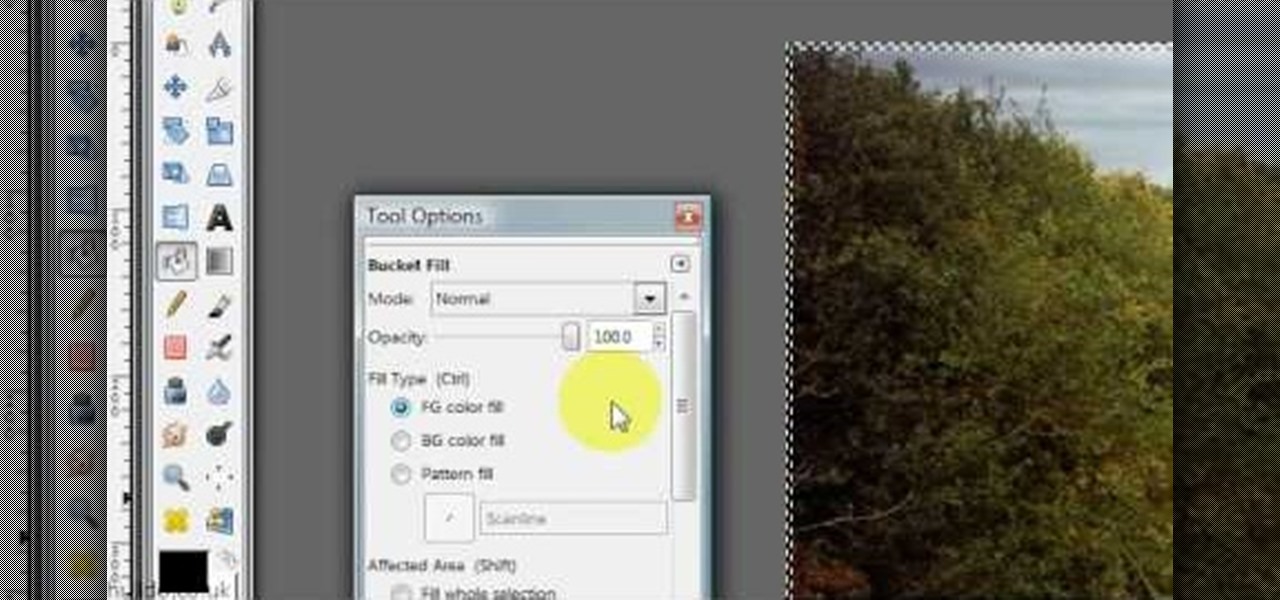
First of all open any image and create a new ‘layer’ and add it to your image. Click on the transparency and then click ‘ok’. Now from the right menu bar choose the ‘elliptical’ icon to make a round balloon. Now select the 'free select tool' and select ‘mode’ to 'add to current selection' and then draw a triangle with the base inside the previous balloon and the pointed end outside the balloon. Now select the 'bucket fill' tool and make sure your ‘background’ color is selected as white and th...

Managing your web browsing History in the web browser Firefox is easy. First, open Firefox, then select History tab on the top menu bar of the browser. You select to view your browsing history in several different ways. You can choose to view all past browsing history or you can choose to just view one of the last seven days. You can also chose to view it as a side bar or a separate window. To clear your web browsing History, you can chose to delete just one page of the browsing history or yo...

Hulldo teaches you how to give your images a widescreen border using GIMP. Open up a picture and the click new layer. Next go to select - border and make it 3 pixels. Go to tool options and use black for foreground fill. Select none and create a new layer. Go to view and make sure snap to canvas edges is ticked. Go to rectangle select tool and go to its menu. Then select 640x30 pixels. Fill that layer with black and select none. Duplicate this layer. You place this one on the bottom and you a...

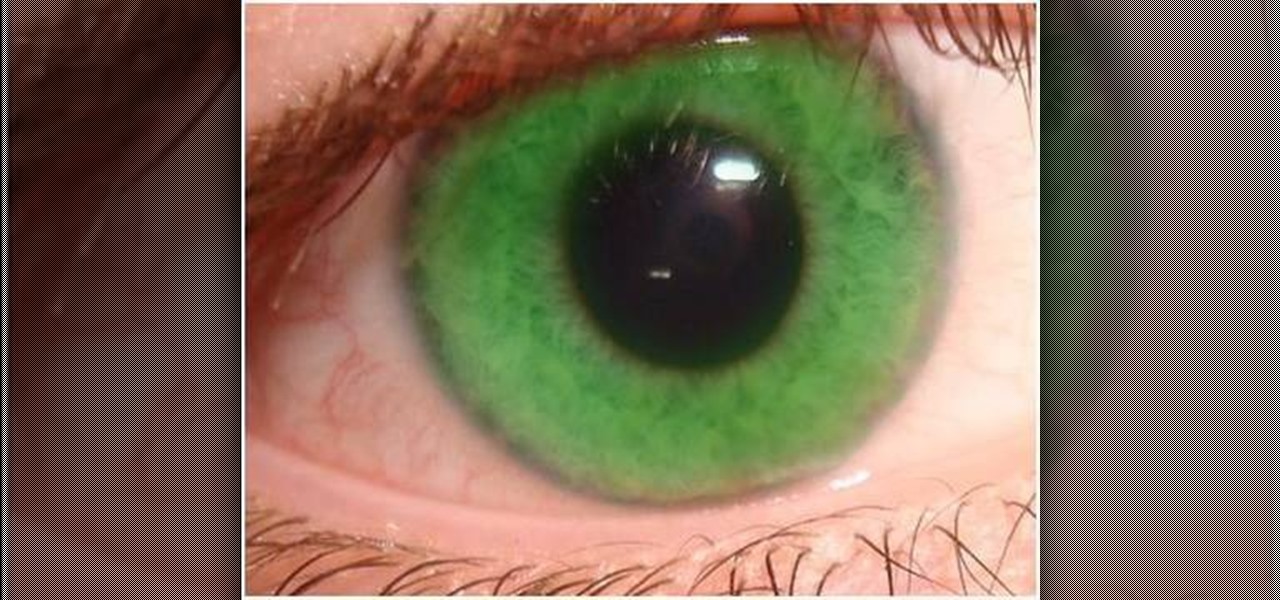
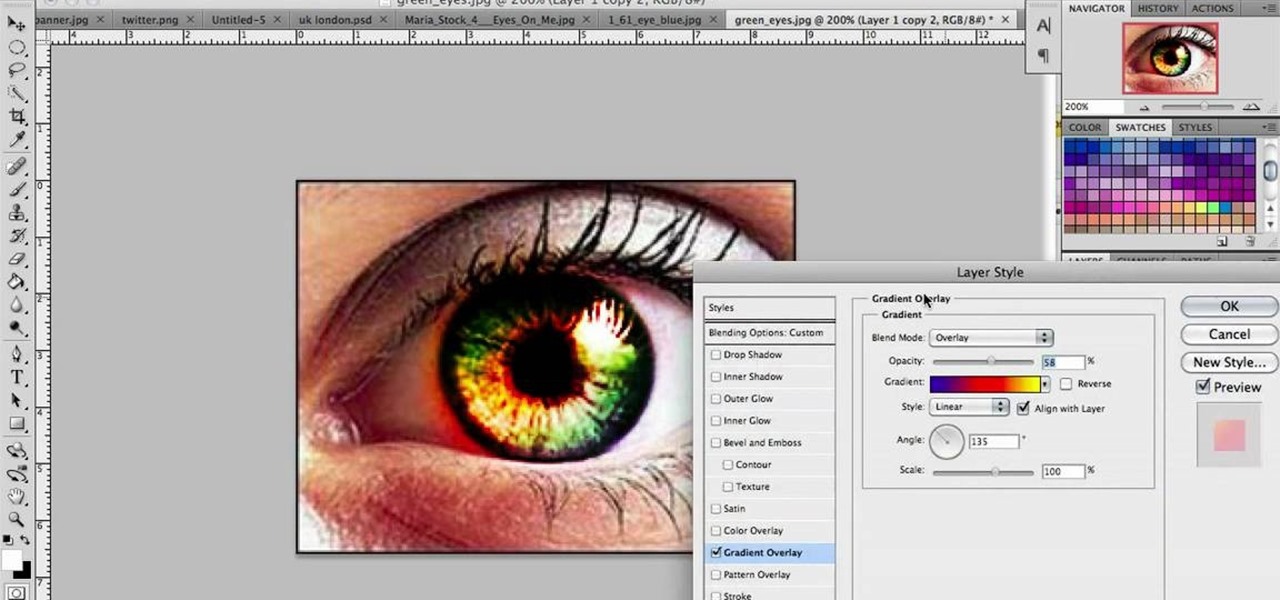
In this video we learn to make green eyes in Photoshop. According to this video, it is very simple to change the color of eyes and make beautiful eyes. First, we zoom in on the eye and with the help of the pencil tool. We select the border of the eye. Then we right click on the selected portion and select "make selection," then using Ctrl + C we copy the selected portion and use Ctrl + v. We can paste the selection on the right hand side. Then, on copied layer we select the gradient. After, o...

Learn how to backup Windows Vista to an external hard drive! 1. Click on start. Go to All Programs, select Accessories, then select System Tools. Open "Back-Up Status and Configuration". 2. Click on "Set up automatic file back-up". Be sure the top radio button is selected. Select your external hard drive. 3. Click next. Select all folders that you want to back-up. Click next again. Set your schedule (how often, what day, time). 4. Click on "Save settings and start back up". Windows will final...

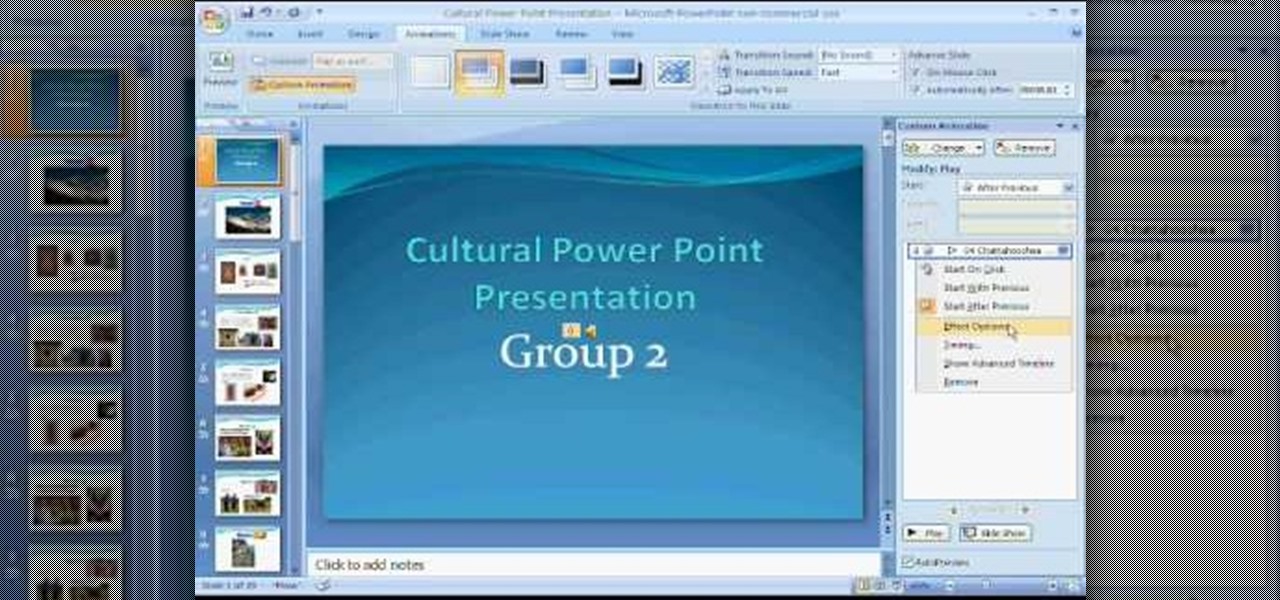
This video helps us how to add continuous music to your PowerPoint presentation. To add continuous music to your PowerPoint presentation, click "Insert" in the Main toolbar. Place arrow key on the Sound icon and wait for options to appear. Select "Sound from File". Locate for and select the sound file. Select "Automatically" button once a window appears. Select "Animation" and then "Custom Animation". A window appears on the right side of the screen. Select "Effect" options and choose the num...

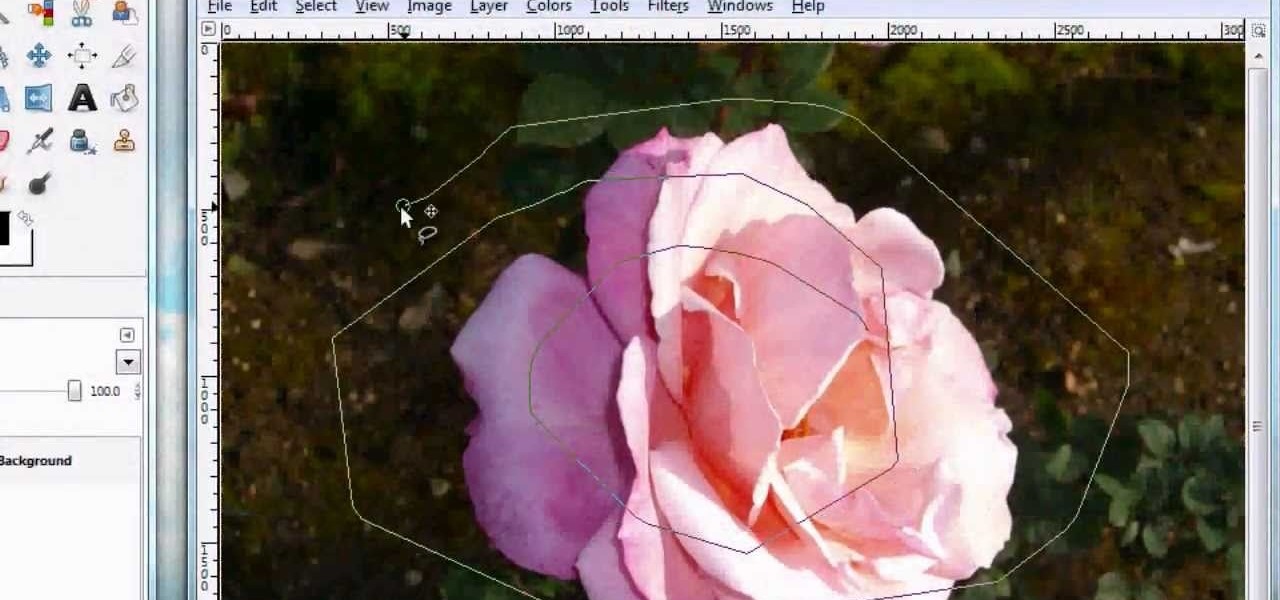
For anyone looking to edit a picture with one or more persons down to just a single person in the picture, you can use GIMP. This video tutorial goes over how to utilize the paths (or pen) tool and foreground select tool. The paths tool allows a person to select a part of an image to create a series of lines, or paths, that allow you to create a path around whatever you want to select in a picture. This item can then be moved and copied to a completely different photo. The foreground select t...

Learn how to create a cell phone icon in Photoshop with this video tutorial. Draw a rectangle of radius 30 pixels by holding shift key. Right click on the toolbar and select Stroke button. It will open Layer Style dialog box. Set stroke color and set size to 2 pixels. Select Stop Color set little light red color and click on OK. Now, check on Inner Color option change size to 4 and Capacity value to about 60%. Now select Ellipse tool which will draw a ellipse and cover half of rectangle. Sele...

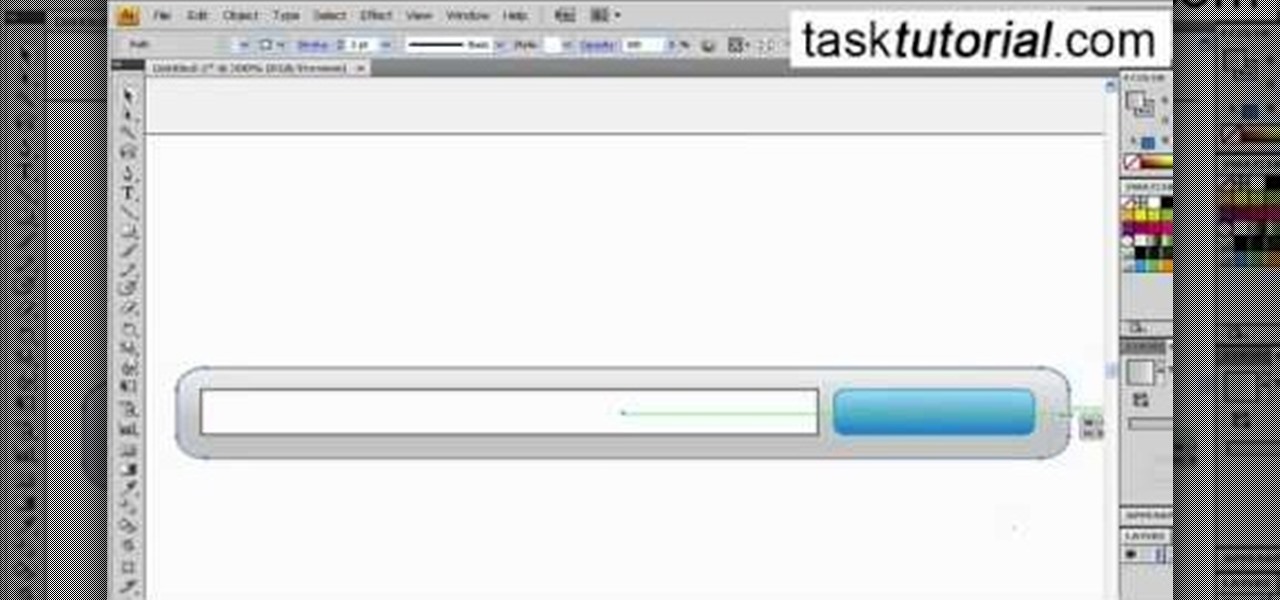
In this video tutorial by Tasktutorial ,shows you how to . Select the rectangle tool and set the corner radius to 15px and draw a rectangle. Select gray stroke color and the stoke weight as shown. Select the gradient fill and set the angle to 90 degrees as shown. Resize the rectangle as desired, select the rectangle tool with white fill color, 1px stroke weight and draw the rectangle as show. Select the rectangle tool again with the corner radius of 5px and draw a rectangle as shown. Apply th...

Xara Xtreme makes it easy to learn how to extract part of photo. First in the main page we have to select window and photo_extract in Xara. Now you will have a picture in the screen.

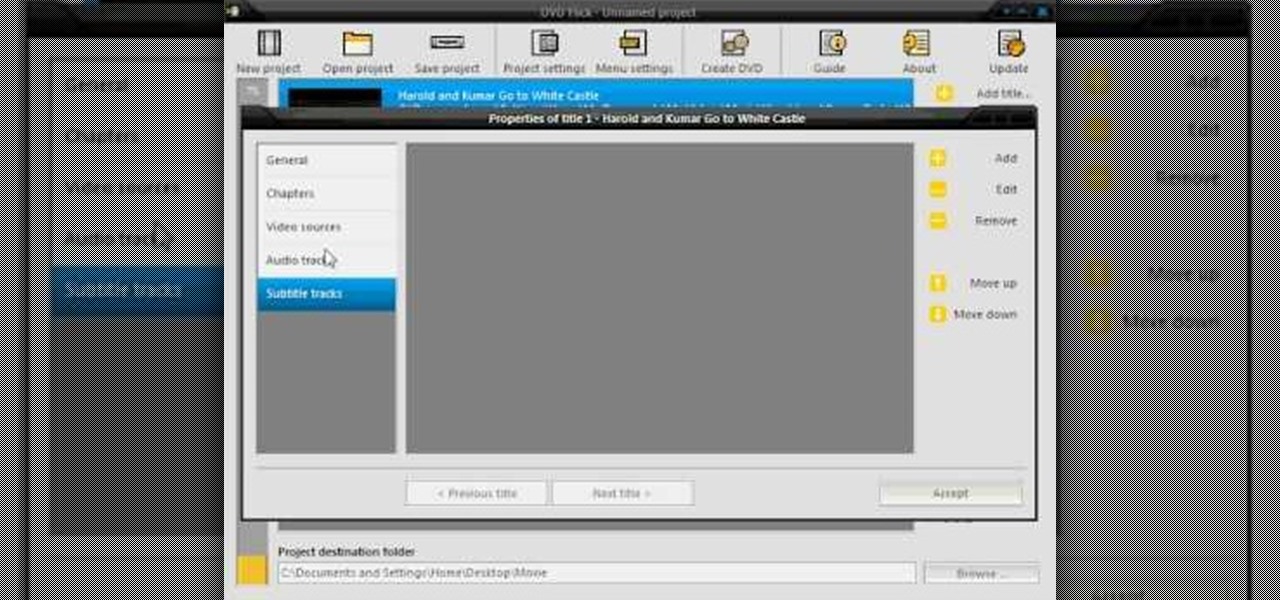
Burn downloaded movies onto a DVD. Open your browser, go to the Google website and type axxo torrents in the search bar. Then select the homepage of axxo torrents, and download the favorite video in to your computer. Then open the DVD flick, you select burn a DVD. In that you select the files to be burned on to a DVD, and then click ok. Then the general settings appear on screen, about the name of video. Then also select how to burn and writing speed, and check the box of verify the data on w...

This video includes instructions on how to get your PlayStation Portable (PSP) onto the BGSU wireless network.

This video gives an introduction to the suruchin, an okinawan weapon composed of two rocks or weights tied by rope. It discusses the different types of suruchin and how to select the right one.

This video tutorial is in the Video Games category in which Tina Wood will show you how to find and change themes on your Xbox 360 (Xbox 101). Head over to game marketplace, select explore game content, and then choose "themes and gamer pictures". Here you find "halo 3 ODST" and download it. Once it is downloaded, you can choose "change theme" right then and there to redecorate your dash board. You will find one image on my Xbox, one on the game library, one for the video, music and picture l...

You can use a Korg MicroKorg synthesizer / vocoder to play all sorts of electronic music, and you might actually be able to get one without spending your life savings. If you like dirty electric synth bass parts, watch this video and you'll learn how to program one on your MicroKorg.

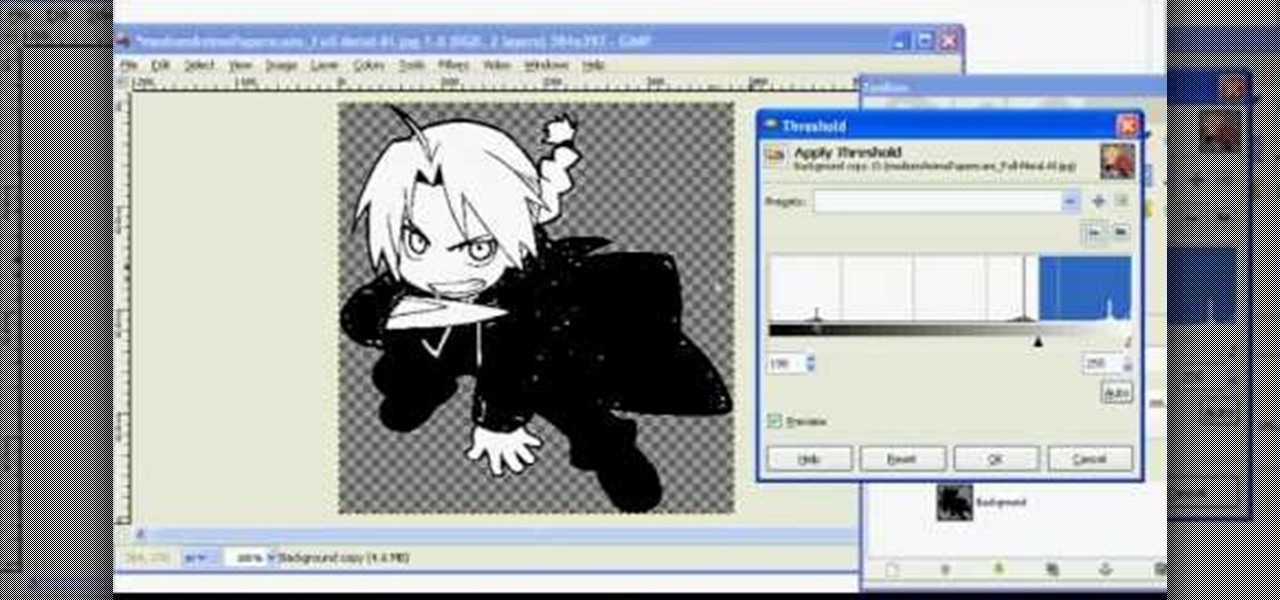
In this tutorial, we learn how to make 2-layer stencils in GIMP. First, cut out the background before you begin. Now, right click on your main layer and then select "add alpha layer". After this, select the magic wand tool and delete all the white areas on the outside of the picture. Now duplicate the layer, then hide the top layer and select the bottom layer. Now, go back to threshold and move it all the way to the right to get an outline of the image. From here, go back up to the top layer ...

To do that, first select the pen tool, choose yellow stroke color and draw the path as showing in the video then deselect and choose pen tool again, pink color in stroke and draw the path again. Now you need to select the blend tool and click on both paths. Now go to object, blend and choose blend options. Now select the specified steps, put the value of 25 there and click on ok. Now open the blend in layer window and select the paths. Now set color to white

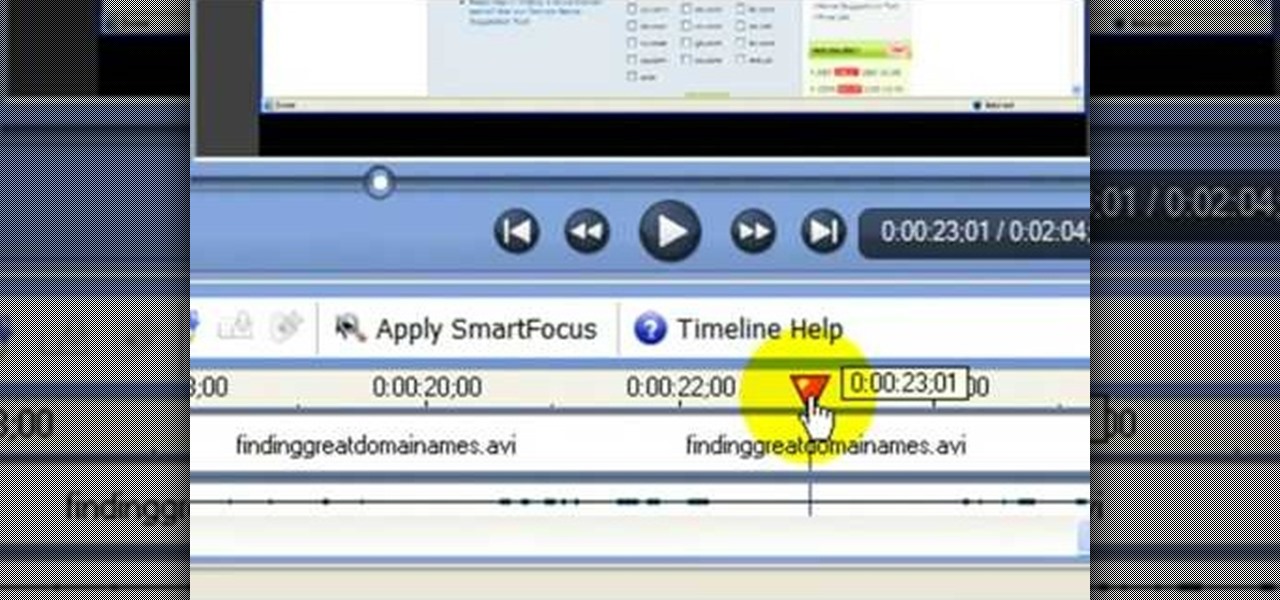
In this video tutorial, viewers learn how to use the noise removal tool in Camtasia Studio. Begin by uploading the audio track into the time line. Then select and highlight the region that contains the noise. Now click on Edit and select Audio Enhancements. Under Background noise removal, users are able to select to automatically or manually remove the noise. Once selected, simply click on the Remove Noise button. Users also have the option to adjust the sensitivity. This video will benefit t...

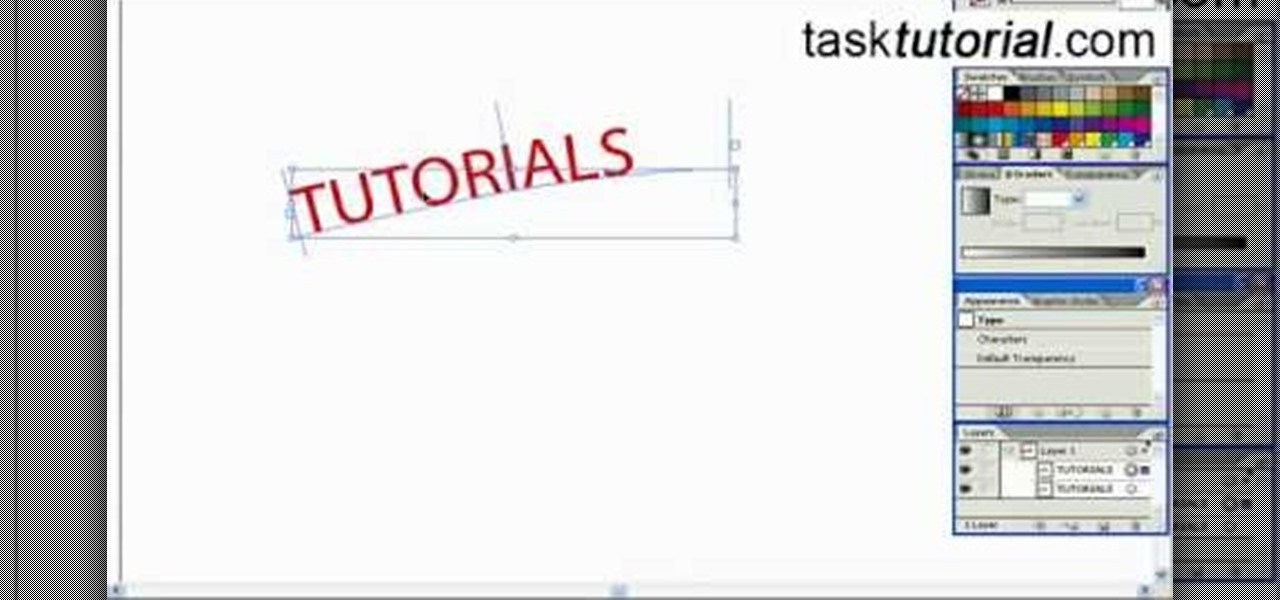
In this tutorial, we learn how to create a cool blend text effect in Illustrator. First, open up Illustrator and draw a path, then change the color to black. After this, click on the line and type in your desired text. Increase the font size to 36 points, then select the red color. After this, copy your path and select the duplicate button. Now, move the duplicated path and change the background color to yellow. Now, scale the path and resize, then place on to of the red path. When finished, ...

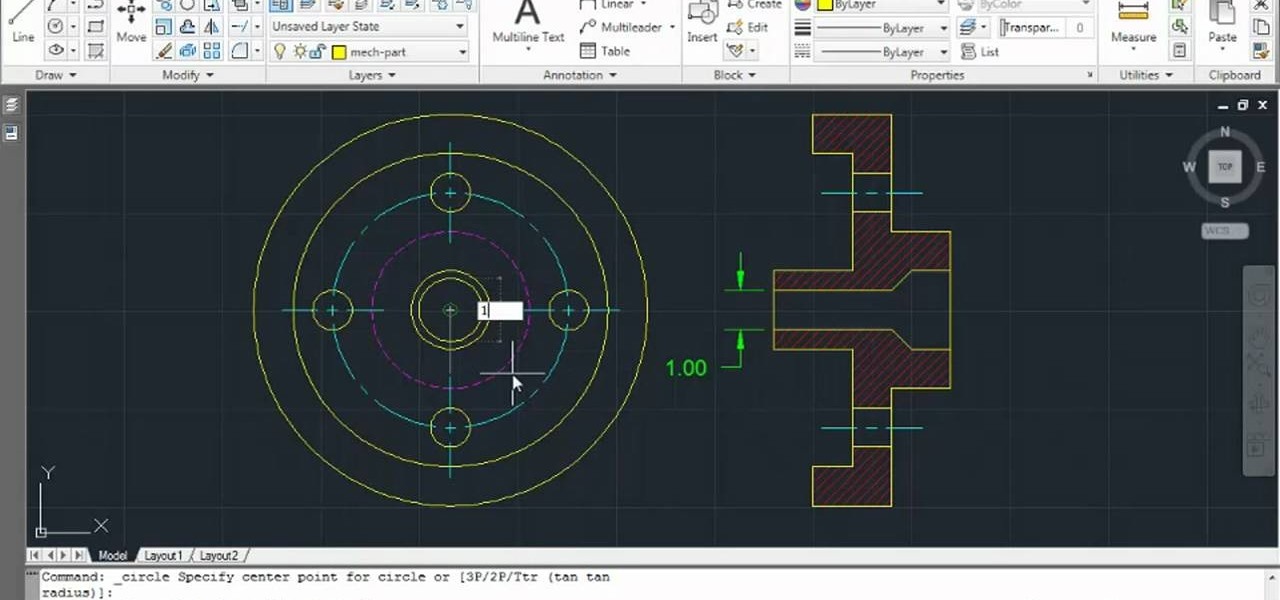
Learn how to set the current layer by selecting elements within an AutoCAD 2011 project. This clip will teach you everything you'll need to know. Whether you're new to Autodesk's popular 3D drafting application or a seasoned professional just looking to better acquaint yourself with the newest iteration of the program, you're sure to be well served by this video tutorial. For more information, including step-by-step instructions, watch this free video guide.

In this video tutorial, viewers learn how to align and group objects, and use gridlines. Begin by clicking the Insert tab and select a shape from Shapes. To align the object, go to the Format tab and select the Align menu. From there, users are able to align the selected object in any direction. In the Align menu, users are also able to add gridlines by selecting View Gridlines. To configure the grid-line options, click on gridlines Settings. This video will benefit those viewers who use Micr...

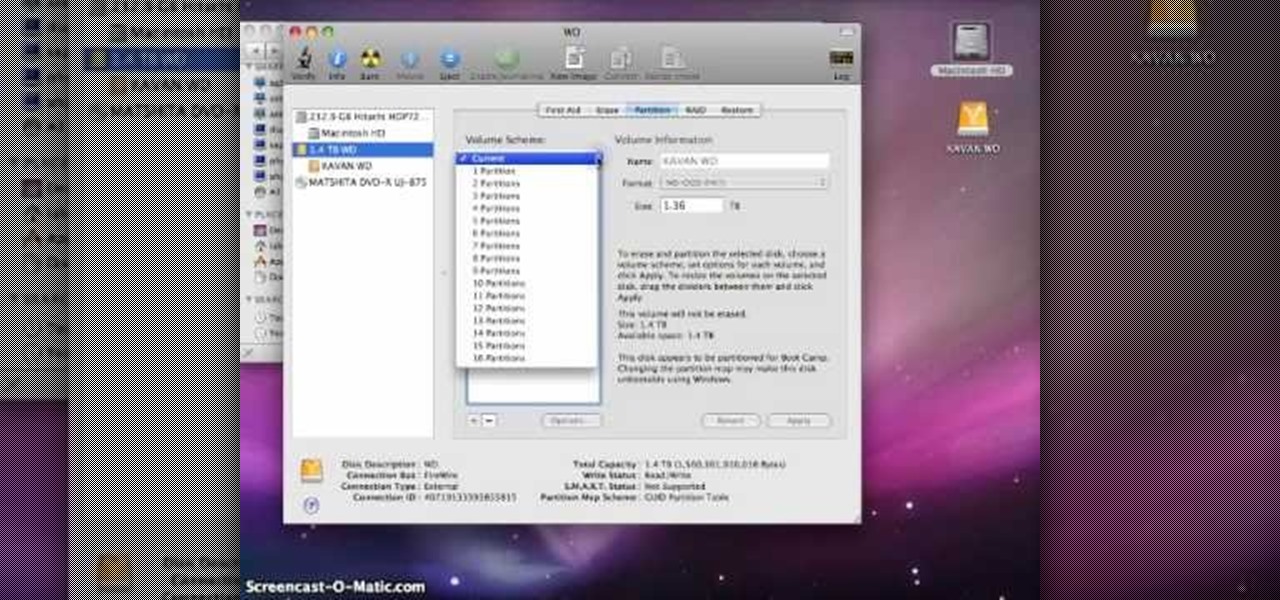
In this video tutorial, viewers learn how to partition an external hard drive on a Mac computer. Begin by open Macintosh HD. Scroll down the list on the left and click on Applications. Double-click on Utilities and select Disk Utility. Under Volume Schemes, select 2 Partitions. Select the name of the partition and choose the format that you want for the drive. Select the second partition and do the same. Now click on Apply and click on Partition. This video will benefit those viewers who use ...

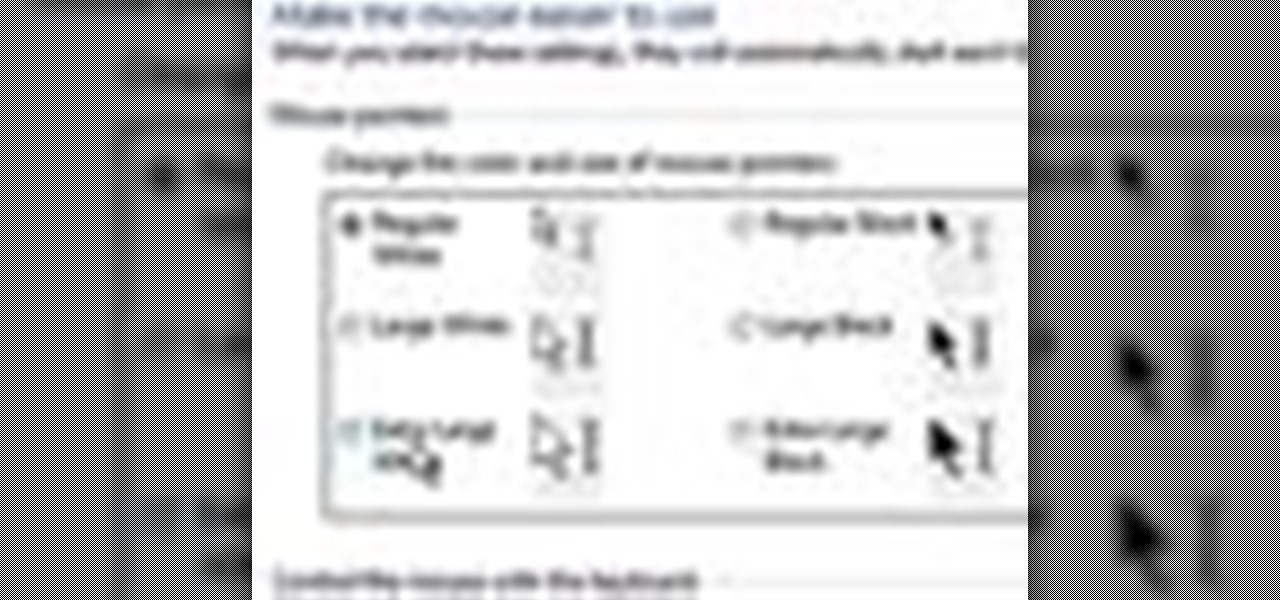
Windows 7 uses several options to make it easier to change and locate the cursor on the screen. 1) To access these options select “Start” then click on “Control panel“from the menu.

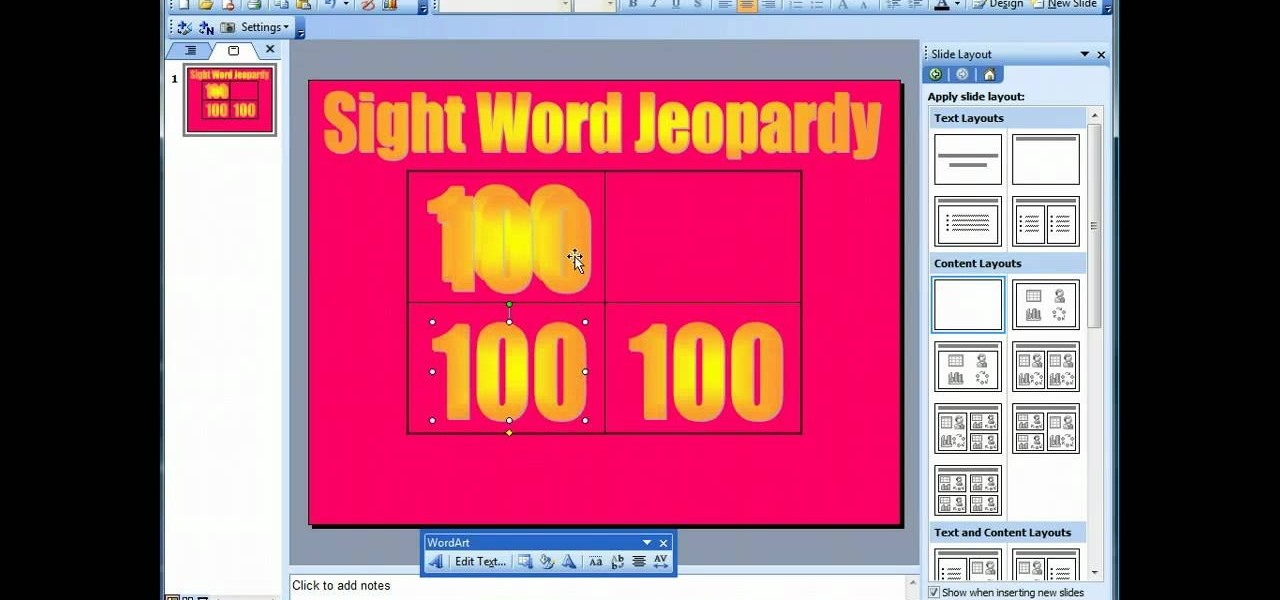
This video demonstrates how to make a basic Jeopardy game in Microsoft PowerPoint. First, choose a background color by clicking Format on the top bar menu. Select Background and choose the color you wish to have. Click Apply To All to apply it to your entire PowerPoint presentation. Then, click Insert on the top bar menu and select Table. Fill in the number of columns or rows you wish to have for your table and then click OK. In this example, create a 2x2 table. Make a title for your game by ...

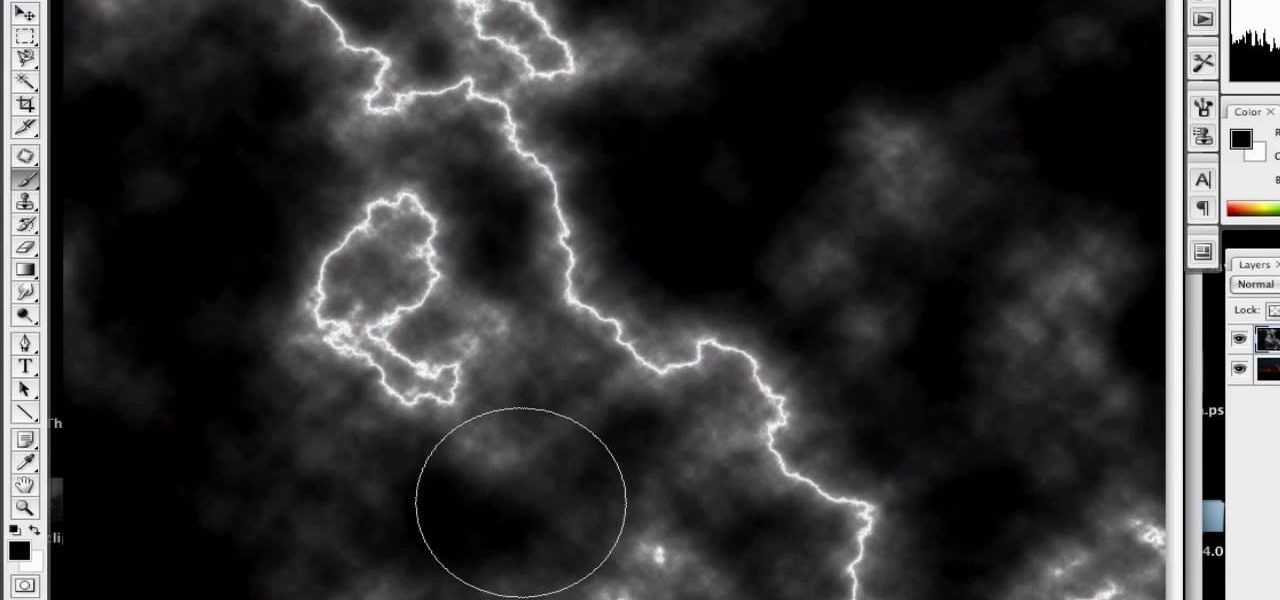
First of all open an image which shows many different lights in a night background. Now make a new layer now set the color of background to black by first and the foreground color set to white. Click the background for the bottom of the left bar and then pressing 'd'’. Next select the 'gradient' tool. Make sure to select the style from the foreground to background. Select the 'mode' to 'normal' and ‘opacity’ to '100%'. Now drag the top right hand corner to the bottom of the left hand corner. ...

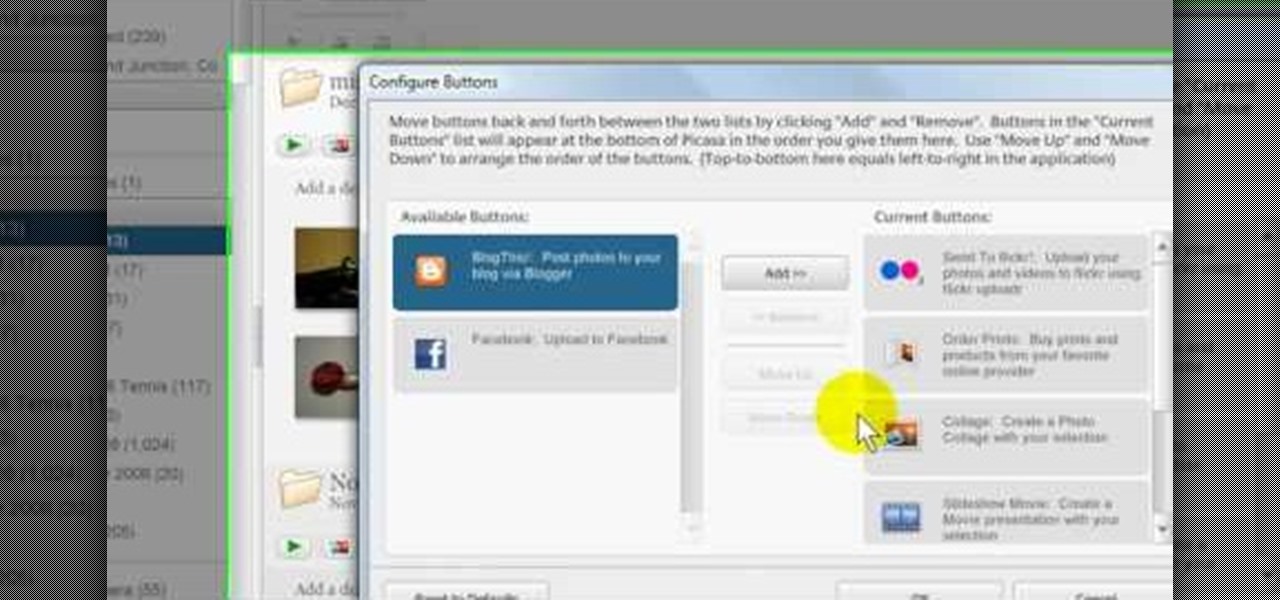
In this Computers & Programming video tutorial you will learn how to add photos to Facebook using Picasa. The video is from Help Me Rick. Log into Facebook, go down to the lower left corner and click ‘Applications’. Click ‘Find More’ and in the search applications box, type in ‘Picasa’. You will get a list of Picasa applications. Select the Picasa by Alan Lundeen. Here you click ‘go to applications’ -> install now -> OK -> Yes -> Facebook -> Add -> OK. Now you will get a Facebook icon on the ...


