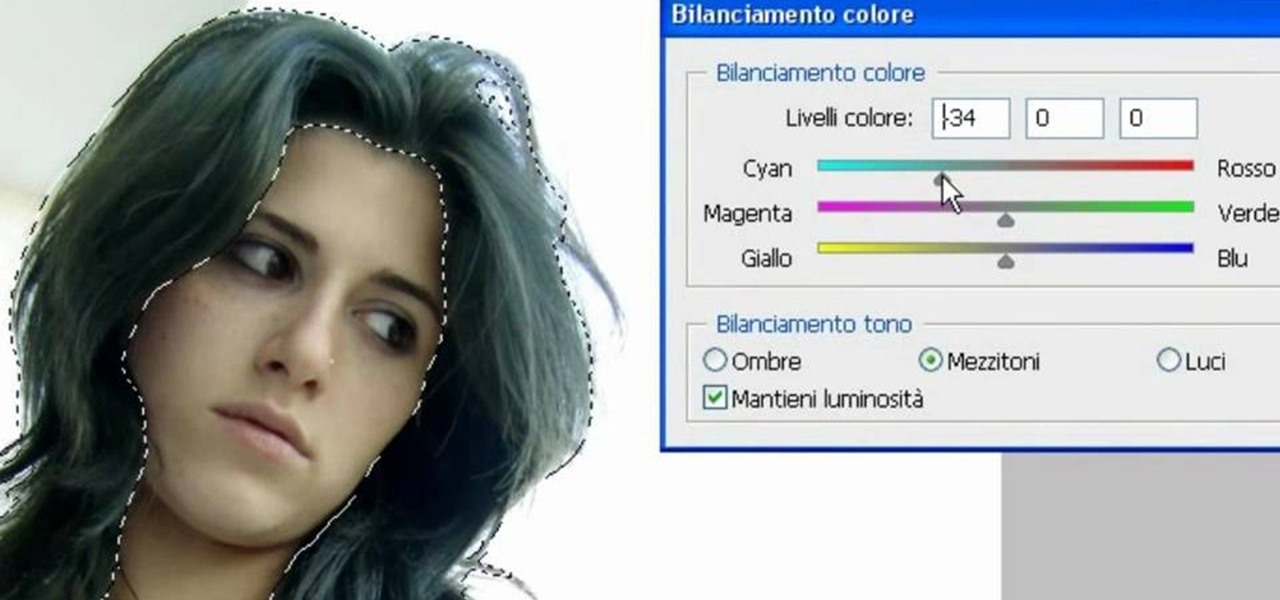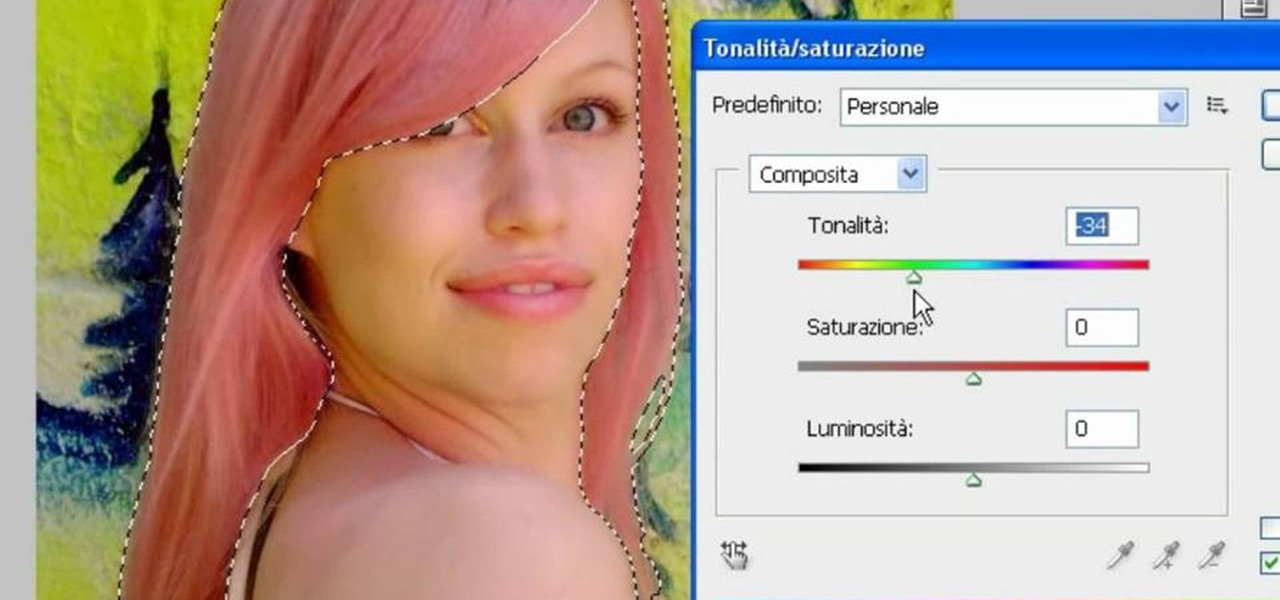
In this video, we learn how to use PhotoShop to change hair color.. First, select the mask tool inside PhotoShop. Now, zoom in on your picture and brush the hair that you want to change the color of. Zooming in and using smaller or bigger brushes will help you be more precise. After this, zoom out and press on the mask tool to create your selection. Then, select the marquee tool and right click and choose "inverse selects". Now, click on "image", "regulations", then "tonality/saturation". Now...
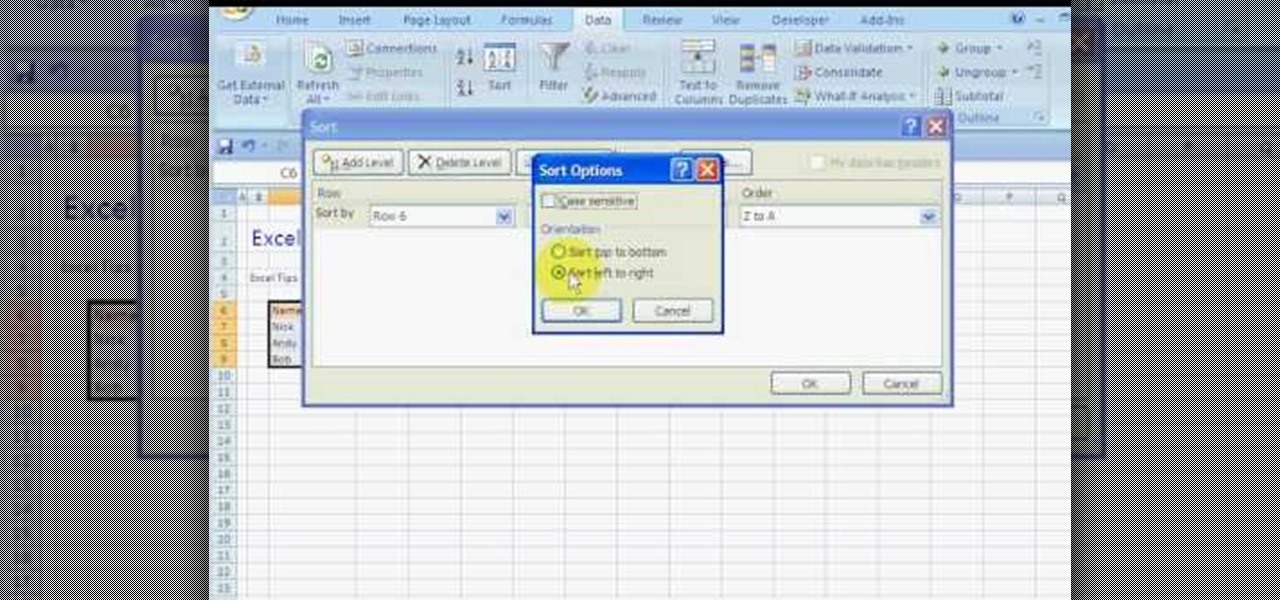
In this how to video, you will learn how to sort columns in Excel with the Excel Experts. This is great if you want to learn the basics of sorting in the program. First, you must have Excel installed and running. Open up a spreadsheet that needs columns to be sorted. Select the column. Go to data and sort. Click options and select left to right. Choose the row you want to use and select the order. To undo this, go to sort and change the sort order. This video offers straight forward advice fo...
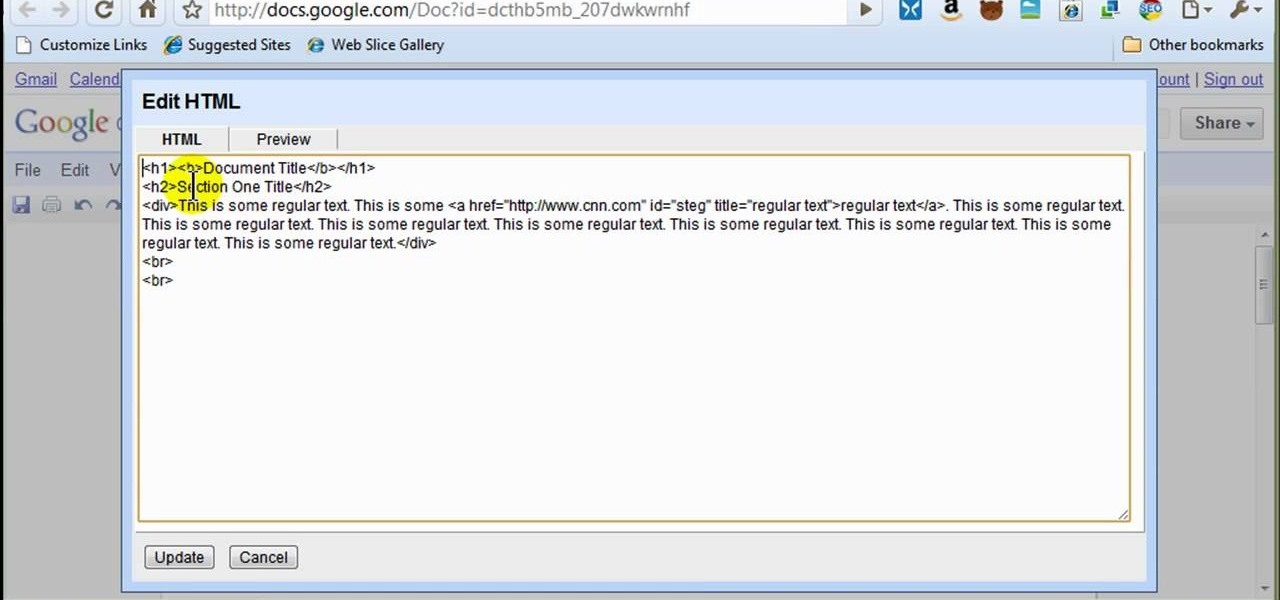
In this how to video, you will learn how to style documents with the Google Docs CSS editor. First, create a new document in Google Docs. First, click on the drop down menu for style. Type in a title in the document. Select heading 2 in the menu and type in the section title. Next, take off the style and type in the body for the content. Select some of the body text and click the hyperlink button. Type in the address and click okay. Now you can click this text to go to a website. Go to file a...
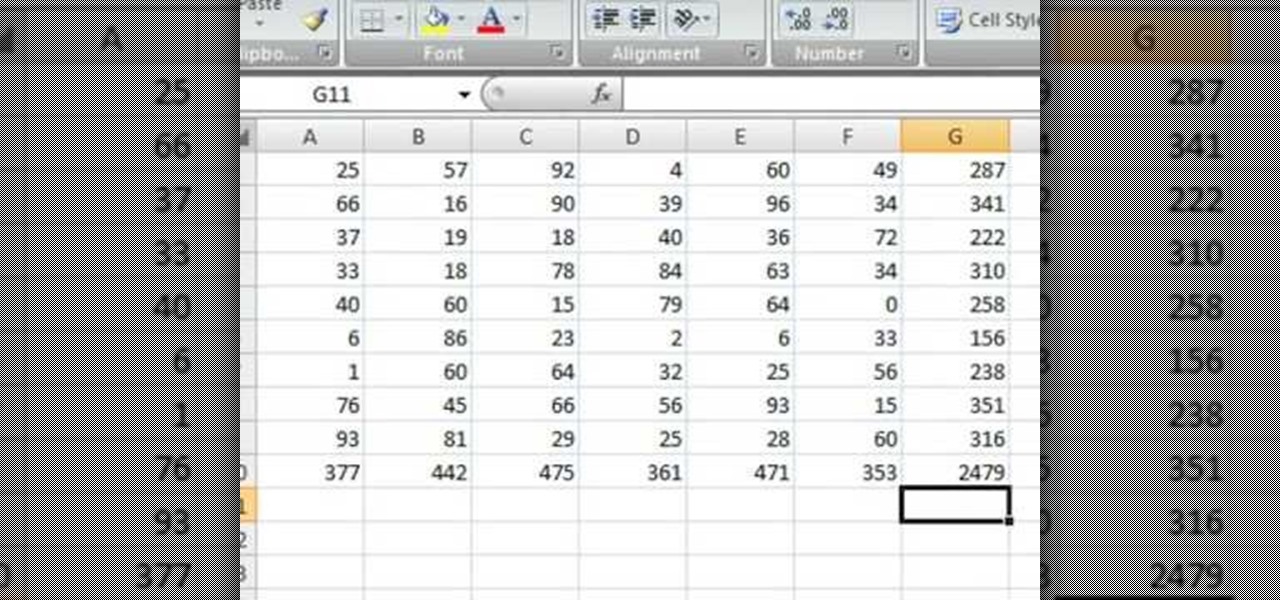
Robert demonstrates how to quickly insert formulas into Excel. To create a sum, highlight your selected cells and press the sum key. Expand the formula by clicking on the fill handle. Double click on the fill handle to expand the formula. To sum vertical columns, highlight all the cells and click the sum button. Press and hold down the control key for another shortcut to work in accordance with the auto sum button. You can also select the average for the area. You can also select the area and...
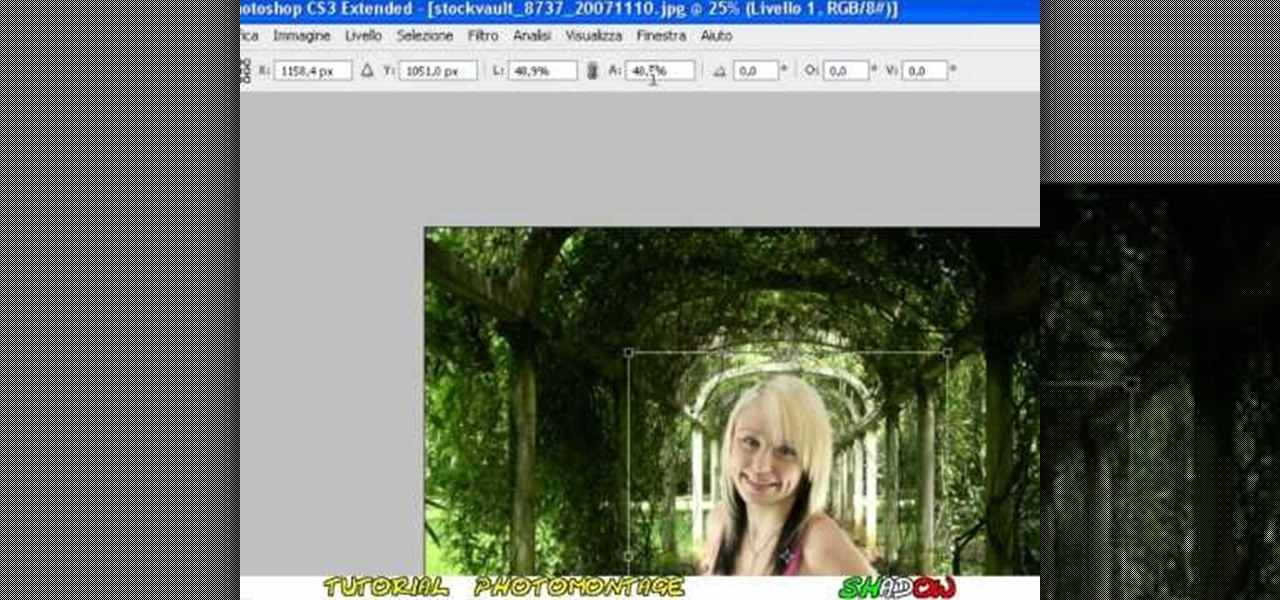
In this video tutorial, viewers learn how to create a photo-montage using Adobe Photoshop. Begin by inserting the images into the program. Then double-click on the montage image to unlock it and select the eraser tool to remove the background. Once the background is removed, select the move tool and move the montage image to the background. To modify the dimensions, go to Edit and select Free Transformation. Hold the Shift key to maintain the proportions. This video will benefit those viewers...
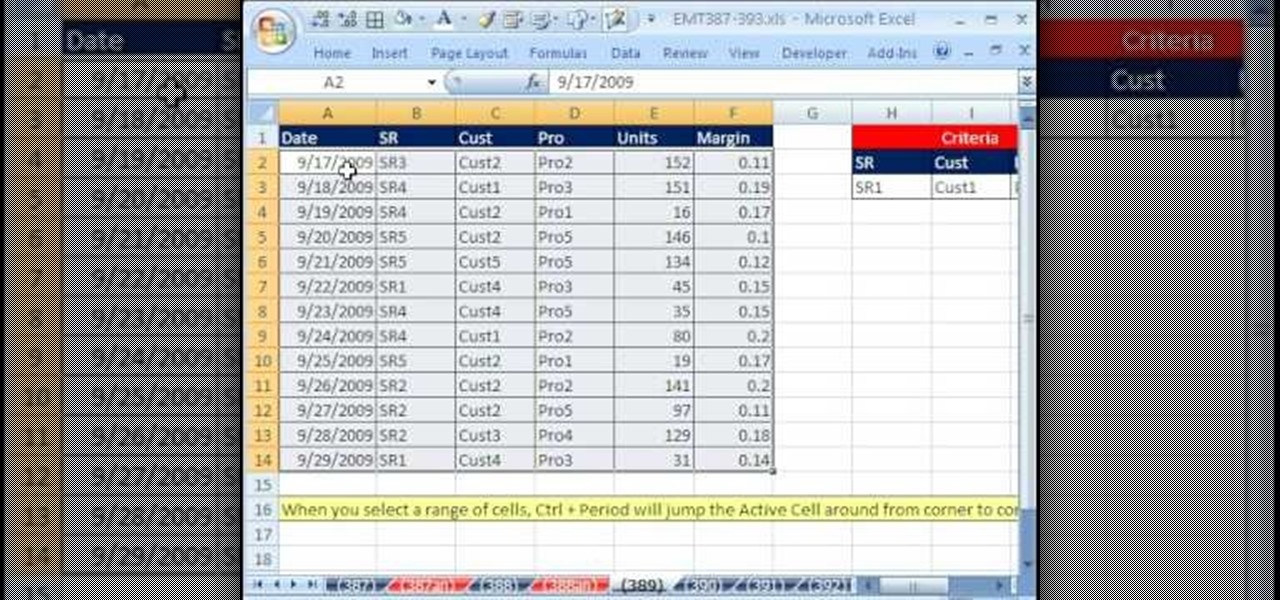
New to Microsoft Excel? Looking for a tip? How about a tip so mind-blowingly useful as to qualify as a magic trick? You're in luck. In this MS Excel tutorial from ExcelIsFun, the 389th installment in their series of digital spreadsheet magic tricks, you'll learn how to use a ctrl-period keyboard shortcut to quickly move the active cell in a selected range.

In this video tutorial, viewers learn how to speed up a Windows PC using a USB flash drive. Begin by clicking on the Start menu and select My Computer. Now right-click on the flash drive and select Properties. Click on the Ready Boost tab and check Use this device. Select the amount of space and click Apply. Then click OK. To remove the flash drive, right-click on the flash drive and click on Properties. Click on the Ready Boost tab and check Do not use this device. This video will benefit th...

Make your video look like a Hollywood film in 3 simple steps

In this Software video tutorial you will learn how to make a copyright brush using Photoshop. Open up Photoshop and open a new document by clicking ctrl+N. Create a new text layer on the right side and type in your text. Right click on the text layer > rasterize type. On the left side select the ‘rectangular marqee tool’ and draw a rectangle around the text. Go to edit > define brush preset. In the next box, give it a name and click OK. Then go to file > open and select a picture on which...

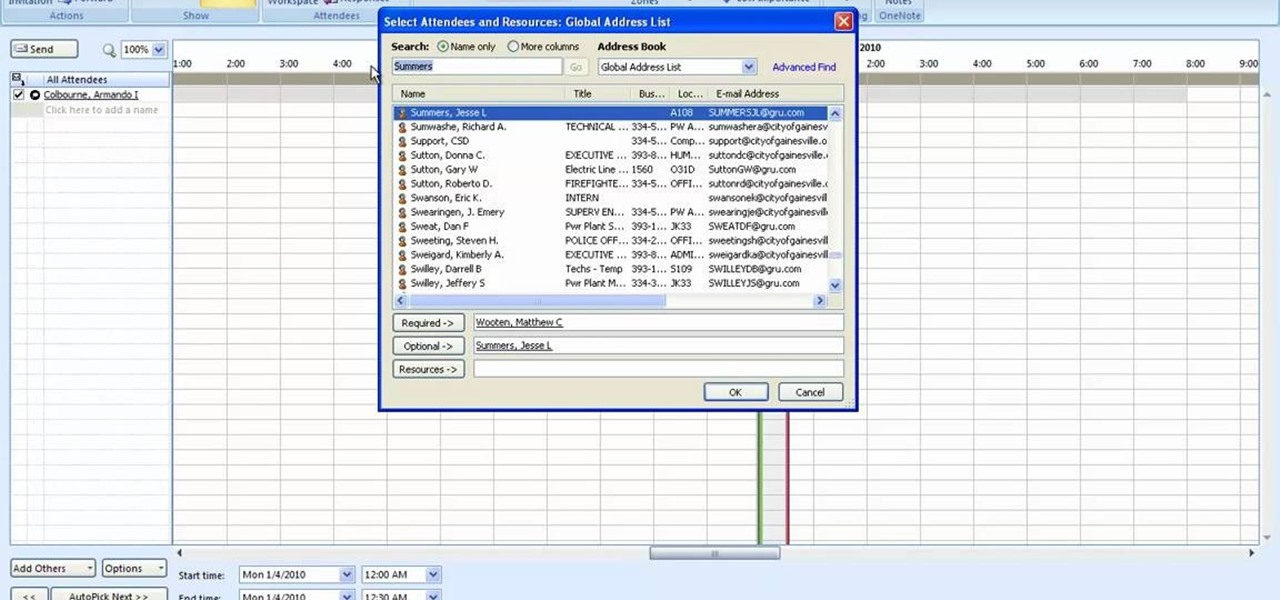
This how to video shows you how to setup a meeting using Microsoft Outlook. First, open the program. From here, click on calendar. Next, go to the upper left corner and select new. On the subject line, type in the subject of the meeting. In the body, type in what the meeting is about. Go to scheduling and go to the left and select invite attendees. From here, select the address book and search for people by their last names. Select who is optional and who is required. Click okay. You will see...

In this video, we learn how to change the color of dark hair in PhotoShop. First you will want to open up PhotoShop and open up the picture you want to change, zooming in so you can see the hair up close. Next, open up the mask tool, then use the brush to color the hair. This will only highlight the hair to change the color in the future. Use different sized brushes when you need to. Once you've done this, click on the mask tool to create the selection. Now, select the marquee tool and click ...

River City Graphix Tutorials demonstrates how to make a reflection in Photoshop. First, fill the background layer with black. Then, select the text tool and a color of your choosing. Type the words that you would like to reflect. Next, duplicate the layer to make a copy of the layer. Hold shift and bring it down, setting it on the bottom of the other layer. Select the rectangular marquee tool, right click to get the free transform tool. Right click again and then flip the image vertically. Se...

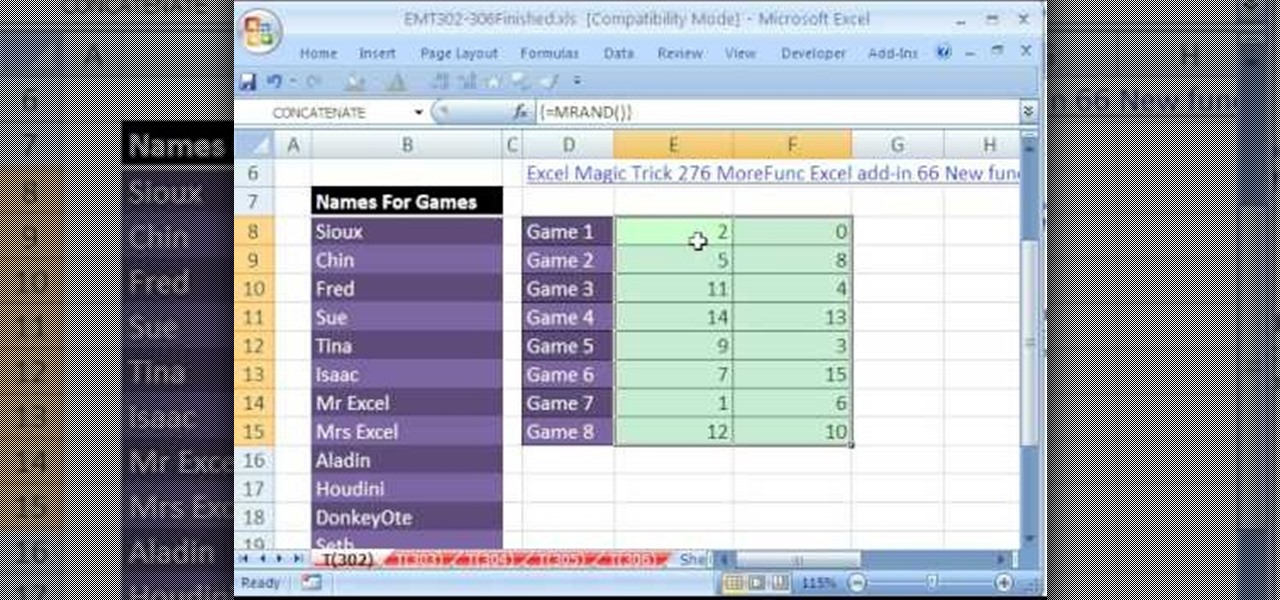
New to Microsoft Excel? Looking for a tip? How about a tip so mind-blowingly useful as to qualify as a magic trick? You're in luck. In this MS Excel tutorial from ExcelIsFun, the 302nd installment in their series of digital spreadsheet magic tricks, you'll learn how to use the INDEX & MRAND functions to randomly select names without repeats.

To create glossy or reflective vector image, you will need to know how to use the offset options in Adobe Illustrator and the basics for pathfinder. You will be creating a vector image that can be resized without hurting its quality. To start select you text style, which be glossy for this. You will have first a white layer, a shadow, a radiant layer, a white outline and a shadow going underneath. In this video the Oh Gizmo Logo! is being used as the template. Right click create outlines. You...

To create and upload a torrent file using uTorrent v.1.7.5 you will begin by clicking the create torrent button. Clicking this button will open the dialogue box where you can click "add file" and select the file which you would like to create your torrent from. After you have selected your file click "open," this will bring you back to the original dialogue box. Now add the tracker URLs making sure you have a blank line between each tracker URL (some tracker URLs can be found at http://torren...

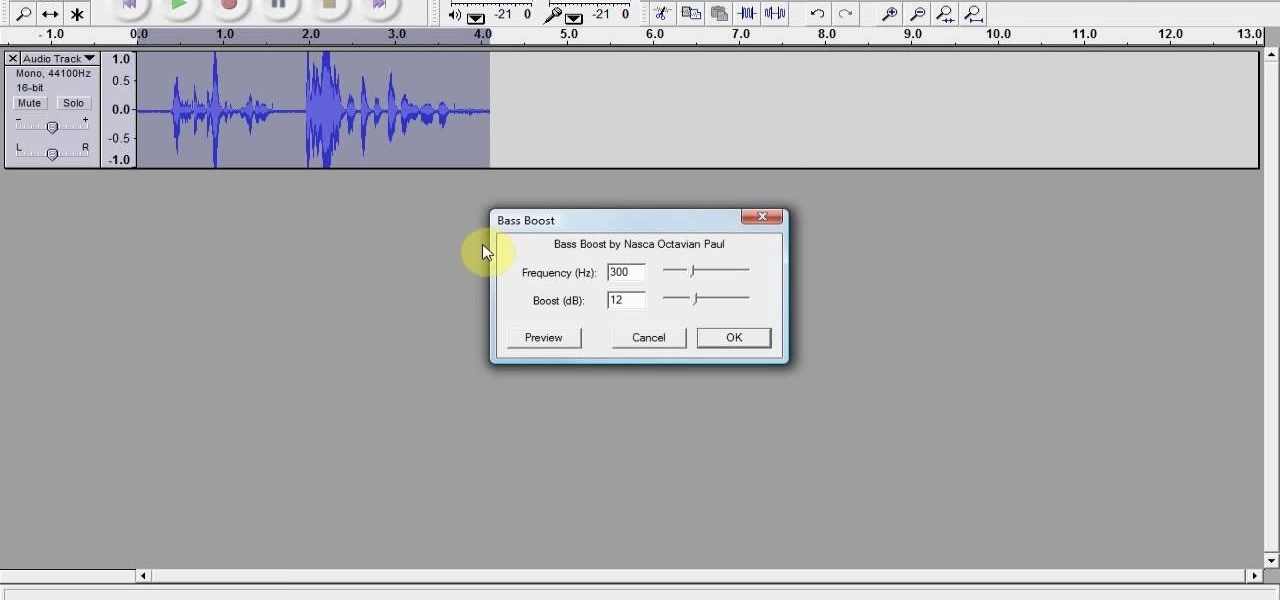
In this Software video tutorial you will learn how to remix popular songs in Audacity. Open Audacity. Go to file > open and find your song for remixing. Then go to effect > change speed. Select a percentage change and click OK. You can change the pitch by going to effect > change pitch and select something and click OK. Play it and see what the pitch change does to the original and select the one that you like. Under ‘effect’ there are plenty of other options available like ‘amplify’,...

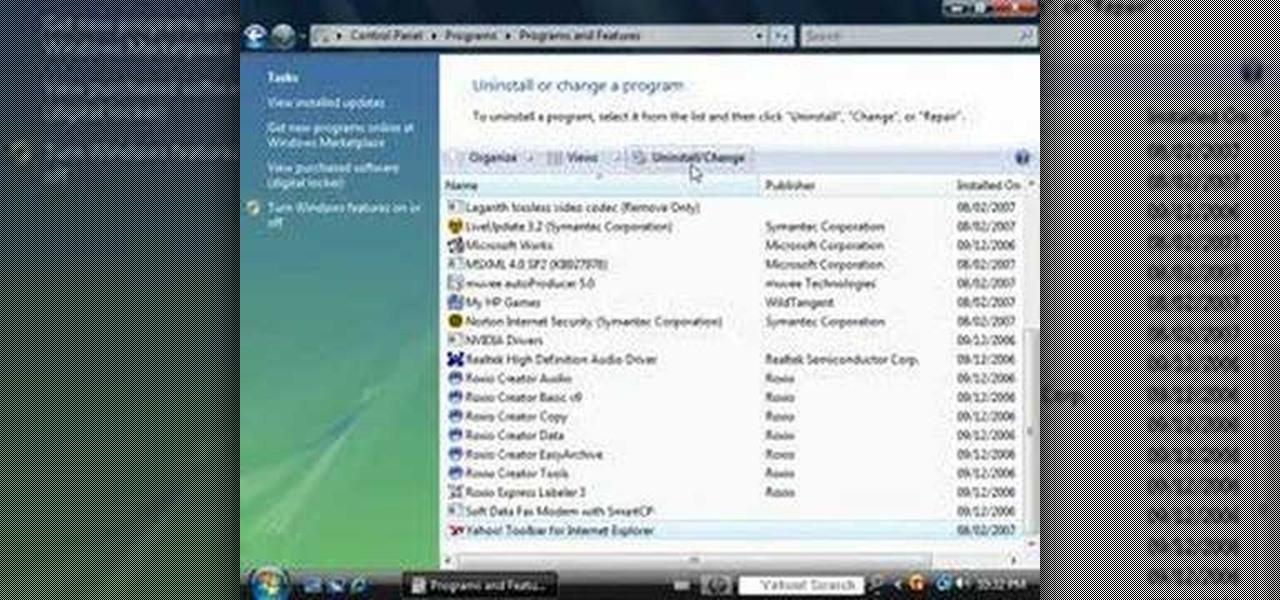
1. Go to Control Panel from the start menu and select Uninstall a program. 2. Start Menu>Control Panel>Uninstall a Program

In this how to video, you will learn how to make a stuffed animal in Girlsense. To do this, open the program and select a long dress. Make the dress black. Next, create an outline of the stuffed animal at the bottom of the dress. Next, erase the body and any excess areas of dress. Next, select the stamps and choose a circular shape. Increase the size so that it covers the interior of the stuffed animal shape. Choose the color you want. Next, select a triangular shape and choose a color for it...

New to Microsoft Excel? Looking for a tip? How about a tip so mind-blowingly useful as to qualify as a magic trick? You're in luck. In this MS Excel tutorial from ExcelIsFun, the 169th installment in their series of digital spreadsheet magic tricks, you'll learn how to randomly select an employee from a list using the INDEX and RAND and INT functions (also RANDBETWEEN).

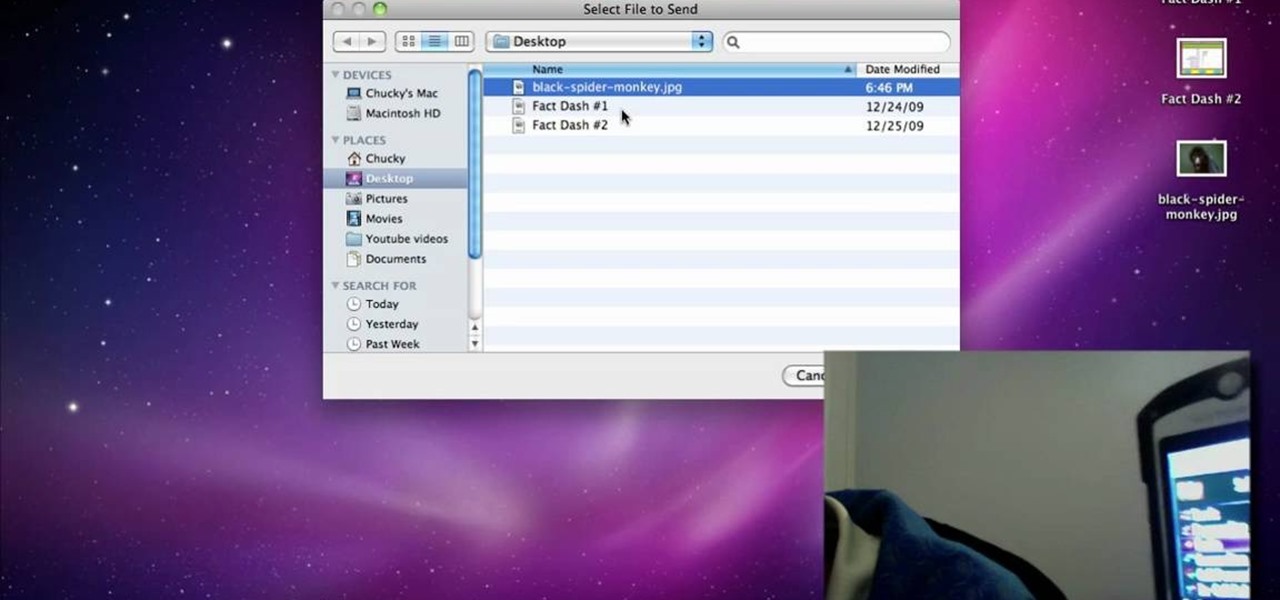
This video demonstrates how to connect your phone to your Mac computer via Bluetooth. First, make sure that you have Bluetooth enabled. On your Mac computer, begin by searching 'Bluetooth'. When the search results appear, click on Bluetooth File Exchange. A new window will appear where you can get to select a certain picture that you want to send to your phone.On your mobile phone, go to the settings where you can choose to enable the Bluetooth. In the Bluetooth settings of your phone, select...

In this video tutorial, viewers learn how to create free custom ringtones for an iPhone 3G. Begin by opening iTunes and select the song that you want as a ringtone. Right-click on the song and select Get Info. Go to the Options tab and make the song last only 40 seconds. Then right-click on the song again and select Convert AAC Version. Now open the file in the iTunes folder and rename the m4a to m4r. Click on Use m4r to confirm and open the file in iTunes. This video will benefit those viewe...

Namuoc demonstrates how to create a line chart in Excel. To create a simple line chart in Excel 2007, first highlight the cells in your worksheet that you would like to include in the chart. Then, select the insert tab on the top of the worksheet toolbar. Next, click on the line option. Select the two dimensional line graph option from the given choices. Move the chart to a new sheet. Label the new sheet in the appropriate field and click the OK button. Your line chart will now be created usi...

In this video tutorial, viewers learn how to copy music from am iPod device to a computer. Users will need to download the program, Copy Trans Suite. The download link for this program is located in the video description. Once downloaded, double-click on the file and follow the instructions to install the program. Once installed, open the program and select Copy Trans. Now connect your iPod device into your computer. Users can manual select the songs or select them all at once and then click ...

In this how-to video, you will learn how to record using Windows Audio Recorder. First, find and open the program. Go to Edit and select Audio Properties. From there, select which device you want to record from. Select okay and then press the record button. You have a limit of 60 seconds on this particular program. Press stop whenever you are done. Now, you can save the file as a .wav in any folder. You can also change the file type. Once this is done, you have completed the task. With this v...

In this how-to video, you will learn how to embed a YouTube video on your PowerPoint presentation. First, open the program and select toolbars. Go to control toolbox and select more controls. Go to shockwave flash object and make a box. Now, get the link of the YouTube video. On the x box, right click and select properties Paste the link next to the movie and click the x on the control box. Now you can watch the presentation to see that the video is in place. Viewing this video shows you just...

In this video tutorial, viewers learn how to copy or backup a DVD disc on a PC with Nero Express. Begin by opening the program and select Backup from the menu. Make sure that the disc is set to DVD and select Copy DVD. Now select the Source Drive, Destination Drive, Writing speed, Number of copies and the Image file. Click on Copy and wait for it to finish copying to the DVD. Now insert the disc into the disc drive and wait for it to finish burning. This video will benefit those viewers who n...

Some data can be very confidential. In such case you need to encrypt the data so that it does not go into the wrong hands. There are lots of encryption software available to encrypt the data. But to use them first you need to install then and this can take lot of time. You can also use Windows built in compression client to encrypt information. To use this feature you need not install any software and it is a fairly simple process. So select a file that you want to encrypt, right click on it ...

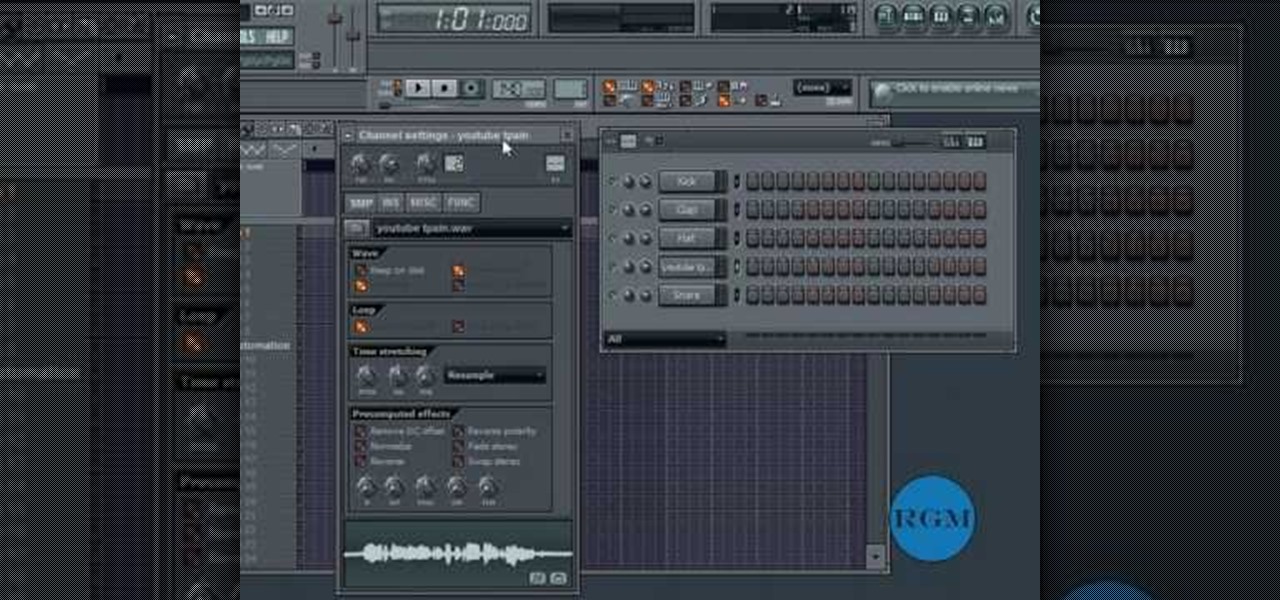
In this how-to video, you will learn how to get the T-Pain effect with Fruity Loops Studio 8. First, open the program. Insert the sound by clicking on the sampler and opening a recording. Next, click the arrow and select assign a mixer track. Select GSnap for the T-Pain effect. Change the settings, which will allow you to get this particular effect. You can also choose the Autotune effect to get this sound as well. Select this effect and set the effect up. You can save the settings with a pre...

Microsoft PowerPoint is used to create presentations. These presentation can contain images and animations. You can even add sound to the presentation. To do this go to the insert and select movies and sounds. Select the sound file from it. Make sure that the file inserted is in .wma format. Go to the slide show and select custom animation. Right click the song in the animations window. Under the effect option in the effect tab, there is the stop playing partition. Select the number of slides...

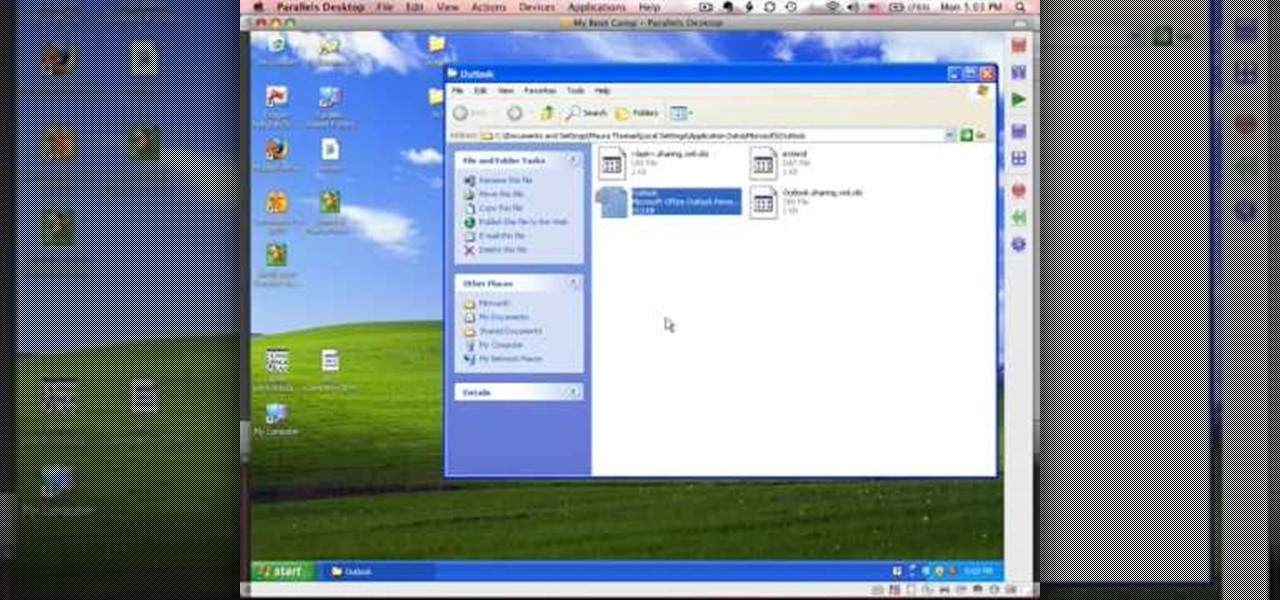
This tutorial describes how to backup the PST file of Outlook.

This video demonstrates the installation of the “Bleeding Cowboys” font. In the description of this video click on the link for ‘The font’ and download it. Go to the downloaded folder and extract the downloaded file. A new icon appears. Go to the start menu, select My computer and select drive C:, open folder Windows, open folder fonts. Copy and paste the extracted font file into this folder. A dialogue box appears for the installation. Click on install and you are ready to use this font. Clo...

In this video tutorial, viewers learn how to make an animated GIF file using Adobe Photoshop. Begin by opening the program. Then click on File and select New. Choose the size of your image and click OK. Now create your picture or text image. Once finished creating your image, click on Window and select Animation. Now click on the button on the right side of lower window and select Make Frames from Layers. change the time of each frame to 0.5 sec. Now edit it and save it. This video will benef...

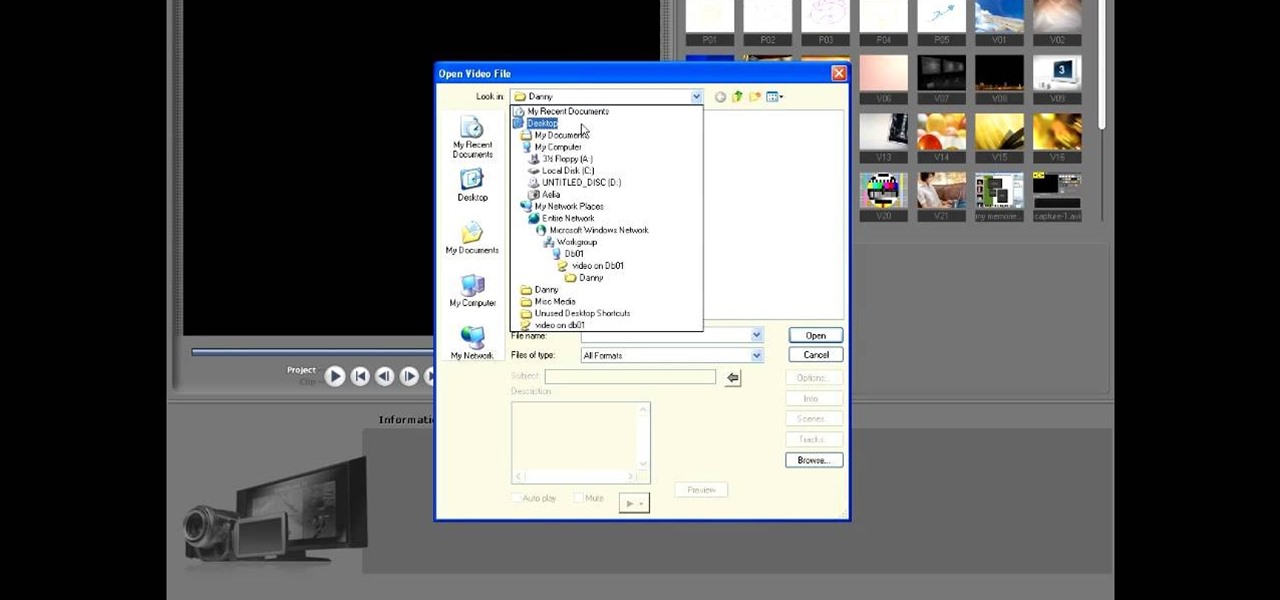
This video tutorial from toptenreviews presents how to import media from a hard drive into Corel Video Studio library.First you need to start the application.From top menu click on Capture tab. Normally you would select one of the four options to capture media: Capture video, DV quick scan, Import digital media, Import from mobile device.These options are below the library. But in this case you will need to click on the folder icon above the library.This action will bring up a dialogue box wh...

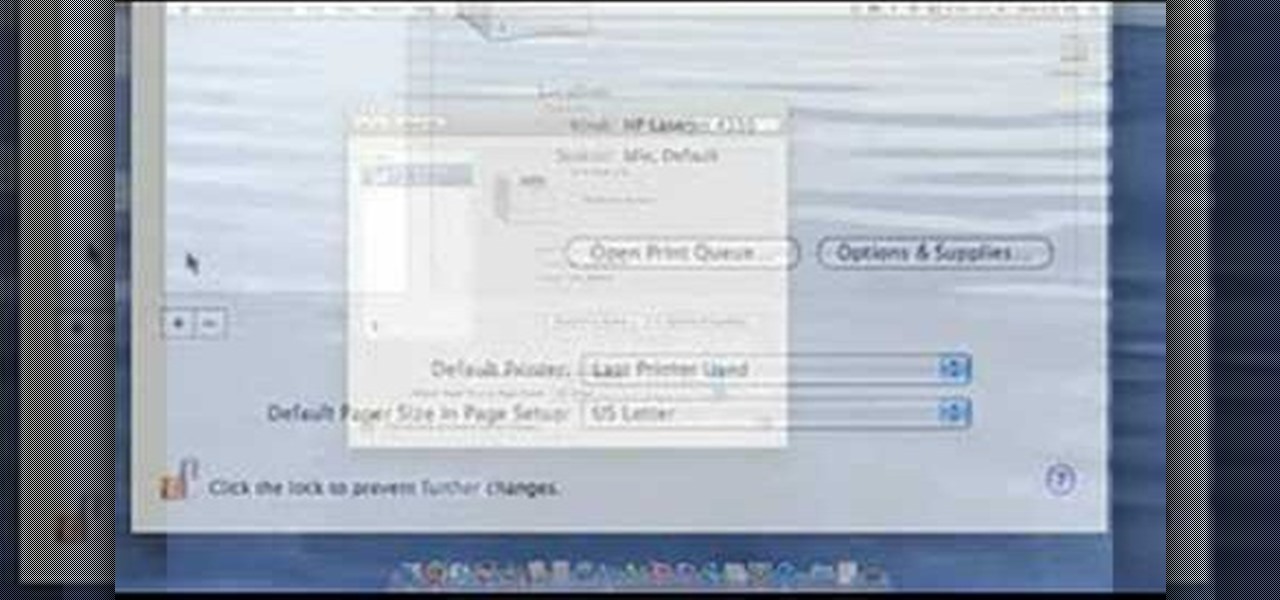
This video demonstrates how to setup a printer on a Macbook Pro.Open the document you wish to open. Go the File menu on the top bar menu and select Print. On the Print dialogue box, you will notice that no printer is selected. Click on the drop down menu to select Add A Printer. Click on the IP found on top of the window. Change the protocol to IPP or Internet Printing Protocol. On the address bar, type in the address of your printer then click on Add. Once done, you can now print your docume...

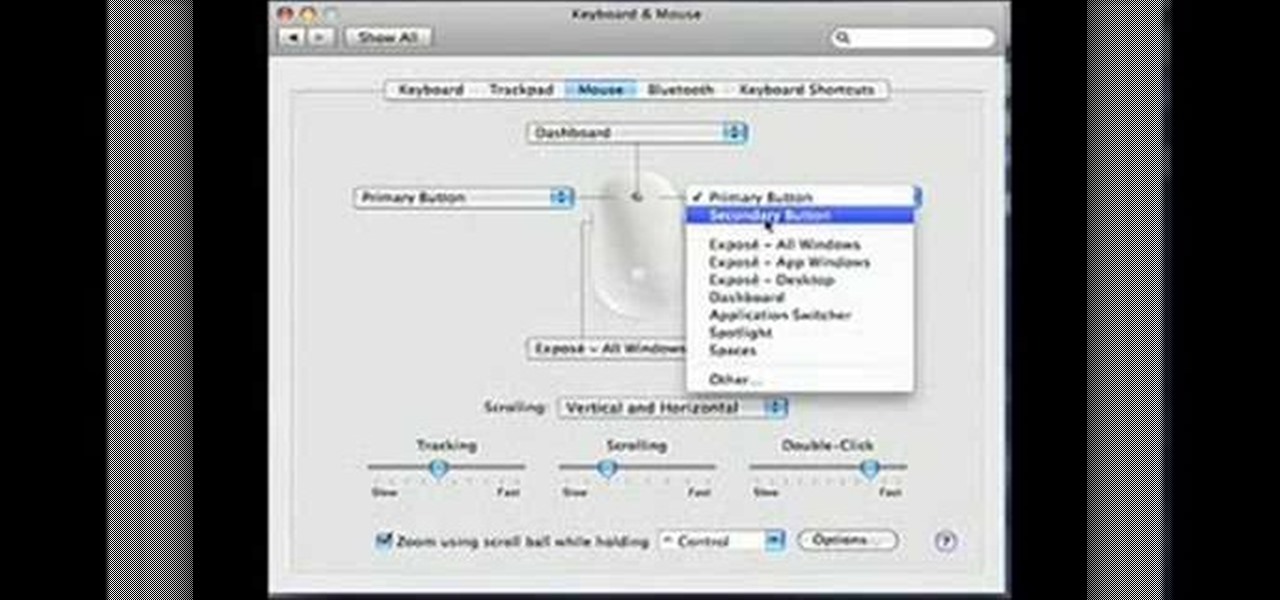
Get your mouse to right click on a Macbook Pro Setting up your mouse:

To make a Mario avatar begin by going to change my features. Under hair go to pate three of ten and select the middle one. For color, go to page two of three and pick the bottom middle one. For the eyes, he used the right middle one, but says that you can use really any one you like. As for eye color, again just choose whichever you like. For the eyebrows, go to page three of three and select the bottom middle one and color them brown. For the ears, use the first one available. For the noses,...

This Software video tutorial shows how to create a glass text effect in Photoshop CS3/CS4. Download a free trial version of Photoshop CS4 from Adobe. Open Photoshop, go to ‘file’ and click ‘open’. In the next box, give it a name, select width and height at 90 pixels, background contents to ‘transparent’ and click OK. Select the color palette and choose the background color and click OK. Now open ‘paint bucket tool’ and fill in the color. Then go to ‘text tool’, select the font, size and posit...

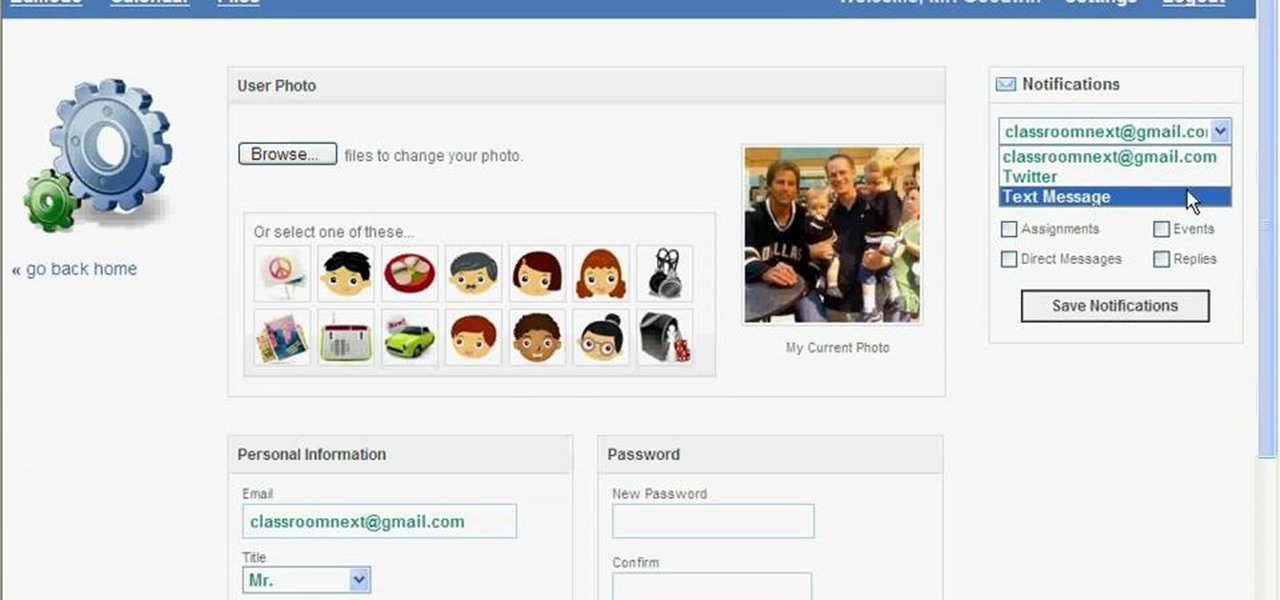
In this video tutorial, viewers learn how to set up text alerts in Edmodo. Begin by opening your browser and go to the Edmodo website. Select Settings, which is on the top fight side of the page. Now click on the Notifications drop-down menu and select Text Message. Type in your cell phone number one the next blank space. Then select your cell phone provider. Then check the boxes that you wish to be alerted to. Finish by clicking Save Notifications. This video will benefit those viewers who u...

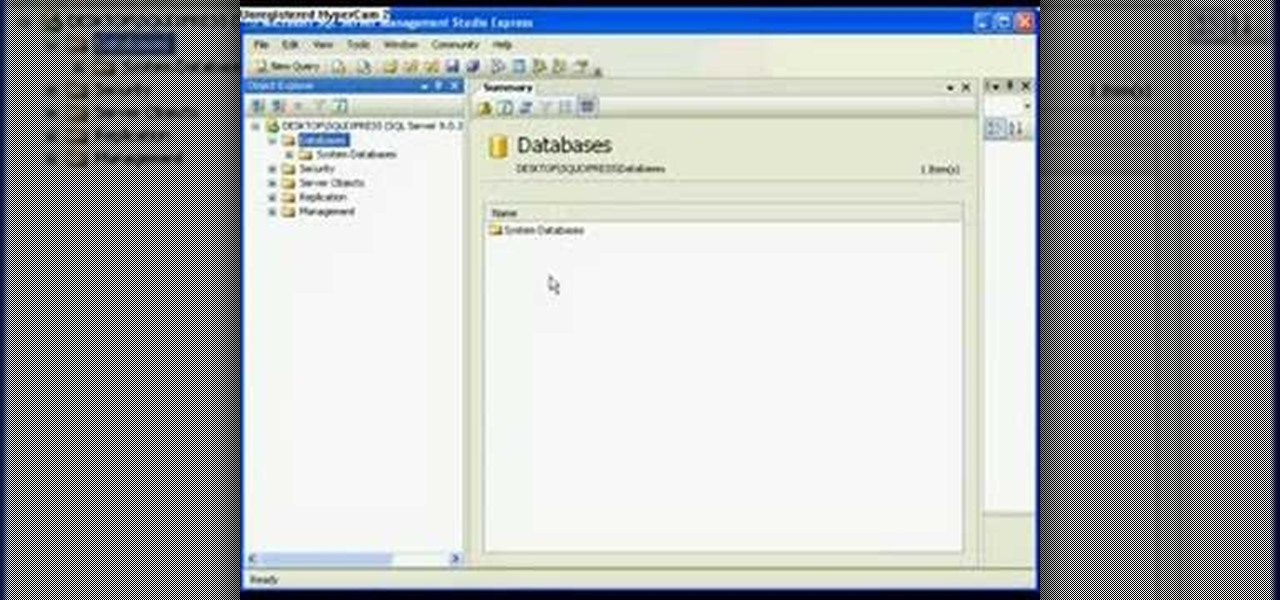
In this video tutorial, viewers learn how to detach and attach a database in SQL Server 2005. Microsoft SQL Server is a relational model database server. Begin by opening the Database and show all the tables. To detach the table, right-click the database and select Detach. Make sure that the database is not opened or it will not detach. To attach a database, right-click on Database and select Attach. Click on Add and find the table. Select the table and press OK. This video will benefit those...

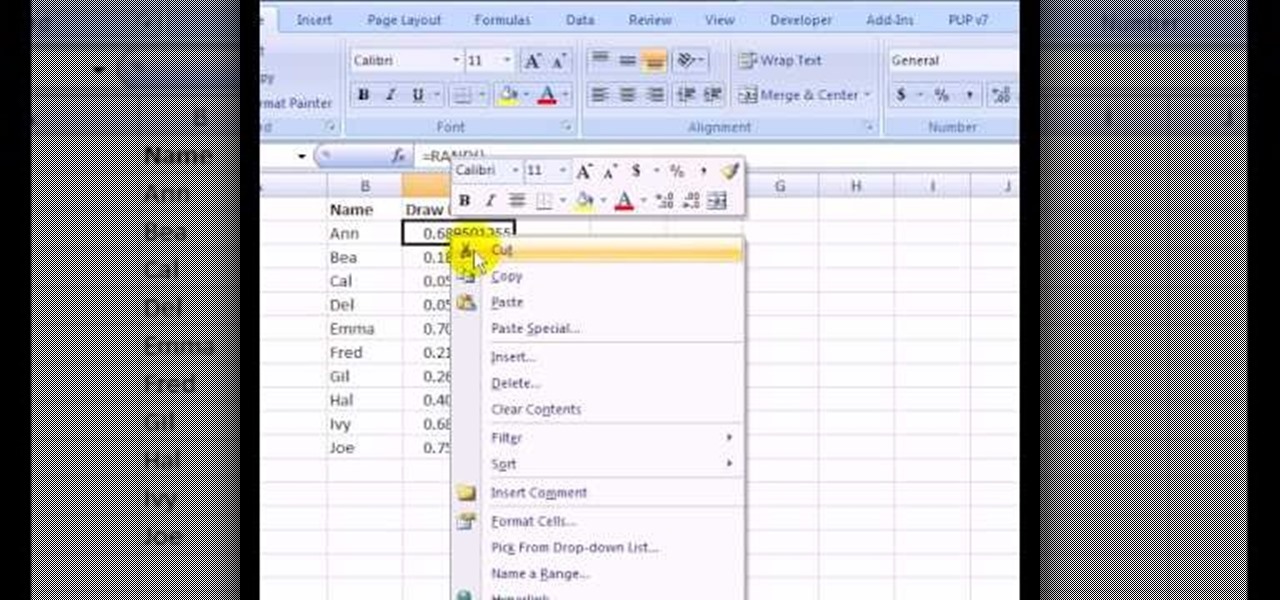
Not sure about all the functions and abilities of Microsoft Excel? Luckily there are free video tutorials out in the world... or better said, the World Wide Web, to help you. In this video, learn how to use the RAND function and sort in Excel to select a random name from a list.


