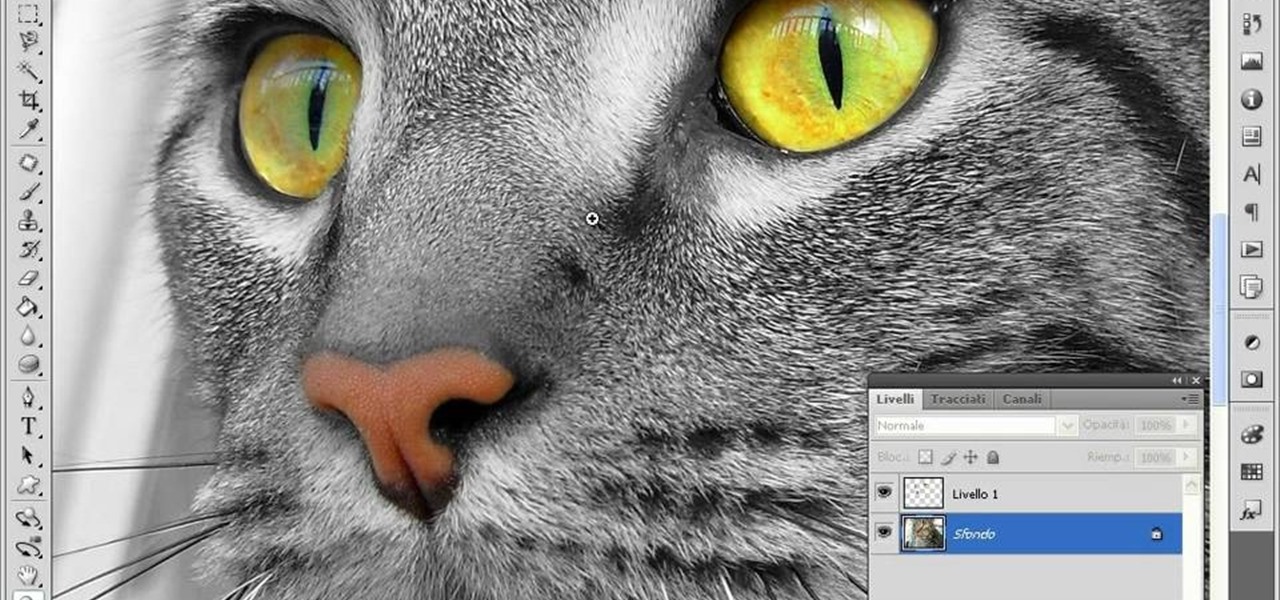
This video teaches us to make a photo black and white with coloured parts in Photoshop. This procedure consists of many steps. In the first step, we choose the magnetic lasso tool from the application. This is followed by the second step. In the second step, we draw the contours of the places we want to stay colored in the photo. Press the 'Shift' key to keep the contours selected while drawing contours across multiple places in the image. After drawing the contours, go to step three. Right c...
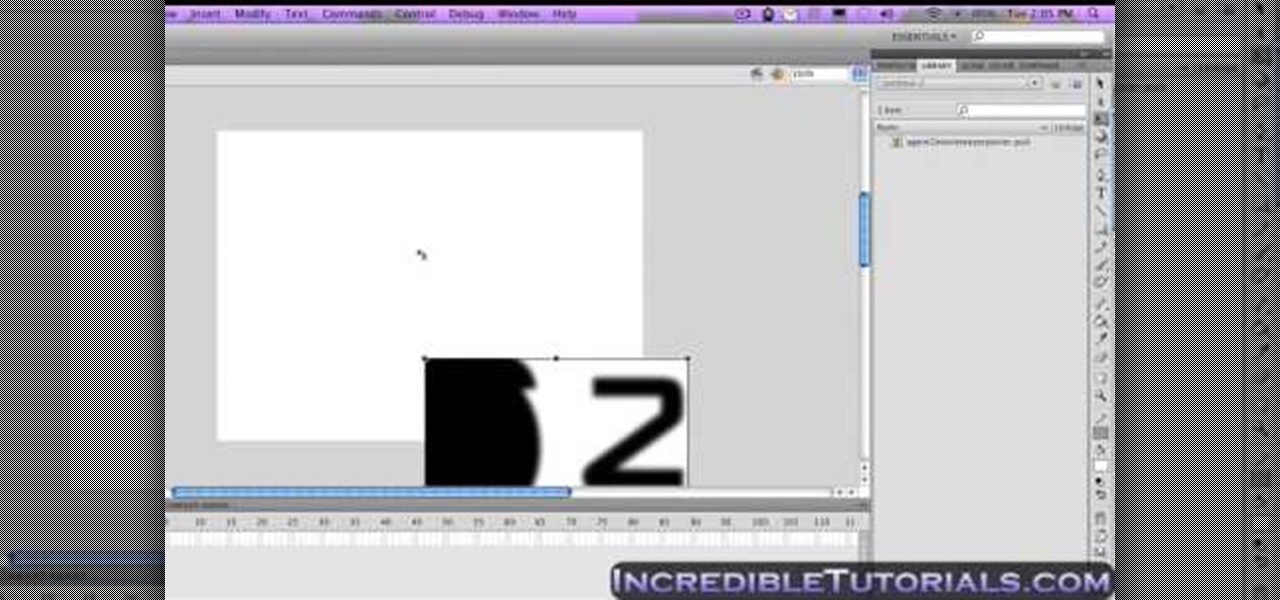
This video tutorial will help you to use the bone tool on an imported or Photoshop image while in Flash. If you want to use an image from Photoshop you must first pull the image up in the Photoshop program. Once the photo is pulled up in Photoshop you can save it by going to, file, and save us. Save your file as whatever file extension you would like to use (Photoshop, jpeg, etc). Pull up the Flash program and find file, and import. At this point you can import your Photoshop picture to your ...

This video explains how to solve the problem of probability dependent events. In this video the problem is that a box contains three pens, 2 markers, and 1 highlighter. The person selects one item at random and does not return it to the box. So what is the probability that the person selects 1 pen and 1 marker. That is 6 items total. First she count the all items that involved in this problem. Then count the individual probability of the pen and marker. The person selects 3 pens out of 6 item...
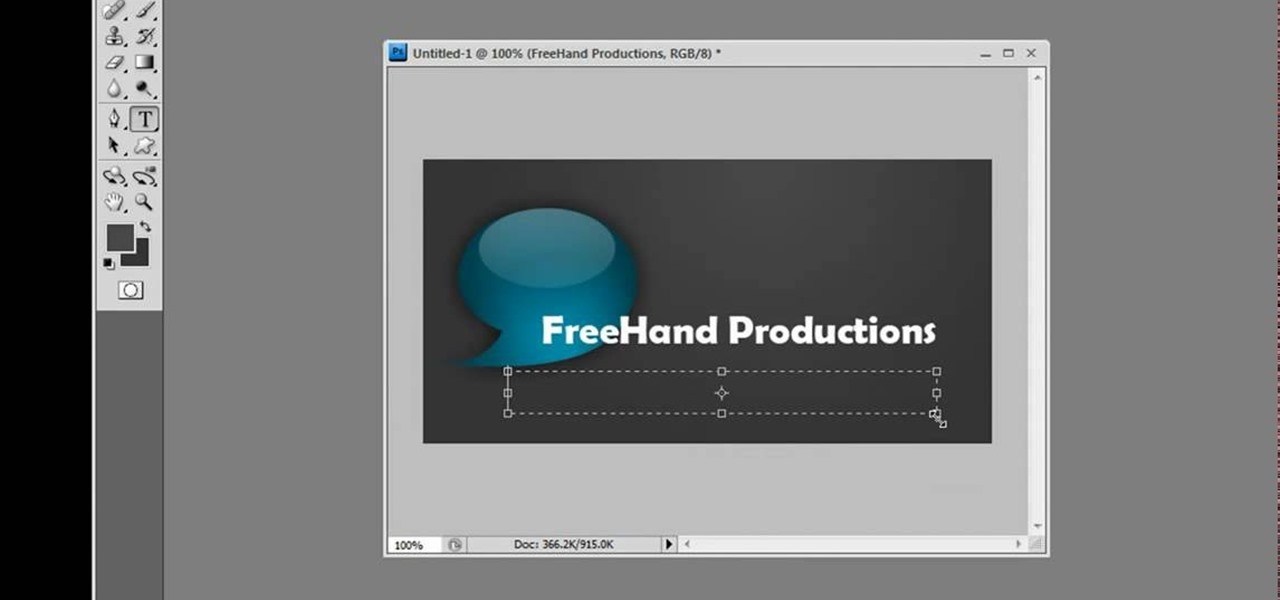
This video is a tutorial on creating an Icon Logo in Photoshop Cs4. Go to File and open a new document. In the Layer option, set up a new layer and give it a name. Using the pen tool, create a shape for your logo, it can be anything you like. When you have the shape you want, right click and select Make Selection. Now you can fill the shape with a color. Press ctrl+U for the Hue/Saturation option to get the exact color that you want.

In this how to video, you will learn how to create a rainbow effect in your photos with Photoshop. First, open the image you want to edit in Photoshop. Next, edit the hue and saturation. Make sure to desaturate the drawing. Next, create a new layer. Select a brush and choose a blue color. Make sure in the new layer that color is selected. Color the top part of the image. Next, select a purple or pink color and color the middle part. Choose a yellow color and color the bottom of the middle par...

Some computers might now have a working DVD drive and in such cases you can use a USB pen drive to install Windows 7 on it. To do this first connect the USB drive to your computer. Now go to the command prompt and run the 'diskpart' command to find the details of the hard drive. Use the 'List Disk' command to list all the drives on you computer. You can also find the USB drive in the list. Now use the Select disk command to select the disk. Perform a clean command of the disk. Next create a p...

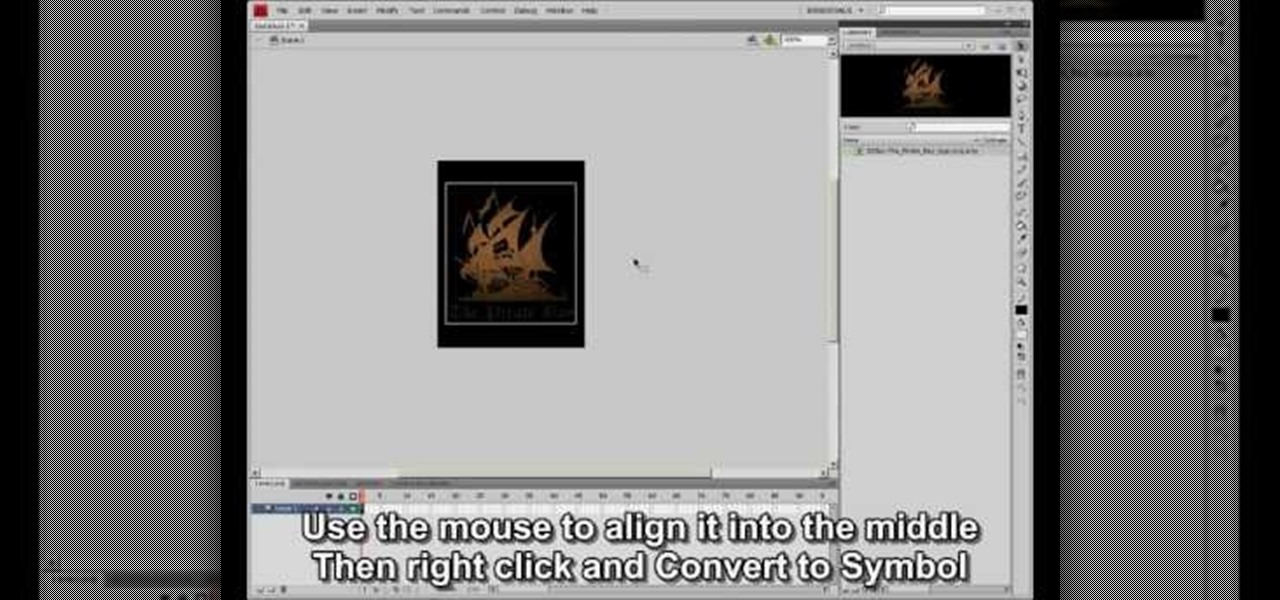
This video shows how to make a rotating SWF logo in Photoshop. Choose any desired logo that will be used later in the SWF file. Save the logo to the desktop. Use any kind of editing pogram. Make sure we only have what we want showing the area coloured with small squares is invisible. Open any version of Adobe Flash. Create a new "Actionscript 2" file. Then set workspace size to 240X320 and background color to match the picture we choose before. Make sure we select Flash Lite 2.0. Then go to F...

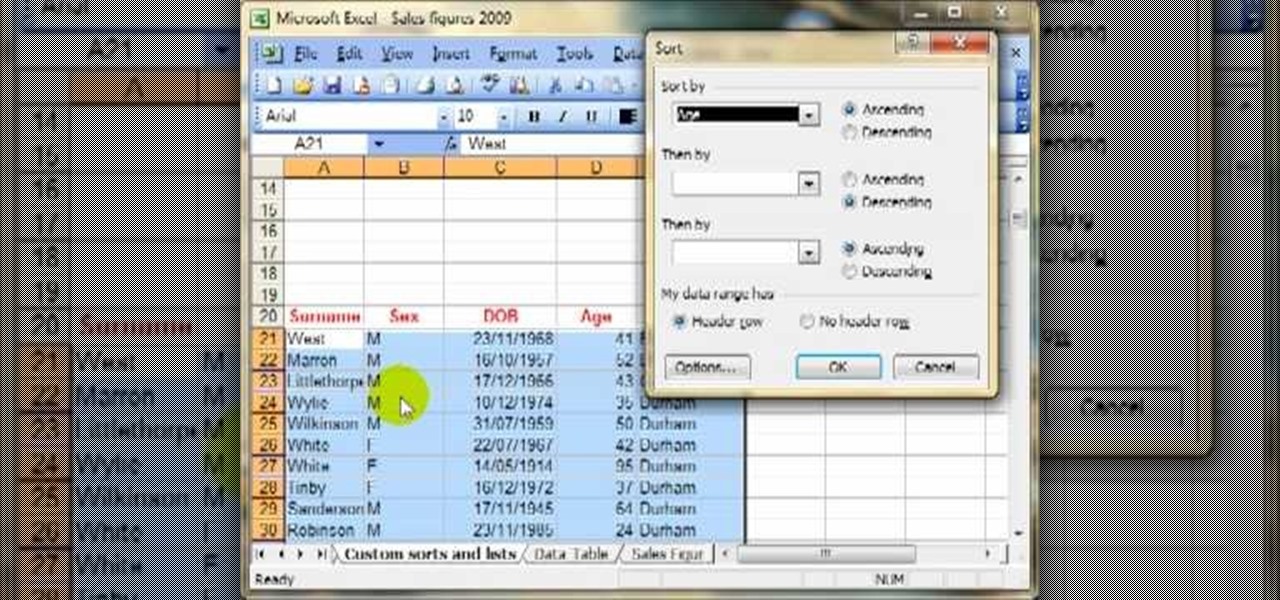
Today we are going to learn how to sort data in a Microsoft Excel 2003 spread sheet. We will go over single column and multiple column sorting. In a single column sort you may high light the data or just click on any cell in the column. Once the data is selected look for the sort icons just under the menu bars. There is a sort ascending and sort descending icon. Click on the icon and Excel will sort the list. When sorting multiple columns the data must be in columns next to each other. If the...

This is a handy tutorial about creating the favicon. A favicon is an icon which appears on the tab, in the address bar and in the favorite menu of browsers. To make a favicon:

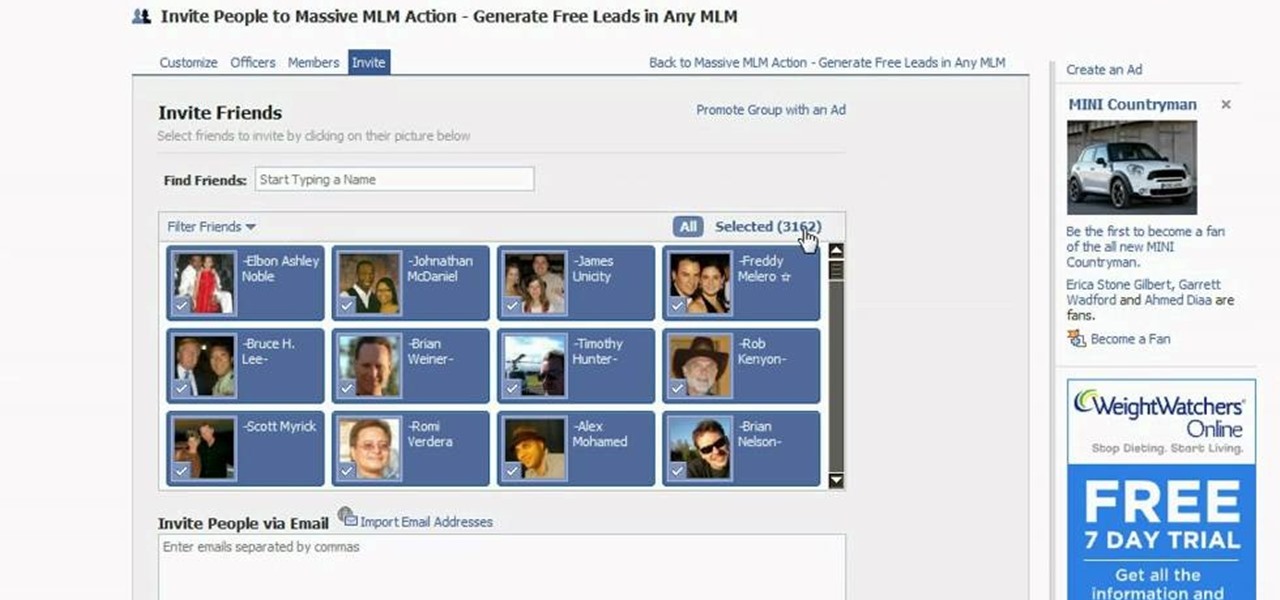
Do you have tons of friends on Facebook? Would you like to invite everyone you know to an event you are hosting or to try a product you are marketing? Normally to do this, you would need to select friends one at a time, reach Facebook's max invitee limit and then go in and do it again, and keep doing so until you get through your whole list. But what if you have hundreds of friends? This could take forever! Check out this tutorial and learn how to bypass Facebook's regulations and invite mass...

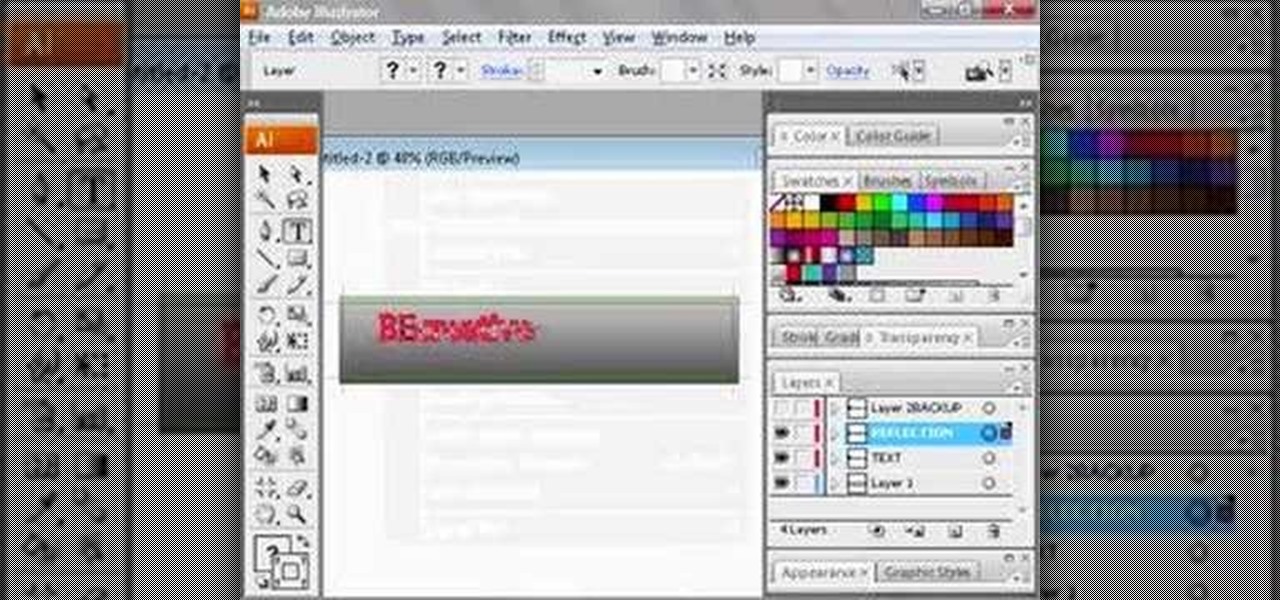
This is a video about creating a logo using adobe illustrator. First go to adobe illustrator and open the new document. Next if you want to make a logo in rectangular shape take the rectangular and drag it over in the new document. Next choose a color and fill it in the rectangular. Next go for new layer and click the button. Next insert the text what you want in that rectangular. Next increase the text size how much you want. Next if you want to change the color in between the text select th...

This video tutorial shows how to open a port for torrent downloading on your computer. Click Start menu, type cmd command in Search area. In cmd window type ipconfig and press Enter. Remember or write down your IP adress. Type exit and press Enter to close cmd window.

This video tutorial from ozz3141 presents how to copy your DVD library to a Mac computer. To start, insert DVD you want to copy. It will mount on Desktop and DVD player will open. Close DVD player. Click File-New Finder window. From left pane select applications. Scroll down and select FairMount. The DVD will remount now.

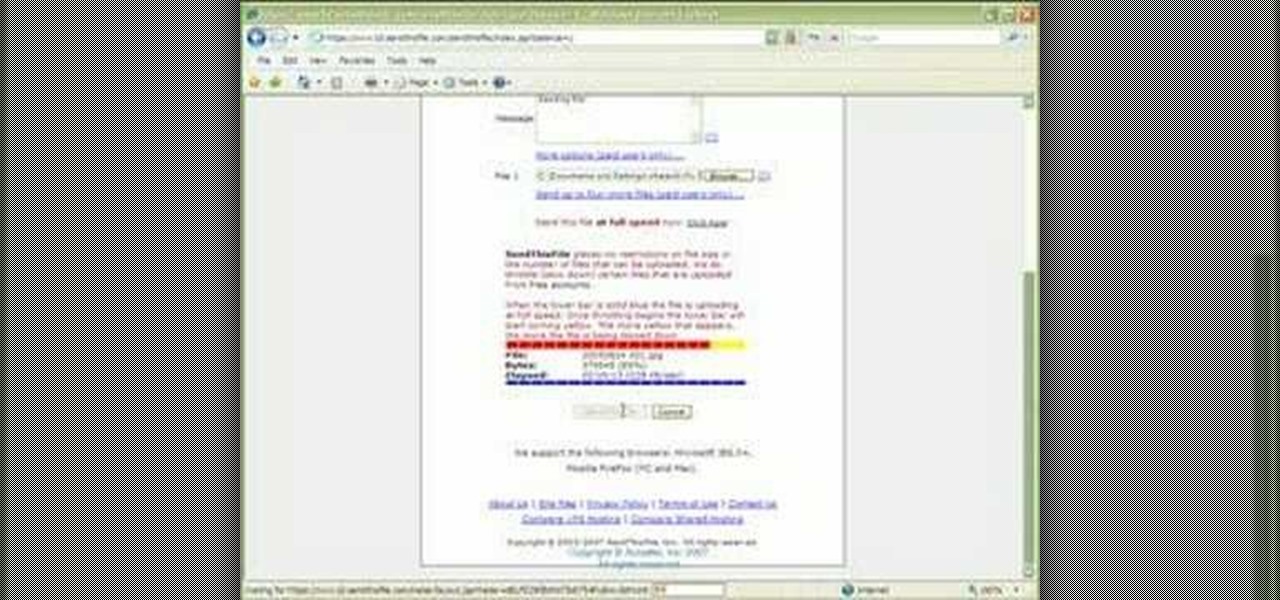
1. Type in WWW.sendthisfile.com in the web toolbar and press enter 2. Click on Register found on the top right side

This how to video shows you how to create a nebula star scene in Photoshop. First, create a new image in Photoshop. Fill the background with black. Next, create a new layer and call it stars. Go to filter and select noise. Choose Gaussian and click monochromatic. Click okay to add the noise. Once that is done, go to adjustments and levels. Change the settings so that you have less clutter. Next, make a selection in the middle. Copy and paste it as a new layer. Go to edit and select free trans...

In this video the teacher shows us how to use a TI-84 plus graphing calculator to graph a function, adjust the view window, and determine the values of several types of critical points on the graph such as x-intercept, y-intercept, local maximums, and local minimums. After entering the function in the Y= editor she presses the ZOOM button and selects Z-Standard this adjusts the view window to a range of -10 to 10 on both axis. To find each of the critical points requested the teacher uses the...

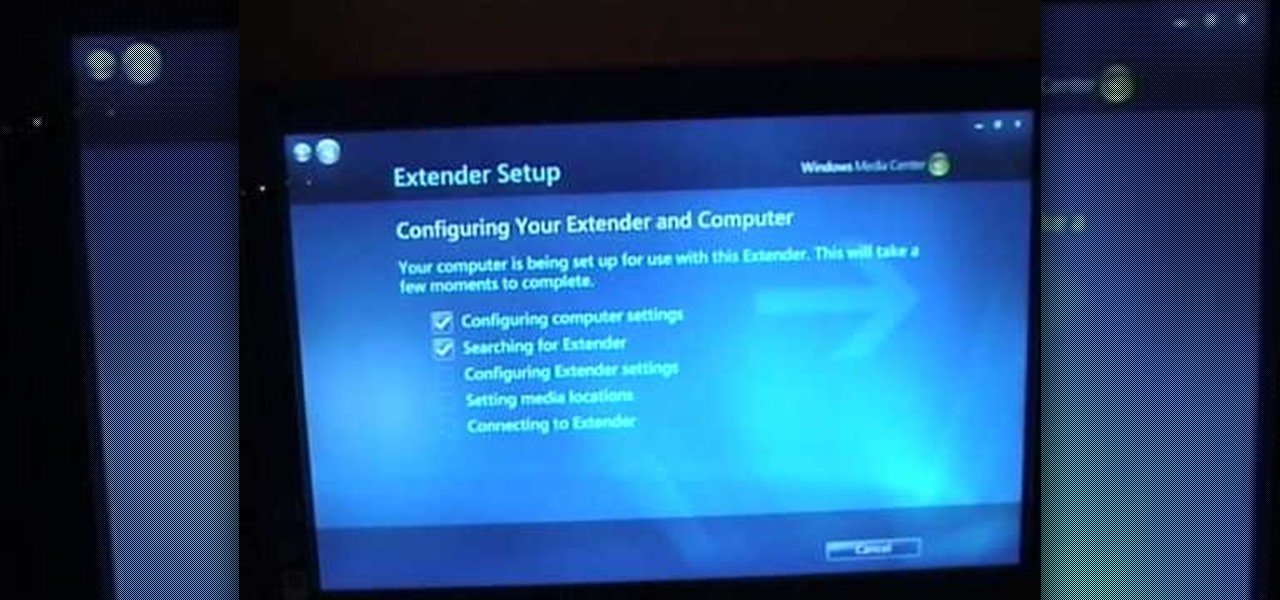
With Windows Media Center, you will have the ability to watch videos, live TV, and listen to music on the XBOX 360 without having to use your computer. You’ll need to have the following things: A PC equipped with Windows Media Center, your XBOX 360, and a fully functional high speed home network. On certain Windows 7 or Vista machines, Media Center is already included. (If not, it can be downloaded from Microsoft) A wired network is preferred for the best connection, although a wireless netwo...

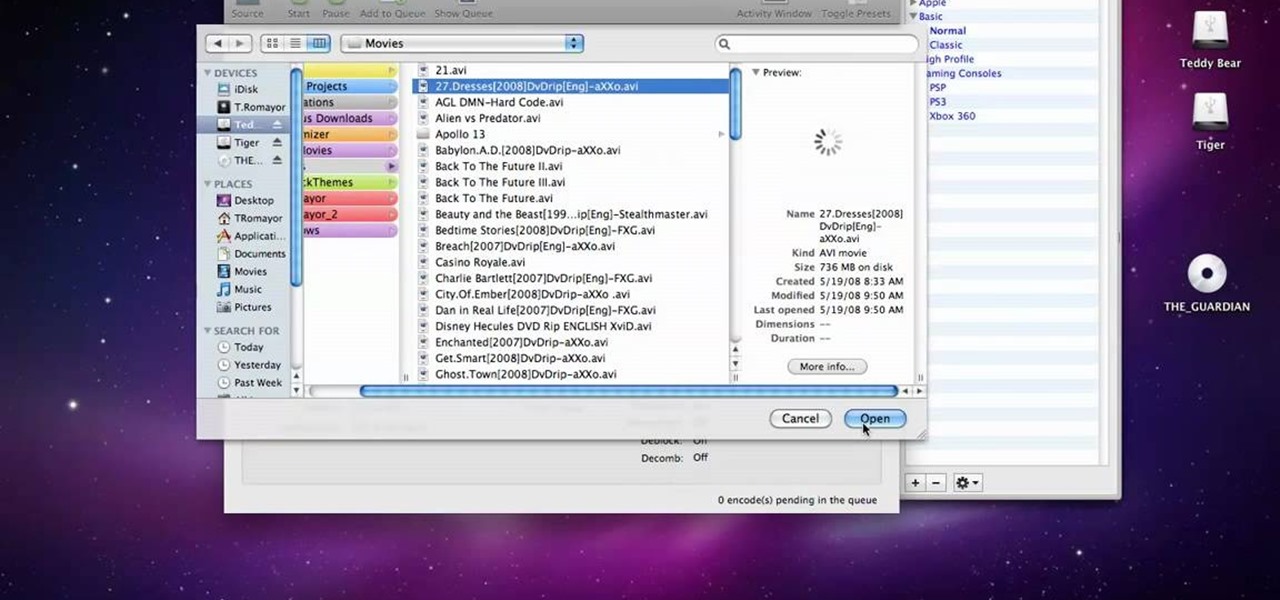
HandBrake is an application that lets you to burn any DVD into any other format for any of your devices like music and gaming devices. Open the HandBrake application. Initially it displays a menu that can be used to rip a DVD. First select the source. You can browse your computer for the source. Insert a video DVD that you want to rip and select it from the source menu. Now you set the destination. Browse to any of the folder on your computer where you want to put the output video. HandBrake ...

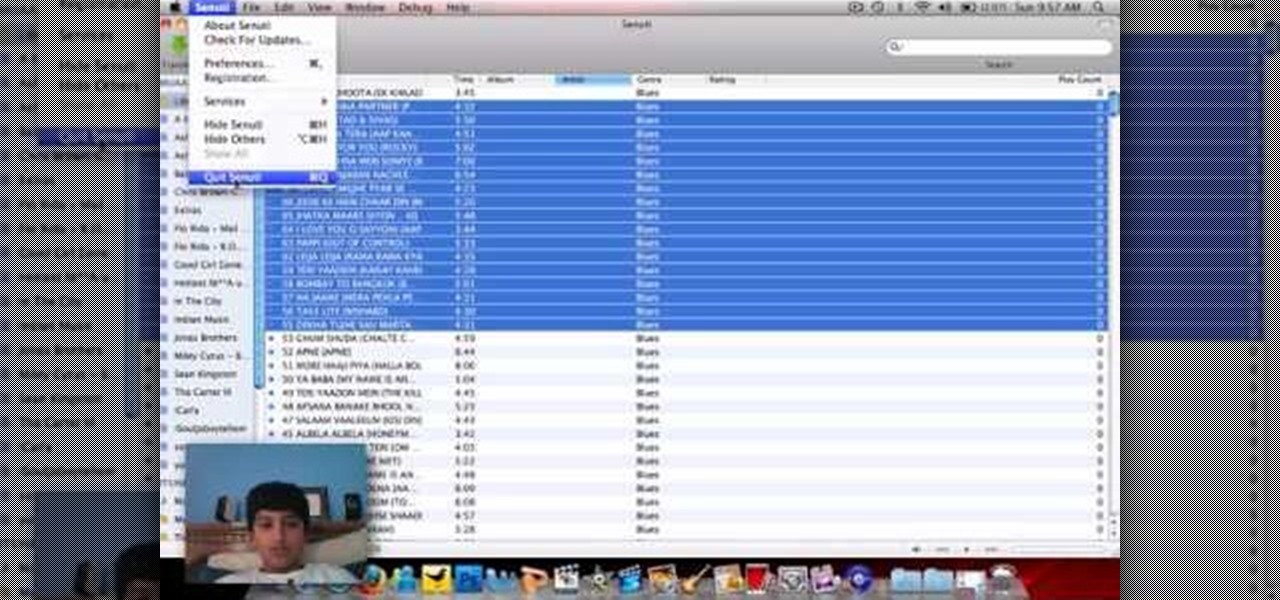
This video tutorial from Muaaz5903 presents how to copy music from an iPod that is synced to another Mac computer. First, visit Senuti, download and install Senuti application.Make sure your iPod is connected to your computer. You can use the application free for 30 days after that period you will have to buy it for 18 $.Once it's installed, run the program. Senuti main window will show all music files on your iPod. Select songs you want to copy and click Transfer on top menu and dialogue box...

This video is a Microsoft Word 2007 tutorial on working with pictures. To insert a picture in your document, click on Insert and select Picture, then find the picture, select and insert it. To resize the picture without distorting it, click and hold on the corner circles. You can adjust Brightness and Contrast by using the various choices within these settings. The Recolor setting gives you a number of options for changing the coloring of the picture, such as sepia, black and white, or graysc...

Get to design your own watermark for your documents. Here's a video showing these easy steps to watermarking your documents. 1. Go to the "Page Layout" tab in Word 2007 and look for the "Page Background" section of the toolbar and select the "Watermark" button. 2. Click on the "Custom Watermark". 3. Click on either picture or text watermark, whichever you prefer. 4. If you select the Picture Watermark, you need to insert a picture by clicking the select picture. You can also customize the sca...

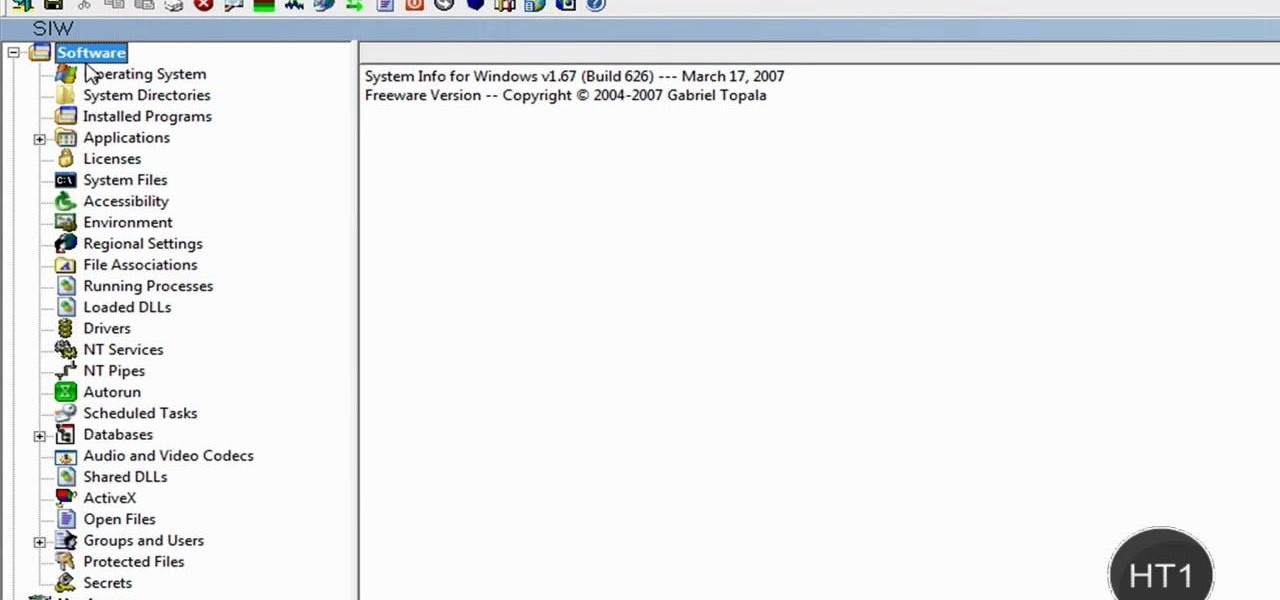
How to find out information / details about your computer? To find out the information about your computer, you need to download software from the website PC World. The following are the steps to download the software:

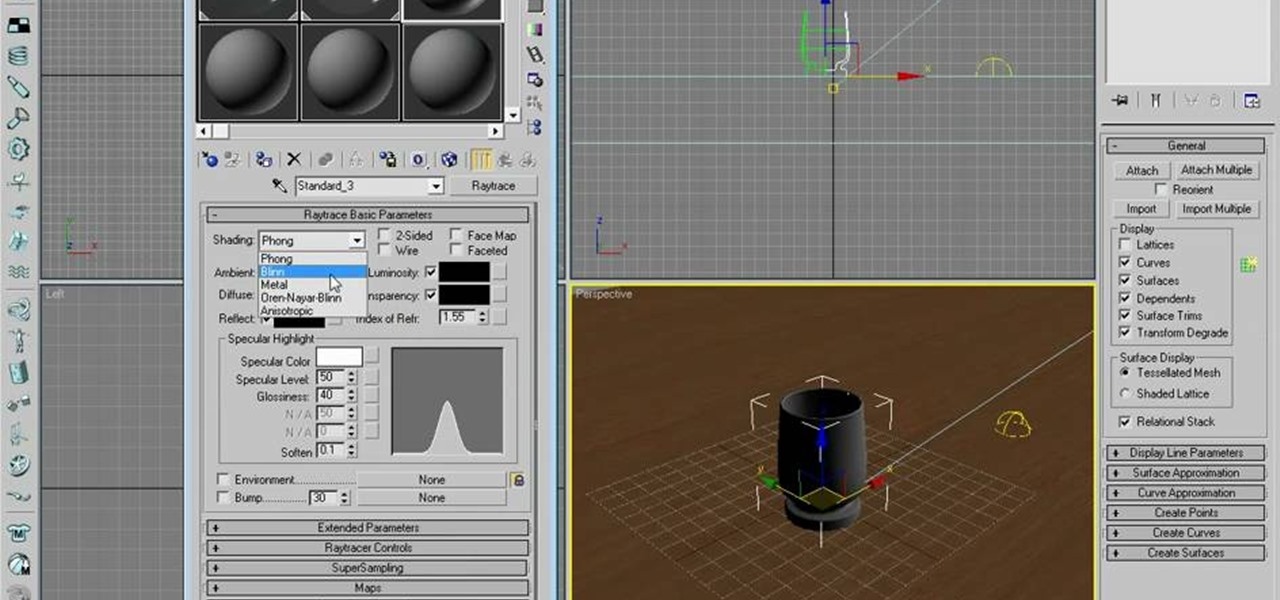
Dave shows you how to produce a glass three different ways in 3ds Max in the video tutorial. Put two panels away, then concentrating on sensor one press m on the keyboard to bring up the materials editor. On the material editor go to the first sphere, choosing a slight blue color, bring up the specter level, bring up the glossy level, click on two sided and bring down the last two to about four. Look to see it is fairly transparent, in a test window. This is glass one, put on hide. Go to glas...

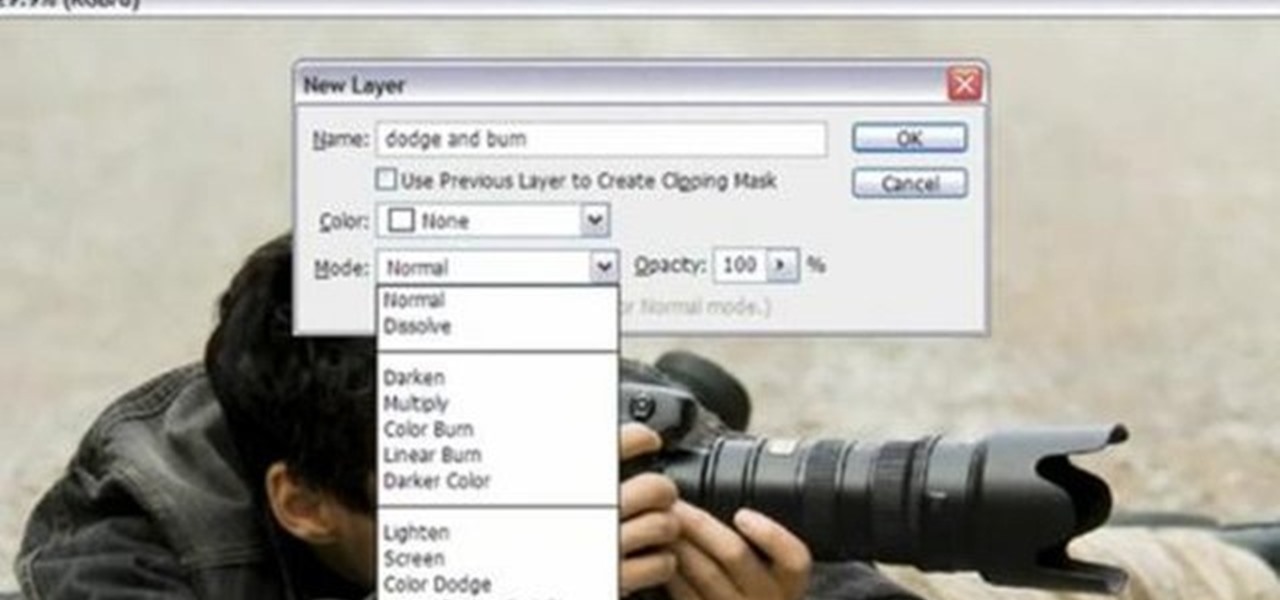
Yanik Chauvin demonstrates how to do Non Destructive Dodging (lighten) and burning (darken) of images using the tools in Photoshop. He shows the image of a man lying on earth with his camera. To start the work he wants to make a new layer which can be done in two ways either by clicking on the ‘layer’ button on top of menu or by pressing down the alt key and clicking on the new layer at button of the layer palette. It will bring up the dialogue box. He named it “dodge and burn” and from the l...

This video describes how to insert keywords and SEO with the fusion essentials in the website. He asks you to first go to the site mode and then click on the home page and from there you can get in to the property box. There you can find three choices or tabs. He explains that the first one can be used to change the page name and page title and also can adjust the master border. The second tab is used to mention the page status, if it is done and can be displayed to the viewers or if it shoul...

This video describes how to use the Chroma Key Effect in a few easy steps.

In this video tutorial, Mad Cow Moo shows you how to do blurs on footage in Sony Vegas. Looking on the time line for a break in the audio, place the cursor at this point and hit s on the keyboard to split the video into segments Go to the time line to the final frame you want and point the cursor here, creating a highlight, and hit the s key again. Right click on the audio, select group from the drop down and choose, "Remove From". Right click the video track on the left top corresponding to ...

This 'how-to' video explains how to customize your Google homepage. To do this, simply go to http://www.google.com and click on i Google in the top right corner of the page. That will display the different content options that you can apply to your Google homepage. The video suggests starting out by selecting some of the more popular content, and then click save. Once the content is added you can move it around by clicking on the top of the application and moving it to the desired location. I...

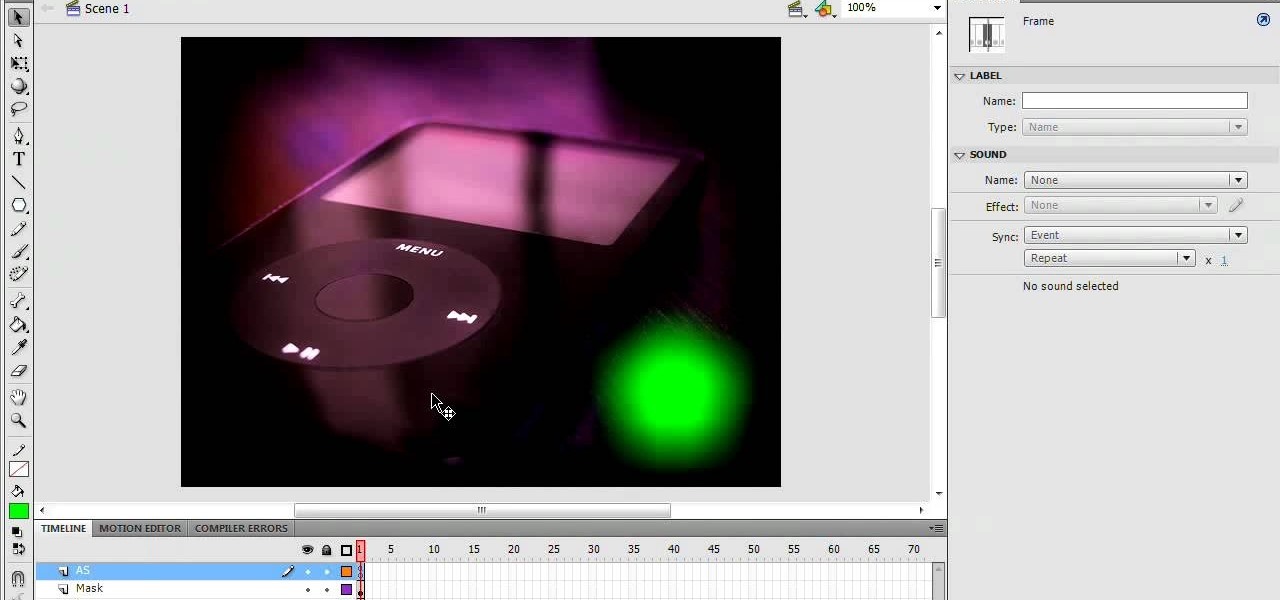
1. In the Flash Application go to new and select Flash File ActionScript 3.0. 2. Change the stage size to 600*450(width and height) in the property section. 3. Then goto file import image and select the background image. 4. Rename the layer1 to image and go to modify->convert to symbol and name that as mac-clip 5. Create two new layers namely Mask and As. 6. In the Mask layer draw a poly star image and convert it to movie clip symbol 7. Select As layer go to windows-> action, then add the eve...

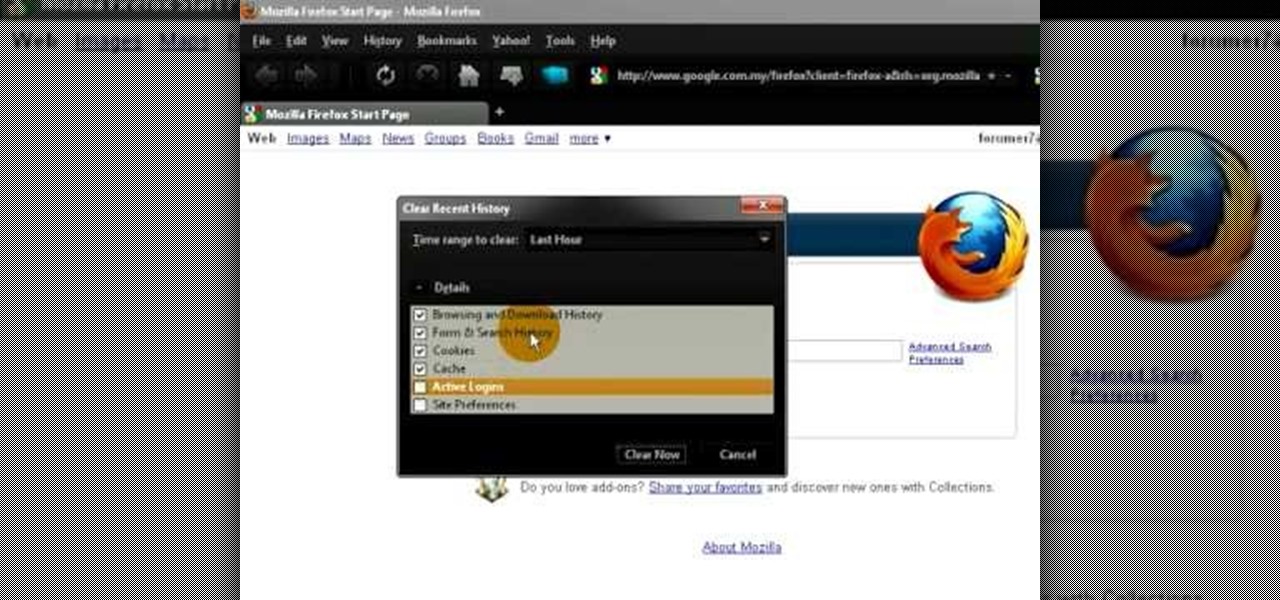
Simple steps on how to clear your cache on Firefox and Google Chrome. Clear Cache on Firefox:

If you've ever wanted to know how to write checks in Intuit QuickBooks program, this instructional is for you. To write a check in the QuickBooks program: Select banking from the menu bar, and then the write checks command. Select the checking account for which the checks will be drawn from the checking accounts drop down menu. Assign the check a number if you will be printing the check. If you are printing the check, make sure that the "to be printed" box is checked. Enter the correct date f...

Not sure how to enable javascript on your computer? Follow these steps to enable all the functionality javascript provides.

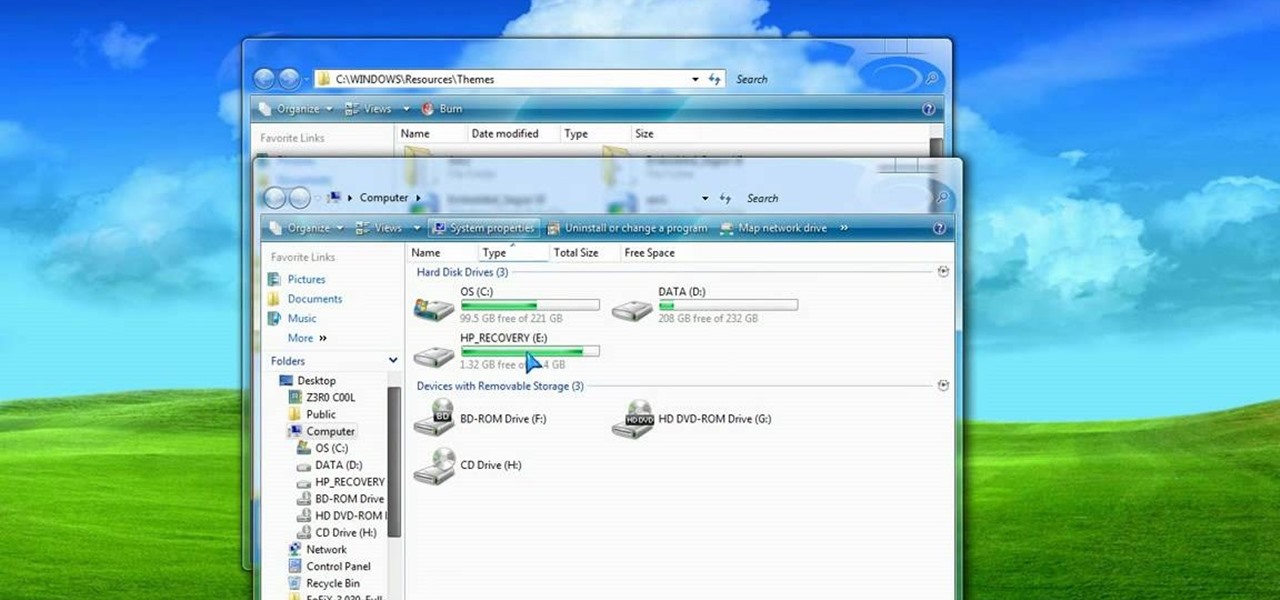
This video tutorial shows you how to make your Vista look like Mac Os X To make Windows Vista look like a Mac Os X using Vista Glazz Application:

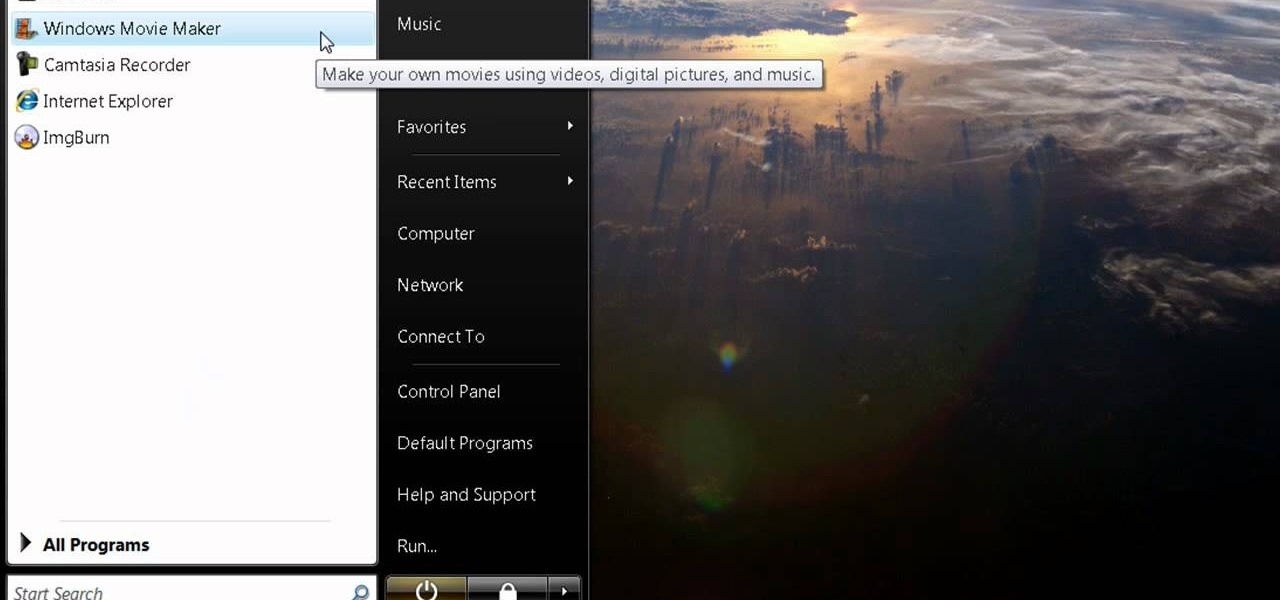
The first thing you have to do make a movie is to click on Start and go to windows Movie Maker. And then click on Import media to edit the video which you want. And then drag the selected video to Time line at the bottom. If you want to make your movie for less than a five seconds or so click on the Trim and drag it to your left hand side. When your done with that click on file menu and click on publish movie. You can name your file and can also choose the destination you want and then click ...

Want to impress some friends? This magic trick requires no sleight of hand, just a bit of setup. Using the Magicard application, you can make your iPhone mysteriously identify the card placed against it.

Sanding is an important step when preparing wood for painting or staining. You Will Need

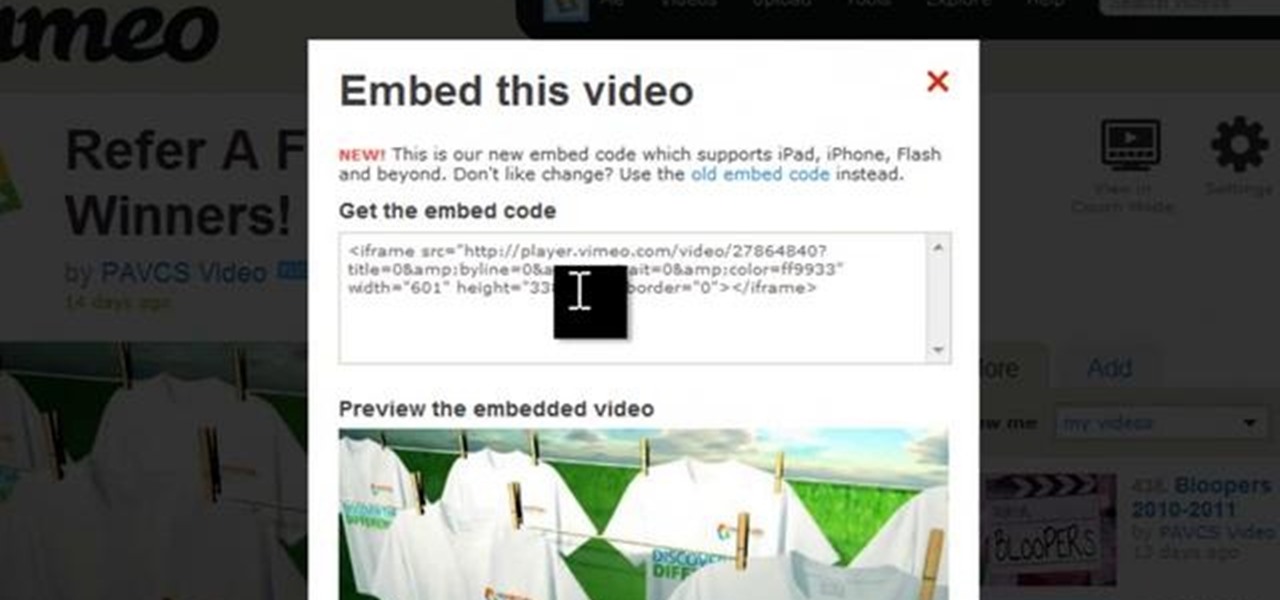
If you want to embed an iFrame into a Blackboard 9.1 page, you'll need to grab the code from whatever source you want (YouTube, Vimeo, Google Docs, etc.) and use the Build Content option in Blackboard. Select "Item" under the "Create" menu and turn off the Text Editor so that you can properly paste the code in. Take a look at this tutorial to see all the steps in action.

Trim and cut video footage with iMovie. This video tutorial provides an overview of the steps involved, including selecting video resources to be used in the project, placing video resources in the timeline, highlighting the actual clips to be used from the resources, and rearranging the chronological order of the clips in the timeline.

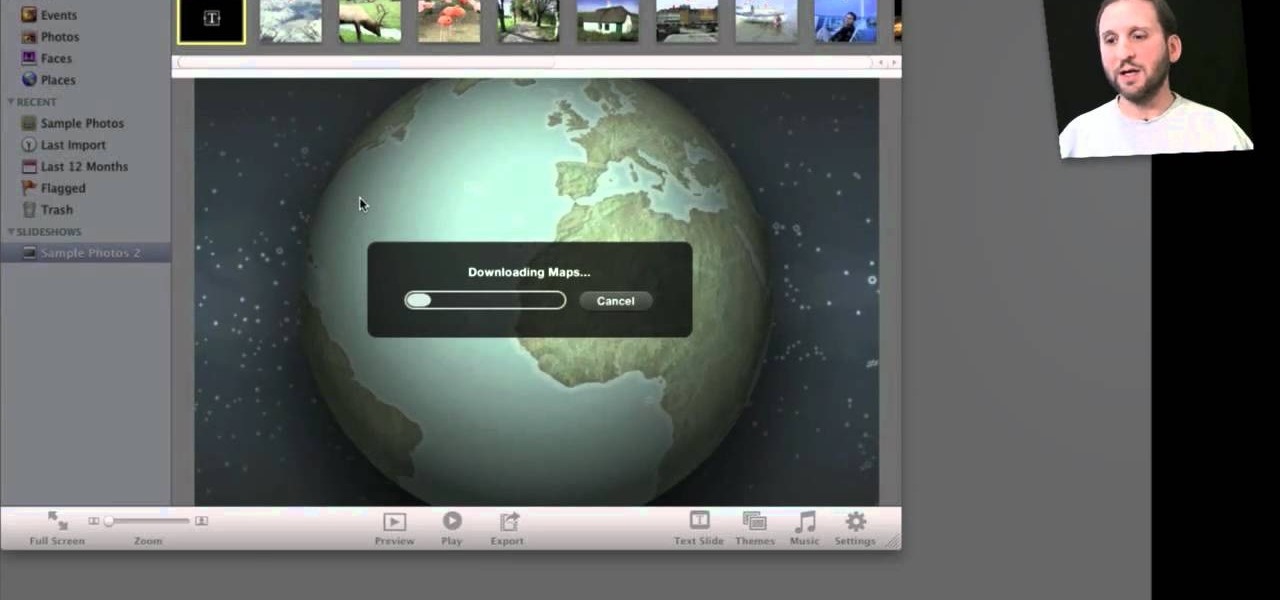
Wondering how to show your family the 26,000 photos of recent trip to Mauritius? Well, it's easy with Apple's iPhoto 11, and this step-by-step tutorial. Select the photos you want, choose your delay time, add music and it's showtime! You won't have the overheating projector lights and the click-clack of the slide carousel, but you WILL have a much happier audience.

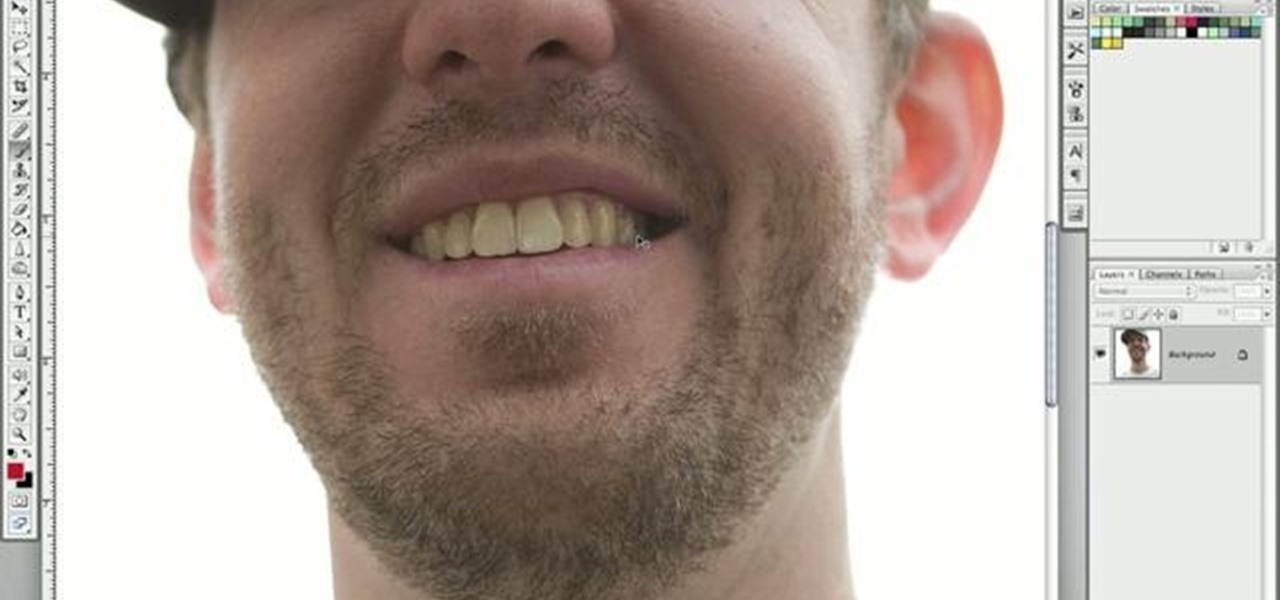
It's not brain surgery, but teeth whitening systems still hits the pocket books hard. However, there is a cheaper alternative to have the whitest teeth in the neighborhood, and it's called Photoshop. With Adobe Photoshop, you can have whiter teeth in seconds! Really. It's definitely the best tooth whitening remedy for those behind the camera lens. But remember… Photoshop is only a digital cure. You still might have to hide that smile in public… or consult a dentist.


