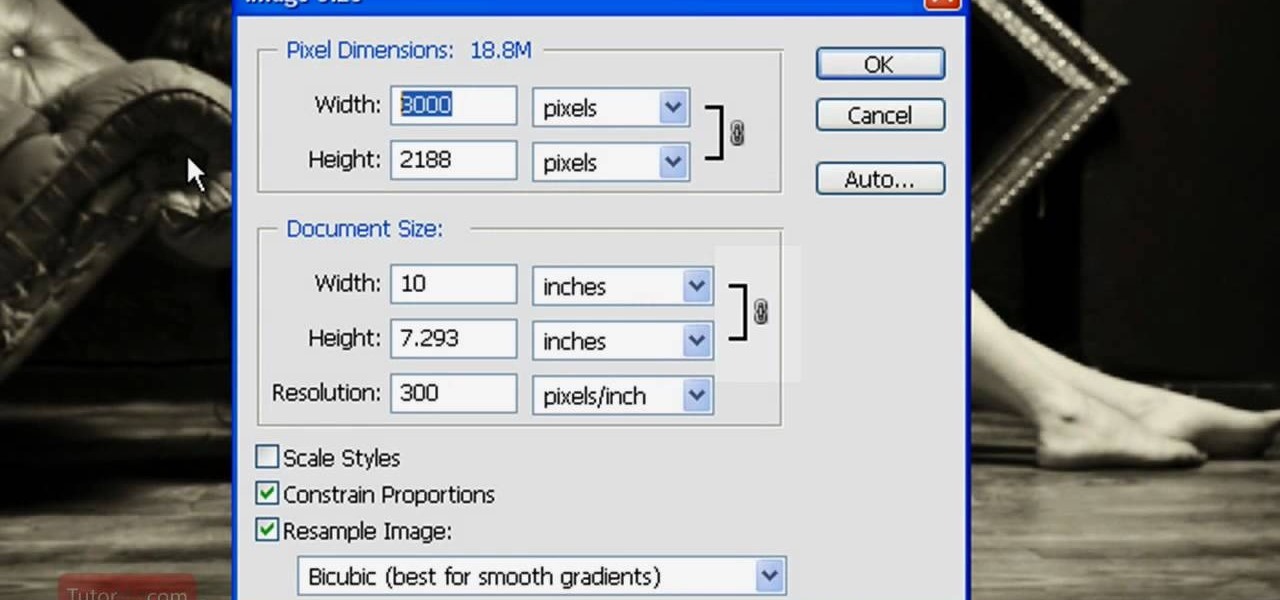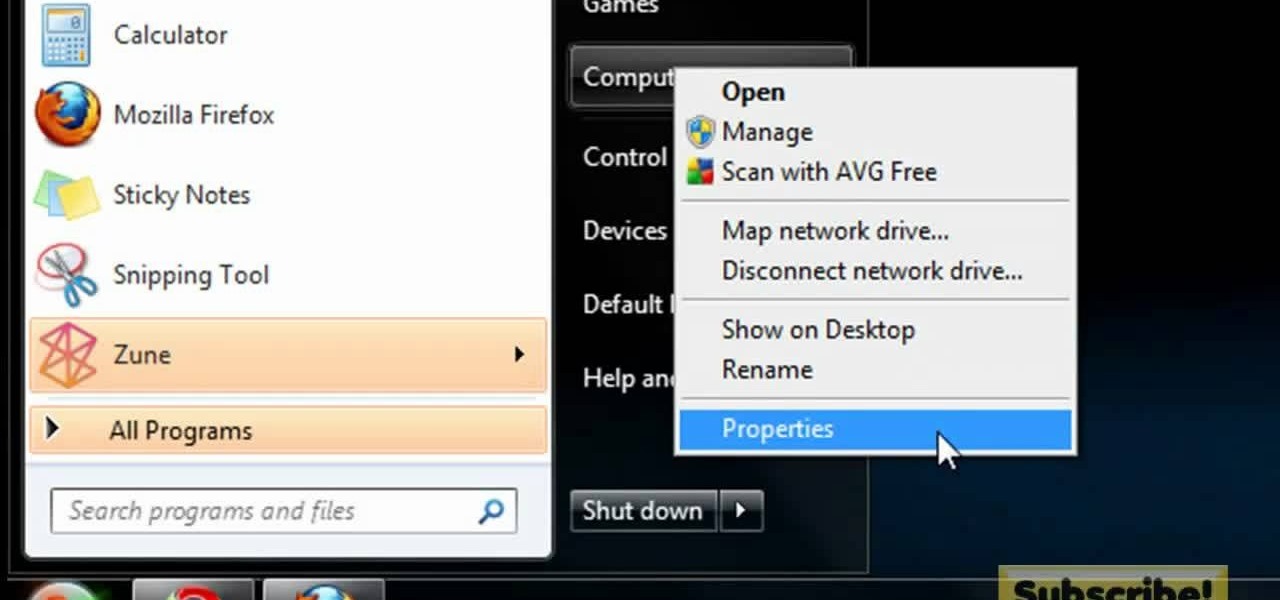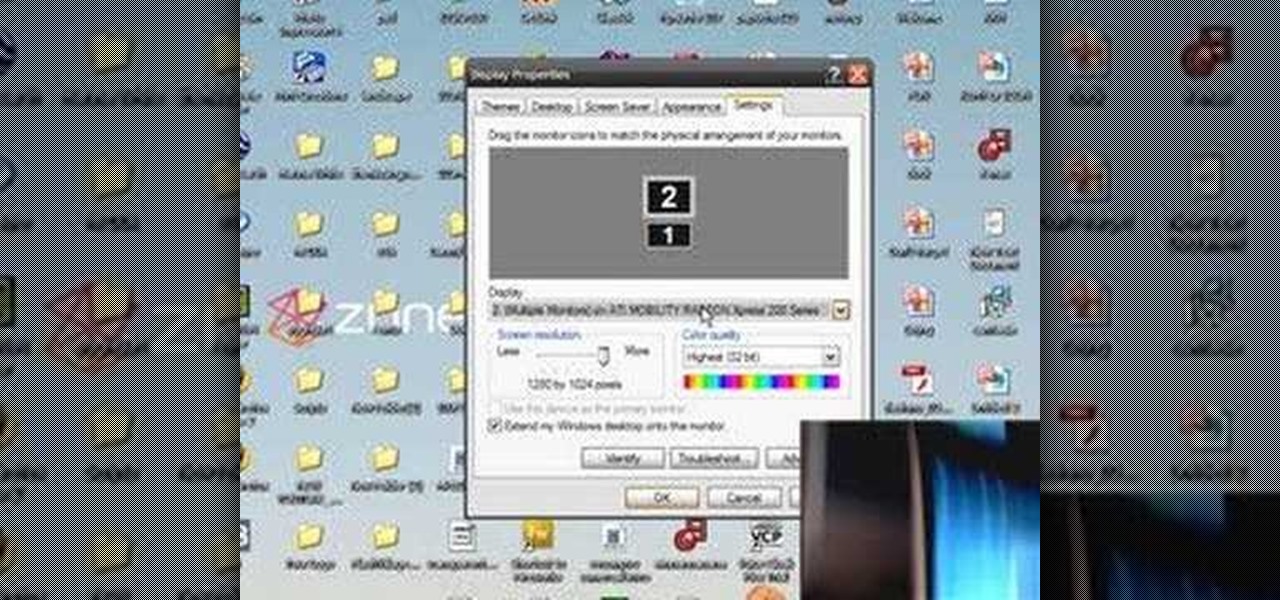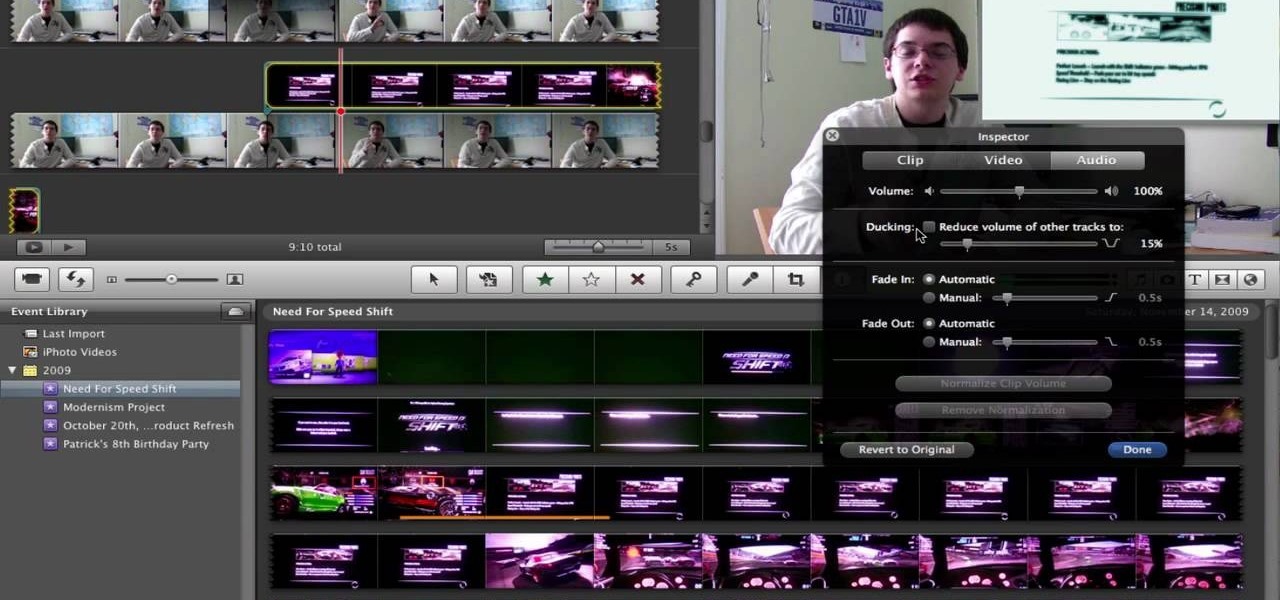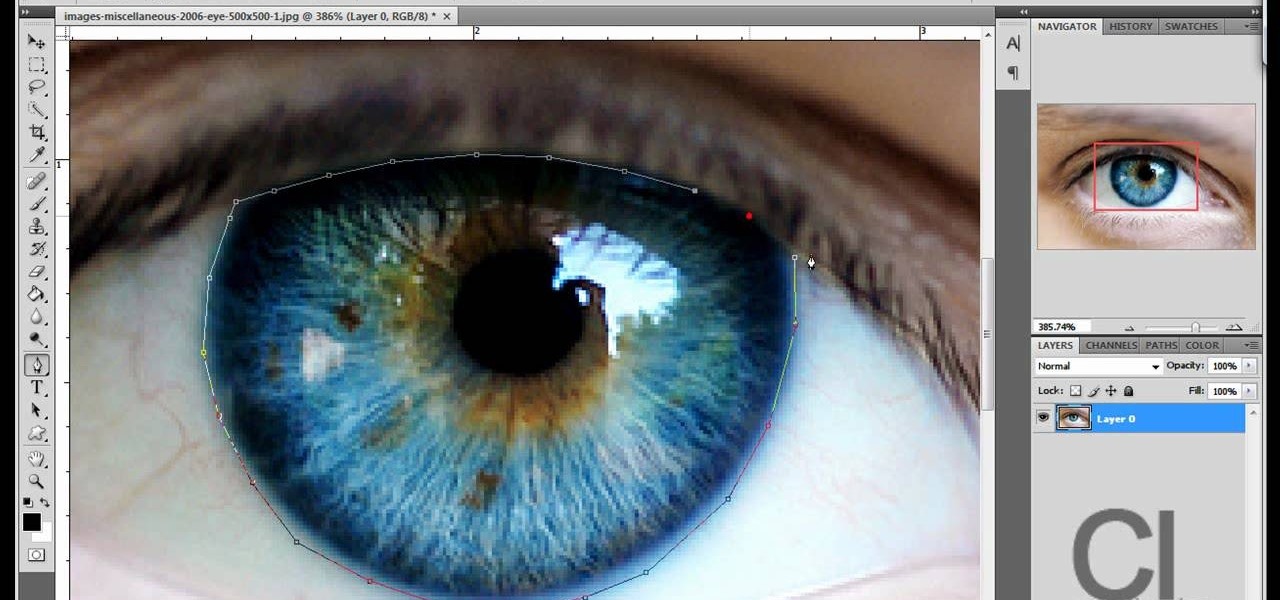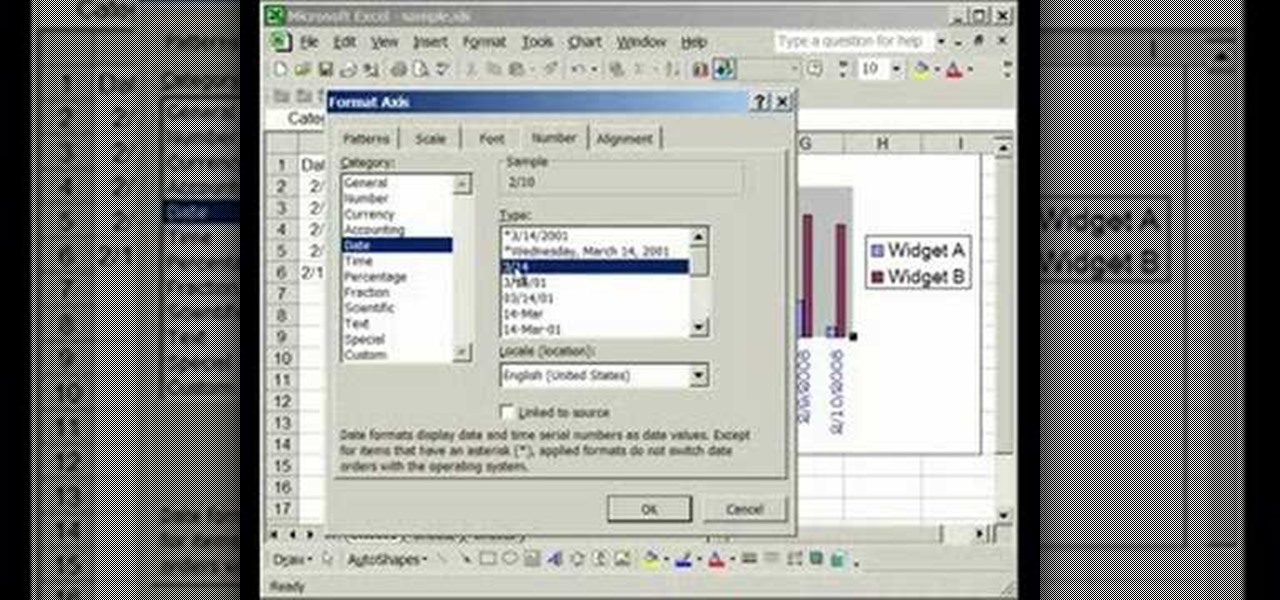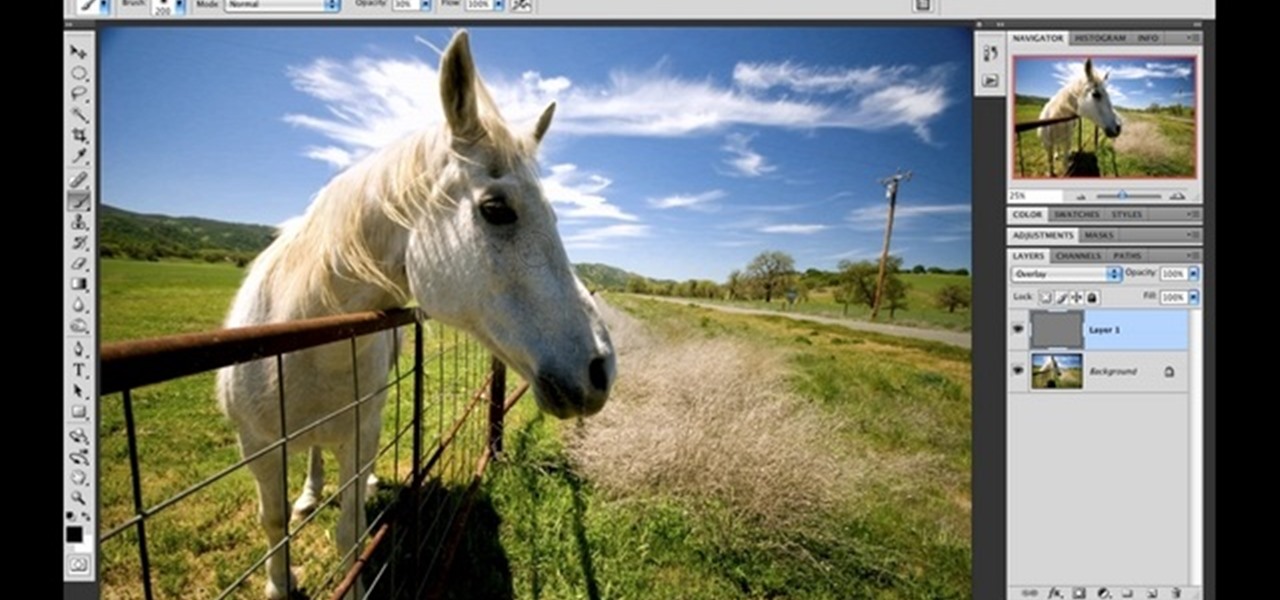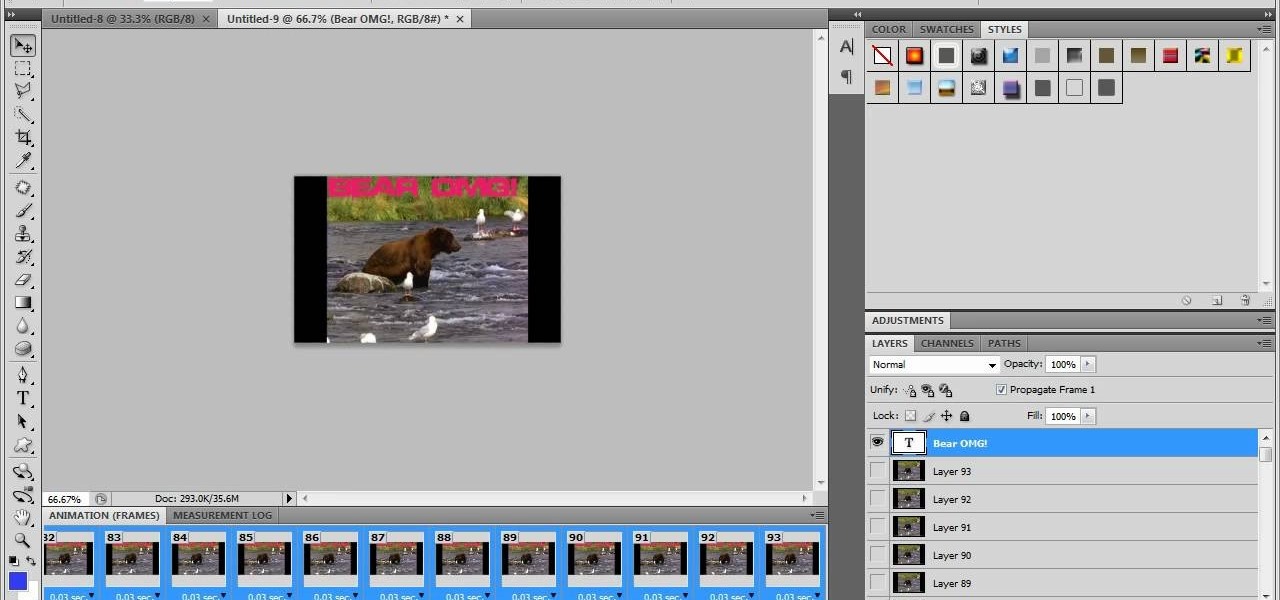
In this video tutorial, viewers learn how to zoom in and out on a Mac computer. To access the zooming tool, begin by clicking on the Apple menu and select System Preferences. Under System, select Universal Access and check On under Zoom. In Options, users are able to set specific settings such as the maximum and minimum range of zoom. The keyboard shortcut for zooming in is: Option, Command and =. The keyboard shortcut for zooming out is: Option, Command and -. This video will benefit those v...

In this video tutorial, viewers learn how to test their system performance. Begin by clicking on the Start menu and select Control Panel. Then click on System and Security, and select "Check the Windows Experience Index" under System. Now click on "Rate this computer". The system will then begin to run some tests. This will take about 1-2 minutes. The Windows Experience Index assesses key system components on a scale of 1.0 to 7.9. This video will benefit those viewers who use a Windows 7 com...

In this video tutorial, viewers learn how to quickly copy a folder's content list in Windows. Begin by clicking on the Start menu and open the Run program. Then type in "cmd" to open the Command Prompt window. Now navigate the desired folder and type "dir | clip" beside it. Press Enter and it will automatically copy the directory to the clipboard. Essentially, it is a tool that will the command prompt command to the clipboard. This video will benefit those viewers who use a Windows computer, ...
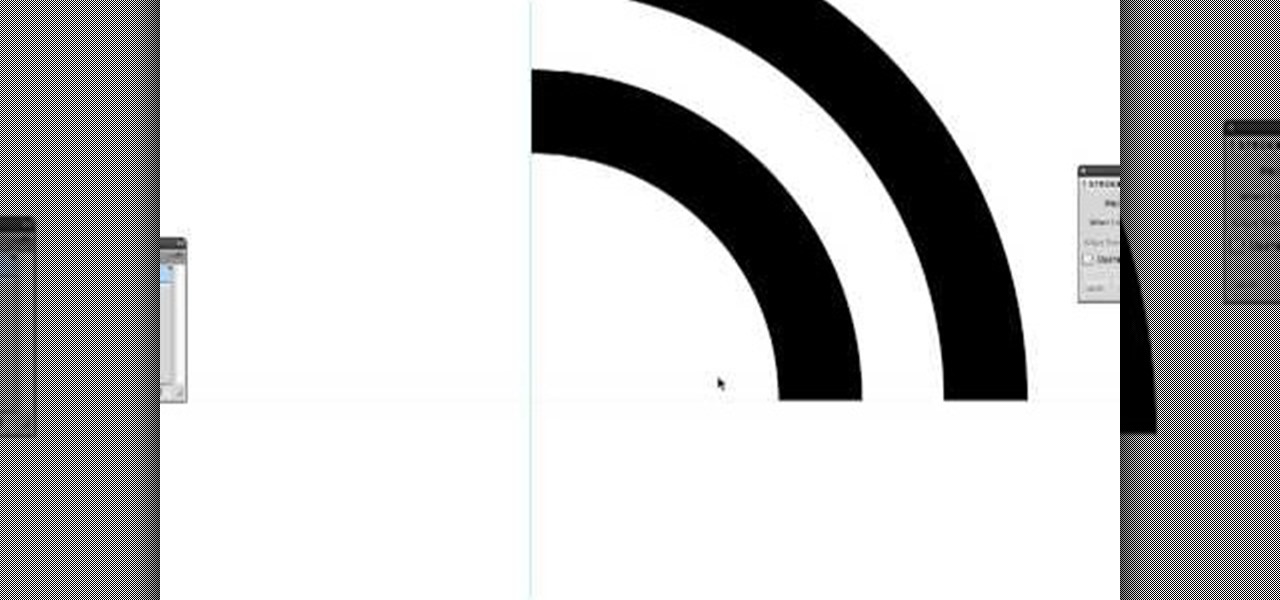
In this Software video tutorial you will learn how to create a vector RSS icon in Illustrator. Open illustrator and open a new document. Select the ‘rounded rectangle tool’ from the rectangle menu. Click and drag to draw a rounded square. Select the gradient fill on the left side and change the color to orange on the right side and make it dark to light from top to bottom. Next grab the corner and turn it around 180 degrees. Move the picture to one side and select the ellipse tool. Draw a...
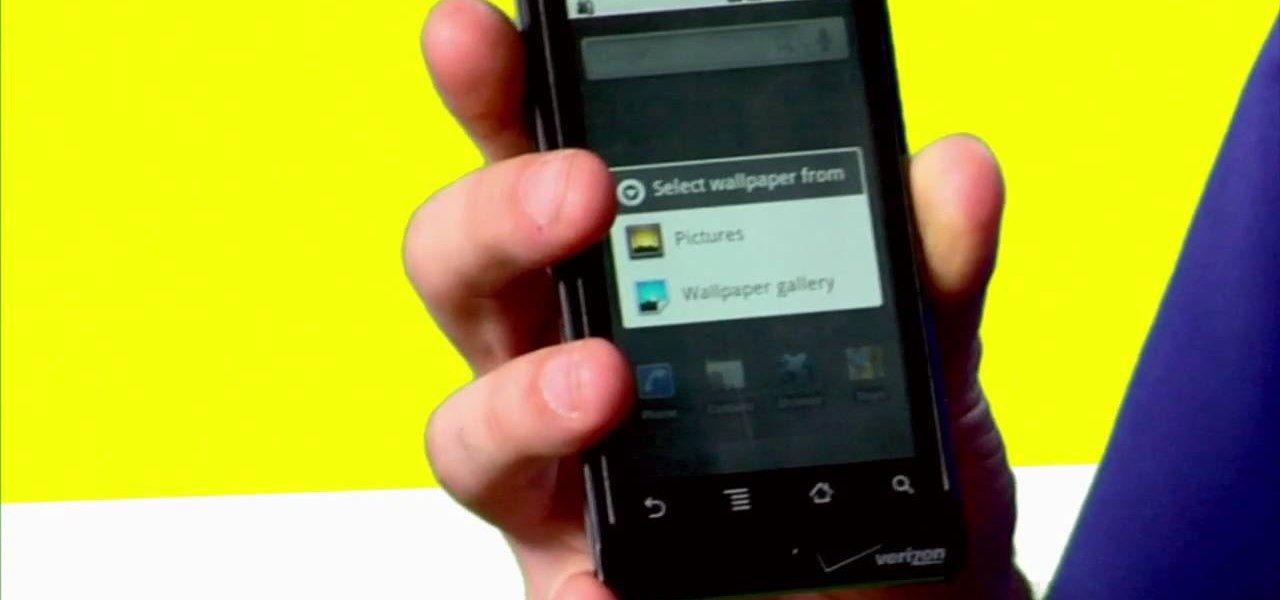
Want to give your new Android enable mobile device a personal touch? Well, your phone comes preloaded with wallpapers that you can use, and you just have to find the right one that fits your personality. Adding the wallpaper to your phone is easy. Go to gallery, flip through the stock wallpapers, and select the one you want by clicking "select" — Best Buy has answers. The Best Buy Mobile team explains how simple it is to set the wallpaper on an Android cell phone.
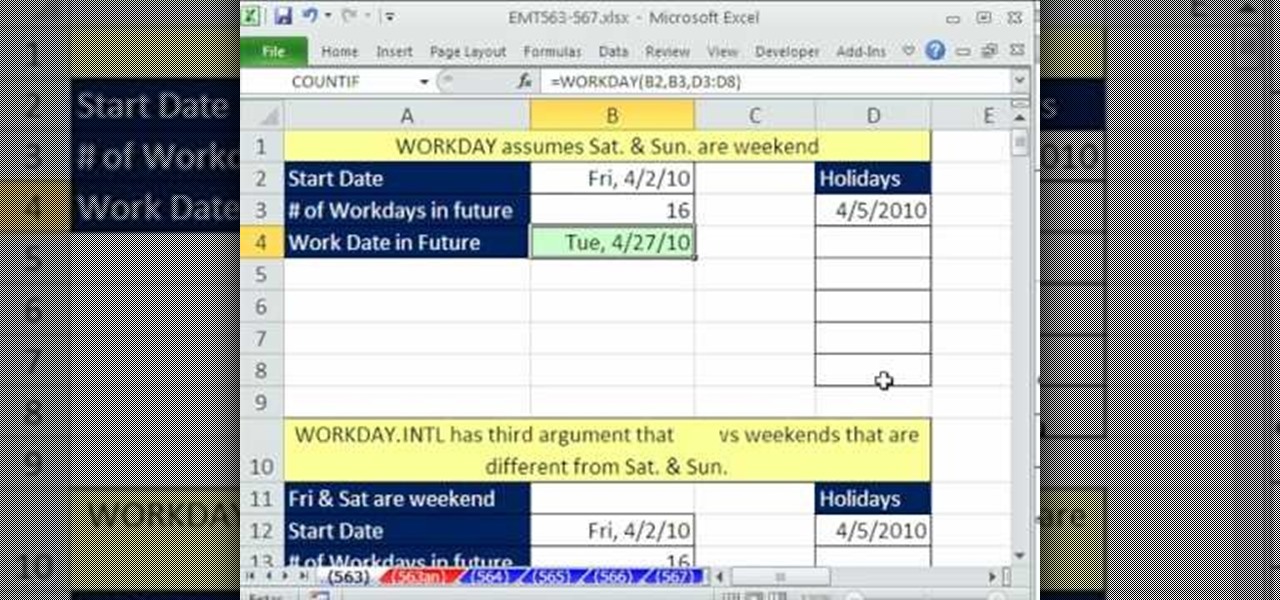
This video tells us the method to use the WORKDAY & WORKDAY.INTL functions in Excel. These functions are used to find a workday after a finite number of workdays in the future. WORKDAY uses Saturday and Sunday as off days. Its syntax is WORKDAY(start date, days, [holidays]). 'days' refers to the number of days in the future and holidays is the list of holidays written below each other in the same column. If Saturday and Sundays are not your off days, use WORKDAY.INTL. Its syntax is WORKDAY.IN...

In this video tutorial, viewers learn how to use the Sticky Keys feature in Microsoft Windows 7. To use the Sticky Keys, click on the Start menu and open Control Panel. In the Control Panel window, double-click on Ease of Access and click on Change how your keyboard works under the Ease of Access Center. Then click on Set up Stick Keys and check the option Turn on Sticky Keys. This video will benefit those viewers who have limited dexterity and find it difficult to use complex keyboard shortc...

In this Software video tutorial you will learn how to resize a custom image using Adobe Photoshop CS4. Select your image. Click on ‘image’ tab and select ‘image size’ from the dropdown menu. In the ‘image size’ box you can change the height and width pixels. But, if you check the box ‘constrain proportions’, then when you change one pixel dimension, the other will automatically change. Similarly, for resizing drop shadows proportionately, check the ‘scale styles’ box. The ...

Windows 7 uses several options to make it easier to change and locate the cursor on the screen. 1) To access these options select “Start” then click on “Control panel“from the menu.

This how to video shows you how to change the voice in the VoiceOver Utility program on a Mac. This will be useful if you want a voice that is more realistic or more understandable. First, open the program and choose the speech pane. On voices, click the drop down menu to choose which of the voices you want to use. At the side of this, you can change the rate, pitch, volume, and intonation. To change the voice settings with just the keyboard, press control option and command together. Use the...

In this video tutorial, viewers learn how to make the System Restore feature use less space in Windows 7. Begin by clicking on the Start menu. Right-click on Computer and select Properties. Under Tasks, click on System protection. In the System Properties window, select the hard drive and click Configure. Under Disk Space Usage, drag the slider to the left for a lower amount. Then click on Apply and OK to confirm. This video will benefit those viewers who have a Windows 7 computer and would l...

Windows 7 provides the high contrast display feature for the monitors. To use this feature go to the desktop. Right click and select 'Personalize' from the menu. This brings up the Personalization window of the 'Appearance and Personalization' option of the Control Panel. Here you can change the visuals and sounds of your computer. Scroll down in that window till you find high contrast themes. Choose one of those themes. When you select them Windows automatically applies the theme to your com...

In your computer you can setup up two monitors on the same screen. This is the dual monitor setup which will give you more space to work with. So if your desktop is cluttered with icons and other program shortcuts, then you can use dual monitors. To setup a dual monitor system, the first thing you will need is two monitors. Now right click no your desktop and select properties from the menu. In the properties window go to the settings tab. If you see two monitor screen pictures over there the...

This video will show you how to take advantage of one of Apple's iMovie advanced editing feature, picture-in-picture effect. This feature allows you to embed either another video, or images into a base video. To enable this valuable tool in iMovie, go into the iMovie preferences by clicking on "iMovie" in the top left hand corner of your screen. Under the General tab make sure "Show advanced tools" is selected. Import a video from your event library by dragging it into iMovie and selecting pi...

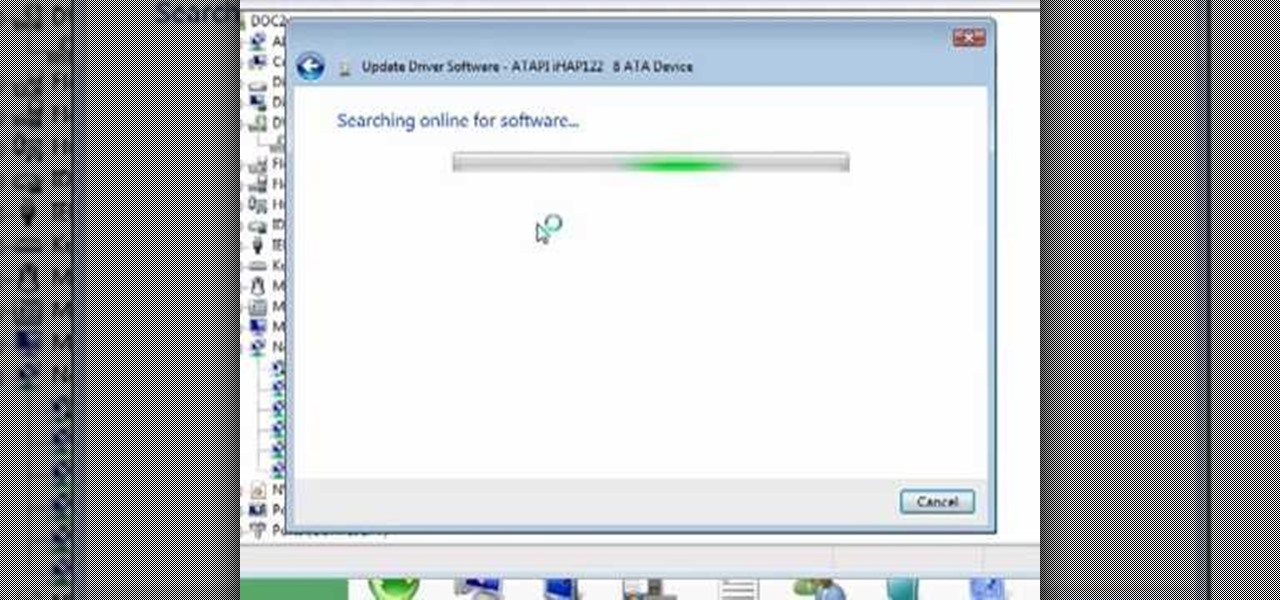
From "Butterscotch" tutorial Michael Callahan walks you through updating your driver for Windows 7 operating system. This will help to improve communication between your printer, scanner, or any other devices digitally connected to your Personal Computer. Simply by going through the "start" menu you can then search and find out if there is new drivers for your devices. After that it will tell you and assist you downloading the new driver. Leaving you with the best driver software for your dev...

In this how-to video, you will learn how to change the font size with Microsoft Word 2007. First, open the program and type in a sentence or two. Now, move your cursor to where the font name is. To the right of this should be a drop down menu with numbers. These are the sizes of the font. Highlight the text. Now, click and change the number to change the size of the text. The larger the number, the bigger the font will become. This video shows you just how easy it is to change the font with t...

If Internet Explorer 8 is being a nuisance in Windows 7 watch this video to learn how to uninstall it! Start by clicking your Start Menu, then to Control Panel and then to Programs. From there click Uninstall Programs. It will bring you to a list of all the programs that are currently on your hard drive. Next click Turn Windows features on or off. From there another list of programs will appear, but these programs are all Windows programs that come with Windows 7 Operating system. Watch the r...

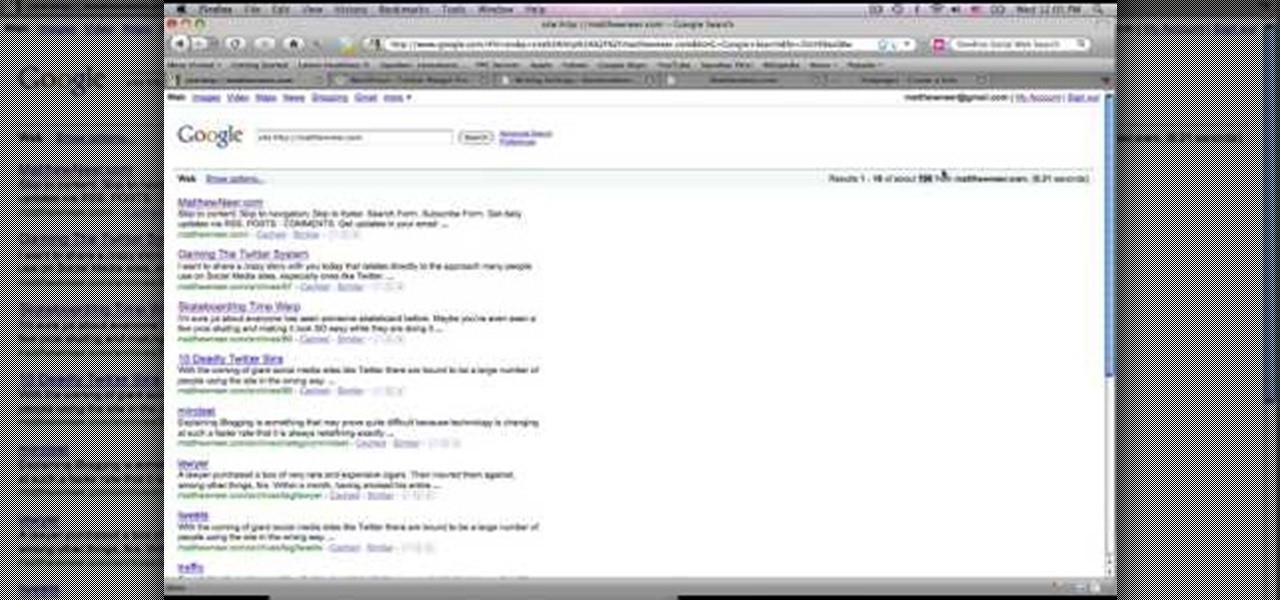
This video tutorial from MatthewNeer presents how to check your site's or blog's Google indexing.Type in Google word Site, press Space and then enter your site's or blog's URL address.Then press Enter or click Search button.Newly opened Google page will show all the pages from your site or blog which are already indexed in Google search engine.From search Results to the right you can see how many pages from your site are already indexed.According to the results you can reoptimize those pages ...

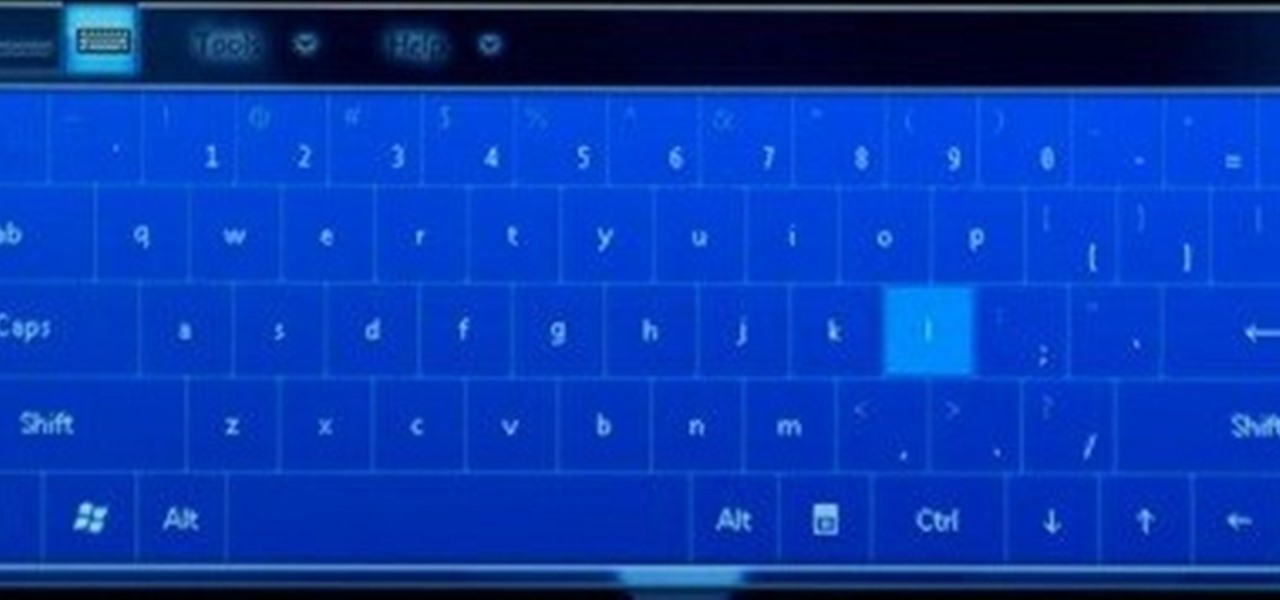
This video tutorial will teach you how to use the onscreen keyboard on the HP touch smart. Very informative video that goes through several steps including teaching you how to add an event to your calendar. It starts by showing you how to add the event and then takes you through the keyboard and teaches you how to capitalize your words using the shift key as well as caps key. It demonstrates the input panel tab and how to move your panel as well, teaching you all the techniques for good use o...

Changing the color of your eyes is very quick using Photoshop and this handy video. After using the selection tool of your choice to outline the eye (this video uses the pen tool) with a little bit of feathering, just change the hue of the eye. The video shows how to do this by pressing control + h, however it can also be selected by choosing the image menu, then adjustments, then hue/saturation. This great effect can be used as shown on close up eyes or on smaller eyes further away. Both way...

This video is about formatting the charts in Excel especially the x and y axes. The video begins by selecting a chart and right clicking the dates at the bottom of the data points. The format axis window pops up and by making changes to the style, color and the weight of lines given in the patterns tab, you can change the way the x-axis looks like. You can also change appearance of characters appearing close to the x-axis by selecting options in the font menu. You can also change the format o...

Digital copies are being used more and more on DVD and BluRay releases. They may cost a little bit more, but they are so worth it. After you transfer the movie's digital file into iTunes, you can easily make a copy to play on your Apple iPad. This video will demonstrate exactly how to transfer a digital copy movie to an iPad.

This video in the Software category will show you how to remove pimples and wrinkles in Photoshop. Yanik from Yanik’s photo school presents this video. Select the photo you want to work on. First you duplicate the layer by ctrl+J or select from the dropdown menu. You start off with removing those pimples that you want to remove completely. Select the spot healing or the regular healing brush. Yanik prefers the regular healing brush. Also choose a small brush size. To select a source point, ho...

Nicole Young demonstrates how to use non-destructive dodging and burning using layers in Photoshop. Your first move is to create a new layer and then hit shift + delete to select the level of opacity. You want the layer to be fifty percent grey. Now select overlay from the menu which will make anything that is fifty percent grey will be transparent. You will be dodging and burning with white and black brushstrokes. To switch from black and white background colors just hit x. Other keyboard sh...

In this video the tutor demonstrates the magnifier tool of Microsoft Windows 7. If the size of text is very small on your screen and you are facing difficulty reading it you can use the magnifier tool to resize the text to read it clearly. You can change the resolution but this makes the LCD screen look blurry. So to do this go to the Start Menu and select the Magnifier tool. Now there are two buttons with minus and plus symbol on them. Click the plus button to magnify the screen around that ...

Learn how to make an animated GIF from a video clip using Adobe Photoshop CS4. You'll need to use an external editing program (like Sony Vegas) to create a small clip from your larger video beforehand. From Photoshop, go to "File" and select "Import" and then "Video Frames to Layers" from the pop-up menu and select your video clip. Choose "From Beginning to End" when prompted about range to import. The duration of the video clip will now be displayed in frames. By default, each frame is set t...

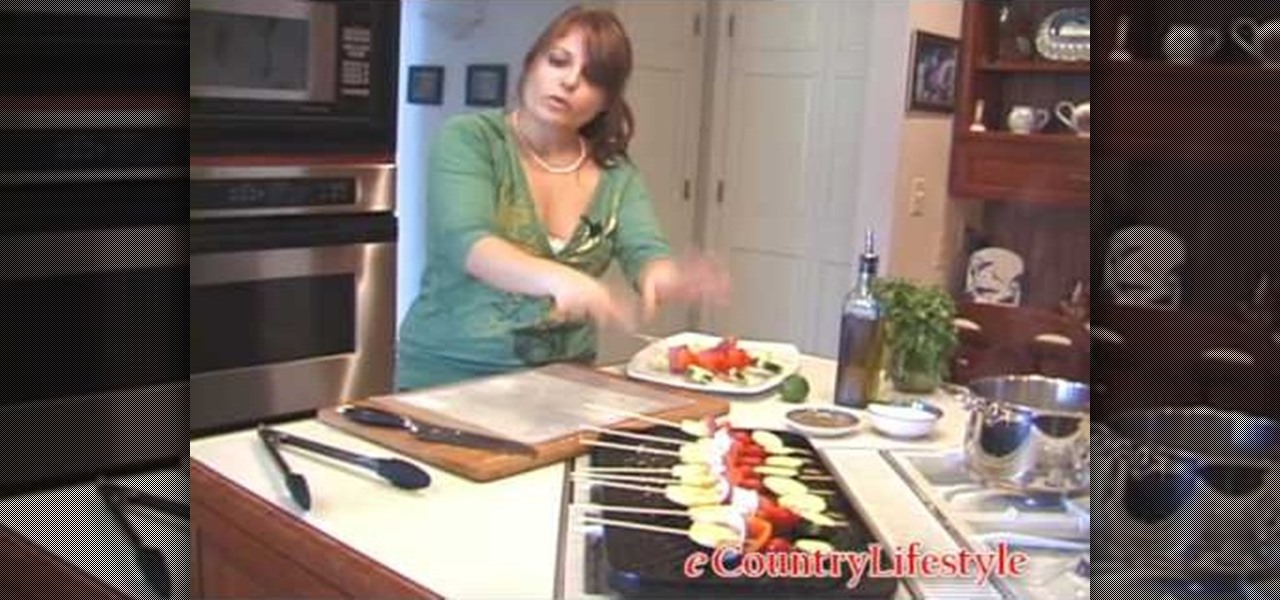
Having people over and not sure what to prepare for dinner? In this two-part video, chef Danielle Gilbert Iglehart cooks up a savory meal from start to finish. On the menu? Spicy jalapeno, basil, and ginger stuffed chicken breasts, grilled alongside skewers loaded with fresh zucchini, onion, and yellow squash, then topping off the meal with a cilantro lime rice dish that is out of this world. Yum!

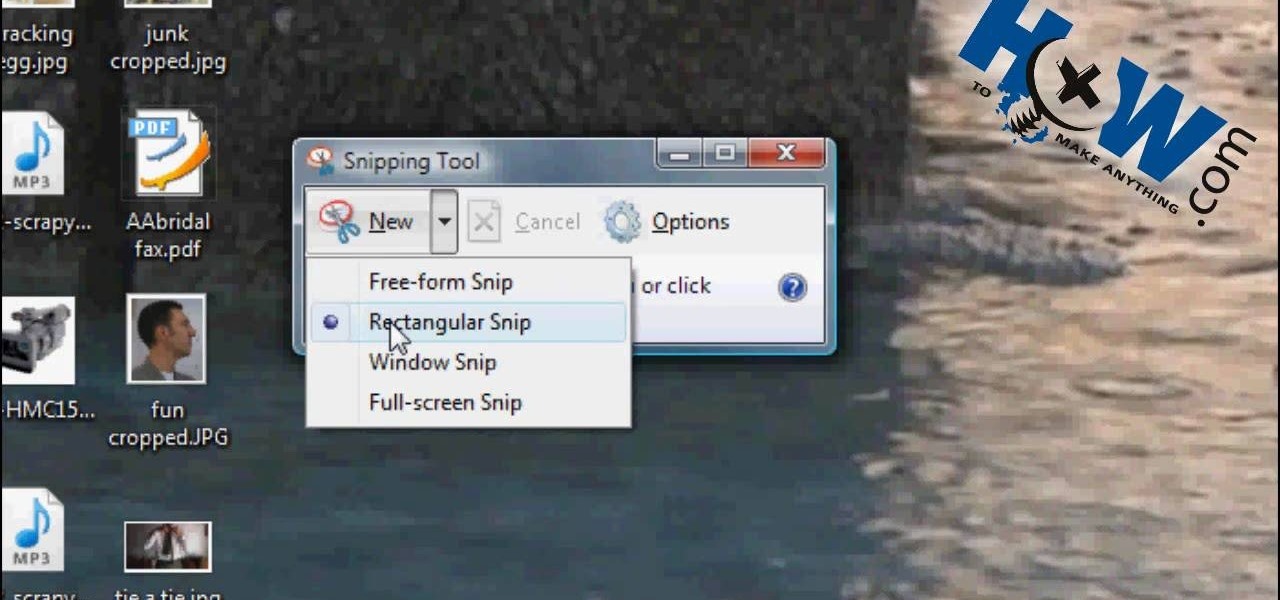
How to Make Anything demonstrates how to use Window Vista's snipping tool to make a screen capture. With previous operating systems, you'd have to install a third party application to make a screen capture. To find the snipping tool in Windows Vista, go to the start menu and type "snipping tool" into your search box. The snipping tool box will appear. Click on the options tab. In the next screen, tick display icon in the quick launch toolbar to enable the snipping tool in the toolbar. Click o...

In this video you will learn how to update your version of Windows 7 and how to check the system settings for automatic updates. In order to do this you need to go in the Start Menu and then in the Control Panel. Then you need to click System and Security. The next step is to click Windows Update. A new window will pop-up and you will see two types of updates: Important Updates and Optional Updates. To install them just click on the blue link and then check the boxes. To check for updates you...

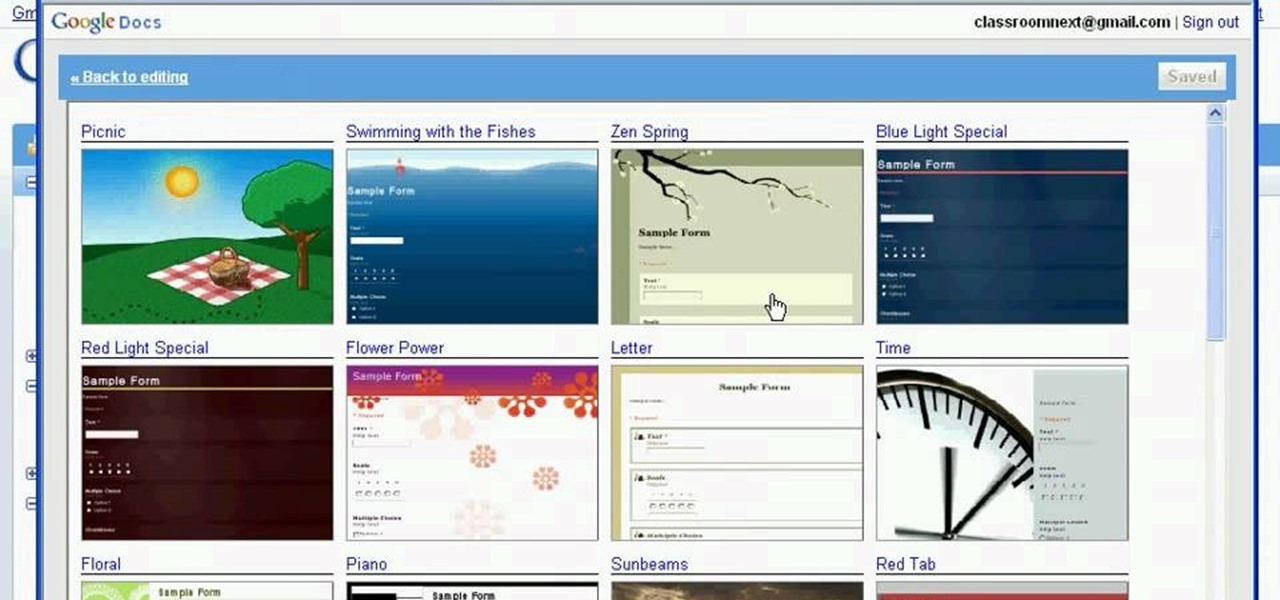
Classroomnext describes how to create a Google form with your own custom colors and designs to give it a personal touch. Once you are logged into the Google Docs main screen, click on the button that says "New" and choose the option "Form" from the dropdown menu. Once your new form appears onscreen, type in a simple test name in the title field and a placeholder question. Save the document. Click on the button that says "Theme" and you will be shown a variety of styles to choose from. Save th...

De-fragmenting a hard drive improves the performance of a hard drive and it is recommended to de-fragment your hard drive from time to time as shown in this video. In Windows 7 you can use the Disk De-fragmentation tool. To do this go to the start menu and open the Control Panel. In the right column select the Performance Information and Tools. Now in that window in the left hand column select the Advanced tools option. In that new window scroll down to the Open Disk De-fragmenter link. Click...

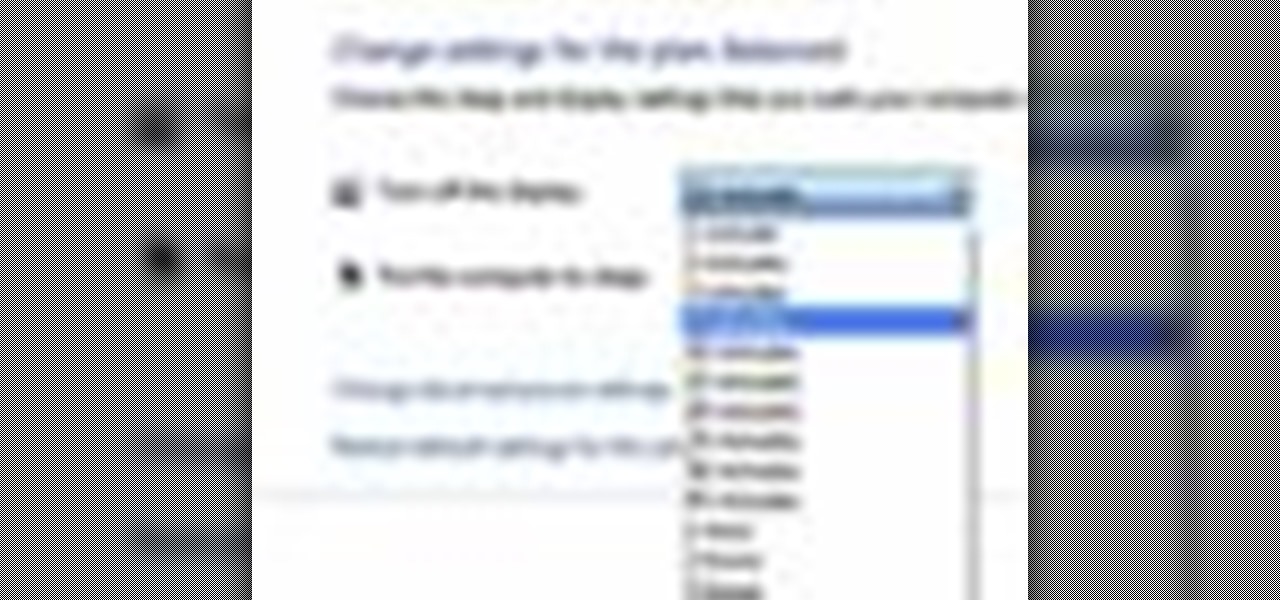
Follow along as we are shown how to change the power settings for our monitor for Windows 7. -Begin by going to the Start menu and clicking on the Control Panel.

Go to the Menu and click the Start button. Now select Control Panel. In the Control Panel, you can see the Option Programs. Now you can see Uninstall Programs in small letters below the Programs option. Click on Uninstall Programs. Here you can see the list of programs installed, when they were installed, what is the size of the program, and which version of program is installed. To uninstall a program, simply click on the program you wish to uninstall. Some options get displayed above the ta...

This video shows how to delete a user account on Windows 7. Go to the start menu, the control panel, then user accounts. Click add or remove user accounts. Select the account you want to remove. Choose the option to delete the selected account. Windows will ask if you want to delete everything on the account or keep the information on your desktop while still deleting the account. This will be your choice. The narrator chooses to delete the full account.

This video tutorial will teach you how to troubleshoot a HomeGroup network in Windows 7. In order to do this follow these steps: Go to the Start Menu and then go into Control Panel. Now go to Network and Internet and then in Network and Sharing Center. Now click the Troubleshoot Problems link located on the bottom of the window. Here you can select which part of networking you want to troubleshoot, in this case select HomeGroup. A process will start and you will have to answer the questions t...

You can customize and select your preferred monitor settings to improve the clarity of your monitor display. First open the start menu and go to the Control panel. In the Control Panel select the Display link. In the Display option window to the right hand side there are a few options available. Select the screen resolution option from them. Now there are many options present in there like Display, resolution, orientation etc., Using the display option you can select the monitor you want to m...

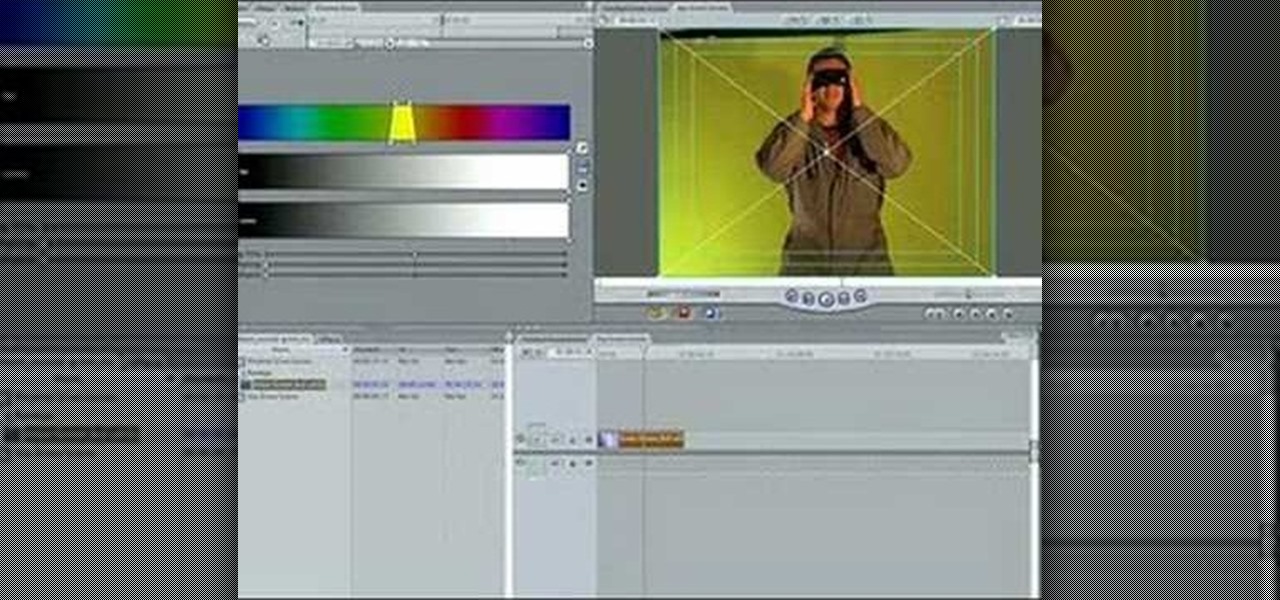
Let FiveSprockets help you get rid of the green screen effect in your videos and add great backgrounds to your movies at home! By using the Final Cut Pro program, follow along as you set your green screen clip in the display. From there you select the Effects, then Video Filter and follow it down into the Key menu. Grab the eyedropper and select the green color and make it fade away with just a few simple clicks. You can crop out any areas that didn't fade away, or use the softening tool to f...

This video demonstrates how to show and hide the ruler in Microsoft Word 2007, along with working with page margins. The presenter indicates that if you click the small button above the vertical scroll bar, Microsoft Word will then display Rulers. To work with margins you'll need to click on the Page Layout tab to display the Page Layout ribbon. The video shows the different options located on the Margins menu. There are several built in settings for wide, narrow, normal, moderate, and mirror...

In this video the instructor shows how to user printer options in Microsoft Word 2007. To do this go to the Microsoft button and click it. Form the drop down menu select the print option. Now you are presented with the three options of Print, Quick Print and Print Preview. Print is used to directly send documents to the printer by selecting the necessary settings. Quick Print is used to quickly send the documents to the printer using the default settings. Print preview is a useful way of seei...

When you're using MS Word you should be able to see a large Microsoft office icon in the top-left icon. Clicking it opens up a menu where you should be able to see the save button. Pressing this button will save your work or overwrite a previous copy. If you press 'save as' instead, you will have the option to change what format the file is saved as and what name it is saved under so as not to overwrite the existing copy. When you've decided on the name and format and where to save, just pres...


