Everybody had a yo-yo at one point in their life; some when they were just little children, some when they were bored teenagers, some when they found the kid inside of them they never knew of, and even some when they felt retirement was just not very fun. It just goes to show that the yo-yo is not going anywhere anytime soon. Who could ever believe that a toy consisting of two equal disks made of plastic, maybe even wood or metal, with an axle and string could be so damn pleasing, so much dar...
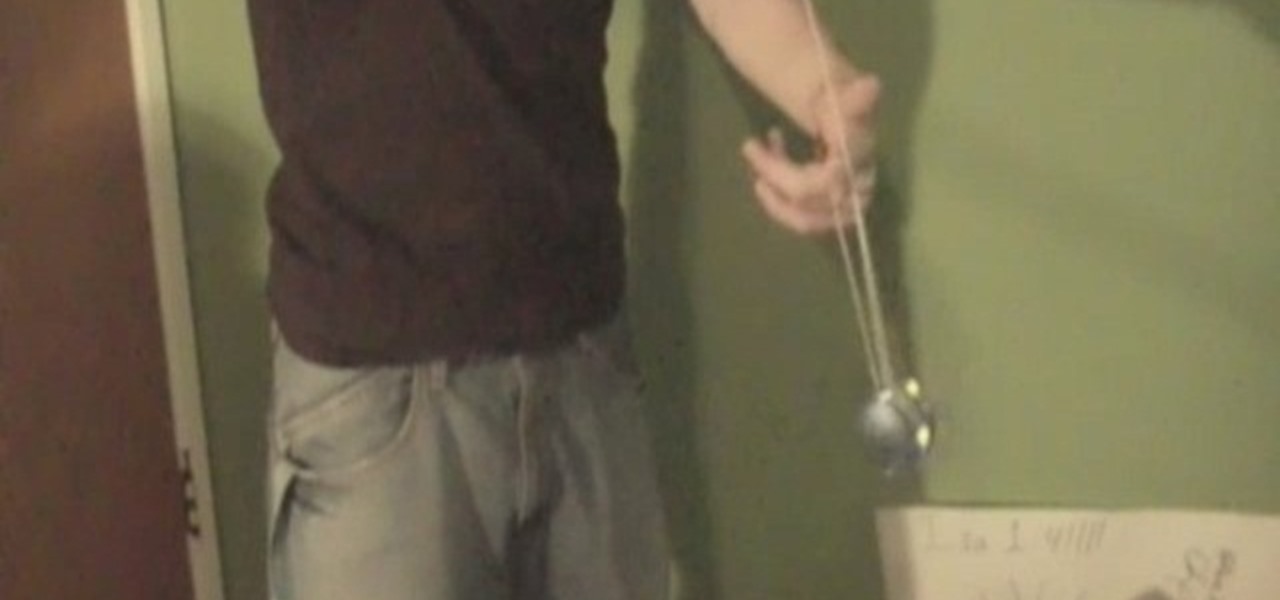
Everybody had a yo-yo at one point in their life; some when they were just little children, some when they were bored teenagers, some when they found the kid inside of them they never knew of, and even some when they felt retirement was just not very fun. It just goes to show that the yo-yo is not going anywhere anytime soon. Who could ever believe that a toy consisting of two equal disks made of plastic, maybe even wood or metal, with an axle and string could be so damn pleasing, so much dar...
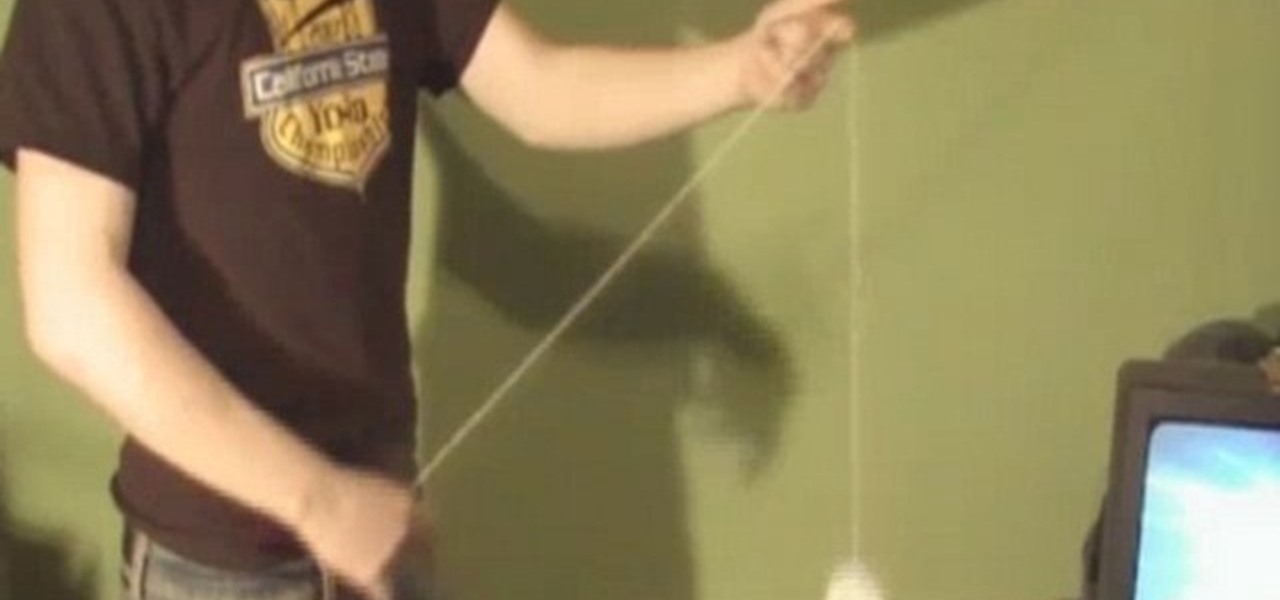
Everybody had a yo-yo at one point in their life; some when they were just little children, some when they were bored teenagers, some when they found the kid inside of them they never knew of, and even some when they felt retirement was just not very fun. It just goes to show that the yo-yo is not going anywhere anytime soon. Who could ever believe that a toy consisting of two equal disks made of plastic, maybe even wood or metal, with an axle and string could be so damn pleasing, so much dar...

Everybody had a yo-yo at one point in their life; some when they were just little children, some when they were bored teenagers, some when they found the kid inside of them they never knew of, and even some when they felt retirement was just not very fun. It just goes to show that the yo-yo is not going anywhere anytime soon. Who could ever believe that a toy consisting of two equal disks made of plastic, maybe even wood or metal, with an axle and string could be so damn pleasing, so much dar...
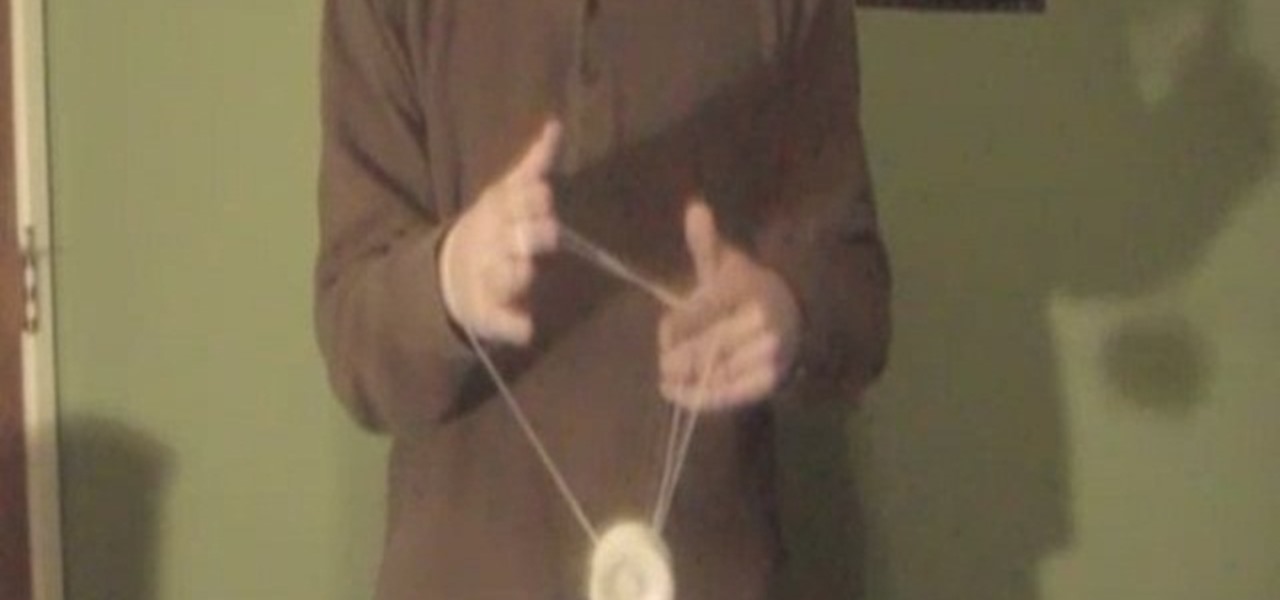
Everybody had a yo-yo at one point in their life; some when they were just little children, some when they were bored teenagers, some when they found the kid inside of them they never knew of, and even some when they felt retirement was just not very fun. It just goes to show that the yo-yo is not going anywhere anytime soon. Who could ever believe that a toy consisting of two equal disks made of plastic, maybe even wood or metal, with an axle and string could be so damn pleasing, so much dar...
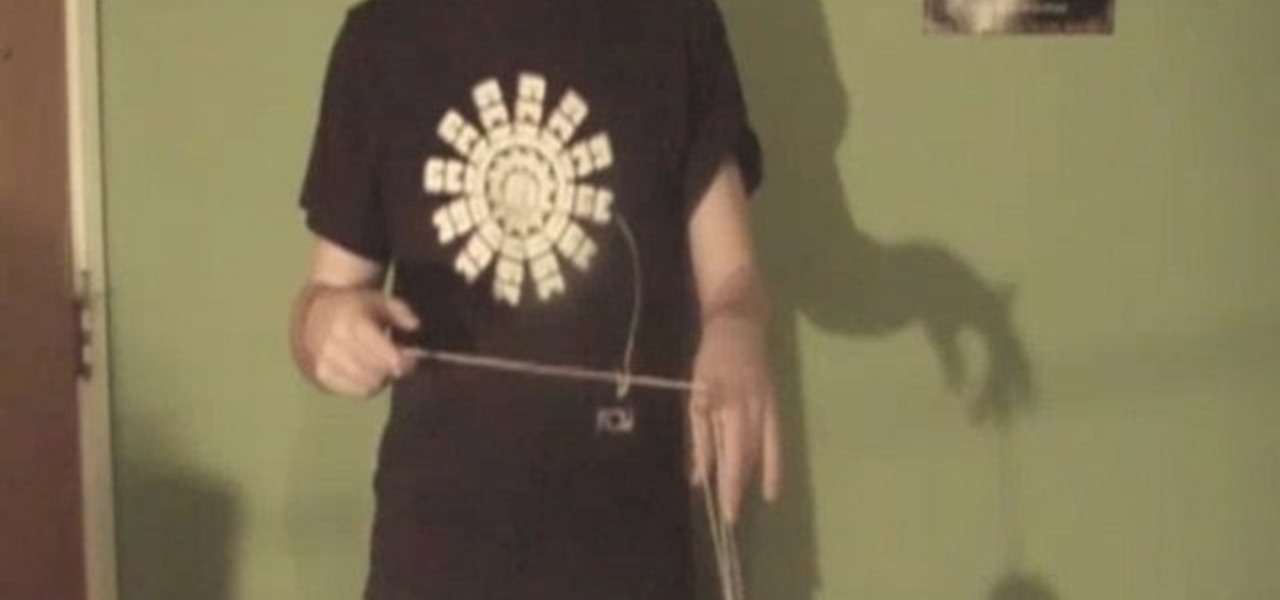
Everybody had a yo-yo at one point in their life; some when they were just little children, some when they were bored teenagers, some when they found the kid inside of them they never knew of, and even some when they felt retirement was just not very fun. It just goes to show that the yo-yo is not going anywhere anytime soon. Who could ever believe that a toy consisting of two equal disks made of plastic, maybe even wood or metal, with an axle and string could be so damn pleasing, so much dar...

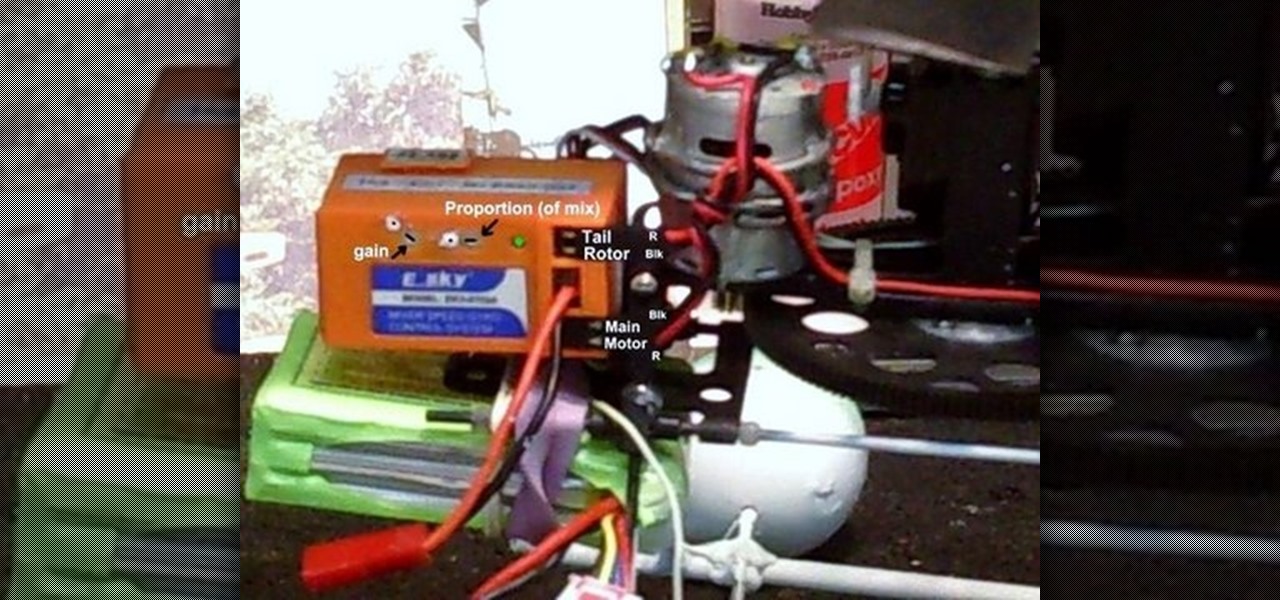
Watch this instructional hobby video to properly set up and fly a remote control helicopter. Transmitter switches and servo wires should all be set up this way. Charge the flight pack and you are ready. If you are a beginner, leaving the flybar weights at the outer position will dampen the controls and make the helicopter easier to fly. As you improve, move the weights in for quicker response. The swashplate has a metal ball for reduced wear and precise control. The servos are screwed to the ...

Sizing a gold ring requires specific tools and procedures that differ between metals. Learn the steps that go into sizing a gold ring in this free instructional jewelry video series.

Check this PopSci 5-Minute Project out to see how you can make your very own gadget charging station.

Apple seems to want the public to perceive it as an environmentally-conscious entity, as evidenced by the company's recently published Environmental Responsibility Report. But as it turns out, they may be hindering recyclers from salvaging old iPhones and Macs by ordering the devices to be shredded instead.

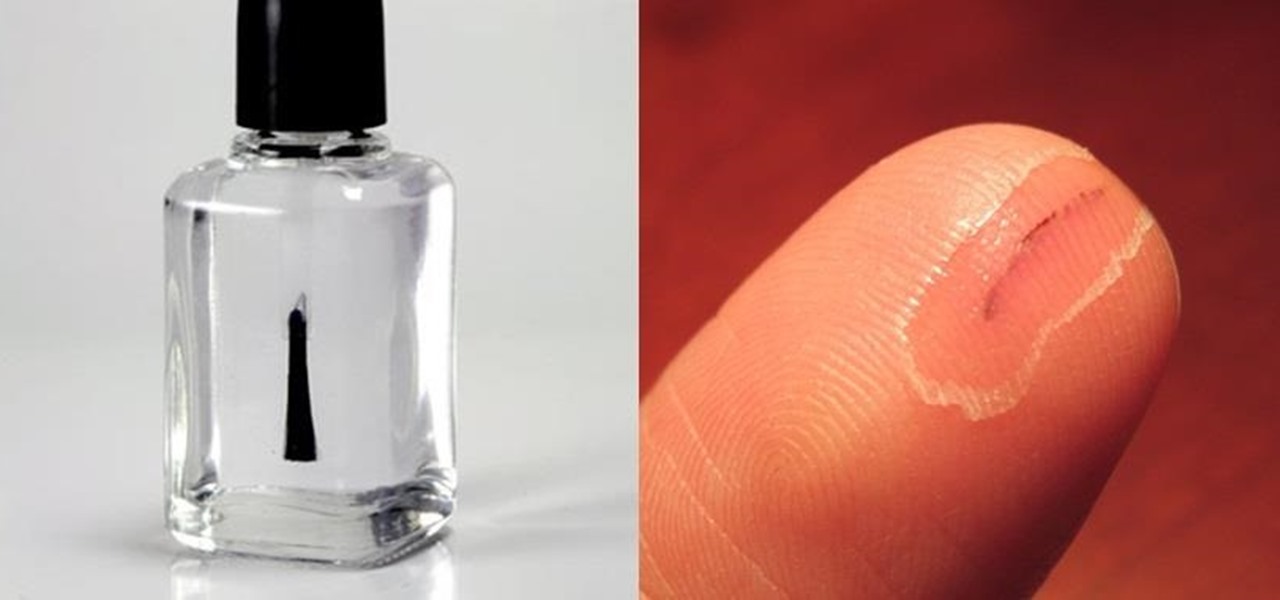
When you think of nail polish, it's probably almost always in the context of a manicure. I mean, that's what it's made for, right? But there are plenty of other things you can use clear or colored nail polish for besides painting your nails.

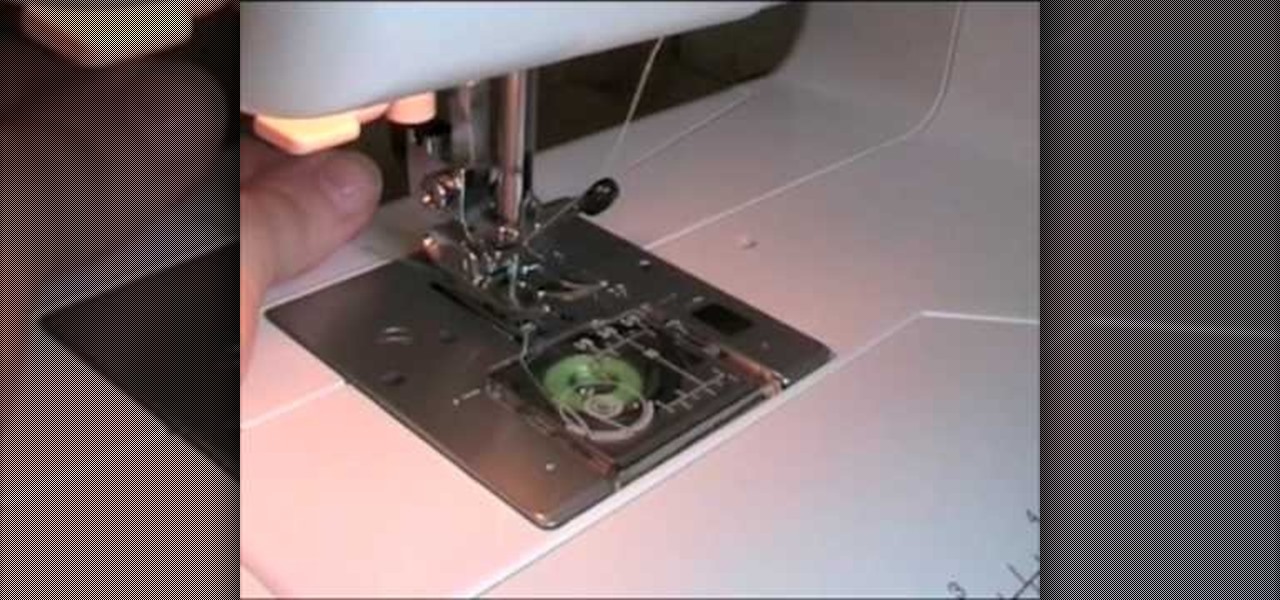
Tracie Cunniliers demonstrates how to wind a bobbin and thread the needle using an automatic needle threader in 'Elna 2800'.To wind a bobbin, place a spool of thread on the holder. Place a thread holder next to the spool of thread. Take the end of the thread and wind it around the clip situated on the other side of the machine. Now take a bobbin and pull the needle through the bobbin inside-out. Now place the bobbin on the holder and click into place. Hold the end of the thread and slowly pre...

The video starts by informing about the basic safety precautions, tools needed and backing up data prior to hard drive replacement. There are a series of screws which need to be removed in the following order.1. Removing the battery from the back and then remove three screws thereby removing the RAM cover.2. Two more screws to be removed under the RAM cover.3. Two screws from inside front edge.4. Four screws from the bottom rear.5. Two screws each from the slim sides.6. Two screws near the hi...

Watch this video tutorial from the Polish Guy to see how to clean and polish Ford Ranger alloy rims using Autosol Polish. In this polishing tip, we polish an alloy wheel on a 2004 Ford Ranger 4X4 pickup truck. The tutorial includes detailed work instructions and best practices.

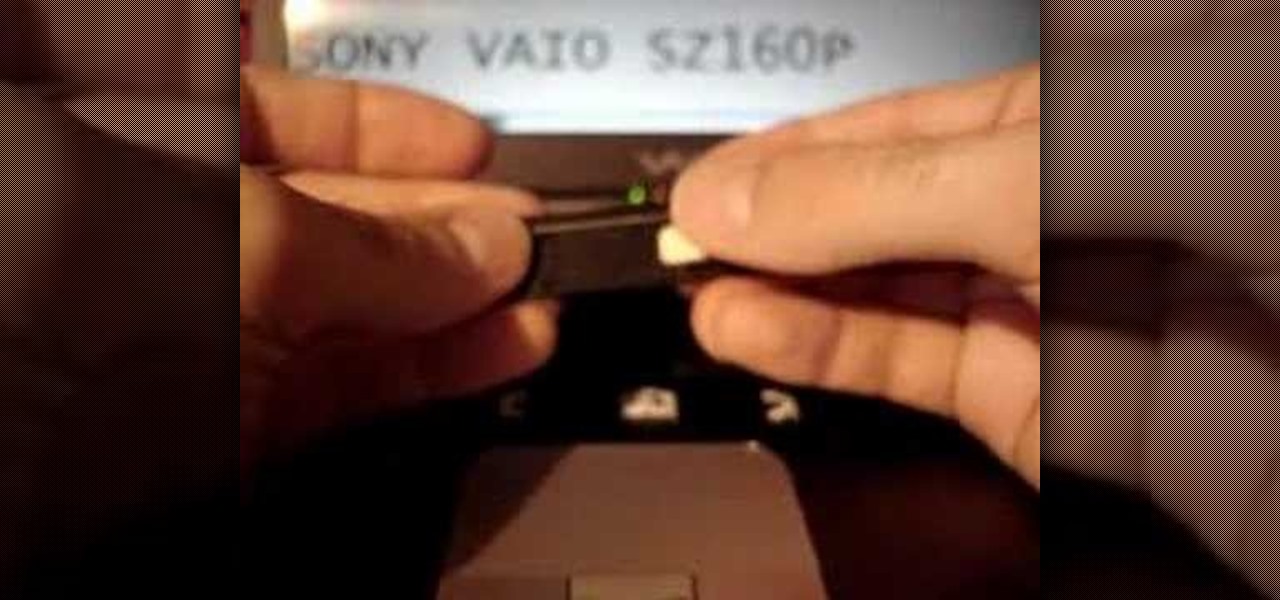
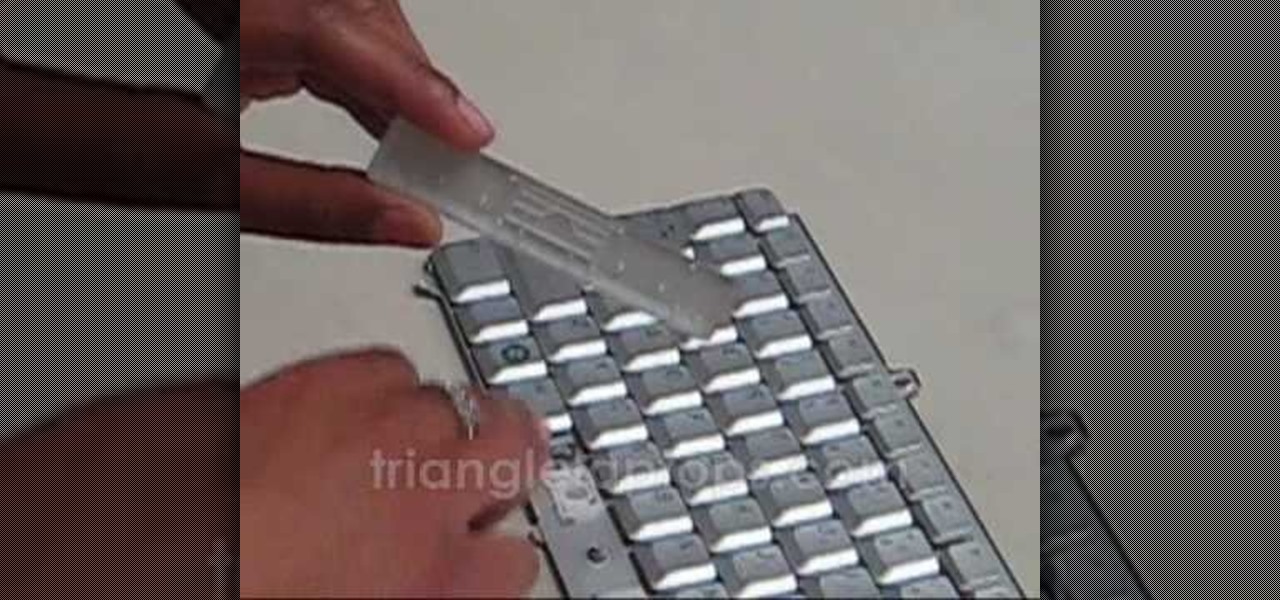
In this video, we learn how to fix the VAIO SZ space bar. First, gently lift up on the space bar until the top is removed from the bottom of the board. After this, take a scrap piece of paper and place it underneath the middle of the metal that's on the space bar. After this, click the bar back into place on the keyboard. Now, test out the space bar to see if it works! It should be working without any problems now. If you do experience more problems, just repeat this same procedure and you wi...

This tutorial is a great guide on how you can make a set of safe, foam-tipped arrows. You'll need to start with some hobby arrows, metal washers, wall anchors, a small NERF football, a hot glue gun, glue sticks, measuring tape and a foam golf ball or blue camping foam.

This video tutorial is in the Electronics category which will show you how to make a Beetlebot from your parts bin. The Beetlebot project can be found in Make Volume 12. You will need a couple of small motors, 2 momentary switches, 2 AA battery holders, a piece of metal, a small bead, 2 paper clips, heat ring tubing and a couple of connectors. Cut off two pieces of the tubing and using a soldering iron melt them over the ends of the motors. Hot glue the 2 momentary switches at an angle with t...

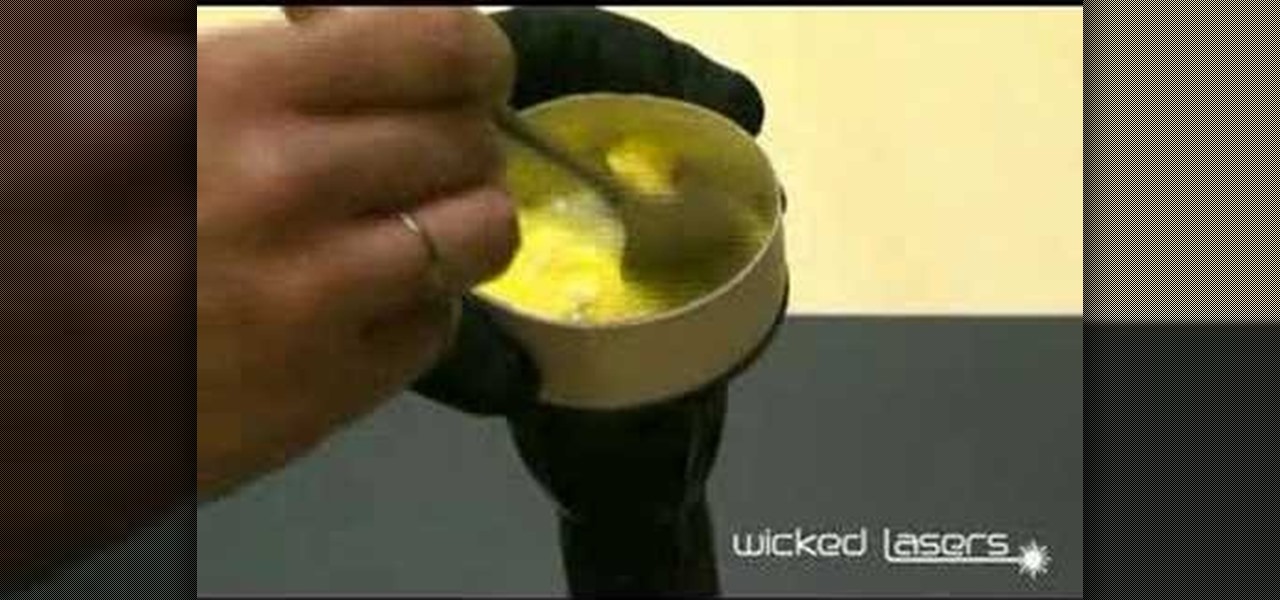
This video tutorial is in the Food category which will show you how to make scrambled eggs using a flashlight. Break an egg and pour it in to a small metal container. Clamp a Wicked Lasers torch in an upright position so that the bulb end is facing upwards. Now switch on the torch and place the container over it. After sometime as the container gets heated, the egg will start to cook. Mix the egg with a spoon while holding the container with the other hand to prevent it from falling over. Don...

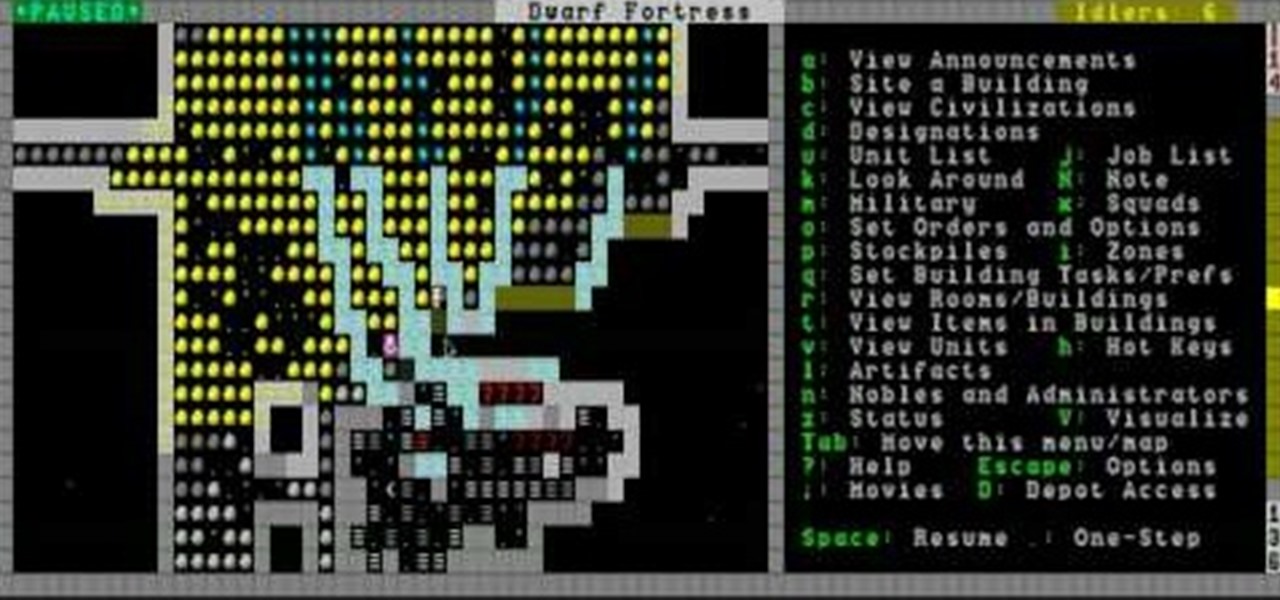
Adamantine is the best, most versatile metal in Dwarf Fortress, but discovering and using it bears great risk. This video will teach you all about adamantine and how you should react to ensure you survive what happens after you find it.

In this tutorial, we learn how to create a warm grunge background in Photoshop. First, create a large circle on a burnt orange background in Photoshop. Now, go to layer, adjustment layer, then levels. Hit "ok" then the level's adjustment layer will be masked. Now, go grab the bottom black slider and brighten up the middle. Use the overlay to create a center glow. Next, bring in texture using a brushed metal texture from this photo. Now, even the image out by going to image, then image rotatio...

In this video, we learn how to create an engraved text effect in Photoshop. First, start a new document in Photoshop and make it as large as you want it. Now, select the foreground color as a dark gray. Next, grab the rectangle tool and draw a shaped layer, making the color whatever you want it to be. Now, go to "layer", then "layer style", and "gradient overlay". Go to the gradient bar and mix light and dark grays or black to make a metal or chrome look as you prefer. After this, write in yo...

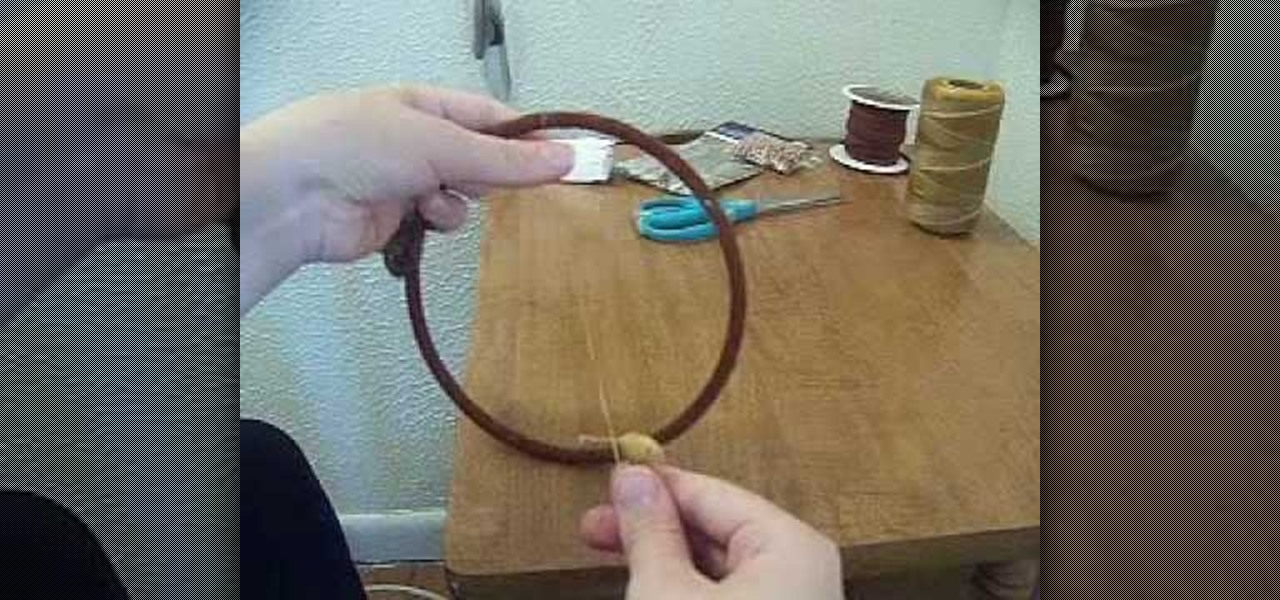
In this tutorial, we learn how to make a dream catcher. You will need: 1 metal ring, leather, sinew, decorations, scissors, and a clothes pin. First, wrap the leather tightly around the ring. Clip the clothes pin on the top so you don't have to hold it as you go around the circle. After this, remove the clothes pin and cut the leather off. Then, tie it at the bottom with a double knot. Next, measure the sinew to 3 yards, then pull it apart. You will be left with very thin strings. use a folde...

Making a rifle from scratch can be a fun and challenging experience for gun lovers. Building old fashioned weapons using wood and other metal pieces can give the creator something that may resemble a piece of history.

In this tutorial, we learn how to make a pendant and adjustable cord necklace. First, grab your pendant and guide a small metal ball onto the bottom of it with a needle. Next, place a spacer through the top and another ball on the top of that. Now, take your pliers to bend the needle to keep the balls in the same place. Keep twist it until you make a loop shape with it. Now, place a string into the loop and then make a knot with the two ends of the string. This will now become your necklace a...

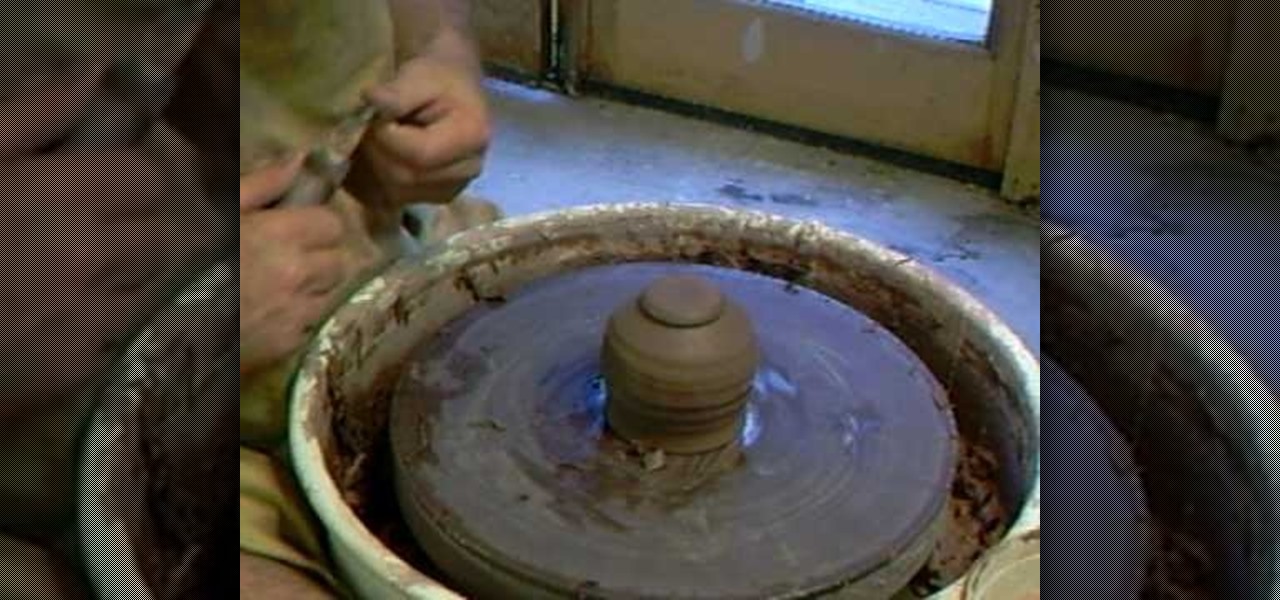
Even the best potters don't always get a perfectly finished vase, pot, or jar immediately after throwing. In fact, it's actually quite common for a potter to go back over his work and trim off or reshape the uneven parts to achieve a balanced finish. This is precisely what master potter Simon Leach does in this pottery video.

In this video tutorial, viewers learn how to jump start a car. When purchasing a jumper cable, don't purchase the cheapest set. It is also not necessary to purchase the most expensive. Begin by connecting the black cable on the negative terminal of the healthy car. Then connect the positive side of the red cable to the positive terminal of the healthy car. On the dead car, connect end of the cable to the positive side of the battery again, except this time you connect the negative end to a so...

The blowgun may not be the most en-vogue weapon in the 21st century, but they are still very cool and surprising effective for shooting things with darts at long range. One of their problems is that good dart are hard to come by and expensive when you do find them. This video will show you a way to get around that problem: making your own darts out of paper! All you need is paper (and maybe a little superglue would help) and you can make your very own darts that will pierce object almost as w...

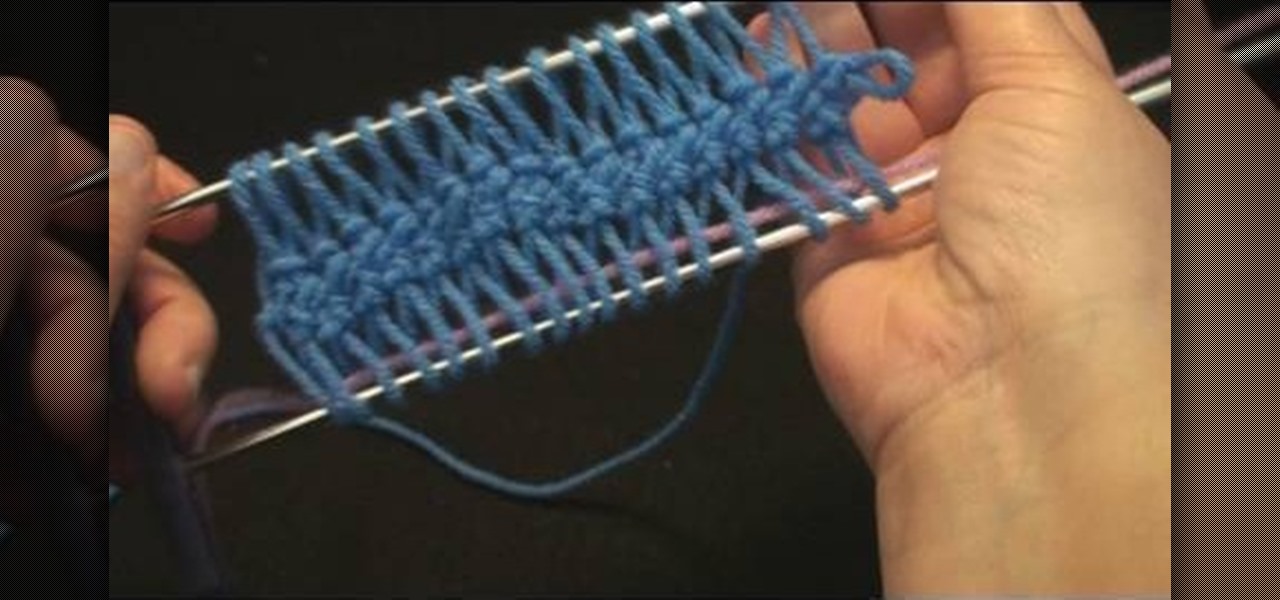
First of all, hairpin lace is a knitting technique using a crochet hook and a hairpin lace loom, which consists simply of two parallel metal rods. To use the loom, you wrap yarn around the loops to form prongs, and eventually get a delicate lacy pattern.

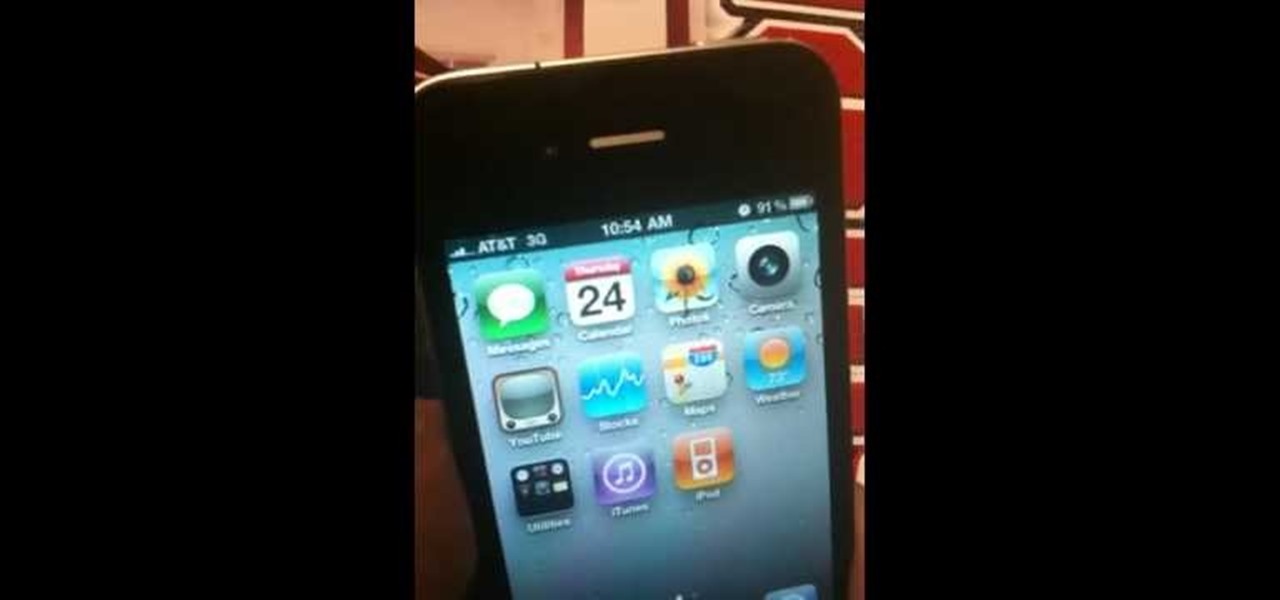
The iPhone 4 shipped with a poorly designed antenna that can be disabled simply by holding the phone in the manner that most people hold phones. To make matters worse, when asked about it, Steve Jobs responded like the snooty prick that he is, saying that people should just change the extremely natural way in which they have always held phones just to accommodate the iPhone. If you don't want to do that, this video is here to help. It demonstrates how putting a large bumper case on the iPhone...

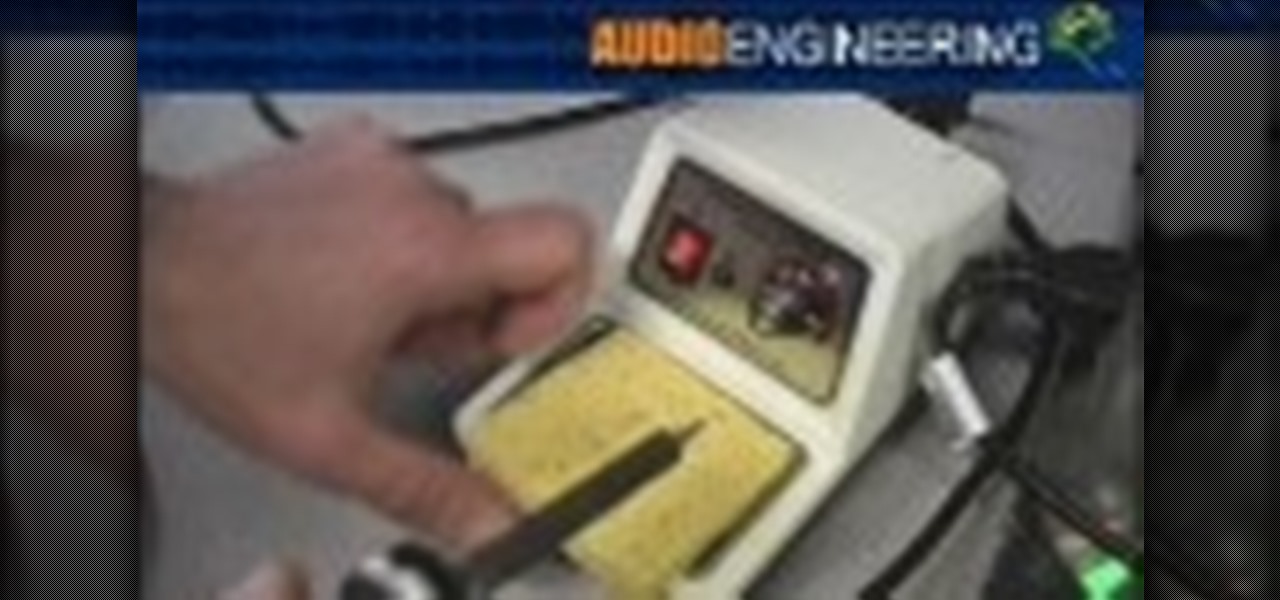
Teaching the basics of soldering, you should be able to learn how to fix broken headphones. There should be two wires protected by a covering, one which is a silvery metal and an orange wire which is your copper wire. Taking the plate for your speakers, there should be two connections where the wires belong. Using your soldering material, melt some onto your soldering gun and apply it to the two sites of the connection on your speaker plate. Place your wires on the correct areas and carefully...

In this tutorial, Science Bob shows us how to do a science experiment with dry ice. First, take a block of dry ice and place a quarter on top of it. Make sure you are using rubber gloves when you do this, it's dangerous to touch gloves with your bare hands. When you press the quarter down, it will cause it to vibrate very quickly. You can put any type of metal on top of the dry ice and it will make different noises. This is only one of the many things you can do with dry ice. You can also use...

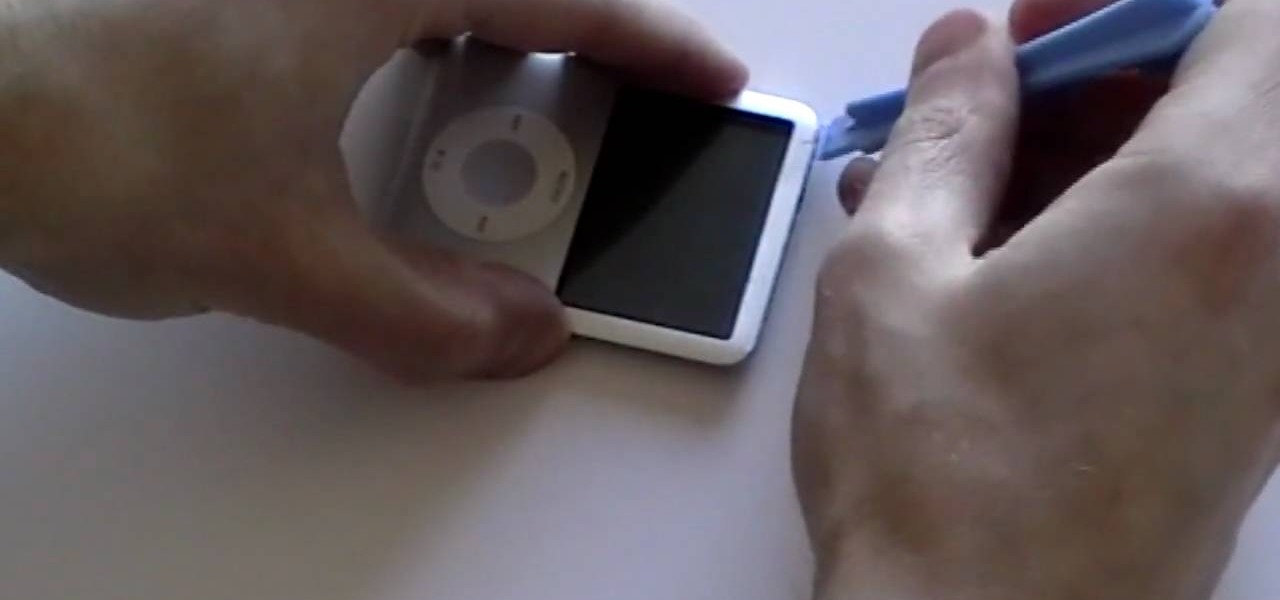
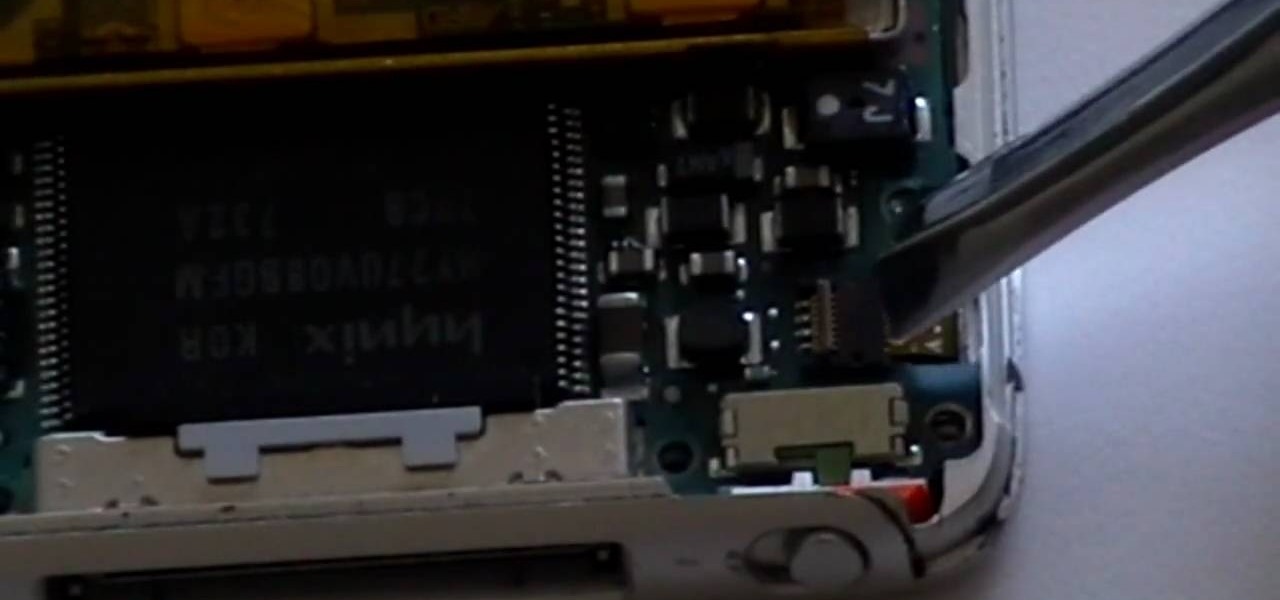
In this how-to video, you will learn now to dismantle an iPod Nano 3rd Generation. First, run a plastic tool on both sides of the device. Once this is done, remove the back cover with your fingers. Next, unscrew the six screws on the circuit board. Store them in a place where they will not be lost. Next, remove the click wheel ribbon cable from the jaw connector. Lift the jaw connector with the tool and use a pair of tweezers to gently remove the cable from the jaw. Next, remove the small met...

To create an apostolic or pentecostal hairstyle, start with a poof in the front of the hair. It can be ratted behind for stability. Use two bobby pins to secure the back corner of the poof. Squirt the hair with hairspray before moving on. Then create a low ponytail in the back of the hair, pulling the top up and out slightly while forming the ponytail so it creates another poof in the back of the head. Spray the ponytail with hairspray then smooth out the hair on the top of the ponytail. Wrap...

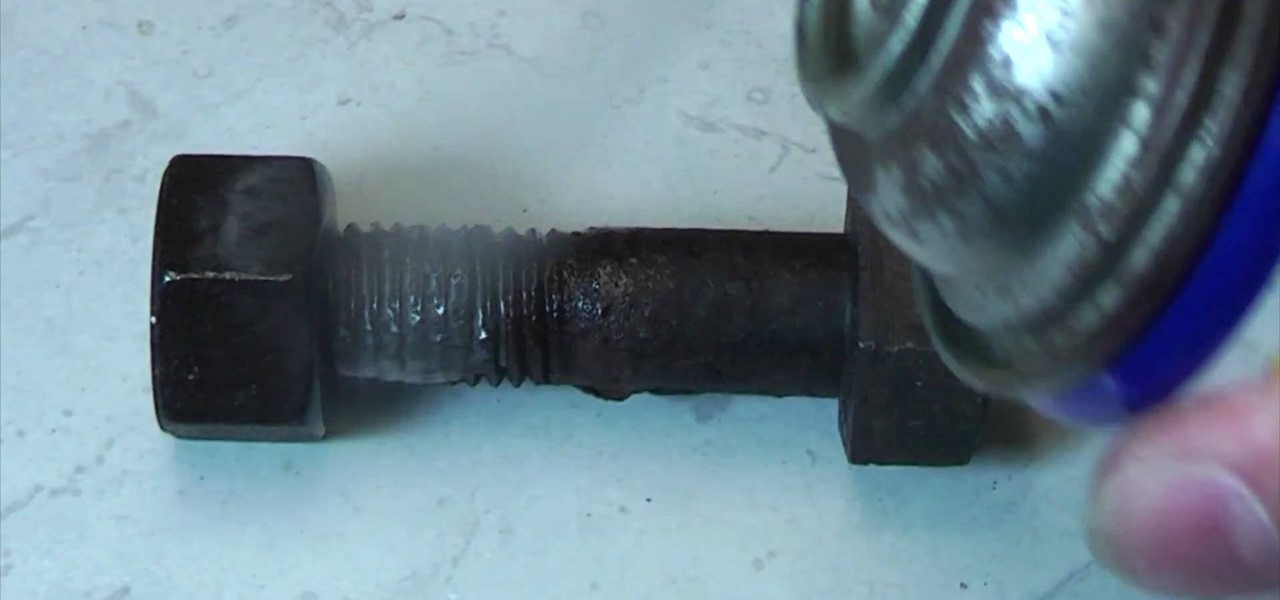
In this how-to video, you will learn how to remove rust from metal. This is useful if you have rust on bolts and it becomes hard to remove. You can squirt penetrating oil on the bolt in order to easily take it apart. All you have to do is spray it. Leave it for about 10 to 15 minutes. If you still have a hard time, you can use wrenches to do this. You will see that the liquid has penetrated all the way through the threads of the bolt. This is the best way to release any rusty parts. This vide...

In this video tutorial, viewers learn how to do a sodium and water experiment. Sodium is a silver metal that is very reactive. When exposed oxygen in the air, an outer coding of sodium oxide will form. Simply drop a piece of sodium into a cup of water. When dropped in water, sodium reacts to form sodium hydroxide and hydrogen gas. The sodium will constant move around in the water. Sometimes the heated reaction will cause the nitrogen gas to ignite. Under the right condition, it may even cause...

In order to build your own mini fridge, you will need the following supplies: a heatsink, a cardboard box, a petier unit, popsicle sticks, standoffs, an AC adapter, scissors, and on/off switch.

This video shows you how to replace the LCD screen on a third generation iPod nano. Using a plastic safe pry tool, run it along the edges of the iPod, releasing the clips. Once the clips have been released, you should be able to remove the back cover. There are six exposed screws on the bottom of the inside back cover, remove all of them. Next remove the click wheel ribbon cable from the jaw connector. To do this, use the pry tool to lift the connector. Use a pair of tweezers to gently remove...

This video shows you how to shuck an oyster using an oyster knife. First, wear a metal mesh glove, used for protection, in case you slip-in and cut yourself, on your left hand. Then take the oyster shell on your left hand and pick the knife on your right hand. Then point the knife tip towards the shell, dig it and jiggle it in between the shell, and then grab the oyster from the wedge and twist the knife till the upper and lower parts of the shell are separated from each other. Once the two p...

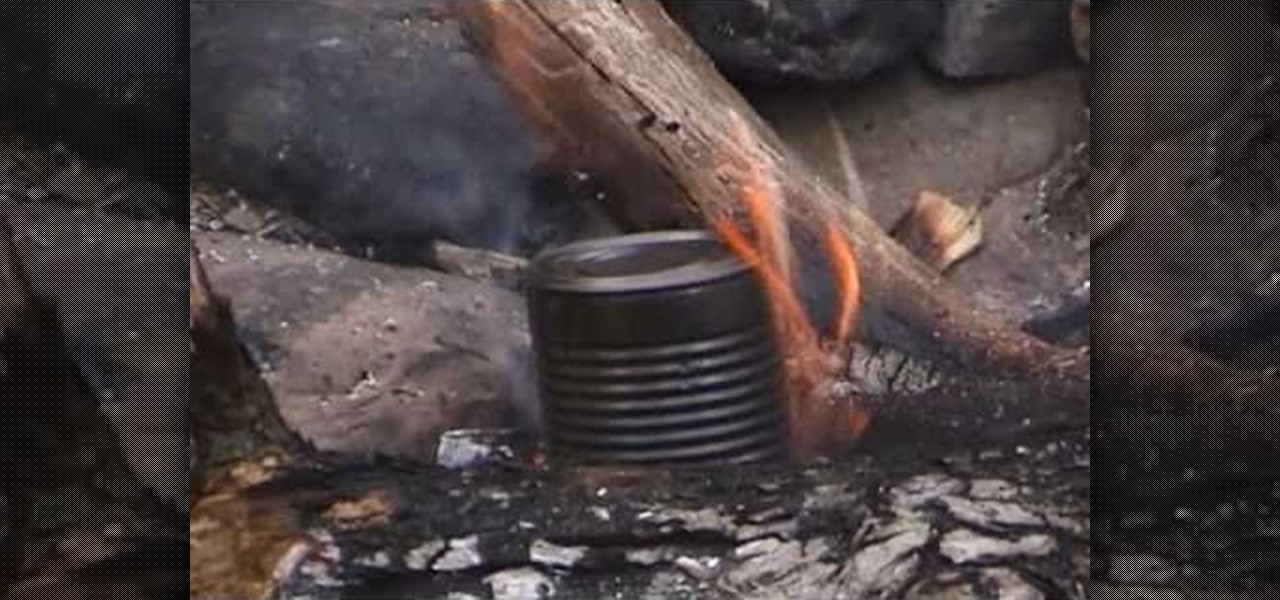
In this video tutorial, viewers learn how to make a char cloth. The materials required for this process are: cloth, container and tinder. The cloth must be made of any woven, cotton material. Begin by placing the cloth into a container. The container should be a metal material. Then close the container and make a while on top to allow the smoke and flames to escape. Leave the container in some fire and wait for it to finish. Then take it to cool and take out the cloth. Now strike some spark o...

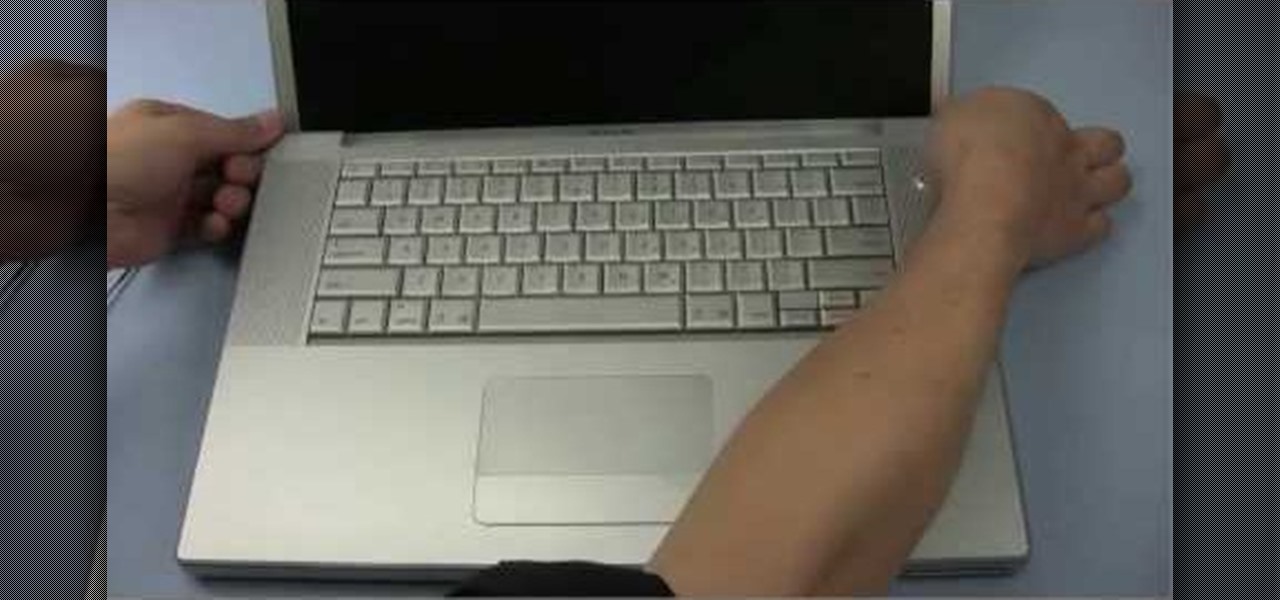
Is the spacebar on your keyboard out of whack? This simple video will show you how to re-seat it in less than two minutes. Start by using your fingers (or a small screwdriver or spudger if needed) to gently pry up along the top of the spacebar, working from one direction to another. Continue working along the top until the key is free from its mounting clips. Observe the location of the mounting clips. After the key is free from the keyboard, you can also remove the metal support bar from the...


