In this video tutorial, viewers learn how to perform a sleeper hold and cobra clutch move. For the sleeper hold, begin the setup with a kick to the gut and an elbow to the back. Then wrap your right arm around the opponents head. Use the other hand to hold the opponent's head and tuck the right arm underneath to lock the hold. For the cobra clutch, grab the opponent's left wrist with your right arm. Then slip your left arm underneath and hold on your shoulder. This video will benefit those vi...

Graham Potter shows how to stylize cork bark oak. The main way to stylize is to avoid the carving of the bark, but to carving the branches. Its recommended to start carving when the branches are young. First you will start removing all the branches you have no use for (e.g.. shortening branches to about 4 to 5 leaves). Graham says while trimming the branches, do not worry about the immediate image of the branches, but of the image of what it will look like in the future when it fully grows. G...

Ian shows us how to draw Yoshi from the Mario Brothers video games. First, you draw three quarters of a circle, for the snout. Next, on the top right edge of the circle, before the opening you've left, you draw two ovals on top of it for the eyes. Next, finish out the circle (snout) by connecting the bottom end with back of the farthest-right eye, using a outward-bulging line. Draw a smile at the bottom of the circle, then fill in the eyes with a black oval in the bottom right corners of both...
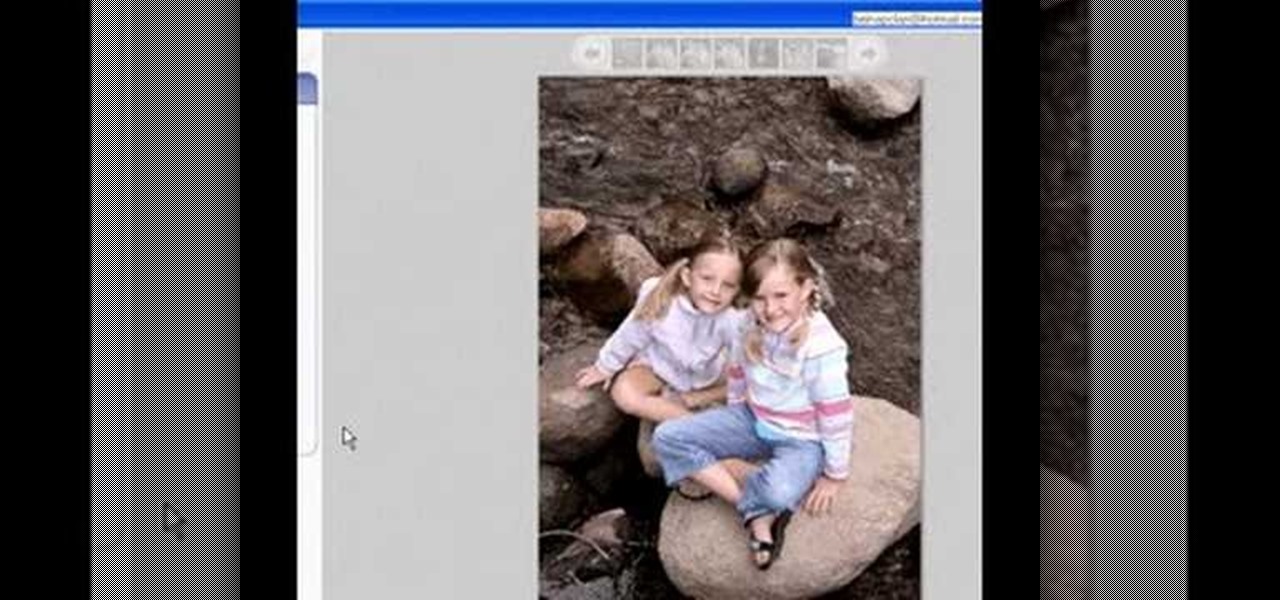
Begin with starting the program Picasa. If the program has been opened, choose an image for editing. Double click on one of the images and it will open. On the left of the screen there is an editing toolbar. The next option after this is to Crop the picture. Click "Crop Picture". Then choose the format you want the picture to be cropped to. Then hit Enter.The next option is "I'm Feeling Lucky". With this option you can give the picture the best color possible.Following with Redeye Repair. Cho...
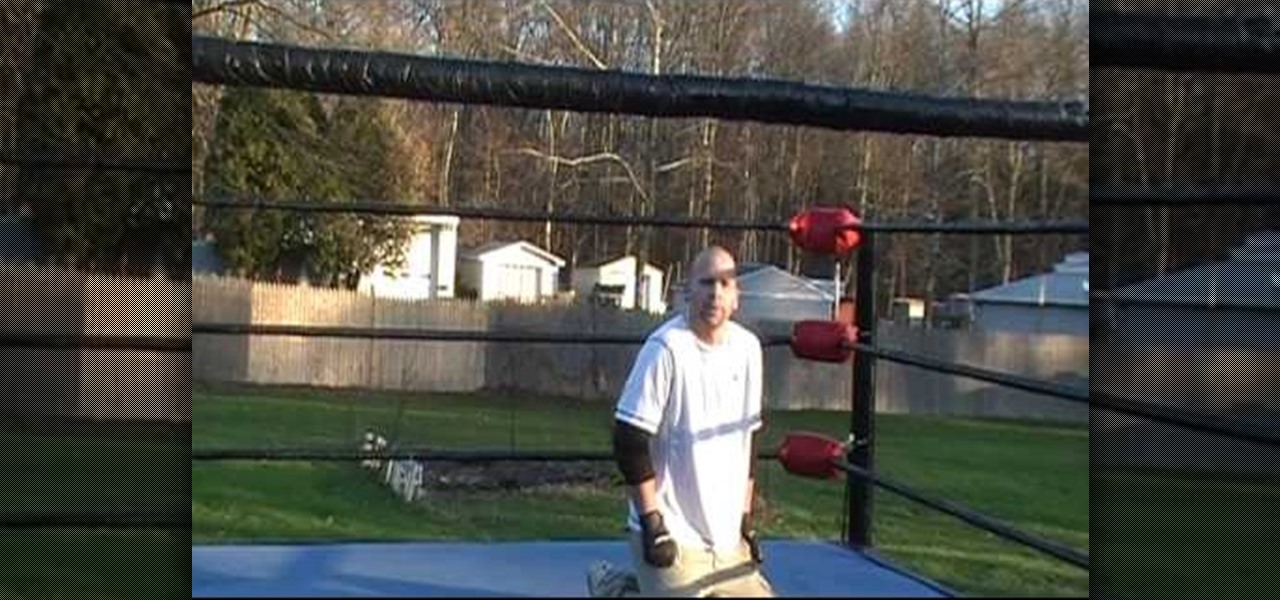
In this video tutorial, viewers learn how to do the Shawn Michaels and Ric Flair turnbuckle flip wrestling move. Begin by running towards the turnbuckle and grab the middle rope with both of your hands. Make sure the your lower back makes contact with the top turnbuckle. Flips your legs over and make sure that you land on the left side. to practice for this move, do some handstands on the middle rope and slowly flipping yourself over to the left side. This video will benefit those viewers who...
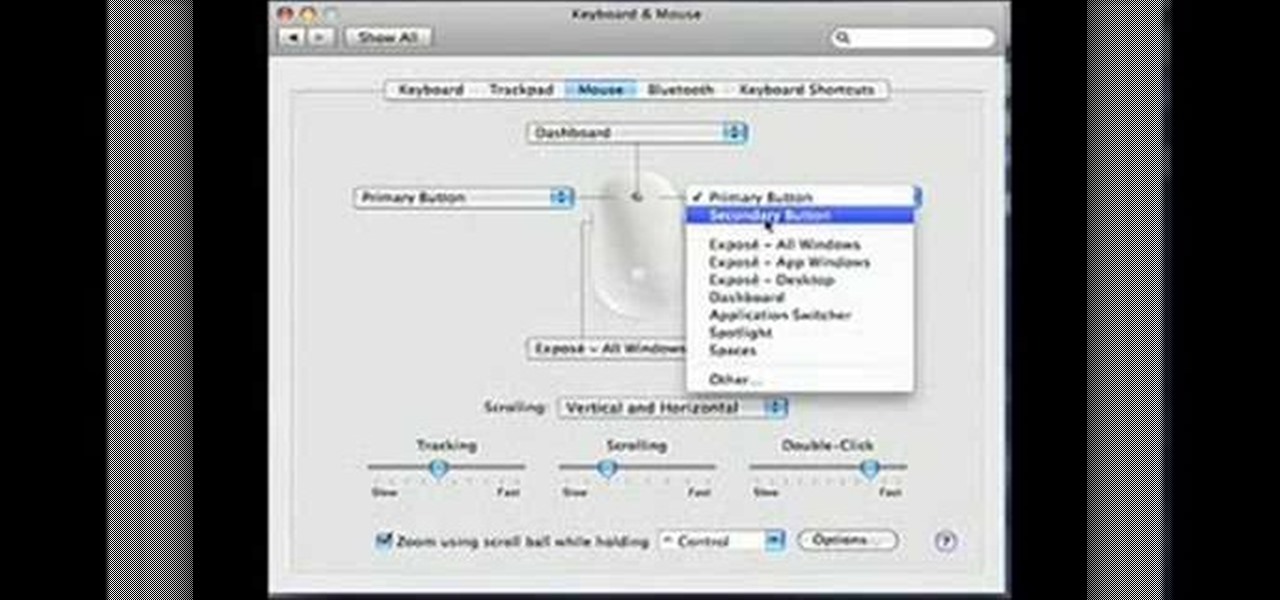
Get your mouse to right click on a Macbook Pro Setting up your mouse:

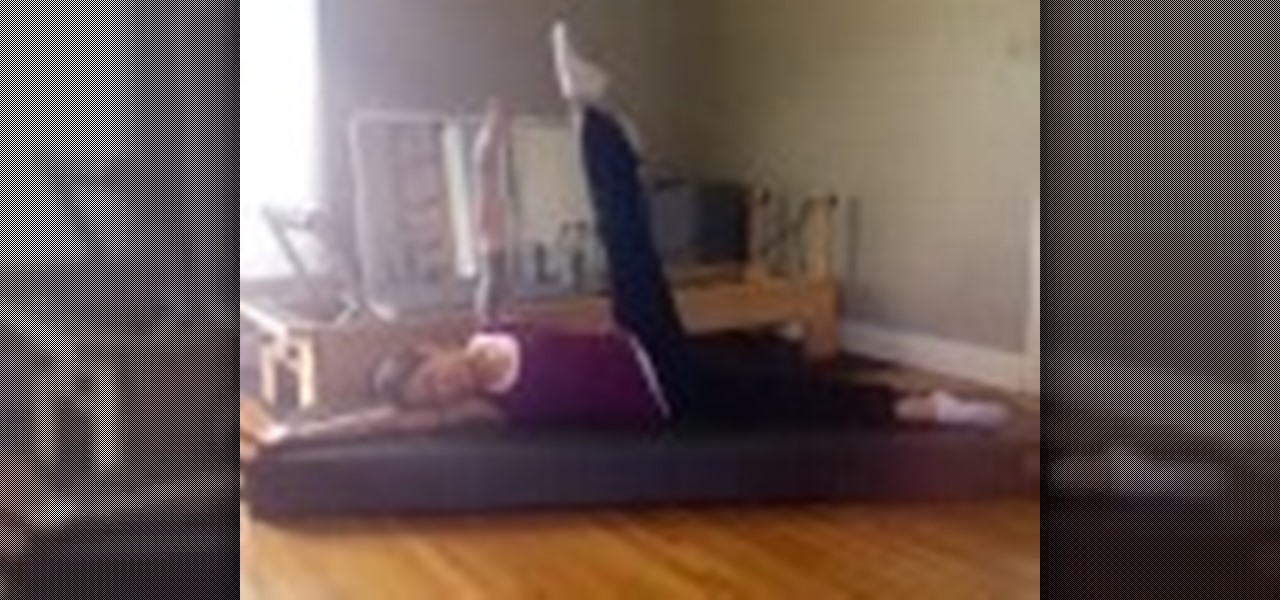
In this demonstration, Erin Huggins shows Pilates exercises that can be used to firm and tone legs. Start laying on our left side with your arm above your head and your head resting on your arm. Your legs should be straight. Start by pointing your right kneecap (top leg) to the ceiling. Then lift it straight up to a 90 degree angle. Flex your foot at the top of the move and keep it flexed when you drop the leg. A variation of the move is to keep your foot pointed and bend your knee as you pul...

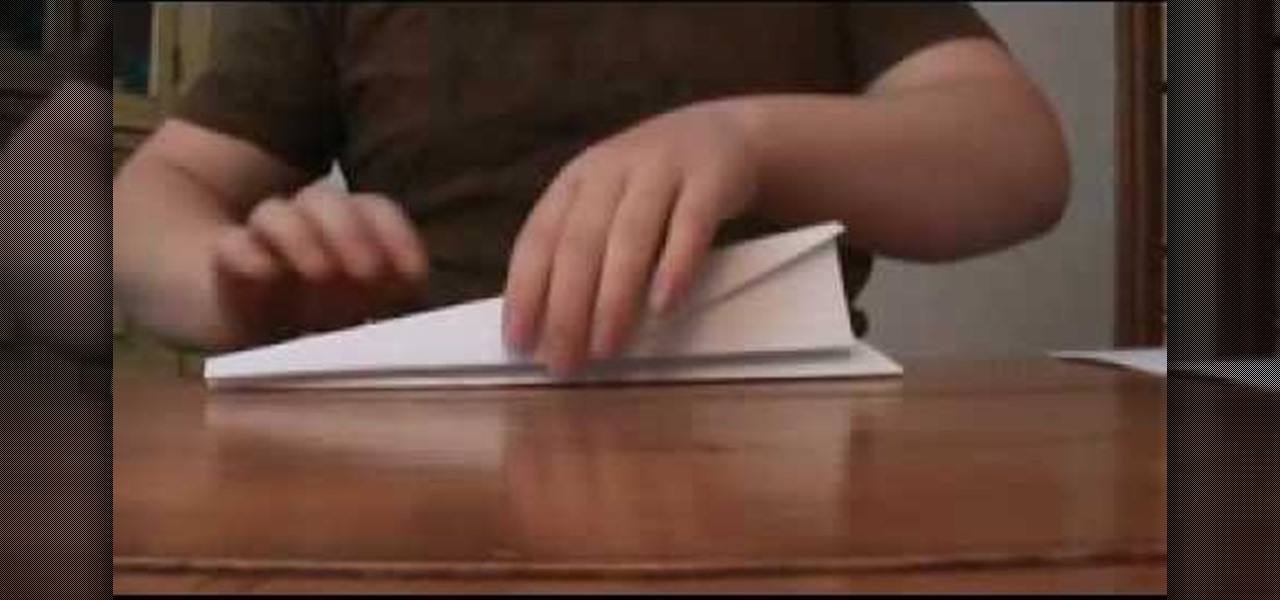
Making a paper airplane that will fly far is useful for throwing in a competition. If you want to know how to do that you should watch this. 1. Roll the right corner toward the middle of the rectangular paper and then flatten it. Do it on the left corner. 2. Fold the paper in half (lengthwise). You should have two big wings now. 3. Fold the left wing into half (lengthwise). Do it also on the right wing. You're done. After following these simple steps, you can now challenge your friends.

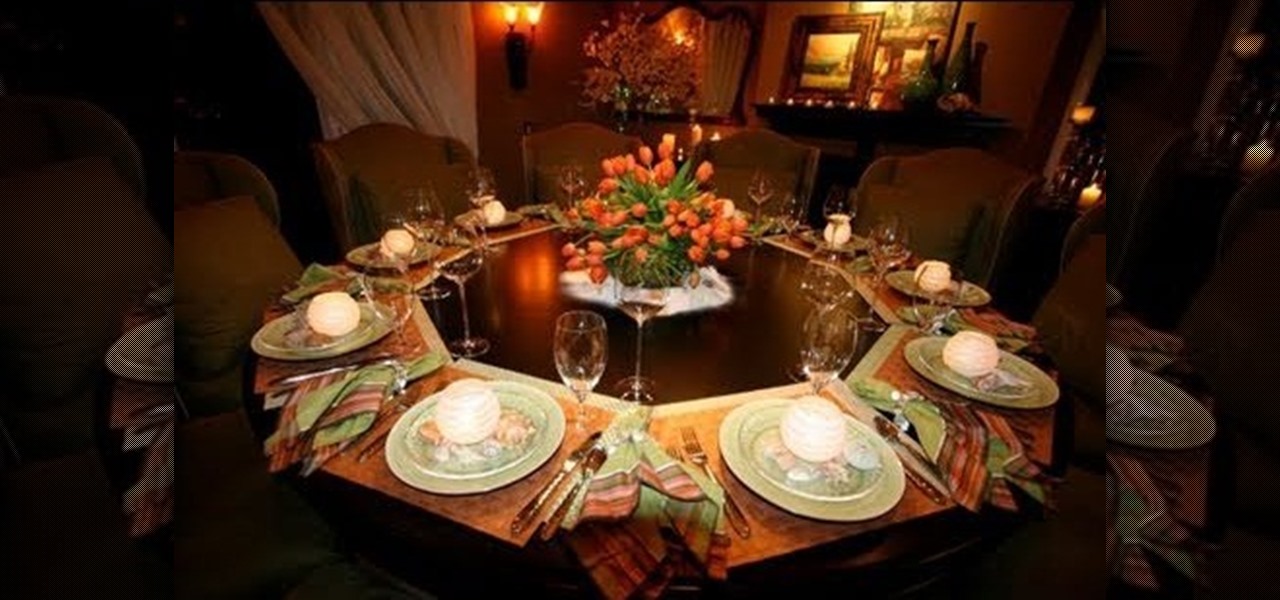
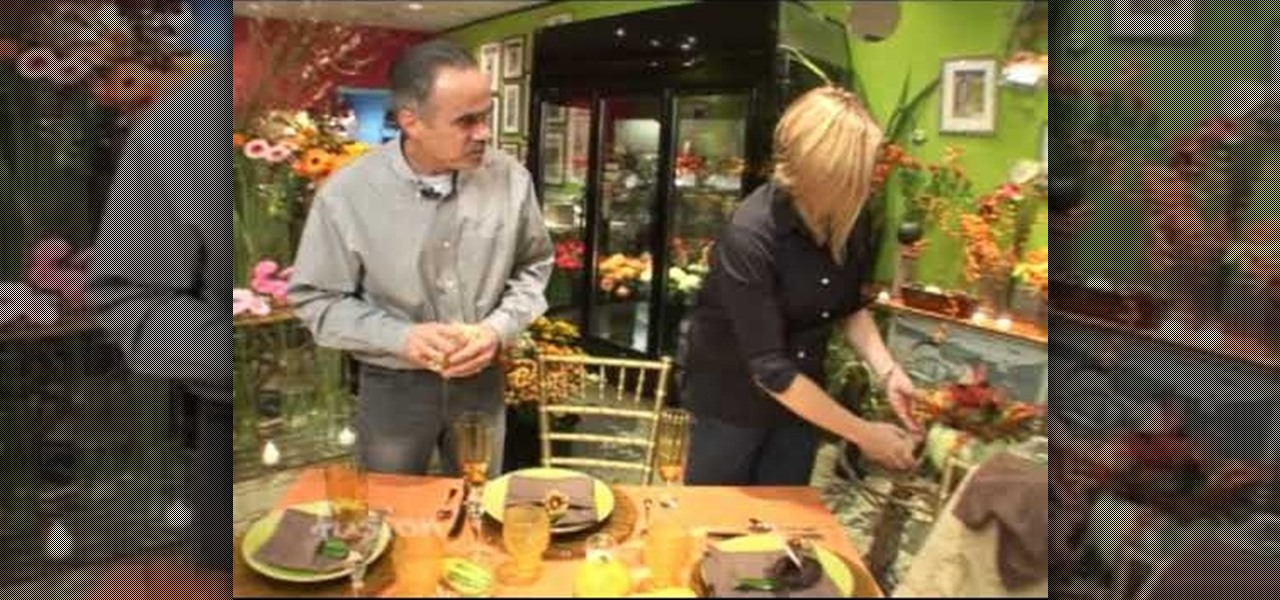
Rebecca Robeson shows you how to remember which side of the plate to put the fork, knife and spoon. To set a table the correct way, follow these steps: The word 'fork' has four letters, as does the word 'left'. So, the fork goes on the left. The word 'knife' has five letters, as does the word 'right'. So, the knife goes on the right. The word 'spoon' also has fiver letters, so it goes alongside the knife. Remember that the safe side of the knife, the dull side, faces out to anyone sitting nex...

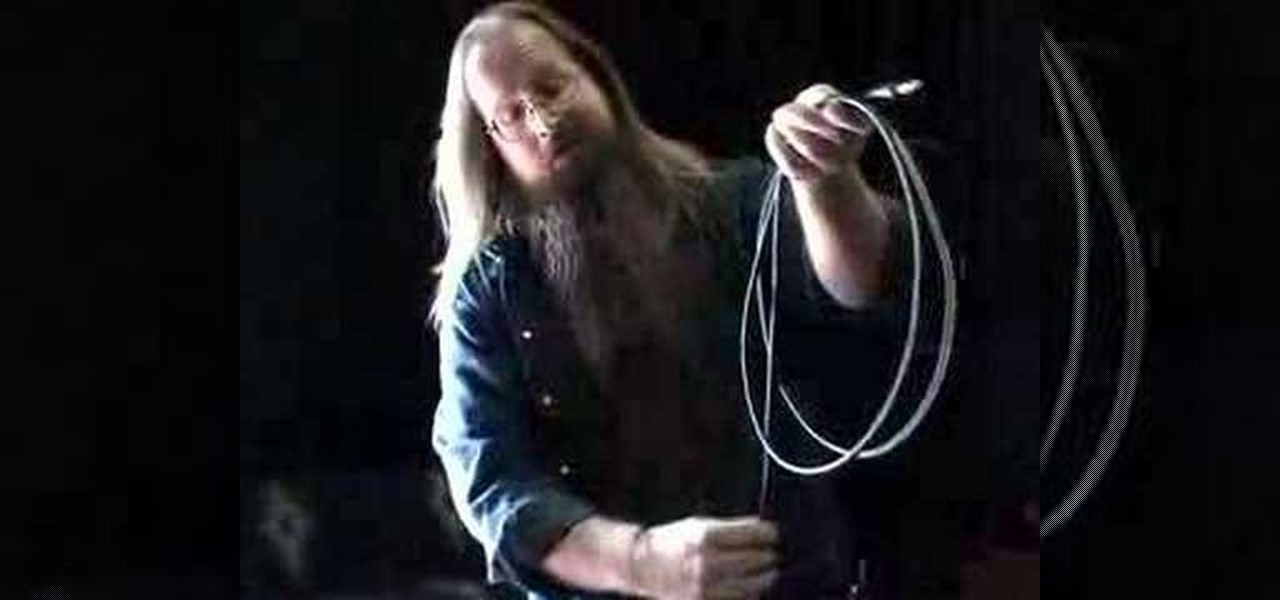
This Music & Instruments video tutorial shows how to properly roll guitar & mic cables. Master Doug from Tech Support demonstrates how to do this in this video. First remove all the kinks from the cable before rolling it. Put one end of the cable in one hand; say in the left hand and with the right hand make loops and place them in the left hand. Make sure you don’t entangle the cable while doing this. If the cable is longer, do this process by placing the cable on the ground. Make sure that ...

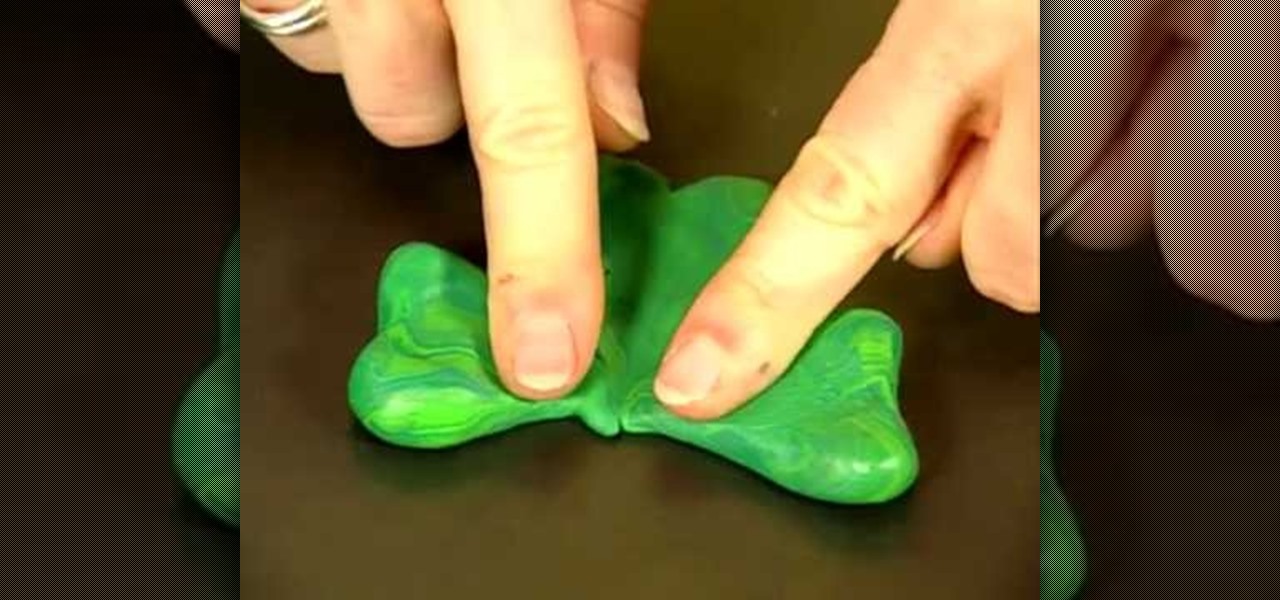
In this how-to video, you will learn how to create a lucky charm. It is a symbol of good luck among the Irish. You will need a baking sheet, green polymer clay, a paper clip, pencil, and a key ring. Roll three one inch balls from the clay. Shape them into the clover leaves. Next, put them on a baking sheet and stick the pointed ends together. Set a paper clip in the center and flatten a piece of clay to seal the paper clip in. Draw lines in the center of the leaves with the pencil. Bake it ac...

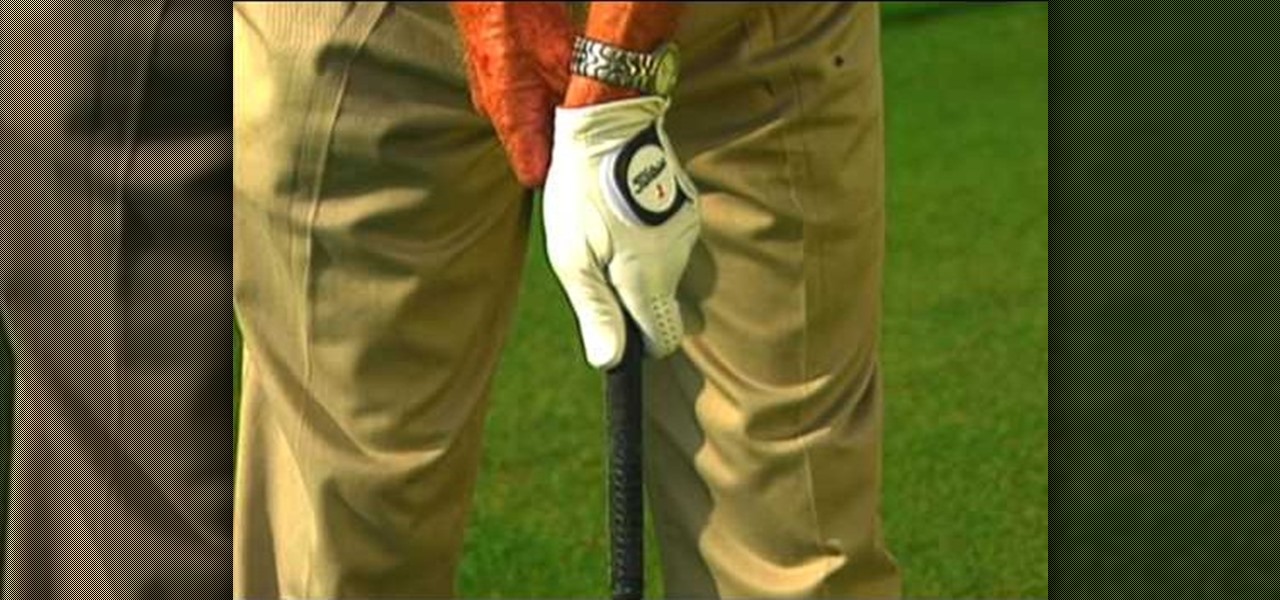
Golf Link demonstrates how to correct a golf slice. Golf slices are most caused by a player's grip. If the grip is yielding a slice, the players hands are turned too far to the left so when you come back to impact, your hands will naturally open and create a slice. Get the correct grip by turning your hand around so your thumb is towards the back of the shaft with your left hand on top of the grip and your right hand facing the direction that you would like to go. Use golf tees to determine i...

To add photos to Facebook, log into Facebook and go to your profile page. Click the photos button on the left hand side of the screen. On the next screen, click the my photos button at the top of the page. Next, create a photo album. Type in the name, location and description of the album into the appropriate boxes. Choose your visibility preferences and click the create album button. Next, using the Facebook Java upload tool, choose the hard drive file that your photos are located in from th...

Catherine demonstrates how to create an eclectic, sunset-inspired necklace in this video. To create the necklace you must gather 40 yellow bugle beads, 18 orange chip beads, 3 mm red round beads, a barrel clasp, 2 crimp beads, 2 bead covers, about 20 inches of beading wire, clippers and pliers. The design is to start by threading a clap and a crimp bead onto the wire, leaving a 2 inch tail. Then thread on 15 yellow beads, remembering to cover the tail you left with the beads, 3 orange beads, ...

Youtipis4u has come up with a few tips to reduce your menstrual pain in a natural way. Many of us ladies opt for painkillers or other medicines to reduce menstrual discomfort. Here is a way that is natural and has no side-effects. One of them is raspberry tea leaves. During the menstrual days, we can opt for a raspberry leaf tea instead of a normal one. Raspberry leaves relax uterine muscles. That way, uterine contractions reduce and hence the pain decreases. This tea is perfectly harmless, h...

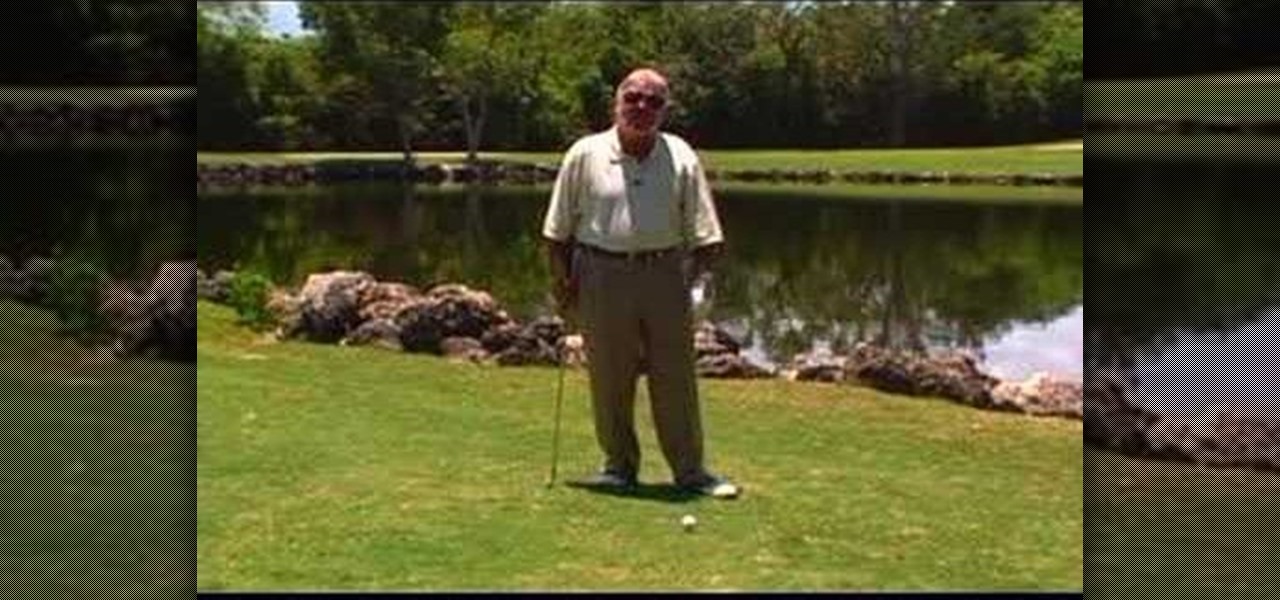
Everyone shanks the ball sometimes in golf and most wonder why they do and how to prevent it. There are two reasons that you shank the ball. One reason people shank is because they are trying to keep the hands behind the ball and it creates such an angle that the only place you can hit the ball is in the shank of the club. Some people also flip the club over at the last second and that creates an angle that causes the shank to hit the ball too. What you want to do is tuck the left arm in and ...

In this video you will learn how to draw a graffiti version of "Slimer" from the movie "Ghostbusters". The materials you will need are a writing utensil (the artist in the video uses a permanent marker) and some paper to write on. The artist begins by drawing the eyes and the pupils (the pupils appear cross-eyed). Then you draw the nose, the mouth and start outlining the area around the top of the eyes. Then draw the outline of the ghosts body then continuing around the left arm to the hand. ...

In this video, award-winning golf teacher Gary Wiren focuses on hookers. Not THOSE hookers, though Gary offers an interesting bit of trivia about those too. He's focused on hookers in the realm of golf, swings gone awry that can really affect your game. Gary talks about the four main reasons hooking happens, discussing and demonstrating each type for the viewer. These reasons are: deceleration in the left arm, bringing the club too high (and allowing the wrist to "fold over" at the top of the...

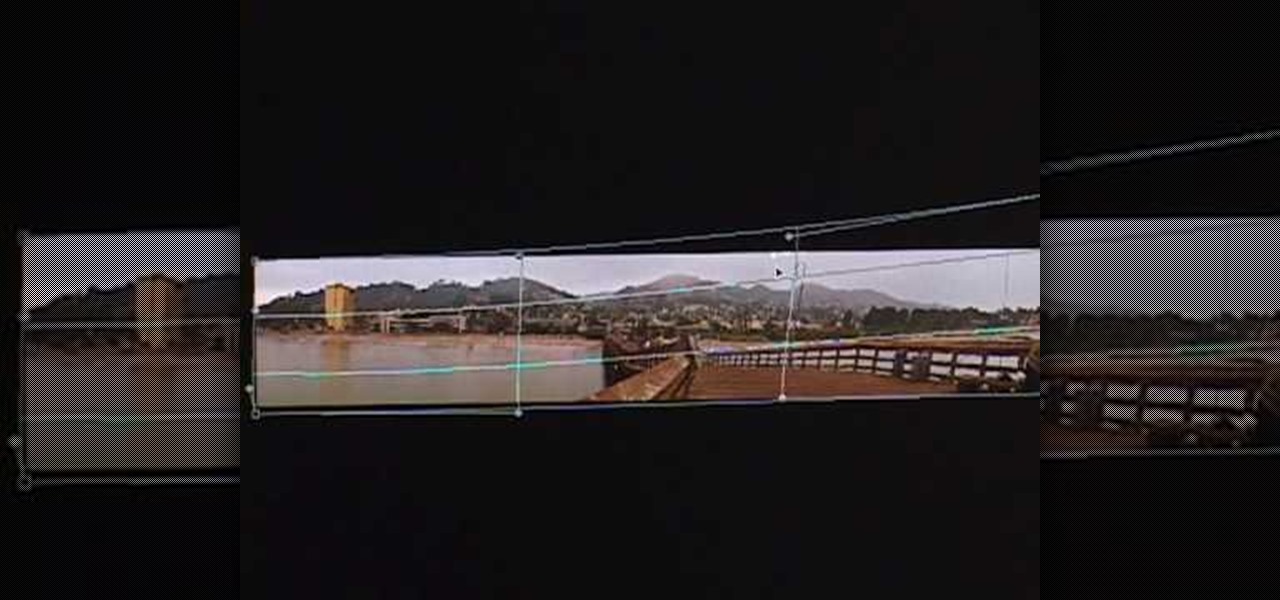
This video in the Software category will show you how to create simple panoramic images in Photoshop. This video uses only five images for this effect. Select the five images and put them in a folder. Go to File -> Automate -> Photomerge. On the Photomerge page select ‘Folder’ and browse. Find and ‘choose’ the folder you created. Under the layout panel on left hand side of the page, select ‘cylindrical ‘option and click OK. Now the panoramic image will appear that will have some blank areas. ...

In this video tutorial, viewers learn how to avoid a bad finish to cure a golf push shot. Usually, when players make a swing for the ball, their arm separates from their body. This will take the club to the right of the target and as a result, pushes the shot. To correct this, connect your left arm to your left side as you make a swing. This will allow the club to stay with your turn and go down the target line. This video will benefit those viewers who enjoy playing golf and would like to le...

Watch this video to learn how to draw a rose in just seconds. • To draw a rose, you need a paper and three sketch pens of light green, dark green and red colors.

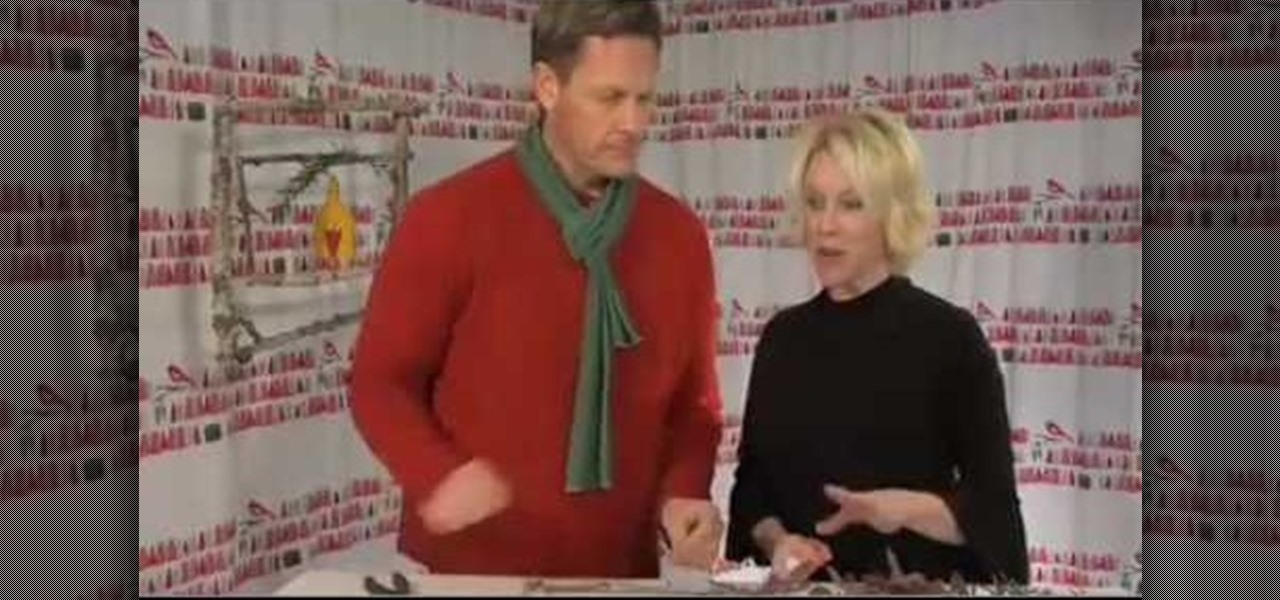
Six Minute Style host Susan Doherty is on location in Montana at the Nine Mile School house with Kurt Seer who shows how to create a 3 dimensional wreath mobile. He uses birch as his base. You can use any wood you choose. Make a square out of four branches. Knot, tie and twist floral wire at cross sections of the wood frame. Leave a little tail for the decorations. Tie dried rosemary in the wire tail. Tie leaves and greenery around the frame using wire. Not only for Christmas, you can create ...

In this video, the girl is showing us how to do Taylor Swift inspired hair. The first step in obtaining this look is to have straight hair and a curling iron (around 3/4" or smaller). You will first need to take a small strand of hair and twist it around with your finger so it's loosely twisted. Then, take the curling iron and place it on the strand just so the bottom of it is covered. Then, curl up and leave it curled for at least 15 seconds. Next, once you take the curling iron out, you wil...

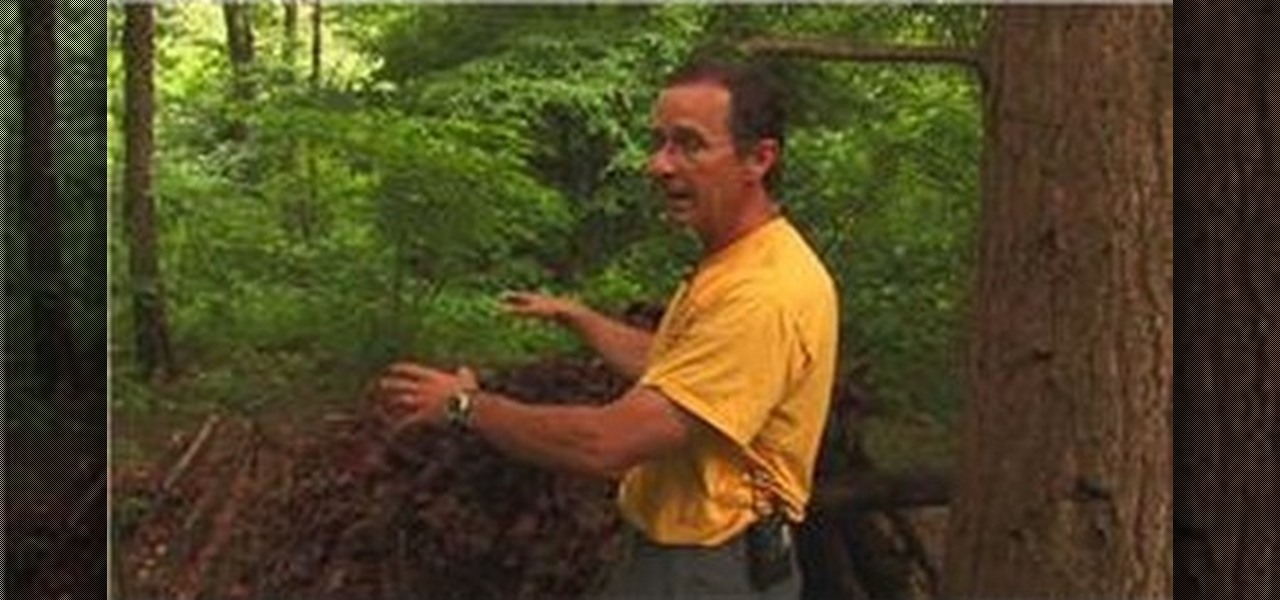
In this how-to video, you will learn how to build a wilderness survival shelter. One thing you can do is use a rain poncho, blanket, or piece of plastic and make a water impermeable shelter with a rope like material. These materials could include anything like a cord or dental floss. You can build a debris hut by using a large stick leaning against a tree. Stack many other sticks around this large stick, and then pile up debris such as dirt or leaves to build up walls. Once the structure is b...

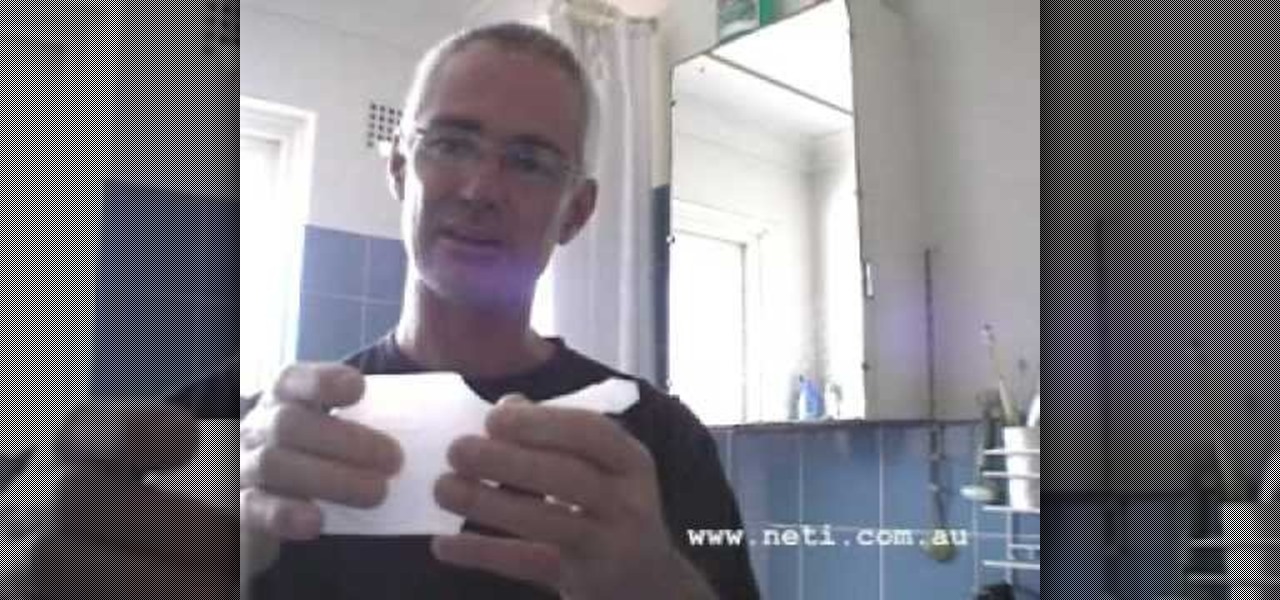
This video is demonstrating the technique of jala neti by Steve. It is a purification exercise. You will use the unbreakable neti pot in the bathroom to do jala neti. This pot's nozzle properly fit in the nose and the plastic body of the pot can be easily hold. For 200 ml of neti pot put 1/3 of teaspoonful of salt. Don't put more, or otherwise your nose will burn. Fill the water straight from the tap and shake the neti pot properly. Take the neti pot in the right hand if you want to put water...

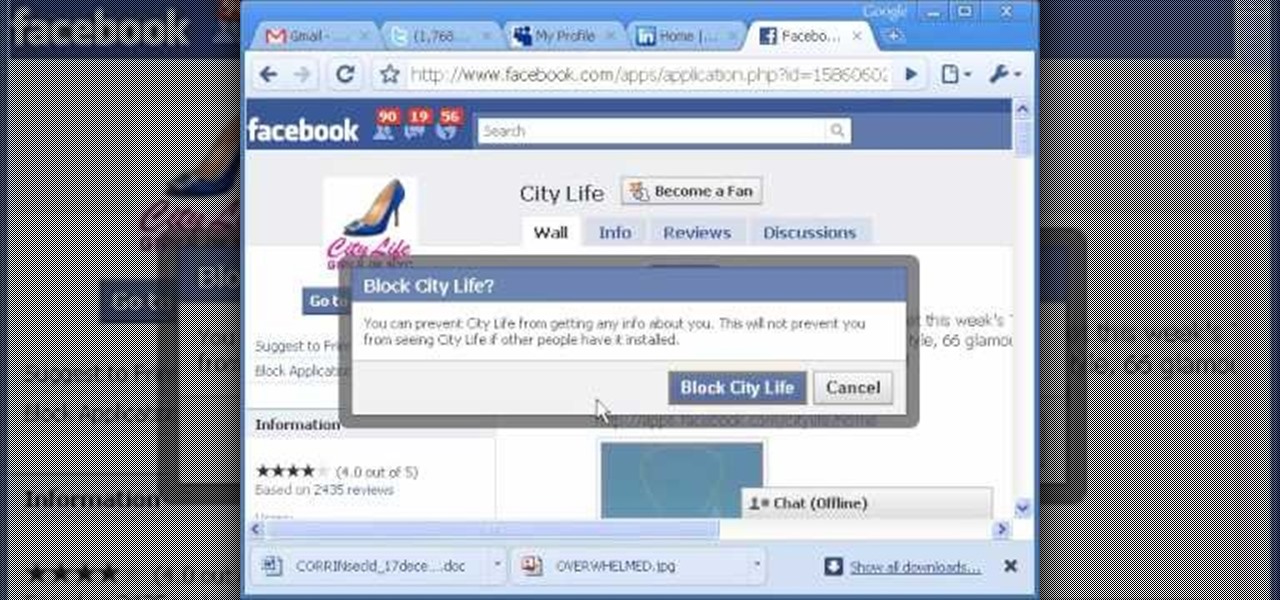
In this video from alandeklerk he shows us how to get rid of applications on Facebook which clutter up your page. Click on the application, click Allow. Click on the application name on the bottom left. Now you'll see on the upper left it will say Block Application. Click on that, then a box will come up asking if you want to block it. Click Block and the application will now be blocked. You will not see this on your profile anymore. Do this process for any application you would like blocked ...

Teresa demonstrates how left-handed people can complete a crochet project. The project is a round cap for a toy Ogeechee bear. Using her left hand to hold the crochet needle, she starts with a circle of crochet stitches to form the crown of the cap, and counts out the number of stitches needed for each row. A yarn marker is used to keep the rows organized, and Theresa shows how to utilize a slip stitch to make turns in the crochet to complete partial-rows that form a brim to the cap. She ends...

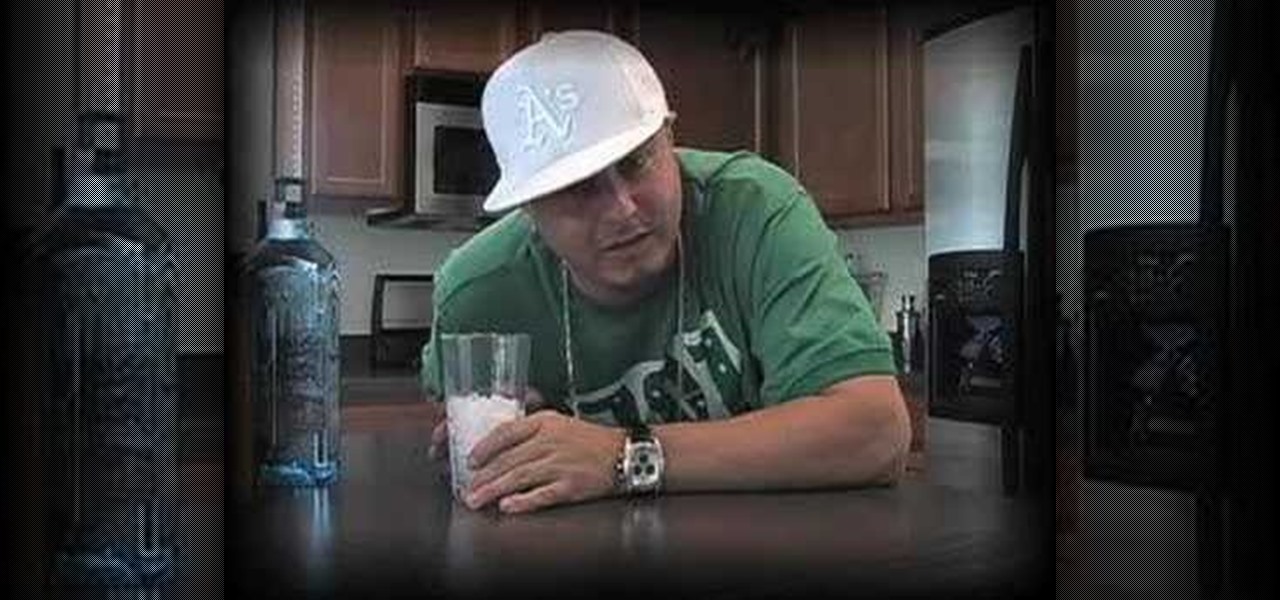
A purple chongo drink, better known as a "Jay Tee Splash" consists of 4 main ingredients. If you can afford it, Bombay gin is the best. Otherwise, just a basic Seagram's gin or grocery store gin is ok. Next, Ocean Spray Cran-grape, which is cranberry and grape juice. Last two ingredients are Minute Maid orange juice and of course, ice. Get a basic 8 oz. glass and fill half way with ice. Cover the ice with the gin, let it melt down a few minutes. Then you can fill the rest of the glass with th...

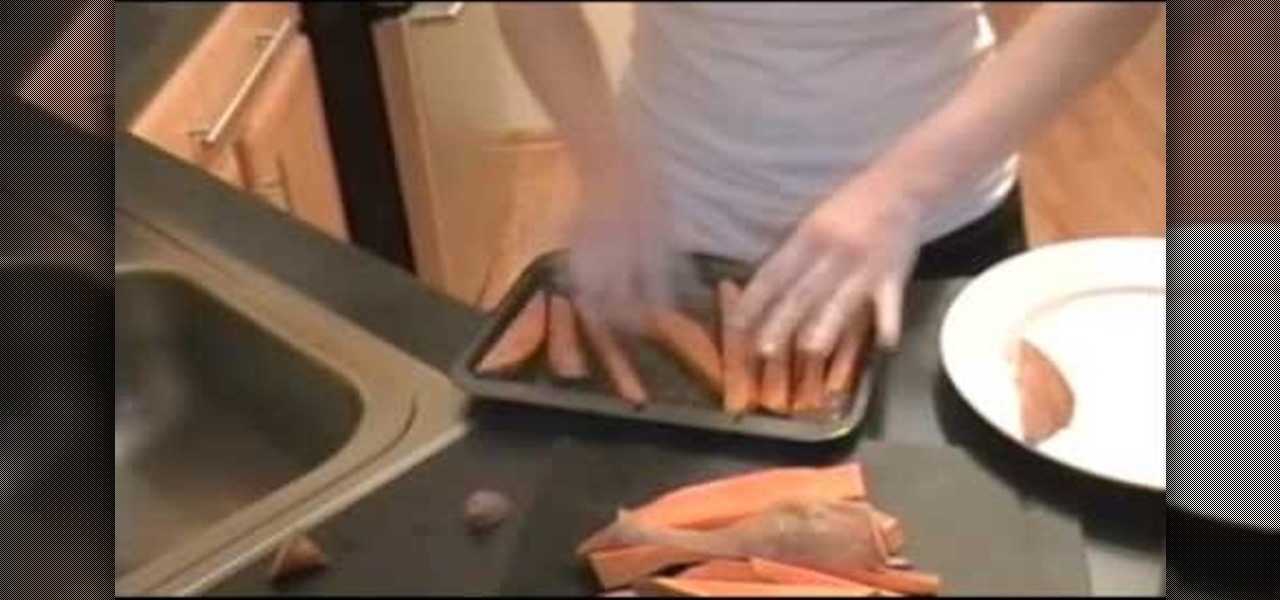
The Kitchen Nut YouTube user shows all the steps needed for preparing roasted sweet potato fries, with various tips for getting better result.

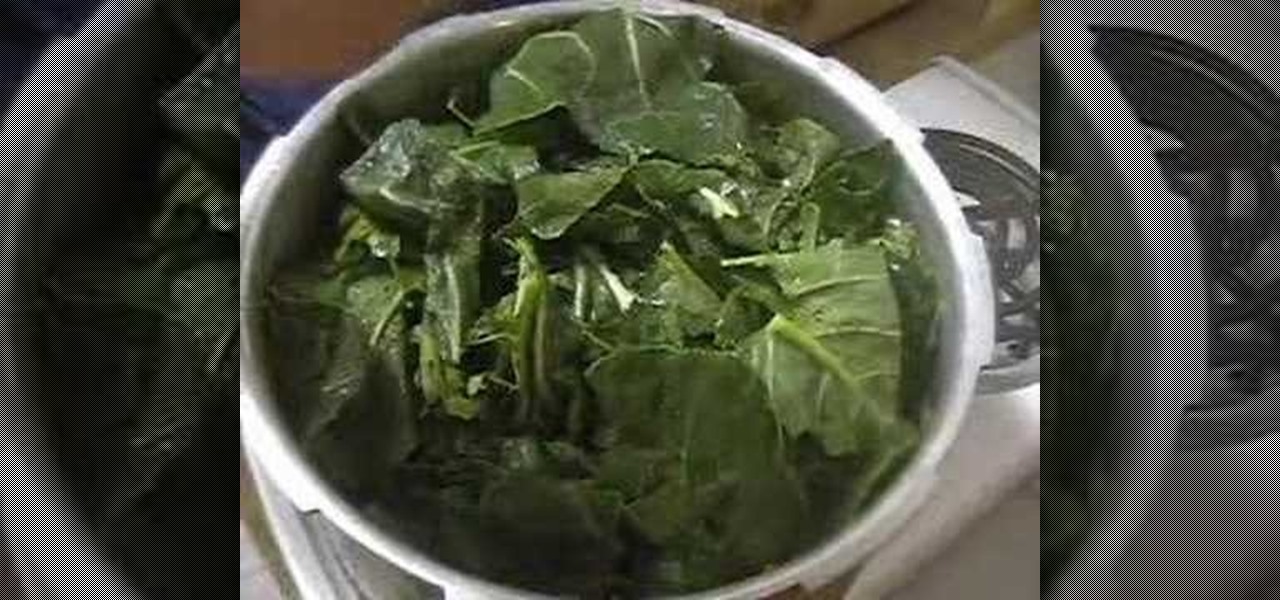
In an episode of Cooking with Dave, viewers are shown how to cook collard greens with ham! First, in a pot on medium high put a little olive oil and garlic in the bottom of the pan (about 2 teaspoons). Put a whole chopped onion to add flavor! Stir all ingredients in the pot so far. Before you can cook the collard greens you have to clean them in the sink using water and stripping the leaves from the stem (throwing away the stem). Wash the leaves in the sink in water, even ripping up the leave...

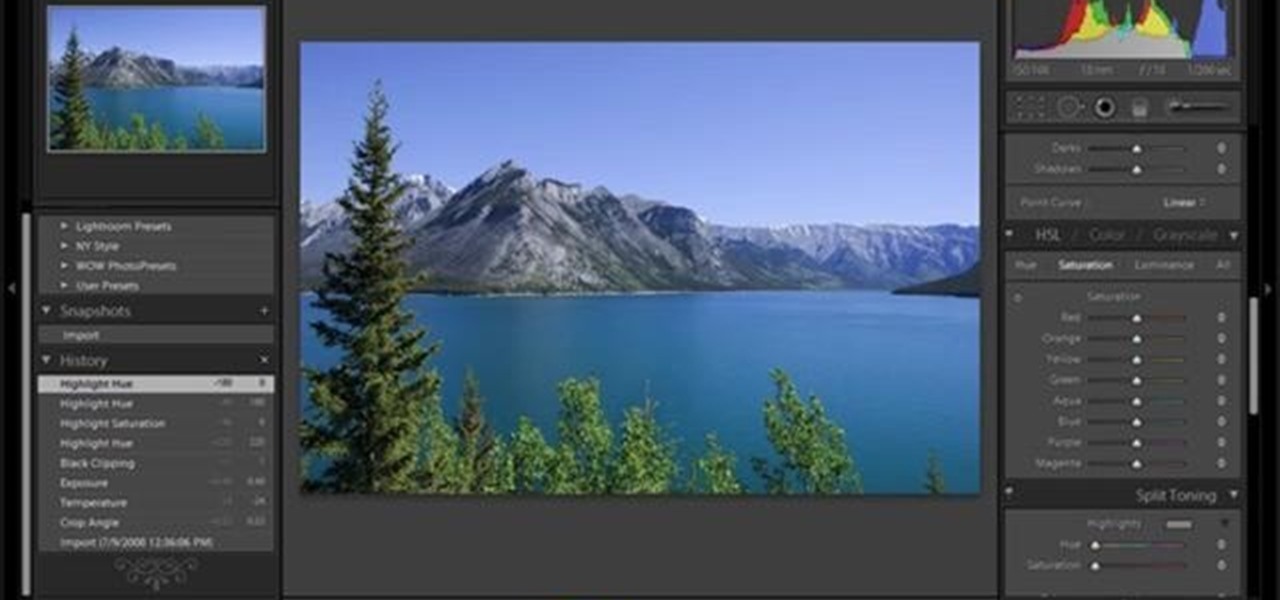
This video shows the method to split tone in Lightroom. Firstly, go to the 'Grayscale' button to change the photo into black & white. Go to the split toning section and change the tint into the color you want using the 'hue' option. You can also use the 'Highlights' option to select the color and see the preview. Bring the saturation down to get the right color. Repeat the same procedure with the shadows. Choose the right tint for shadows. Hold the 'Alt' key down to see the effect of change i...

A step by step video tutorial on how to make a gorgeous chicken a dumpling dinner for you and your friends! Have left over chicken around from last nights dinner? Then chicken and dumplings is the perfect dish for you to make! First dice up your left over chicken and boil it in water. Dice up a few carrots, onions, celery, and garlic and mix with chicken soup base. Add this mixture to the boiling chicken. to thicken up the soup add 1/2 cup of flour to 3/4 cup water and slowly add this to the ...

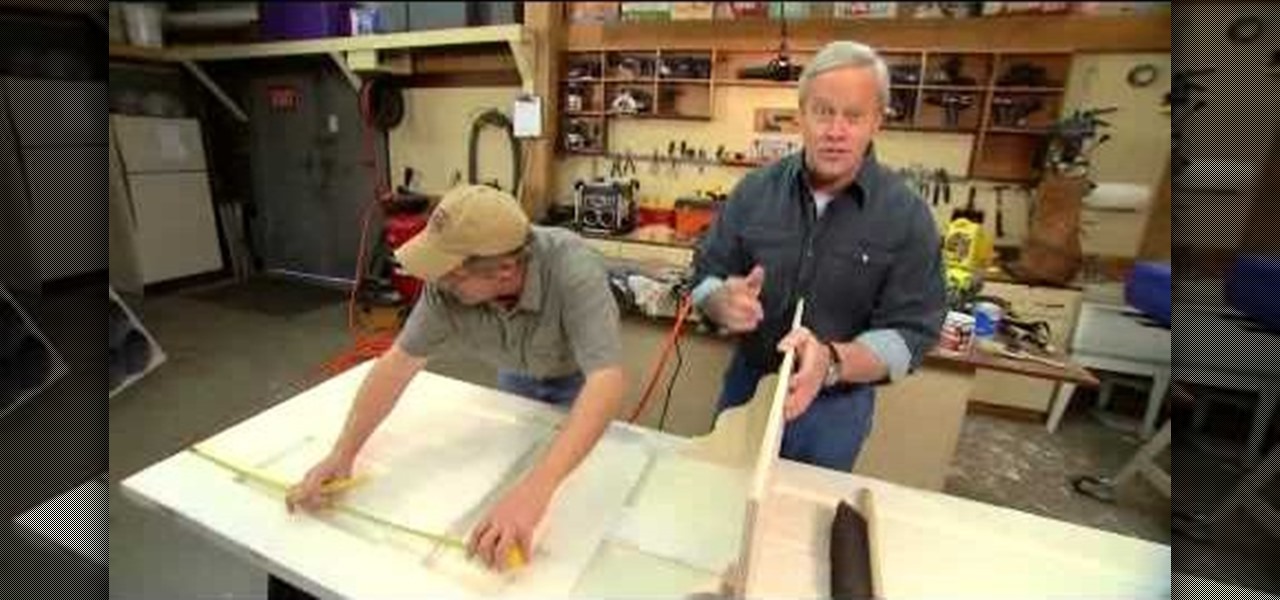
This step by step tutorial will show you how an old door can be turned into a beautiful desk. Danny Lipford explains how an old door can be used to make a headboard, room divider or even as art. He then gives you basic instructions on revamping your door to become a desk. He starts off by removing all the elements that make a door a door, like hinges and door knobs. By filling in the holes left from the missing hardware with bondo you are left with a smooth surface ready to be cut and shaped ...

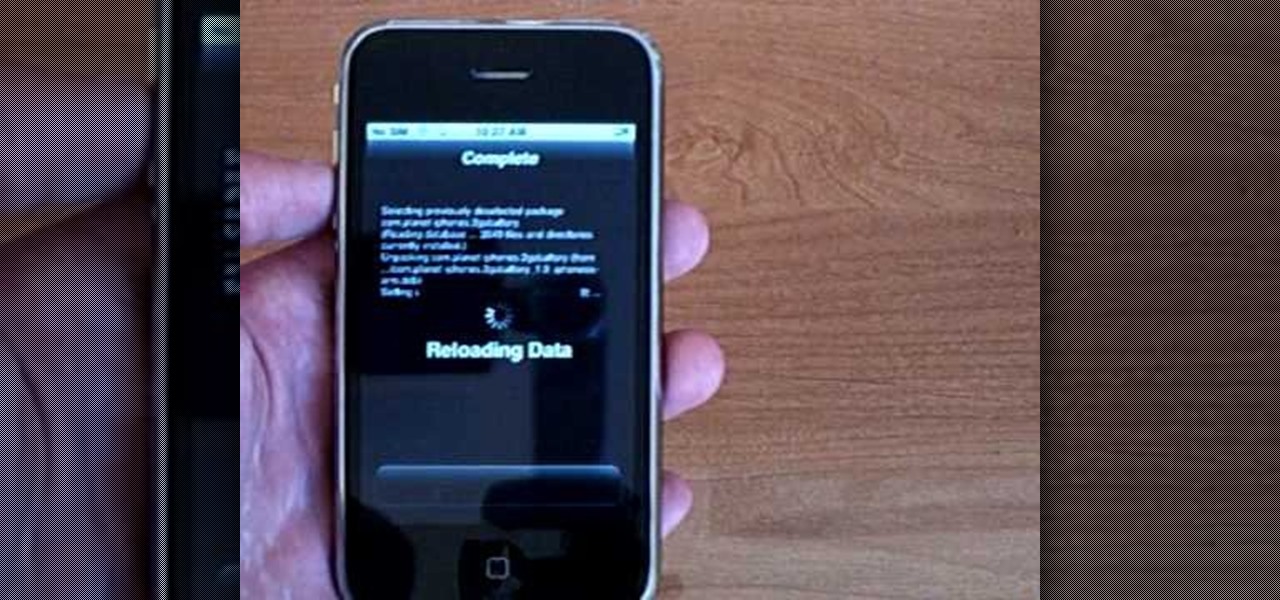
Want to get more information about the battery status of your iPhone and iPod Touch? Ever wanted a nifty little percentage display to show you exactly how much battery juice you have left? iPhone 3GS owners have this installed by default, but Apple seems to have forgotten about the rest of us. That is no reason for the rest of us to be left out though. This quick video shows you how to get that. Find out where to download this useful app, install it, and then have the battery information disp...

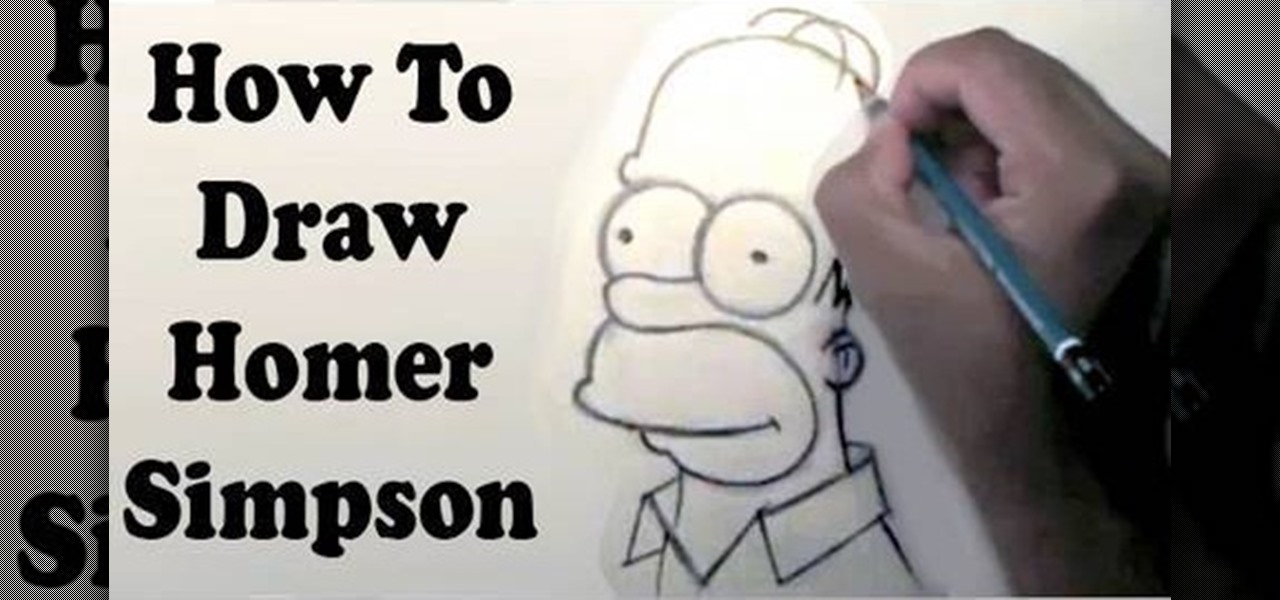
The video shows you how to draw a Homer Simpson cartoon. Start off with a big circle and a smaller circle below. Draw two slightly diagonal lines to the sides, a slightly curved line below and two lines for the lower part of the head. Then add another circle on the left side of the smaller circle. Draw a small pickle shaped nose and an eyebrow above the left circle. Draw the ear just below the eye line. The hair is drawn above the ear, like an M shape. Draw the mouth and the lower lip and ext...

Learn how to draw a flower in MS Paint in this video tutorial from Shannon. In the first step, you will need to draw a circle with the shape tool. To create the petals, you will need to draw additional circles surrounding the first circle. Use the paint brush tool in green to create the stem and leaves, which you will draw free-hand. Using the bucket tool, fill in the leaves and the petals of the flower. Shannon also shows in this video how to draw a bird next to the flower with the paint bru...

To make some flowers of geranium plant, the flowers are colorful and beautiful. Put the branches together to the main branch in various designs. Merge three leaves together to form a new design. Now start placing all the leaves to the main branch if you want. You need to make a petal to form the flower. Arrange the bunch of flower in middle of your dining table allowing its fragrance in the entire room. We will put the flowers together .This is very important and necessary step. We will dupli...

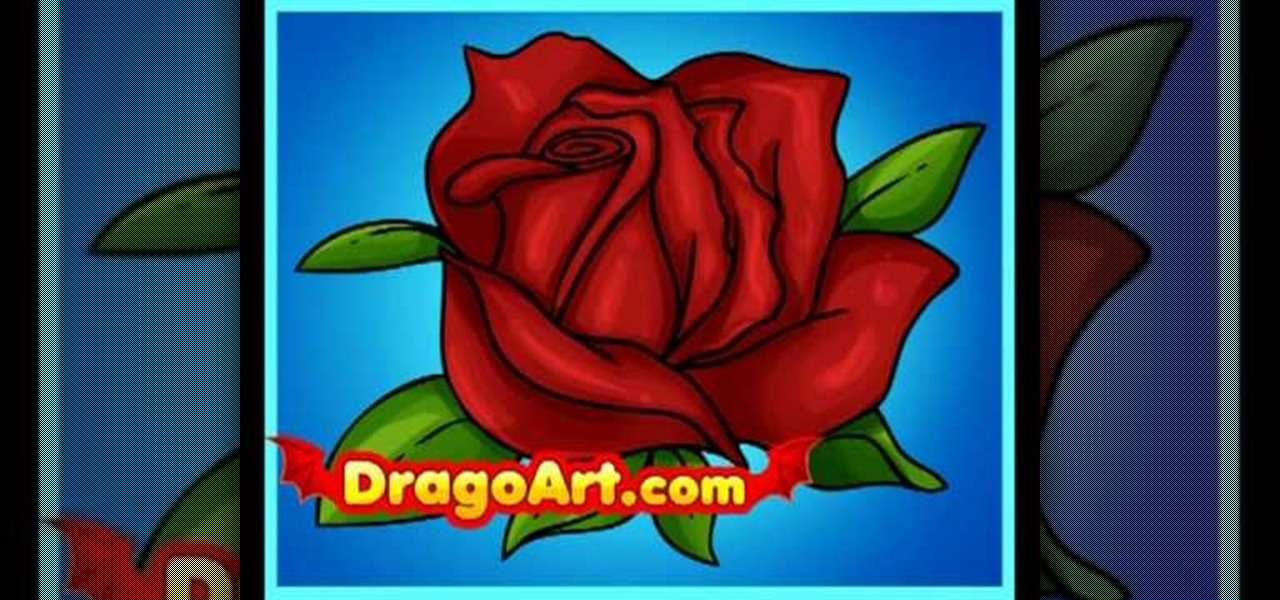
This video shows you how to draw a cartoon rose. Step by step, this silent clip shows the best way to draw this and then fill it in in color, including the leaves. First you draw a circle and a cross positioned above the centre point of the circle. Then you follow the drawing as it's shown, first outlining the bud and then expanding to the outer petals and finally on to the leaves. It's done in two colors on the video just so you can see the latest section of the outline. Then you color it in...

In this video tutorial viewers learn how to draw a rose on the computer. Begin this drawing with gray guidelines. The rose is cup shaped in the center with larger petals that unfurl on the sides. Use basic shapes for each petal and stick lines for the stem and leaves, the bud is a small circle on top. Now use an opaque black pencil line to draw out the rose in detail. Carefully put in the serrated edge for the leaves. Now draw the bud with fine sepals below it. This video is beneficial to vie...

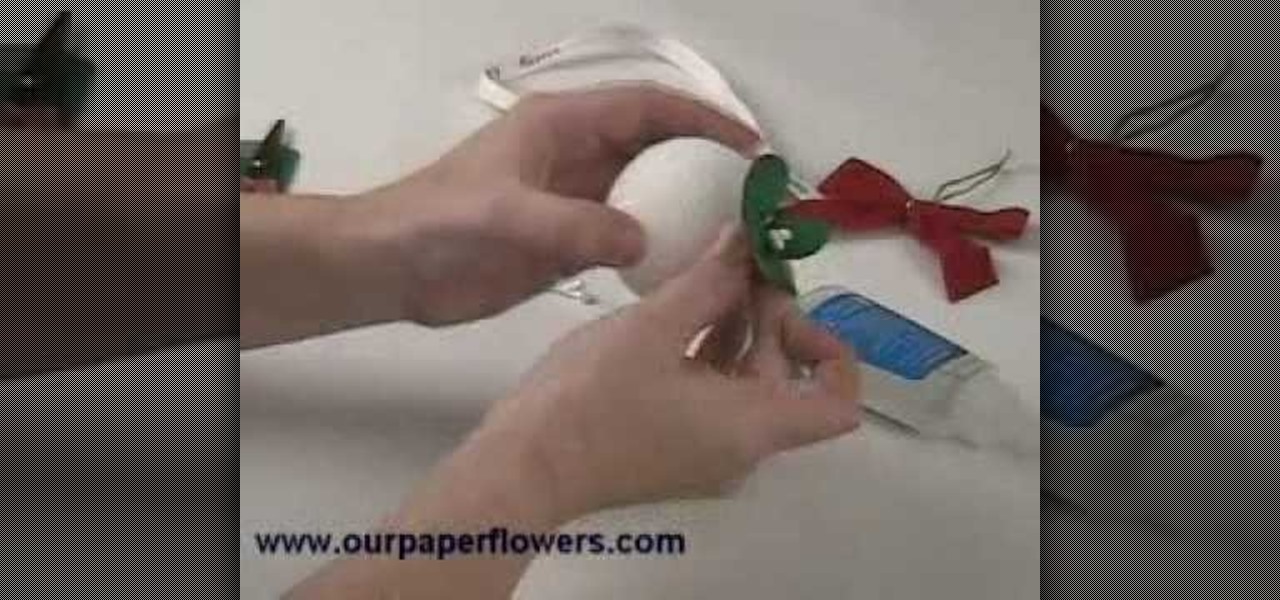
To make a paper flower mistletoe kissing ball, cut leaf petal shapes out of green paper. Apply glue to white wire berries and attach them in between four paper petals. Wrap the ends of the petals with wire to secure the bouquet. Adjust the leaves as desired. Snip the excess wire with wire cutters. Insert the mistletoe bouquet into a Styrofoam ball. Repeat until the ball is completely covered in mistletoe bouquets. Attach a red bow to the top of the mistletoe ball. Finally, add string to hang ...


