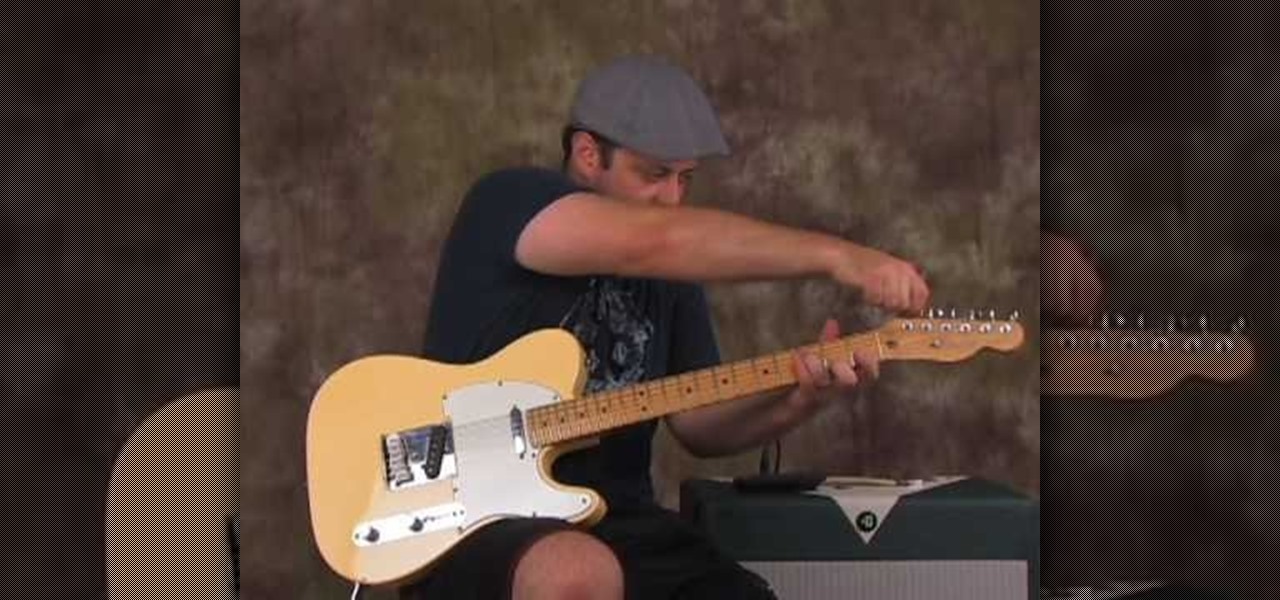
In this tutorial, we learn how to play "Upside Down" by Jack Johnson on acoustic guitar. Start off with playing the intro to the song. Make sure you are playing the right chords and your fingers are on the right frets. As you continue, you will start to play the middle of the song and all of the verses that are in the song. Make sure you pay attention to the highs and lows of the song, as well as where the stops to the song are. After you do this, you will be able to play this song through wi...

In this tutorial, we learn how to make a zipper belt. First, you will need to take three long zippers and then heat up a glue gun. Apply some glue to the middle zipper, then put the other zipper's side on the side where the glue is. Do this for the other side and wait for them to completely dry and cool off. After this, grab a square piece of fabric and glue the top of the zipper onto this. Press it down and wait for it to dry, then apply Velcro to the bottom and it will stick when you wear it!

In this tutorial, we learn how to bisect a line segment. First, you need to adjust your compass so the distance from the sharp part and the drawing part is the size of the line. Then, put the sharp part on one side and draw your arc with the pencil. Do this on both sides of the line so your image shows two arcs that intersect each other. Since you have these two intersecting lines, you can draw a line between these to show where the middle of the line would be. Use a ruler to draw this straig...
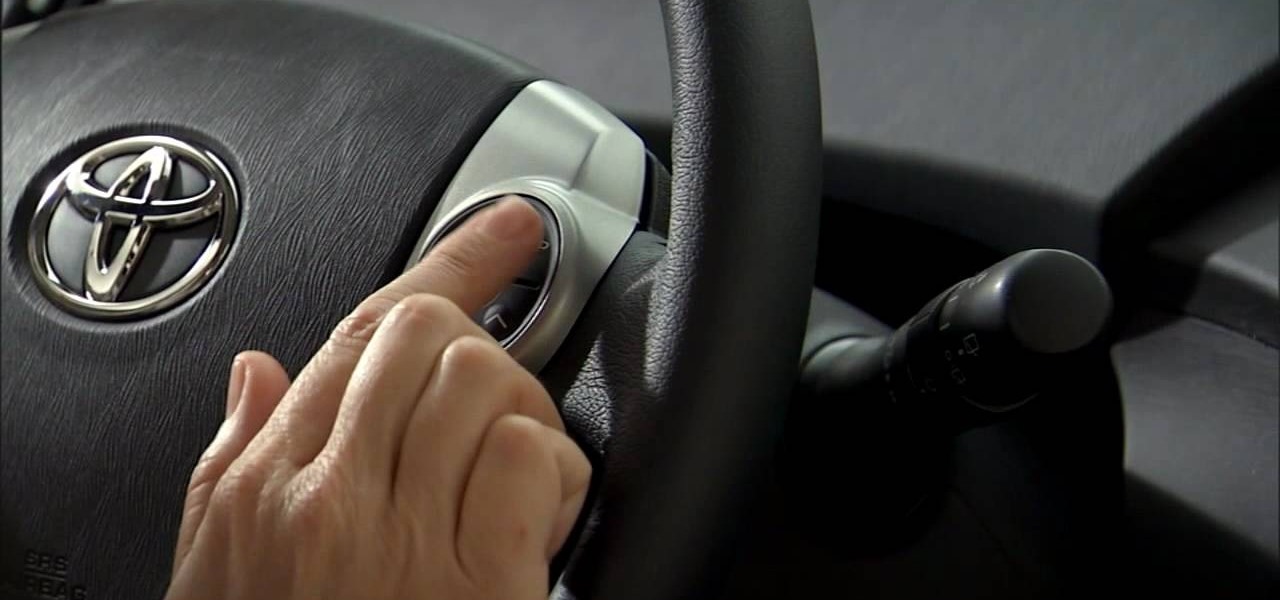
In this tutorial, we learn how to utilize the informational display in the 2010 Prius. This is in the middle of the panel display and appears after the welcoming screen. It includes a clock at the top and can be changed when you press the correct button on the steering wheel. Pressing the display button will bring up different screens to give you information on how your vehicle is running and give you history of it. It will also provide access to settings of your car so you can change the clo...
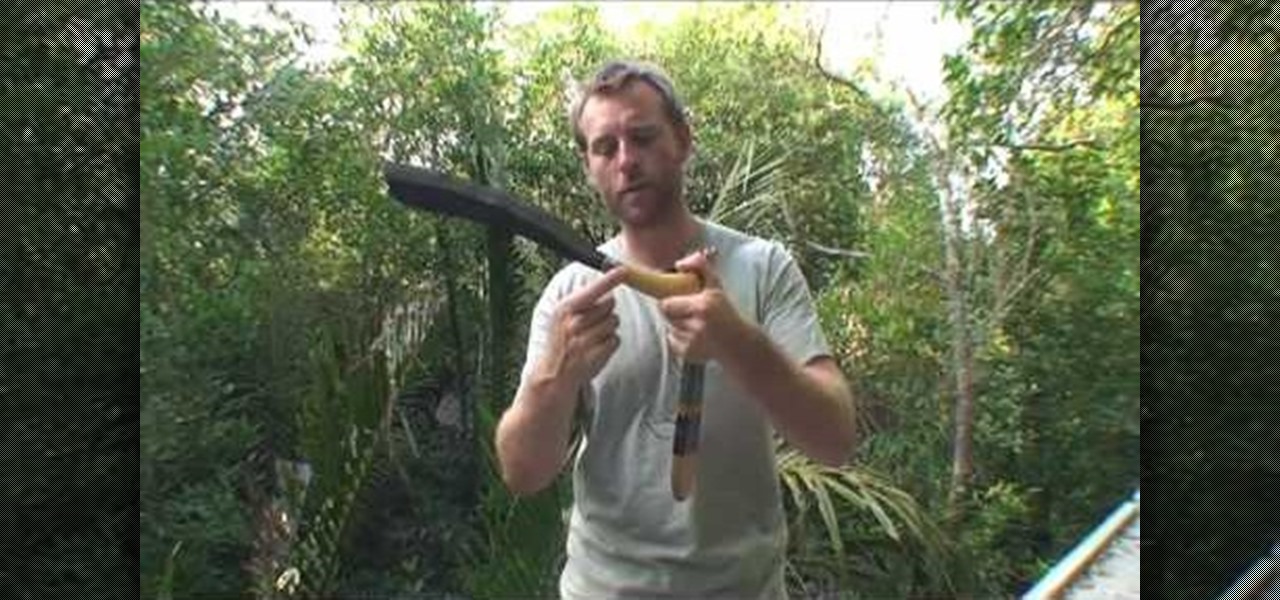
If you're ever stuck in the jungles of Southeast Asia, then your only hope for survival is the parang knife, which is a Malayan type machete. This is the ideal tool for the jungle, especially in Malaysia, where the typical vegetation is more woody, and needs something thicker for stronger chopping action. A parang has three different edges: the front is very sharp and used for skinning, the middle is wider and used for chopping, and the back end (near the handle) is very fine and used for car...
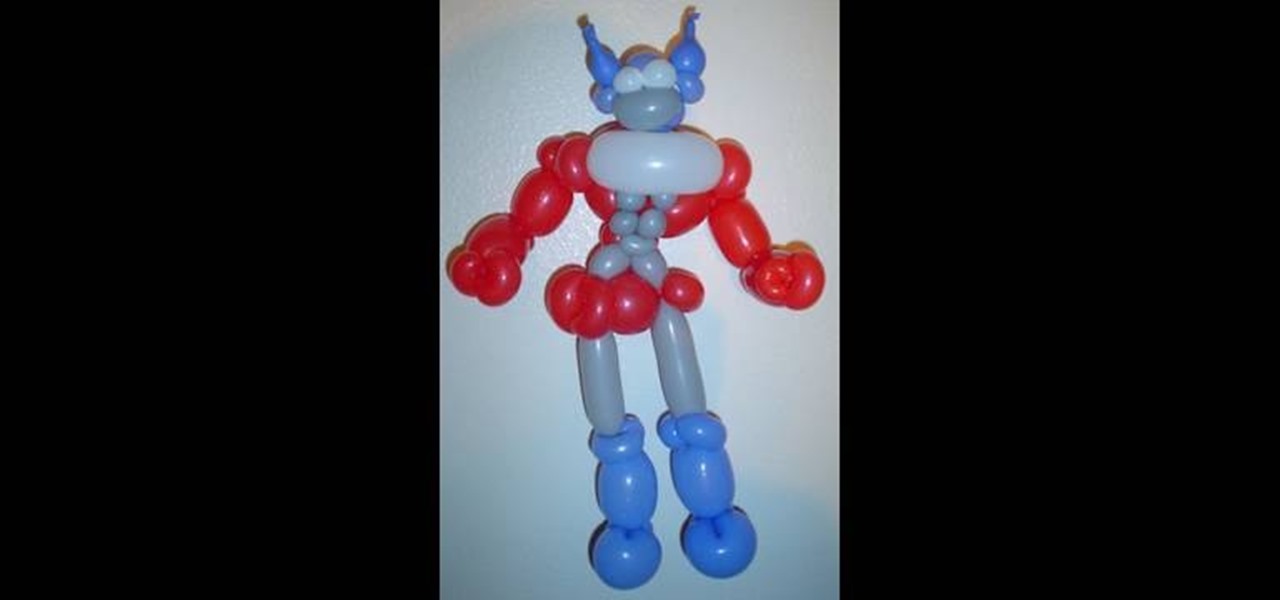
Balloons in skilled hands can be used to model your favorite cartoon characters as well. Watch this video to learn how to create the leader of the Autobots Optimus Prime with balloons.

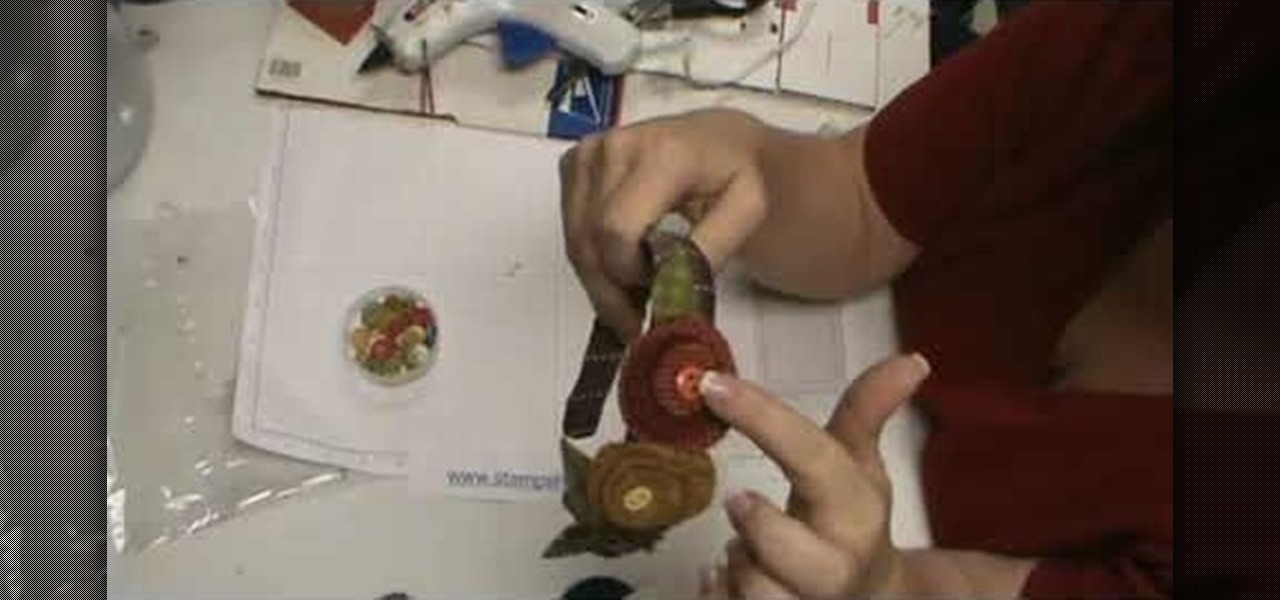
In this video, we learn how to make lollipop flowers out of fabric. First, start out with dye that has four circles in different sizes. You will also need the Big Shot to cut out the circles and wool cut out to fit on the cutting board. Put the board through the machine and your circles will be cut out. After this, start with the largest circle and start to add the other circles on top with a hot glue gun. Now, add a button to the middle of the top smallest circle using a hot glue gun. Add a ...

In this tutorial, we learn how to create a warm grunge background in Photoshop. First, create a large circle on a burnt orange background in Photoshop. Now, go to layer, adjustment layer, then levels. Hit "ok" then the level's adjustment layer will be masked. Now, go grab the bottom black slider and brighten up the middle. Use the overlay to create a center glow. Next, bring in texture using a brushed metal texture from this photo. Now, even the image out by going to image, then image rotatio...

In this video, we learn how to write numbers in calligraphy copperplate. To write the number five, you will simply make the shape of the number, but add in a thick edge to the bump and curved edges to the end. To write the six, use a thick line on the side of the number and a thin line for the circle in the middle. To make the seven, the top should be curved and thick, and the lower line should be very thick with a straight edge. To make the eight, draw the number so that the left edge is thi...

In this video, we learn how to play "Rock Lobster" lick by B 52's on electric guitar with Marty. This is a very easy and simple lick that you can bother people with and learn in just a few minutes. First, play 0 on the low E string, then use your middle finger on 2 and ring finger on 3. After this, do 2-o and practice alternating your picky and doing downward flicks. Practice doing this slowly so your fingers can get accustomed to the movements, then start doing it faster and faster. Once you...

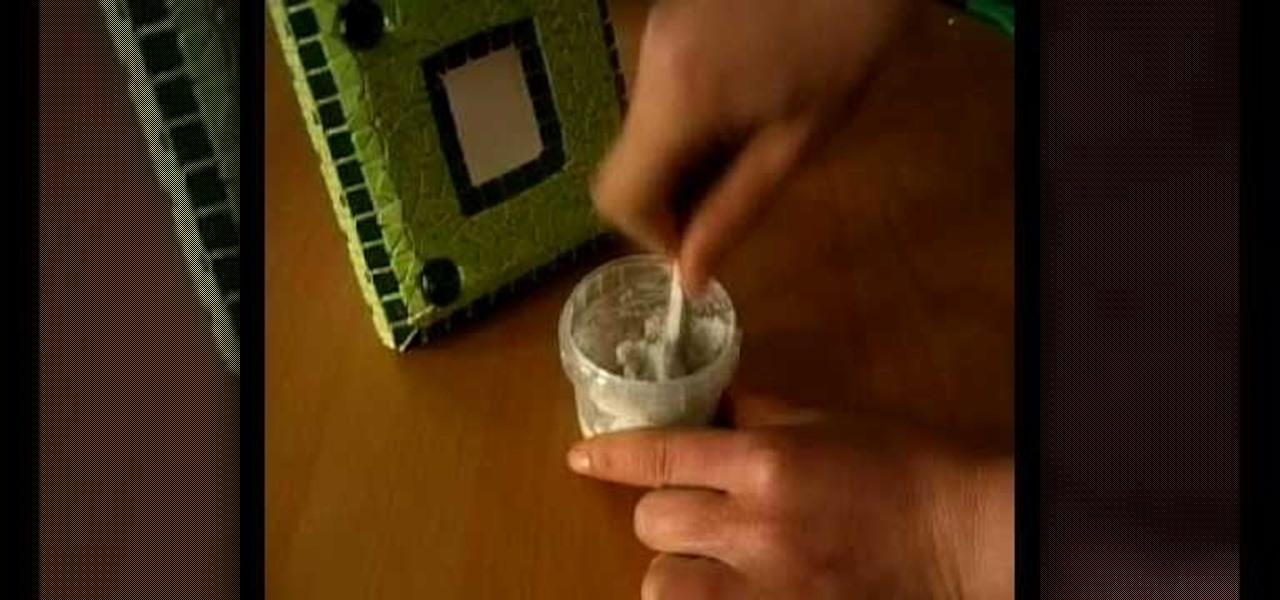
In this video, we learn how to make a mosaic picture frame with ceramic micro tiles. First, glue on the four gemstones. These will go on all four corners of the frame. Next, place the square mosaics onto the base. You will place these around the edges of the frame that are perfectly square. After this, cut the other squares in half and glue them onto the entire frame in the middle of the squares on the frame. Next, let the frame dry for two hours, then mix the powder together with water and r...

In this tutorial, we learn how to make Indian dahi puri. You will first grab your yogurt, and mix it together with salt. After you do this, poke a small hole in your mini puri shell and sprinkle spices on the bottom of the plate. Next, place different spices and vegetables into the middle of the shell. Follow this with adding the liquid mixture into the shells, then top off with chopped onions and tomatoes. Add spices to the top and curd if you like. To finish, sprinkle the yogurt on top and ...

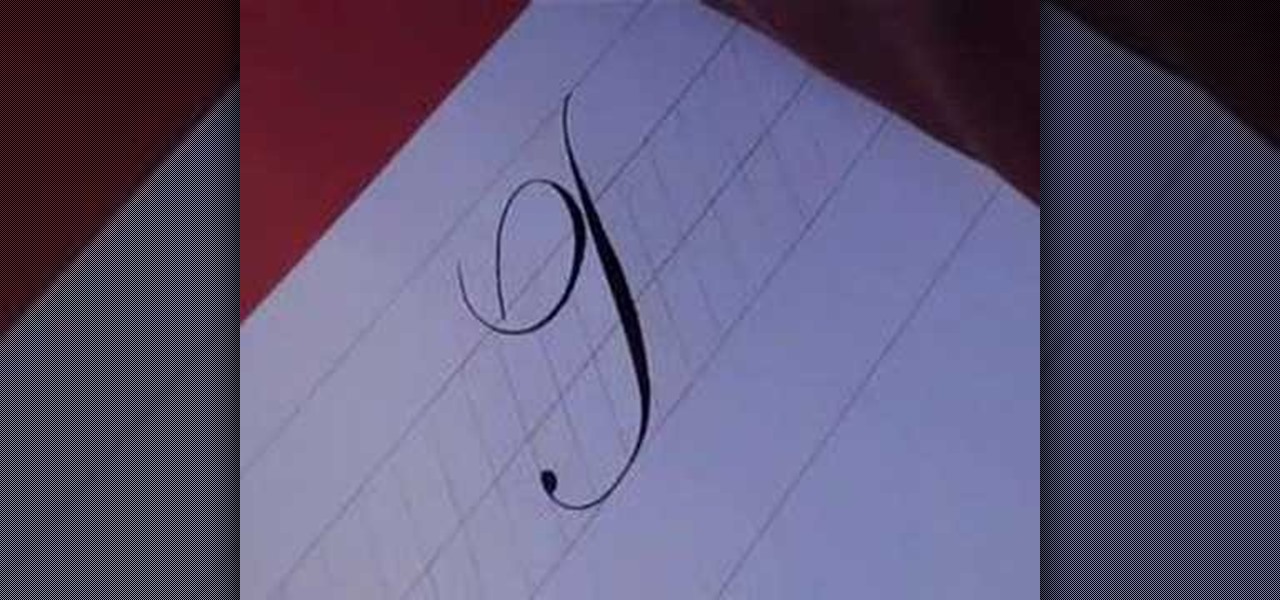
In this video, we learn how to write the letter T in calligraphy copperplate. Start by drawing a thick line that follows out a loop that curves to the left hand side. After this, create a loop at the top of the line, on the left hand side. Draw this out and cross the line over the top to make the T shape, ending with a slight curve at the end. To make the lower cased letter, draw a thin line, then draw a thick line over it, then cross a thin line across the top middle of the letter. Now you w...

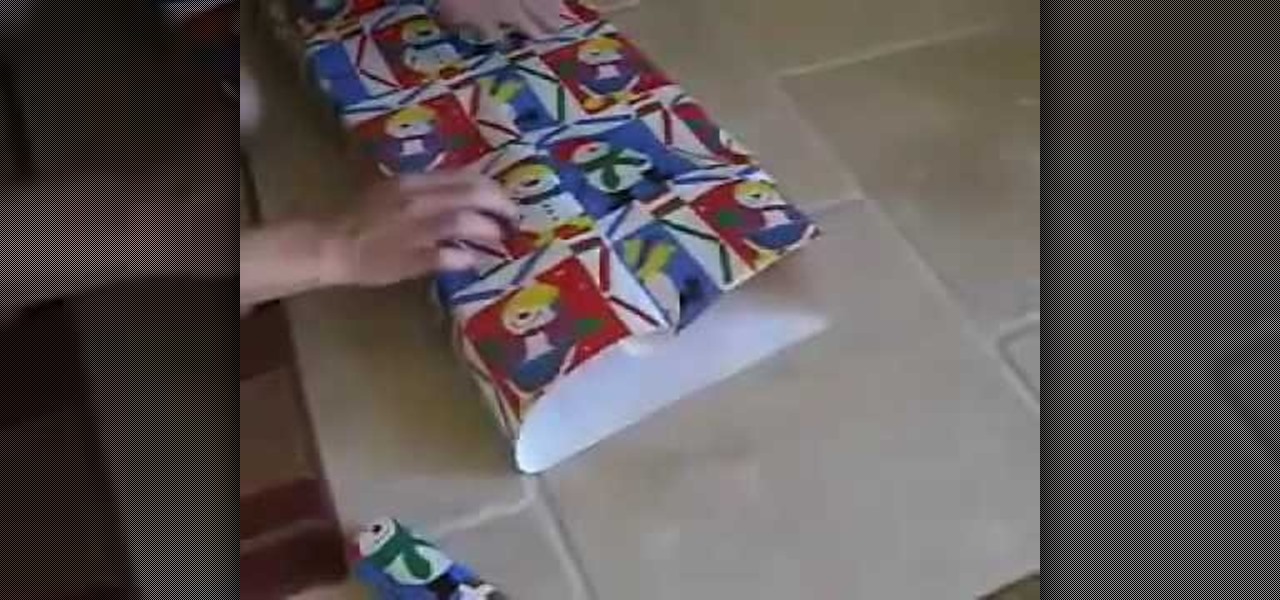
In this video, we learn how to wrap a gift. You will need: scissors, your gift, tape, and wrapping paper. First, place your gift down on the rolled out wrapping paper upside down. Measure out the paper so you have enough, then cut the paper from the roll. Next, you will fold the edges of the paper down, then center the gift on the paper. Bring the sides of the wrapping paper into the middle, then tape it. If you have too much paper on the edges, cut it carefully with the scissors. Now, push d...

In this video, we learn how to make a mosaic jewelry ring. First, put the glue into a container, then place the stones into the glue and then place them onto the ring. Start by making the outer ring of the circle, then continue to go around the inside and the middle. Once you have all the stones placed inside, let the ring and stones dry for a full two hours. Next, take your powder and add a small amount of water. Mix together until you have a toothpaste like consistency, then rub it on the r...

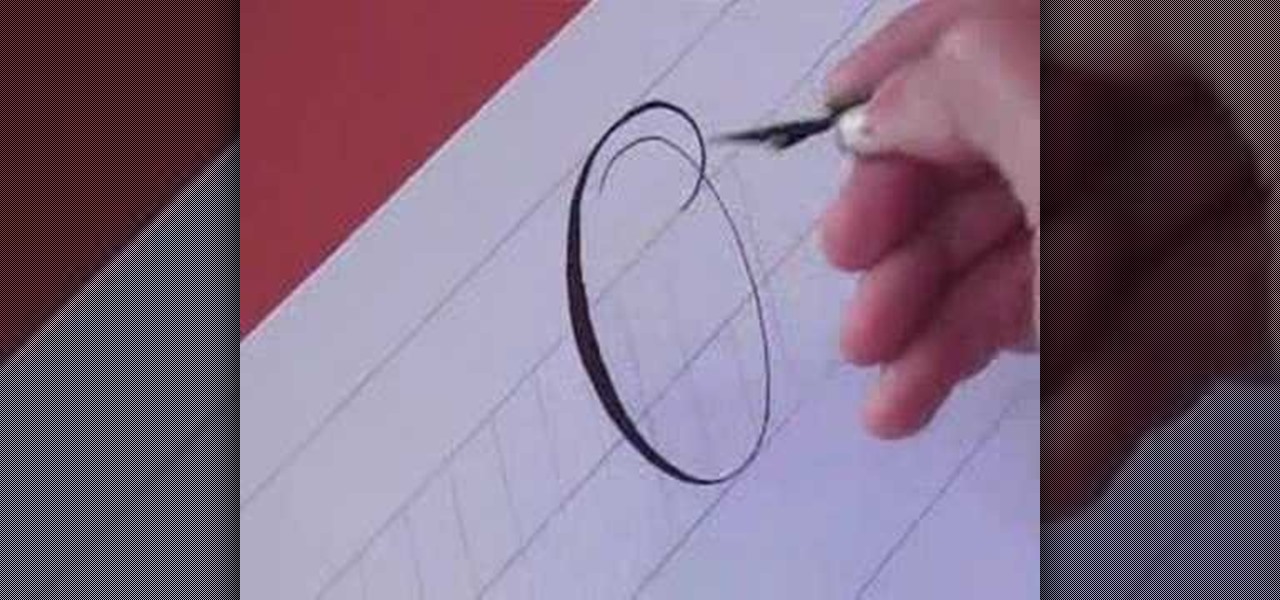
In this video, we learn how to write the letter O in calligraphy copperplate. Take your calligraphy pen and make a medium thick half loop at the top, dragging it down into a thicker line on the left side of the word. Then, continue onto the other side of the O with a lighter touch of the pen making a very thin line, finishing with a loop in the middle. Make the smaller O just like normal, making the thick line on the side and finishing with a small loop bending out to the right at the end. Wh...

In this tutorial, we learn how to create a vampire look for Halloween with your hair. First, curl your entire head of hair, then put half your hair in a high pony tail. Now, add in more curls on the pony tail and pin your bangs off to the side, using gel to give it a sleek look. When curling the hair, leave some hair on the bottom and only curl the top and middle. When curling the bottom of the hair, only curl the bottom half of the strands, not the entire thing. Next, add some lace to the si...

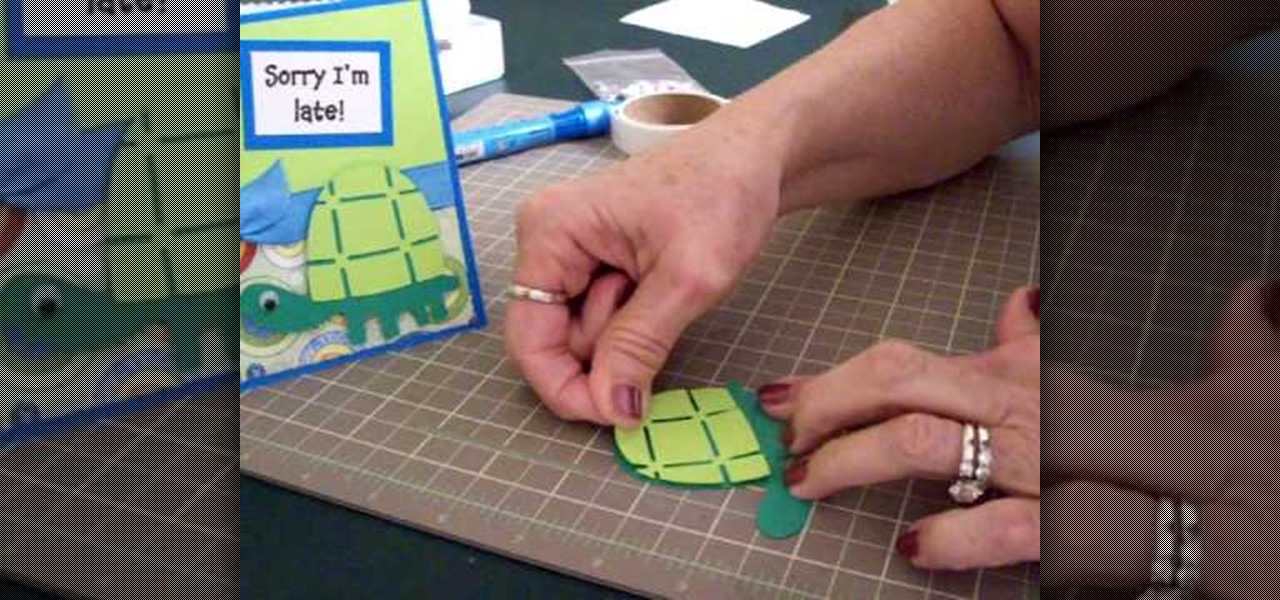
In this tutorial, we learn how to make a Cricut belated birthday card. First, cut the turtle out using the Walk in my Garden cartridge. After you cut this out, add in details to the shell using different colors. After you put the turtle together, place it on a blue card stock that has a pattern over the bottom of it. Next, place a ribbon around the middle of the card. On the top, place a message in a framed piece of card stock that says "Sorry I'm Late!". After you make this, fill out the car...

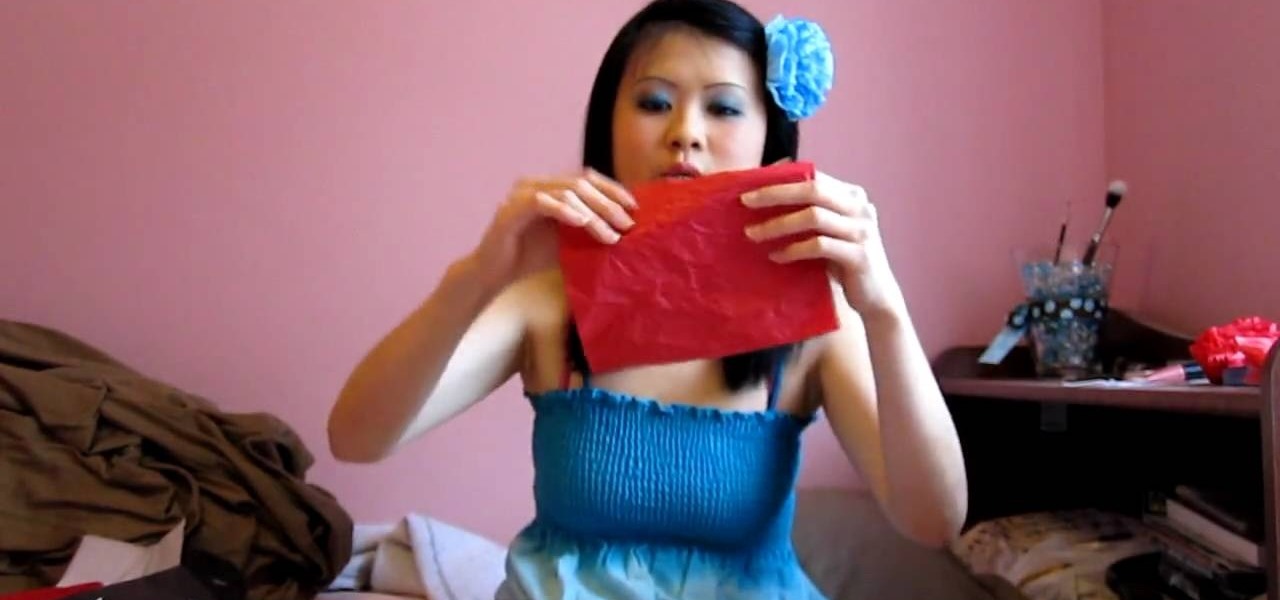
In this video, we learn how to make a flower hair accessory from shopping bag tissue. First, grab your tissue from any shopping bag and fold it down until you have a rectangle, then cut on the sides to make several different rectangle shapes. Next, start to accordion these together until you reach the end of the papers. After this, grab the middle of the tissue paper and tie a rubber band around it. Next, start to push up the tissue from both sides until you reach the bottom. After this, you ...

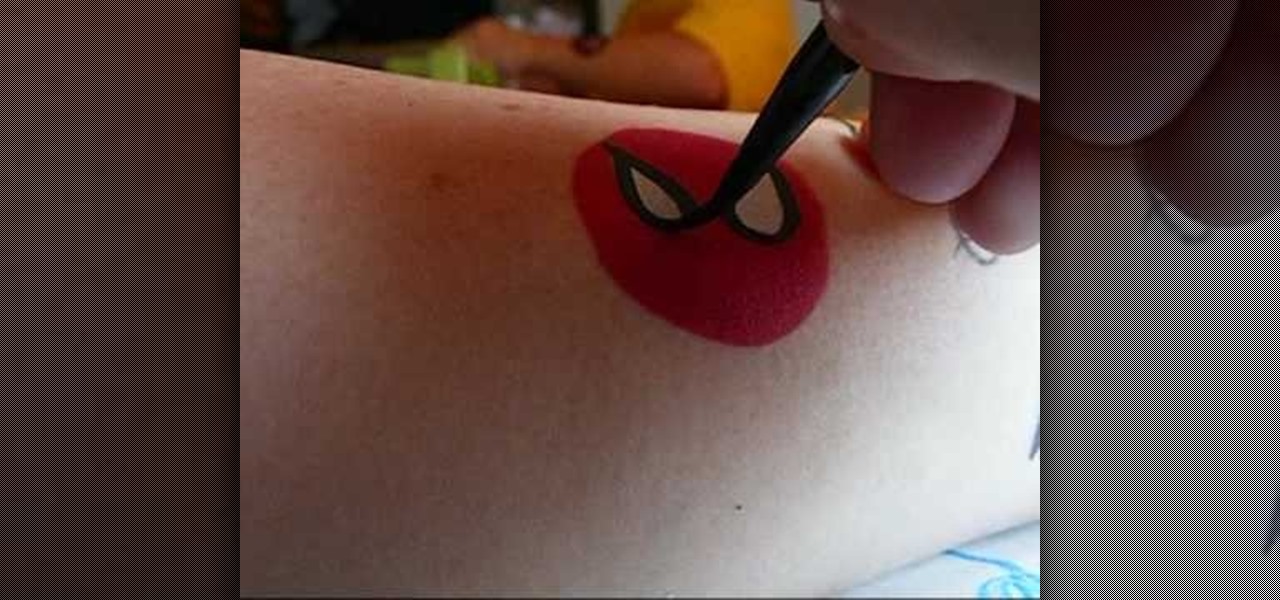
In this video, we learn how to make five easy face or body paint designs. First, to make a shooting star, grab a sponge and apply your paint to the edge of it. You will want to paint three colors next to each other on the edge of the sponge. Now, drag this across the skin and make a point at the end, then paint on a star. Next, to make a flower you will paint four hearts that are all touching with their points in the middle, then paint on leaves by swiping the brush sideways. To paint Spiderm...

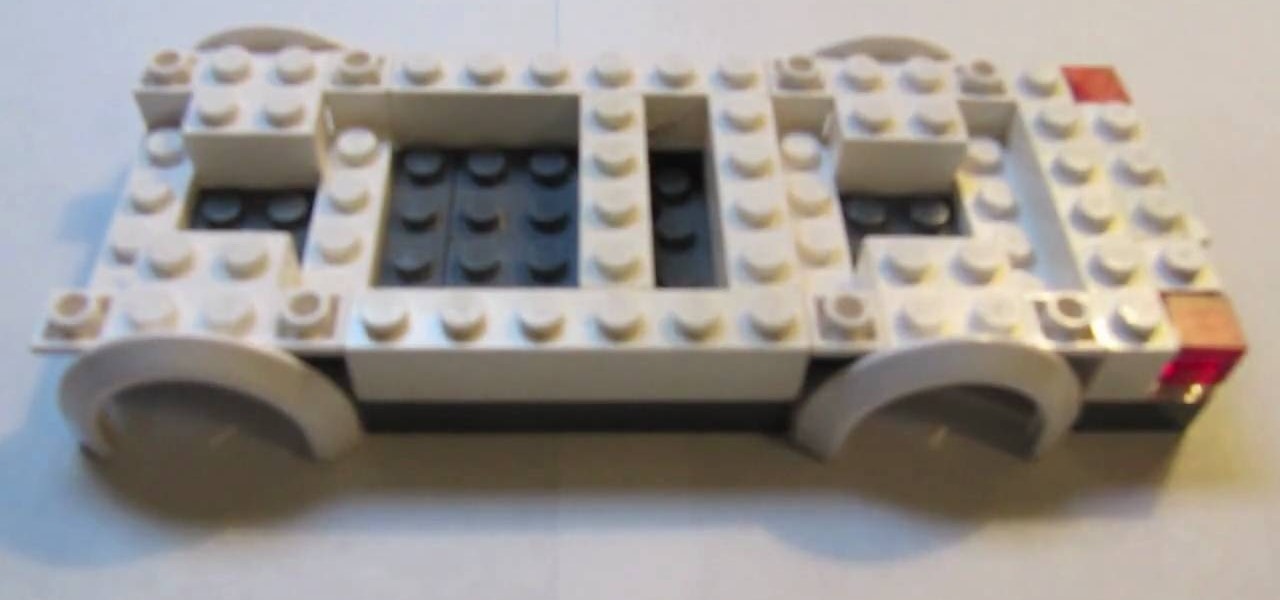
In this video, we learn how to build a LEGO pickup truck. First, you will need to lay out all the parts that you need to build the truck. This includes small and large parts that are in gray and white colors, as well as wheels. Start off by building the middle of the car, making room for the wheels to fit in. After this, start to add on the blocks that go on the back and the front to make the headlights and different features on the truck. Add on the block for the windshield, then add on the ...

In this video, we learn how to tie a triskelion knot. First, create the knots base by tying a knot at the end of the ropes. After this, weave the knot by pushing a side loop into the side loop next to the end pieces. Once you push these through the middle, push the ends through the loops and then pull the sides tight until you have a "y" shape. After this, your knot will be finished and you can use this however you would like. You can turn it around the see the best design on the rope and enjoy!

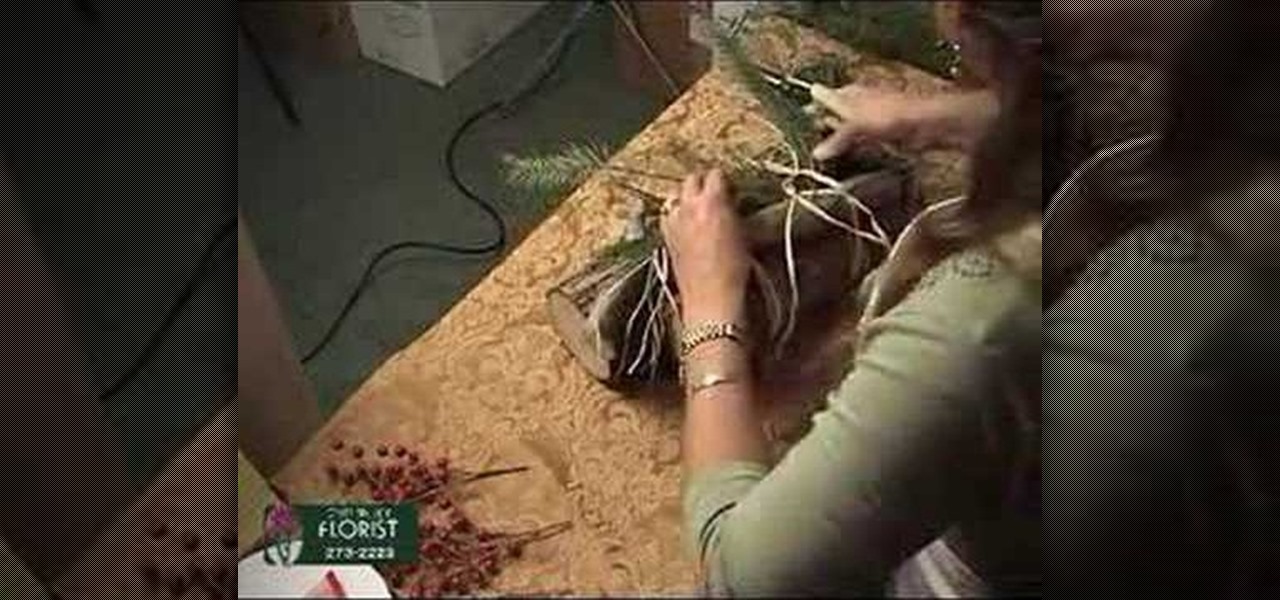
In this tutorial, Ingrid teaches us how to make a yule log for a gift. First, wrap two pieces of wood together with wire thread. Next, take some raffia and tie it onto the top and bottom of the yule log to give it a rustic look. To warm it up, add in some pine needles to the middle, as well as fur, cedar, and whatever else you find. To make it look more festive, take some red shiny ribbon and tie it onto the top of the pieces of wood like a package. This is inexpensive and useful for anyone t...

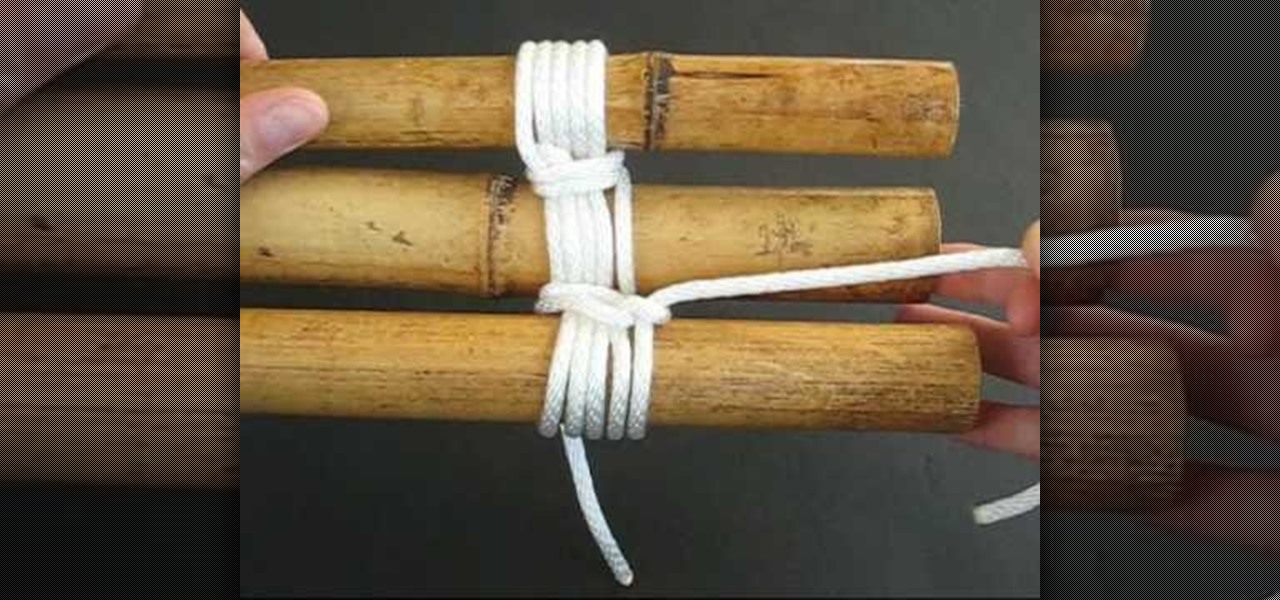
In this tutorial, we learn how to lash a bamboo tripod. First, you will tie a clove hitch by taking one piece of bamboo and wrapping the rope around it, then crossing the two sides of the string together to make a hitch. Next, you will secure the clove hitch around the third piece of bamboo. Now, you will rap all the pieces of bamboo together with the rope. Continue to do this until all the pieces feel secure together. Wrap the rope several times around each of the pieces, then wrap it in the...

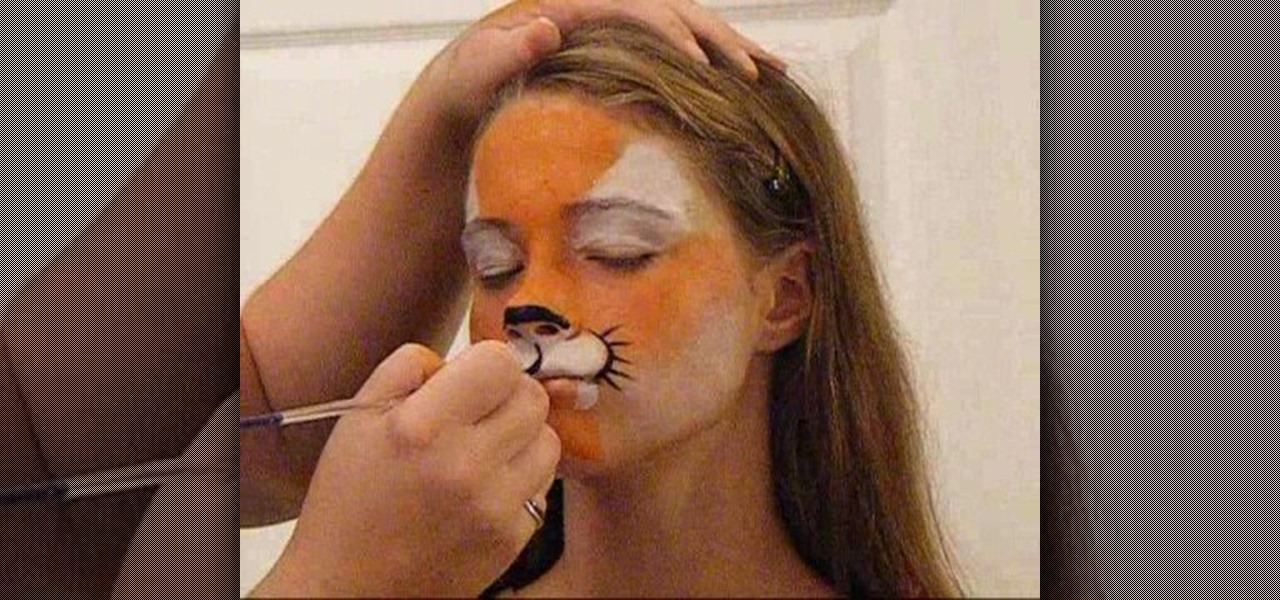
In this video, we learn how to do tiger face paint in two minutes. This is a simple tiger, so it will be perfect for family outings or something you need done quickly. First, use a sponge and orange paint to paint the middle of the face orange. After this, use a sponge with white paint to make the eyes white and the section underneath the nose white. Now, take your orange paint again and paint the cheeks and chin orange. Use the white paint to make fangs on the lips going down to the chin. Ne...

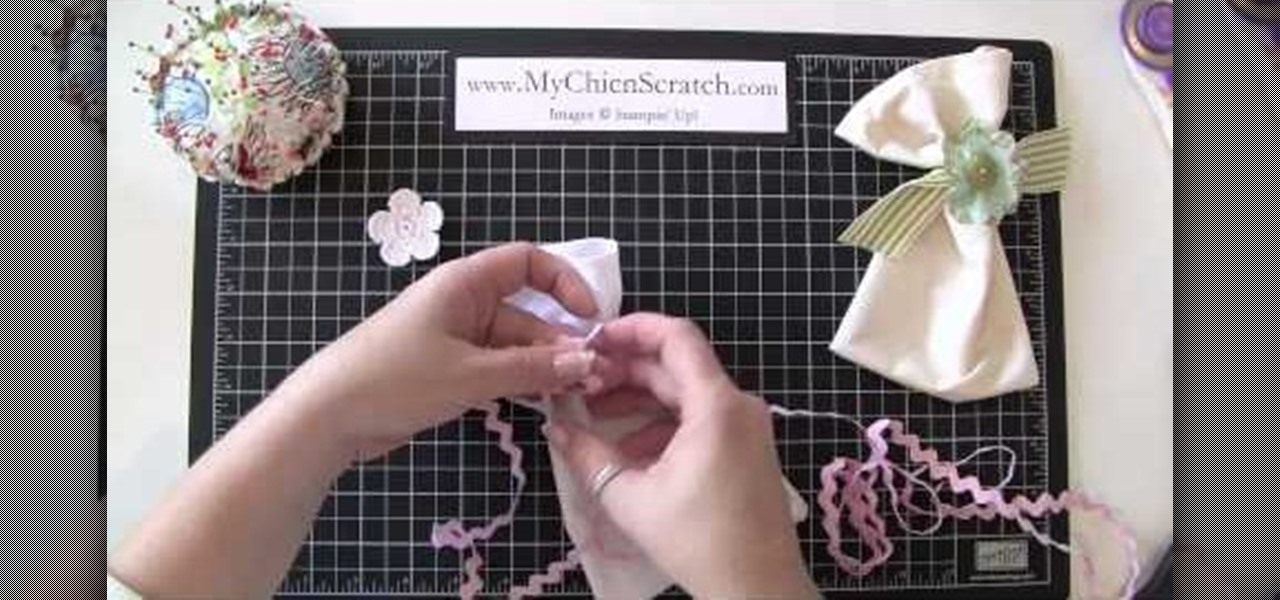
In this tutorial, we learn how to make a fabric gift bag for any occasion. First, you will need to grab any type of fabric with any design that you want the bag to be in. Next, you will fold in the edges of the fabric so it has a hemmed look, then sew them down. After you do this, sew the two sides of the bag together, then sew the bottom. Next, grab a piece of ribbon that you don't want and wrap it around the bag. Top it off with a felt flower and sew a button into the middle of it. Glue thi...

Kat teaches us how to make a sugar free strawberry pie in this tutorial. First, purchase fresh strawberries and wash them, then pull the stems off. Next, use a butter knife to remove the top middle of the strawberries. After this, use an egg slicer to slice up your strawberries until you have four cups. Next, purchase a graham cracker crust from the store, then place all the strawberries into it. After this, even them out and pack them into the crust. Set this aside, then take 1.5 c water, su...

In this video, we learn how to write the letter "r" in calligraphy copperplate. Start out by dipping your calligraphy pen into ink, then creating a curved line with a dot at the end of it. Next, fill in the line so it is smooth and there are not ragged edges. Next, draw a large swirl on the left side next to the curved line, then draw it over to make the initial loop on the "r". After this, create a loop in the middle, then draw it back down to make the end hump of the "r". After this, draw i...

We love Moroccan restaurants. The communal handwashing, the savory salads, the soups, the braised lamb appetizer, the pigeon pie, the baklova - oh, and there go our diets. Moroccan food is known for having a very rich and spice-ridden flavor that many foodies enjoy, but the more we let our appetites go at the restaurant, the more our waistlines go with them. But there is a way to make Middle Eastern food without turning into a piggy.

In this tutorial, we learn how to make a meal from steak, potatoes, and asparagus. First, peel your mushrooms and then slice and chop an onion. After this, heat up a pan with olive oil, then add in your onions. Now, chop your potatoes into cubes, then boil until tender. When finished, drain and combine with a mixture of butter and milk. After this, cut your asparagus stalks off, then add in the pan with onions and mushrooms. SautŽ these all together until they are browned. To serve, plate the...

In this tutorial, we learn how to craft a duct tape wallet. First, tear out a 7 inch piece of duct tape and fold it so there is a sticky side just overlapping it. Next, tear out another piece of tape and fold it just over the sticky side of the other piece of tape. Continue to do this for around 10 pieces of tape, or until you have enough to make a decent sized wallet. When you reach the end, fold the bottom over itself, then cut off the sides and seal with another piece of tape. Then, measur...

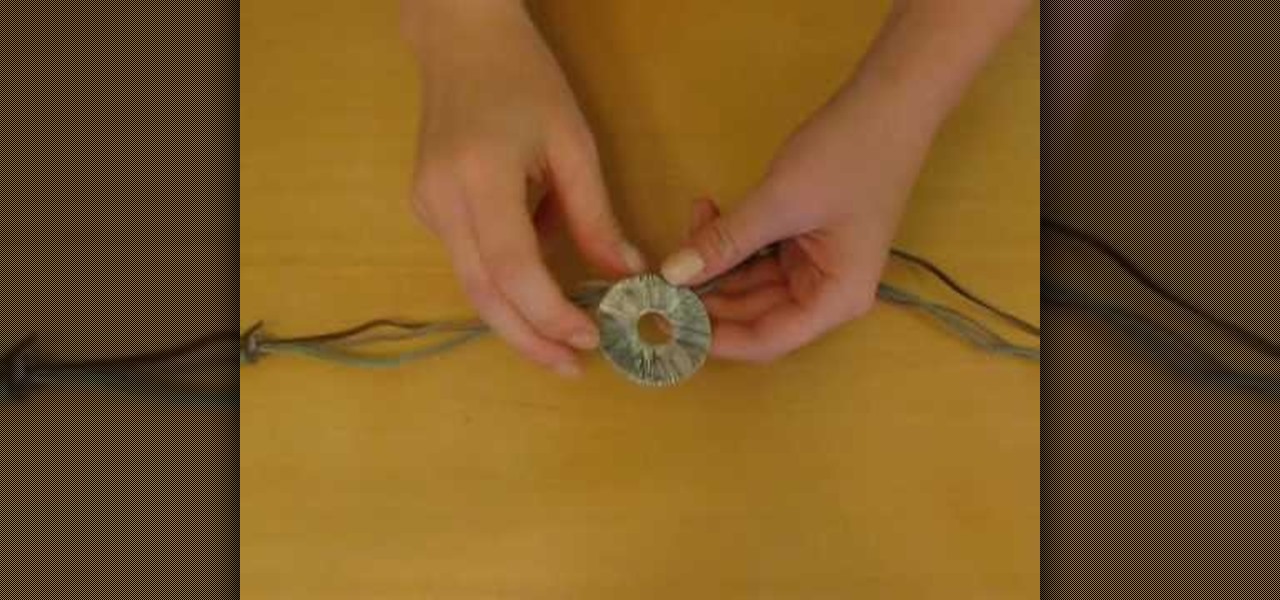
In this tutorial, we learn how to make a braided wrap-around belt. You will need 3 long straps of leather and a medallion that has a big enough opening to pull the strips through. To begin, grab your three long leather straps together and create a knot where they will meet the medallion in the middle. After this, braid the straps together. When you get close to the end, knot it off. Do this on both sides of the medallion. This is a cut and cheap way to make this belt, and there are many diffe...

In this math tutorial, you'll be trained in the arcane art of adding and subtracting rational expressions by finding the common denominator. A skill many discard upon leaving middle school, it is used by the villians who operate under the acronym "SAT" to test those caught blank minded and whose minds are unrationalized.

In this how to video, you will learn how to make a hair bow. You will need a ribbon and a bobby pin. First, make a knot in the center of the ribbon. Next, pull it tight and make a bow shape in the ribbon. Make sure that it comes out evenly. if your ribbon is not double sided, one end may have no pattern. This means you have to twist it so that the printed side appears in the front. Next, take the bobby pin and slide one end through the loop in the middle. Make sure it is in the bottom area of...

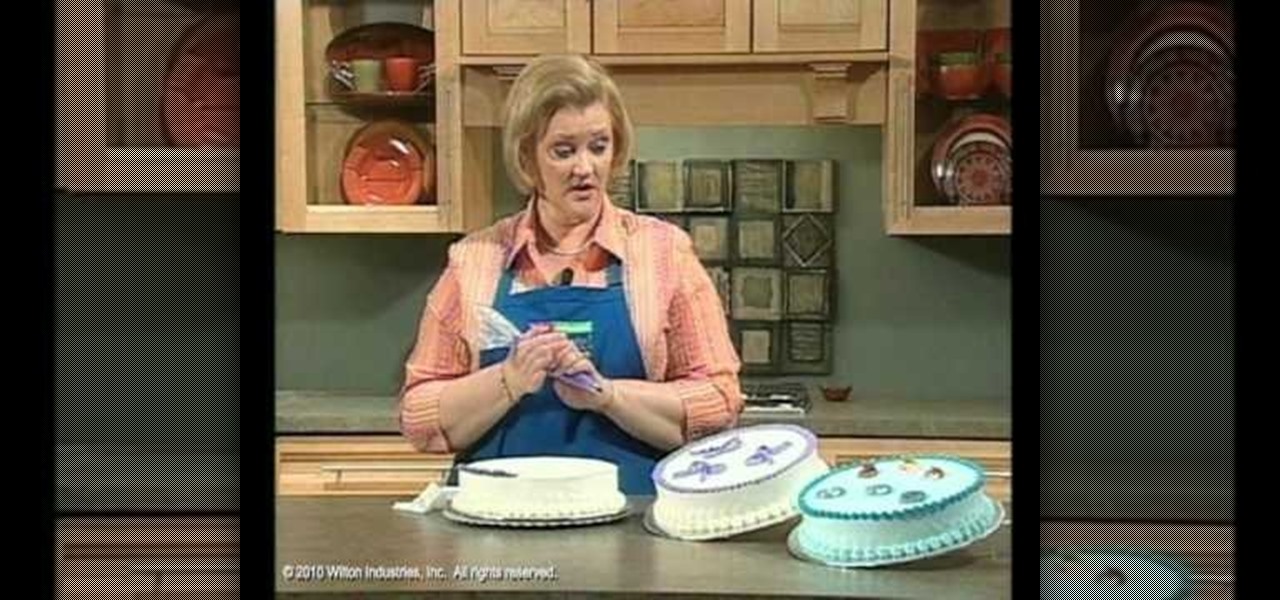
Wilton Cake Decorating demonstrates how to do a ruffle and a ruffle bow cake decorating techniques. Use a #104 petal tip to create this effect. Also use a medium icing consistency and hold the bag at a 45 degree angle. A petal tip can be used to make ribbons and bows. The icing tip has a narrow end and a larger end. Place the larger end down and move your hand up and down to create the ribbon. Make a figure eight to make the bow. Add a knot in the middle, if desired, and add strings. Star tip...

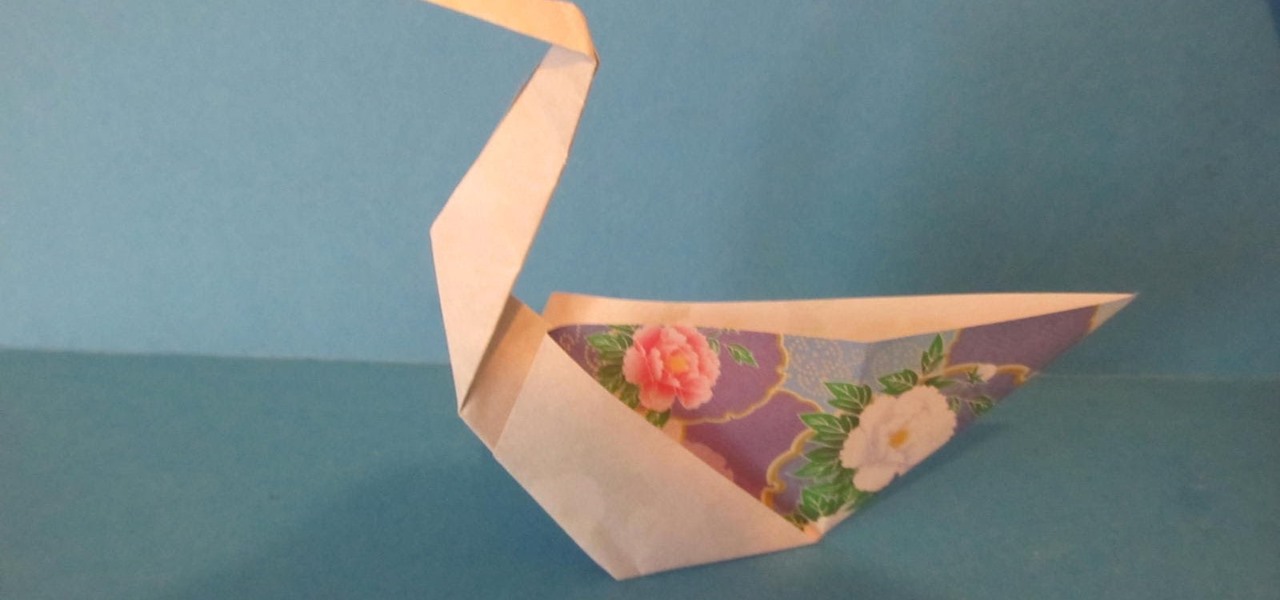
This video shows us how to fold a simple origami swan. Here are the following steps: Step 1: First of all take a paper and then crease it diagonally and then open the crease and then fold the paper on the crease line so that a cone is obtained with a triangle on the top.

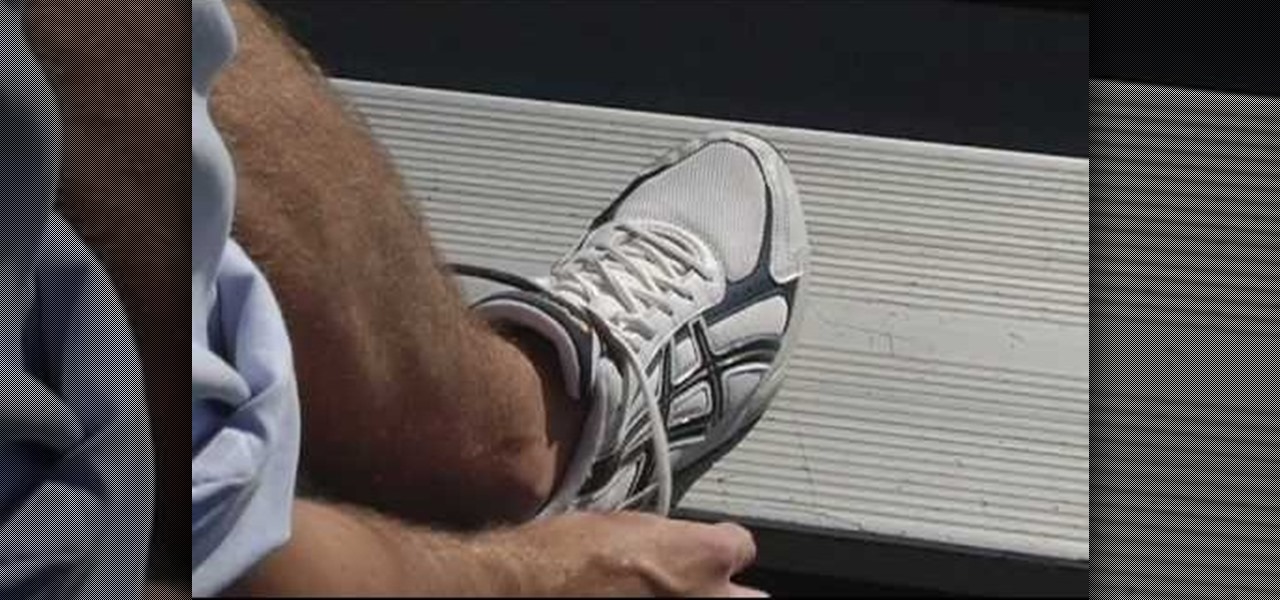
Chris from Hack College shows us the fastest way to tie our shoelaces. He starts with the regular twist-around knot on a shore. The key is to take two loops - one that crosses on the inside and one that crosses on the outside. Then put the loops through each other so that they switch positions and pull the loops to tighten the knot. A better description is to make two arches (loops) - one towards him and the other away from him. Then switch them in the middle and pull. Since practise will mak...

There are two recommended ways to hold the Bodhran Drum tipper for beginners. The first way is called the "curved wrist" technique. You put the stick in between the area of your index and thumb finger. Then you put the end of the stick in between your index and middle finger. You must make sure not to keep your fingers tight, they must be elongated and resting gently on the stick. When you drum, you keep your wrist curved and swing your hand up and down. The next method is the "straight wrist...

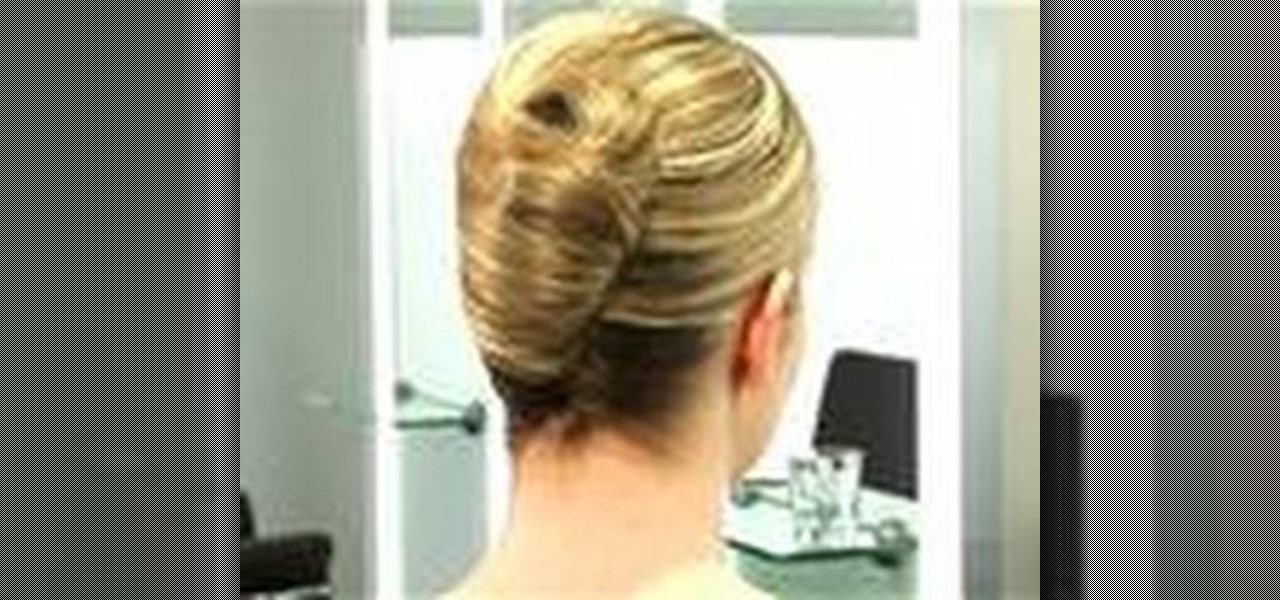
In this video tutorial, viewers learn how to make a French twist hairstyle. Begin by making a parting in the hair by brushing the hair towards the middle. Place a some grips to hold the hair to one side and spray on some hairspray to help hold it. Place your hands underneath the neck to hold the hair. Then wrap your hand around the thumb and secure it with your fingers. Use big pins to hold the twist. Brush the twist with a bristle brush and use some hairspray to hold it together. This video ...

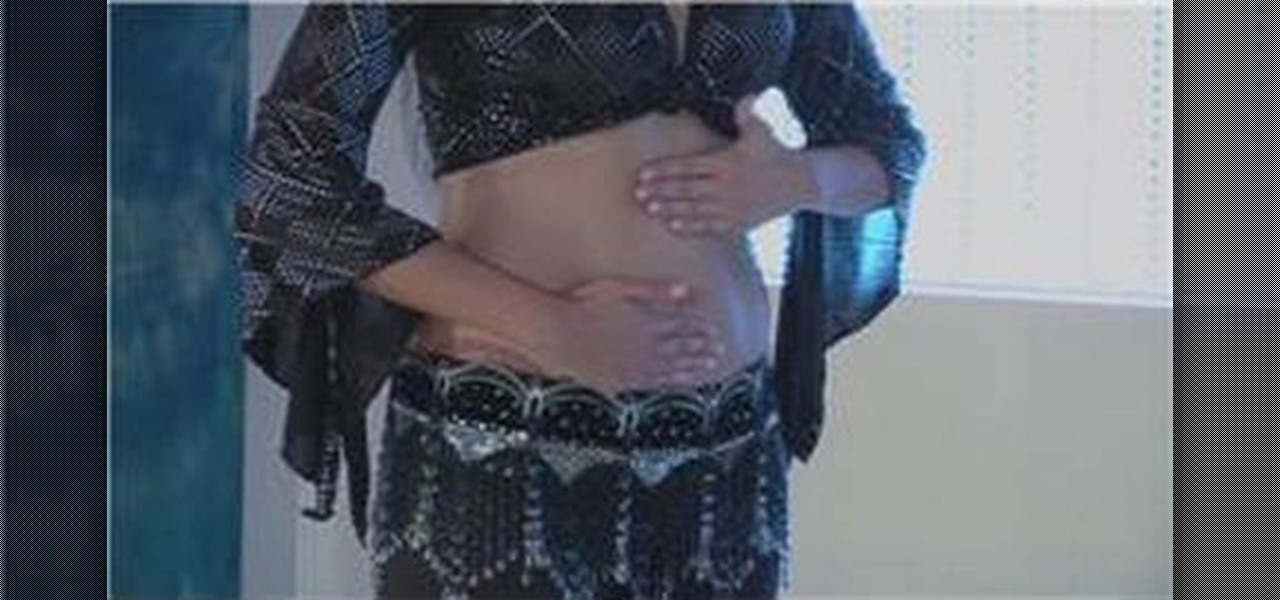
Why throw away tons of money on lessons at a studio when you can find free online video lessons! In this video, learn about the dance of the belly movements, also known as belly rolls, and how to isolate the abdominal region while the rest of the body remains in perfect posture. Practice isolating the belly muscles with help from an expert: Sahira began her career as a Middle Eastern dancer in Houston, Texas under the direction of Thalia and Shakira Masood-Ali. Get advice & more belly dancing...


