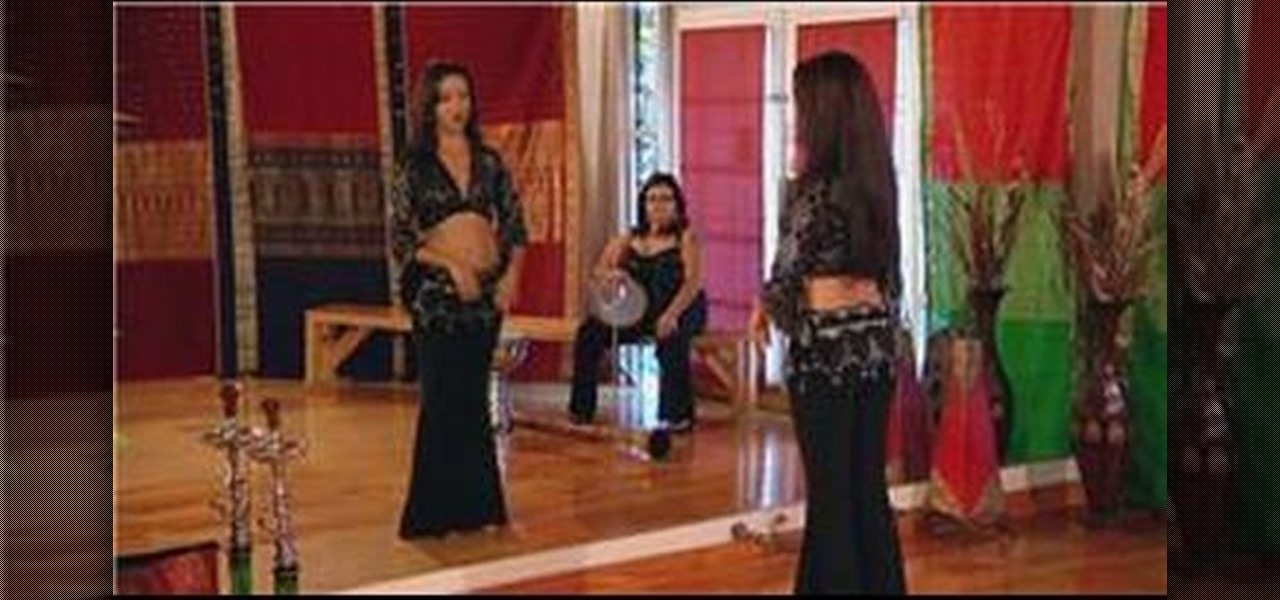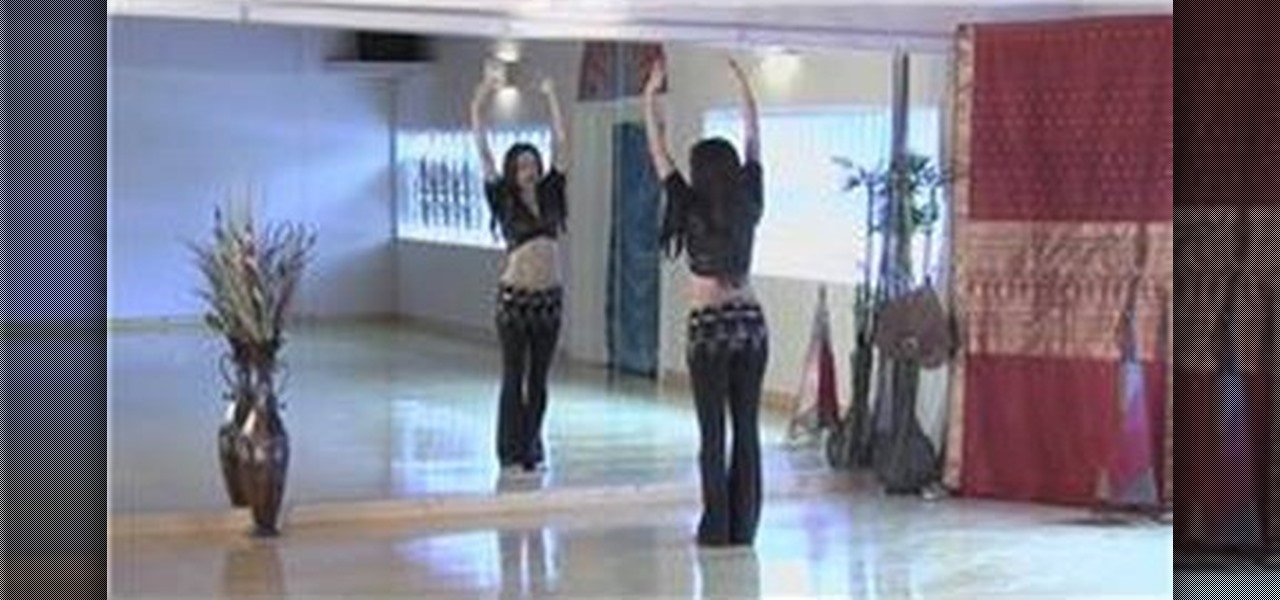
It's always important after every form of exercise to cool down. In this video, learn how to cool down after belly dancing and temper the body back to its normal state. Learn how to stretch out your worked out muscles during a cool down with help from a belly dancing expert: Sahira began her career as a Middle Eastern dancer in Houston, Texas under the direction of Thalia and Shakira Masood-Ali. Get advice & more belly dancing lessons by searching Wonder How To!
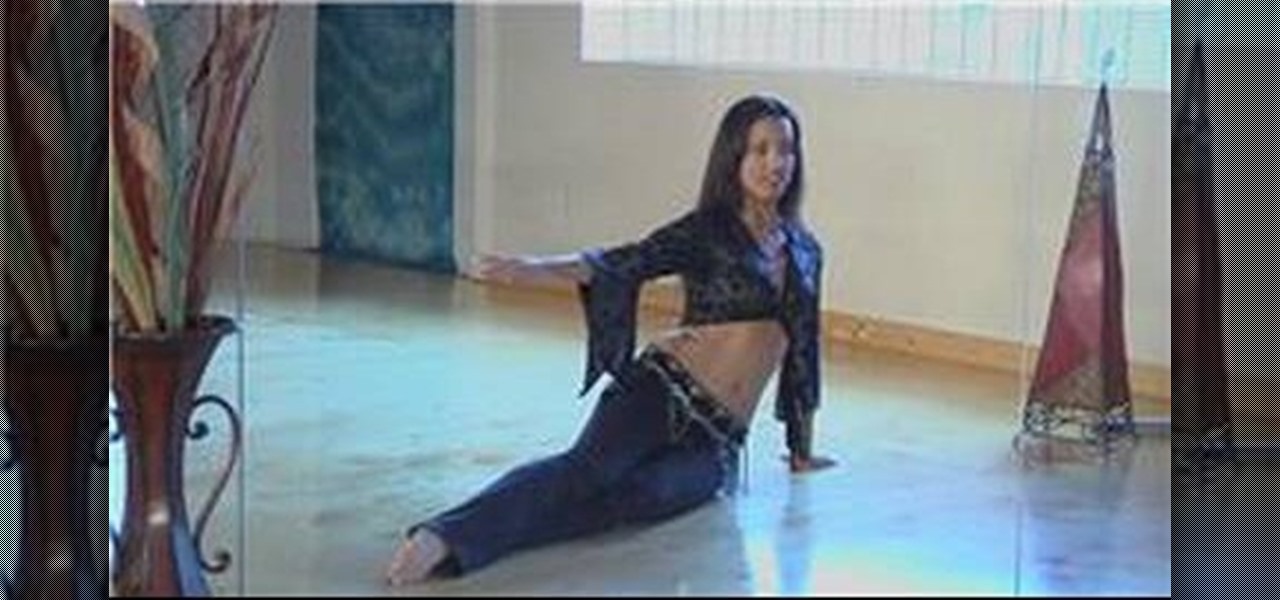
If you thought belly dancing was all about wiggling your hips, you were wrong. Expand your horizons and learn some belly dancing floor moves. It's important to wear knee pads in the beginning until you master the moves. Learn about the various ways to incorporate floor work into your belly dancing from this expert: Sahira began her career as a Middle Eastern dancer in Houston, Texas under the direction of Thalia and Shakira Masood-Ali. Get advice & more belly dancing lessons by searching Wond...
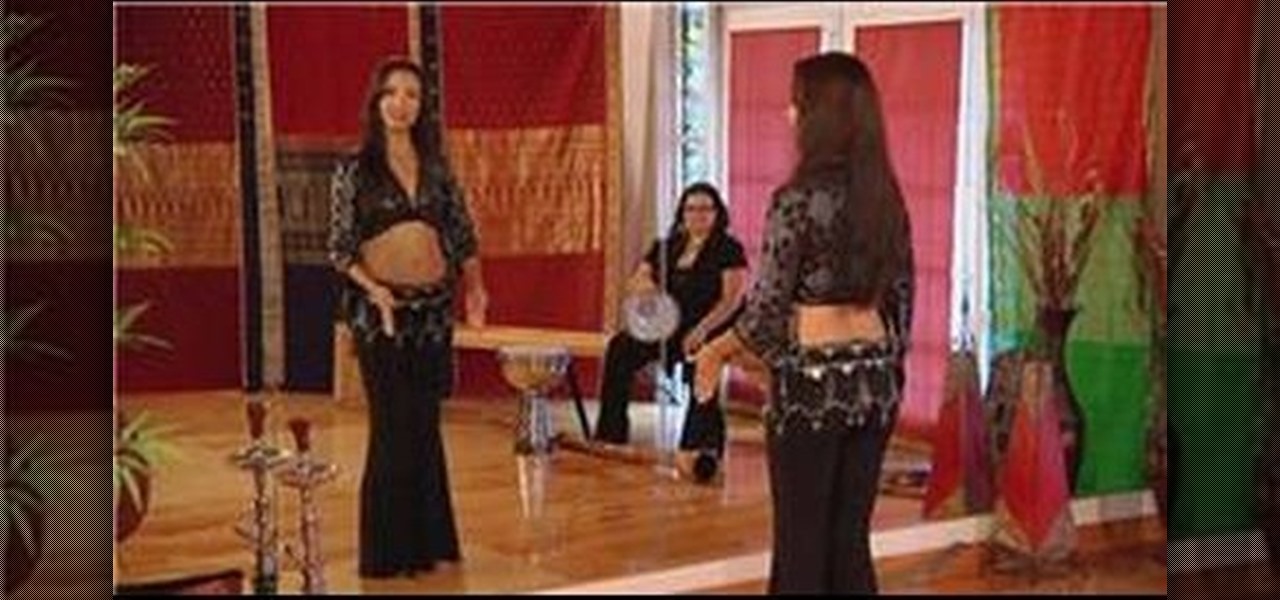
Do the figure 8! There are many different ways to do a figure-8 in belly dancing. This example is the horizontal figure-8 of the hips taught be an expert: Sahira began her career as a Middle Eastern dancer in Houston, Texas under the direction of Thalia and Shakira Masood-Ali. Learn more belly dancing dance moves from this expert by searching WonderHowTo! You're only practice time away from ruling the dance floor!
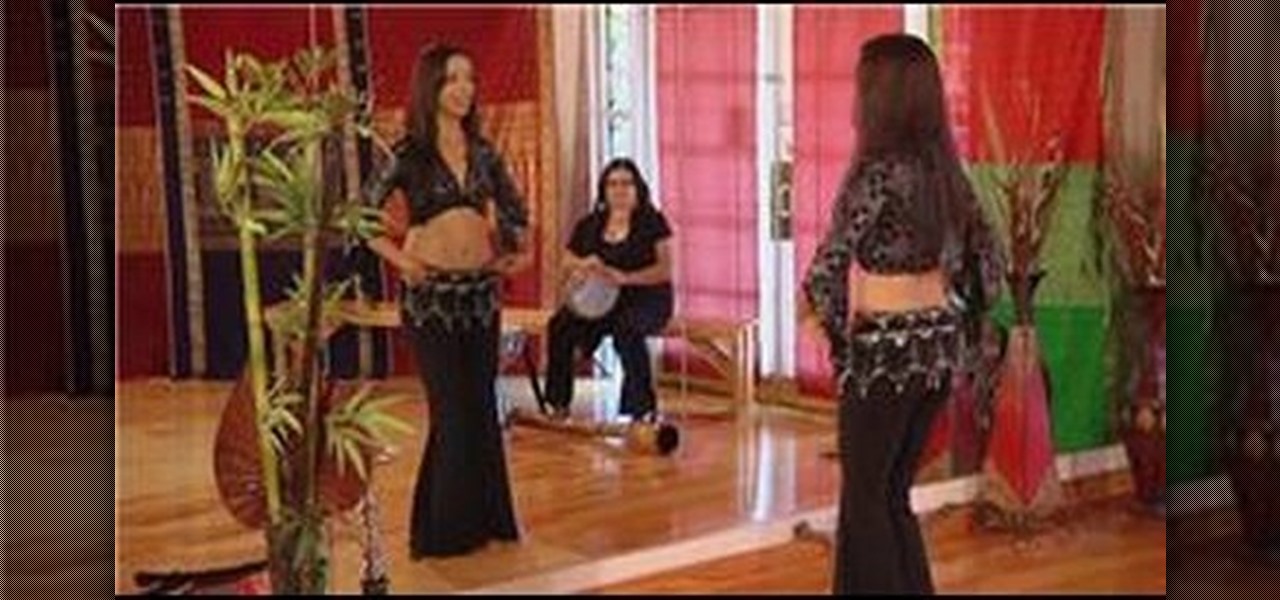
Get started doing the Egyptian twist belly dance move with help from an expert: Sahira. In this video you will learn how to do the basic isolations required to do the Egyptian twist move with tips and tricks given by a pro instructor: Sahira began her career as a Middle Eastern dancer in Houston, Texas under the direction of Thalia and Shakira Masood-Ali. Learn more belly dancing dance moves from this expert by searching WonderHowTo! You're only practice time away from ruling the dance floor!
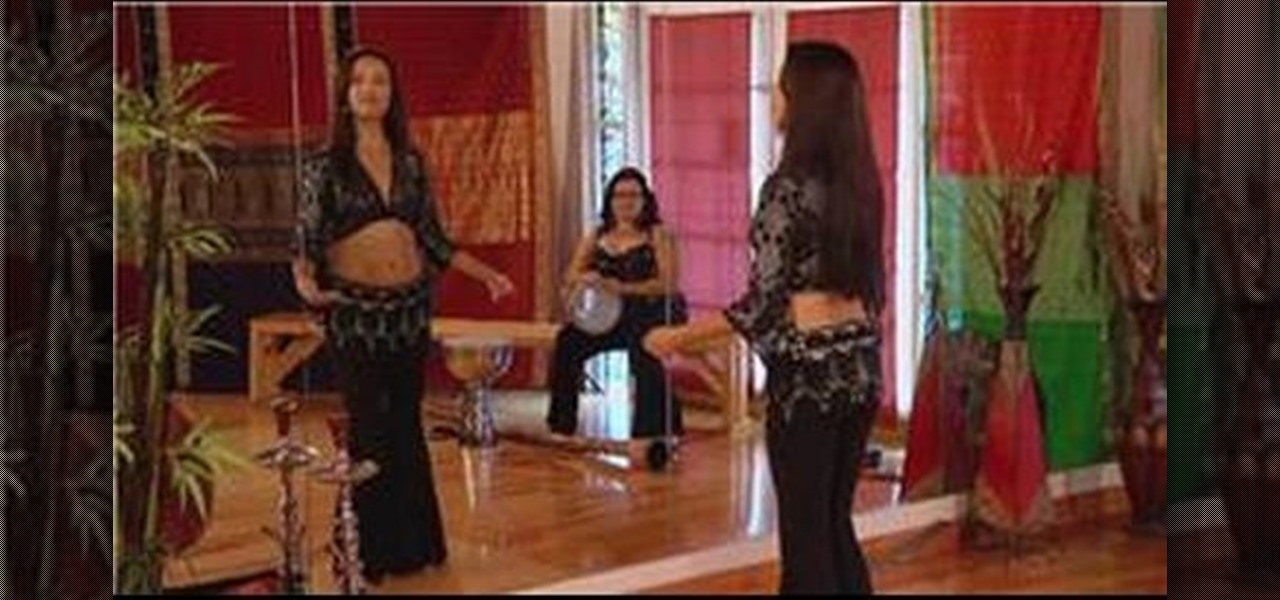
The vertical figure-8 consists of two different isolations that can be done while keeping your feet on the floor. Get started belly dancing with the figure 8 move taught here by a belly dancing expert: Sahira began her career as a Middle Eastern dancer in Houston, Texas under the direction of Thalia and Shakira Masood-Ali. Learn more belly dancing dance moves from this expert by searching WonderHowTo! You're only practice time away from ruling the dance floor!
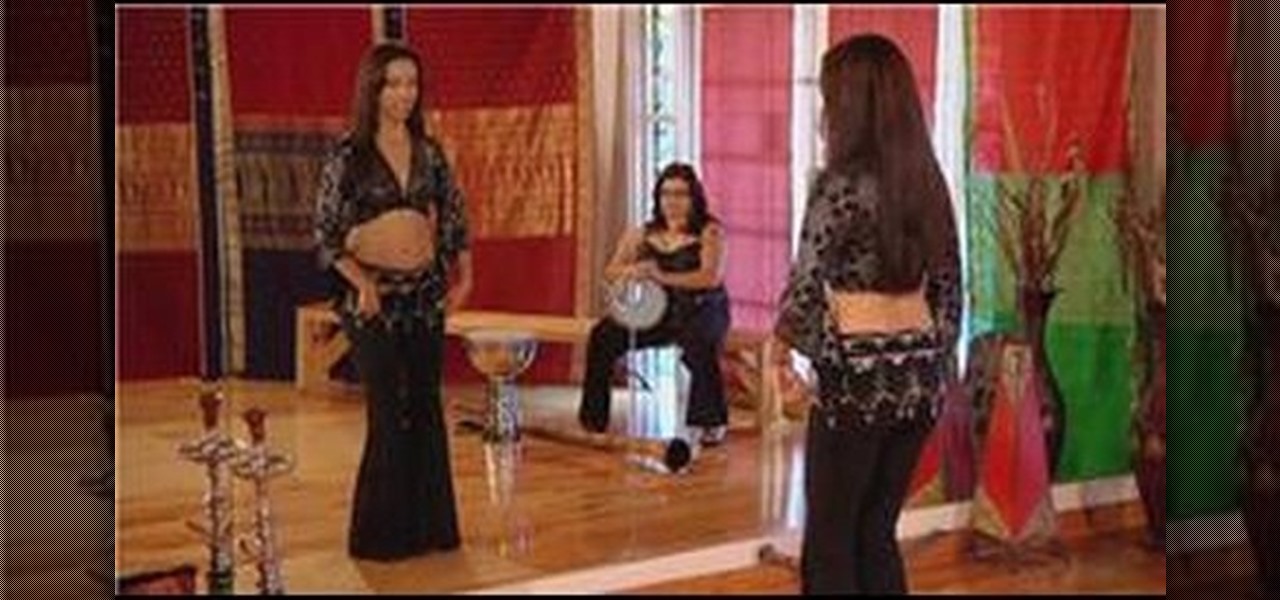
Get started with belly dancing and undulation with help from this free lesson. When doing undulation, first lift your chest up by contracting your muscles and then contract the muscles in your belly to bring the movement back down. Get comfortable using this belly dancing technique with tips and tricks from an expert: Sahira began her career as a Middle Eastern dancer in Houston, Texas under the direction of Thalia and Shakira Masood-Ali. Learn more belly dancing dance moves from this expert ...

Get started with Egyptian belly dancing with a move called the chest circle! To do the chest circle, you'll need to isolate your chest in two different ways. Learn how to isolate your chest with tips from an expert: Sahira began her career as a Middle Eastern dancer in Houston, Texas under the direction of Thalia and Shakira Masood-Ali. Learn more belly dancing dance moves from this expert by searching WonderHowTo! You're only practice time away from ruling the dance floor!

Get started moving that belly with "the shimmy", a very popular move in belly dancing that can take years to perfect. Find out how to perfect this popular move with tips from an expert belly dancer.

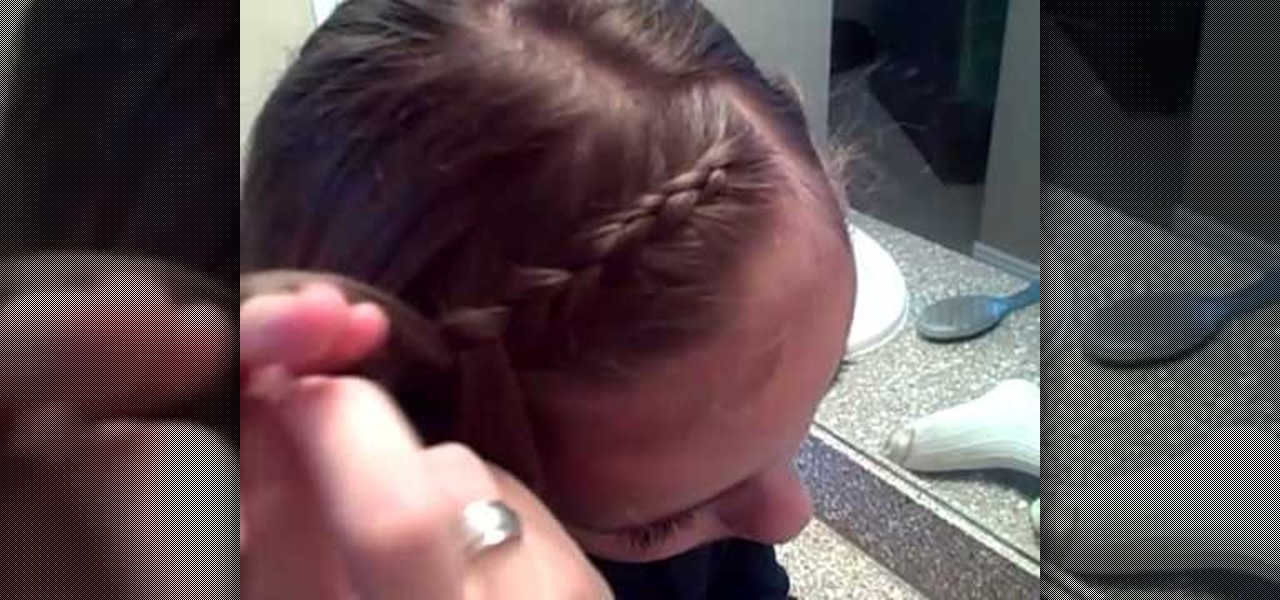
This video shows how to make an inside-out French braid across the front of the head. First divide the hair into three pieces like a normal braid at the very front off to one side. Instead of braiding the normal way, make the middle piece go over the top alternately on the left and right. Keep picking up more hair and adding it in, like you would do for a normal French braid. Continue braiding across the top front of the hair. The braids can be done tightly or loosely however you like, and th...

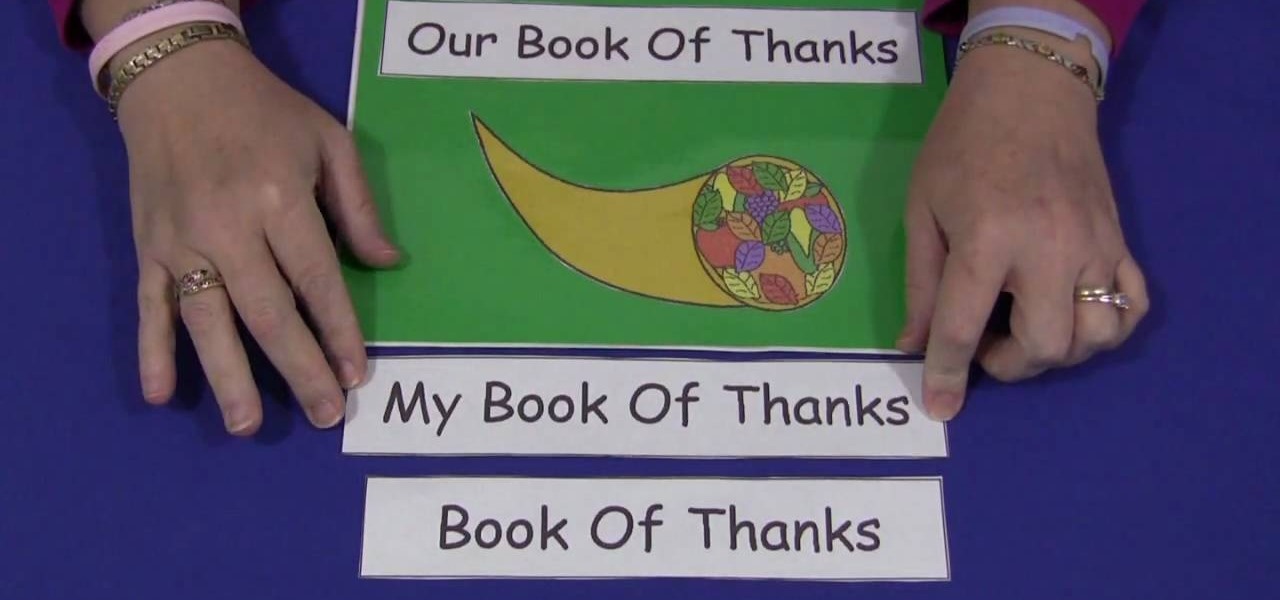
Childcareland demonstrates how to make a Thanksgiving book of thanks with kids in this video. A book of thanks can be done by a group or an individual. It begins a title page which can be labeled to reflect whether it is an individual book called "My Book of Thanks" or an group book called "Our Book of Thanks" or a general book called "Book of Thanks". The back page is a blank match of the cover page. In the middle are five pages labeled "I'm thankful for" with a line for older children to wr...

This video shows the way to make a paper balloon. A square paper is taken. Two perpendicular folds are made down the diagonals of the square. Then an isosceles triangle is made by folding one side of the square towards its opposite side and the other two sides are tucked in. Now there are four isosceles-right triangular flaps. The flaps are folded along its middle to resemble isosceles triangular flaps. The edge of the flaps is folded towards the center. The free end of the flap is tucked int...

In this video tutorial, viewers learn how to make a guerilla spotlight using household items. Users will simply need a cardboard cylinder and a light source. Te materials used in this video were a toilet paper roll, piece of aluminum, gaff tape and a lamp. Begin by cutting a couple of 90 degrees slots in the middle of the foil, slide in the tube ad secure it with tape. It should be a bit longer than the tube. Now wrap it around the light source. This video will benefit those viewers who produ...

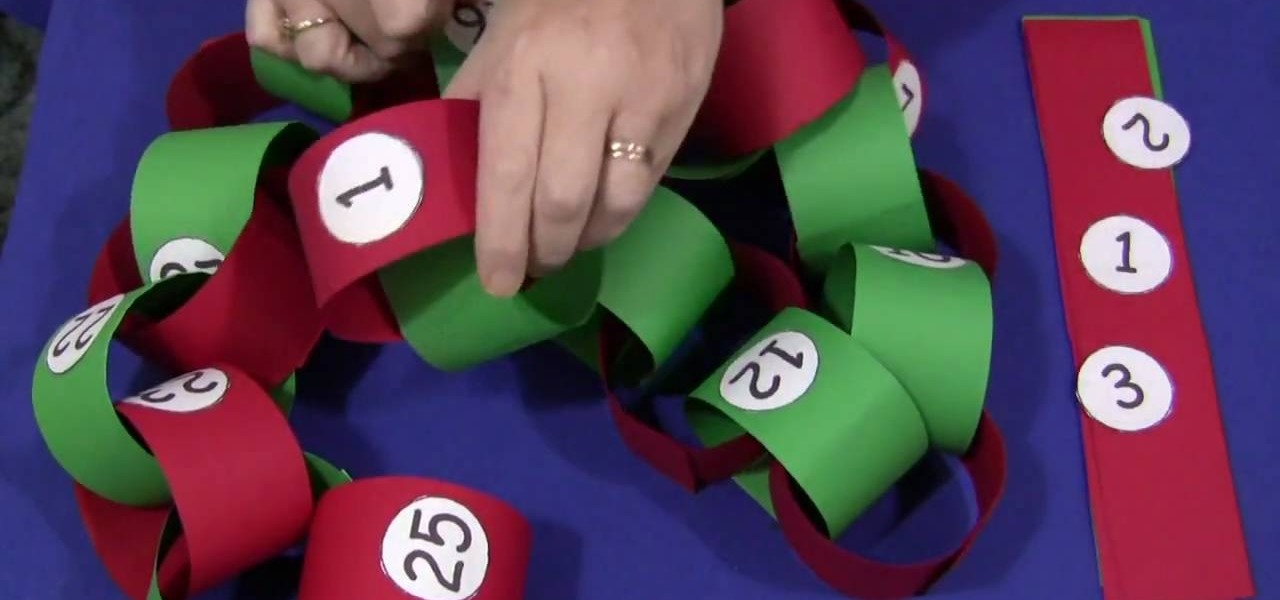
In this video tutorial, viewers learn how to make a Christmas countdown chain. The materials required for this craft are: construction paper, paper cut into small circles, glue and marker (optional). Begin by cutting the green and red construction paper into even strips. Users may choose to write out the numbers or print them out onto paper. Then cut out the numbers into small circles and glue them in the middle of the strips. Alternate the color of the strips each day. Then put the edges of ...

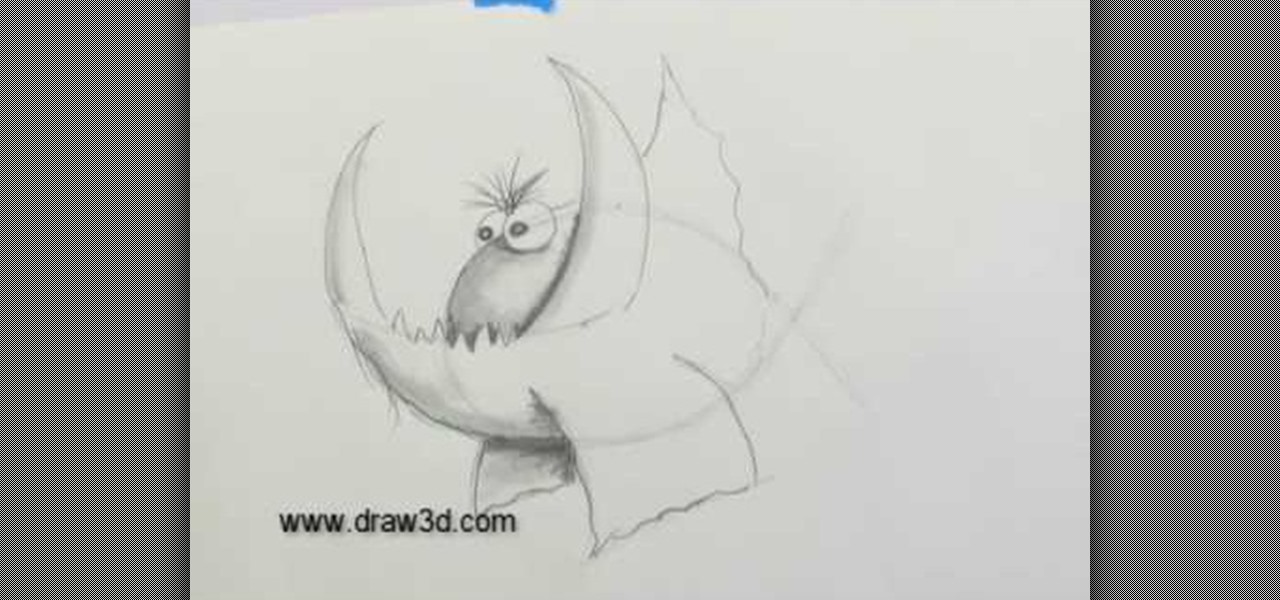
This video illustrate how to draw a 3D fanged fish. Here are the following steps.Step 1: Take a sheet of paper and pencil and start drawing a circle forming the face of the fish.Step 2: Now in the middle of the circle draw an wavy line showing the jaws of the fish.Step 3:Now draw two small circle on the boundary of the circle forming the eyes of the fish.Step 4: Now from the jaws draw two fins in opposite direction to each other.Step 5: Now draw Two fans beneath the face showing the back fins...

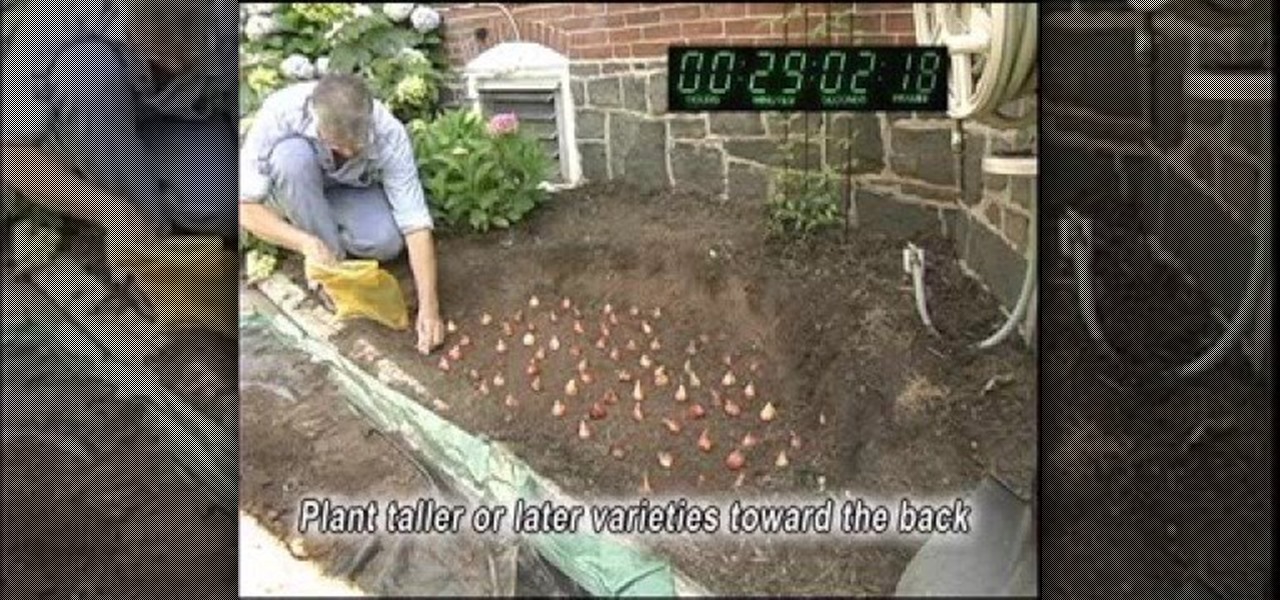
This video shows that it is possible to plant 100 tulip bulbs in less than 50 minutes, and it is easier and less expensive than you think.

To straighten frizzy hair with a flat iron, first wash your hair and towel blot it dry. Then, part your hair down the middle. Massage a product like Chi Silk Infusion through your hair by first applying a little bit to your palm and then working it into your hair. Use a flat rectangular brush and blow dry your hair. Separate your hair into sections. Use a flat iron and a comb to straighten your partitions of hair. Tilt your hair straightener at an angle when straightening the ends of your hai...

You want to start by determining what kind of charms and the size of the necklace. Most necklaces are about 16-20". If you wanted to make a choker or a bracelet, then measure out a smaller piece of cable chain. Using a ruler makes it easy to measure and later on to add the charms evenly. Using chain nose pliers and side cutters, you want to cut a jump ring and attach to the trigger clasp and then close the end with the pliers. Take the chain and center it on a ruler, find the middle and that'...

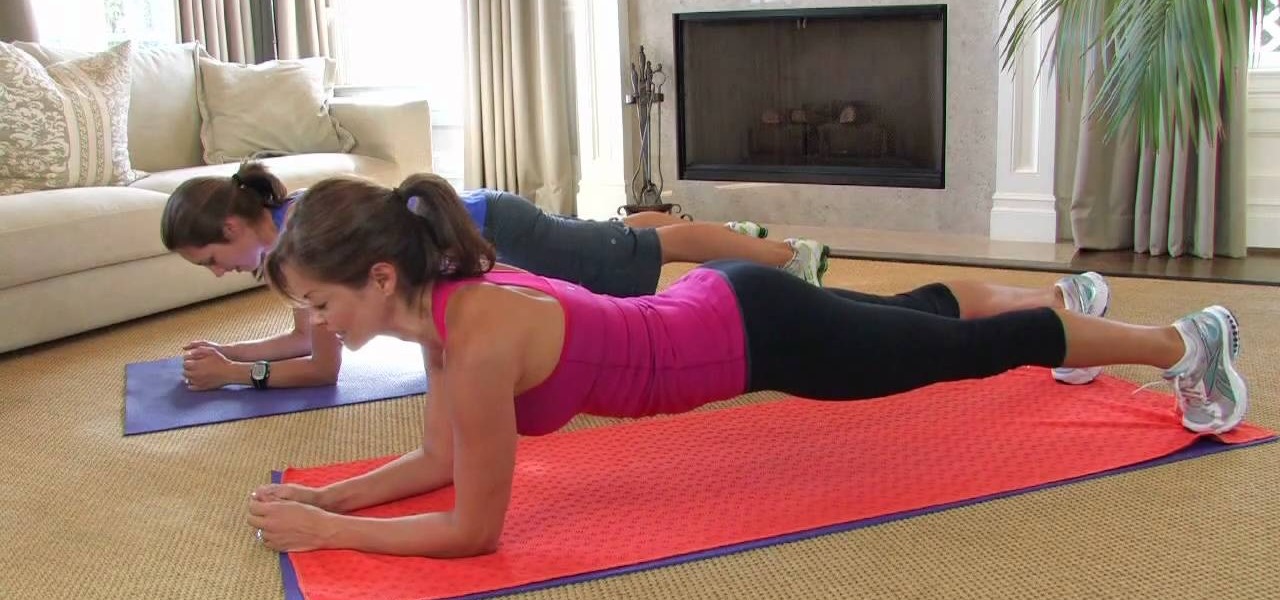
This video shows you how to correctly do the exercise called "the Plank". For beginners, turns of fifteen to thirty seconds are suggested, and you can end up doing minutes after you practice. "The Plank" exercise consists in trying to keep your body in a strait position, somewhat lifted, supporting it only in your toes and arms from the elbow down. You can also do some movement while in that position. Leaning to a side, and then to another, without touching the ground, and always stopping in ...

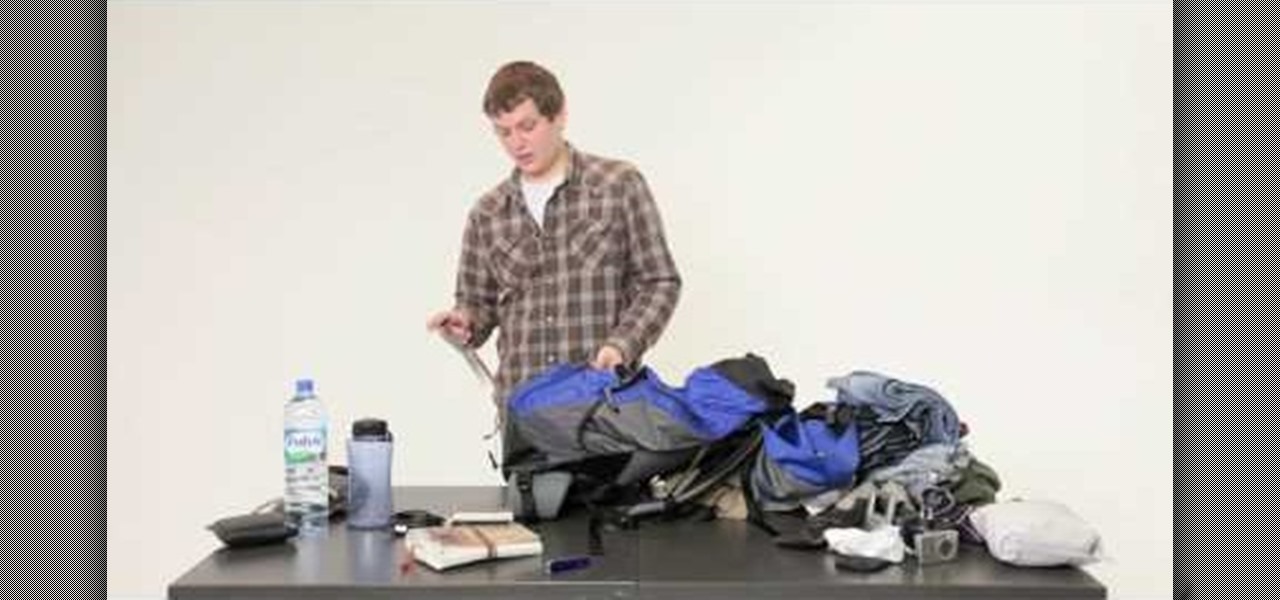
Backpacking through Europe is a great way to see a new country. This video tutorial shows male travelers what to include in a travel backpack and offers insightful tips on enjoying a trip through Europe. As a general rule, you'll want to reach a balance between light packing and thorough preparedness. Create a packing system based on item demand, dividing items into the bottom, middle, and top sections of your bag. Finally, bring a journal to record important information and for writing down ...

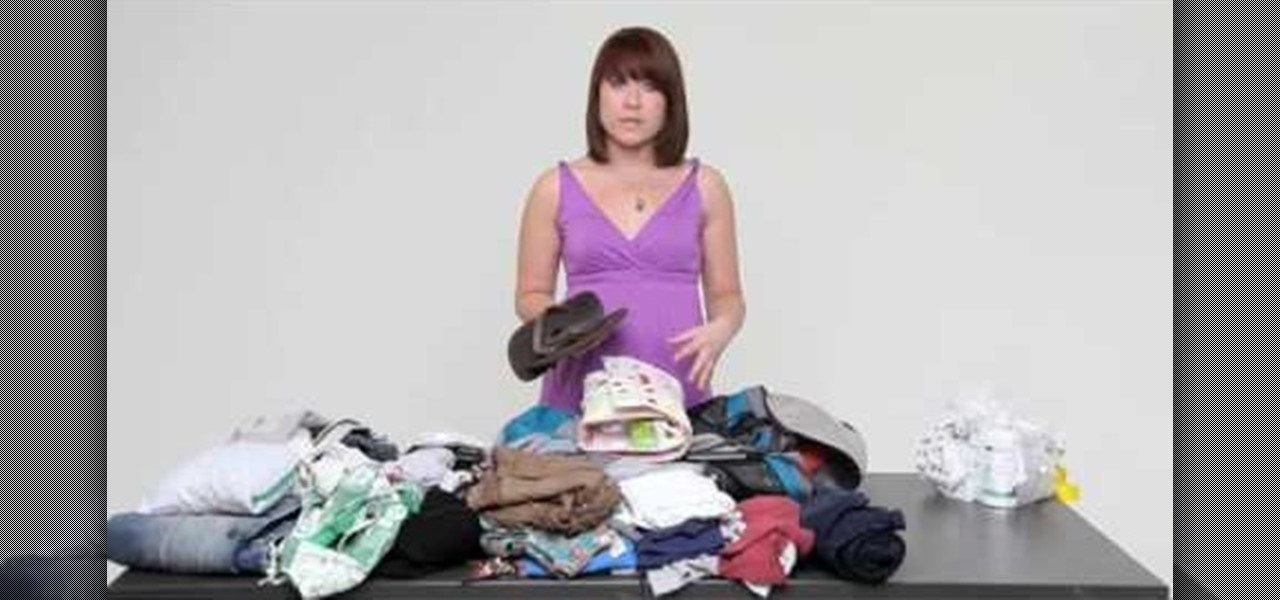
Backpacking through Europe is an exciting and affordable way to see a new country. This video tutorial shows female travelers what to include in a travel backpack and offers insightful tips on enjoying a trip through Europe. Create a packing system based on item demand, dividing items into the bottom, middle, and top sections of your bag. As a general rule, include clothing that may be easily layered for colder climates.

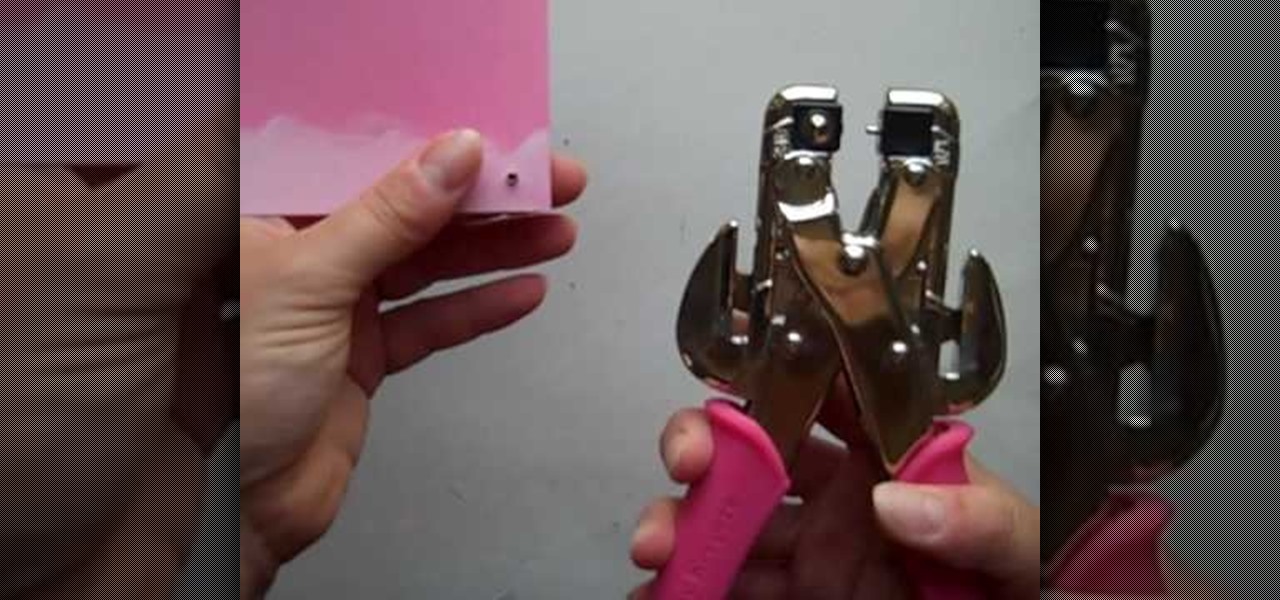
In this video tutorial, viewers learn how to use the Crop-A-Dile to set eyelets. The Crop-A-Dile is a tool that can punch holes and snap eyelets. The sides of the tool allows users to set a measurement for hole punching. This allows for users to make accurate and straight holes. Then put the eyelet on the hole and use the middle part of the tool is set it. Simply squeeze it to bind the eyelet to the paper. This video will benefit those viewers who enjoy making arts and crafts, and would like ...

Showing how to make of a cucumber out of polymer clay. The instructor begins with the color of clay she is going to be using, greens and translucent. She makes six inner 'seeds', then she shapes them around a core piece. Around the middle, she wraps 2 layers of translucent clay, then a light green, and the final dark green outside. The whole time she's lightly shaping the piece into a tighter compact whole, saying this needs to be done while the clay is warm, and not to walk away or take any ...

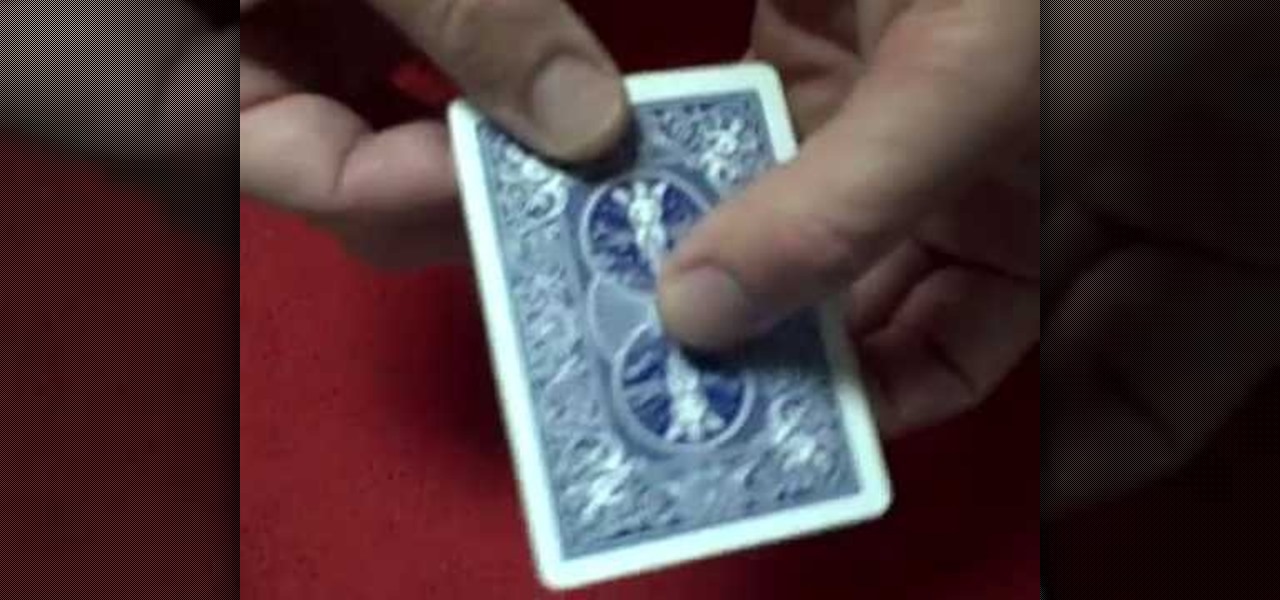
Place the card in the center tip of your middle finger. The card should balance on your finger and you can test this by wobbling the card on your finger left and right without it falling off of your finger. Try to spin the card with your other hand. If it falls off your finger it may have been off center. Next, use your thumb, placed on top of the card to stabilize the card. Raise your thumb above the card. With your index finger, lightly pull the card toward your palm and generate a spinning...

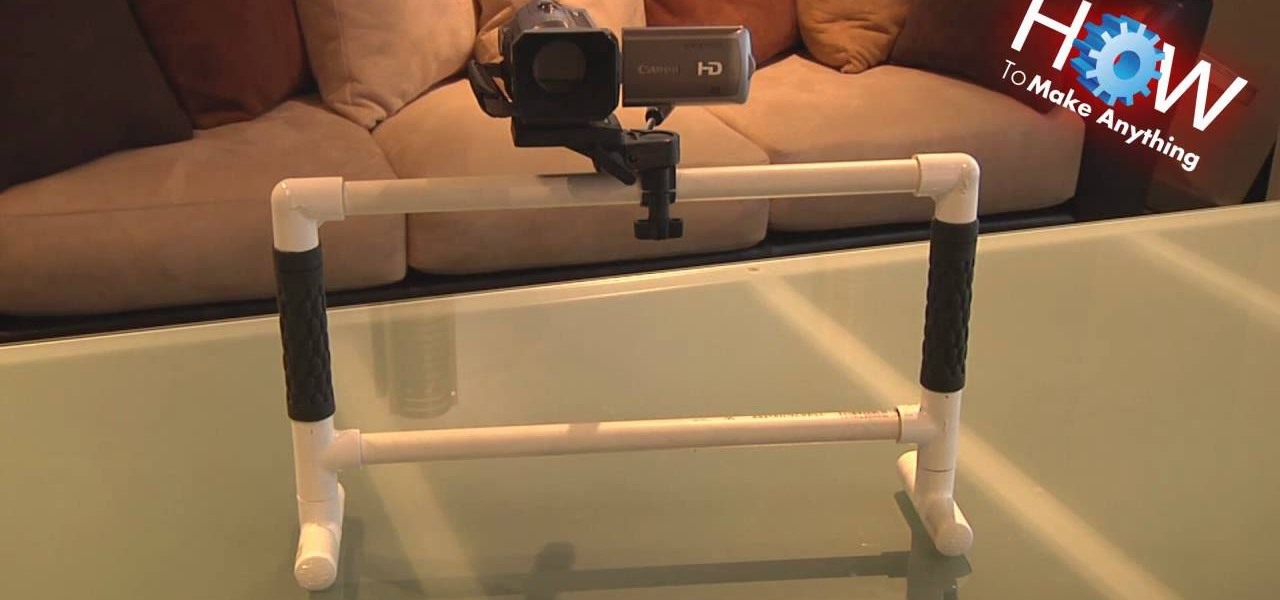
This video tutorial is going to show you how to steady your shots with a homemade fig rig. The camera is mounted right in the middle of the top bar and it uses the iron as the balancing mechanism. The official fig rig is about $300. But, the one shown in the video will cost you around $10. Cut a PVC pipe about 2 feet in length and glue on two T joints on either end parallel to each other. Now fix the two feet into the T joints as shown in the video. The larger the camera, the longer will be t...

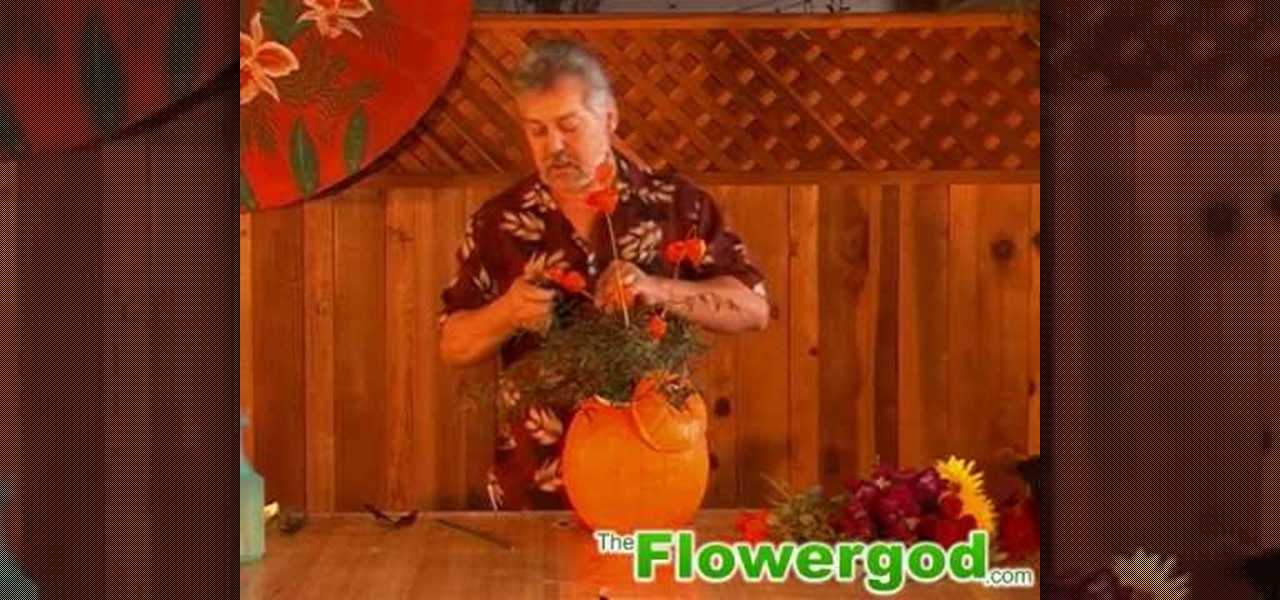
He starts with a pumpkin and some flowers from the supermarket, and some greens that he trimmed from a bush in his yard. He first cuts off the top of the pumpkin and cleans it out. He put newspaper in the bottom of the pumpkin, then puts a container with floral foam inside the pumpkin so the foam is sticking up a bit. He attaches the lid of the pumpkin to the foam with a piece of wire. He starts with the foliage and then begins adding flowers. He puts a tall stem of Japanese Lantern in the mi...

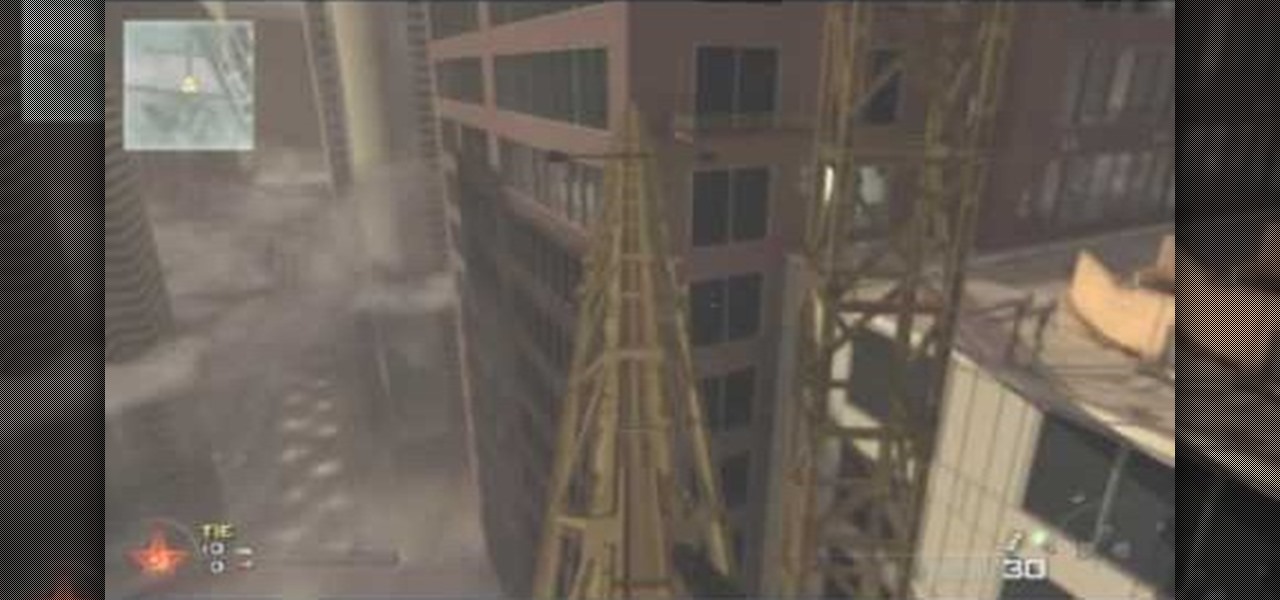
In this video, you will learn a plethora of tricks and glitches in a multiplayer map called High-rise in Call of Duty: Modern Warfare 2. Learn how to access vantage points such as the crane visible on the side of the map, or learn even more obscure pathways to places you probably never thought you'd reach. This video provides an excellent visual guide to dominate the High-rise map. Don't waste your time dying in the middle of the map or sitting in the spots everyone knows about--study this vi...

Lexi and her chef father are going to show you how to make your very own homemade donuts. All you are going to need to create your donuts are a frying fan, thongs, frosting, vegetable oil, and any kind of packaged biscuits. First, you are going to take the biscuits poke a hole in the middle and then round them off so it's even. Once that's done you'll be ready to fry the dough but make sure the oil in the pan is between 365-375 degrees. After you drop the dough in the hot pan, you'll only nee...

A step by step video tutorial that shows you how to change the tire from a Triathalon or road bike! Don't get stuck with a flat tire in the middle of nowhere! Gear West Bike and Triathalon show you how to: shift into the smallest gear, release the brake, open up the quick release and remove the wheel, remove the tire and tube, inspect the tube and tire, Install a new tube and remount the tire, reinstall wheel with quick release and close the breaks. Very basic, easy to understand instructions...

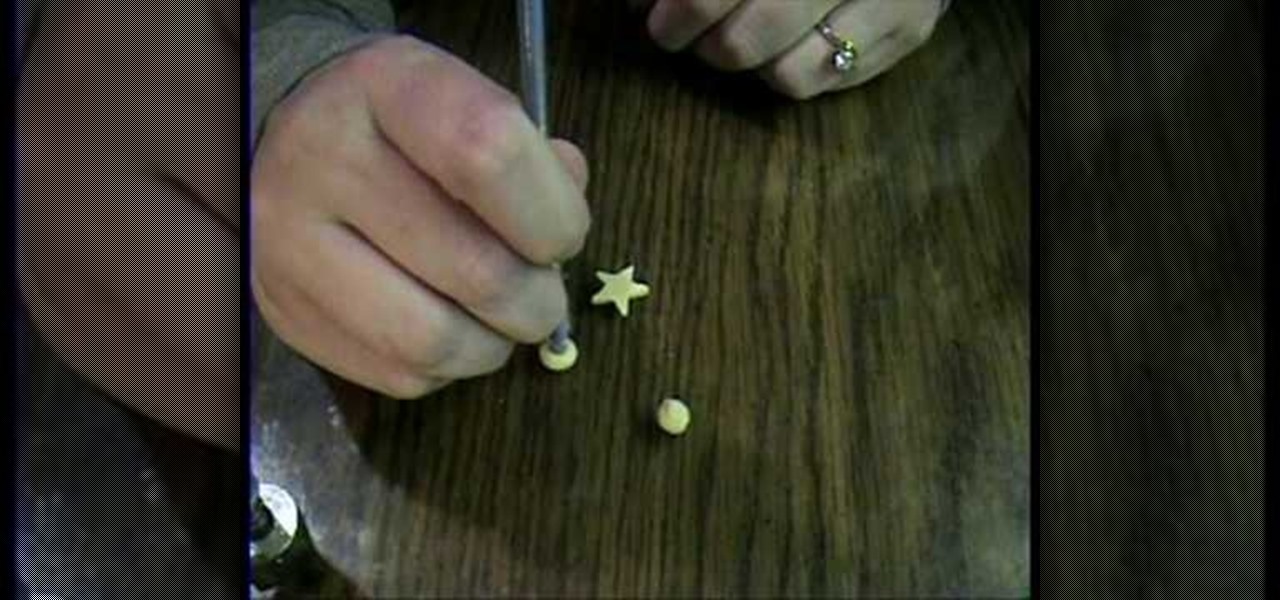
Garden of imagination show you how to make all your donut beads the same size without a clay measurer. Roll out your clay to desired thickness. Use any shape cutter and cut out the desired number of beads. Using your fingers, roll the cut-outs into balls. Press the balls to flatten slightly. Use the end of a thin paint-brush or similar object to puncture a hole in the middle of the bead.

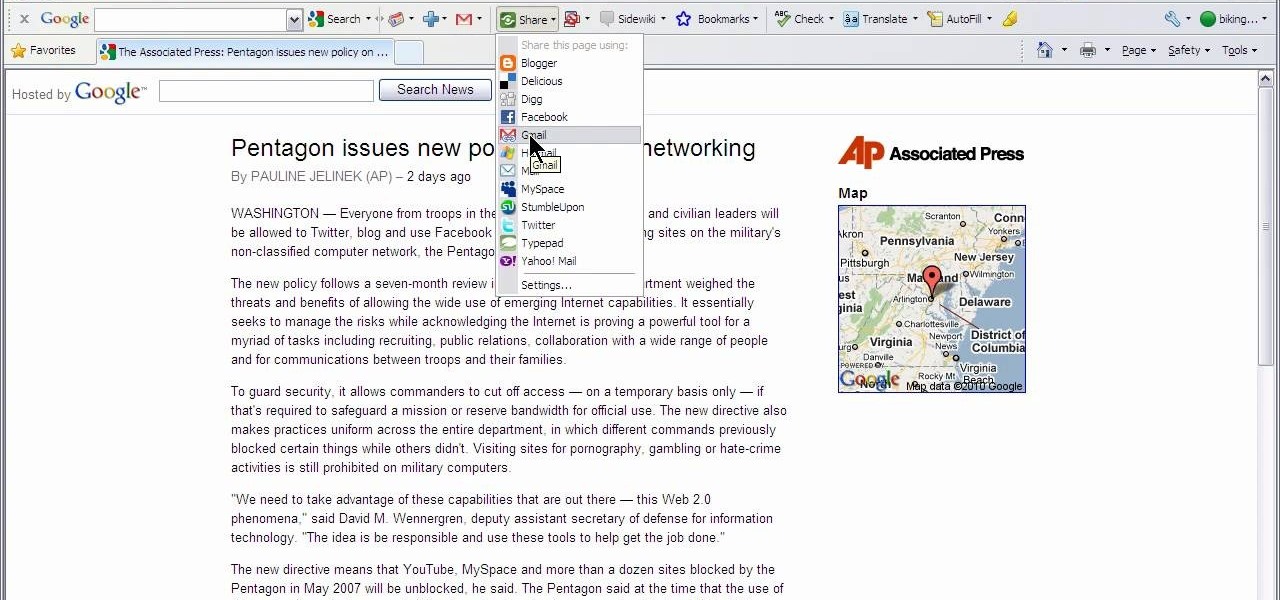
This video shows how to use Google toolbar to share links with friends. Once you were in your desired website, click "Share" button located at the middle part of the Google toolbar. Options will appear. Click Gmail if you wish to send the link through Gmail. Compose mail (Gmail) window appears. Type email address in the "To:" textbox. Click Send button. A confirmation message will appear.

Are you interested in 2D animation in Flash? First import a image in flash. Then create a new layer and choose oval tool and take a radial gradient. In the middle of the shape, we need to have zero alpha value and pick the colors from the background of the image. Create the shape over the image and take another frame at no.10 and increase alpha. Then create another keyframe and convert it to movie clip. Then create shape and motion tween. On the new layer, write a stop command in action scrip...

Open Xara 3D. Hit show or hide cursor. Type the name JRR Tolkien. Open Animation Options. Set to swing 2. 4 frames per cycle. 1 frame per second. No pause. Angle 0. Select the second "R" and change the animation. Flip the "R" around so it is a mirror image. Go from frame one to frame two. Select the "J". Move the line spacing down to the middle. This yields the JRR Tolkien logo in Xara 3d. You can also flip around the logo using the view menu.

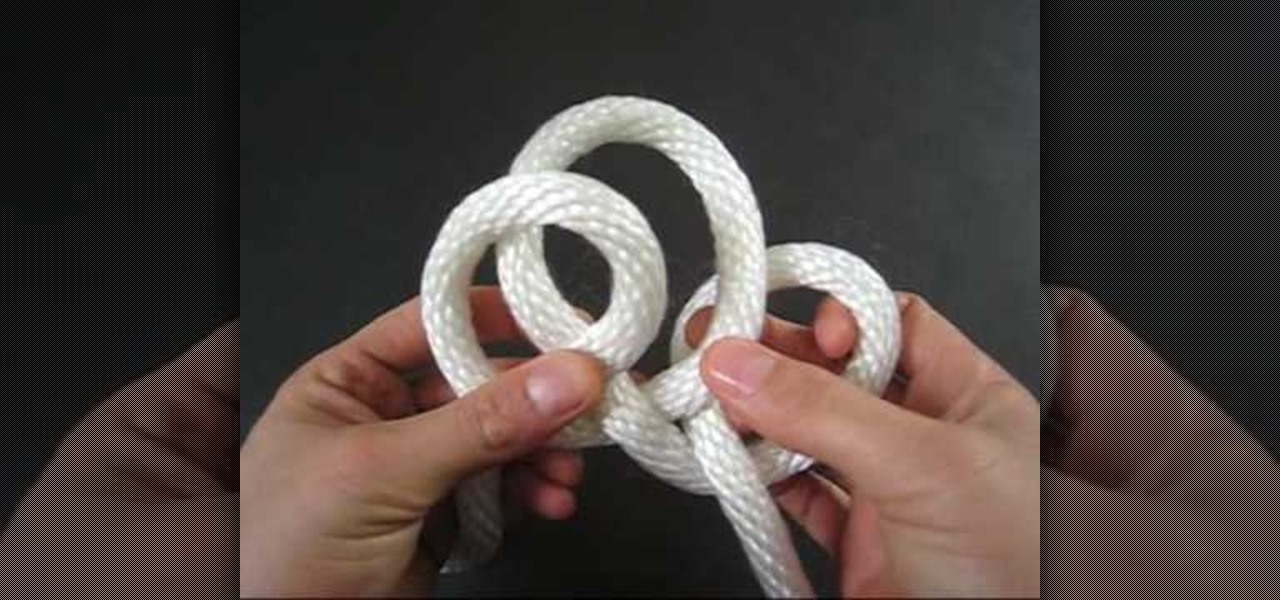
To tie a quick rope shackle, take a flat thread to make this knot. Take the thread and hold it in your hand fold it from right to left and hold it at the cross hold it once again catch both the crosses and fold it once again. Insert the send fold into the first hole and the third hole. Now pull the middle of the thread to make a tight. Pull the loose ends of the thread to make it tight. Now hold the two circular holes and insert a round stick or a bamboo stick and pull the loose ends of the t...

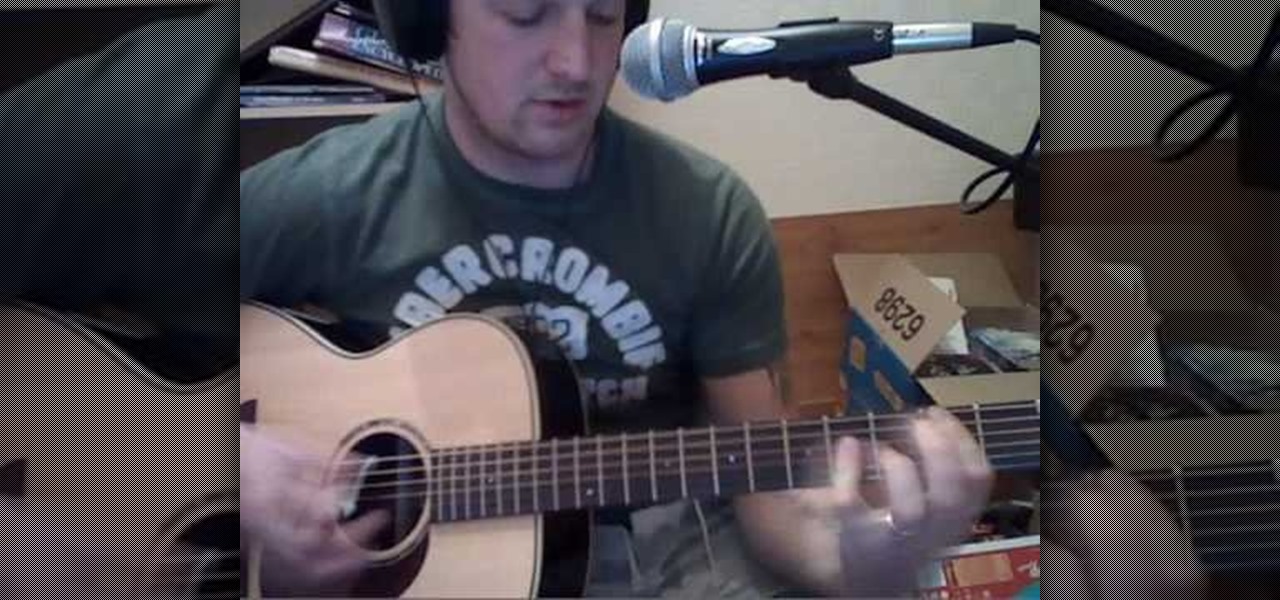
All you beginning acoustic guitar players can learn to play the song "Lithium" by Nirvana. As you watch the video you'll be taken through the needed chords for the first riff. Then you can play that first riff along with the instructor. Next you'll learn the chords for the middle part. You can then play this part with the instructor. The last part is just repeating the first riff so continue to play along. If you follow this video and practice you'll be able to play it by yourself.

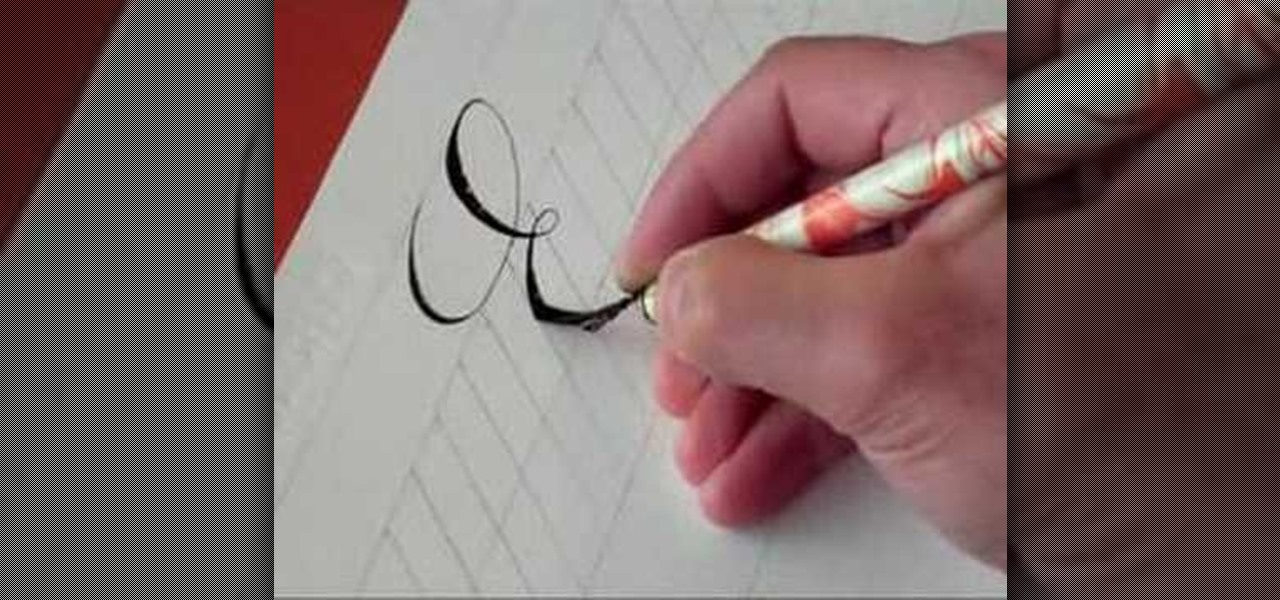
How should you write in copperplate? Hamid will show us how write E and e in copperplate. First we need a book and a pen specially to write in copperplate. This type of font has letters with narrow edges and it gets broader in the middle. For capital 'E', it will be in curved form with the font's unique style of thickness. The small 'e' more looks like a 'c' with a closed loop. It will help in improving your handwriting style and add some grace.

This video teaches how to tie the Dropper Loop fishing knot. The presenter explains the uses of the Dropper Loop, then begins the instructions. First, make a loop in your line, remembering that the size of this loop will affect the size of loop you have when the knot is tied and sizing accordingly. Take the end of the line and make another loop that goes inside of the big loop and then wraps around the line 4 times. Now you have a big loop, and a length of wrapped line with a hole in the midd...

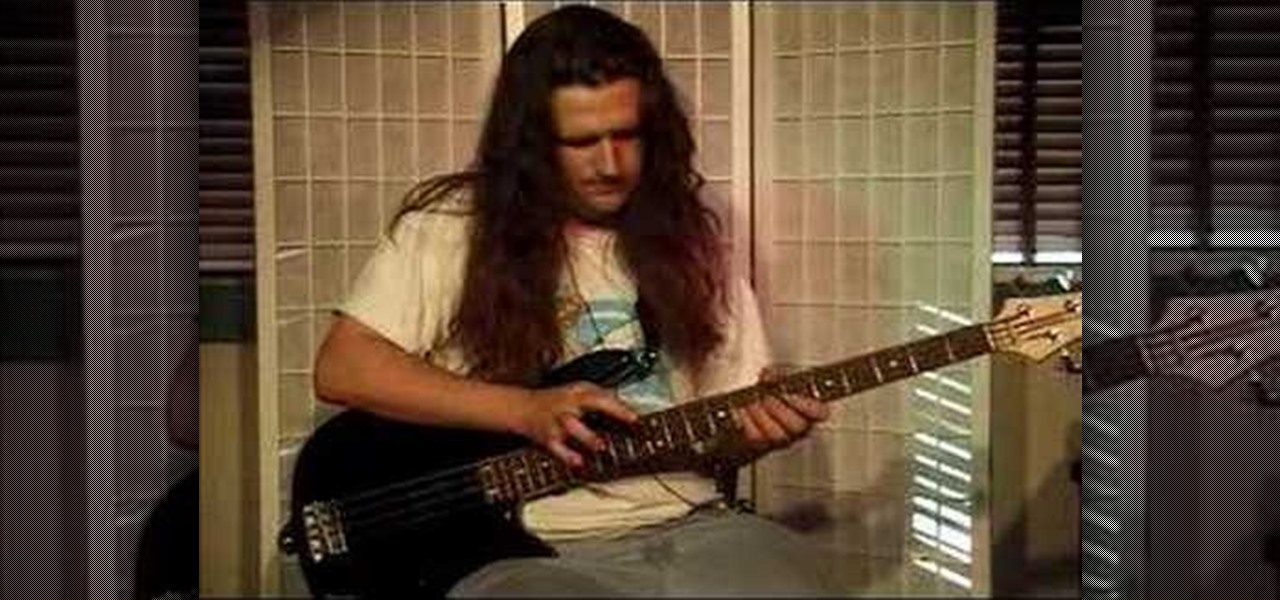
This video is a bass lesson that demonstrates how to use a two-handed tapping technique often used by Eddie Van Halen and others on guitar. To do this on bass, you should put your middle finger over the top of your index finger to make a more solid tapping finger, and put your hand up the neck with your thumb on the back of the neck. Land your finger to tap, and pull to pluck the string. He places his left hand on the frets in anticipation of pulling the string with the right hand. He demonst...

In the middle of town we meet our host who is showing us how to prepare turkey breast with tomato and mozzarella. He starts with slicing an onion, then a clove of garlic; he has amazing artistry with the knife. He heats up a pot and then places these ingredients and some salt and olive oil into the mix. He then opens a can of tomato sauce and places that in the pot as well. Letting it simmers, he then grills two cuts of turkey breast. Covering the breast in the sauce he then bakes it at 325 d...

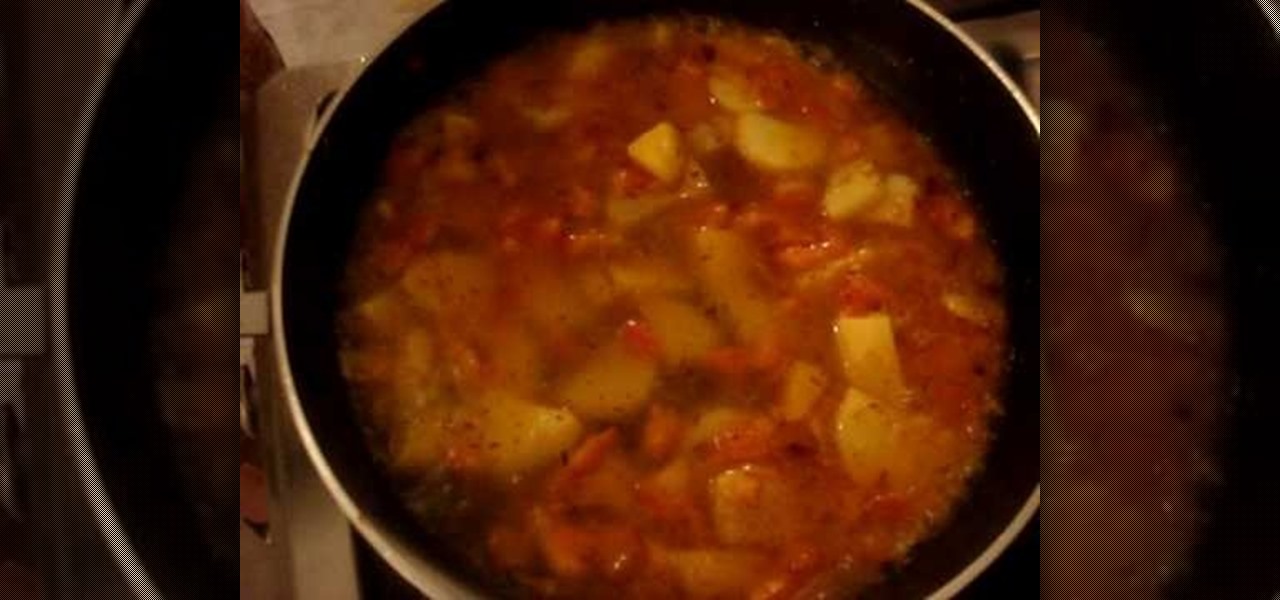
Aaloo cholay sabzi or potato chickpea is a traditional Pakistani dish. It is a delicious, spicy concoction that is actually quite easy to prepare. No matter where in the world you are from, you will love this healthy dish with a Middle Eastern flair.

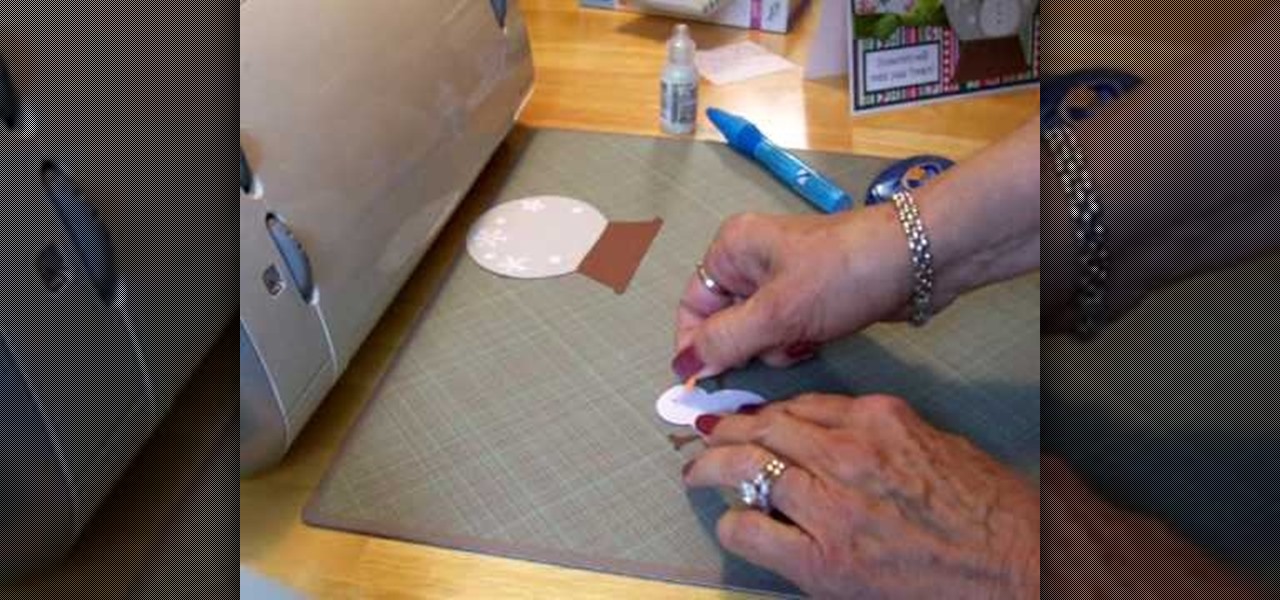
Cardcrazy09 teaches us how to make a Cricut snow globe card. You cut the base of the snow globe in brown cardboard. You then add a layer of white with dots and snow flakes on top. The snowman is done using the same technique - black cardboard and then a white layer on top of it. You add the carrot nose by sticking it on. When all is dry, add the snowman on top of the snow globe, in the middle of it. You add the acetate layer on top of them. The end result looks like the class on a real snow g...


