In this tutorial, we learn how to play "Part of Your World" on a piano. First, you want to start out with the introduction to the song. You should have each of your hands on the piano sitting next to each other. The middle finger of the right hand should hit the "C" chord. Once you have this down, start to play in the rest of the parts of the song. Play the different notes as they are shown on the paper. Then, you will continue to play until you have it finished! Just practice and run through...
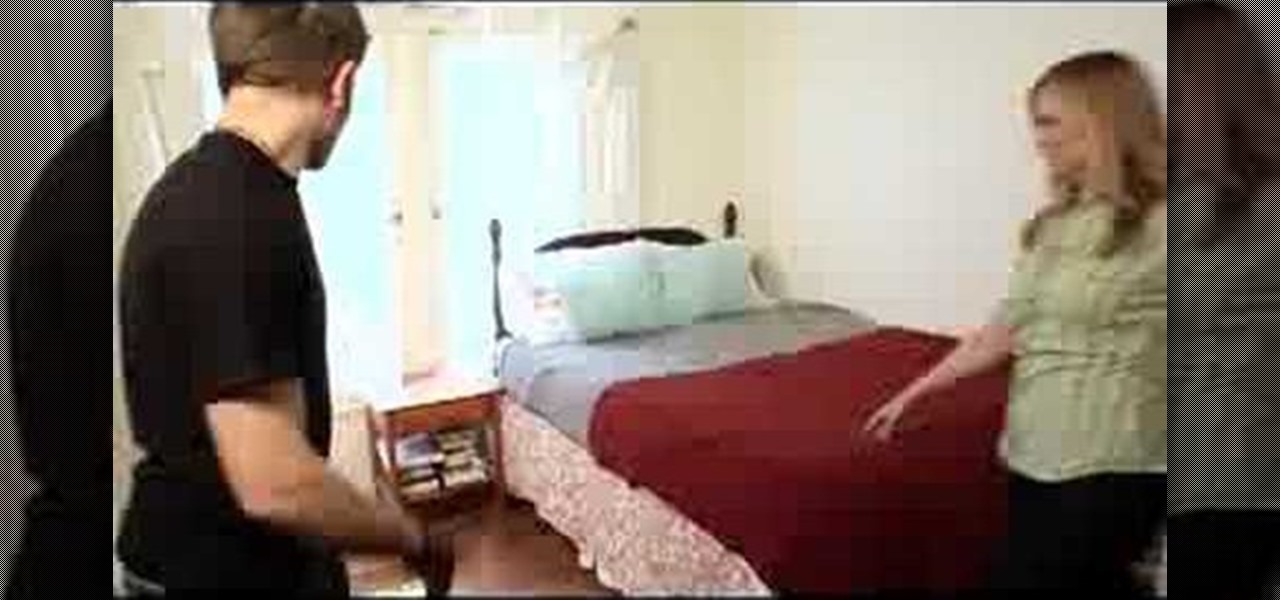
In this tutorial, we learn how to make your man propose with feng shui. Having a room with the proper arrangements, it can help your man propose. Your focus room should be in the far right hand corner by the front door facing in. First of all, don't have a bed shoved up against the wall or have a drab painting on the wall either. To fix this, place a bed in the middle of the room and give it calming colors. Then, place a relaxing painting on the wall with minimal items around the room. This w...
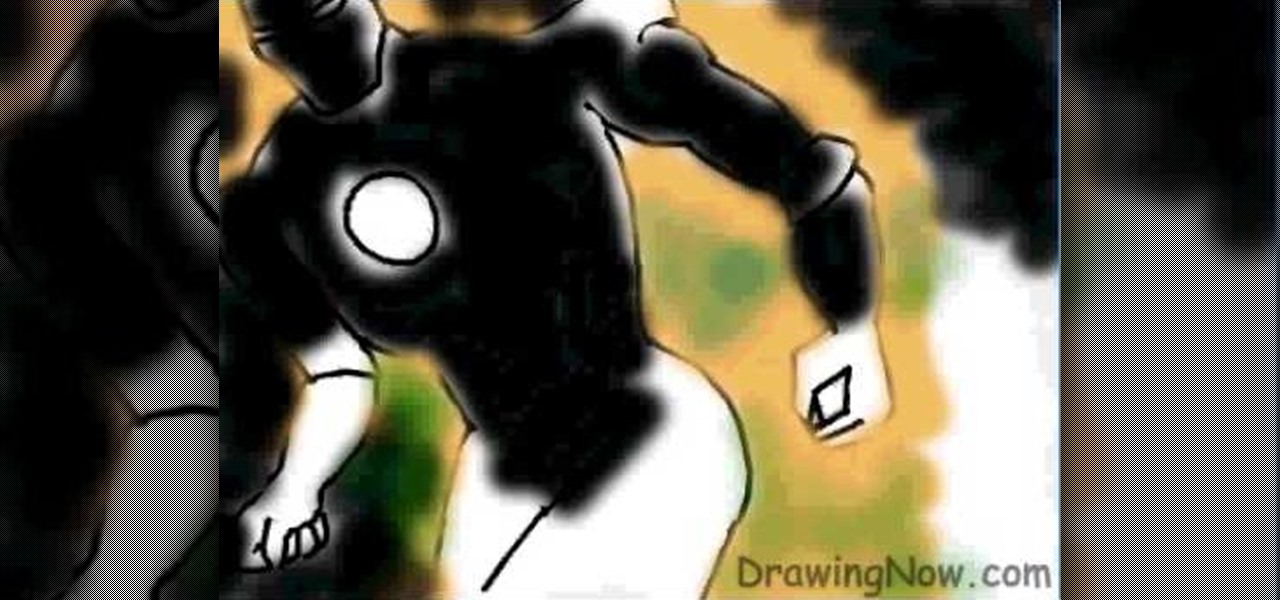
In this tutorial, we learn how to draw Ironman. First, draw the outline of the body, make sure to include the heart in the middle of the body and the squares to make it look like metal on the outside. From here, start to add in the finer details on the body as well as the features on the face. Once finished, erase the background lines and then color in the background of the drawing. After this, color in the character with the appropriate colors and then define the features. This will finish u...
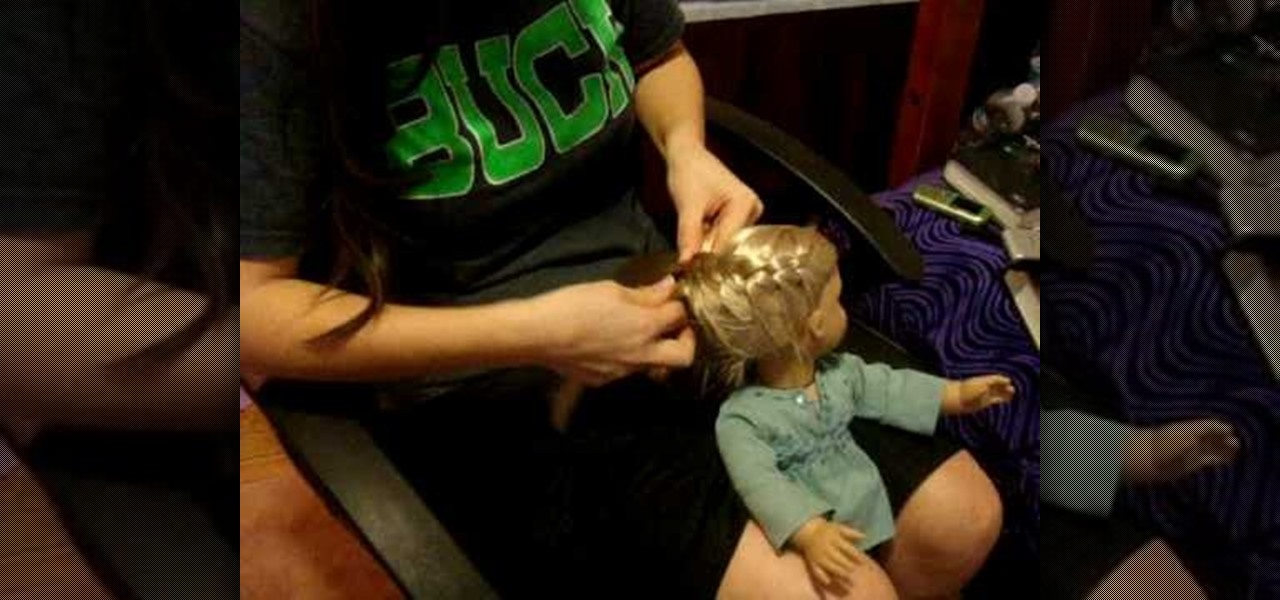
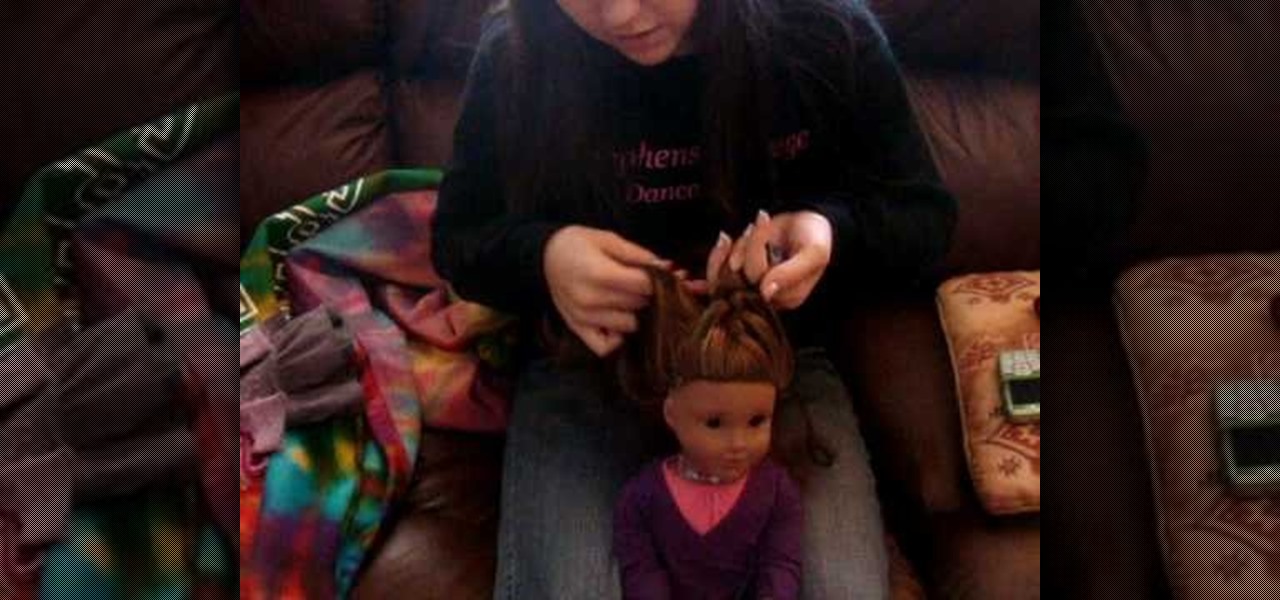
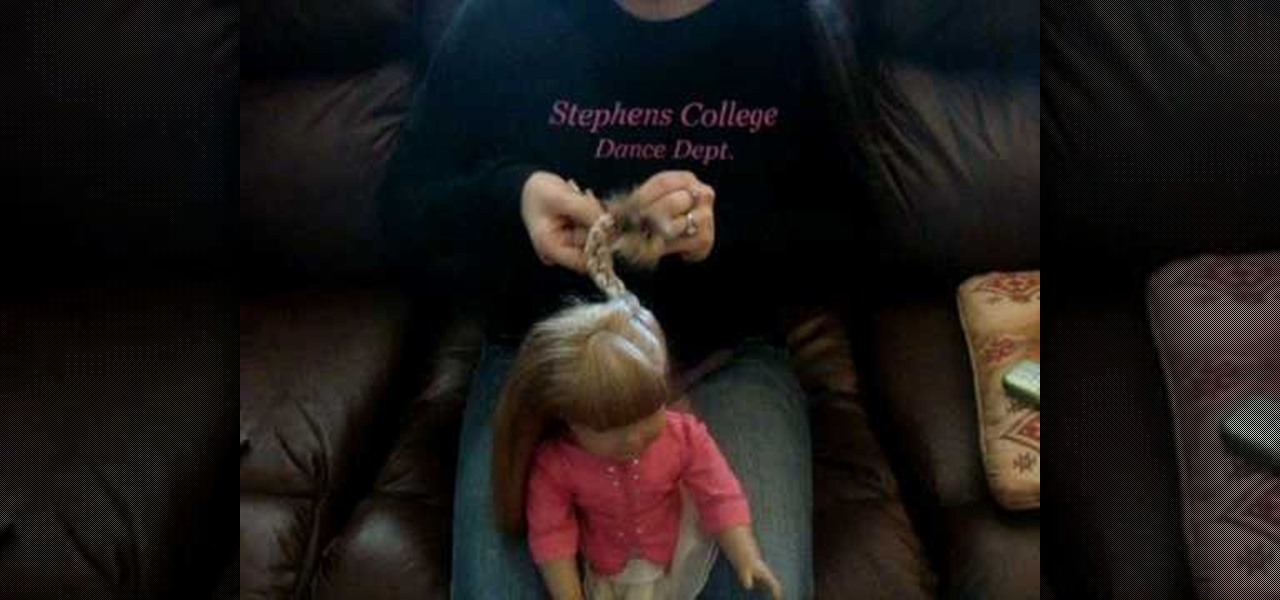
In this video, we learn how to do a French braid wrap around on your American Girl. First, brush the hair out and then grab the section on the right side of the hair. Split this into three sections and then start to braid down four times. After this, you will start to French braid the hair, adding more hair in as you go down. Incorporate the middle strands in and go to the other side as you continue to braid. Pretty soon, you will incorporate all the hair into the braid. Finish this off by ty...

In this video, we learn how to make a simple paper airplane that flies far. First, fold the paper in half and make sure it's perfectly even. From here, unfold the paper and fold the edges into where the crease is. After this, do the same on the other side and make it perfectly even. Then, fold the side over to the middle again and do the same on the other side. Next, make sure the creases are solid and then fold it in half. Now, to make the wings you will fold one side down, putting the tip d...
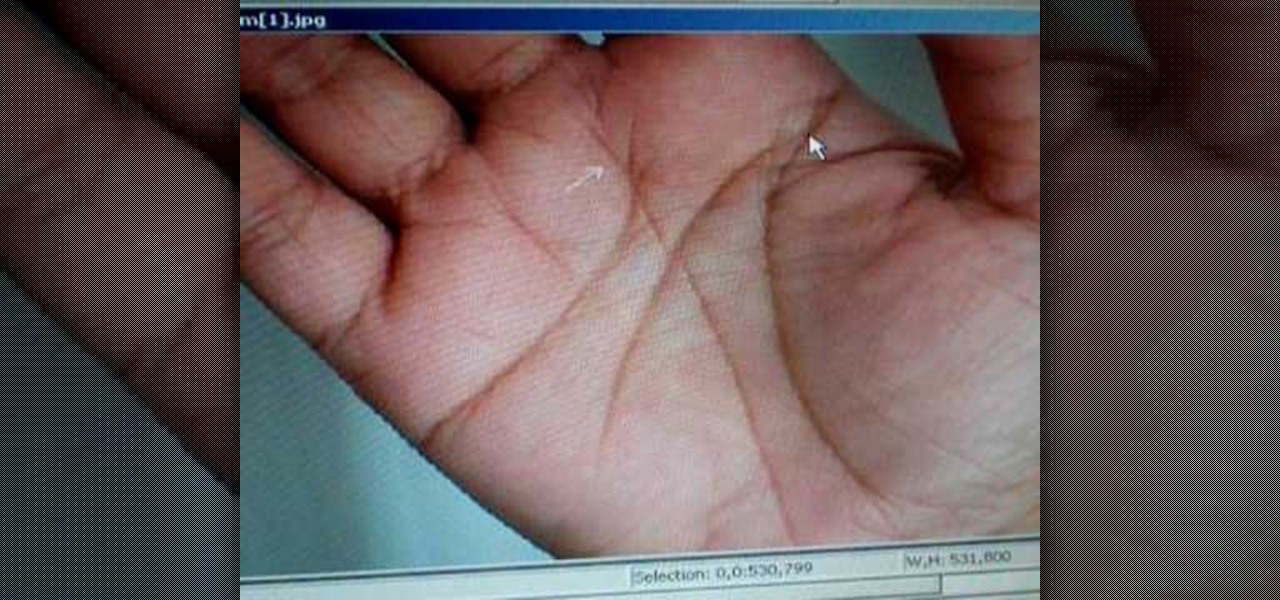
In this video, Peter John analyzes the right hand in palm reading. Once you have the hand turned over, you will see lines that are underneath the middle finger. The half line means that someone is emotional because the line arcs more than usual. The person also likes to show their emotion and have the emotions shown to them. Then bait line on the side of the hands should be slightly clear, which will tell how affectionate someone is and how much they show love. Right hand palm reading can be ...

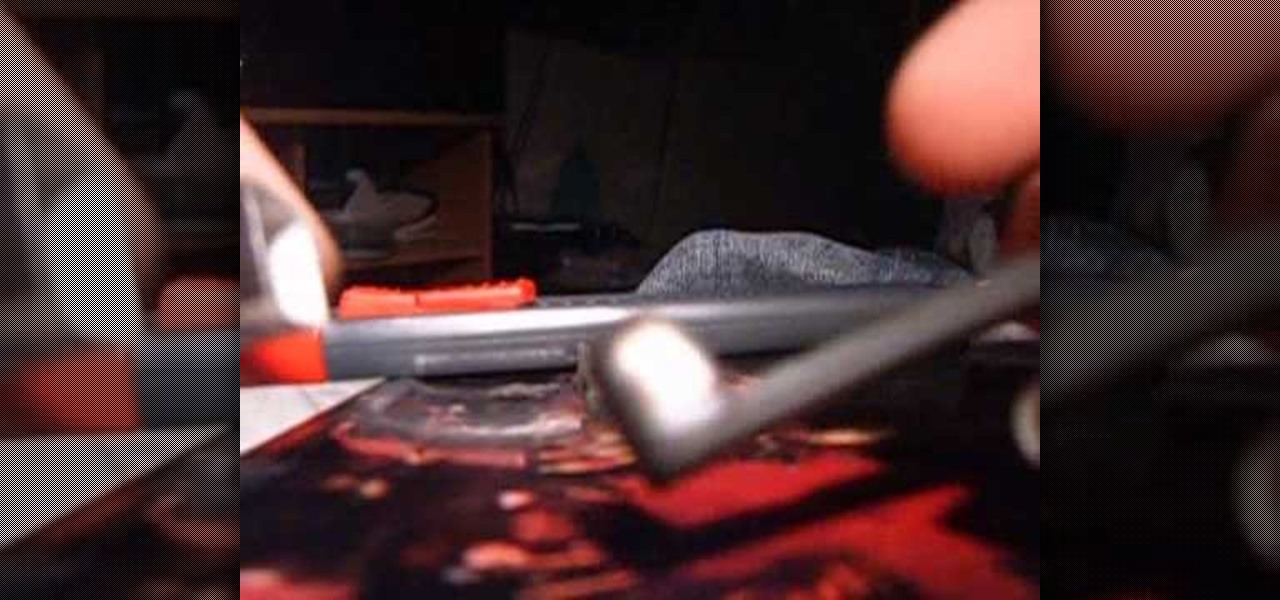
In this video, we learn how to cheat on any test using an eraser. First, take your eraser, it should be wide and thick, not one that comes on the top of a pencil. After this, you will cut a hole out of the middle of the eraser. You can do this easily using a straight edge blade. Once finished, you will take a small piece of paper and write down the answers or information you need on it. After this, you will fold the paper up into a tiny square and then place it into the hole in the eraser. Ta...
In this video, we learn how to do a single French braid on your American Girl Doll. First, brush the doll's hair back and make sure it's smooth with no bumps. After this, grab a small section of hair at the top middle of the head. Split this into three pieces and then start braiding like normal. From here, grab some hair from one side of the head and braid the hair sections over each other. Then, grab hair from the opposite side and braid the sections over each other. Continue to do this, alt...
In this tutorial, we learn how to draw Plankton. Start out by drawing a long oval shape for Plankton's body. After this, draw on a large eye to the upper middle section of the eye. Next, you will draw in the mouth underneath the eye and make sure to draw in an angry expression and pointed teeth. Next, draw in the eyebrow on top of the eye followed by legs on the very bottom of the oval. The legs should be soft triangle shapes and nothing more. You can color this green to finish up the drawing...
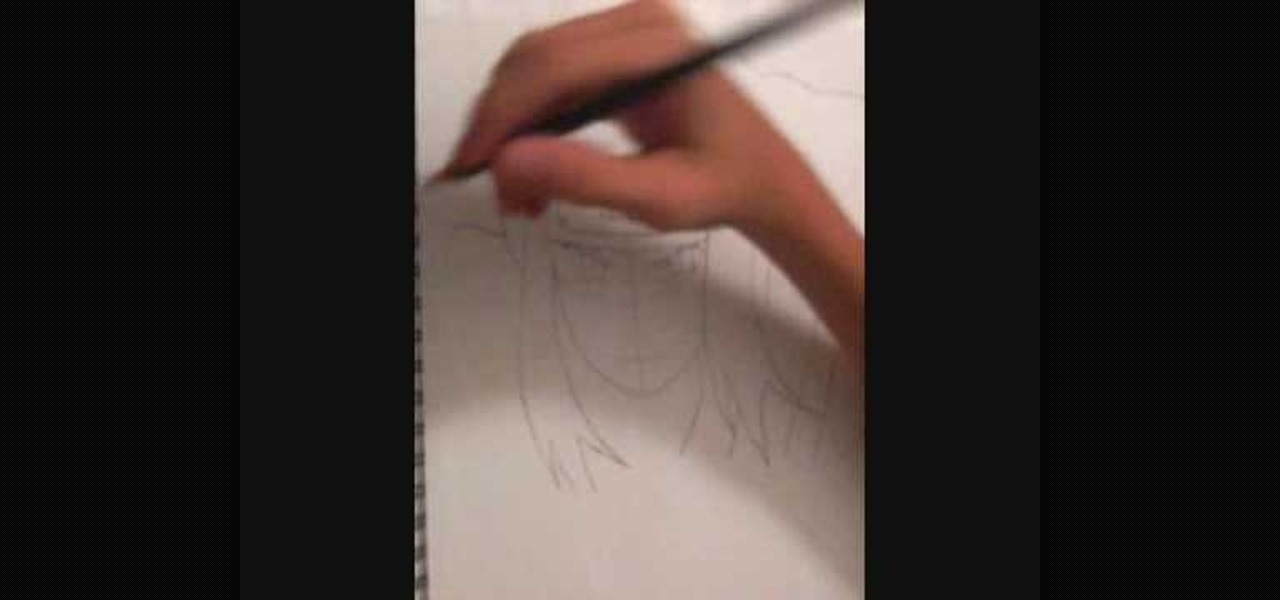
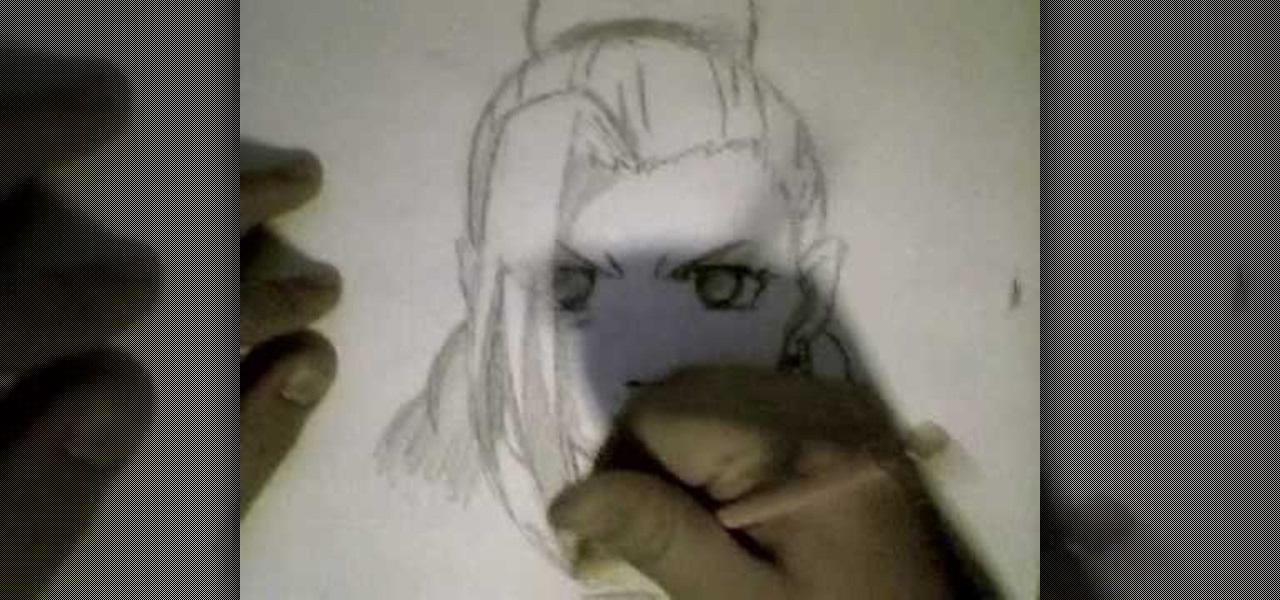
In this video we learn how to draw Neji Shippuuden. First, draw the outline for the head, use lines in the middle of the face to figure out where to place the facial features. After this, use a pencil to draw on the hair around the face and then draw on the headband. From here, add on the details to the hair and then start to add in shading around the face to make it look more realistic. After this, draw in the shoulders on the side and then draw in the rest of the details of the face. Finish...
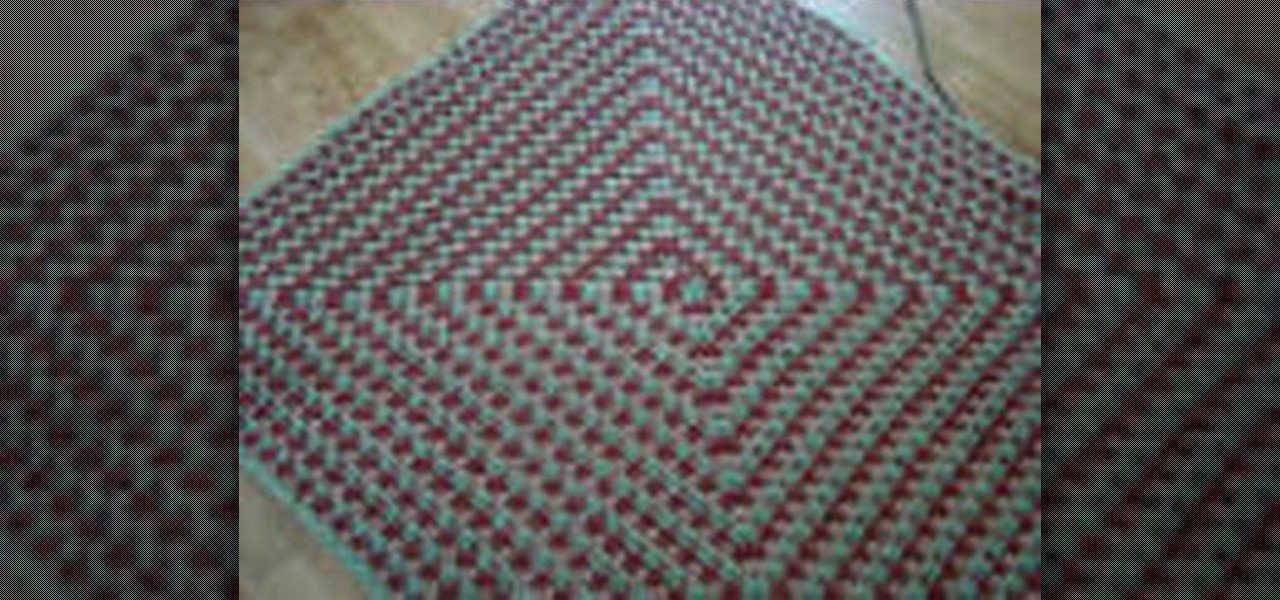
In this tutorial, we learn how to make a standard blanket from crocheting. First, you will start your crochet by positioning the material into your hand. Then, you will need to tuck in between your ring and middle finger and around the others. The fingers will control the tension in the string. Now, start the first stitch by rotating the string around the finger. Then, grab the back one and pull it over the front. Use your finger to pus up and then you have your first stitch. put it on your h...
In this video, we learn how to draw Ino from Naruto. Start off by drawing a circle for the head, then drawing lines in the middle to create reference for where the facial features will go. After this, draw in the hair on the top of the head along with the eyes, eyebrows, and creases of the eye. Then, draw the jaw line around the face and erase the lines you used for reference. After this, add in additional lines and hair to make it look more realistic. Use shading around the face to show ligh...
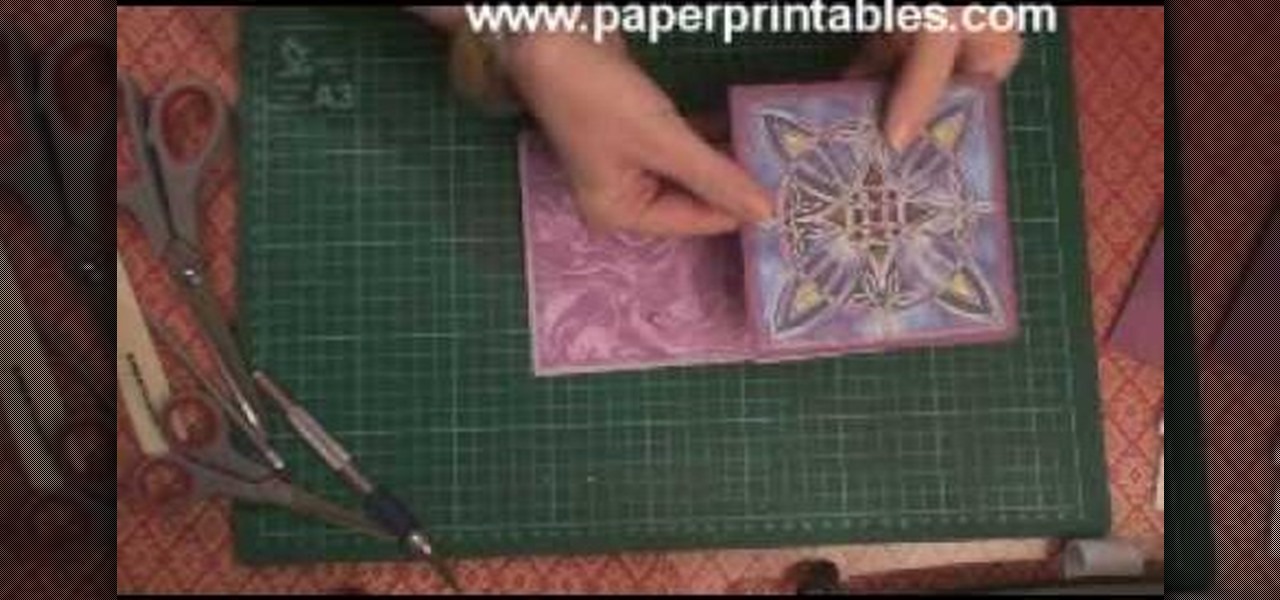
In this tutorial, we learn how to make a half/quarter easel card. First, grab several pieces of colors of card stock that you like. After this, fold the main one up into a square. After you have folded this, fold the edges into the middle and push the creases down. From here, you will glue the bottoms of the other pieces and glue them onto each other so they are backgrounds. After this, you will create a border around the front main picture. When finished, fold this up and then you will have ...
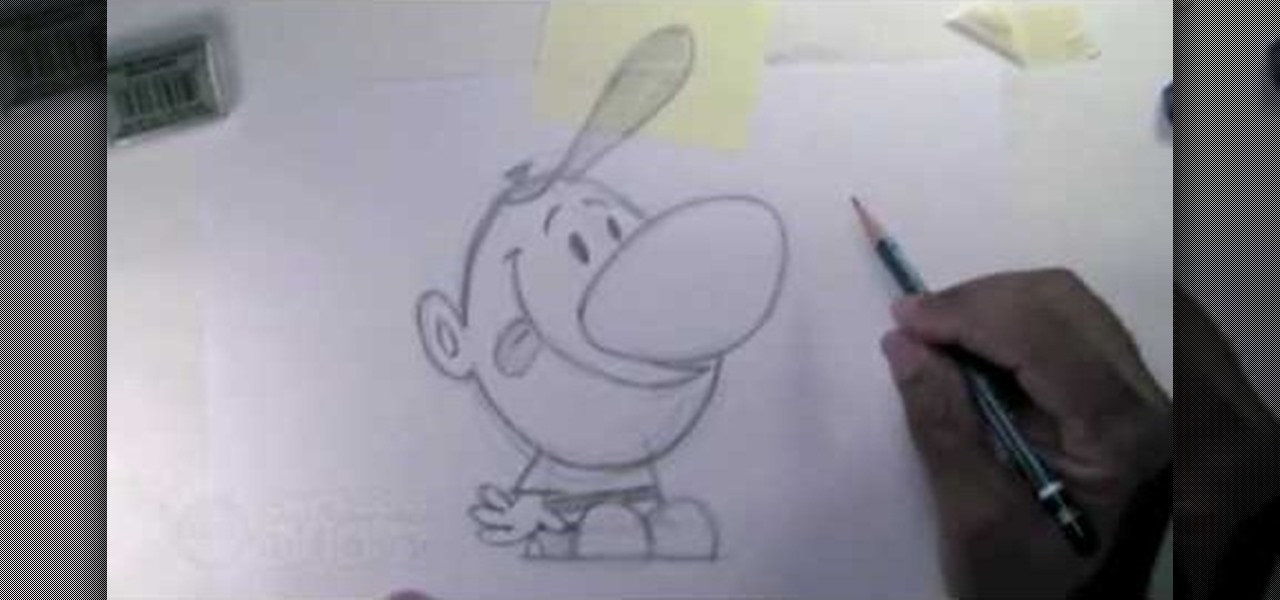
In this video, we learn how to draw Billy from The Grim Adventures of Billy & Mandy. Start out by drawing the egg shaped head with a pencil. From here, sketch on the body by using a block shape then draw the shoes as simple half circles. The arms and hands will be hanging to the sides. Now, draw on the huge nose in the middle of the circle. Attach the mouth to this and draw it all the way up near the eyes, which are simple dots. The brows are simple slashes. After this, add in the minor detai...
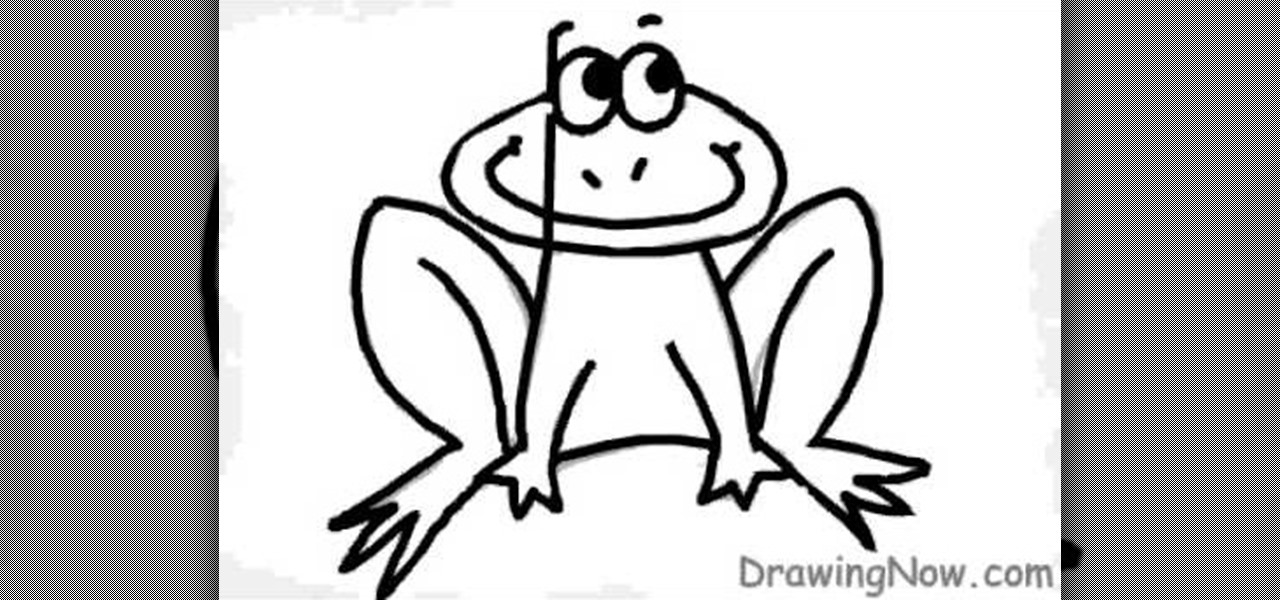
In this tutorial, we learn how to draw a cartoon frog. First, draw an oval fro the face with two small circles sticking up. After this, draw the outline for the legs, arms, and body. Then, draw on the eyes, nose, and a big smile. Make sure to make the toes on the bottom of the feet. After this, erase any background lines and start to add in some color. Use green and dark greens to shade the sides and middle areas on the frog. Then, add dots to the legs to give it some character. After this, c...
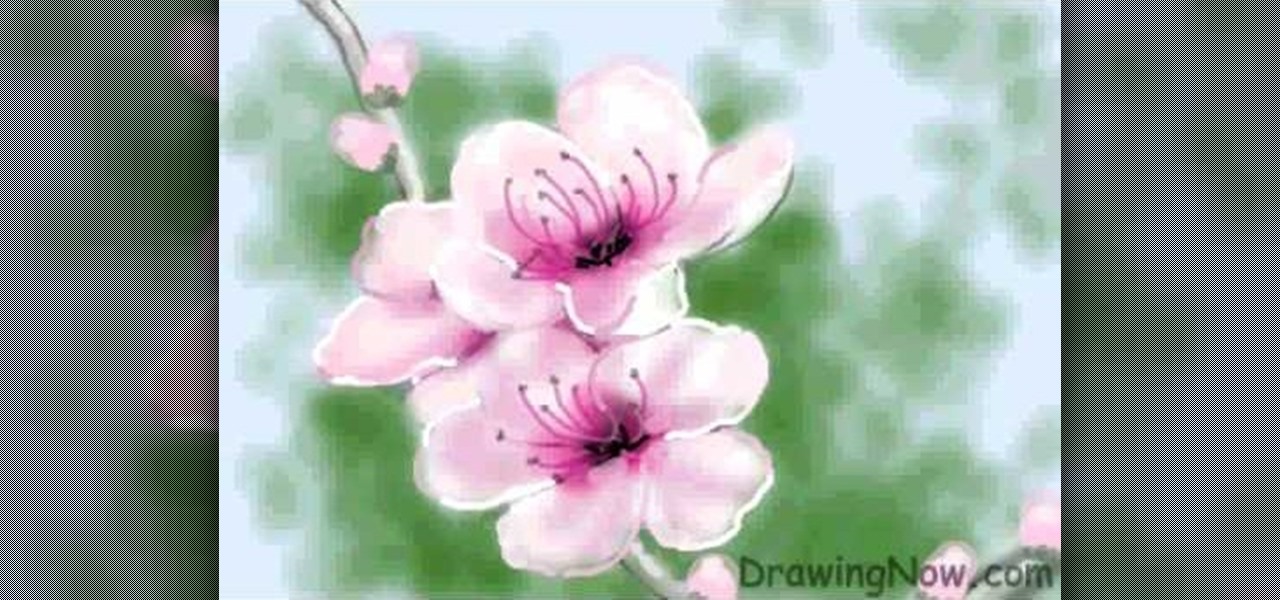
In this tutorial, we learn how to draw a peach blossom. First, draw the vine where the flowers will be. Then, draw the petals for the flowers, creating a basic outline. From here, you will color in the middle of the flowers with black and then a darker color of what the petals will be. After this, color in the petals and then create the background of the drawing. Next, color the vine in where the petals are on. Then, add white to the edges of the petals to show light hitting them. When finish...
In this tutorial, we learn how to recycle a plastic bottle to make a toy bottle rocket. First, take a large plastic bottle and a sharp knife, then cut it in half. After this, take the side with the cap on it and then paint on the inside of the bottle. You can paint whatever you want on the inside, feel free to use different colors and get as creative as you want! From here, take some bottle caps and poke holes in the center of them. Then, string these together by pushing a string in the middl...
In this video, we learn how to draw Naruto Fuuton Rasen-Shuriken. To start, you will first draw the outline with a light pencil. Then draw it darker over the outline with more details to make the final outline. From here, start to add details into the middle and then draw on the entire body. From here, draw on the clothes and make sure to put the lines on to show the folds and creases of them. Draw on the details of the face and finish off cleaning up any lines that aren't needed. Shade in wh...
In this tutorial, we learn how to draw skulls the easy way. First, draw a round circle on the page followed by a smaller one connected at the bottom. From here, draw in two sideways triangles on the middle of the large circle. Then, draw in lines on the face and create the section of the nose. After this, draw in large teeth on the skull and then connect lines around the circles to make the jaw line. After this, draw on lines around the skull to make it look like it has depth. Then, shade in ...
In this video, Sarah teaches us how to do a spider web hairstyle on your American Girl. You can do this with any doll, even if they have short hair. To start, you will pull the hair from the front of the head back and then clip it in the middle. Next, take the sides of the hair and do the same process. Repeat this on the other side of the hair, doing the same process. Next, you will split the hair in half from each clip and then meet it up with the half of another piece. Continue to do this a...
Simon Leach teaches us how to glaze trailing and pouring for pottery. First, you will dip the entire pot into the glaze after you have poured it into the middle. Wind up your wrist as you are pouring it out so you cover all of the sides in it. Just dip it down a little bit so it goes over the edge of the tip to cover the mouth of it. To use a balloon wand, fill it with the glaze and then use this to glaze the pots. Simply drop the liquid onto the pot in straight lines as you are turning it wi...
In this video, we learn how to do a cute easy hairstyle on your American Girl Doll. To start, brush your doll's hair and then part the hair in the middle. After this, break the side of the hair into three pieces and then start to braid it from top to bottom. After this, repeat the same process on the other side. Tie the bottom with rubber bands and then you will be finished with this hair style! It looks really cut on a doll that has long hair with bangs, but can also work on short or layered...
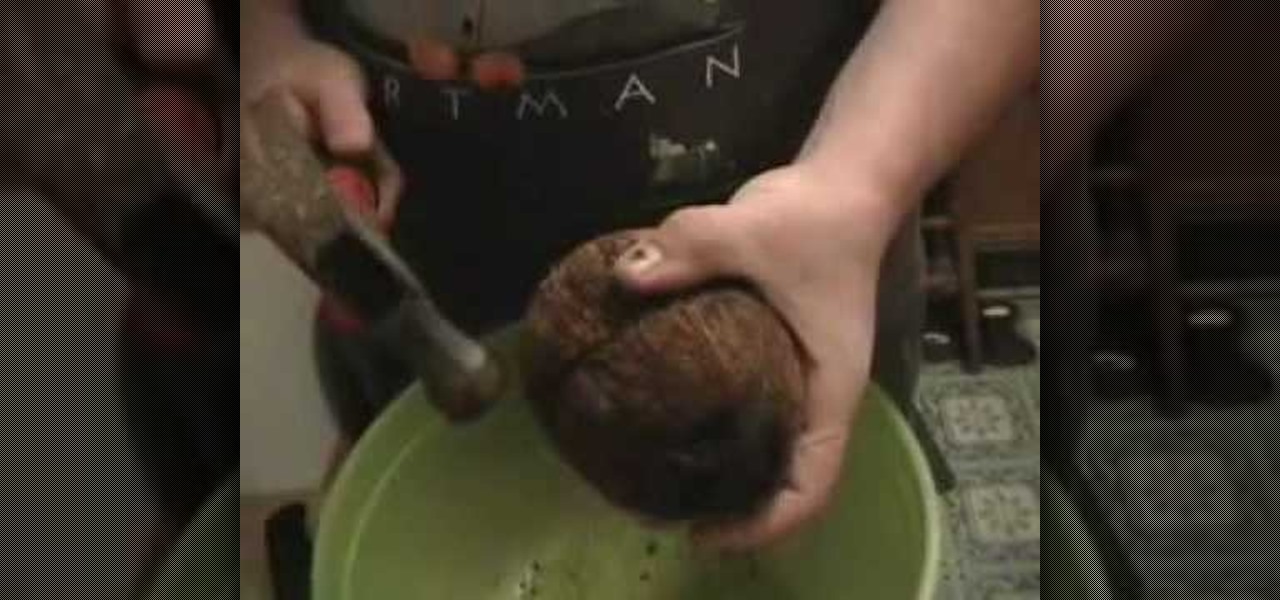
In this tutorial, we learn how to open a coconut to drink the milk. To start, you will need to grab a large bowl and place the coconut over it. Then, use a knife to hit it with the blunt side. Hit all around the coconut until you have cut an even edge around the middle of the fruit. You can also use a coconut to beat the knife into the coconut to open it up. From here, you can pour the milk from the coconut into a large bowl. Then you can drink it or use it in a recipe, enjoy!
In this tutorial, we learn how to make a quick stop on a motorcycle. You must reach a speed of 15 mph first. A quick stop means you stop right when you are in the middle of driving, without slowing down first. Close the throttle first, then pull in the clutch. From here, apply both brakes evenly and firmly without locking them up and keep the handlebars straight. Make sure you ride safe and you do this with a helmet on after you have learned the basics of riding a motorcycle. Once you learn t...
In this tutorial, we learn how to do twist braid pigtails on your American Girl doll. Start by brushing the hair out and combing it in the middle. Then, take a small section in the font and split that in half. Start twisting it towards her face and then twist them together away from her face twice. Then, pick up a piece from the bottom and twist it into the braid. Continue to add in hair from the bottom until you have all the hair inside the twist braid. When finished, tie off at the end and ...
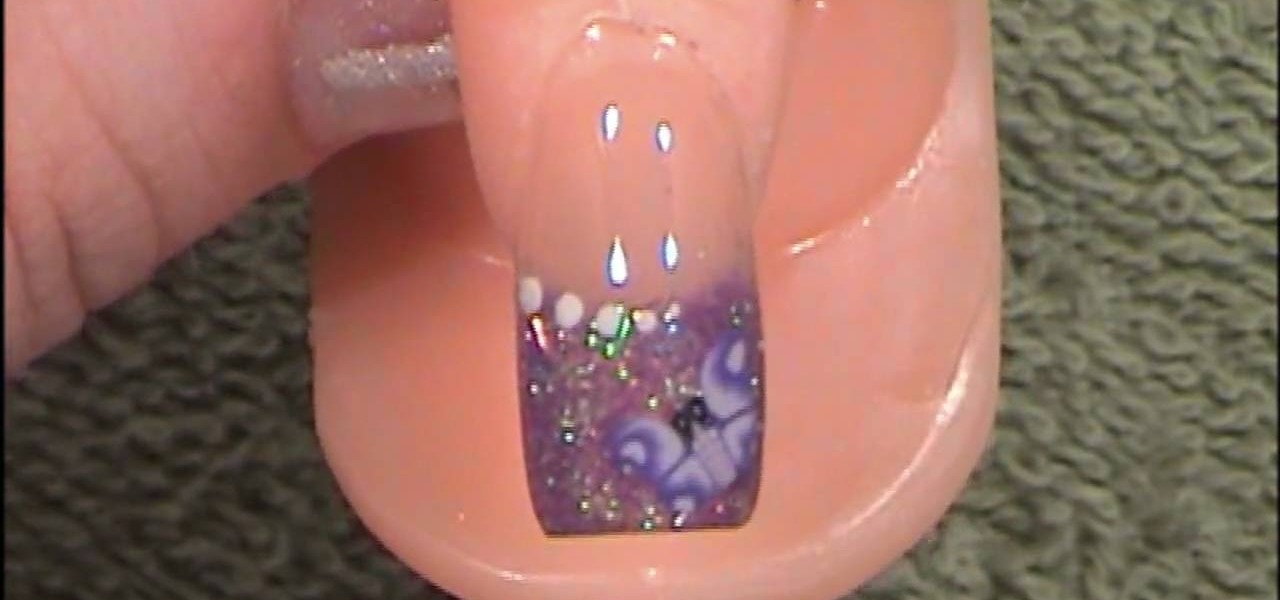
In this tutorial, we learn how to create purple glitter with butterflies acrylic nails. To start, you will apply purple glitter acrylic to the top of the nail. After this, you will let the nail polish dry and then paint on four dots on the middle of the nail where it crosses into the clear part of the nail on the bottom. After this, paint on a butterfly to the corner of the nail or apply a butterfly applique. When this is finished adhering, you will be able to paint on the clear gloss to the ...
In this video, we learn how to make a paper flower with a simple piece of paper. First, fold the paper in a triangle shape from each side. Then, fold the paper in the middle and then fold it into a square on all the sides. Next, you will fold the outer tabs into the square to make a triangle. After this, you will flip it over and to the same thing on the outside. This will complete your flower and make it look fantastic! Have fun making this and if you do mess it up just try again with anothe...
In this video, we learn how to make a small windmill from a permanent magnet motor. You will need: a motor, a rotor, and a stand to make this. First, you need to find a motor that has permanent magnets on it, like one from a printer. Then, grab a windmill like one from the garden and make a stand by combining three pieces of wood. Then, heat up the side of the motor and connect it to the middle of the windmill so that it spins around. After this, you will connect it to the stand with a fiberg...
In this tutorial, we learn how to do a Y braid on your American Girl doll. First, brush your doll's hair out and then put the hair in pig tails. From here, you will split the tail in half on both sides. Then, you will combine the two middle pieces and start to braid the hair like normal. Do this all the way down until you reach the bottom of the hair. When finished, tie the end with a rubber band to keep in place. This will finish the Y braid look for your American Girl doll, enjoy! Decorate ...
In this video, we learn how to do an orbit at an orbit light show. The light should spin clockwise in one and and counter clockwise in the other. You must pay close attention to keep these spinning back and for. Start out by winding the lights up and mastering this so you can produce different shapes. After you learn the wind up, learn how to make the stars with it by winding it up one direction and let the orbit in the middle unwind itself in the opposite way. Once you're comfortable, you wi...
In this tutorial, we learn how to crochet a super fast 3 color granny square. Start out with your first color on the crochet needle. Then, chain four and put the needle back into the first chain. Before you pull everything tight together, you will move your middle finger into the stitch with your thumb so when you pull it will wrap around your fingers. Then, chain three and do this over twice more to create the outlining area around the hole. From here, you will use two other colors using the...
In this tutorial, we learn how to prepare celery with Skinny and Mini. First, you will clean your stalks of celery and dry them off. Then, remove the stalks one by one from the bunch and chop off the tops of them so there are no more leaves. Next, cut the stalks of celery in the middle and then chop them in half. Now, bunch the celery together and cut them into small cubes with your sharp knife. After this, repeat the process with the rest of the celery in the bunch. Use this chopped celery i...
In this tutorial, we learn how to make and arrange a painting palette. First, you will need to buy a large palette that can handle a lot of different colors on it. Now, use the sides to add in the different colors that you are going to use. Use the middle of the palette to mix up colors while you are painting or doing different crafts. You can also use a large paper plate to make a paint palette if you don't have a palette nearby. Anything that is flat with a lot of room on it will work, so g...
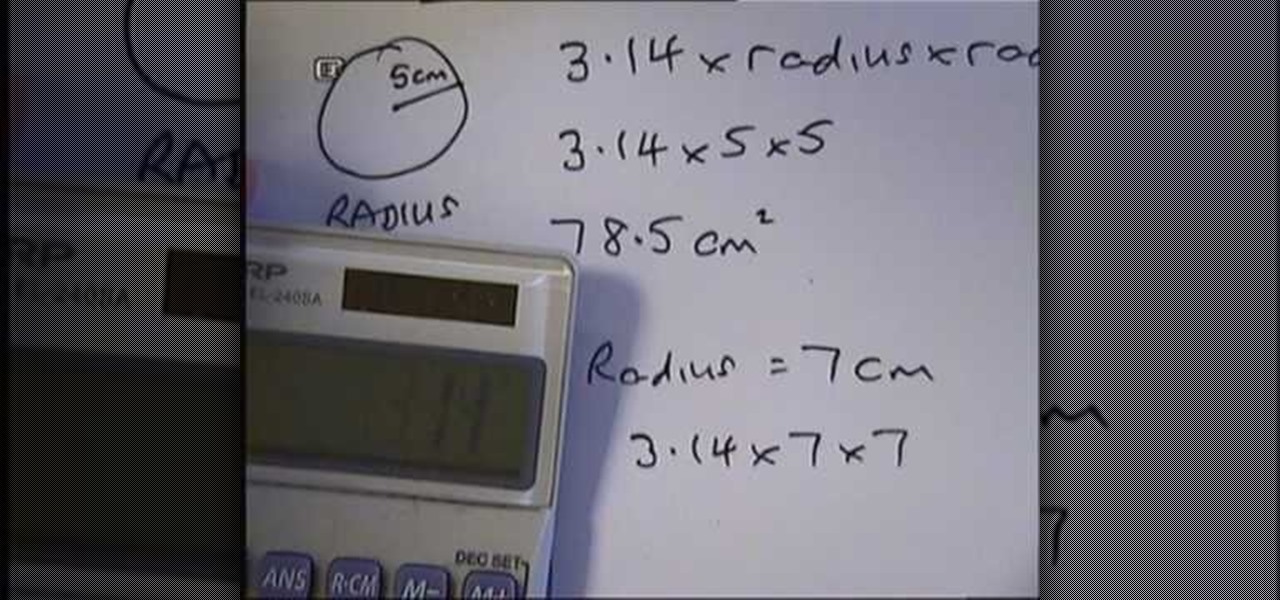
In this tutorial, we learn how to find the area of a circle. The line from the middle to the edge of the circle is called the radius. Find what this is in your equation, then multiply (3.14 X radius x radius). This will always work out the area of a circle for you. So, do this equation with your calculator or by hand, then you will have the correct answer for the area. Make sure to add the units squared after you get the answer. If you are given the diameter (line all the way across), you wou...
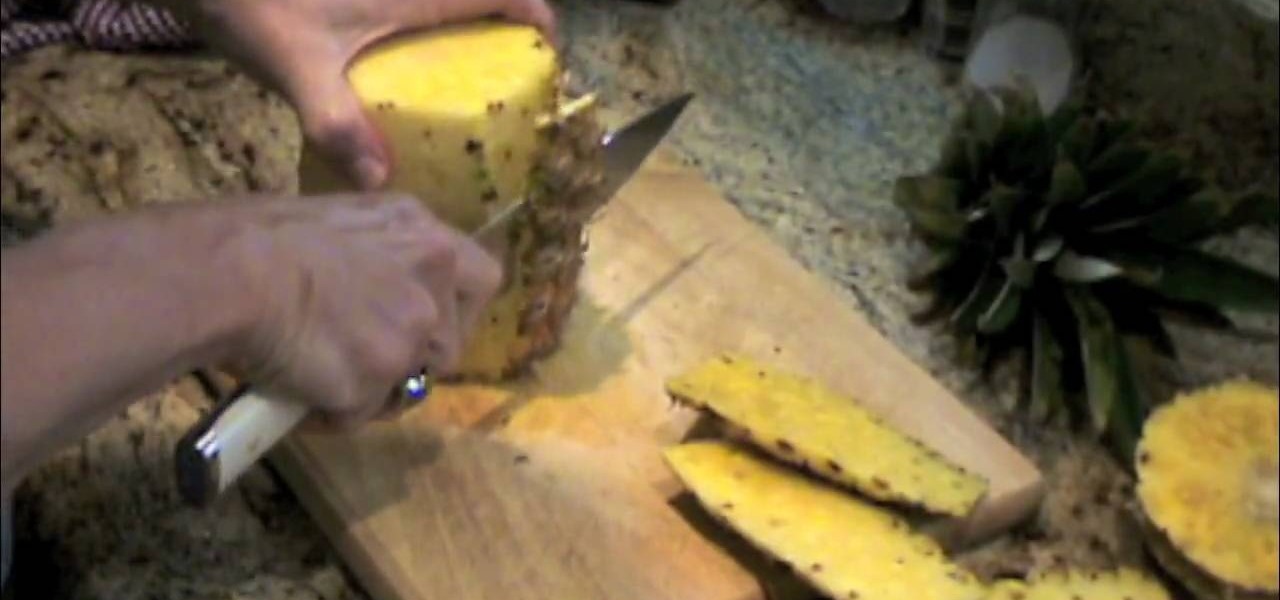
In this video, we learn how to cut a pineapple. First, take your pineapple and remove the leaves from it. Then, using a sharp knife you will cut off both ends of the pineapple. From here, turn the fruit on one side and gently cut the edges off of it with the sharp knife. Continue to do this all the way around the pineapple until there is no more skin left on it. After this, you will place the fruit on it's side and cut it into thick slices. After this, take each individual slice and cut the r...
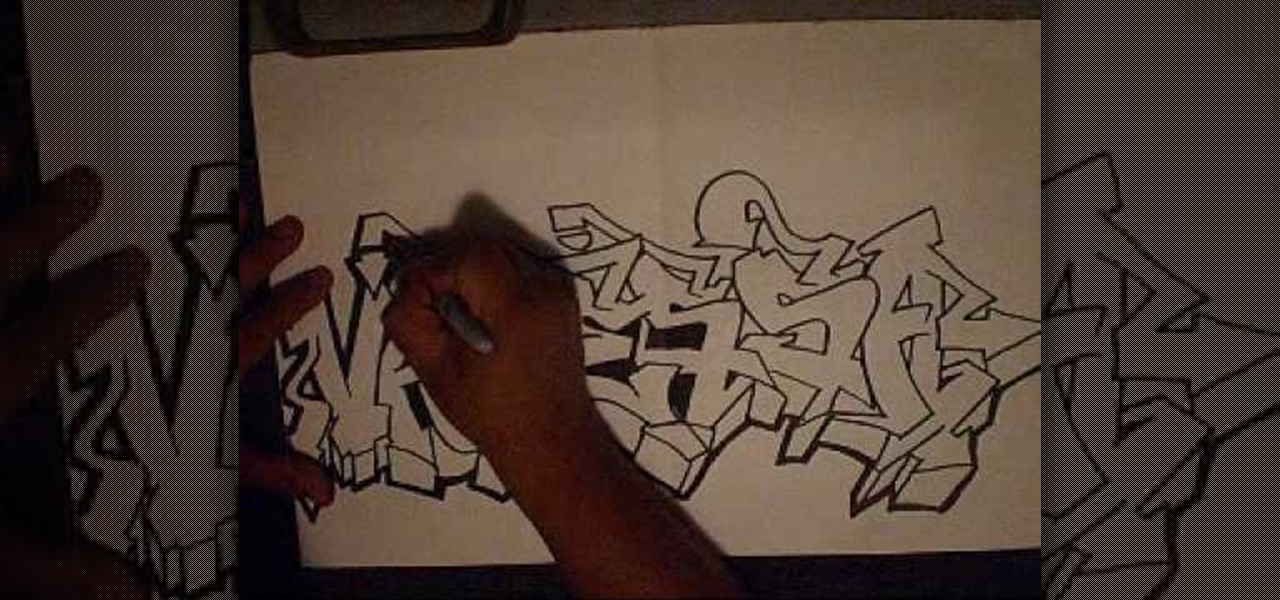
In this video, we learn how to write a name in graffiti letters. Start off by outlining the letters, make sure to draw them thick so they look 3D. Add in different shapes edges to the letters to make them look more like graffiti. Make sure they are all touching and overlapping as well. Then, use the pencil to draw in the areas in between the letters and in the middle of them. Once you do this, you will be able to add in additional lines and shading to each of the individual letters. You can a...
In this tutorial, we learn how to make fur suit eyes for a mask. First, grab a simple paint pallet that has dips down in it for the paint. Then, cut the dips out of the tray they come in with a small saw. Then, grab a hot glue gun and melt down the middle of the dip so it's hollow. Then, apply hot glue to the top of the hollowed out eyes. Then, apply felt around this and cut it out so you can see the eye. Push the material through the bottom to create the pupil, then your eyes are finished.
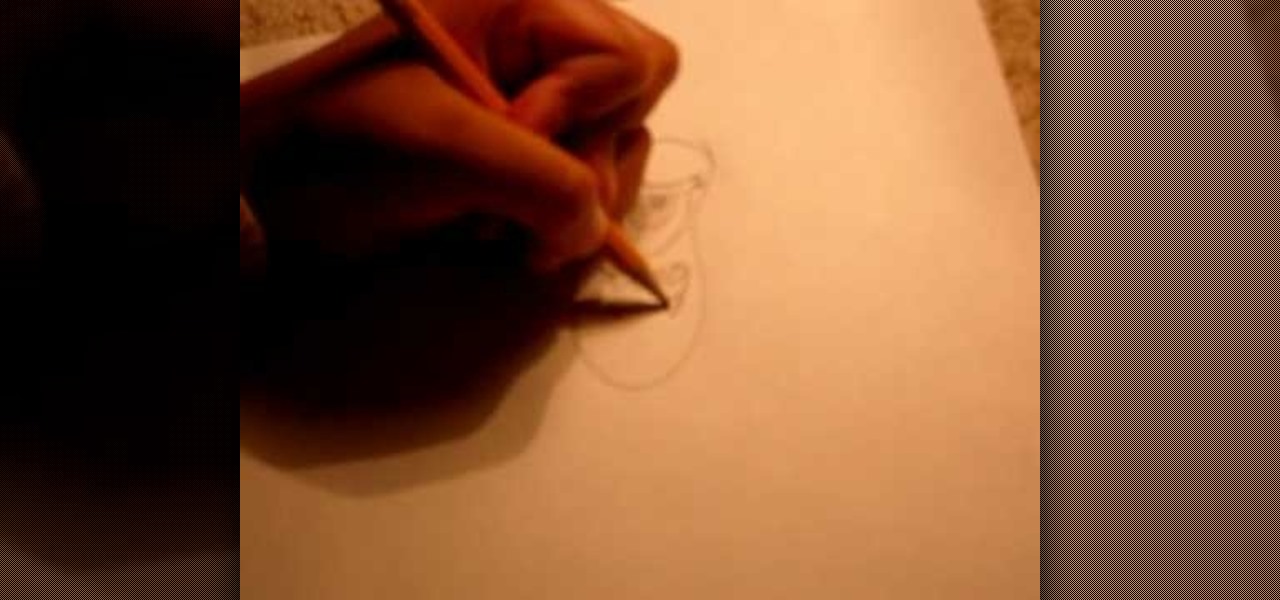
In this video, we learn how to draw an eye step by step. First, draw the curve of the eye on the top and on the bottom. Then, draw in the pupil of the eye and the inner corner of the eye. Use a light touch with the pencil to make the circle in the middle of the eye. Then, draw around it with a bolder line. After this, draw the crease above the eye, then draw shading to show where the crease line is. Next, fill in the pupil and add in a circle to make the eye appear glossy or that light is hit...
In this video we learn how to make homemade chocolate chip cookies. First, cream together butter and salt in a mixing bowl. After this, add in flour and pure chocolate with cocoa powder and mix together. Once these are finished mixing together, roll them out onto plastic wrap and place in the fridge for 15 minutes. Then, cut the roll into slices and place on a baking sheet. Bake the cookies in the oven until they are no longer runny in the middle. Eat these after they have cooled and enjoy th...
In this video we learn how to build a $30 steadycam. Making this yourself will save you thousands of dollars and allow you to get smooth shots with your camera! First, you will need to take a round free weight that is used in the gym. After this, grab a pipe and stick it into the middle of this, making sure it's a tight fit. From here, attach another pipe to it using bolts to screw it together. Once you're finished, you can attach your cam to it and use it to take your shots whether they are ...