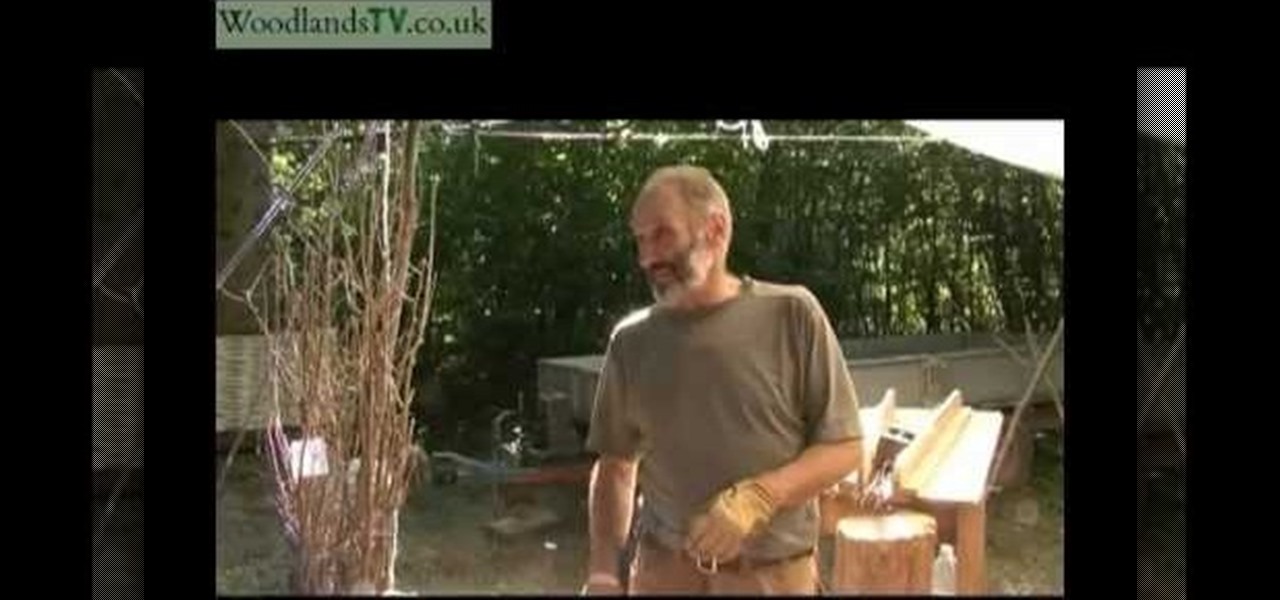
In this tutorial, we learn how to bundle kindling. First, gather up 25 pieces of kindling together and tie it together with a rope on two ends and in the middle. Before you do this, you will cut the tops off of the kindling so you are just left with the branches. The water will go through these and it will build the bank up, that is what these kindling bundles were created for. You can bundle kindling in larger groups or smaller groups, depending on what you need it for. These were once used ...
In this tutorial, we learn how to find missing windows and panels in Sony Vegas. When you are in Sony Vegas, you will want to look in the middle for several lines that have "X's" in them. Now, place the mouse on the side of these and drag out the windows that you see, and you will be able to drag out the panels you have been looking for. After this, change the view of your page so you can always see the panels you need to on this software. Next your windows will be where the other x's are, an...
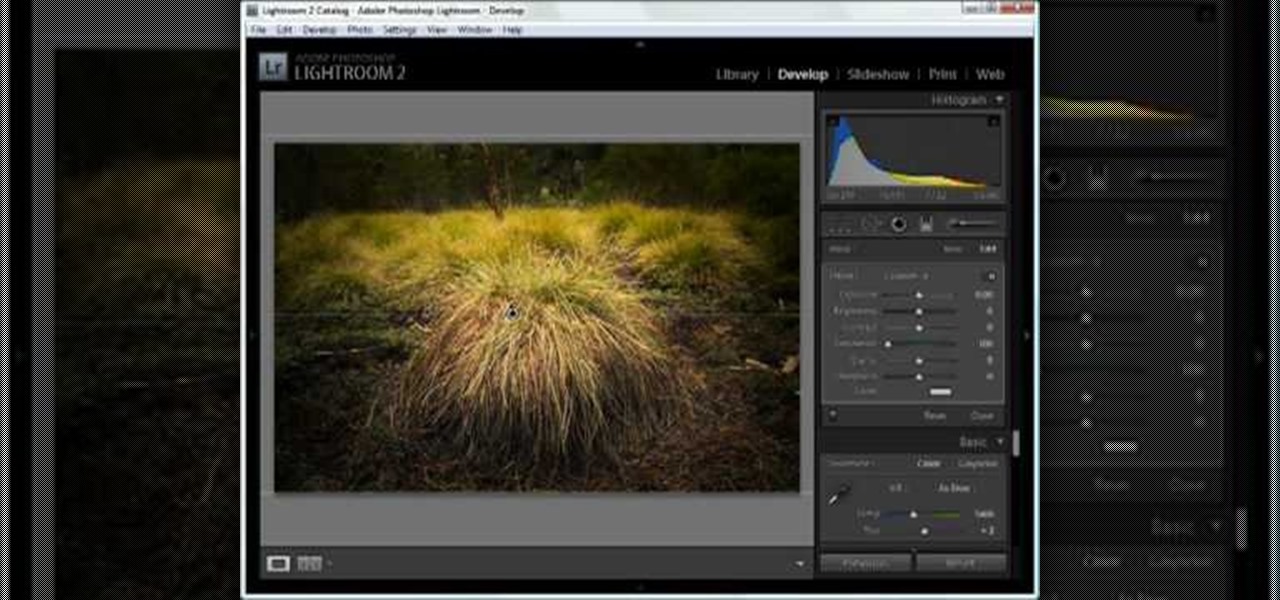
In this tutorial, we learn how to dodge and burn in Lightroom 2. First, open up your image in Lightroom 2 and use the brushes to change the saturation and the colors in the image. You can also use the graduated filter which you can use to apply effects across the image itself. Next, you can add a tint onto the picture and apply a second filter to make the top of the image darker, then make the middle of it brighter. Change the exposure and saturation to make the picture look more realistic. U...
Skinny and Mini teach us how to prepare a mango in this tutorial. The correct way to cut this is to hold it up and cut down in the mango, avoiding the seed. Next, turn it around and do the same thing to the second side. You can still eat the other sides of the mango, just cut the middle seed out. Next, cut the mango into squares while it's still in it's skin, then pop the mango up and you can eat it straight out of the skin. You can also use a knife after this to cut the pieces out and use in...

In this video, we learn how to make a bow out of a Starburst wrapper. Now, place clear tape of the wrapper and fold down the edges. Now, fold the wrapper in half and then in half once more. Make it so you have an accordion design with three different peaks on the wrapper. Now, cut a small strip of tape out of the piece of tape and wrap it around the middle of the bow. After you do this, flare out the edges to make it look more like it has a bow shape. Now, take a bobby pin to the bottom of th...

In this video, we learn how to draw a manga chibi eye. Start off by drawing an outline of the eye with the round middle and the lines on top and on the bottom. After this, start to add in the small details of the eye, like the pupil and shine marks on it. Next, start to shade in the eye and make the lines thicker. Continue to draw in black until the back of the eye is covered black and another portion of the eye is white. Switch back and forth between different pencils to help you color in di...

In this tutorial, we learn how to make a journal from packaging materials. First, cut a cardboard at 5.5" x 4.5" on each side. When you are finished, create another cut that is 5.5" x 1" for the side. Now, cover the two large sides with a piece of fabric that you choose. After this, cover the middle piece with fabric, and then tape it on with double sided tape. Next, place all pieces next to each other, tape it, then place a solid piece of paper on the inside, and use a glue stick to adhere i...
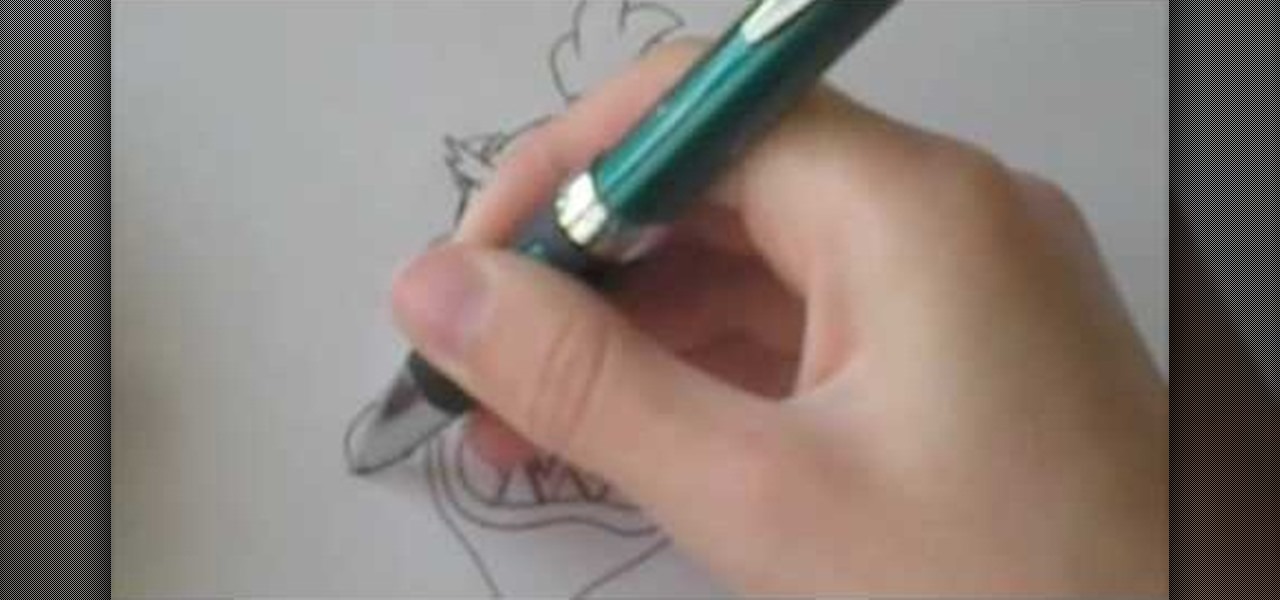
In this tutorial, we learn how to draw Timmy Turner. Start off by drawing the head, making the front round and the body will be a triangle shape. The back of his head should be a triangle as well. Draw two large circles on the face, followed by arms and legs coming off of the body. Next, draw ears onto his face followed by a shirt and pants on his legs. Draw Timmy's mouth with a large smile and two teeth at the top. His eyebrows should almost touch in the middle, then don't forget to add on h...
In this tutorial, we learn how to clean a coyote. Start out by cutting the legs and up to the inside of the rear end. Cut the skin around the feet and then peel the fur and skin upwards. Trim into the butt of the coyote, then cut around the tail into the middle. Keep pulling the skin up around the legs of the animal and around the thighs, using a sharp knife to loosen the skin. Remove the skin completely from around the legs, then cut the tail so only the bone is left and the skin is off. Aft...
In this video, we learn how to install a hood strut kit on a Mustang. Start by opening up the hood and removing the sound tube locator. After this, cut 1/2" from the middle to make space on it for the bolt. Reapply this, then bolt it back into place. Next, install the body bracket with a socket and remove all bolts around the spot its in. After you install the bracket replace the bolts and do both of these steps again on the other side of the car. When you are done, make sure all parts are re...
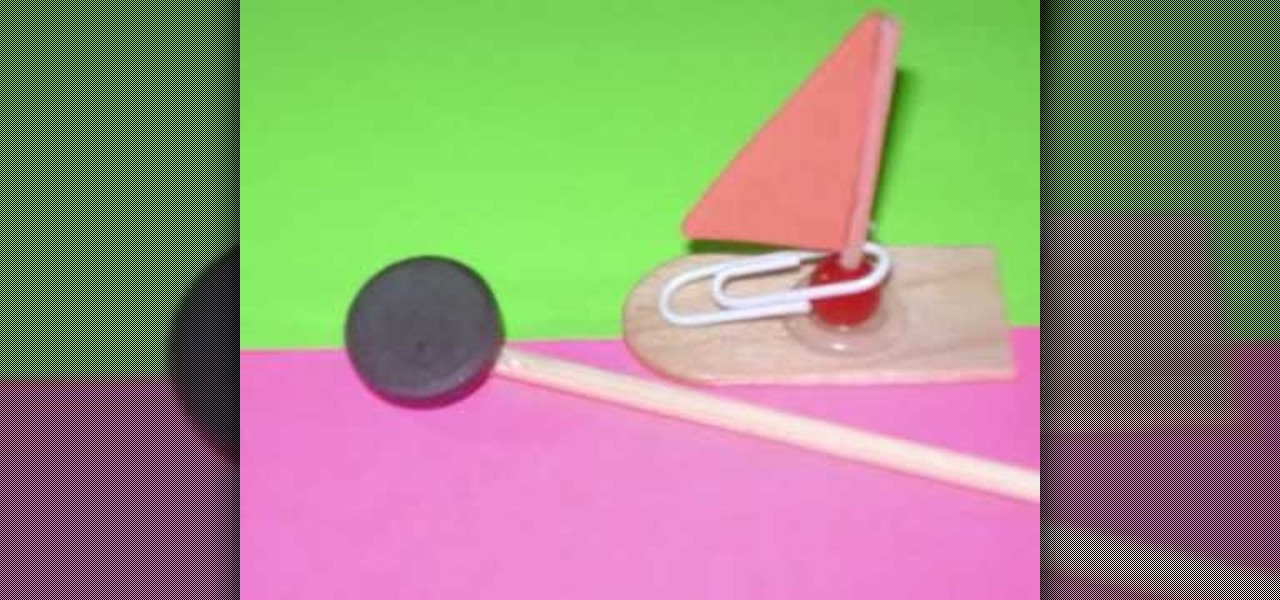
In this video, we learn how to craft a magnet boat with kids. You will need: a paper clip, a small triangle piece of foam, 1 magnet, 1 recycled stick, 1 recycled popsicle stick 1 bead, and a hot glue gun. First, attach the toothpick to the bead, then glue the triangle to the top of the toothpick. Next, cut 1/4 of the popsicle stick and attach the sail to the middle of the popsicle stick and use the paperclip the make it stay on the bow. Now, place the boat in water and attach a magnet to the ...
In this tutorial, we learn how to set up the L drill in pool. To do this, you will place all of your balls in an "l" shape on the pool table starting from the middle of one side of the table. Place the balls about two inches apart, then star to make the horizontal line for the balls. Place these two inches apart as well. After this, you can place your shooting ball next to the balls and hit each of them into the same corner pocket as the last one. This is a great way to practice hitting balls...
In this video, we learn how to do a kettlebell for beginners. The first exercise you can do is a kettlebell front swing. Stand while opening your legs, then pick up your kettlebell and swing it through the middle of the legs. Use a tight movement and use momentum to control your upwards and downwards movements. The next exercise you can do is a single arm front swing. You will do the same movements as in the first exercise, except holding the kettlebell with one hand and having the other plac...
In this tutorial, we learn how to draw Bowser Jr. from Mario Brothers. Start off by drawing the nose, which has two large humps going to the chin. Next, draw his mouth, dimples, teeth, and nose holes. Next, draw in the eyes and eyebrows, filling in the pupils with small white circles in the middle. Make sure the eyebrows are pointed upwards, so it looks like he's glaring. Now connect the top of the head, followed by drawing the hair onto the top of the head. Next, draw on the arms and front o...
First, bring the thread up and then make a diagonal line and bring the thread through again. Bring the thread through again below the diagonal line on the left side. Then, put your needle thread through the 'x' and make sure your loops are even. After this, bring your thread through and even up your stitch. Now thread through on the right hand side and go through the next 'x' shape. Continue to do this, and you will see the Vandyke stitch start to take form as you go on. There will be a verti...
In this tutorial, we learn how to do a half up and half down hair look. First, grab the top middle of your hair and comb it up, then hair spray it and tease it up. After this, curl while still holding up, the repeat this for the rest of the hair on your head. To finish, spray hair spray all over the hair to keep it in place. Next, pull half the hair up and push upwards, then use bobby pins to clip it into place. Check in the mirror to make sure it's even and move your head to make sure it's s...
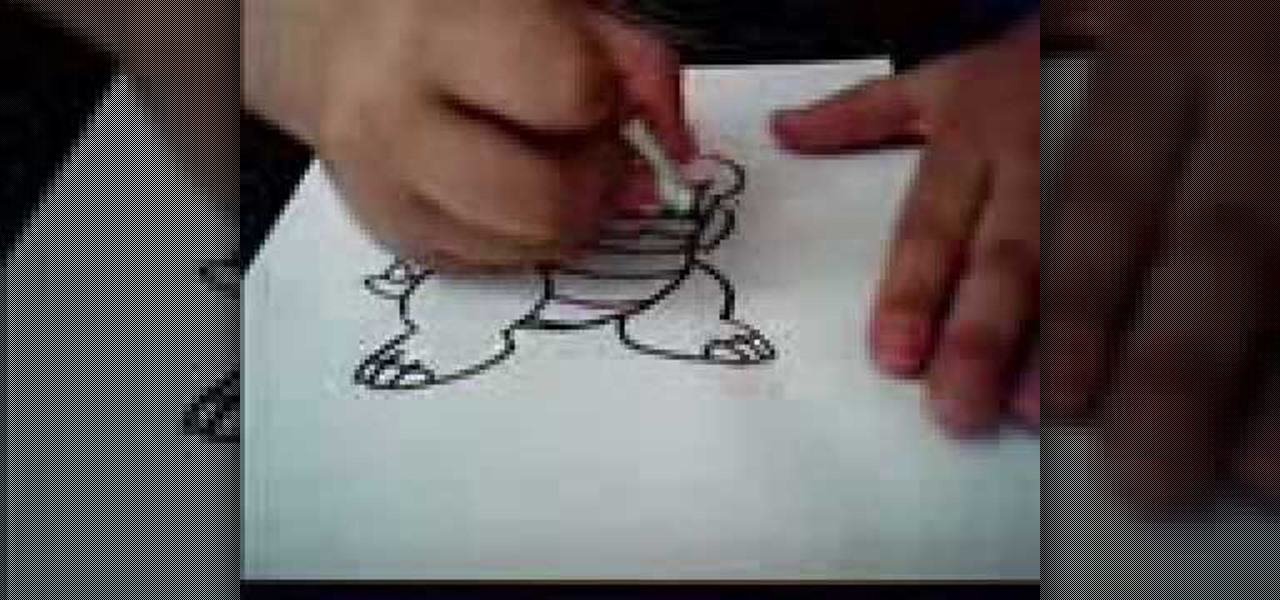
In this video, we learn how to draw Paper Bowser from Mario. Start off by drawing the legs and feet. Make sure you draw claws instead of toes and make three large toes with nails. Next, draw the belly of Bowser in the middle of the two legs, with stripes on it. Next, draw upwards and make a curve for the back and draw spikes onto it. Also, draw a tail with a spike on it coming from around the thigh by the foot. Once you are at the top, draw the head and all the facial details in. Make sure to...
In this tutorial, we learn how to roast peppers on the burner of a gas stove. All you need to do this is a gas range and a pepper. First turn your gas range onto high, then set your paper right in the middle of the burner. As the pepper starts to char, it will infuse the flavor into the entire pepper. Keep the pepper on the heat until it is black on the side, then you can use it to add into different recipes! After once side is black, make sure you use tongs to turn it on different sides, so ...
In this video, we learn how to twist a balloon to make a Chihuahua and teddy bear head with balloons. First, take a balloon and make a soft bubble. Next, twist this and make the side of the head and ear. Next, pinch and twist these and bend the side of the balloon. After this, make the top of the head, followed by the other ear and pinch them together. Now, twist a new bubble to match the opposite of it, and twist them at the neck. Shove the snout into the middle of the bubbles, then repositi...
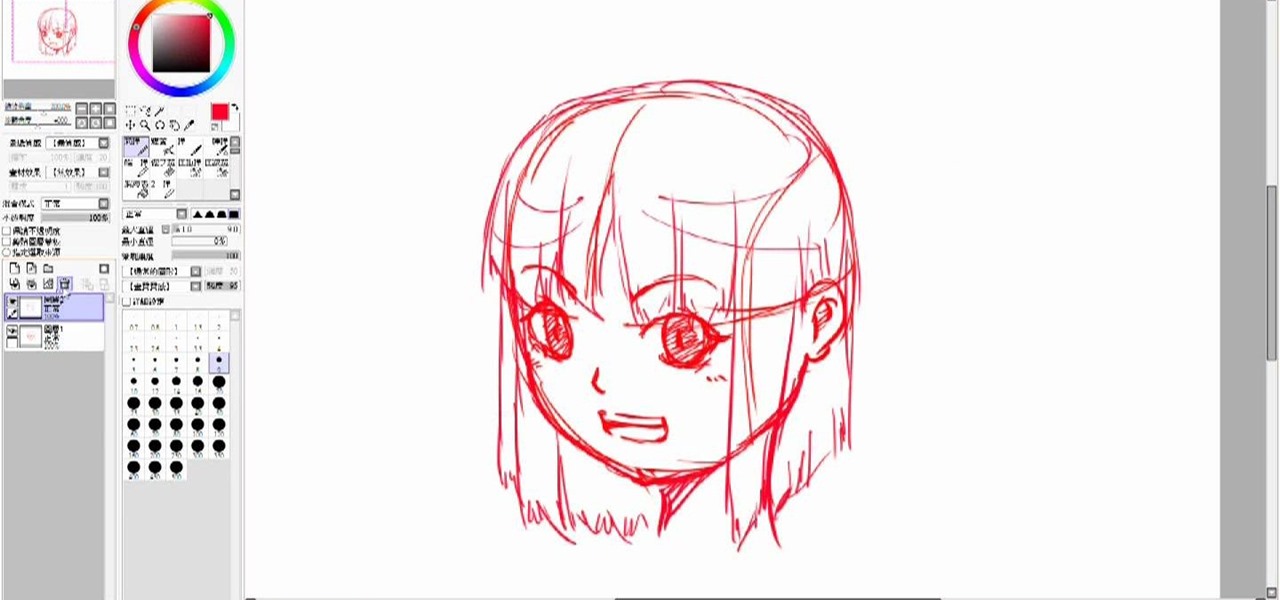
In this tutorial we learn how to draw a manga face. Start off by drawing a circle, after that add a cross in the middle as a reference point for where to draw the eyes, mouth, and nose. After you do this, you can start adding in further details to the face to make it look more realistic. Don't forget to add in lines on the face for wrinkles and pupils to the eyes. Ears should be placed on both sides of the head and don't forget to draw in hair as well. Outline the pictures with a darker brush...
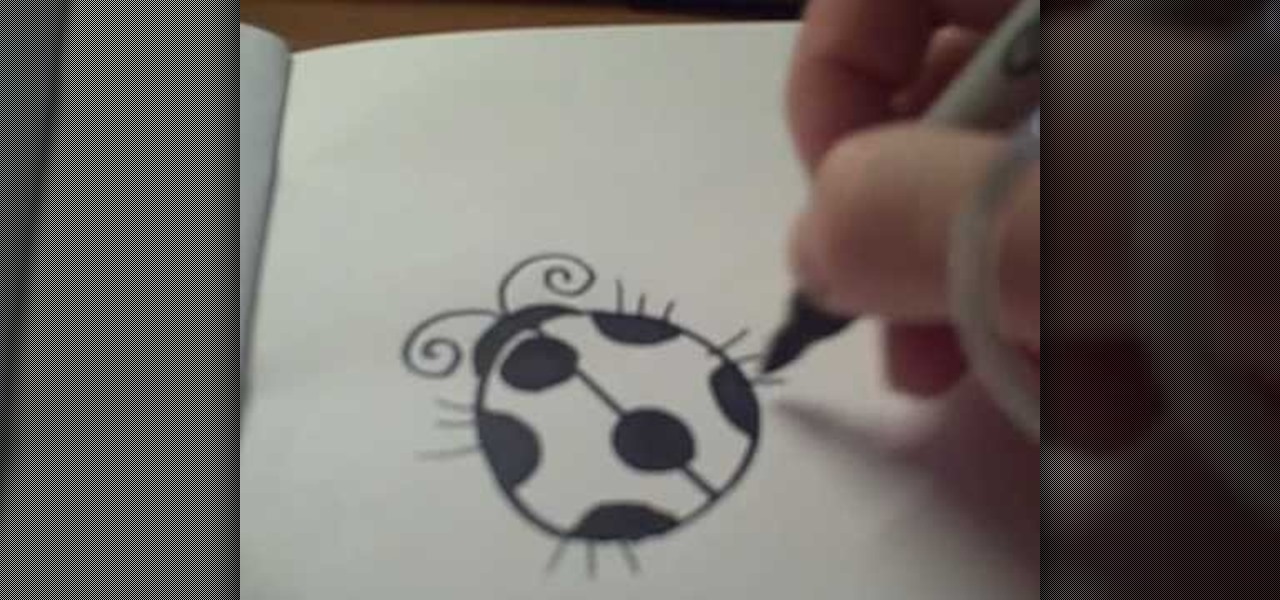
In this tutorial, we learn how to draw a cartoon ladybug. Start out by drawing a circle, then draw a line down the middle. Next, draw and color in some dots all over the circle. After this, make a head by making a half of a circle over the straight line. Now, add antennas to the head and color in the head. You can also add in legs to the ladybug if you prefer, or keep them off. When you are done with this, you will have a cute ladybug in just a few minutes. This is a very easy picture for kid...
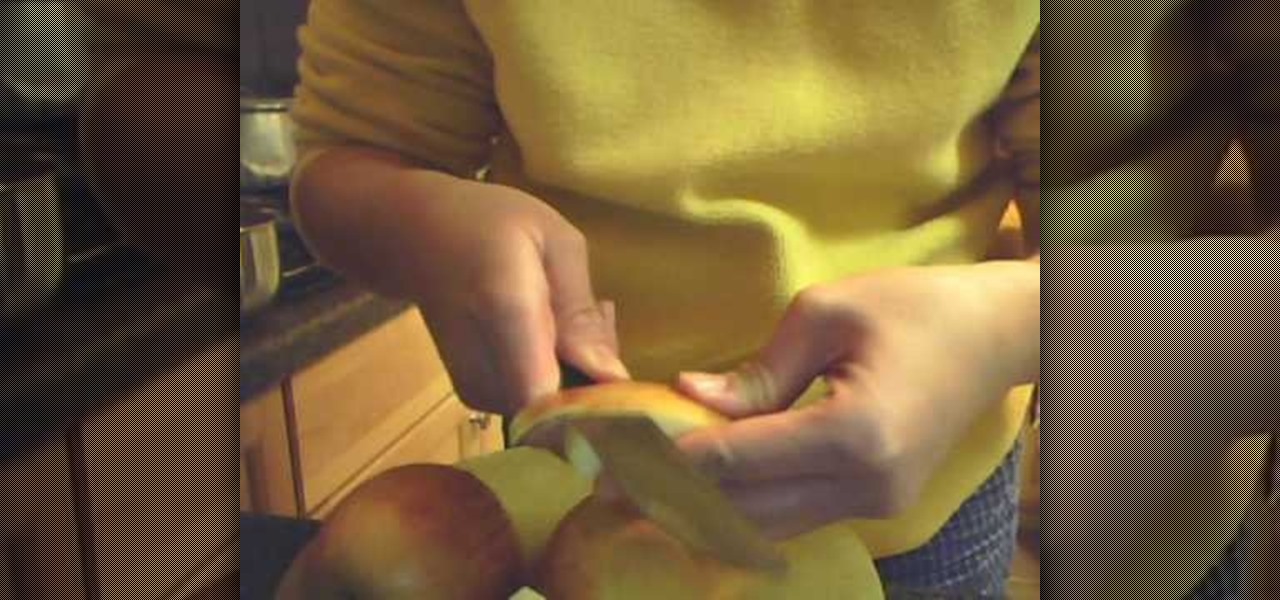
In this tutorial, we learn how to make a bunny shape out of an apple. First, grab your apply and cut it in half using a sharp knife. Next, cut a quarter out of one half of the apply. Now, take that cut quarter and cut out the very middle of it. Next, make a v-shaped cut on the outside of that same quarter. Next, cut another quarter out of that same half and make the same cuts as the one before. Cut two more quarters out of the remaining apple and remove the skins. Place the apples in an ice b...
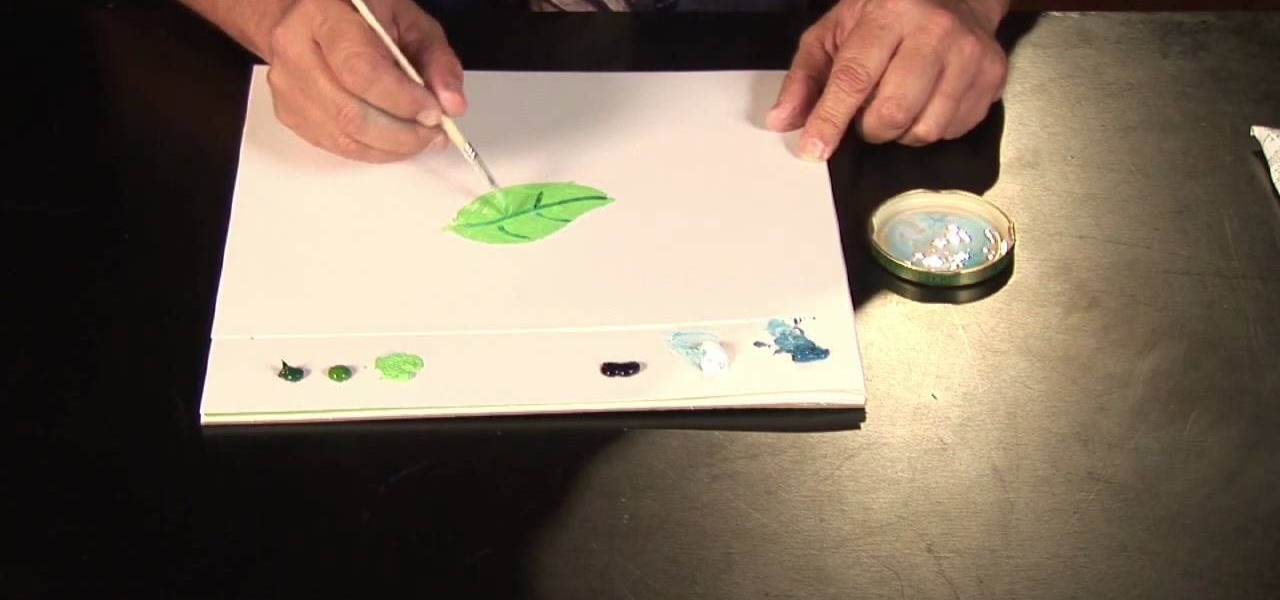
In this tutorial, we learn how to paint a leaf tree with oil paints. First, paint light green on the leaves using a blank canvas. After this, add in a dark green color to make the stems and the middle of the leaf. Use different greens to draw the leaf out towards where the tree would be. You can blend in darker parts to make highlights, then use white to make a shine on the leaf. If you make a mistake, don't worry. Just use paints to make something change on the leaf and make it unique and al...
In this tutorial, we learn how to make a rose from a turnip. To start, cut at an angle all the way around the outside of the turnip. After this cut, cut a thin layer around the turnip just around the inside of the cuts that were just made. Continue to do this process throughout the entire fruit until you get to the top. Make sure to alternate from the middle of the petal, so they aren't all line up the same. When you get to the top, you will be making smaller cuts, until you finish. When you'...
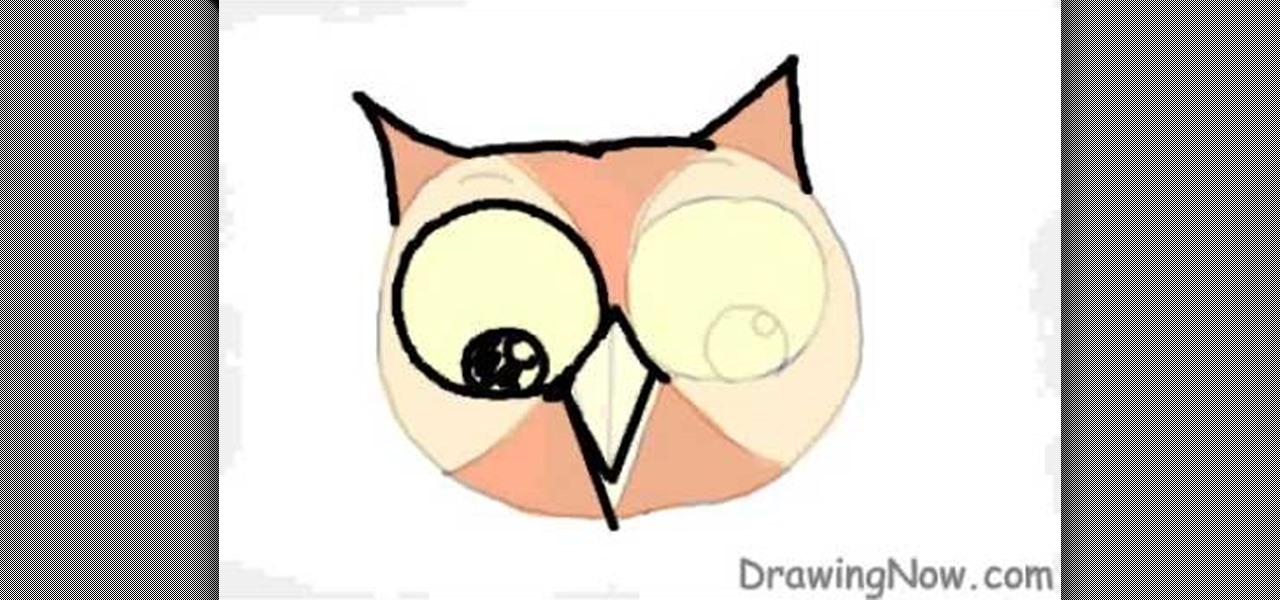
In this video, we learn how to draw an owl on a computer. First, draw a circle, then two small triangles on both sides of the top of the head. Next, draw two very large circles in the middle of the face, separated by an upside down triangle and two large triangles on either side of that. Next, add pupils to the eyes, and add a line in the beak. Outline the eyes, beak, and eyebrows after this. Color in the owl brown and light brown, then add small black lines to the sides to make it appear lik...
In this tutorial, we learn how to make a lily out of paper and pipe cleaner. First, lay your hand flat on a piece of copy paper. Next, trace your hand with a pen or pencil, then cut it out with scissors. Now use a pencil or pen to curl the ends of the fingers you just cut out. After this, combine two pieces of gold pipe cleaner together and bend in half. Then, place a green pipe cleaner in the middle and make a twist to keep in place. To finish, wrap your paper hand cut out around the gold pi...
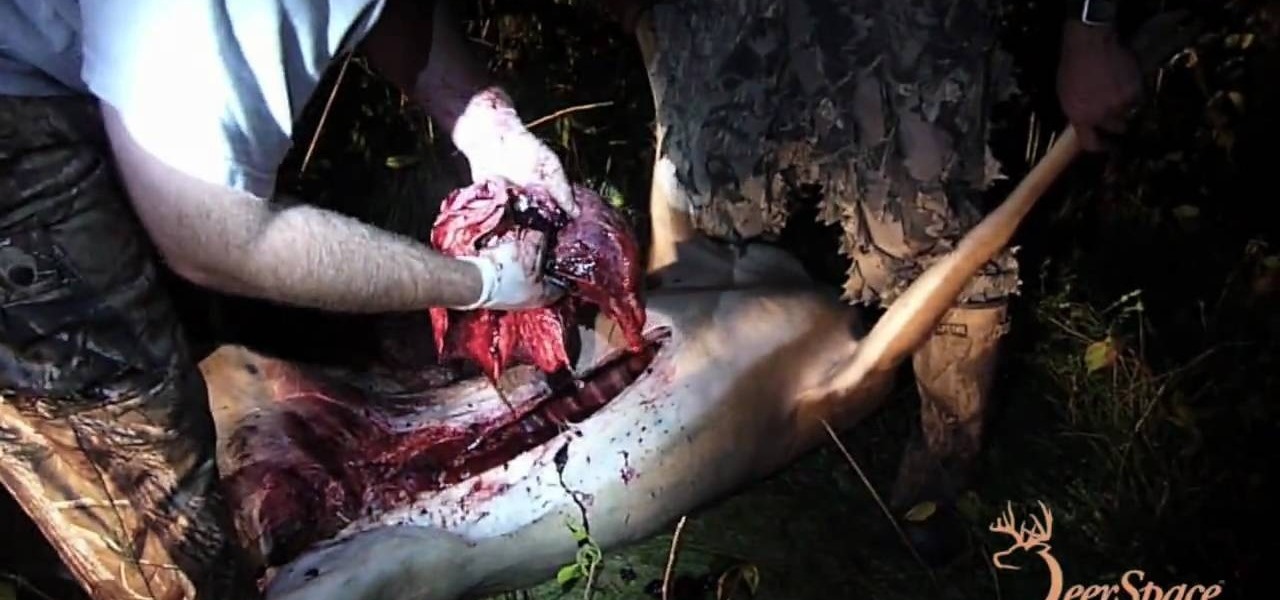
In this video, you'll learn how to field dress a deer. Put on gloves. Use Ozark trail hunting knife for dressing the deer. Place deer on its back, head facing away from you. Starting from the anus, split the deer up the middle to the chest. Use left had to prevent cutting or nicking the internal organs. Stretch the cavity open. Loosen organs from cavity wall. Cut out the entrails and all organs. Make an anal incision. Use the butt tool to remove the butt/final portion of intestine. Saw the pe...
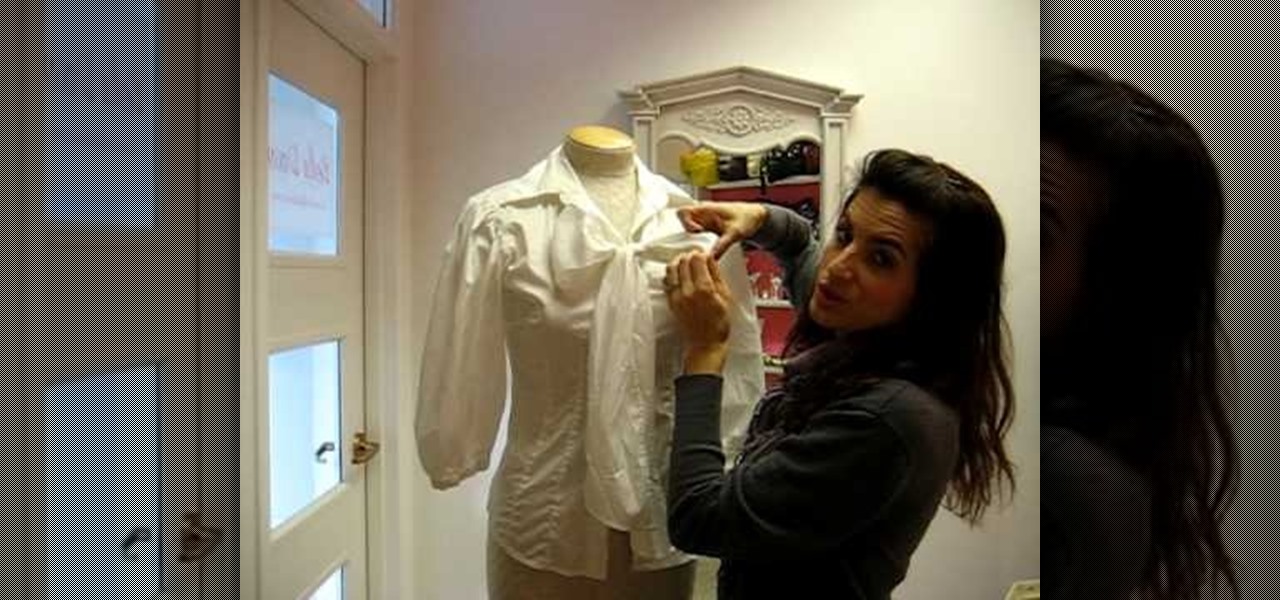
In this tutorial, Dawn teaches us how to wear a classic button down blouse. The first blouse you can have has a round collar with a ruffled sleeve and a pleated front. Look for something that has more detail which gives it a more feminine look. Also, look to find a shirt that has an extra panel on the side so you can't see your skin in the middle of the buttons. Also, make sure shirts have a little bit of stretch in them so they fit and contour to your curves. This type of shirt can be worn w...
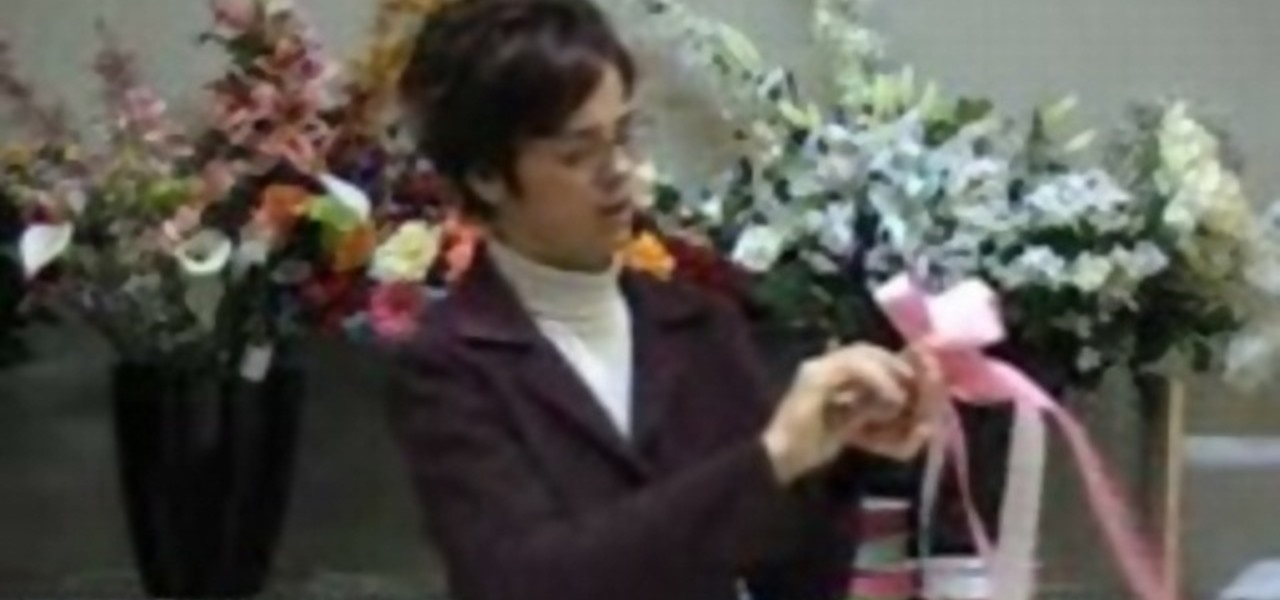
In this tutorial, we learn how to make a double bow with Sandy. First, take two satin ribbons of different colors and place one on top of the other. Leave a long tail, then make a large loop and scrunch it in. Make a loop on the top and a loop on the bottom. Each should get a half a twist and be opposite of the one you made before it. Practice with a single ribbon before you do this one. After you have six loops, create four more to make a bigger bow. When finished, you will have six large lo...
In this video tutorial, viewers learn how to play glissando on the piano. This task is very easy, fast and simple to do. Glissando is basically playing all the notes of the piano. When playing glissando, use the tip of the thumb to slide down the piano. When going up the glissando, use the tip of the middle finger and slide it up the piano. The fingers might hurt at first, but you will eventually get used to it with the more you play the glissando. This video will benefit those viewers who en...
In this tutorial, we learn how to scrunch hair for the summer. First, wash your hair in the shower, then use a comb to separate the hair in the middle of the head. Now, take some hair mousse and run it into the hair from the top to the bottom until all the white is gone. Scrunch your hair while you are putting the mousse in, don't comb through it after this. Now, take hair gel and scrunch separate pieces of hair with your hair. After this, make several messy buns in your hair throughout the e...
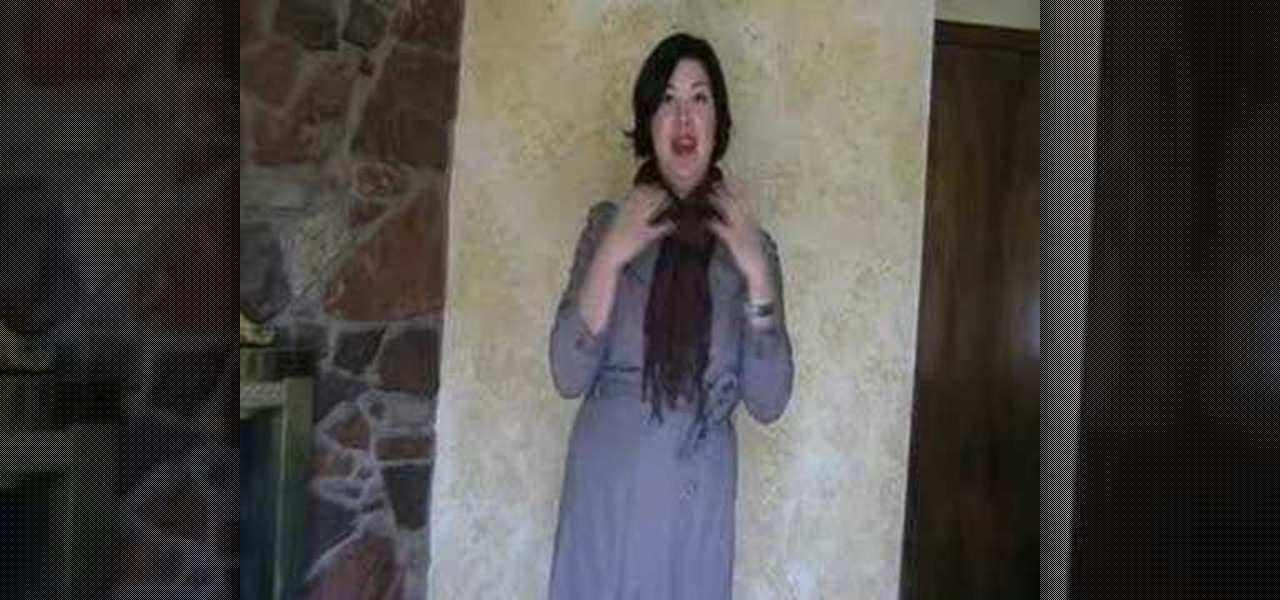
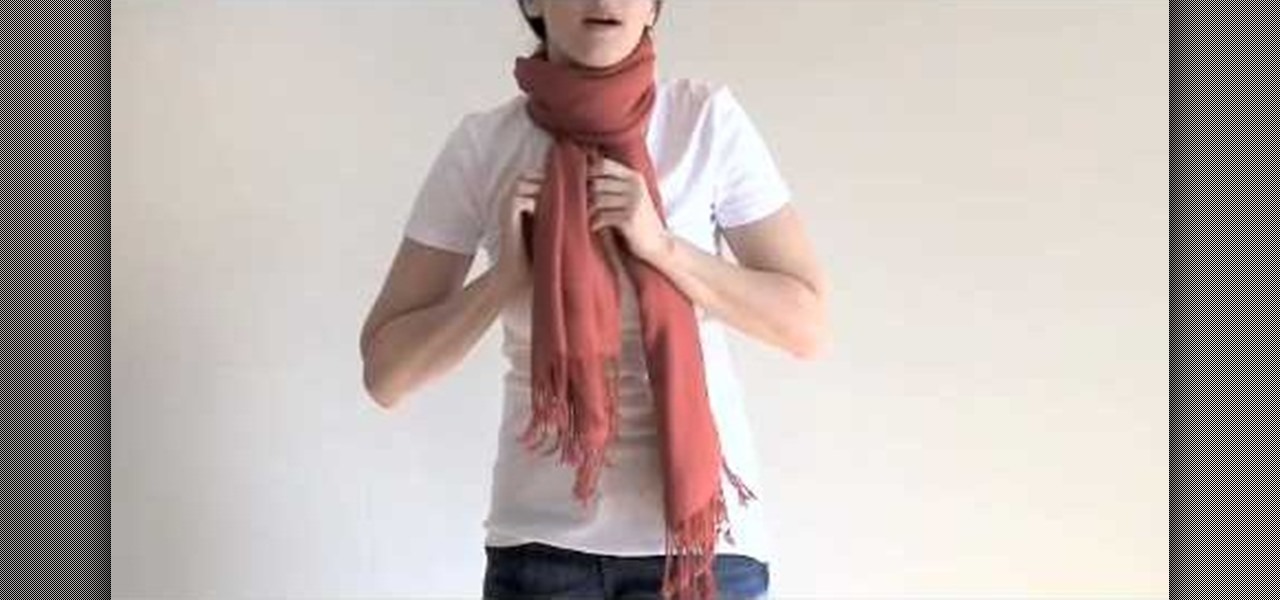
In this video, we learn how to properly wear a pashmina scarf. First, wrap the scarf around your back and let it rest around you before you get to the place you are going, if you are going to a different country. You can also place the scarf over your shoulder to give a different look. Another way is to tie it in the middle and pull it down off the shoulders. During cold weather, you can tie the scarf around your neck to wear with a long jacket and keep your neck warm. The last way to wear it...
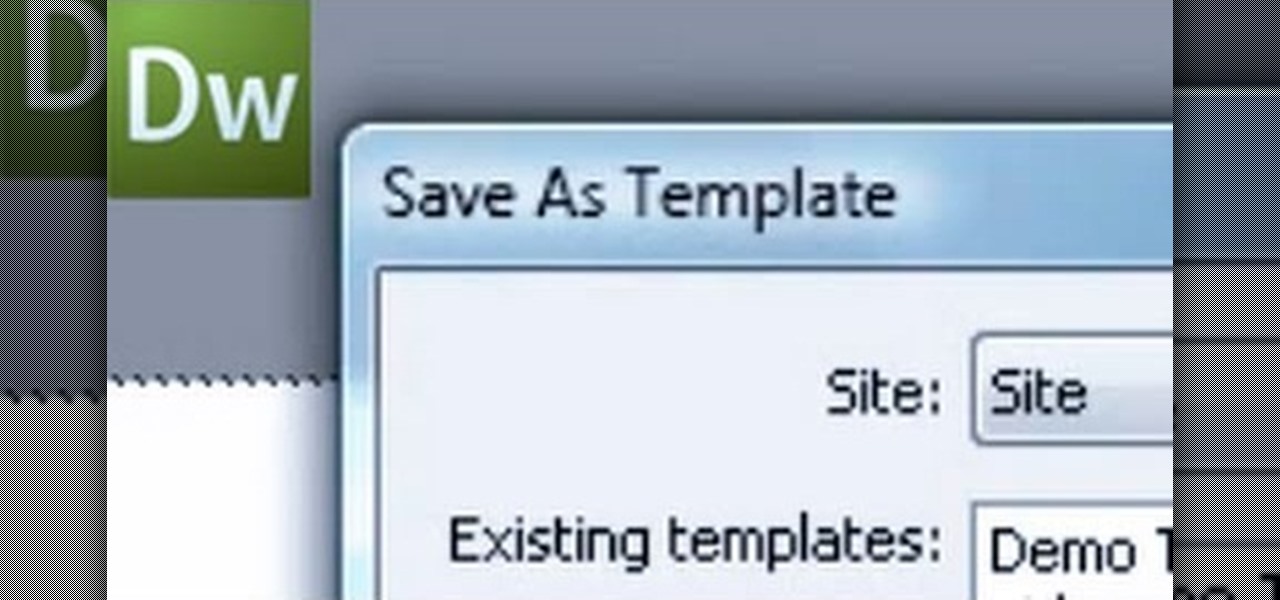
In this tutorial, we learn how to use templates in Dreamweaver. First, go under "create new" and click on "hdml". Start with a table that has three rows and one column at 100% width. Click in the middle one and split the cell into two columns. Now, click "insert", "template objects", then "editable region". Type text into this box, then it will show up on your page. Whenever you open a file, this will be the part you can edit, while you won't be able to change anything else. Now go to "file" ...
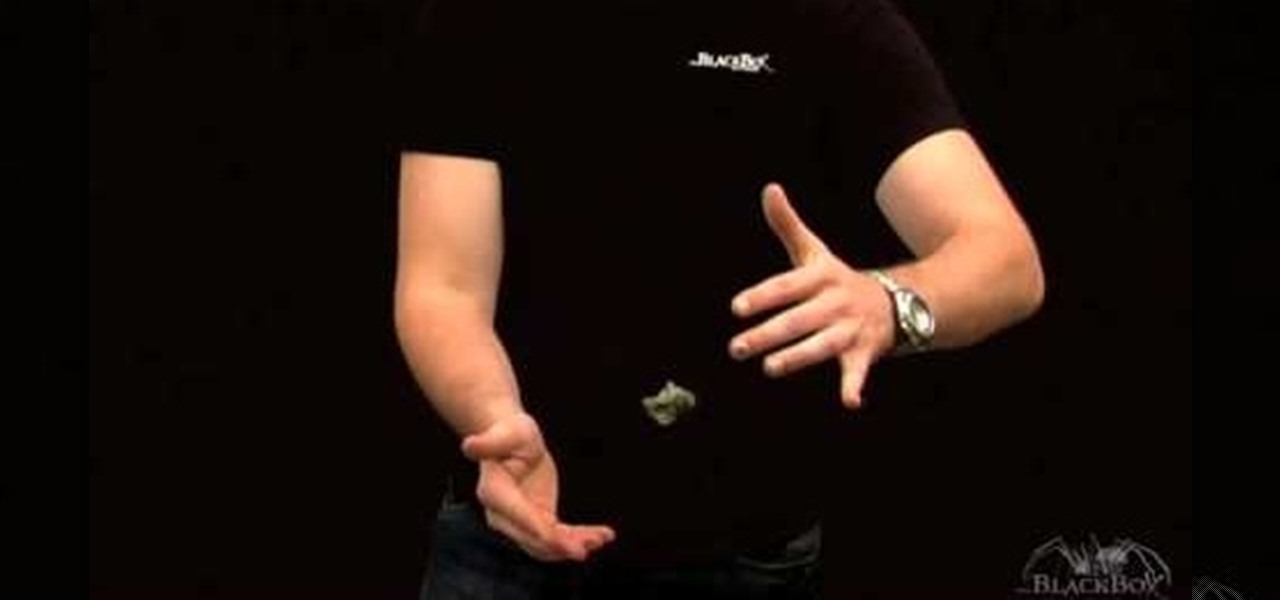
In this video tutorial, viewers learn how to perform the levitation trick. Before performing this trick, users will need to attach the invisible thread onto their ear. Begin by applying some wax to the left middle finger. Then take the item that you wish to levitate with the wax sill on your finger. Now begin connecting with the spectator and build up a story. Then attach the thread from your ear to the item. Move your hand away from your body. The thread will stretch and the item will start ...
Though we're currently in the middle of summer and most of us are either relaxing poolside or beachside, for teenage boys looking to make it as a star player on their high school's football team, summer means major sweat and pain time. Football players do gain a certain advantage out on the field when they increase their muscle and bulk up their frame, so many guys will work out hardcore while eating thousands of calories a day (think Taylor Lautner).
In this tutorial, we learn how to throw a sweeping cutter in baseball. This is a throw that will fool the batter so they swing and miss the ball. First, take your middle finger and put it on the inside lace of the ball. Now, place your index finger right next to it. Your thumb should be underneath the bottom seam of the baseball. To throw, come forward and snap your wrist when you release. This is what will give the ball a curve. Apply pressure to your fingers when you throw the ball to make ...
In this tutorial, we learn how to make a perfect paper football. First, fold the paper in half, length wise. Next, fold it again the same way and fold the crease. Now, rip a small section of the top part and discard. Now, fold the paper in the middle to make a sort of "l" shape. Then fold again so you have an arrow. Now, fold all the parts together so you have a diamond shape, then tuck the end arrow into the pouch you created to have an even smaller triangle. When finished, hold the paper wi...
In this tutorial, we learn how to tie a turtleneck knot. First, take your long scarf and find the middle. Next, wrap the scarf behind the back, and bring the ends to the front. Loosen the scarf up on the neck, then make a knot. Try to get the scarf to lay as flat as possible, then tuck the knot into the neck cover. You can let it hang loosely, or flare it out on the sides. This is a great way to wear your scarf in the winter, because it will keep your neck warm as well as your body! You can a...
In this tutorial, we learn how to draw a fun bunny doodle. To begin, draw an upside down triangle with two straight lines coming out of the top middle. Next, draw a half circle over the eyes, then draw two large bunny ears on top of the half circle. Then, connect the curls on the end of the ear to the bottom of the head. Now, do an additional line to make the inside of the ear. After this, draw another circle around the bottom of the face, then draw a line with two humps at the bottom of the ...
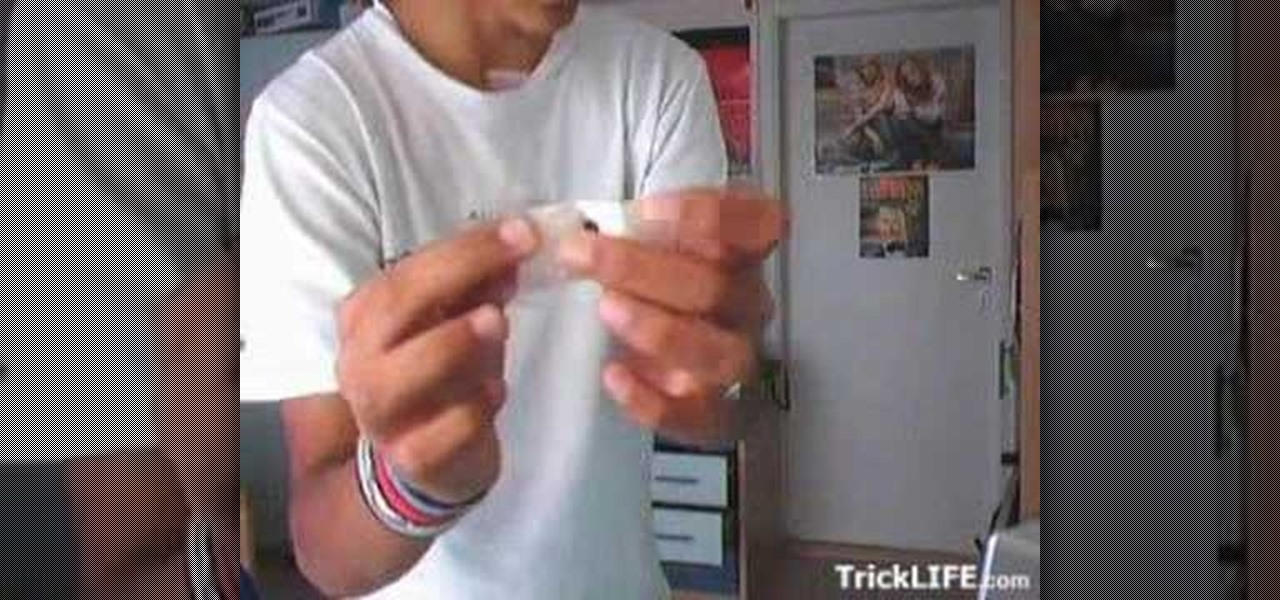
In this tutorial, we learn how to make a card levitate. To start, you will need a regular card with a piece of plastic stuck to the front of it where it cannot be seen. Cut the plastic to the exact length of the card, then use magician's wax to stick it onto the card in the middle. Now, use your thumb on the hand you hold the card on to squeeze the plastic on the card up. This will make it look like the card is levitating into thin air, when really you are just slyly pushing the plastic on th...