In this tutorial, we learn how to draw a plan view. To start, you will draw a horizontal line with a point in the middle. After this, draw lines from the point where you want to draw the buildings in the picture. Then, draw boxes inside the lines that you drew out. Then, you will draw in vertical lines on the bottom of the page, which will act as the ground. Around this, draw circles with scalloped edges for the trees. From here, draw in the rest of the details for the buildings. Finish this ...
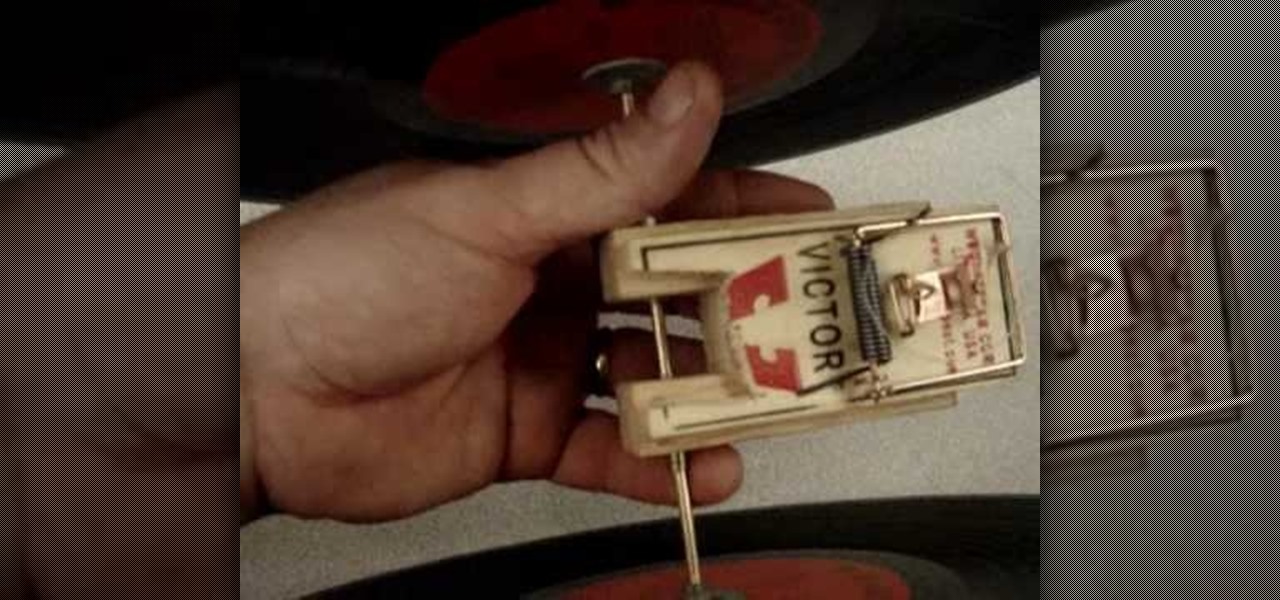
In this tutorial, we learn how to build a simple mouse trap car. To do this, you will need: a ruler, two records, a thin metal rod, and a mousetrap. First, you will lay the ruler down to measure out where you are going to place the records. Next, you will hold these into place by using the metal rod in between the two of them. If it's not secure, use washers and glue to keep it in the proper place. Then, attach the mousetrap to the middle of the rod in between the records. This is it! Now you...

In this tutorial, we learn how to increase the power of a 5mw green laser pointer. First, you will need to gather the parts you will need, which include a vise, the laser, a soldering iron, and a block of wood. After this, cut the block of wood in half and then put your laser pointer in the middle. Pull and twist so the module comes out, then pull the foam protector off. Don't lose any small parts that come out. Next, unscrew the silver cap and then put on your new laser module. Replace all p...
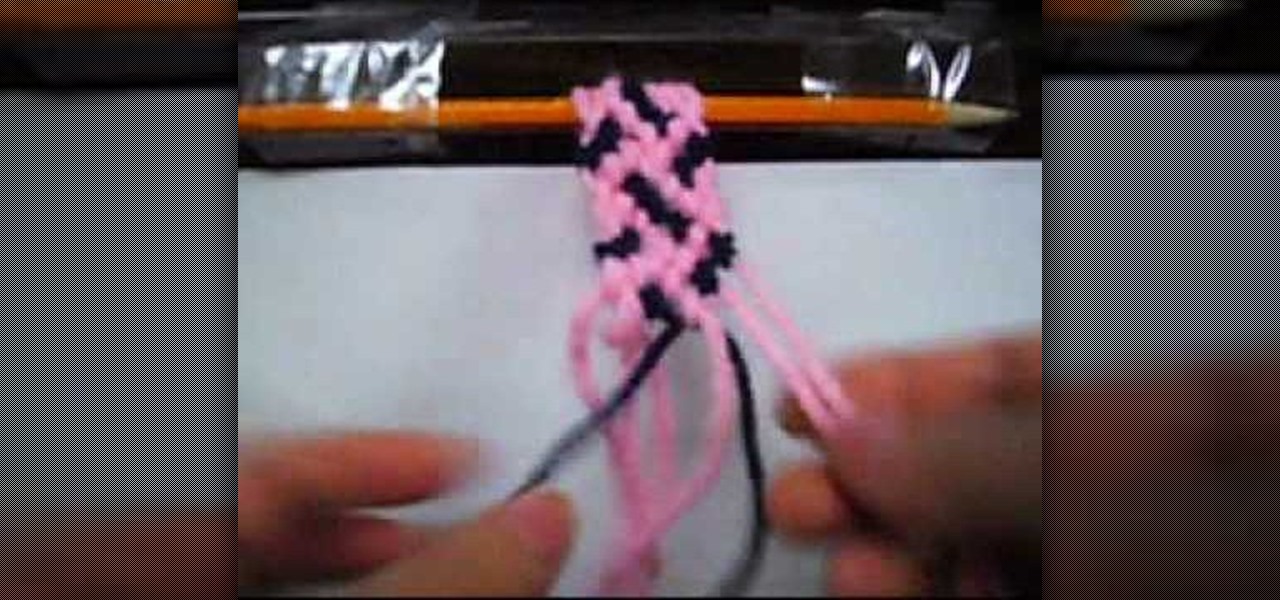
In this tutorial, we learn how to make a confused-style friendship bracelet. First, you will need to clip down your thread on the top and then start to braid the thread together. You will need to have two different colors, white and blue. Then, you will tie the right and left side together and start to braid the middle of it. Then, you will start to braid the bracelet together until you reach the bottom. When you are finished, you can tie this around your wrist and wear it whenever you would ...

In this tutorial, we learn how to draw a face using charcoal. Start out using a light touch with your pencil to draw the outline of the pencil. After this, use the darker touch of a charcoal brush to draw in the details of the eyes. Draw the eyeline and the creases in the eye, then draw in the nostrils and the middle of the mouth. Draw in shading around the neck and chin to make a difference between the two. Use a light touch of the brush to create shading throughout the entire face, not usin...
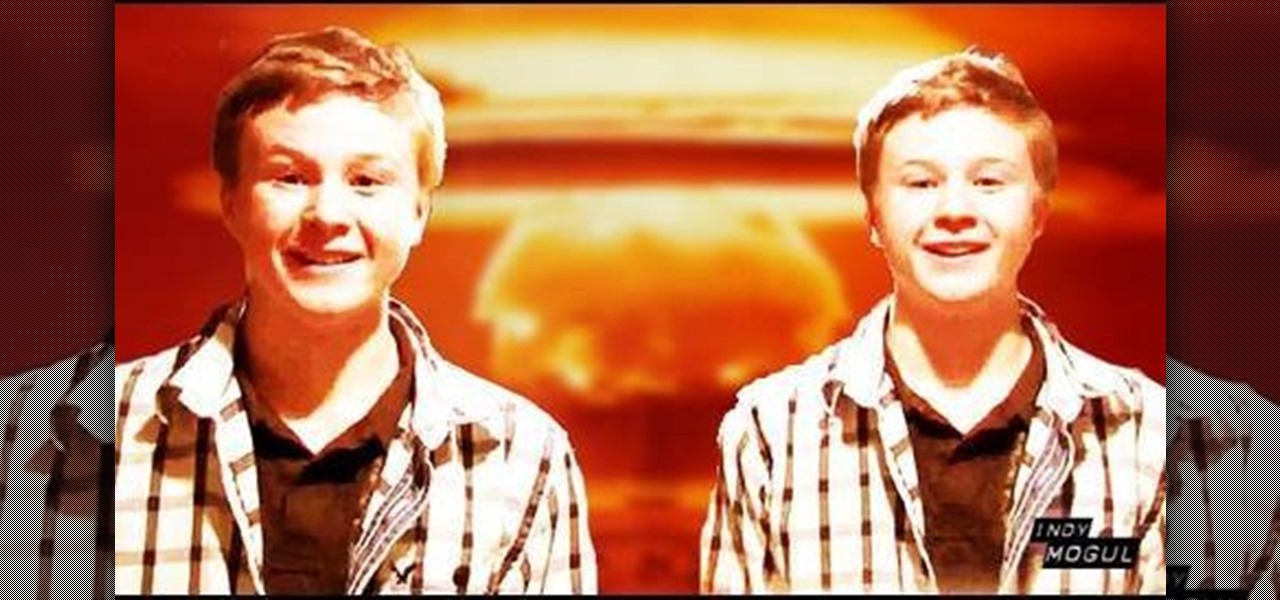
In this tutorial, we learn how to create floating objects and razorblade props. First off, take your object and some double sided tape. Then, place the tape on the object to make it look invisible. After this, tape it to the middle of the plexi-glass. Have someone else help you move this, and then when you record it on video it will look like the object is moving around in the air without anything holding it. This is a great effect that looks even better on video! To create the razorblade pro...

In this tutorial, we learn how to draw a manga girl. Start out with a pen on a piece of paper and draw the eyebrows in the upper middle part of the paper. Color the brows in, then draw in the eyes, along with their creases and the bottom of them. Next, you will draw in around the face and add in the point for the chin. Add in the details for the face, making sure to draw in the eyelashes. When finished with the features, draw bangs on the front of the face, then draw hair all around the sides...
In this tutorial, we learn how to draw a dragon in profile. Start with a pencil on a white piece of paper and draw out the outline of the profile for the dragon. After this, start to add in the details for the side of the face, this includes the horns, teeth, nostrils, and scales for the dragon. Work your way into the middle of the dragon, drawing in different details, including the eyes and the mouth. Continue to shade and add different lines to the dragon, then finish it off with a horn or ...
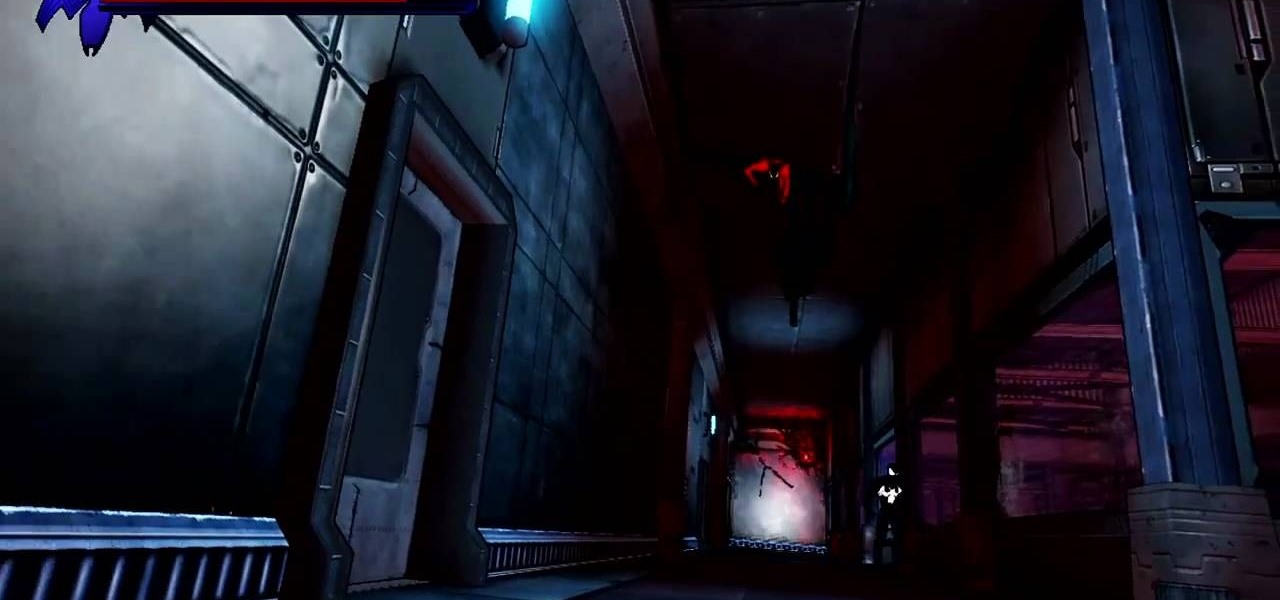
Here it is, the final battle for Black Suit Spidey against his greatest nemesis: Carnage in Spider-Man: Shattered Dimensions. Spidey goes to Triskelion to try to get help from Nick Fury, and winds up in the middle of hell on earth among the Carnage symbiote. In this video you will get a full walkthrough of chapter 12 along with the final boss fight.
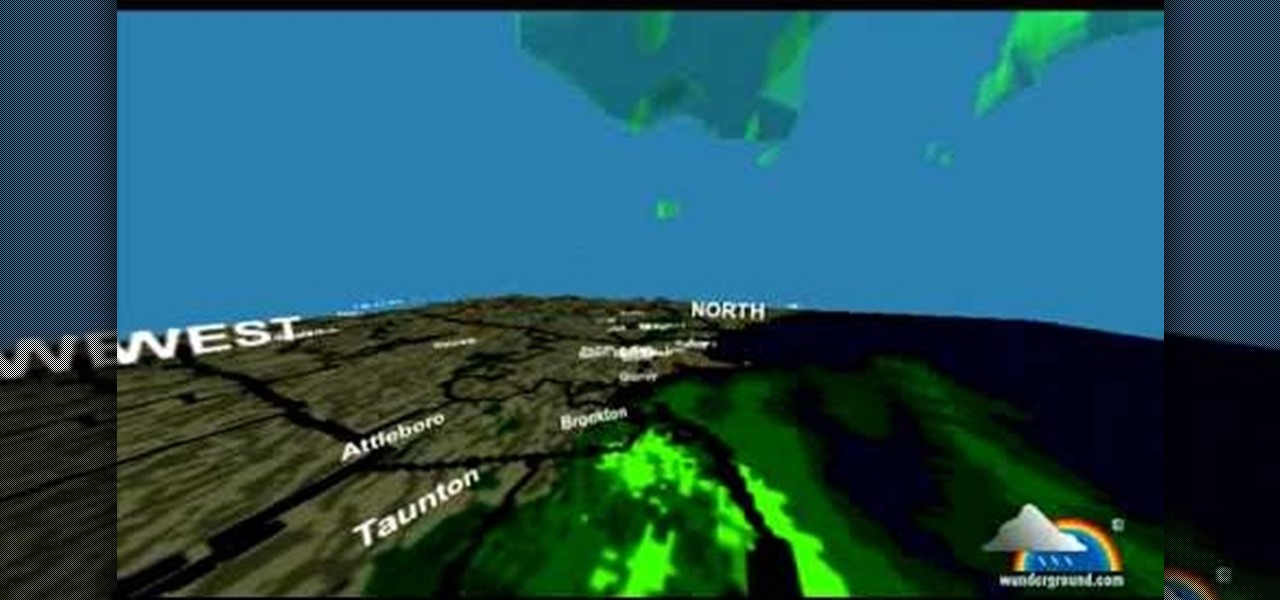
You can see the weather in 3D like First person shooter style by using the site called wunderground. So first go to the site and type whatever you want like Boston, Massachusetts to see the weather of there. You will find a
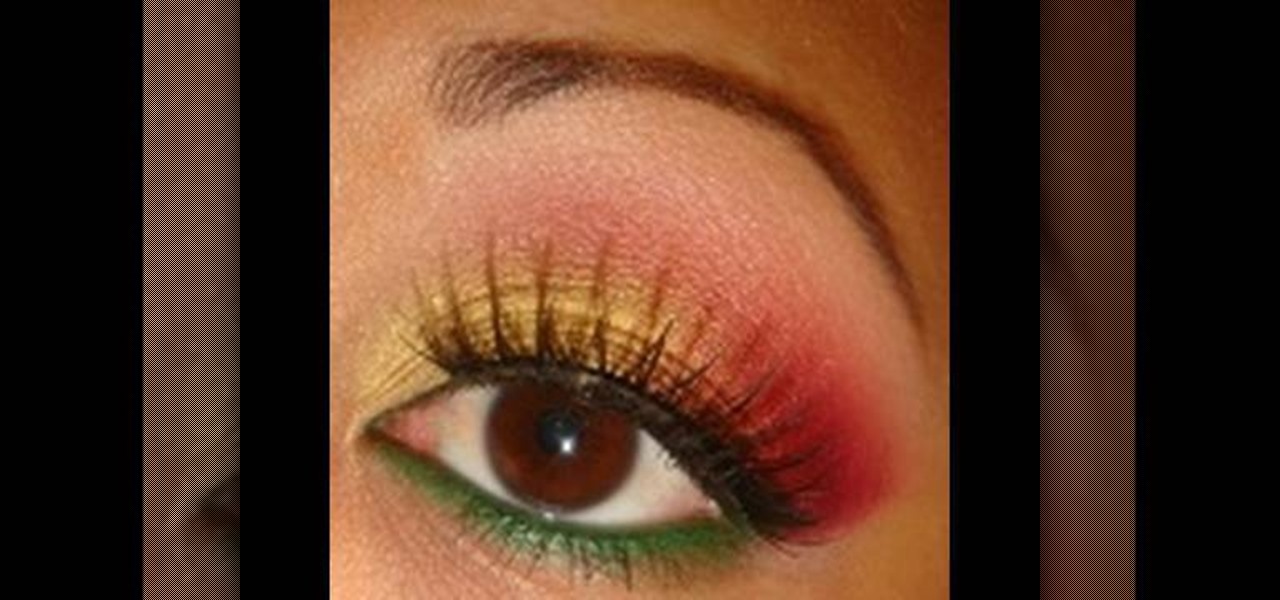
In this video, we learn how to apply red, green, and gold shades for Christmas. First, apply a light concealer underneath the eyes and primer on the lids. After this, apply a gold shadow to the inner crease of the eye to half of the lid. Pat this color on so it's bright, then apply a pink shadow to the middle and outer edge of the eye. After this, apply a bright pink to the outer edge and blend it into the crease and with the gold color. After this, take a green eyeliner and line the bottom o...
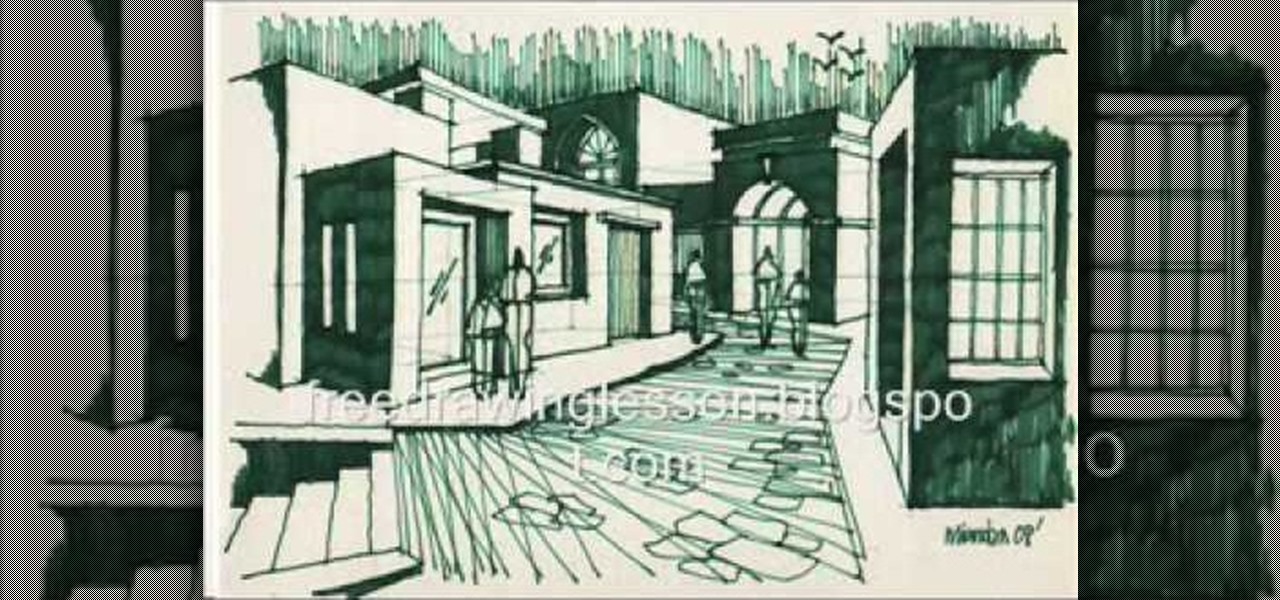
In this video, we learn how to draw a simple scenery. Start by drawing a horizontal line across the page. From here, draw reference boxes along the middle of the line. Now you can start filling in more details, making buildings out of the boxes. After this, make people outside of the buildings, then make a street and trees in the background. Fill in shading and lines to make the picture more realistic. The key to this is to learn how to start with your reference point to make everything flow ...
In this video, we learn how to apply burnt orange to eyes for this fall. Start out by applying primer to your eyelids, followed by using airbrush foundation over your entire face. Next, find a burnt orange colored eyeshadow from any brand, and brush it on the crease of your eye. Next, brush a copper color onto your eyelid, then brush the burnt orange color on the outside crease of your eye and blend into the middle of your eye. Then, brush the color lightly on the bottom waterline of your eye...
In this video, we learn how to get a smoky eye with black cat eyeliner. First, apply a light highlight shadow underneath the eyebrows. After this, apply a primer to the entire eyelid. Next, apply a champagne color to the lids, then apply black liquid eyeliner onto the top of the eyes. After this, take a black eyeshadow and apply it to the outer crease of the eye, then blend it in with the rest of the eye until you reach the middle. Apply liner to the bottom of the eye, then apply mascara to t...
In this video, we learn how to draw cartoon style mouths. Start out by grabbing a marker and drawing a round circle, then draw a shape on the inside and draw teeth on the top and bottom of it. After this, draw a tongue inside of it. For the next mouth, draw a curved line with teeth on the top, then a tongue in the middle. For the next mouth, you will draw a long tongue sticking out of a mouth. These mouths can be used in a number of different pictures, depending on what kind of face you are g...
In this tutorial, we learn how to draw a cute and blue cartoon bird. First start out by drawing a circle for the head, an oval for the body, and then an oval wing in between the both of them. After this, trace over the lines to make squiggle marks on the wings and on the rear end of the bird. Add on an eye and pupil to the head, then draw a beak with an open mouth, making it a "v" shape in the middle. Then, color the entire bird blue, leaving the beak orange and the eye outlined in black. To ...
In this tutorial, we learn how to fold an easy plane. First, fold a piece of copy paper on one side into a triangle, then open up and fold the opposite way, making creases on both sides. Next, fold the triangle further, until you have a shape that looks like a house. Next, fold the two flaps up on top to keep the triangle shape. Then, fold them both down. After this, fold the sides of the triangles into the crease in the middle of the paper. Next, fold the paper in half and make a wing by fol...
In this tutorial, we learn how to draw a hand. First, start drawing on a blank canvas and start with the middle finger and knuckle. Shade in the knuckle area, and make the lines that are around the nail of the finger. Then, start drawing the other fingers out, adding lines to make it look more realistic. After this, shade the sides of the fingers to make the hand look like it's bent in some areas, then make sure you have fingernails drawn into the picture. After this, shade the entire hand an...
In this tutorial, we learn how to wear a scarf different ways. The first way is to wrap a long scarf around your neck and let the ends hang on either side of your breasts. You can make the middle tight, or you can let it hang loosely around you. With a larger scarf, you can tie it around your neck several times, then tie it into a knot in the front. If you have a mall scarf, you can tie it into a bow in front of you and wear it with a thin coat. You can also create a loop by doubling up the s...
In this video, we learn how to make a poached egg with water and vinegar. To begin, boil water in a pot, then turn down the temperature so it's just below boiling. Add salt into the water, then add in a little bit of vinegar to the water. Next, use a spoon to stir the water in a circular motion. Now, crack your egg into the middle of the pot and it will form the perfect age because of the circular motion of it. Turn the heat down slightly more, then cook for 90 minutes until the white part of...
In this tutorial, we learn how to create an erupting volcano. First, take ammonium dichromate and pour it into a clear plastic dish. Next, grab a blow torch and blow it onto the material. This will make a substance that is black and looks like ash. This will get messy, so make sure you have a newspaper or cloth underneath the dish. Eventually, the material will catch on fire so you can remove the blow torch, then the ash will fall all around the volcano and the sparks will fly out of the midd...
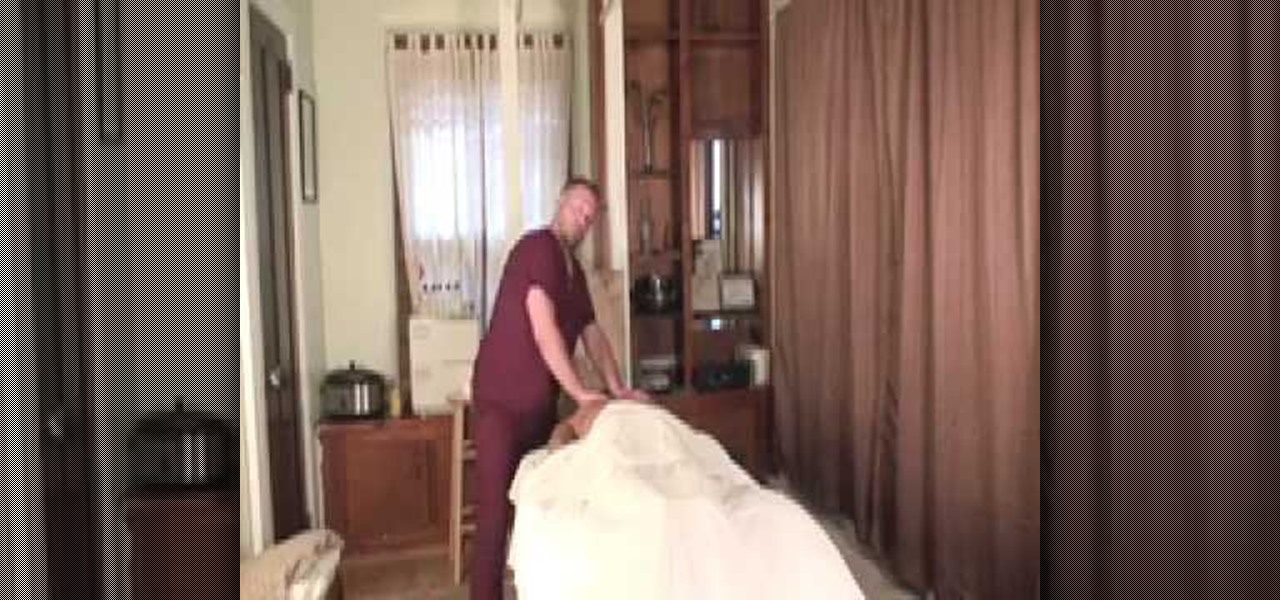
In this tutorial, we learn how to give a Swedish massage. First, you want to start off by making sure your client is comfortable. Next, you will start to gently rub the body, starting circulation. After this, put cream on your hands and rub them together so it gets warm. Now, rub the client's body with the cream, pushing in the body in the middle of the back. Use smooth strokes, because these will warm the client up. Now, use your elbows and place them along the spine, pushing your body weigh...
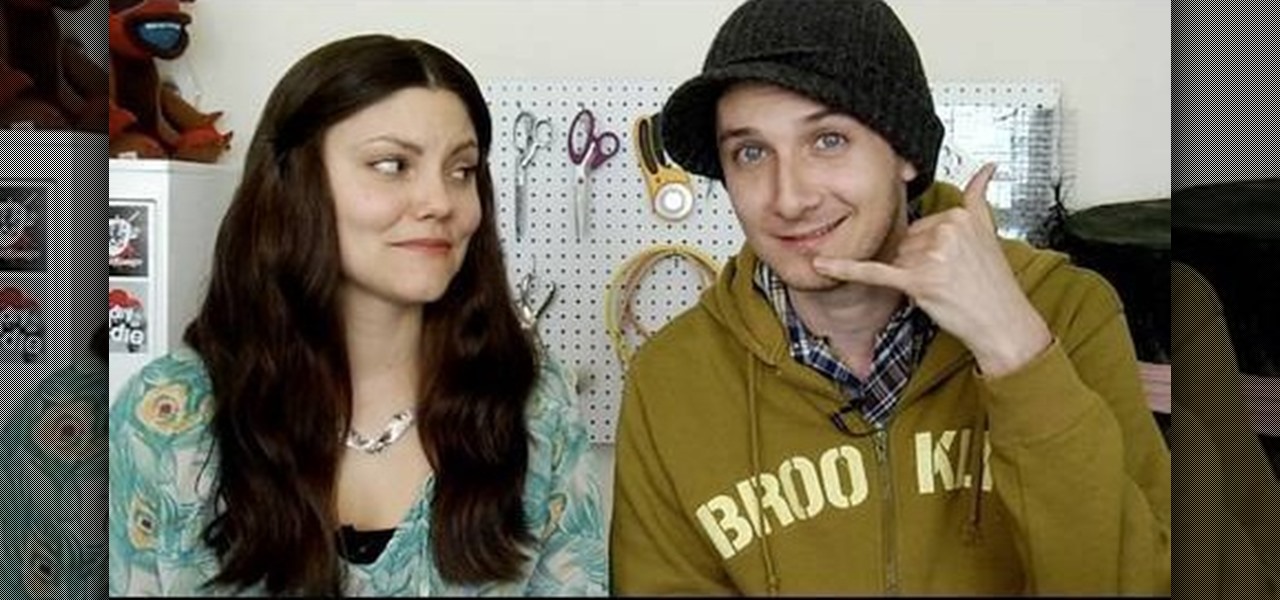
This Thread Banger video demonstrates making a skirt from men’s button down shirt sleeves. Brooksie from Haute Sew presents the technique. Two men’s button down shirts are needed. Cut the sleeves off the shirt at the seams and then split them open at the shirt sleeve seams, leaving the buttons in the middle. Pin the sleeves together along the raw edge with wrong sides together and sew them. The panels can be made to alternate colors or in color blocks depending on the style of shirts used...
In this video from moneymakingfocus we learn how to unhook a bra with one hand. First you need to figure out if it is a front closure or a back closure on the bra. Use the thumb to hold one end of the hook gently applying pressure. Now place index finger near the hook. With your thumb and middle finger now squeeze the hook so that it unclasps. Now the bra should easily come off using this technique. You can use this technique on both a front and back closure bra. Also either hand will work wh...
This is a very simple and quick way to make a bow with your hair. Jessica suggests that this method will work best if you use a large section of your hair such as the hair at your crown. Get a skinny hair tie and tie a pony tail with your section of hair. Then when your hair tie gets tighter, pull your hair through but stop when you’re near the hair ends. Now you have a small bun to work with. Pull both sides of the bun to separate it into two parts that makes up your bow. Then push the mid...
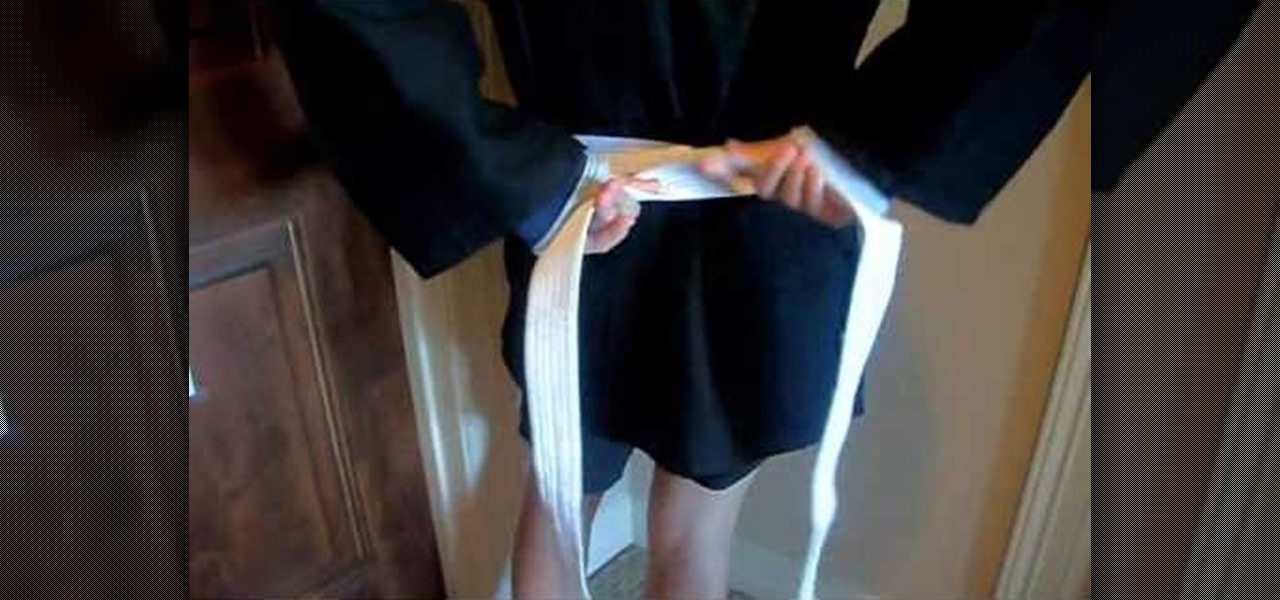
This video demonstrates how to tie a karate belt in a proper manner. Take the belt and fold it in half. Place the fold in the middle part of your abdomen where you need the knot. Cross the ends of the belt behind your back. The end in your right hand should be on the top and tuck in the end in the left hand underneath till the front. Take the end on the top and tuck beneath the belt, bottom to top on the other side. Pull the ends tightly, the two ends should be of almost equal length. Cross t...
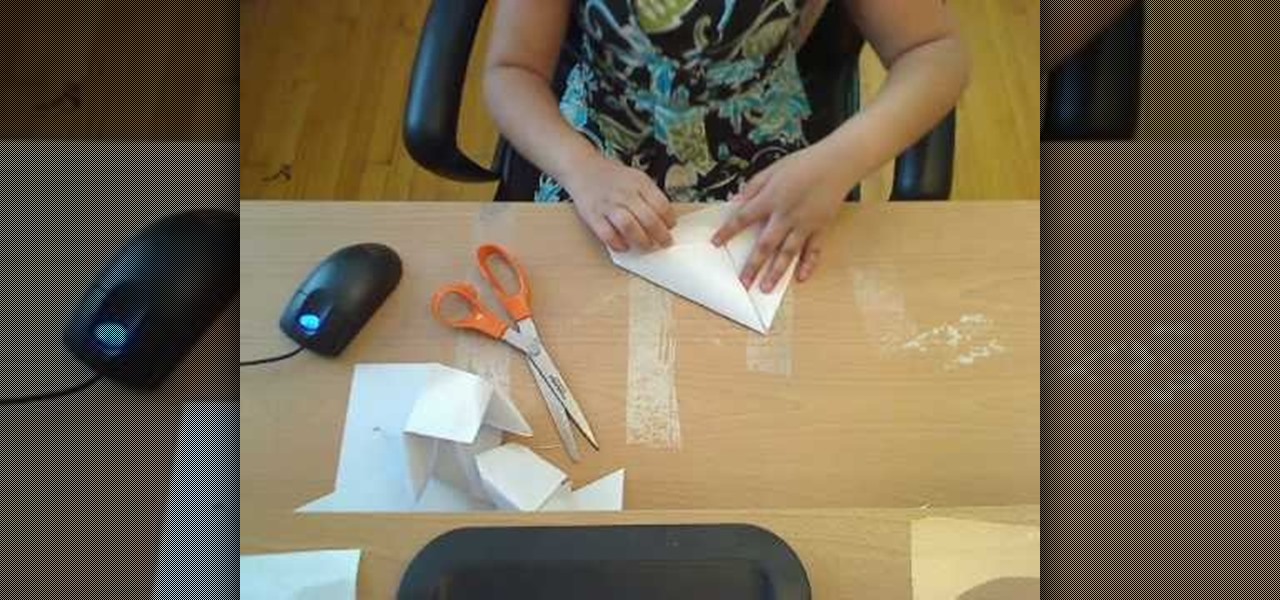
This how to video is by a young girl Rida Sharief and teaches you how to construct a hat from simple construction paper. First step, you fold the paper in half and crease the paper with your fingers. Next step, you fold it again in half and crease with your fingers. Next open back up so that the paper is only folded in half. Then, fold triangles inward almost all the way down, but leave space for flaps. Finally, fold the flaps up and you have your own self-constructed paper hat. To wear it si...
To whistle really loudly start by rolling the tip of your tongue back toward the back of your mouth. Then take the middle and index finger of both hands and put them in your mouth near the underside of the tongue. The underside is exposed because the tongue is rolled back. When you put the fingers in your mouth put them near the tongue but not touching the tongue. With the fingers in your mouth close your mouth down around the fingers and blow out. The air passing through the fingers and teet...
In this video, Jennifer teaches us how to make Latin heat shrimp fajitas. Ingredients are: onions, peppers, shrimp, olive oil, butter, lemon juice, Latin heat rub, salt and pepper. First, place sliced peppers and onions along with Latin seasoning and olive oil into a bowl. Stir these together and then place into a warm pan. Cook these until they are tender, then add in 1 tbsp of butter. Move the veggies onto the side of the pan and then add the shrimp with Latin heat seasoning into the middle...
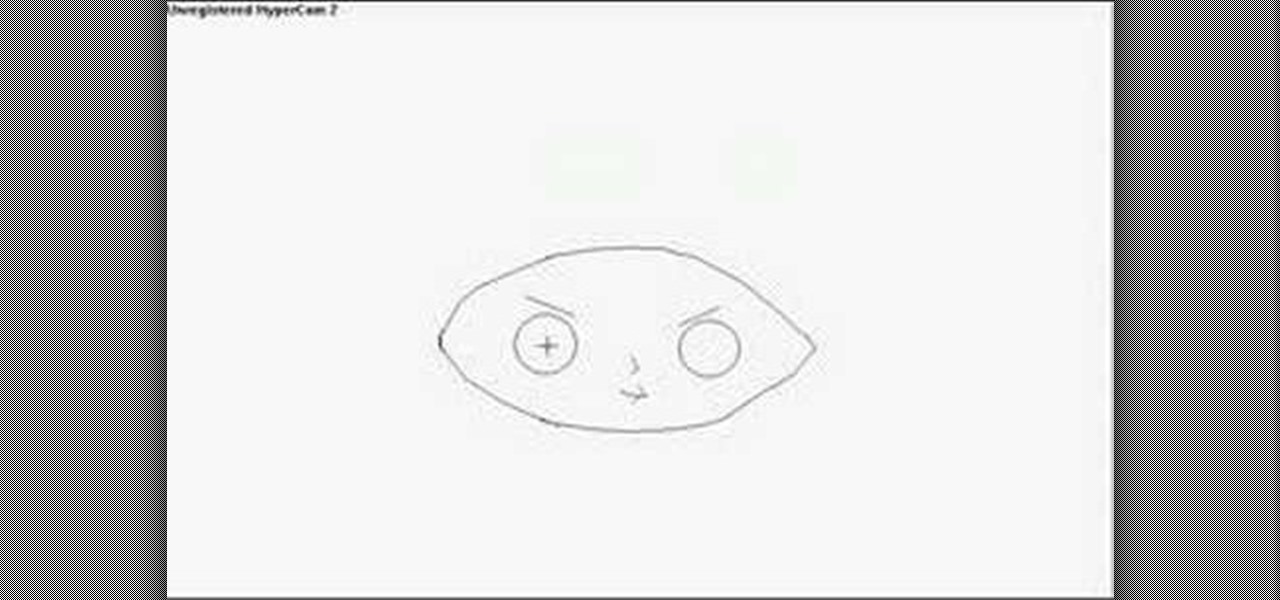
Drawing Stewie from The Family Guy on your computer is fairly easy. First you're going to make a horizontal oval, then draw what looks like a football shape just in between those lines. Now erase the excess lines outside of the head shape. Next, insert two circles-fairly far apart on the head-with a slanted line above both for the eyebrows. A small line in the middle pointed towards the right makes Stewie's nose, and a simple mouth is completed with a three small lines at the bottom. Draw two...
DaBartist teaches you how to braid hair extensions into your own hair. Start off with hair in the front of your head, as it's easier to control. Grab a strand of hair and then wrap the braid around it once. Your hair should be in the middle now. Twist all the strands once and start going to the left and on top, then to the right and on the bottom with the hair. You can do this until you reach the end of the fake braid hair. Then pull it back and tie it to other strands on your head.
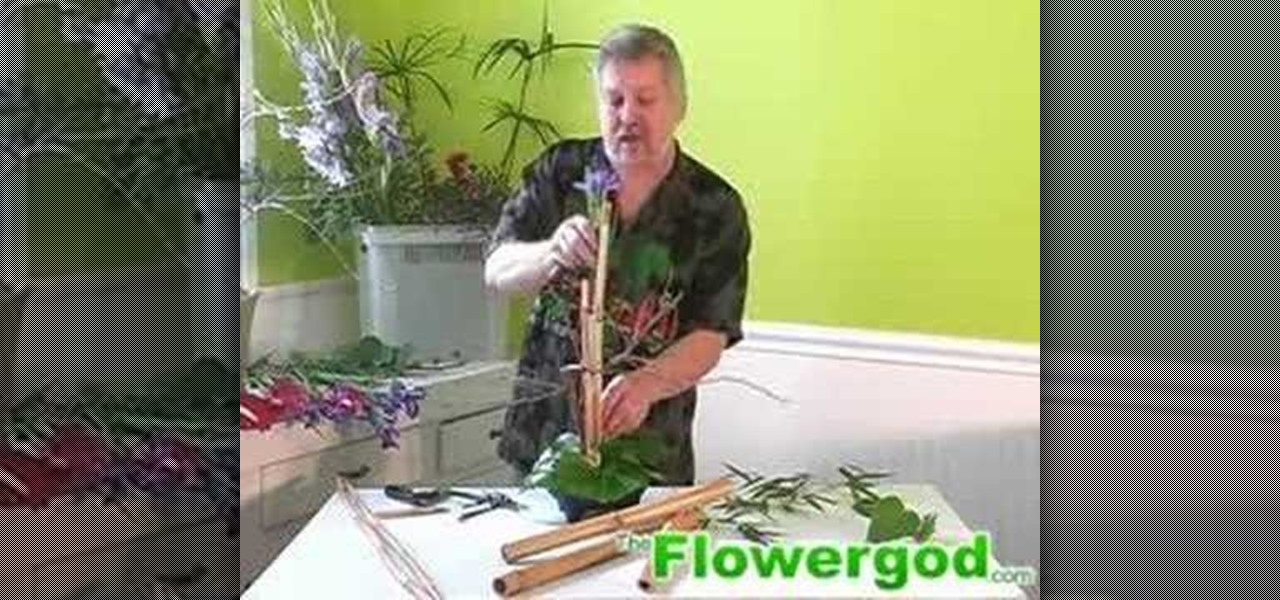
In this video, the Flowergod demonstrates how to make an Asian inspired arrangement with bamboo and colorful flowers. He starts with a low pot filled with craft foam and adds some very large leaves to the bottom. He then puts a sparse branchy twig in the middle along with several tall bamboo canes. He adds purple flowers and more greenery at different levels, and a large red flower at the base. The video is speeded up so you can see every step in the process. This is a unique and beautiful ar...
Look at your modem and see if all the lights are on, this means you're connected. Make sure all the cables are connected properly. Grab your modem and look in the back, there's a little button. That is the reset button. Choose a pen or something like that, and use it to press this button. All the lights but one will be off. Pick the Ethernet cable on the back of your XBox 360, now wait until it connects again. The lights will turn on one by one. When all the lights are on, turn your XBox 360 ...
ITStaff teaches you how to design casino chips in Adobe Photoshop. You start off with a white or grey circle which will be the chip itself. You need to start decorating this so you create five trapezoids and space them equally from one another. Give them a dark red color. Next you create a red circle in the middle, touching the bases of those trapezoids. Add a crown or a symbol created or from the Custom Shapes menu. You also need to create a value so type in a number and add the dollar sign ...
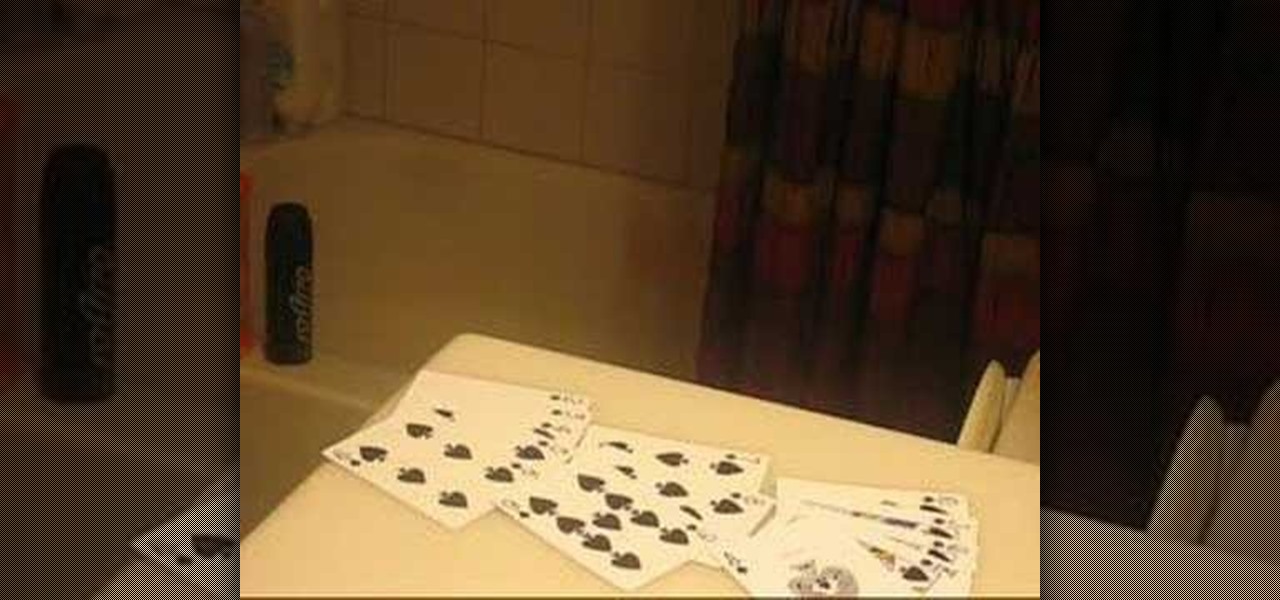
This film explains how to count cards in black jack to gain an advantage. Every suit in a deck is said to add or minus up to a count of zero. So the whole deck has a count of zero. There's some synthesized high speed music in the middle while the presenter extracts the spades to show us. Ten to ace have a value of minus one. Seven, eight and nine have a value of zero and the numbers below seven have a value of plus one. The pluses and minuses cancel each other out to produce zero. The numbers...
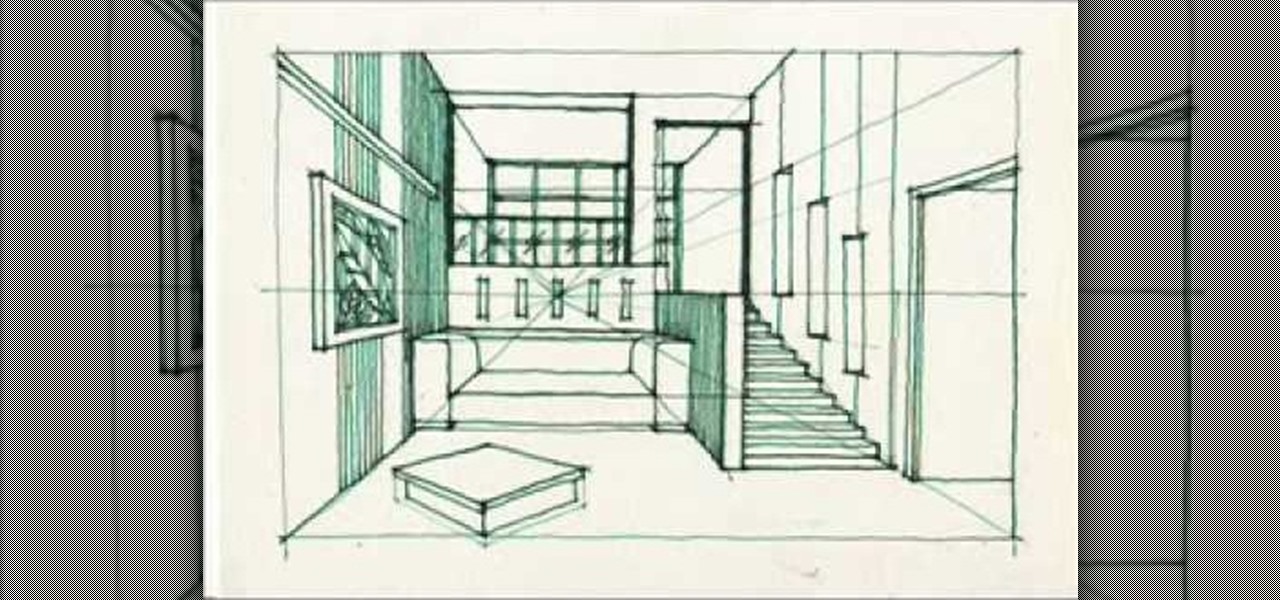
This is a great video for interior designers or those who love to draw! This is a wonderful tutorial on how you can draw a split-level room. Split-level rooms are rooms in houses where you can either go upstairs or you can go downstairs. It's like the middle level. By drawing a split-level room into your picture you add dimension to the sketch and give it a more realistic feel. After you've mastered the steps in the video you can custom draw your own furniture and decor how you would like it ...
Miandza teaches you how to draw a complex room. You will start with two rectangles, one smaller than the other. Also draw 3 perspective lines - one horizontal and two diagonal, meeting in the middle. After that, start creating objects and pieces of furniture. Also add walls, doors and windows, according to the perspective lines. Use a darker pencil when you're sure of the things you are drawing. Now you start working on details. Don't forget about the floor and ceiling and add details and obj...
Miandza teaches us how to sketch a street. You start with a horizontal line and two diagonal lines, all intersecting in the middle. You then start to add parts of buildings, in perspective. You continue to use the lines as reference and add more buildings. Then start doing trees and people. Also add pavements and start doing details on all objects. You finish by drawing the sky and the birds. The final scene is still a sketch, but has lots of details and uses the perspective to look natural.
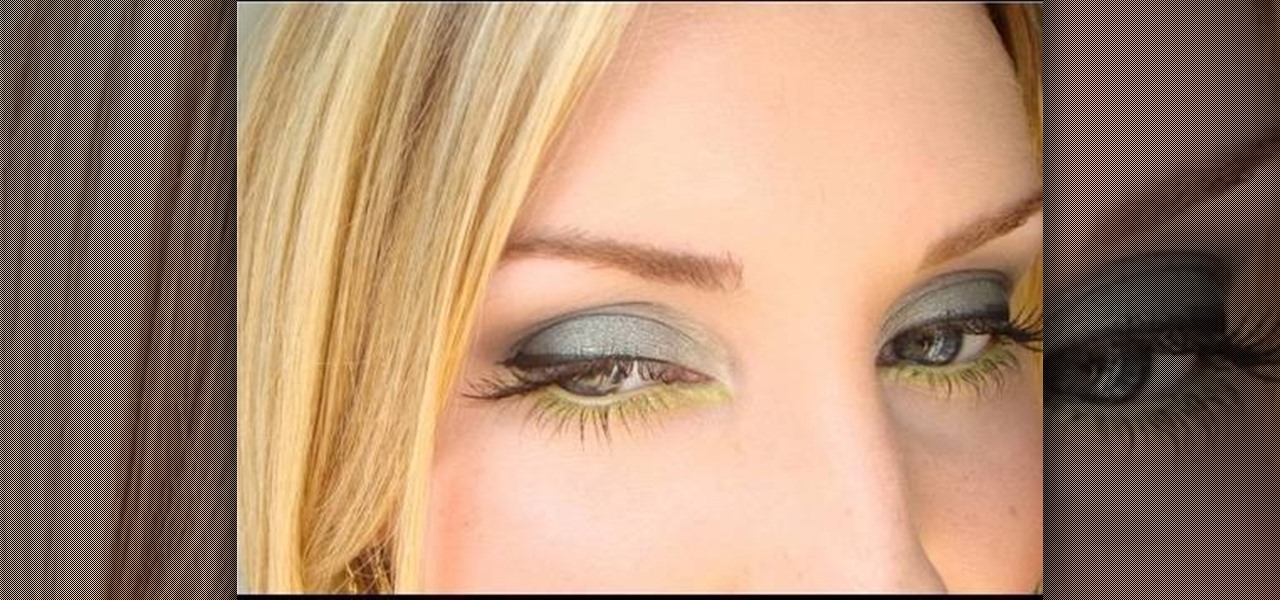
Tiffany D from Makeup by Tiffany D as seen on YouTube teaches how to apply a smoky fall green eyeshadow look to eyes. Apply a creasing product to the eyelid, and a black eyeshadow base then blend with a blending brush. Apply the first shade of green eyeshadow to lower middle and center of eyelid. (Can apply second green eyeshadow color if desired to outer corner eyelid). Apply the third lighter green eyeshadow color in the tear duct area, sweeping upward. Apply the fourth eyeshadow color in t...
Are you having trouble ending the round when you are crocheting? Shred Betties shows us how to crochet a slip to end the round. You will need the following: crochet hook, yarn. Procedure: Use a slip stitch to end a row. Insert the hook in the middle of the third stitch of the chain that started the row yarn over and finish round 2 by pulling the yarn through the loops on the hook. Follow these steps and you will no longer have trouble ending the round the next time you crochet.