If you're constantly writing money amounts using rupees, which is the basic monetary unit India, Pakistan, Nepal, Seychelles, and other South Asian and East African countries, then you'll be relieve to know that there is a font you can use to create the rupee symbol in any word processor on your computer.
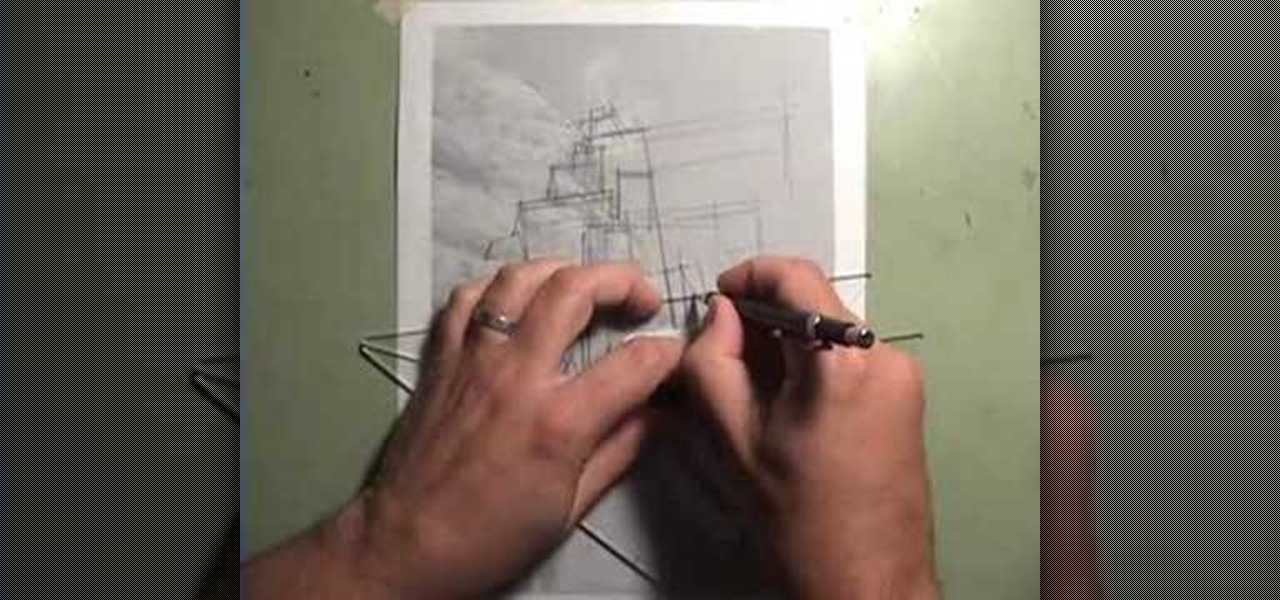
Take a lesson in architecture from renowned architect Doug Patt by watching this video tutorial. If you want to learn about drawing and designing, without going to school, Doug's just the teacher. Watch to see how to design and draw an architectural cliff house.
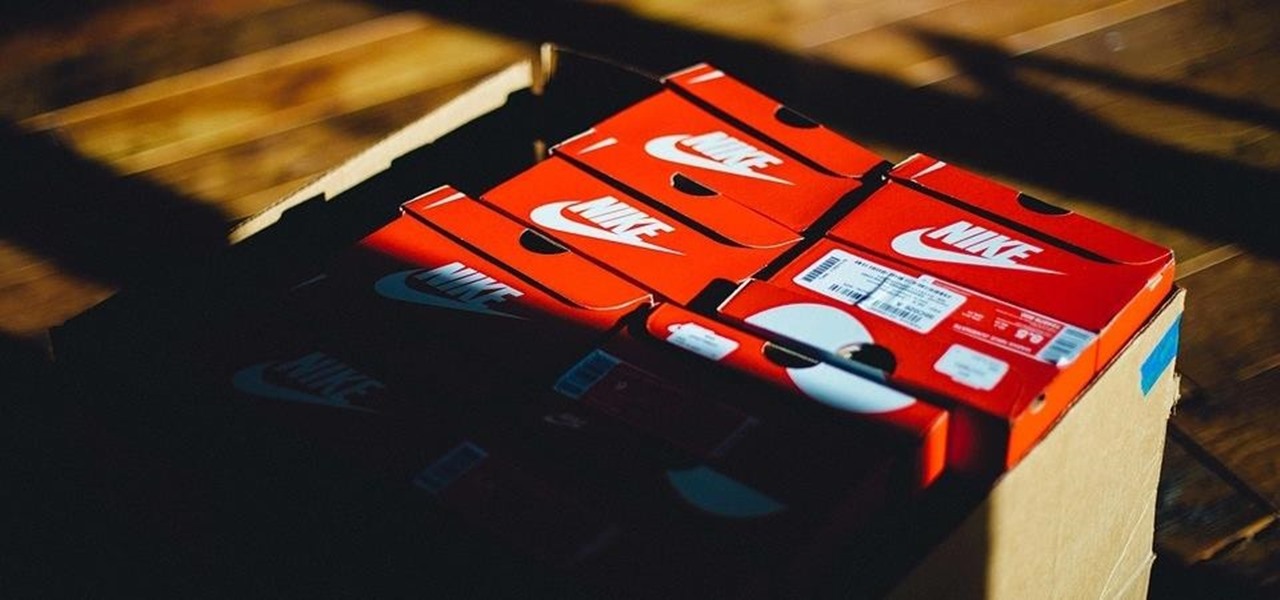
Nike's newest app is changing the way we shop. Called SNKRS, it uses augmented reality to sell the limited edition Nike SB Dunk High Pro "Momofuku" sneakers.
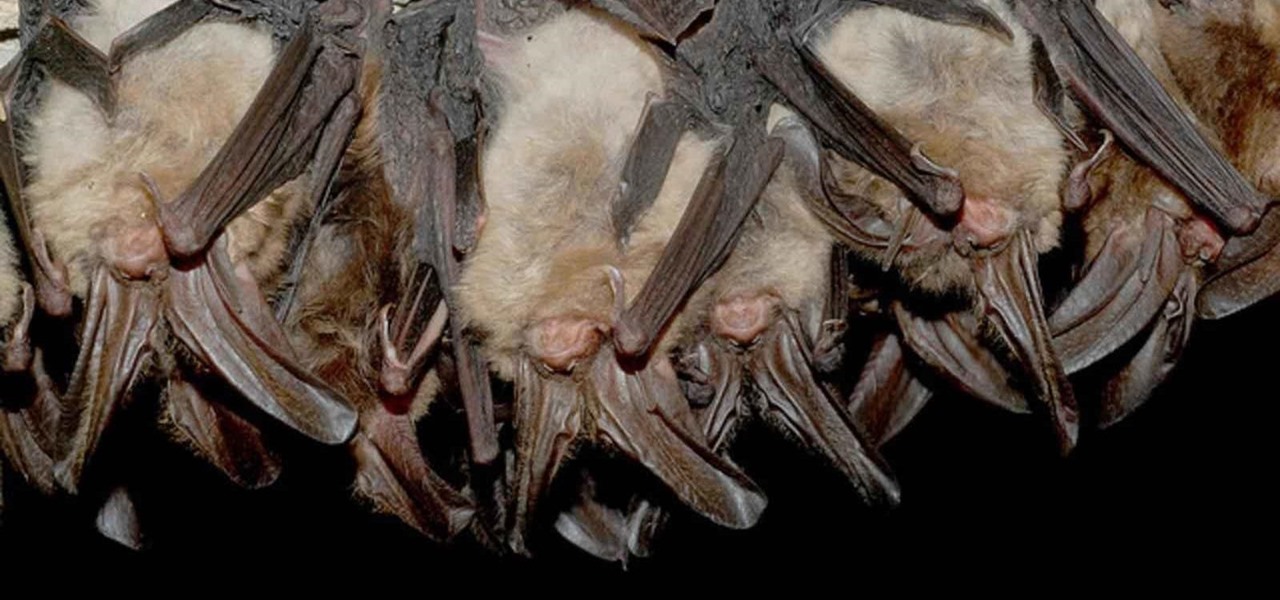
Tell the truth. The bat picture creeps you out. You are not alone. But in reality, bats truly are some of our best friends. They gobble thousands of disease-spreading bugs a night. But they also carry viruses that can be deadly to humans. So, bats — friend or foe?
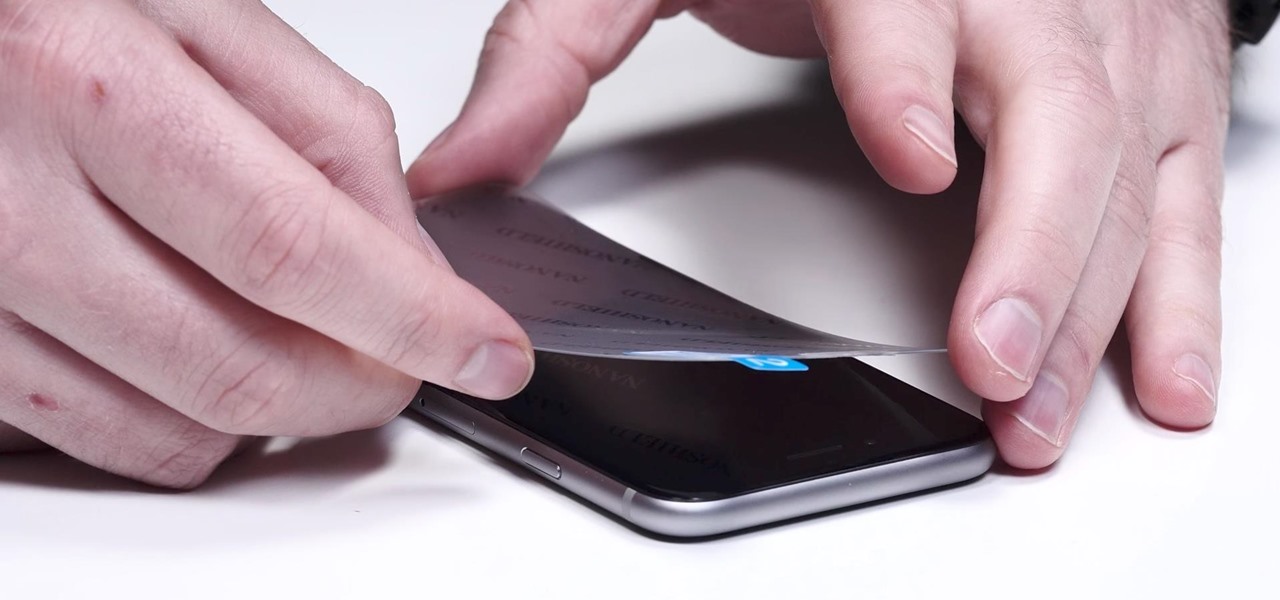
Update 6/20/17: Olixar, a smartphone case manufacturer, has released images of an iPhone 8 case design. While at first glance this might seem to confirm the iPhone 8's final design, 9to5 Mac reports that Olixar admits they produced these renders based on "information and schematics they've acquired through their factories and contacts in the far east."
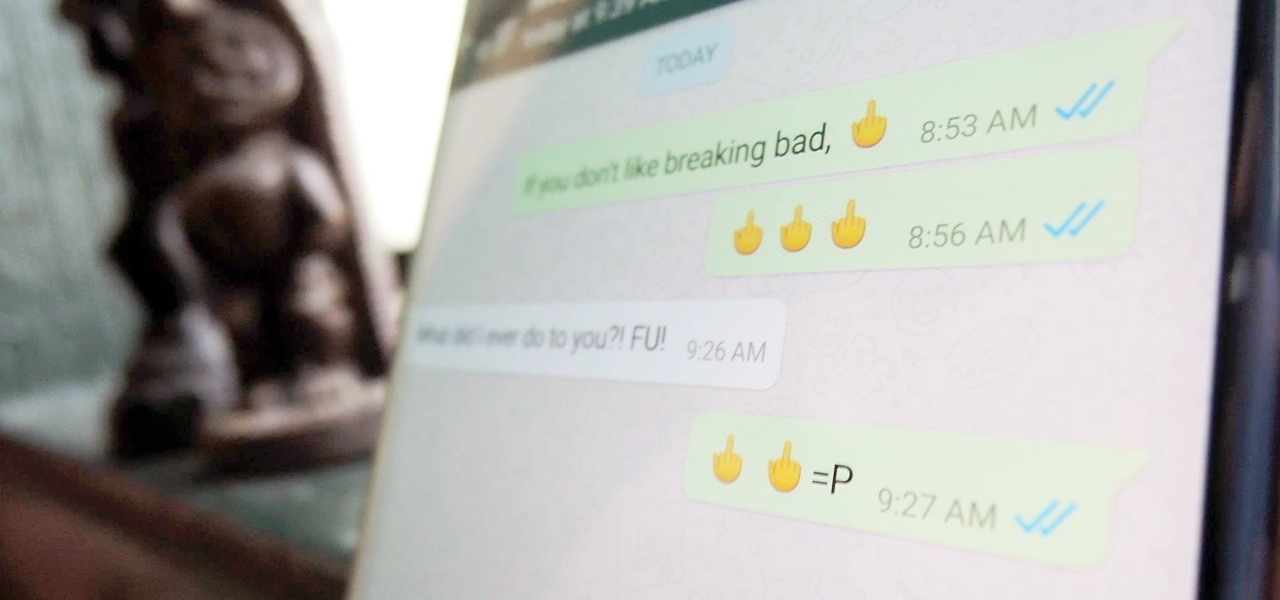
Hidden deep in WhatsApp's emoji database is a middle finger emoji, and there's a really easy way to use it. Much like Spock's "live long and proper" Vulcan salute, this one can be used simply by copying and pasting the emoji from our tweet. Note that the emoji, for now, does not display properly on iOS devices, but it can still be sent. So if you're in a conversation with an Android or computer user, they'll see it just fine.

The big question this week would be the controversial Obamacare mandate. And heres the answer: Yes. Obamacare passes Congress' filters and is now an official OK. Texas college hacks drone in front of DHS — RT.
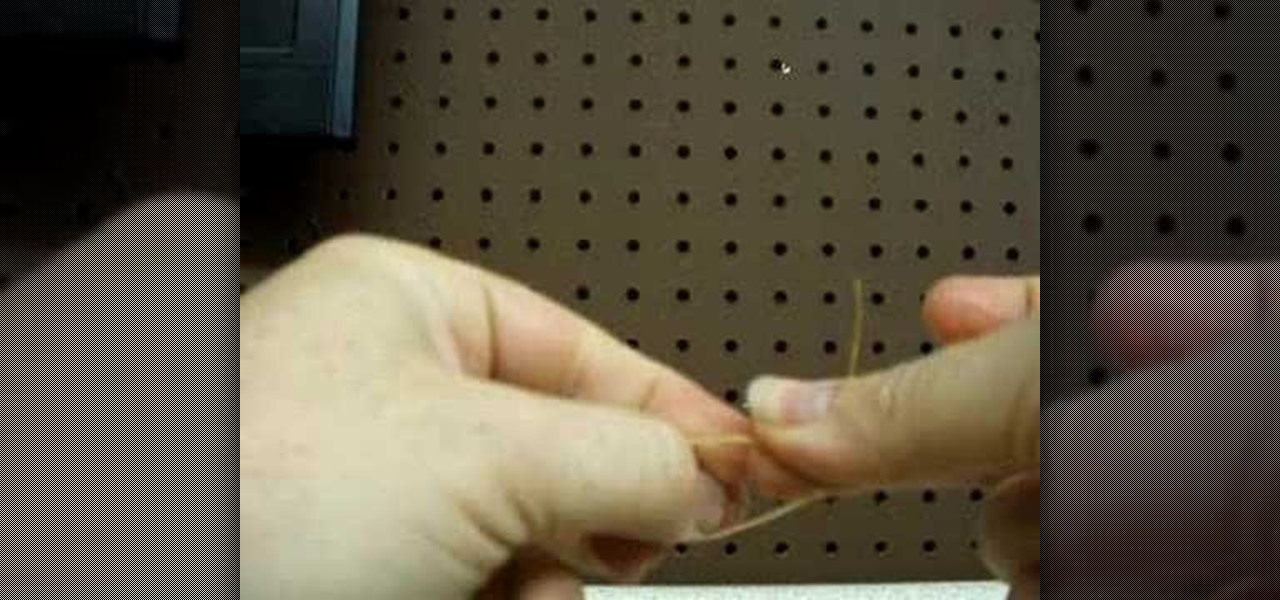
A recent trend in freshwater fishing is adding a fluorocarbon leader to your braided fishing line. The benefits of this are mainly allowing for some more absorbtion of pull, resulting in less twist and potential tangling. This how-to will show you how to tie this knot yourself, so when you're in the middle of that beautiful pond, and you feel the bite, you'll be able to successfully land that big one with less stress on you or your gear.
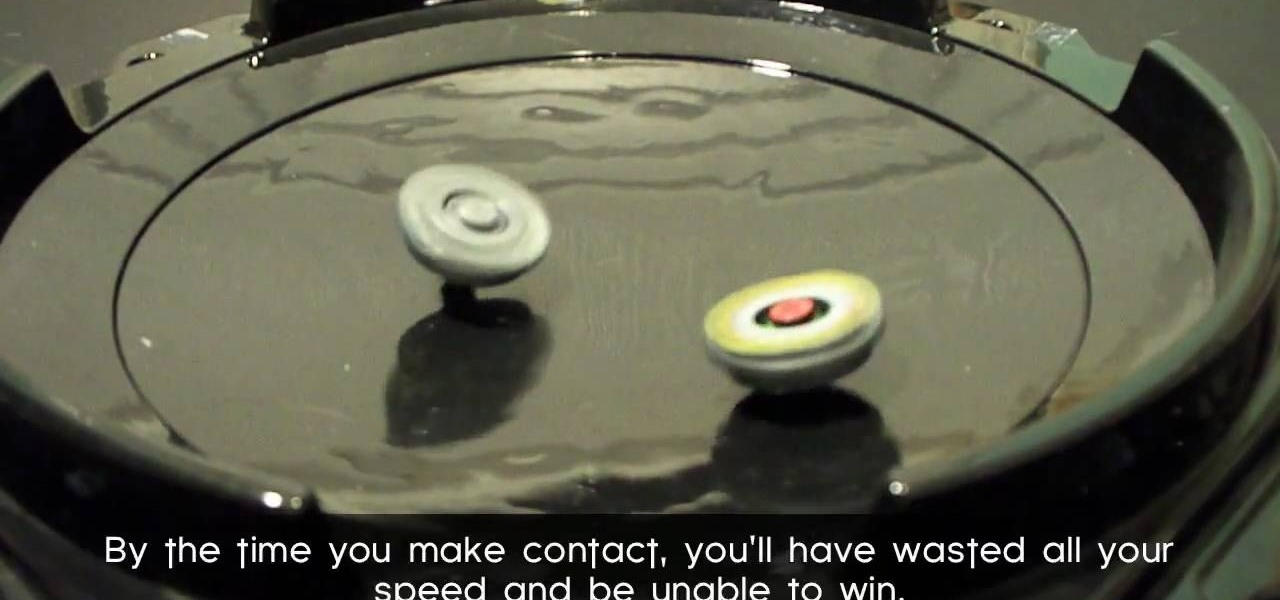
A standard straight up and down Beyblade launch usually sends your Beyblade spinning around the edge of the Bey Stadium. If your opponent's Beyblade is in the center of the stadium this means that you will lose a lot of power before you hit them and probably lose the round. This video will show you how you can angle your launcher to do a sliding shot that will cross the middle of the stadium and win you more Beyblade.
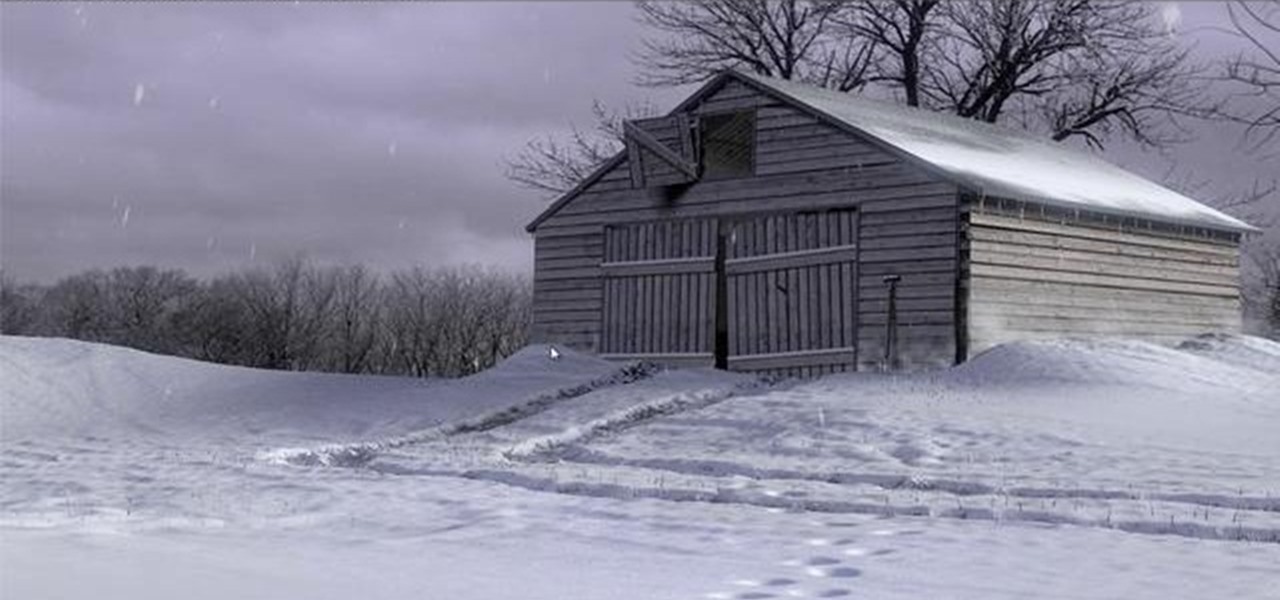
In this tutorial, learn how to turn an ordinary sunny day into a snowy scene in using Blender. You will get a step by step on adding white snow to your photo or drawing, as well as other realistic aspects like tire tracks and footprints. Follow along and get started. Even if you live in the middle of the dessert, you will be able to see what your neighborhood would look like under a blanket of winter.
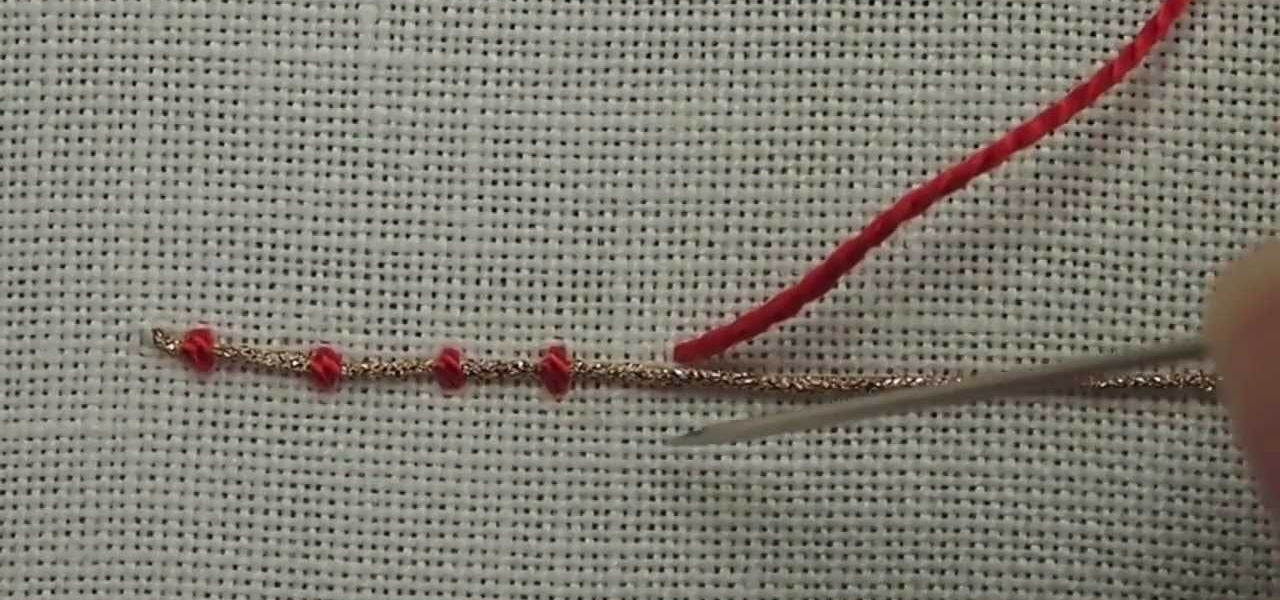
Couching is another easy embroidery stitch in hand embroidery, and a great way to create decorative line stitches that scroll and twirl about. It's also widely used for filling areas, and historically was used to great effect during the Middle Ages and Renaissance in a technique called Or Nue. Here's a video from Needle 'n Thread that demonstrates couching a single thread for an outline.
In this video tutorial you will learn to use Photoshop to create your own skull face optical illusion. After you have completed, ask your friends to stare at the middle of the image for about 30 seconds. When they look away, the skull will appear before their very eyes on the wall!
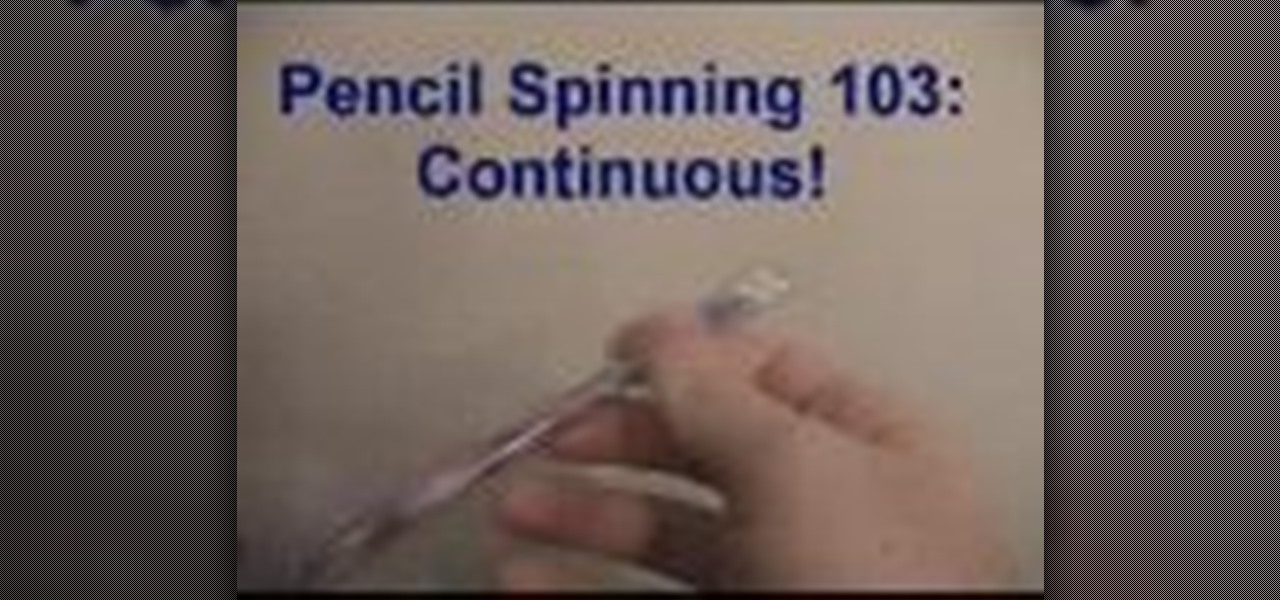
This is a cool video tutorial teaching you different ways for how to spin a pencil/pen on your fingers. By using your thumb, index finger, and middle finger, while keeping in mind the weight balance, you will be able to learn how to do this trick with the easy steps that he provides. And with these techniques you can even twirl a banana or a screwdriver. Watch this video tutorial and learn how to spin a pencil.
In this tutorial, we learn how to fold a basic paper airplane. First, fold the paper in half and make a crease. Next, unfold it and then line the corners with the middle line you just made on one side of the paper. From here, you will fold the paper down until you reach as long as the crease can go. Next, take the point on the side and fold it an inch over next to the point. Then, repeat this on the other side, touching the other point in the middle. Now, take the tip and fold it over. From h...
In this video, we learn how to play "Numb" by Linkin Park on acoustic guitar. Start out with putting your middle finger on the second fret of the A string and play an E minor. Now, move your ring finger to the third fret of the A string and your pointer finger on the E string. Now, play a G with your middle finger on the first fret and your ring finger on the third fret. Learn how to get your finger movements correct while doing this, then start to play the intro and the rest of your song. As...
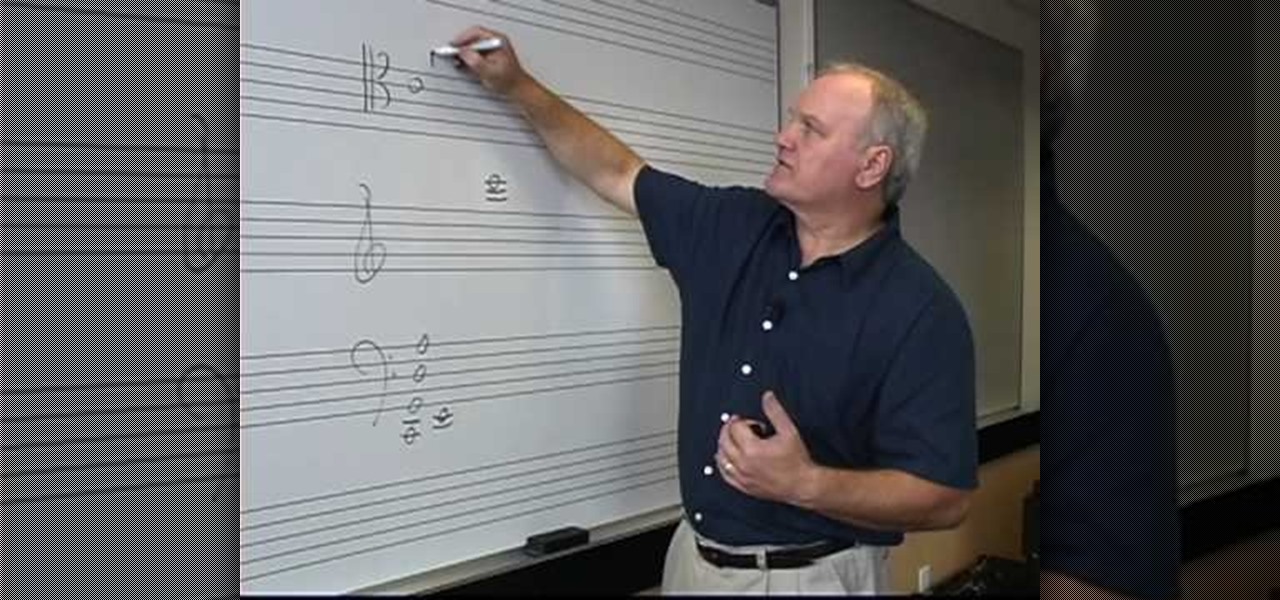
In this video, we learn how to play the cello with range and clefs. With the cello, you have the C string, the G string, the D string, and the A string. This is just like the viola and violin, just an octave lower. You will read in three different clefs. The tenor clef looks similar to the alto clef but the middle C is in the middle of the clef. As you get above the staff, you will get to treble clef. The main clef will be the base clef, but try using the treble clef for a melodic tune that s...
In order to transition from the Running Man to the Melbourne Shuffle and the Melbourne Shuffle to the Running man, you need to remember that the 3rd step of one and the middle step of the other are the exact same step. This is the transition step.
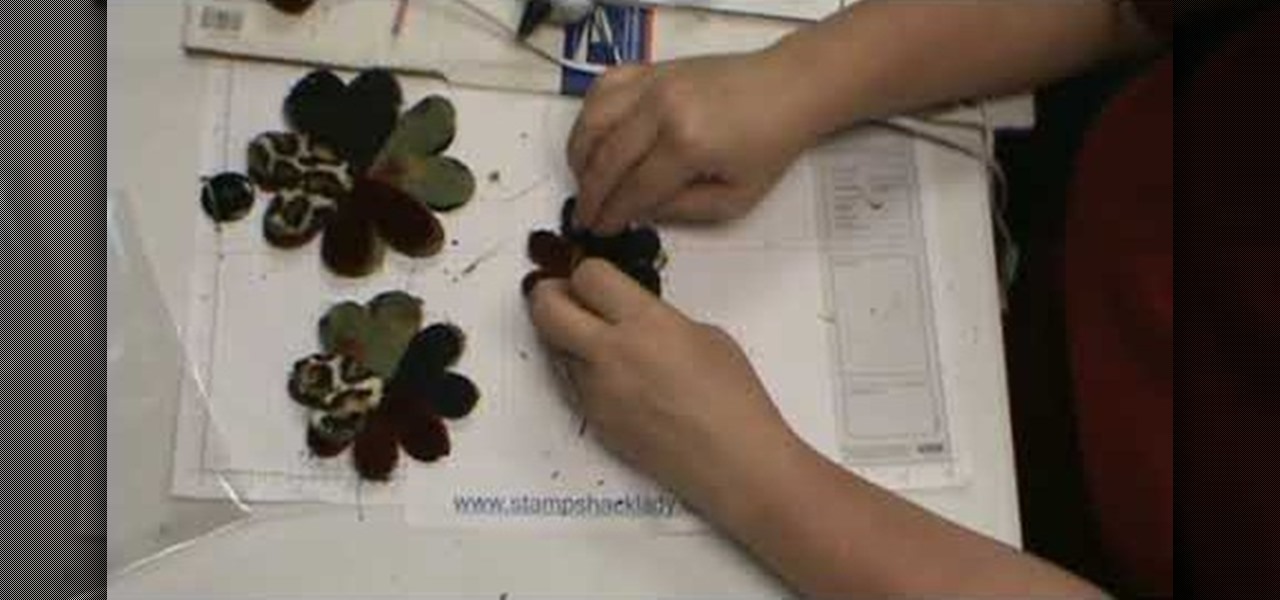
In this video, we learn how to assemble a flower-fold die-cut with a glue gun. First, cut out different fabrics in the flower shape. Put them all into different piles according to their sizes. After this, put hot glue into the middle of the fabric and fold the flowers in half. When finished, put the pieces together with hot glue going in a circle. Continue to do this with all the different sizes. When you are done, all the colors of fabrics should show, then place a button in the middle with ...
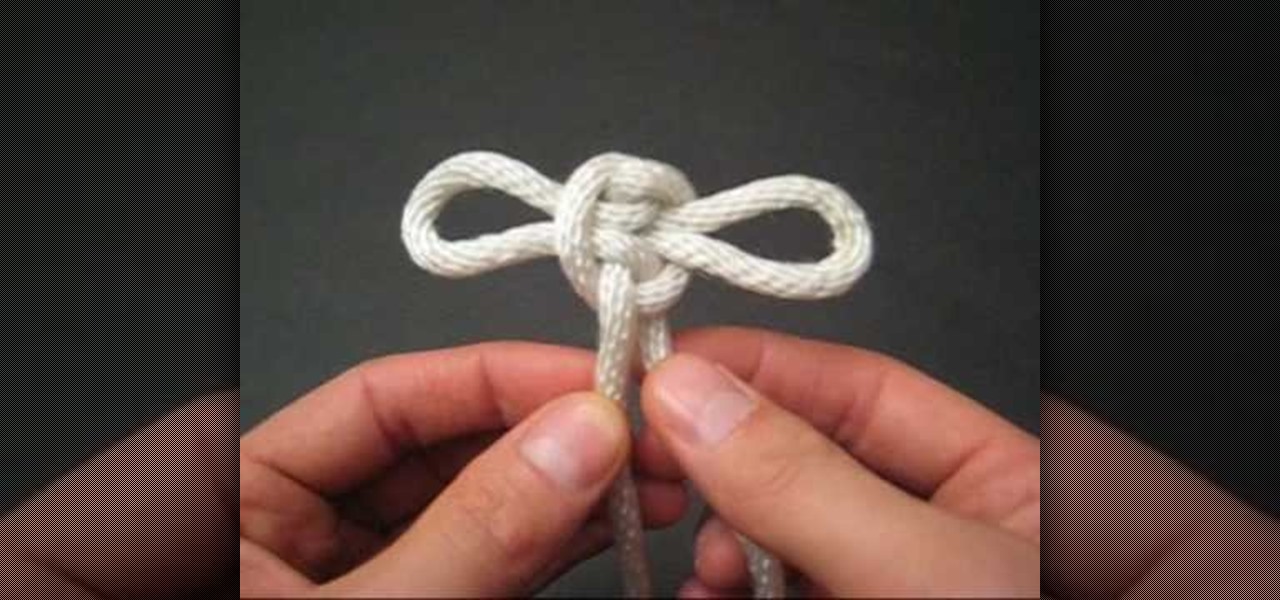
In this video, we learn how to tie a maedate knot. Start off by making a loop in the middle of the string followed by another loop placed next to it. Now, wrap these together in the middle and pull them out on the side. You will now have a shape that looks like a bow. Pull on both sides of the bow, where there will be two loops. You can pull on each of the loops if you want to back them larger. When you pull on the bottom strings, the loops will become smaller. After you do this, you will be ...
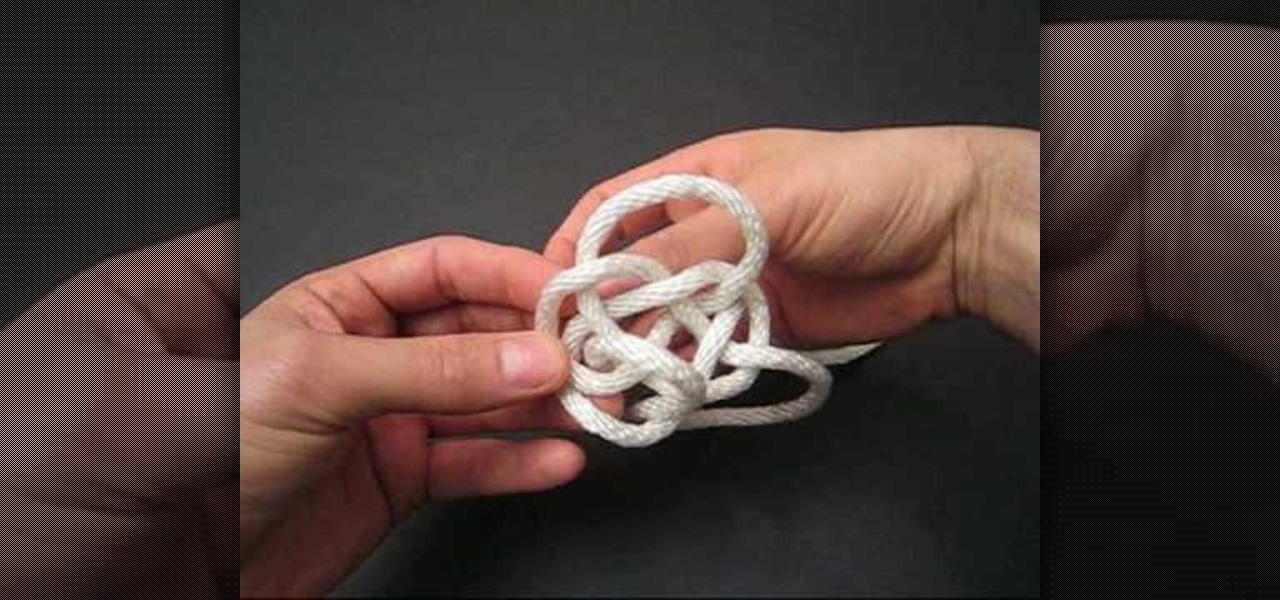
In this video, we learn how to tie a cloud knot. Start by making a loop in the middle of the string on the left side, then wrapping the right side around it and pushing it through the middle. Next, do the under-over weaving technique by bringing the string over one loop and weaving it into another. Continue to do this several times until you have done about four or five weaves. After this, pull the sides of the string out on both sides and you will have your finished knot! Pull tighter to hav...
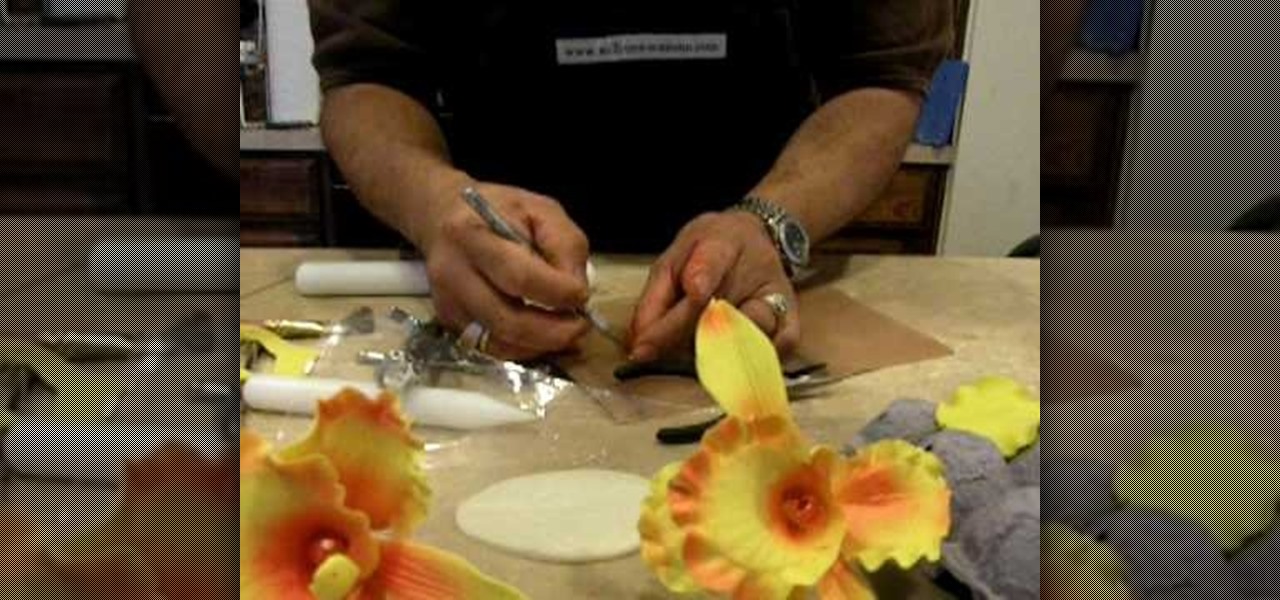
In this tutorial, we learn how to make an orchid flower with gum paste. First, roll out the gum paste and then cut it into three different shapes to make the flower. Next, place a wire in the center of the petals and then place them on a mold to get the correct texture. After this, push a ball onto the ends of the petals to make them look more realistic. Make the last flower by putting a pointed cone in the middle and wrapping it around. Now, place a ball shaped gum paste in the middle of the...
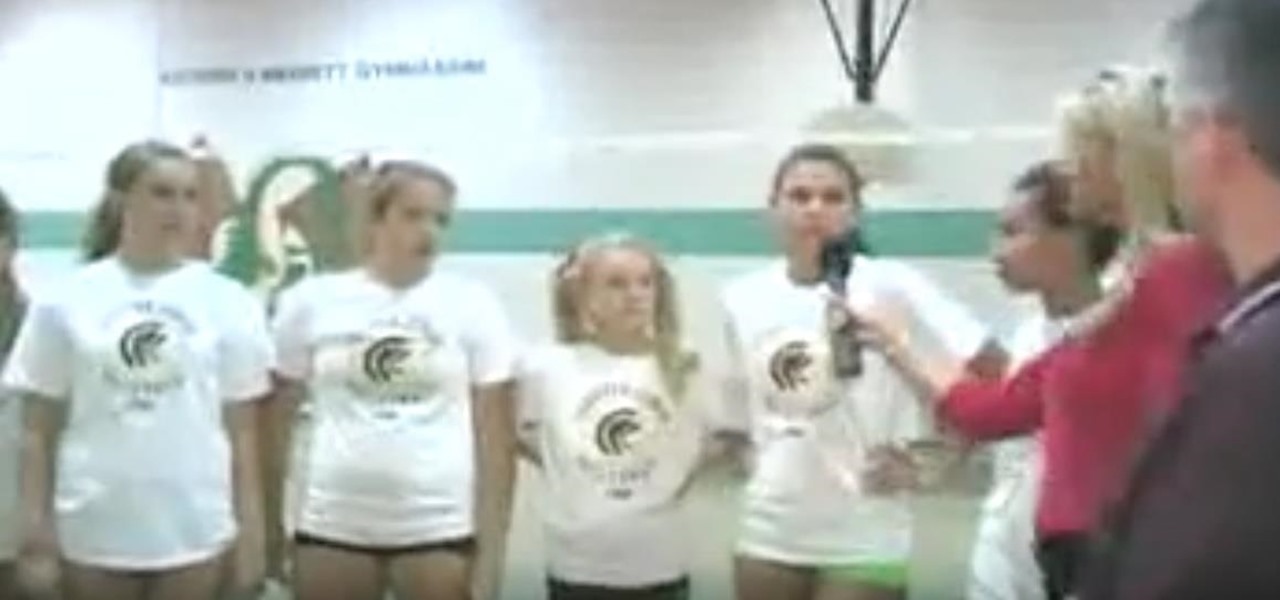
Traveling teams are becoming a larger part of the youth sports landscape for sports such as basketball, soccer, and, as discussed in this video, volleyball. The purpose of this video is to explain to parents and coaches what they can do with their middle-school-aged young volleyball players to prepare them for play on elite traveling teams once they reach high school. Presenters include a club team coach and a middle school coach, who explain the basics of how a traveling team works and what ...
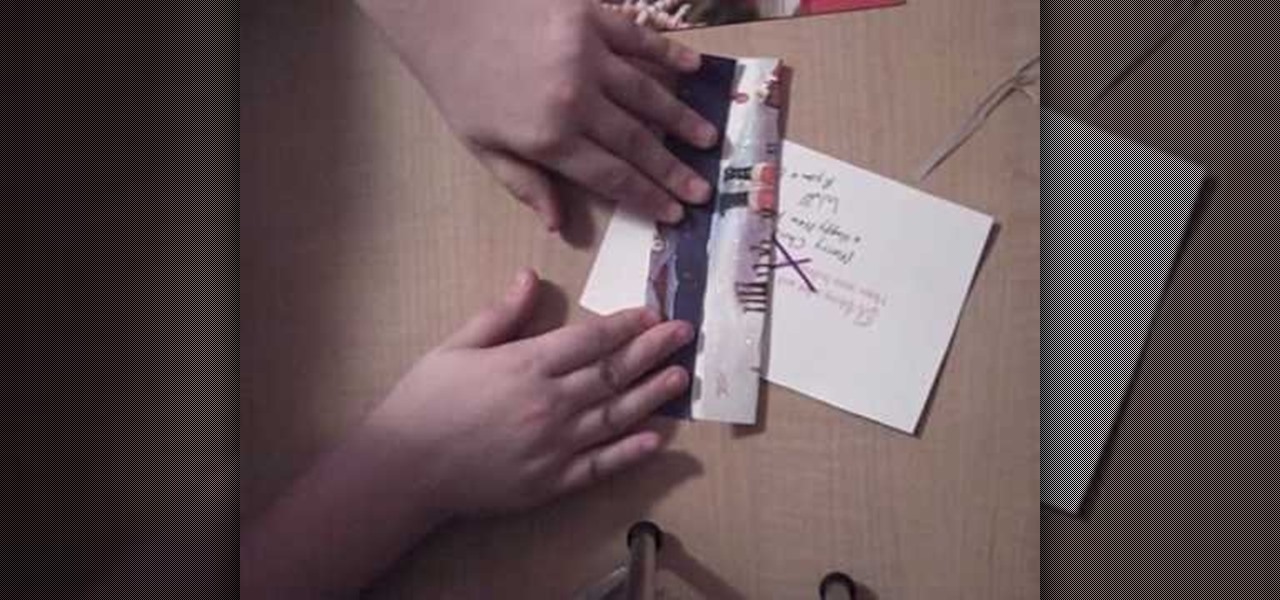
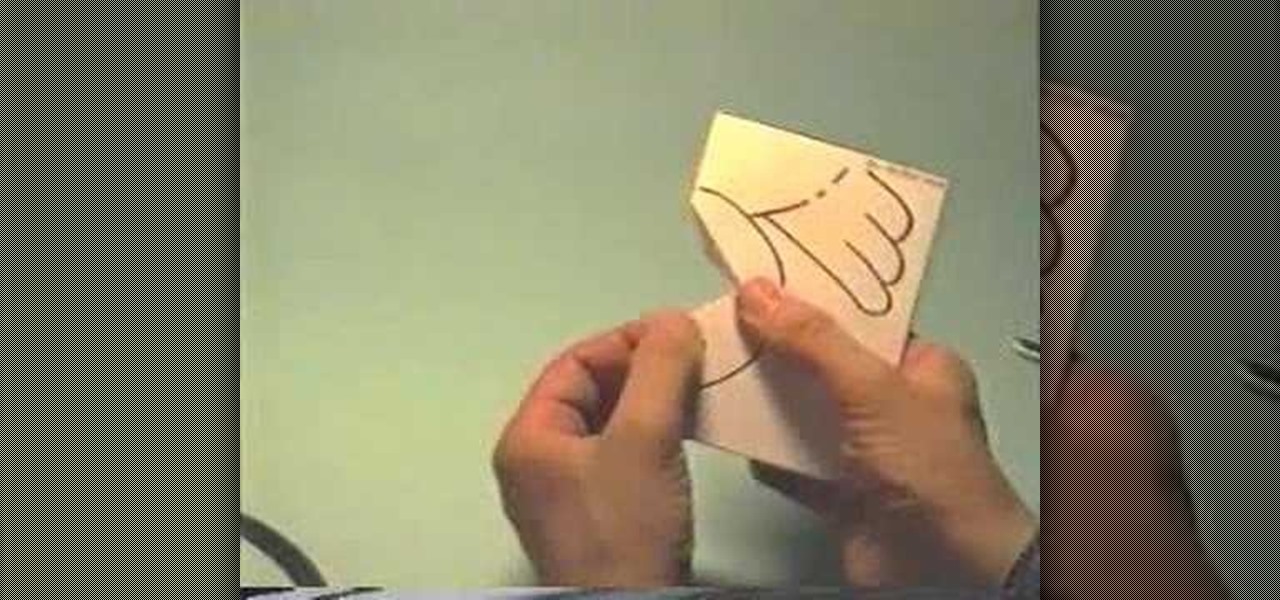
This video shows us how to make a homemade jewellery box out of a Christmas card.For that you need a pair of scissors,a tape,a christmas card,a marker and another card to draw your X with.First take the card and cut it straight down the middle into two pieces.Now take the back side piece of the card and cut off 1/4 of an inch from the left and the bottom portions.This will help to fit the cards together.Next use the extra card and trace an X on both sides of your card piece,in the middle.Take...
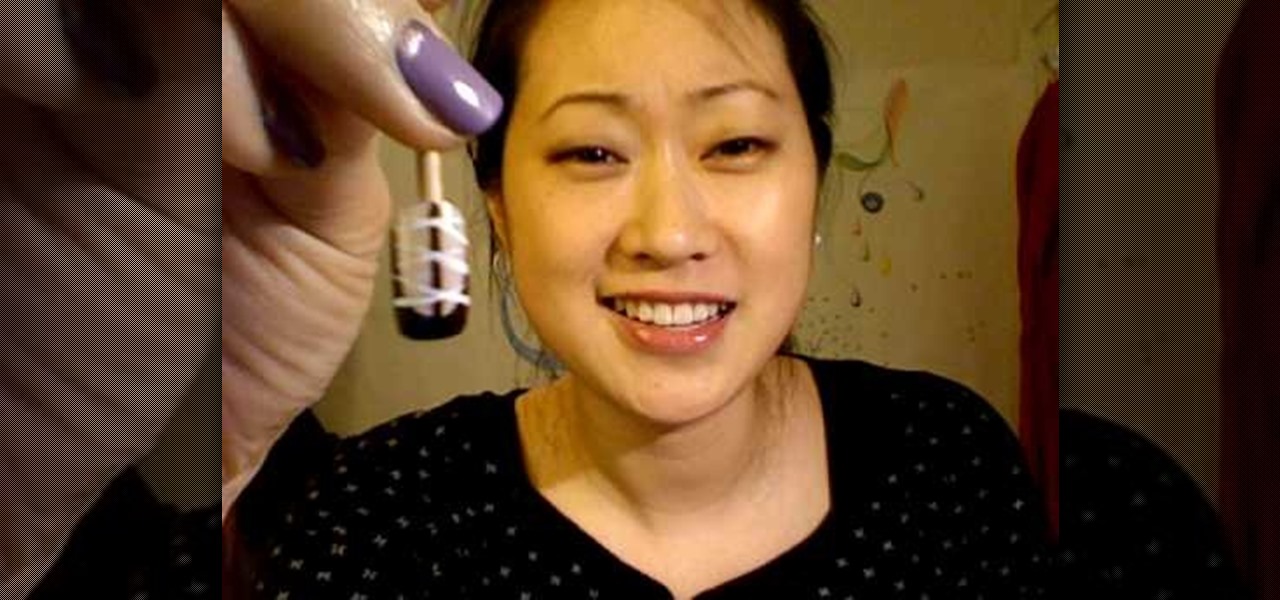
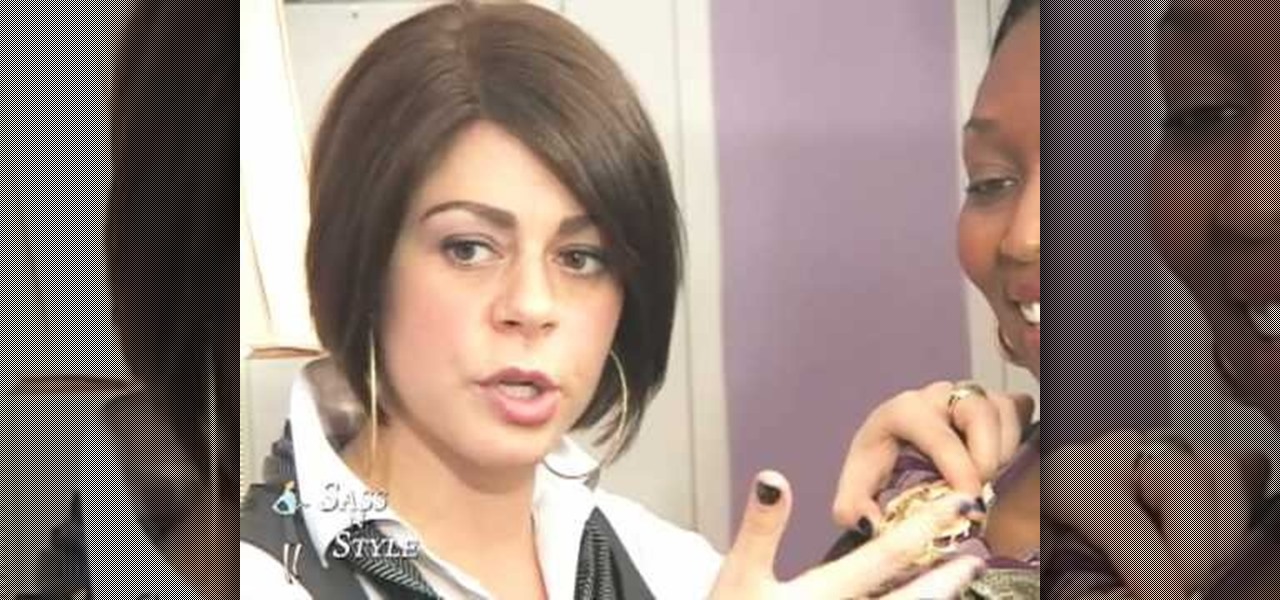
Miss 80 Million provides viewers with a step by step tutorial on how to create a ballet slipper look for your nails. Use black sparkle nail polish. Create a French tip with a very deep smile line that goes all the way to the corner. Use the same polish to draw a line straight down the middle vertically. Let it dry. Next take white Art Deco nail polish to create a diagonal pattern across the nail first one way then the other making sure the lines meet in the middle. After it dries, apply a top...
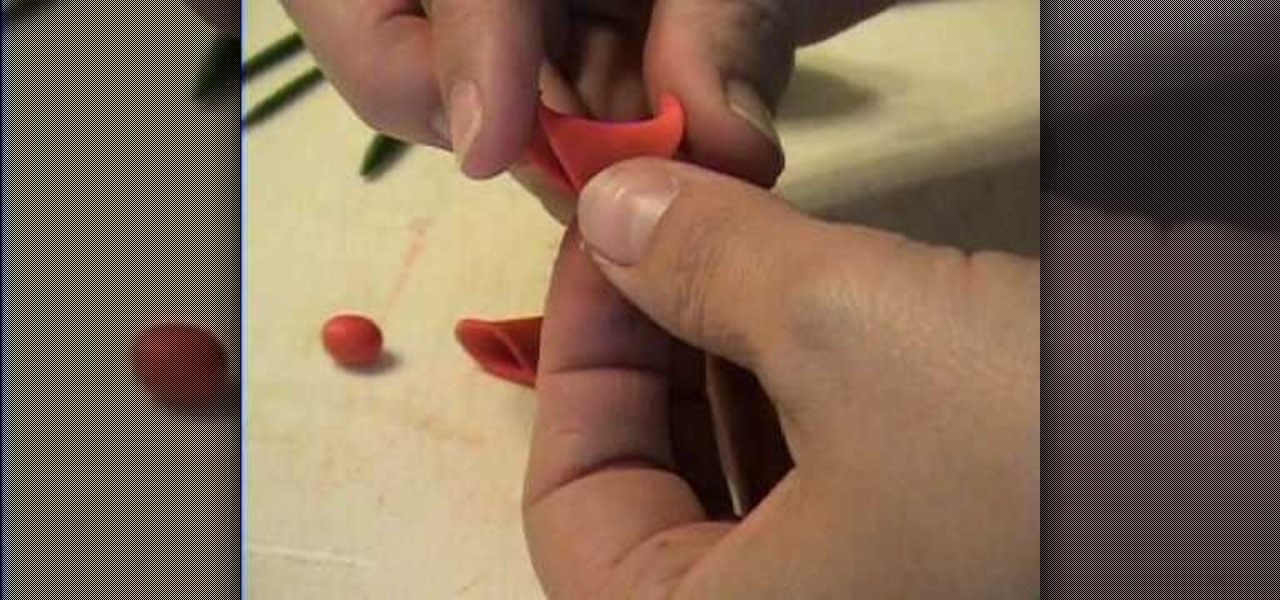
Take the clay, roll it out to make a pretty thin sheet. Take the square cutter and cut out two pieces from the clay sheet. Meet opposite corners of each square to form a triangular form but squishing only in the middle. Bend slightly outwards the unsquished corners of each triangle for decorative purposes. Place the triangles facing each other with the squished corner overlapping, pressing and joining them in one single piece. Take another little piece of clay and make a small ball with it. P...
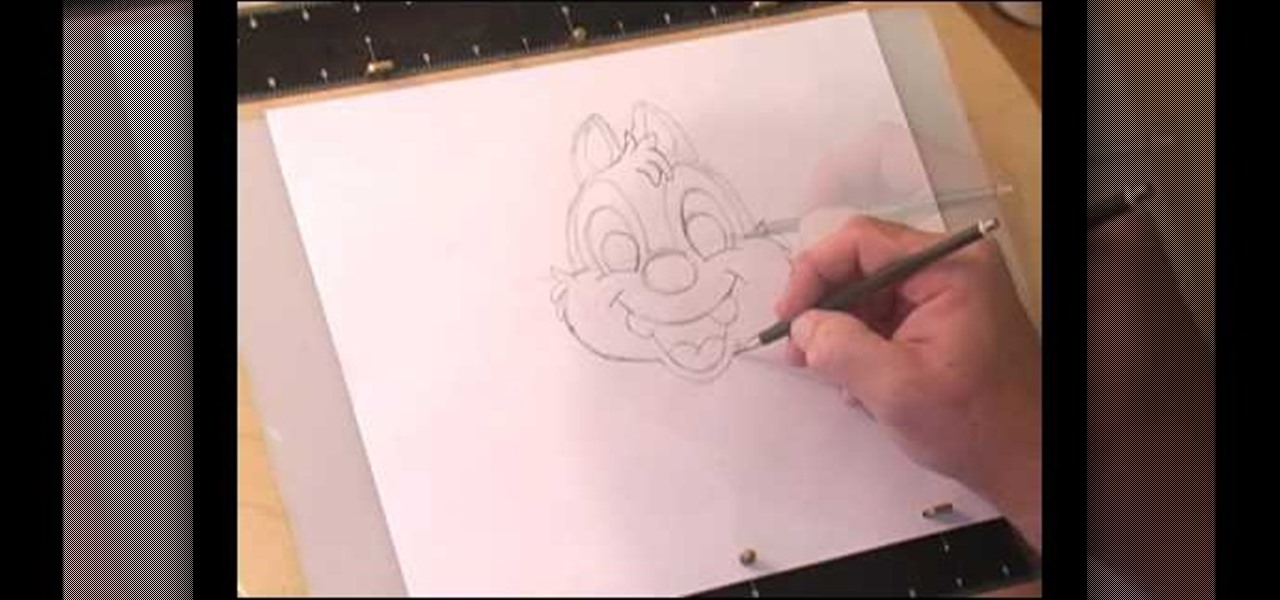
This video shows us how to draw a Dale character. First you draw a ball about the size of an orange. Insert construction lines in the shape of a cross. Starting with the small middle area, draw the mask outline and add the ears at the top. Draw in the nose under the middle line. Draw the cheeks outside the construction line on both sides. Add smile lines on each side and draw a curve between them for the mouth. Extend the lower part of the mouth outside the construction line. Insert teeth and...
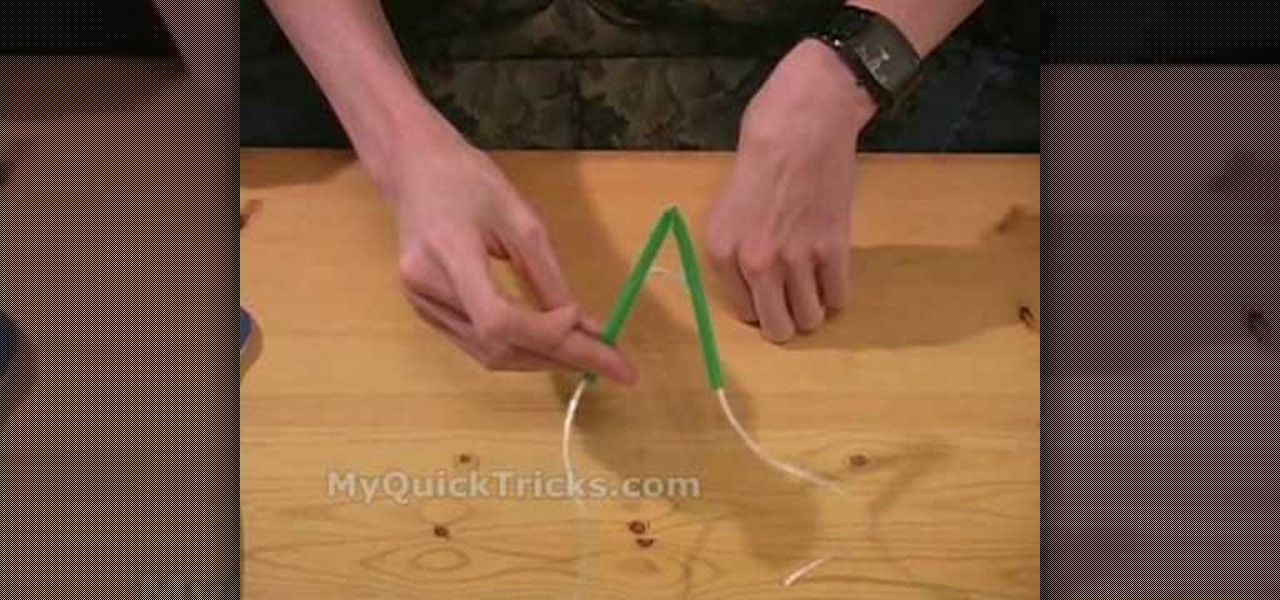
1. This video describes how to perform the cut and restored string trick. For performing this you need One "Scissor", "about 4 inch length of string", "one Straw" which you can get any restaurant or juice shop and "one X-acto Knife". Now actually prepare the straw, and the secret is in the straw in this case.
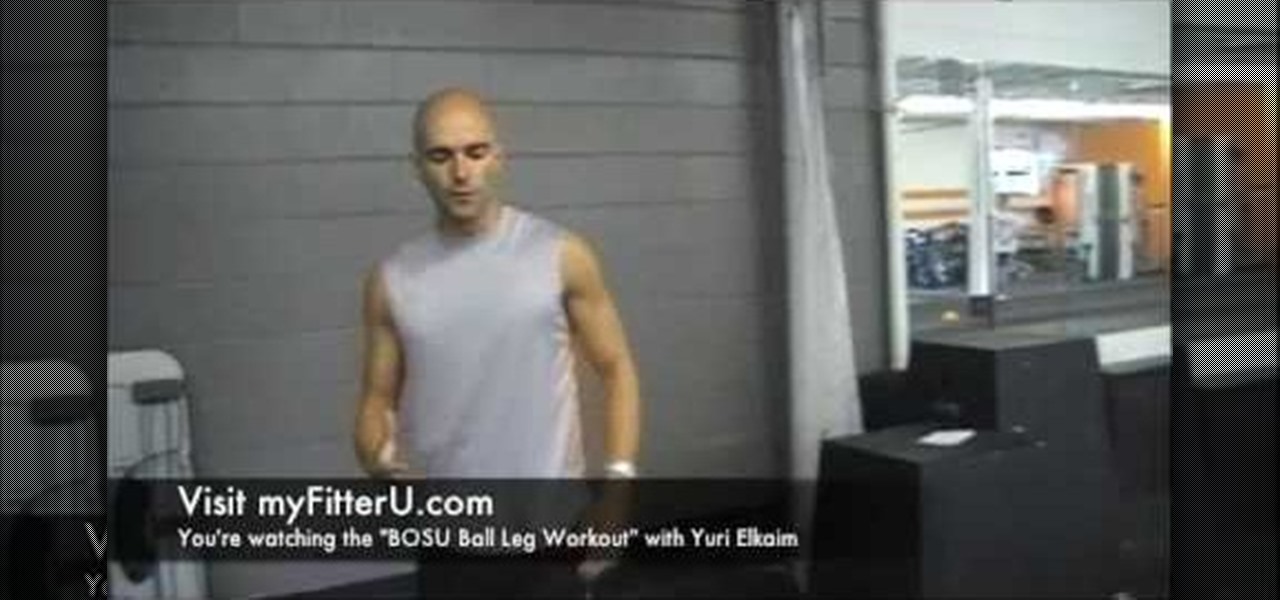
Three movements on the bosu ball will challenge your balance and stability. They will also build strength in your lower body. First, warm up. Then, do a simple back squat on the bosu ball. Stand on the bosu ball with our feet in front of you, extend your arms, and squat. Do eight to ten repetitions. Then, do a one legged squat. Place one foot in the middle of the ball and extend the other leg back. Squat down and up. Do ten to twelve repetitions. The final exercise is a lateral one legged squ...
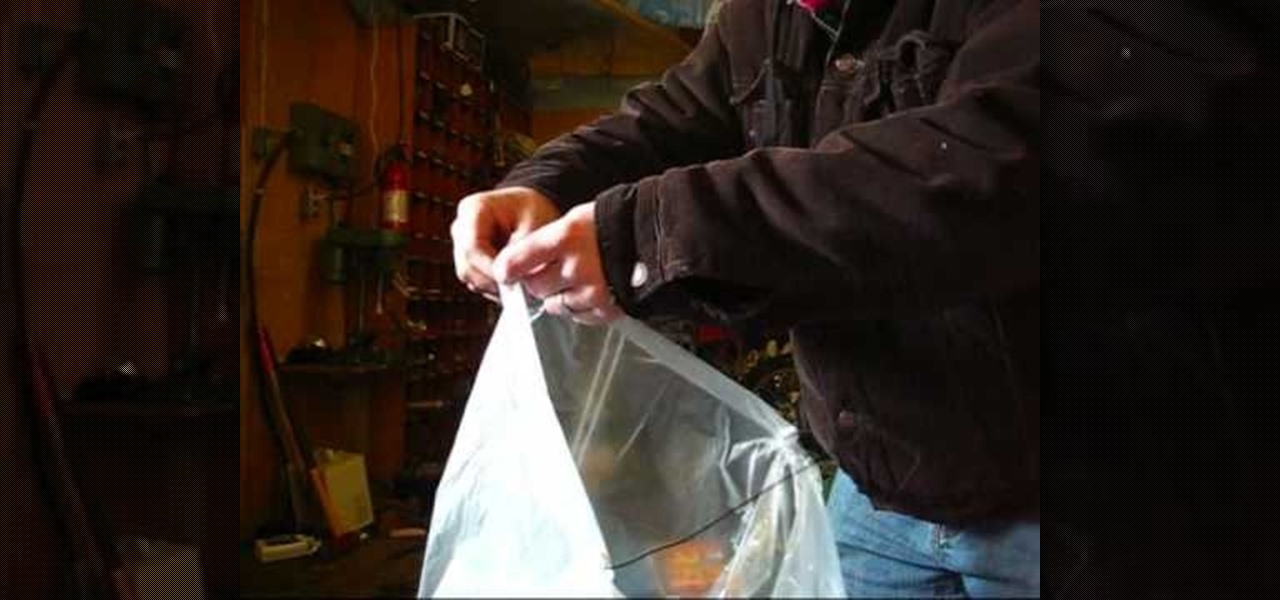
This is a simple and easy tutorial, and anybody can build a hot air balloon out of a garbage bag by following the instructions in it. All one needs is a garbage bag, some stiff industrial wire and fire starter bars. The important thing, according to the author, is to judge how many fire starter bars will be required to make the balloon rise without melting its plastic body. First, two long wires are twisted together in the middle to make an 'X'. A smaller wire is twisted onto the middle of th...
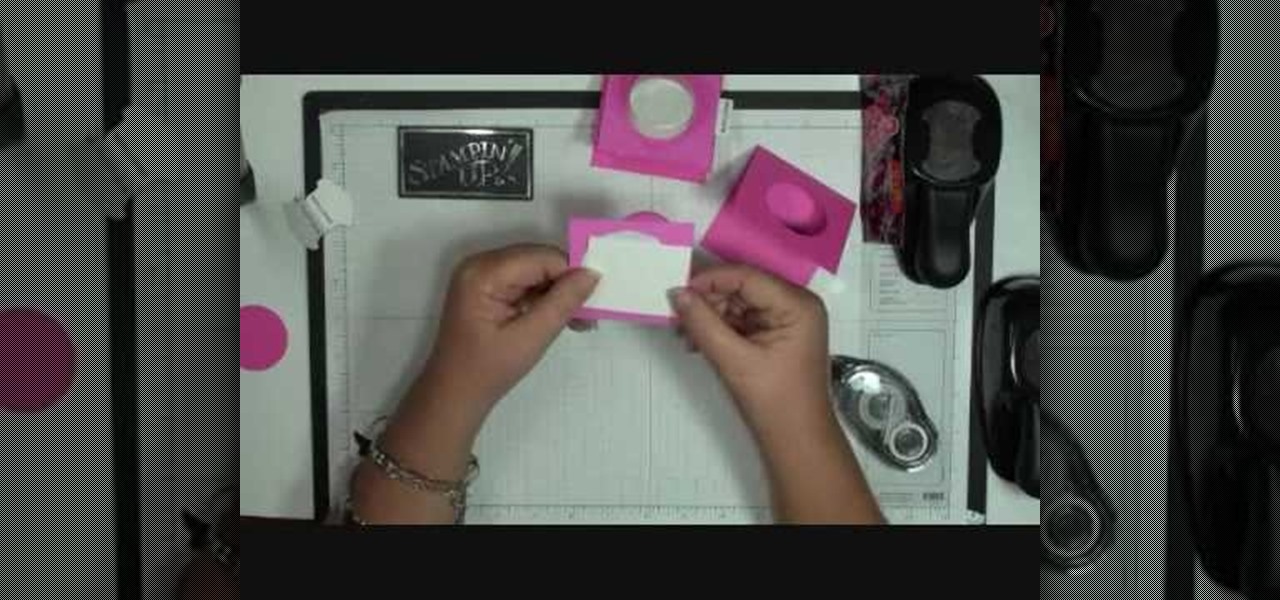
Dawn5377 teaches you how to make a pink sweet treat cup door. You need a stamp from the sweet center set and you use it on a small piece of pink cardboard. You punch the middle out. Also punch the middle of another piece of pink cardboard. Insert the treat cup door and stick it in. You use dimensionals to hold a white piece of paper, which acts like a tray under the plastic dome. You add some sweet treats inside and stick the other pink piece (with the heart) on the other side. Also remember ...
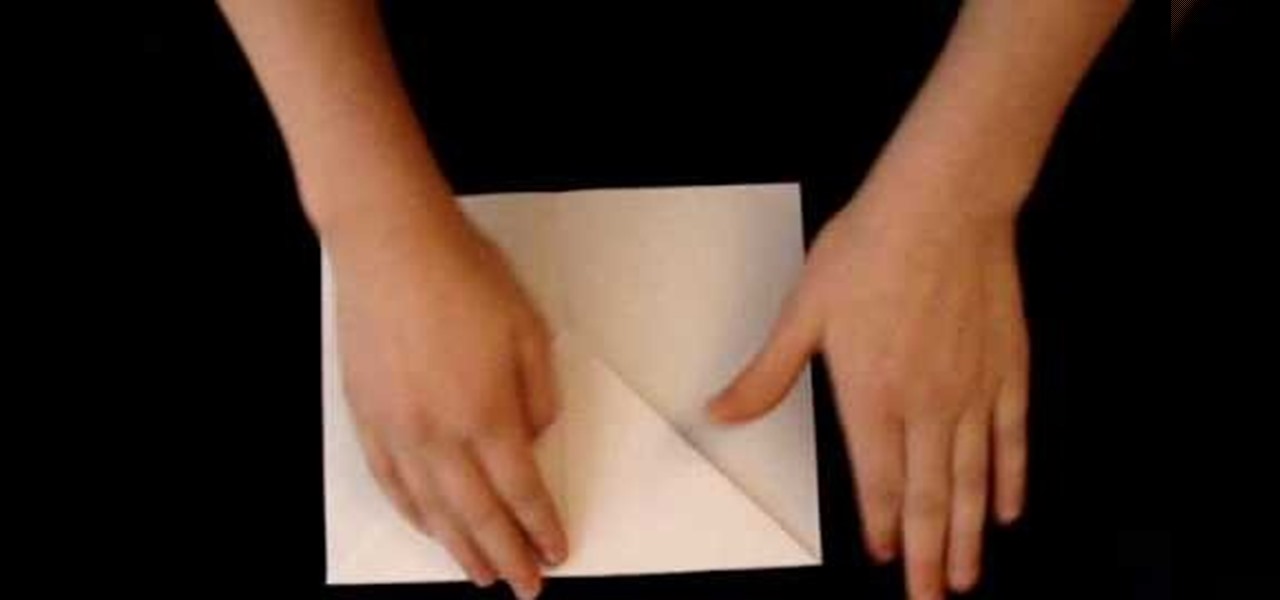
In this video tutorial, viewers learn how to make an origami fortune teller. Fold a sheet of blank paper in half--vertically and horizontally. Fold the four corners of the paper into the middle. Flip the paper over and fold the corners into the middle. Fold it on the horizontals and diagonals. From then on, users can decorate the fortune teller. This video will benefit those viewers who enjoy origami and art.
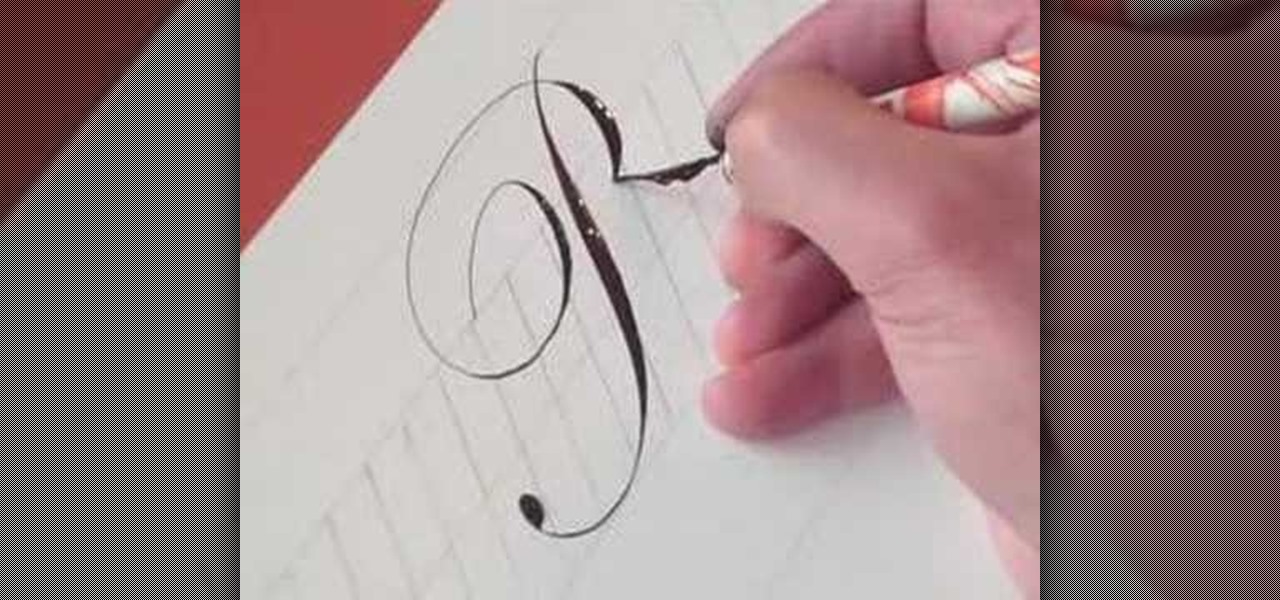
This video demonstrates how to write the letter P in calligraphy copperplate. The technique that is illustrated in this video show you the proper way draw the letter P effectively and beautifully. The video first shows you how to draw the capitalized letter P. The first step is to create a slightly S-curved stroke downward from the top margin to the bottom-middle margin--thickness in the middle. You end the line with a curled tail. To complete the letter you then have to draw a looping, curle...
Did you lose your key or forget the combination to you lock? This tutorial is here to help you with tips on how to pick just about any combination or padlock without breaking them. All you need is a few household items and a bit of patience and you will be on your way!
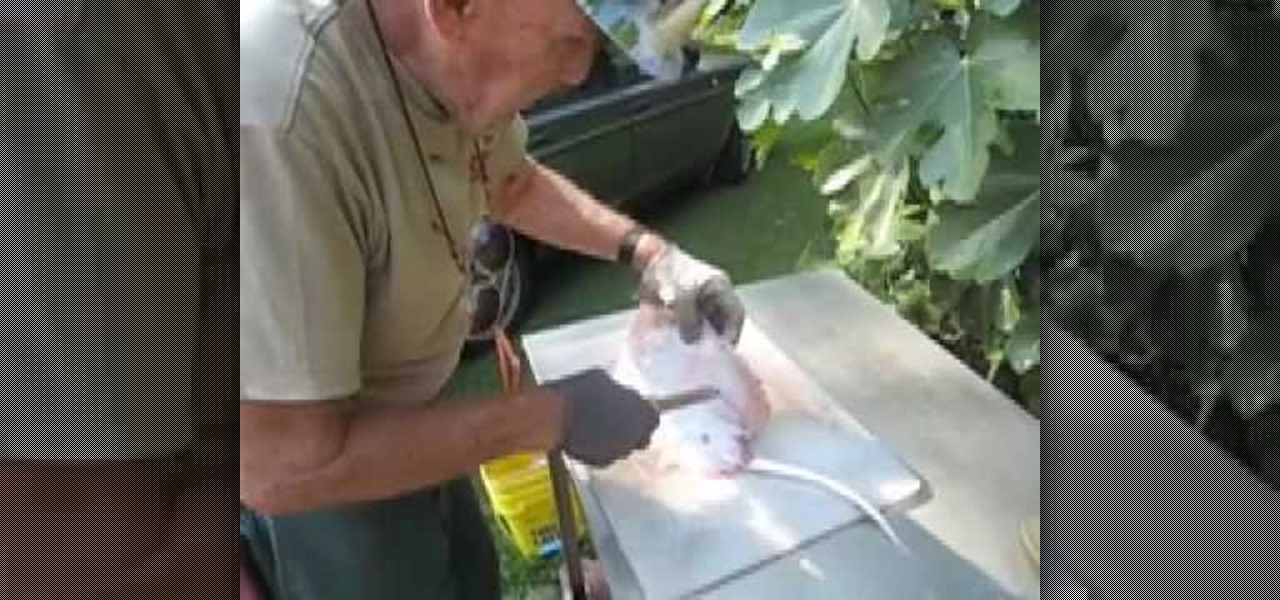
In this video, we learn how to clean skates or rays. First, use a sharp knife to remove the roughness from the top of the ray. After this, stick the knife in both of the sides and cut all the way down. From here, you should just have the middle left and the two sides should go in a bath of clean water to get the dirt off. Continue to repeat this process for all of the rays that you have. You can cook however you want when you are finished cleaning. Make sure you cut the right parts off, the m...
In this tutorial, we learn how to make a chicks pop-up card. First, draw a chick on the front of the card, with the beak in the very middle. After this, use your scissors to cut the beak in the middle around the top and bottom but not the sides. After this, bend the beak from side to side to make it pop out from the card. Then, open the card back up and fold it the opposite way. From here, color in the chick and then glue it to the inside of the card you're going to use and give to someone!
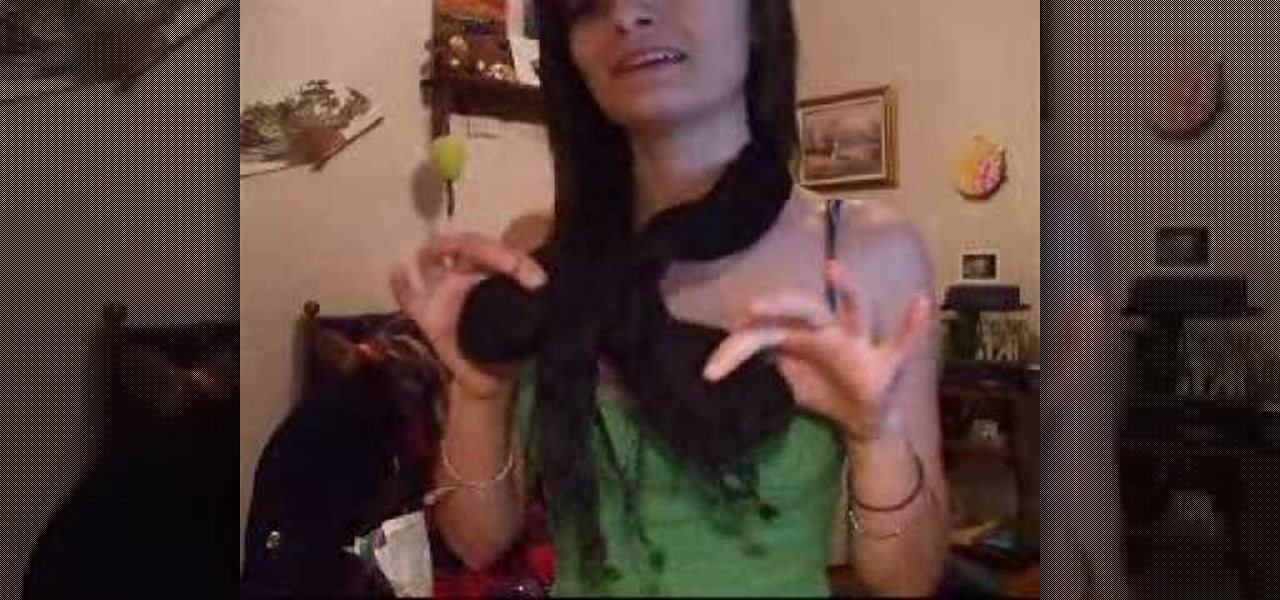
In this tutorial, we learn how to tie a dress scarf. You can use this in a number of ways to add some fun to your outfit. Start off with a black turtleneck and grab a long and skinny scarf. Find the middle of the scarf, wrap it around the back of the neck and then twist it. From here, tie at the bottom and give it even ends! With a scoop-neck top, you will take the scarf from the middle and wrap it around the neck. After this, pull it through in a half bow on one side and pair with a long jac...
In this tutorial, we learn how to make a butterfly pop-up card. First, draw a butterfly on the middle of a paper and then draw flowers and smaller butterflies around it on the sides. After this, fold the card in half so the drawing is stick out and cut along the top and the bottom of the butterfly. From here, color in the entire character and then fold inwards and pop the middle out. After this, stick the insert into the card of your choice. Then, glue it down and you will have a cute butterf...
In this tutorial, we learn how to wear scarves for the winter months. For a thinner scarf, you can wrap it around your neck all the way, so it's just a round neck holder. In the summer, you can use this same scarf with a button up and make a bow with it in the middle of the chest! For a larger scarf, you can bunch it up in the middle and then let it drape over your chest, falling to the back. Then, wrap around the sides or leave it how it is. Either way you decide to wear your scarf, do what ...
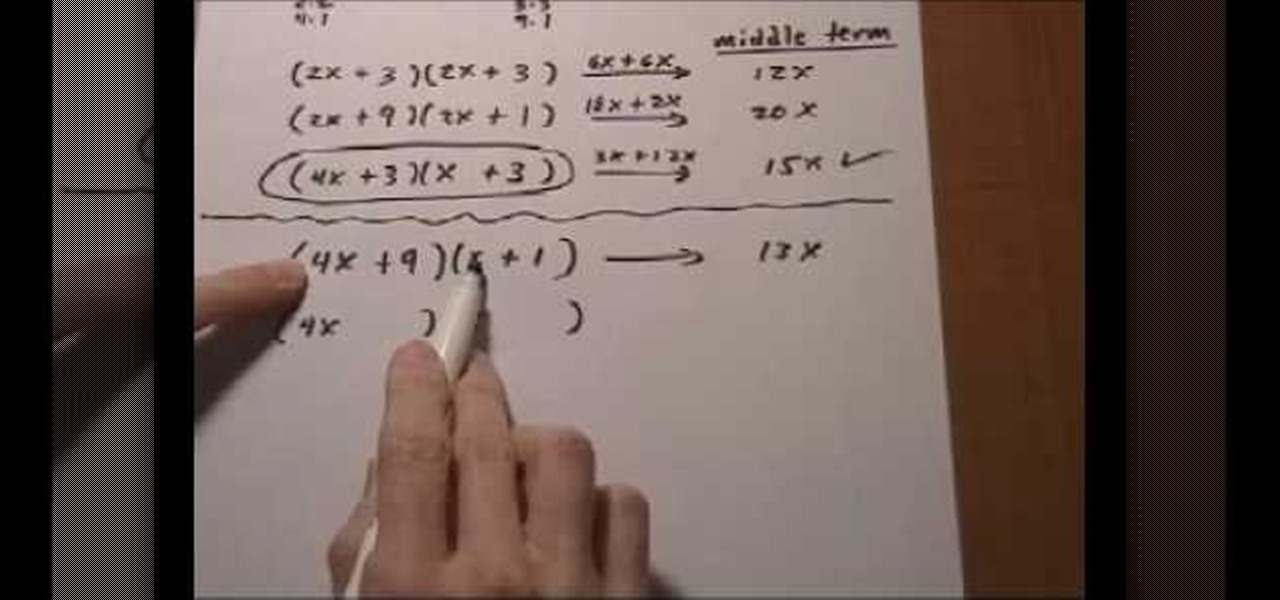
Factorization of a trinomial can be achieved by using the standard method of appropriately "splitting the middle term" or by this method as shown in the video.
In this video, we learn how to make an Easter pop-up card. First, draw a duck with a little baby duck on a 4x6 piece of paper. From here, fold it in half so you can see the image on the outside. After this, use scissors to cut the middle, where the little baby chick is at. Cut the top and bottom around it, but avoid cutting the sides. From here, bend that piece left and right. Then, open up the card and bend it into the middle. From here, take a piece of paper with eggs cut out of it and bend...