If you surf the web on your iPhone, you no doubt run into this problem all the time: a website wants your location. It can happen when performing a location-based task, such as using a store locator, or whenever a web app just wants to deliver better ads or local recommendations. If you're tired of allowing or denying permission each time, there's an easy way to stop the annoying security pop-ups.
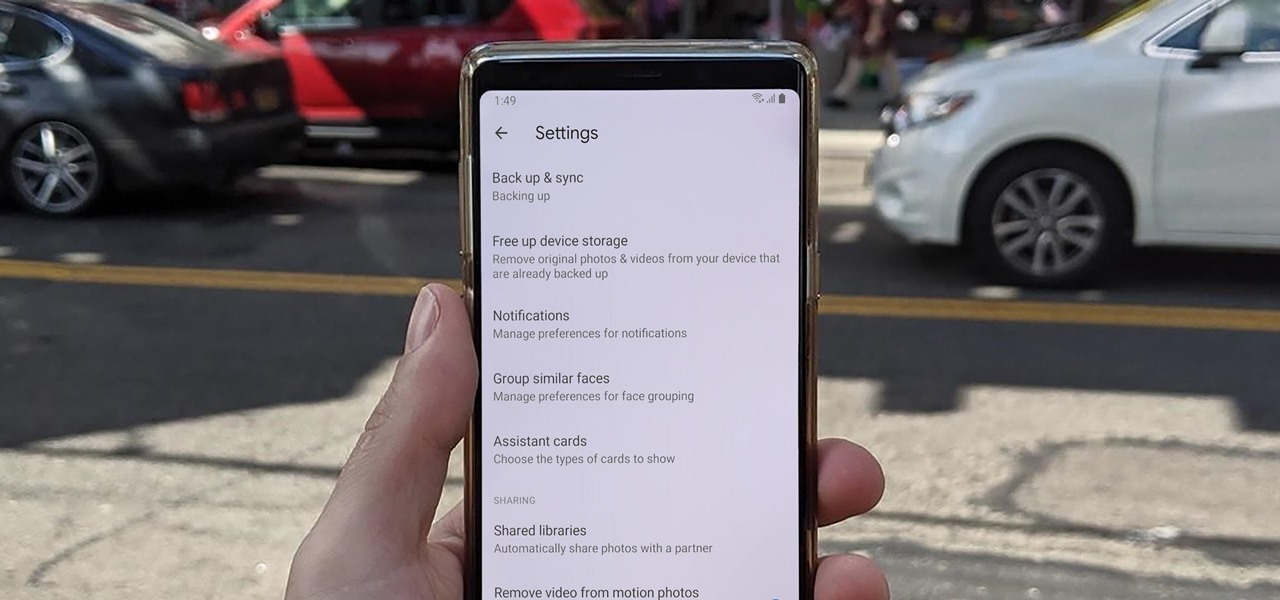
Sharing pictures from Google Photos by sending a link saves time because you don't have to download the image from Google, then reupload it somewhere else. But anyone who has your link can access your pictures, and baked into every file is metadata that you may not want prying eyes to know about.
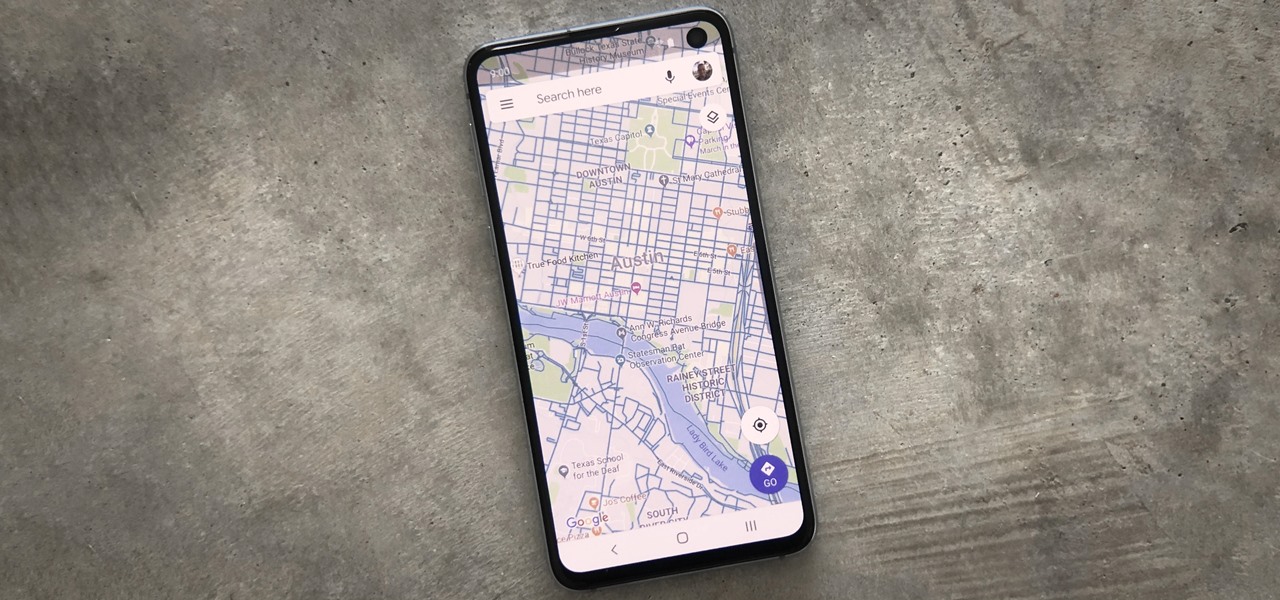
When you're going somewhere for the first time, it's nice to know what the destination will look like. Street View in Google Maps is the perfect tool for that, though it's always been a little awkward to access. But now, Google added a new overlay that will put Street View content literally one tap away at all times.
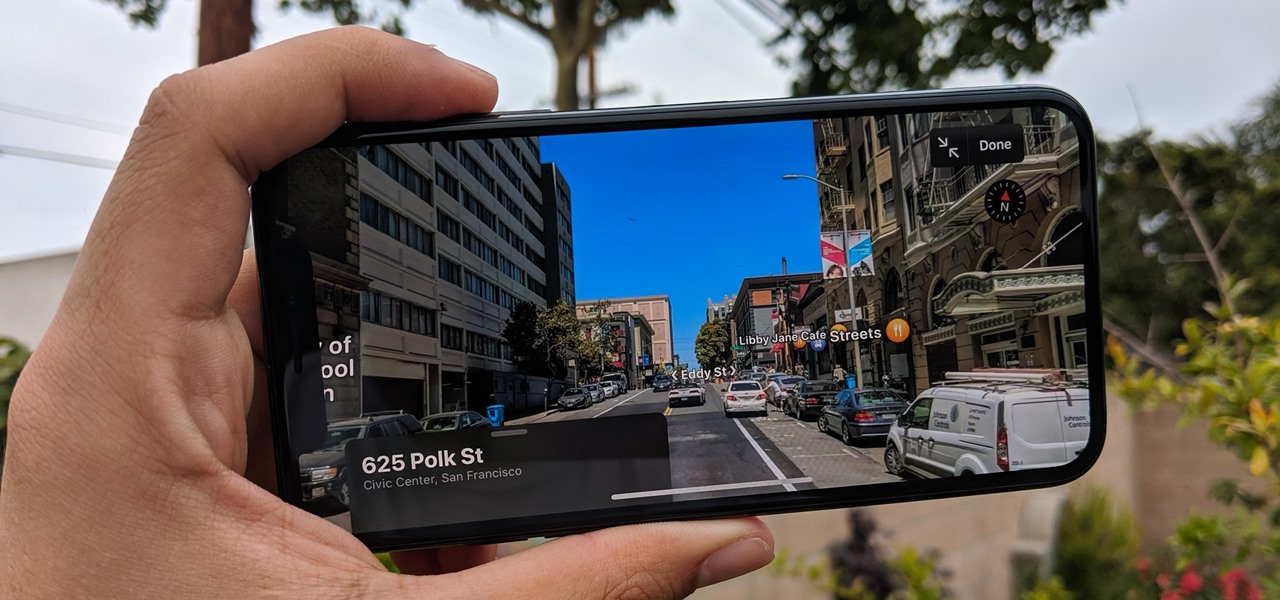
If you like the "Street View" feature in Google Maps, you'll love "Look Around" in iOS 13's Apple Maps. Overall, Look Around has more details than Street View and the animations are super smooth as you navigate down streets and pedestrian areas. While Look Around isn't available in every city yet, it'll work the same way no matter which iPhone you're using.
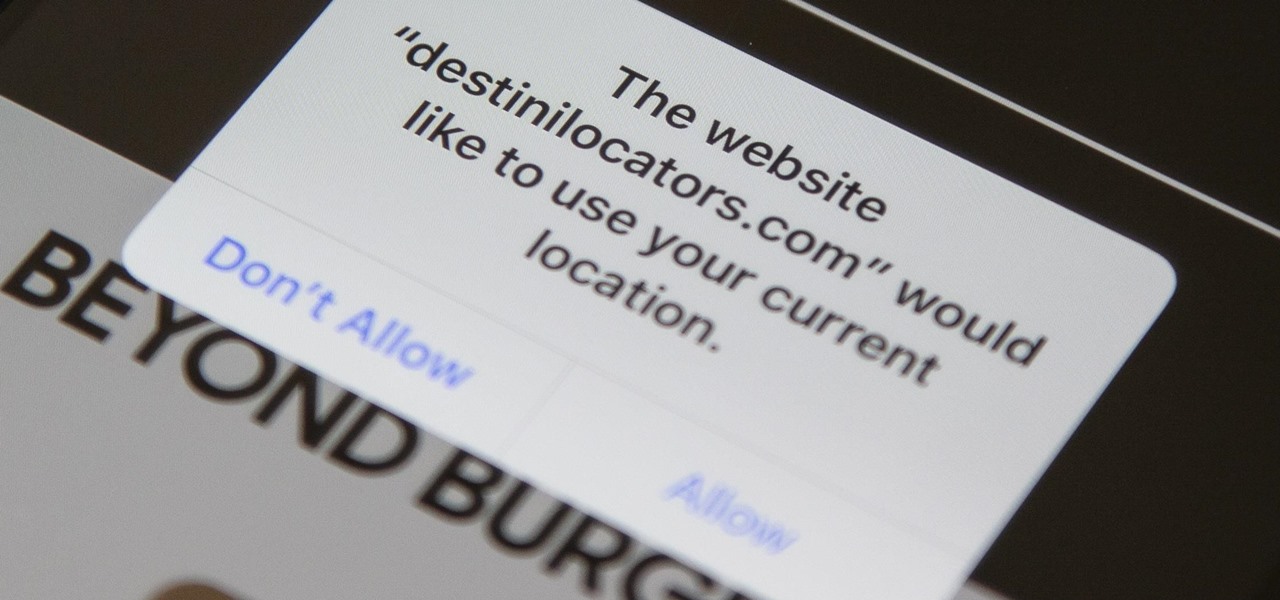
In iOS 13, Safari has become even more powerful, especially when it comes to privacy. The browser will warn you when you create a weak password for a new account. Your history and synced tabs in iCloud are end-to-end encrypted now. And there are per-site settings that let you choose which domains can and can't have permission to use particular device hardware or sensors.
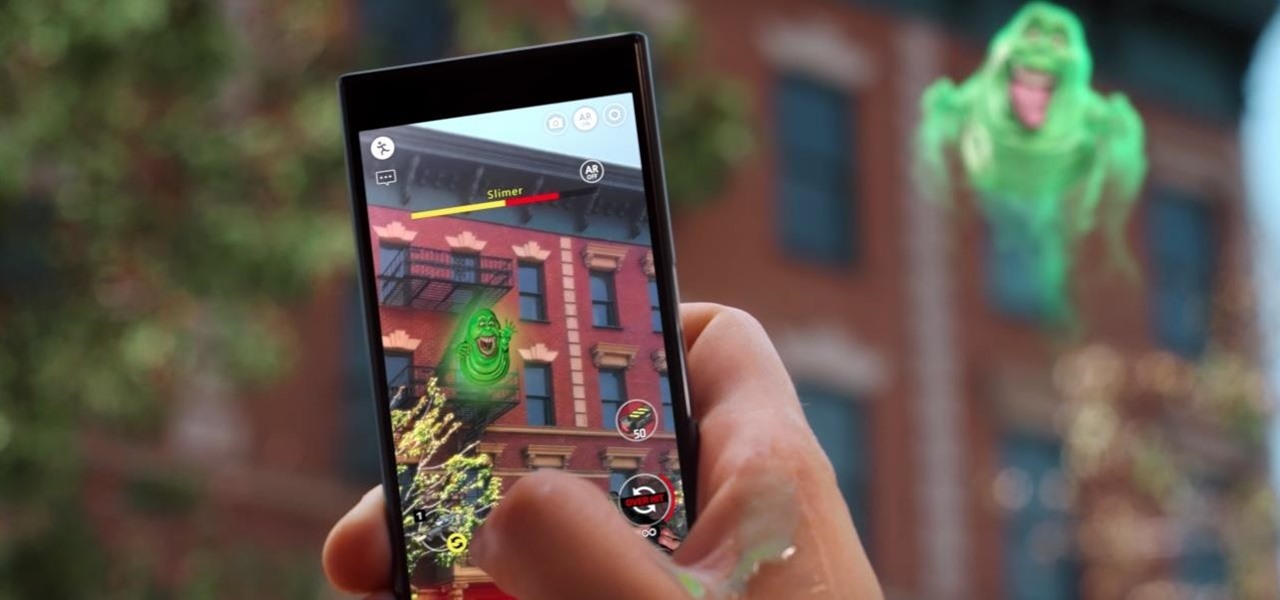
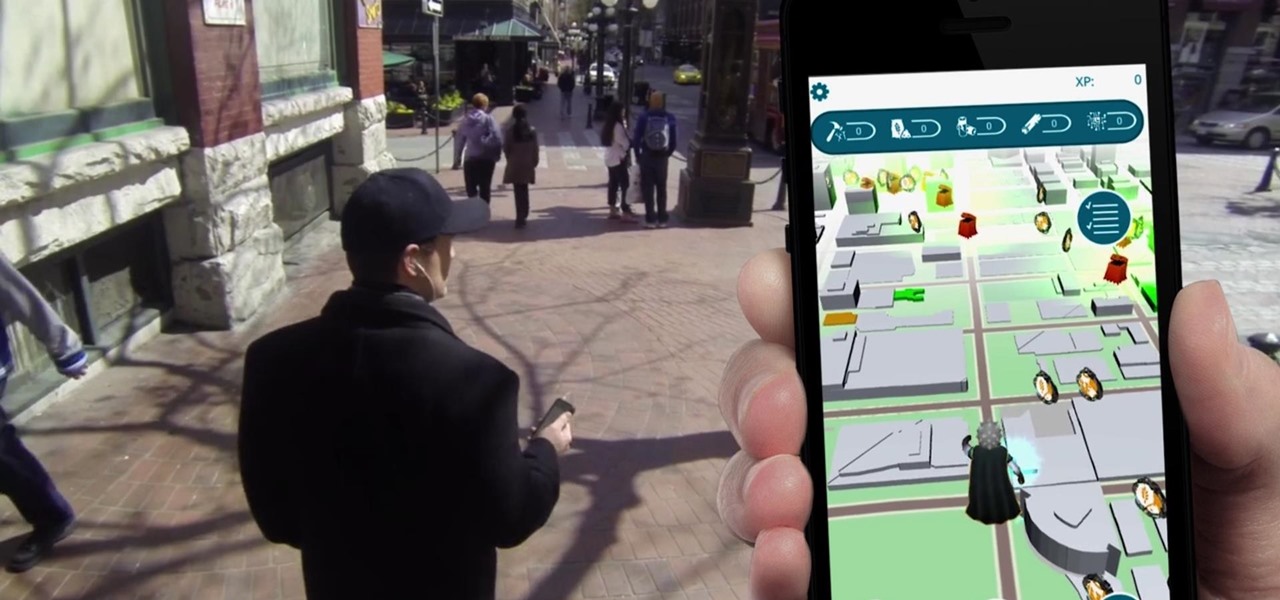
Location-based AR game Ghostbusters World is creeping closer to launch, and developer FourThirtyThree has released some new gameplay footage and a trailer to capture the interest of the living.

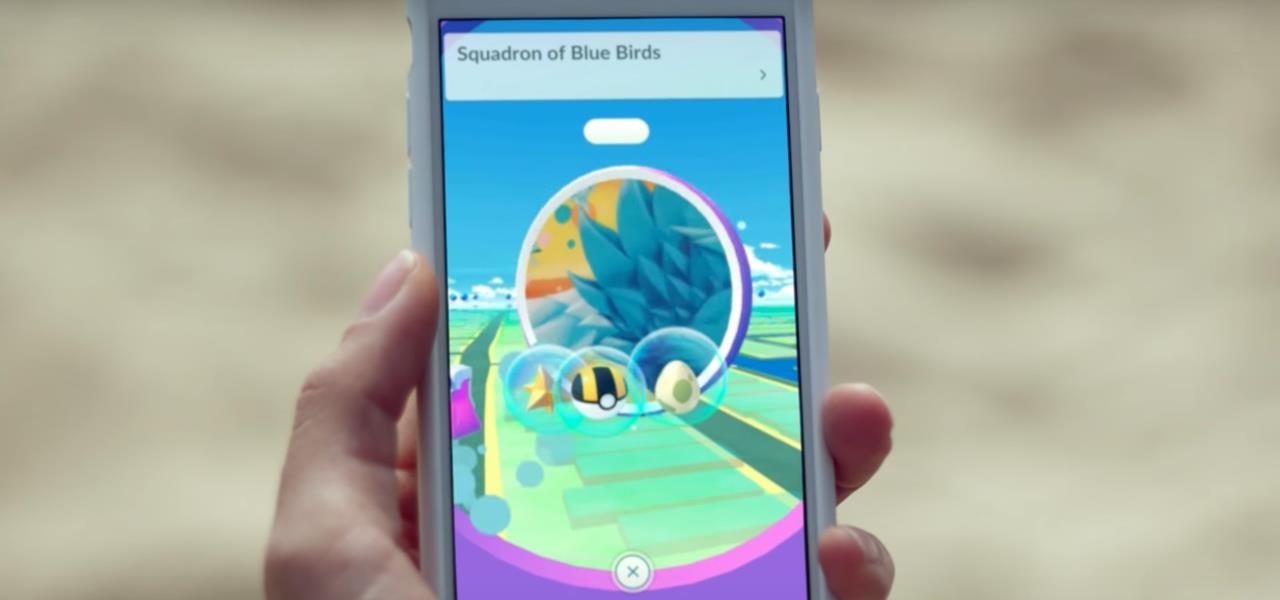
Augmented reality gaming developer Niantic has decided to give its players the opportunity to make their mark on Pokémon GO with a PokéStop nomination system.

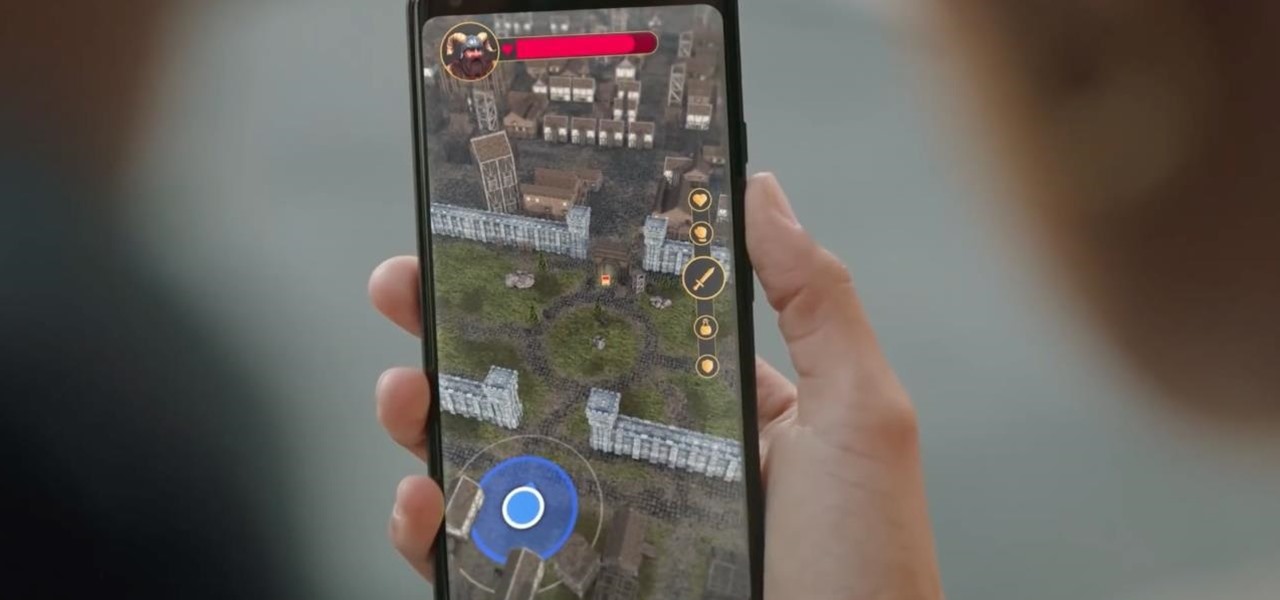
Franchises left and right are releasing Pokémon Go-style augmented reality games, and Google is making it even easier to churn out the apps.

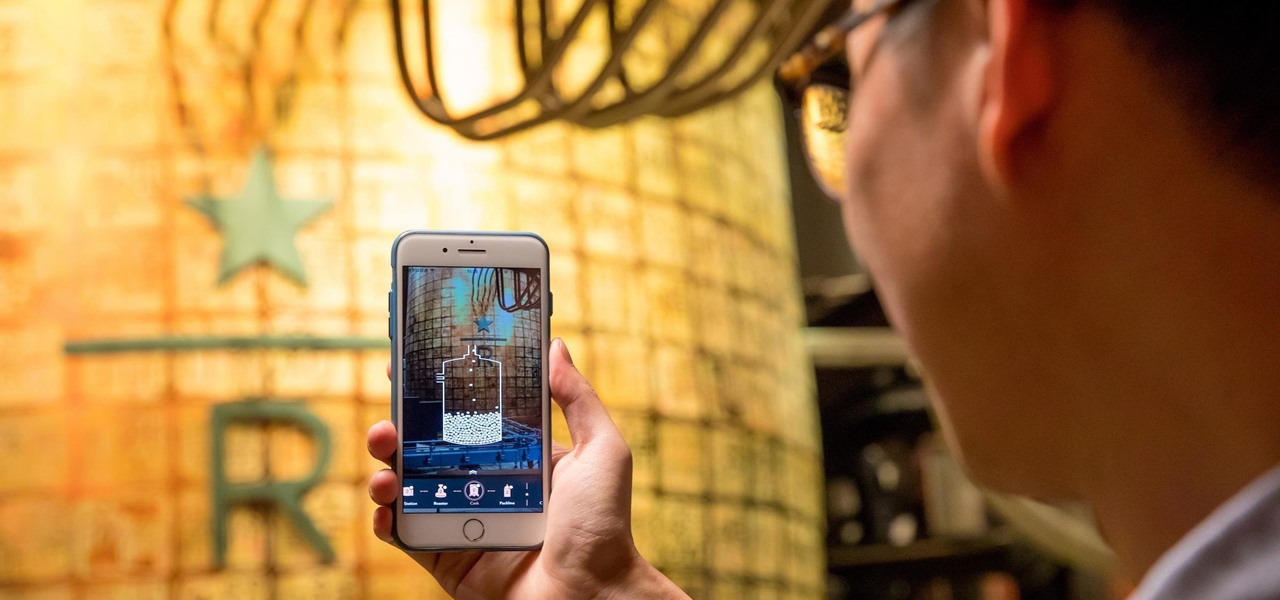
To create a destination for coffee connoisseurs, Starbucks has ordered up a venti cup of augmented reality to make the visit more interactive.

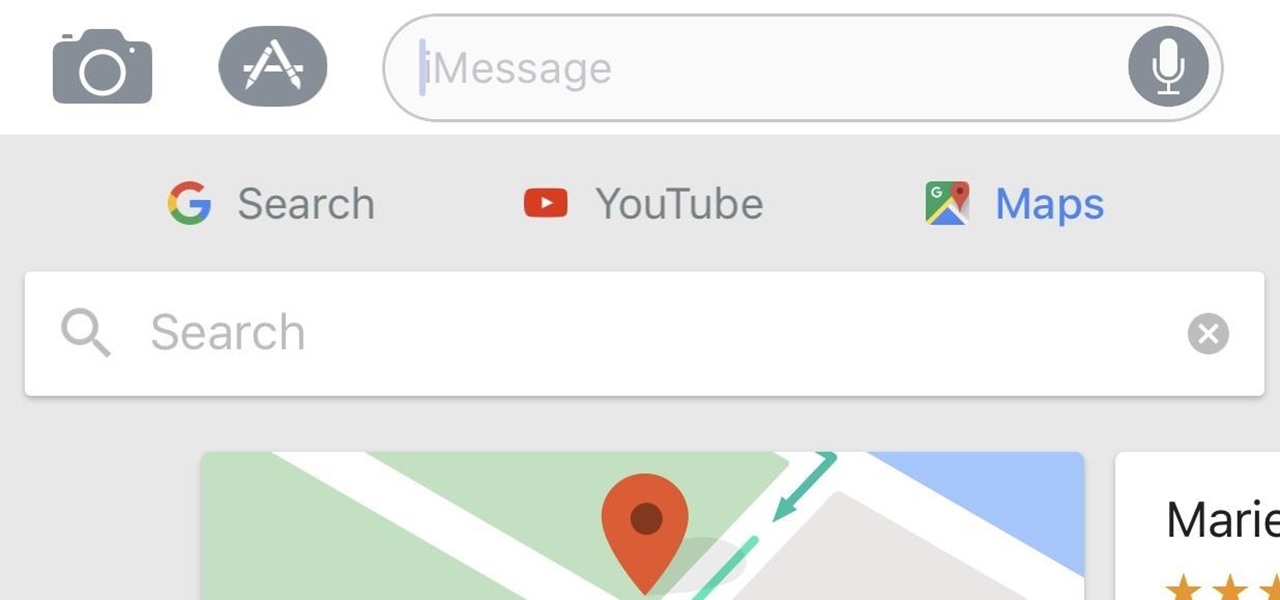
When Gboard was released on iOS in May of 2016, it gave iPhone users more control over their mobile keyboard experience. Unlike the stock Apple keyboard, Gboard lets you customize the look of your keyboard and search Google directly from the keyboard itself. Now, Google has added even more functionality, by providing users with Google Maps, YouTube, and doodling support — all without leaving your chat.

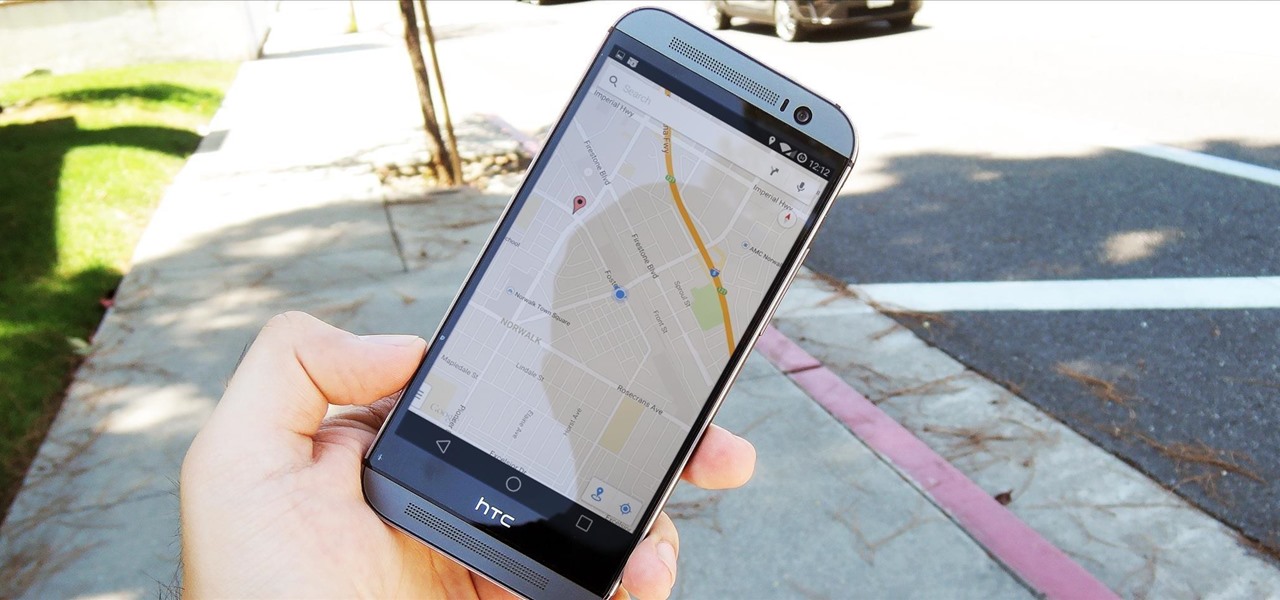
Google Maps beta version 9.49 now allows users to manually save their parking location, and includes weather forecasts in mass transit, according to Android Police. There's also a notification toggle for mass transit station notifications.

Throughout the summer and fall of 2016, in the sudden whirlwind that was Pokémon GO, it was hard to go anywhere in public without seeing someone attempting to catch Pokémon. Now, thanks to an upcoming platform called Motive.io, from the Vancouver company of the same name, location-driven application development will soon be accessible to everyone.

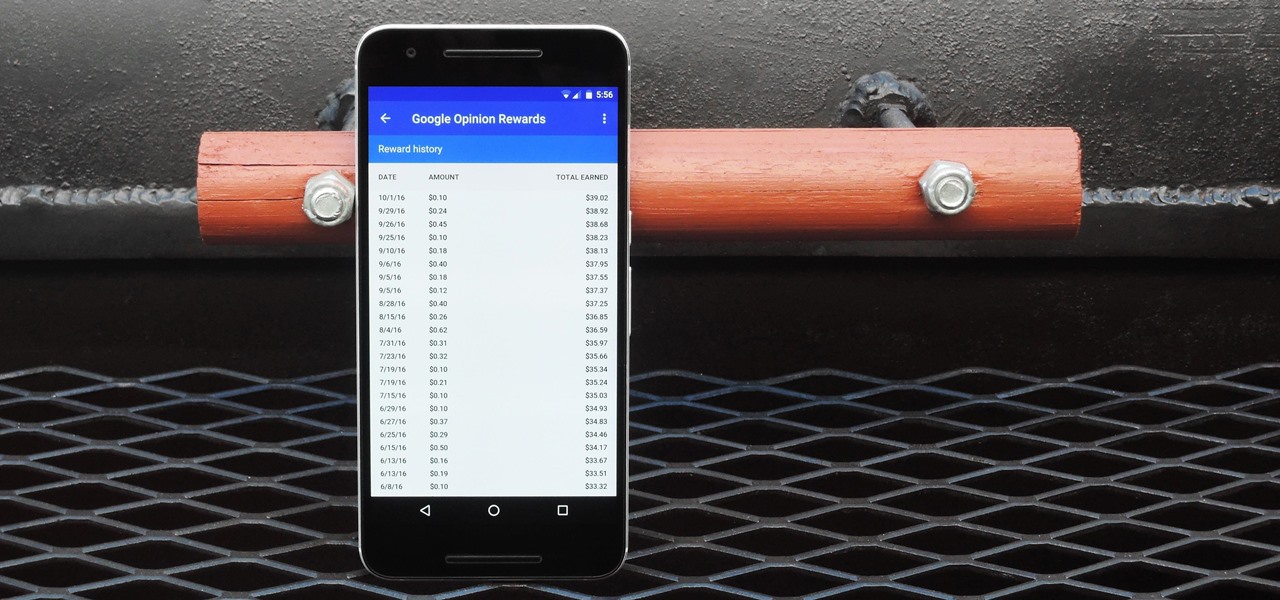
In case you didn't know, Google has an awesome app that gives you free money to spend on apps, games, movies, books, and virtually anything you can buy on the Google Play Store. The app is called Google Opinion Rewards, and all it asks in exchange for the Play Store credit is that you answer a few questions every now and then.

Taxi drivers and cab companies across the globe are in an uproar over Uber, and for good reason, too—you just can't compete with the low fares and ease of use that Uber brings to the table. The only downside is that the groundbreaking ride share service usually requires a smartphone—but that shouldn't be an issue anymore with one simple tip that I'll outline below.

Everyone's forgotten where they parked their car at least once. Either you forget to take note of the section you parked in, or maybe it's more of a Dude, Where's My Car? type of situation. Either way, you're left to circle the same street or parking structure, over and over, with nothing but exhaustion and frustration to show for it.

Before heading out on a hike, or any excursion for that matter, it would be wise to take a map with you just in case you get lost while on your quest.

Who says you have to cook on Thanksgiving? If you need a break, have surprise guests in town, or simply don't want to be in the kitchen cooking all day long, never fear: you have options.

One of the biggest improvements in Mac OS X Yosemite came to the Spotlight search feature, allowing users to not only search through their applications, but also their emails, text messages, iCloud, and the web.

Google's Android Device Manager makes it extremely easy to track down your phone or tablet, but while it's simple to set up and use, it does require your device to have an active data connection, which can be an issue in some areas.

On a recent trip to Palm Springs, I found myself navigating with Google Maps and virtually exploring my destiniation using its built-in Street View feature. The thing is, using Street View can make keeping track of your exact location difficult as you zoom in, out, and about. It's a little discombobulating.

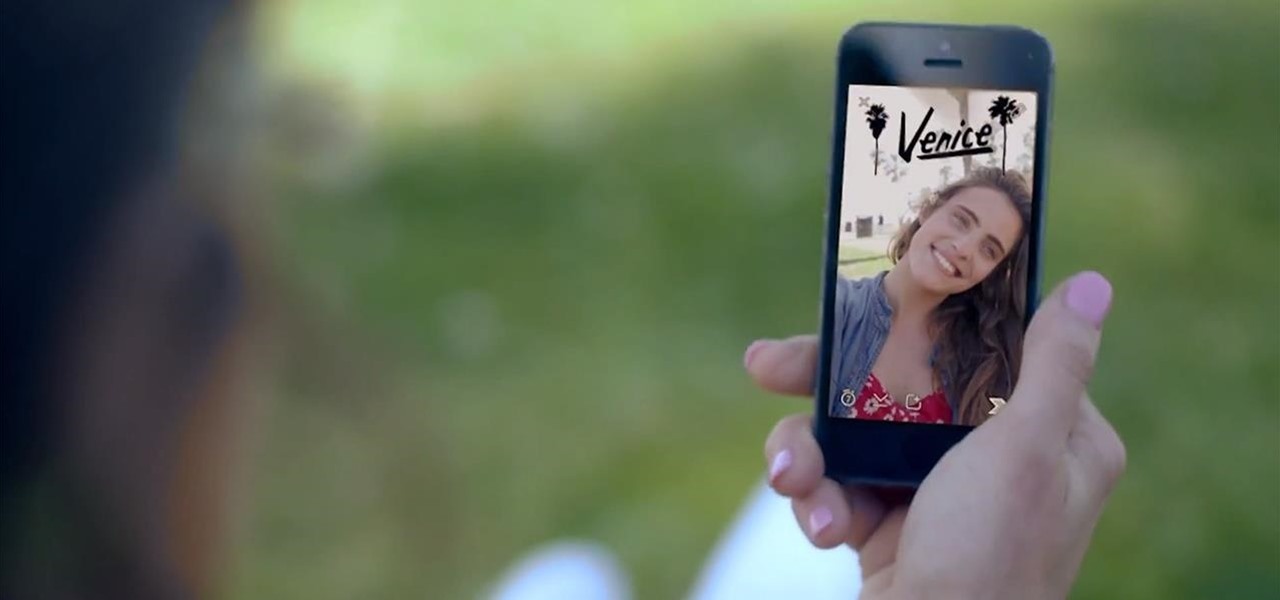
Snapchat recently introduced geofilters to its ephermal messaging platform—cute stickers that you can add on your Snapchat, which showcase your location.

This video will show you how to change the default downloading folder for your downloads. When you download a video or file it is saved in the default downloading folder in our PC. You have to go to that folder then copy or move the folder in a specific location. But you can get rid of such extra work by setting your downloading folder in a different location you want. The next time you download something that will be saved in your specified location. Watch the video.

Not sold on Apple's iPhone claims of battery performance? I will show you some simple tweaks and tips to reduce that rapid battery drain and extend the use of your iphone between charges -free.

In this tutorial, we learn how to understand the basics of reading sheet music. What you will first see are the basic clefs. One is for the right hand and one is for the left. In the middle is the middle c and on the far right is the c above the right hand. The notes continue in each direction but they follow an exact pattern. In the beginning, memorize only the middle "C", where it is on the piano. After this, you will learn the upper and lower "C". Continue to practice with reading the musi...

In this video, we learn how to make a great 3D paper snowflake. First, fold a square blue piece of paper into a triangle. Then, draw lines from the middle to the top going in the triangle shape. Cut these lines on both sides, avoiding the middle and the very top. Make sure you don't cut in the middle either. After this, open up the folder and take the inside. Roll it up and then tape it together so there's a ring on the inside. Flip it over, then make another ring on the top side and tape it....

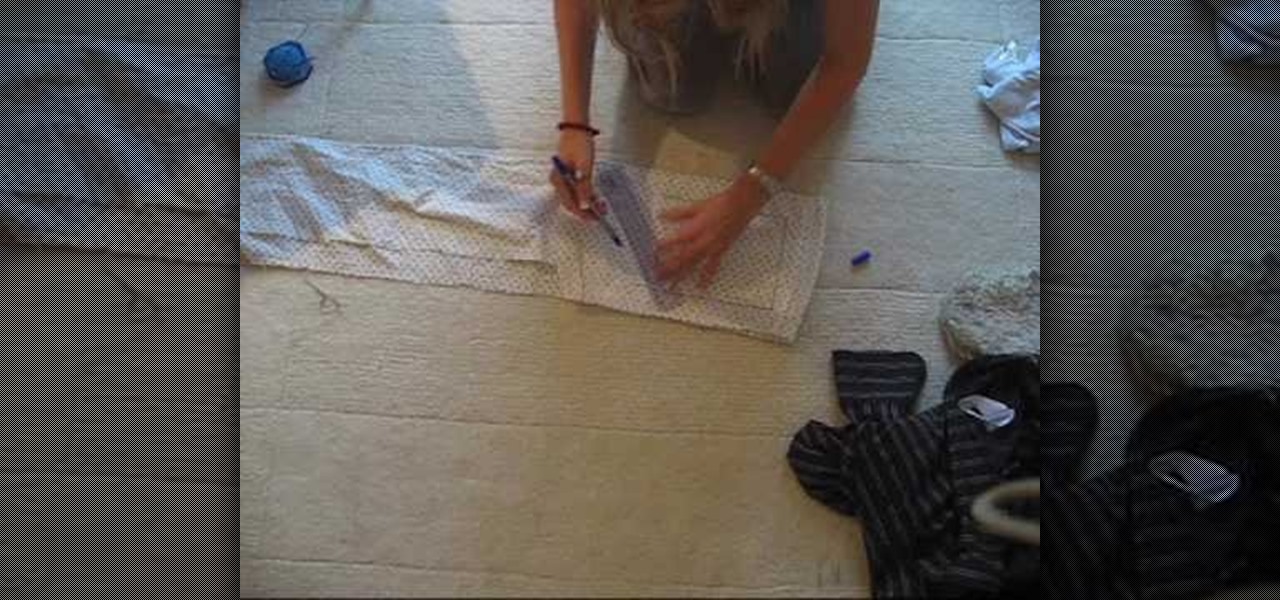
In this tutorial, we learn how to make an over-sized fashion bow fashion accessory. First, take your fabric and cut it to the desired size you want the bow to be. Cut this in a square shape at first, then sew the sides of the square. Then, fold this in half and pull in the middle of the square. Cut this in the middle to make a hole. Then, turn this inside out and push out the edges. Put an additional square of fabric around the square in the middle, then shape it out to be a cute bow to wear ...

In this tutorial, we learn how to make a bow. First, take some fabric, it should be double the size that you want the bow. Now, fold this up in half horizontally, then fold it in half vertically. After this, sew the ends together on the bottom of the fabric. Turn this inside out, then bring it to the middle and turn around. Bend this in the middle, then bring the sides up. Shape this until you see the bow form, then sew along the middle to hold it down. When finished, you can use this however...

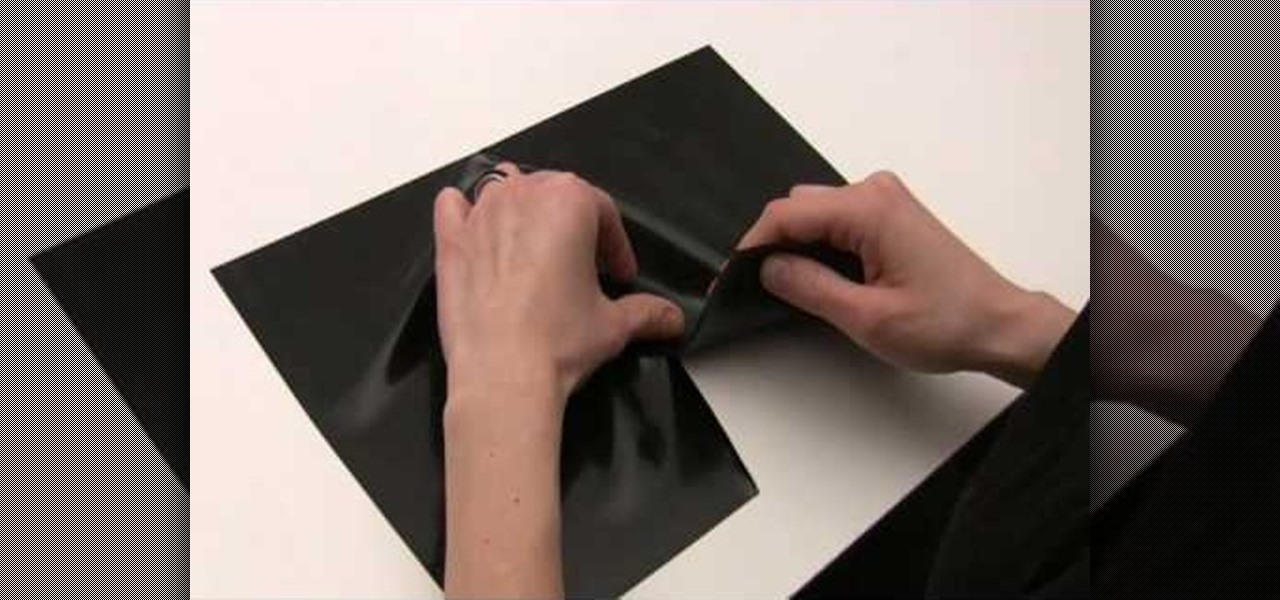
In this tutorial, we learn how to glue straight and curved latex seams. First, press each piece of latex down so it's just touching in the middle. After this, use your finger to press down on the middle, then take a roller and roll over the middle until it's perfectly straight. Now, stretch out the latex to make sure that both sides are stuck together. To glue curved latex seams, place the pieces together slowly, pushing your finger down in the center as you go to make a curved effect. Once y...

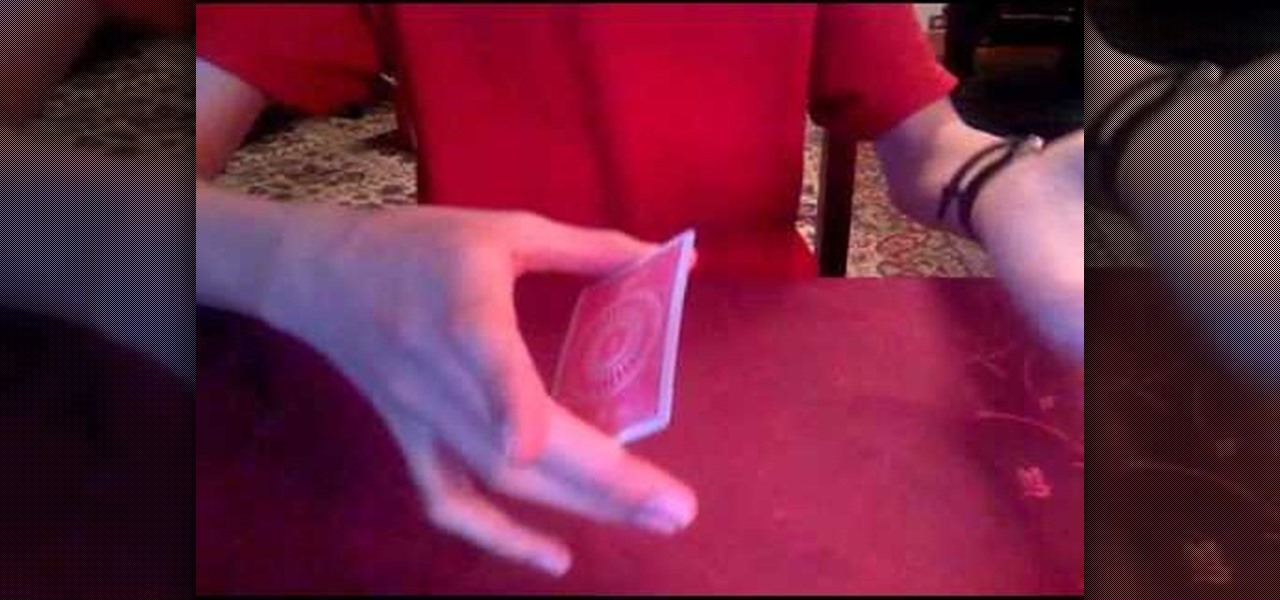
Do the Hamman count card trick

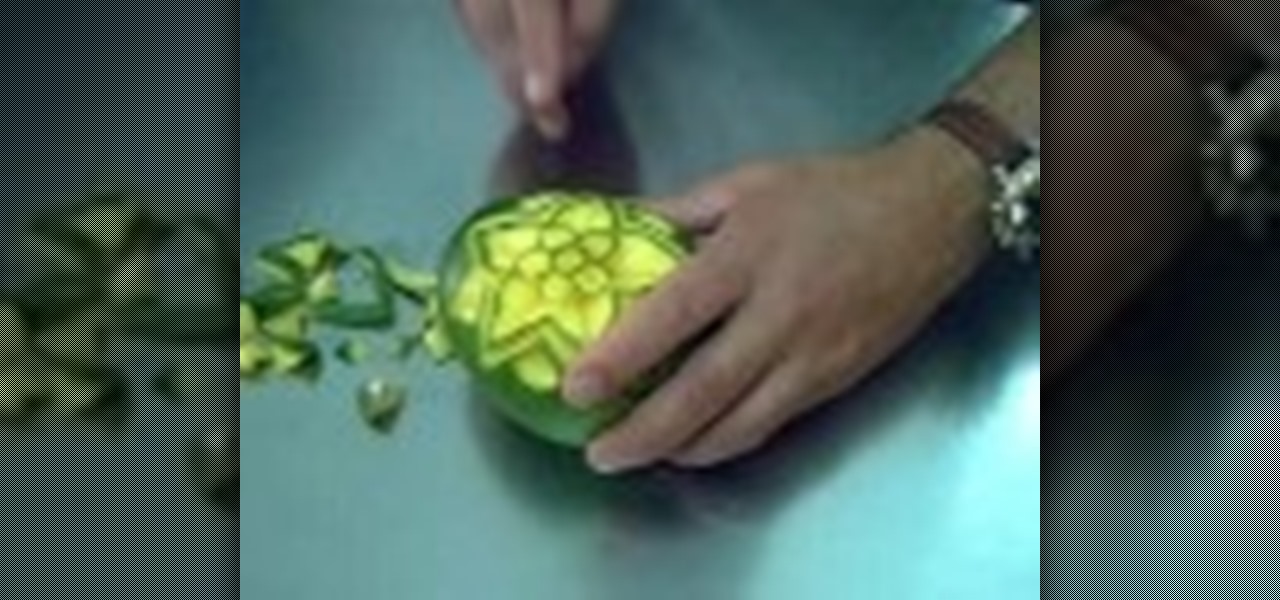
In this video, we learn how to carve a mango creatively. First, cut small circle in the middle of the side on the mango. Next, cut out circles around the middle to make a cute flower shape! Make sure you take the middle peel out so you can see the yellow of the mango show through. Carve in leaves on the side where the petals are. Continue to carve a smaller line to make the image look shadowed. Use your own talents to make this all your own and be as creative as you'd like to be. When finishe...

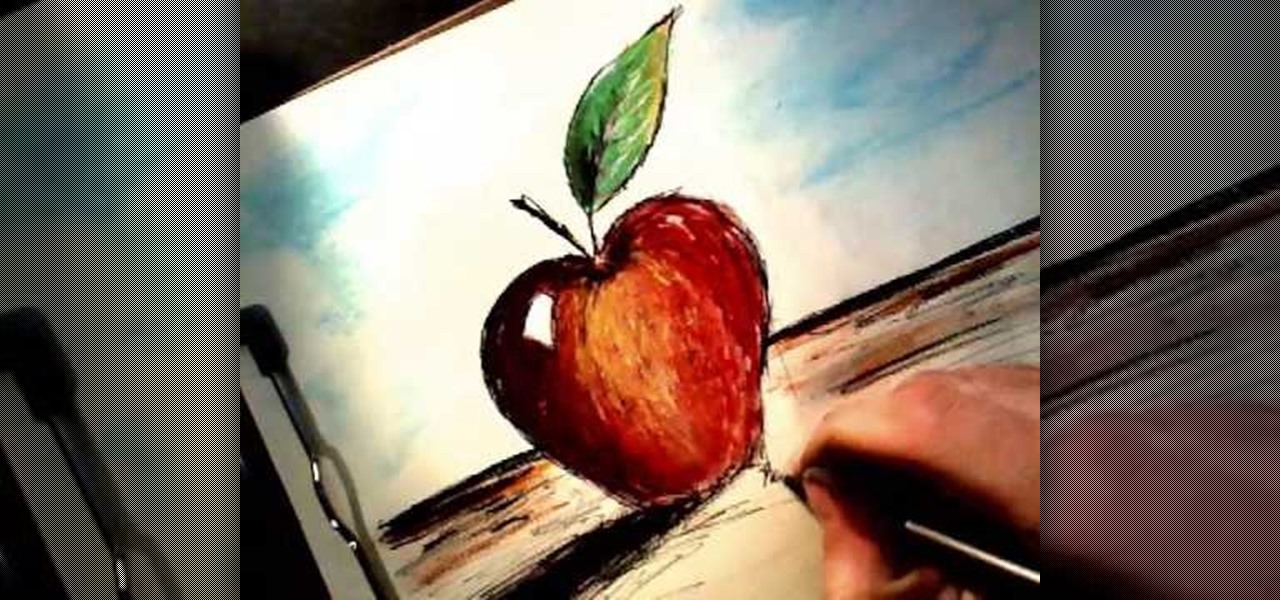
In this tutorial, we learn how to draw an apple. Start by drawing the outline shape of the apple. It looks like a slight heart shape in the middle of the apple where the stem is. After this, start to fill in the apple with lines to make it look more realistic, then draw the stem and a leaf coming out of the top middle of it. Color in the leaf with browns, blacks, and green. Then, draw lines on the bottom of the paper to make it look like the surface. Finish by coloring the apple red, making d...

In this tutorial, we learn ten different ways to wear a beret. The first way is to wear the hat with the long side on the forehead going down on the rest of the hair. The next way is to do this same look, except move the hat to the right. Next, place the hat in the middle of the hair with your bands on the side. Next look is in the middle to the left. You can also wear it in the middle with pigtails or to the left or right with pig tails. Wearing with a side pony tail is also another great op...

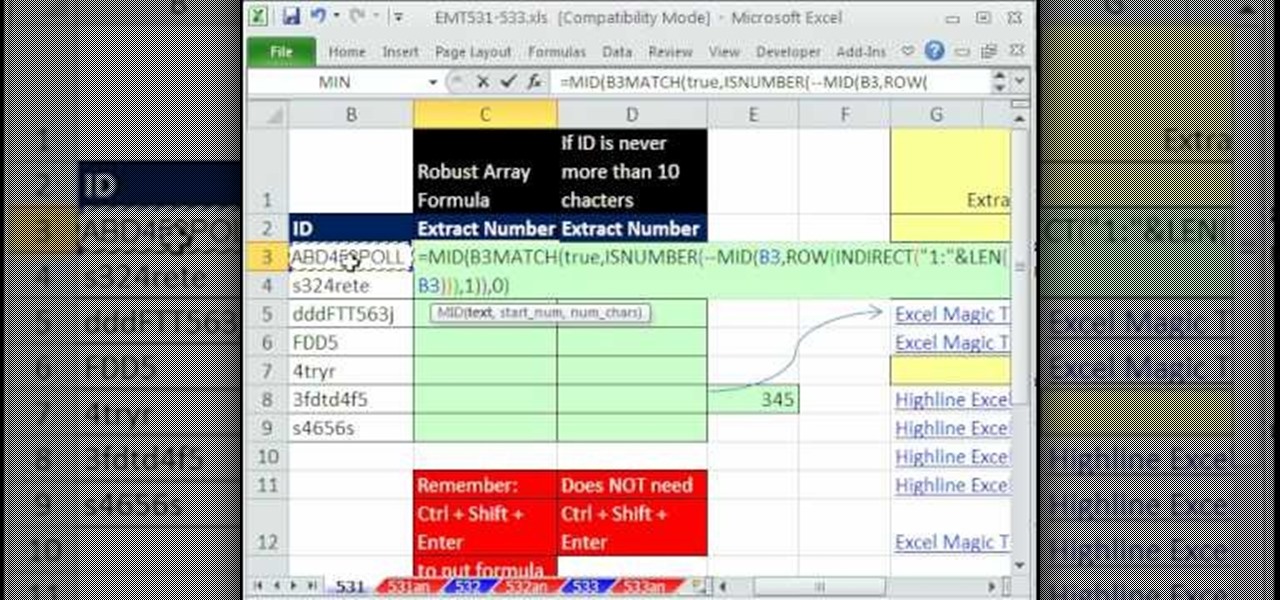
New to Microsoft Excel? Looking for a tip? How about a tip so mind-blowingly useful as to qualify as a magic trick? You're in luck. In this MS Excel tutorial from ExcelIsFun, the 531st installment in their series of digital spreadsheet magic tricks, you'll learn how to extract numbers from the middle of a text string (e.g., BB34G) becomes 34.

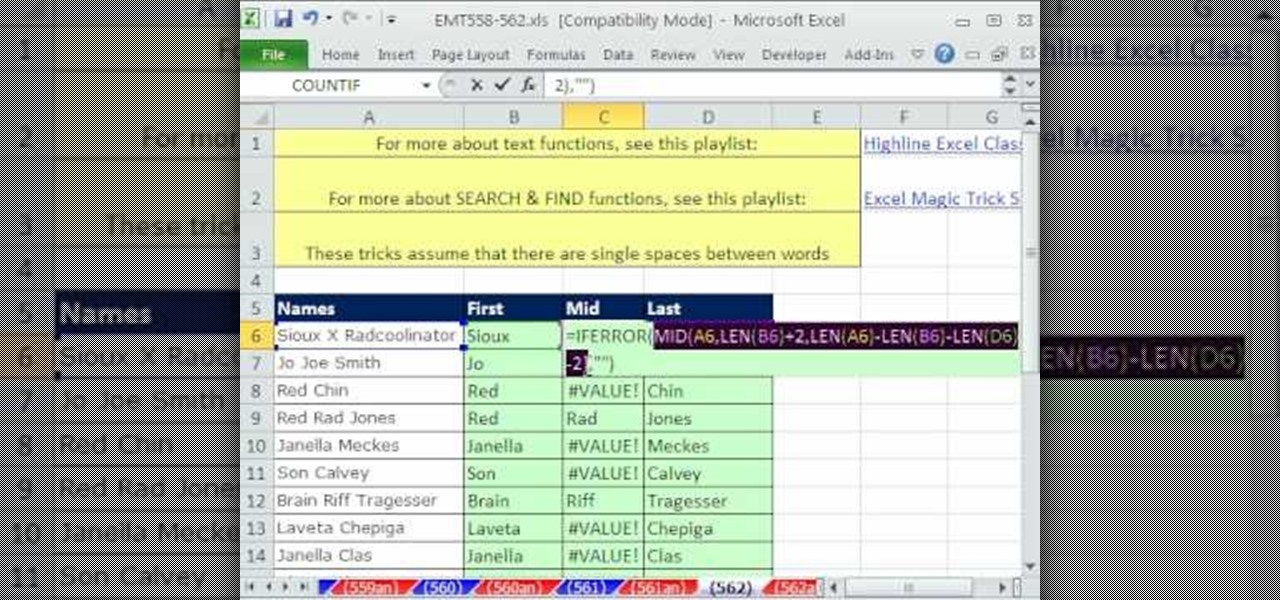
New to Microsoft Excel? Looking for a tip? How about a tip so mind-blowingly useful as to qualify as a magic trick? You're in luck. In this MS Excel tutorial from ExcelIsFun, the 562nd installment in their series of digital spreadsheet magic tricks, you'll learn how to extract first, middle and last names when the list contains names where some have a middle name and some do not using the LEFT, SEARCH, LEN, SUBSTITUTE, LEN, MID and IF functions.

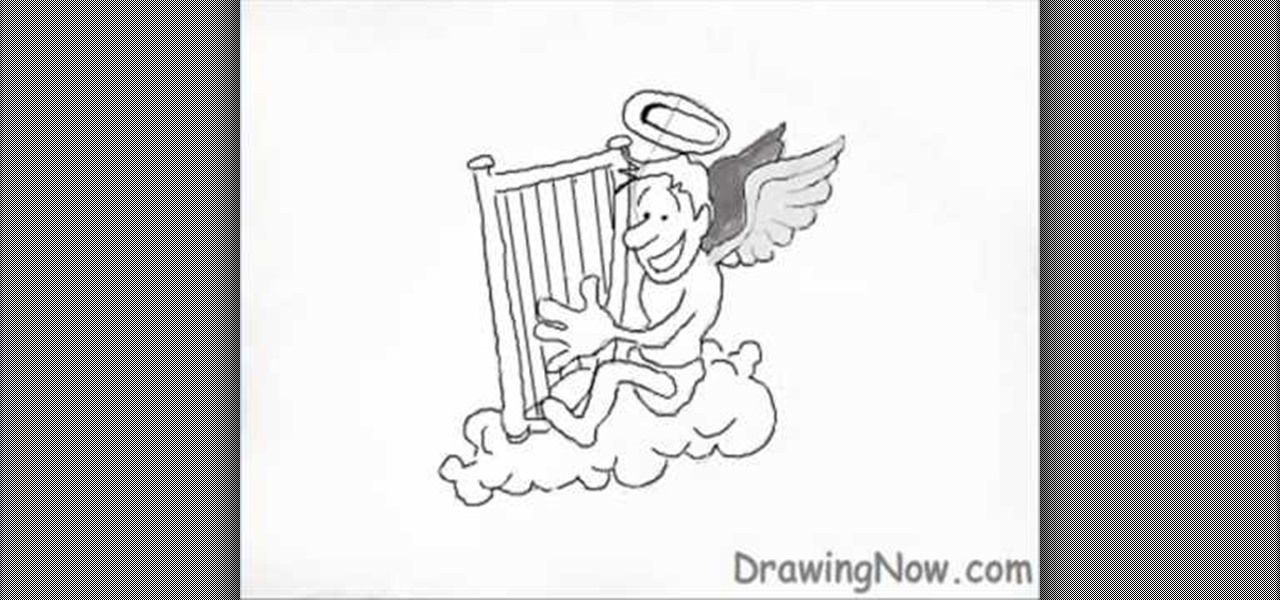
Three circles are drawn ontop of each other and a foot and a hand is added to the left side of the bottom and middle circles respectively; with the foot in a running motion. A rectangular shape is added in a way that the hand grasps it. A cloud is added below the forming person, so that he sits on it. Wings, a crown, a nose, an ear, hair, eyebrows, eye and a mouth with a smile are created in and above the first circle. The middle circle is traced onwards to the hand, to create the back,chest ...

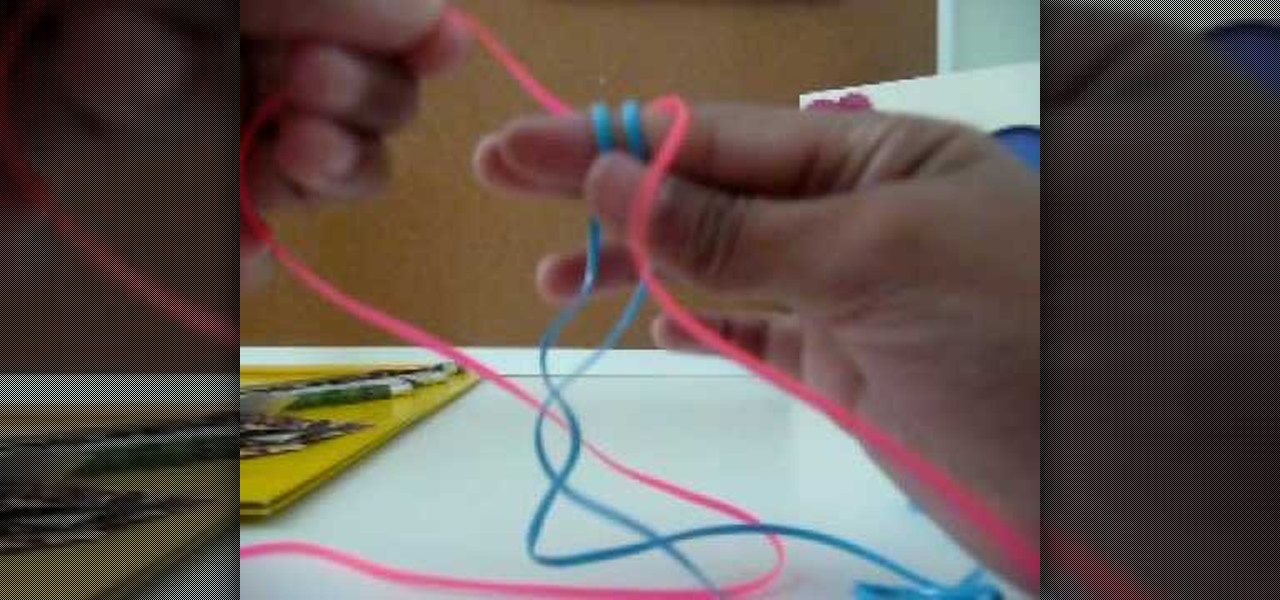
How to start a square or cube lanyard is demonstrated in this video.There are other videos to demonstrate how to stitch.

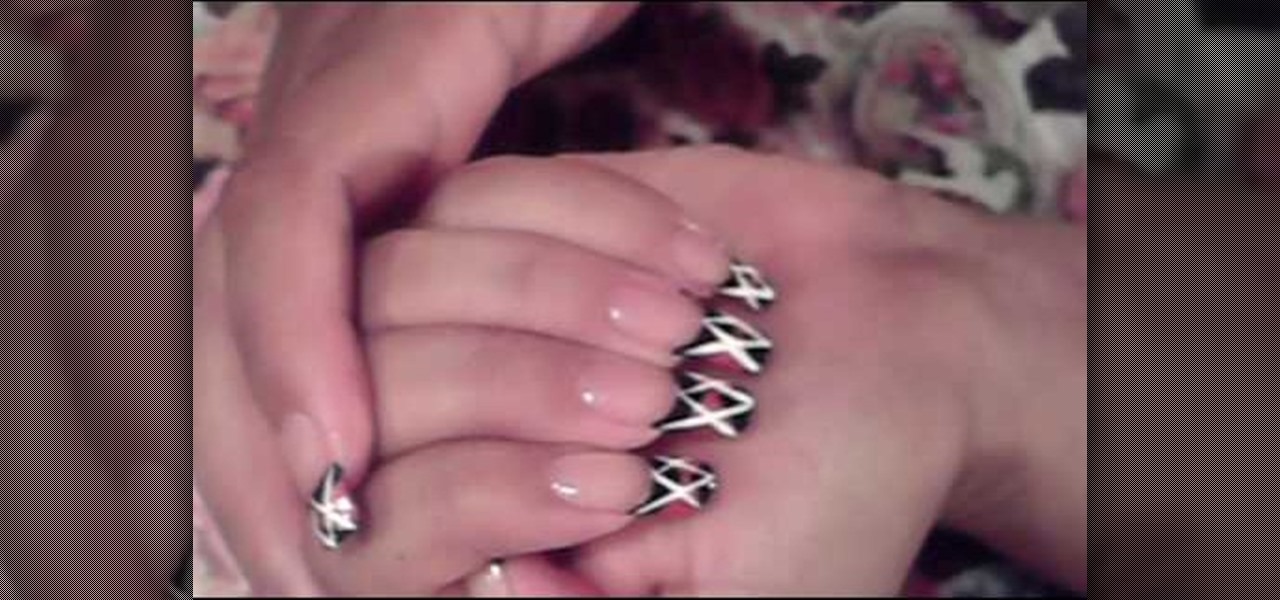
this short video shows how to paint nails in a black, pink, and white art design. The steps are simple and easy to follow. The first thing to be done is a regular black, French tip manicure. Once the black French manicure is completely dry, a pink thin tip nail polish is taken. From the middle of the nail , on the black tip, draw a V mark facing sideward on both sides. The next step is to fill the two "V"s, inside with the pink color. Once dried, with the white thin tipped nail polish, a line...

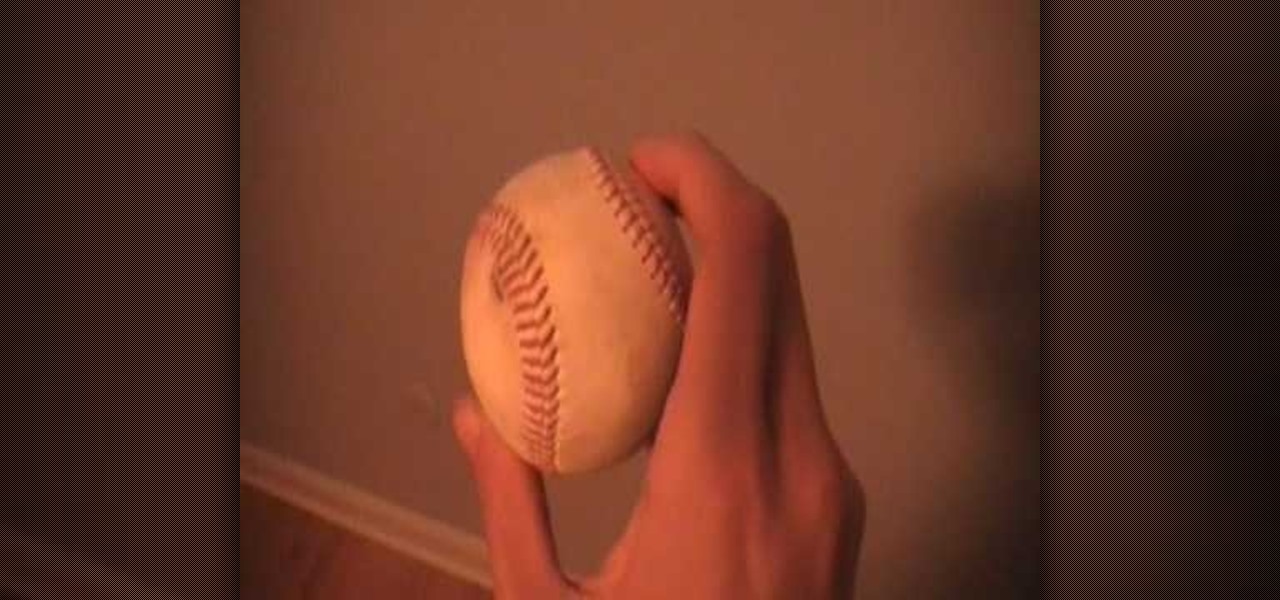
In this video, bawstansawkscawk99 demonstrates how to throw a slider, as well as the differences between sliders and curveballs. To throw a slider pitch, grip the baseball with your index and middle fingers on top of the baseball in between the two seams and your thumb directly underneath them (on the other side of the baseball and on the middle of the seam.) Throw the ball without flicking your wrist, letting it roll off your index and middle fingers. The ball should dive down and away from ...

This video from Origami in 30 Seconds demonstrates how to make a paper box in 30 seconds. Start with a square piece of paper and fold it diagonally to make triangles from both corners. Unfold it, and fold each corner into the middle. Unfold two of the sides and fold the edges of the other sides toward the middle. Turn it over and fold the triangular corners back so they touch in the middle. Fold the corners over backwards. Take the two sides and pull them out, and fold the outside corners in ...

CookiesHugs teaches you how to make an adorable hair bow for girls. For this, you will need a ribbon, scissors, glue gun, a hair clip, and a ruler. Cut 14-15 cm of the ribbon. Put clear nail polish on the ends of the ribbon. Fold the ribbon in half, width wise. Glue one side of the ribbon to the crease in the middle. Do the same on the other side as well. Place glue in the middle and fold the top and the bottom together. Wrap a piece of ribbon in on the outside, in the middle. On the back of ...


