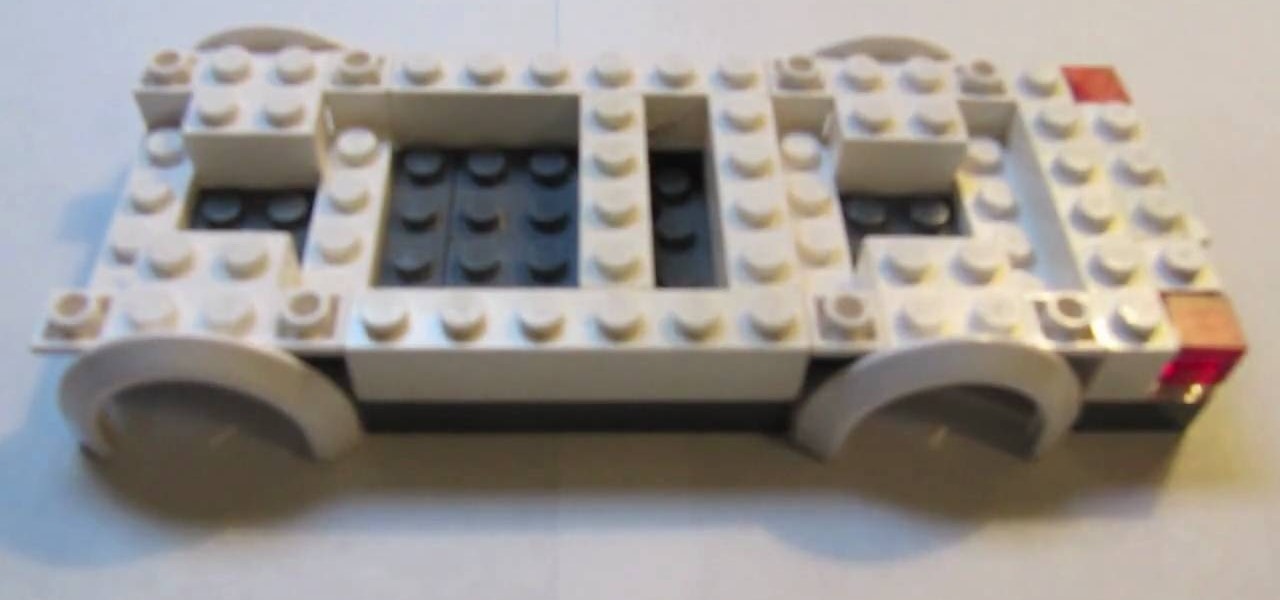
In this video, we learn how to build a LEGO pickup truck. First, you will need to lay out all the parts that you need to build the truck. This includes small and large parts that are in gray and white colors, as well as wheels. Start off by building the middle of the car, making room for the wheels to fit in. After this, start to add on the blocks that go on the back and the front to make the headlights and different features on the truck. Add on the block for the windshield, then add on the ...

In this video, we learn how to tie a triskelion knot. First, create the knots base by tying a knot at the end of the ropes. After this, weave the knot by pushing a side loop into the side loop next to the end pieces. Once you push these through the middle, push the ends through the loops and then pull the sides tight until you have a "y" shape. After this, your knot will be finished and you can use this however you would like. You can turn it around the see the best design on the rope and enjoy!
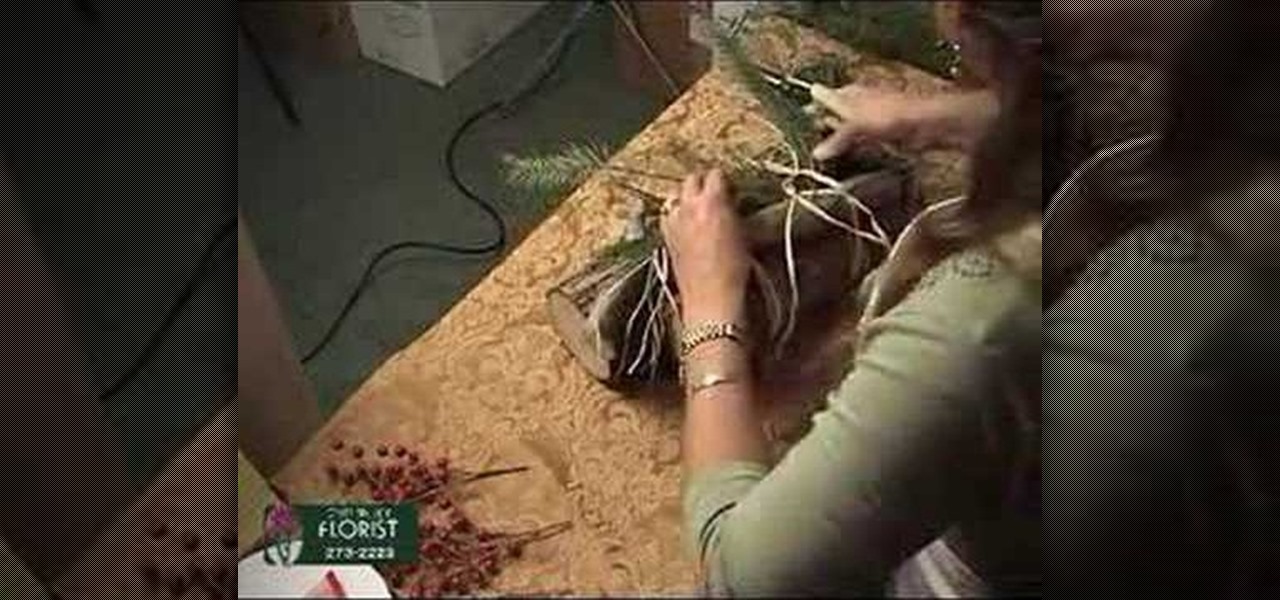
In this tutorial, Ingrid teaches us how to make a yule log for a gift. First, wrap two pieces of wood together with wire thread. Next, take some raffia and tie it onto the top and bottom of the yule log to give it a rustic look. To warm it up, add in some pine needles to the middle, as well as fur, cedar, and whatever else you find. To make it look more festive, take some red shiny ribbon and tie it onto the top of the pieces of wood like a package. This is inexpensive and useful for anyone t...
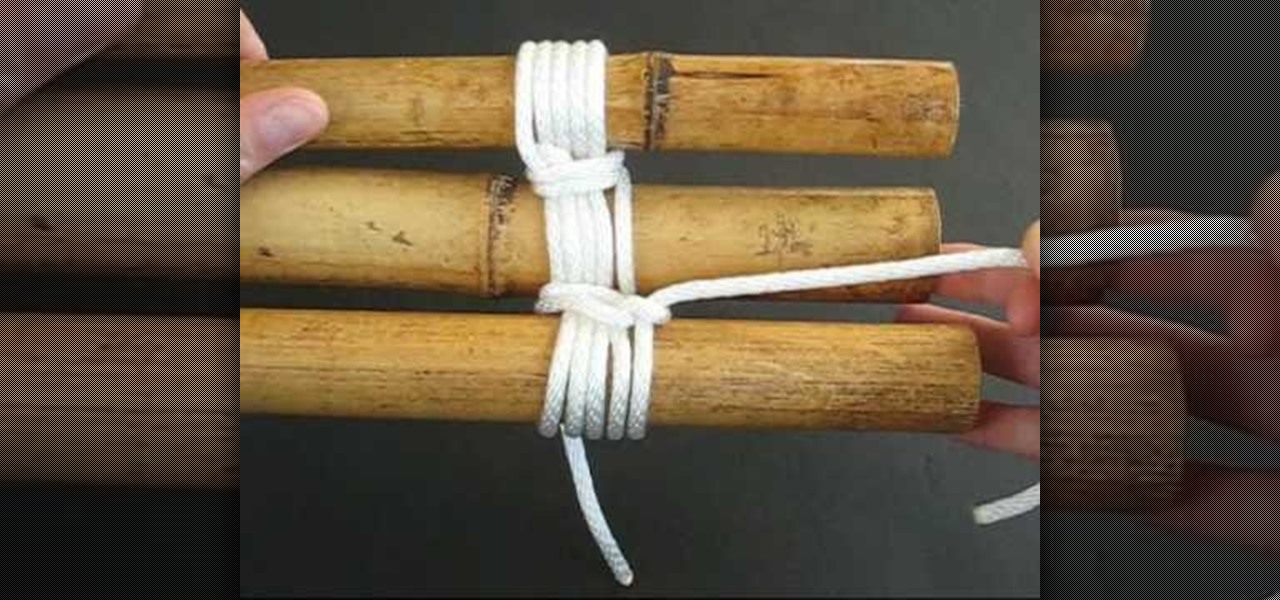
In this tutorial, we learn how to lash a bamboo tripod. First, you will tie a clove hitch by taking one piece of bamboo and wrapping the rope around it, then crossing the two sides of the string together to make a hitch. Next, you will secure the clove hitch around the third piece of bamboo. Now, you will rap all the pieces of bamboo together with the rope. Continue to do this until all the pieces feel secure together. Wrap the rope several times around each of the pieces, then wrap it in the...
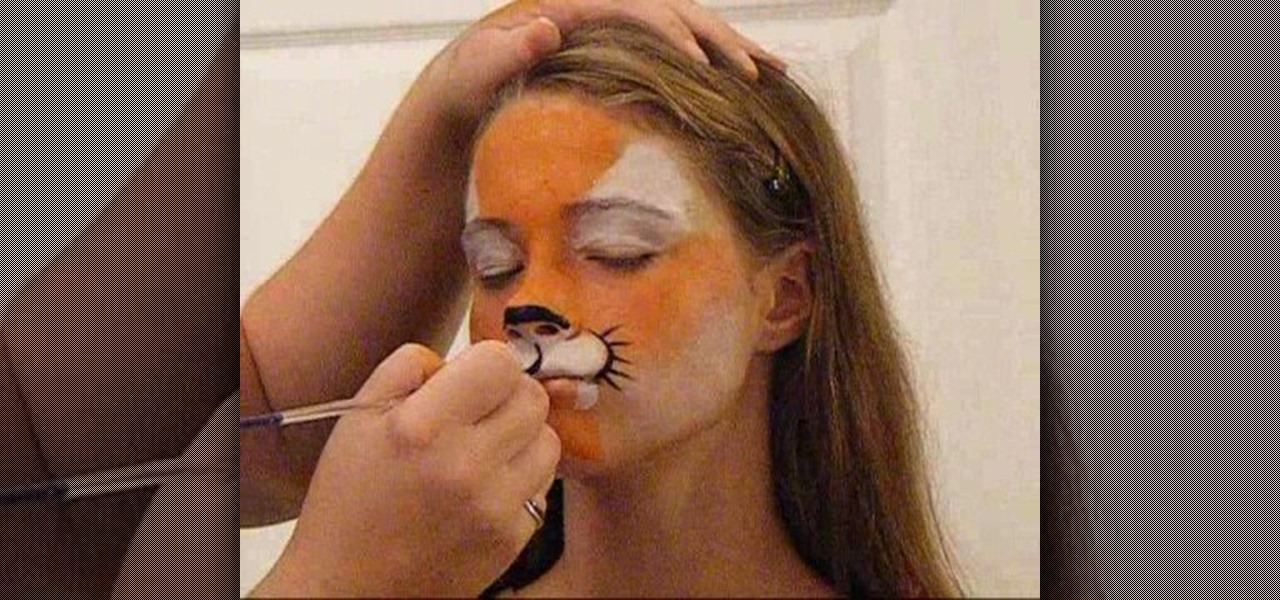
In this video, we learn how to do tiger face paint in two minutes. This is a simple tiger, so it will be perfect for family outings or something you need done quickly. First, use a sponge and orange paint to paint the middle of the face orange. After this, use a sponge with white paint to make the eyes white and the section underneath the nose white. Now, take your orange paint again and paint the cheeks and chin orange. Use the white paint to make fangs on the lips going down to the chin. Ne...
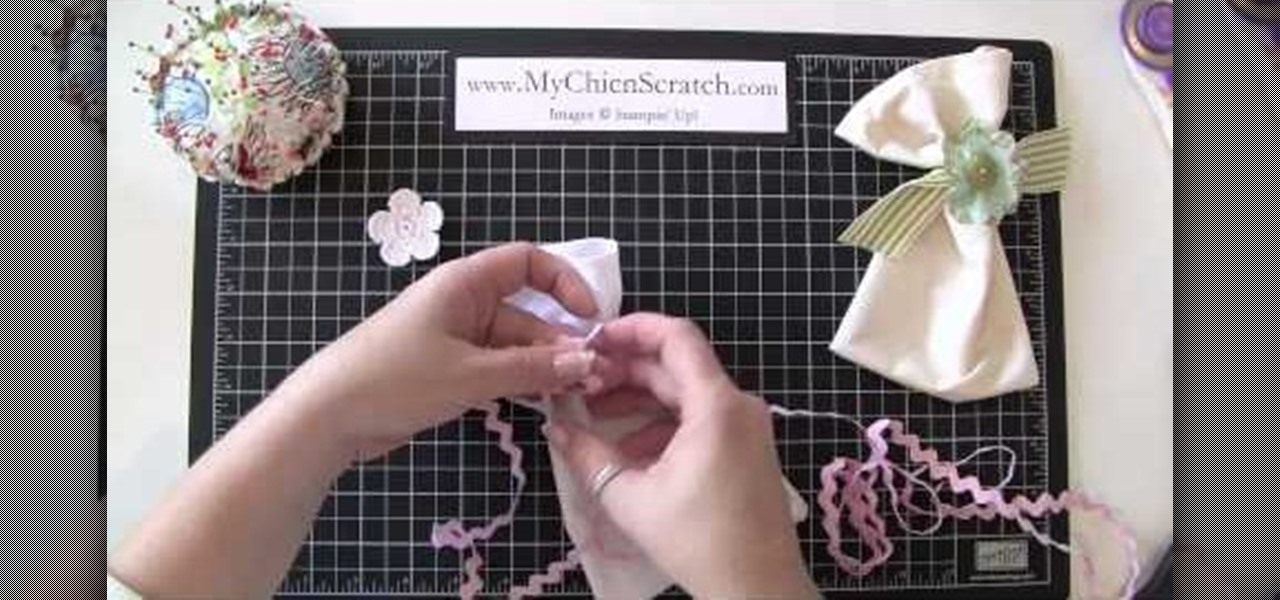
In this tutorial, we learn how to make a fabric gift bag for any occasion. First, you will need to grab any type of fabric with any design that you want the bag to be in. Next, you will fold in the edges of the fabric so it has a hemmed look, then sew them down. After you do this, sew the two sides of the bag together, then sew the bottom. Next, grab a piece of ribbon that you don't want and wrap it around the bag. Top it off with a felt flower and sew a button into the middle of it. Glue thi...

Kat teaches us how to make a sugar free strawberry pie in this tutorial. First, purchase fresh strawberries and wash them, then pull the stems off. Next, use a butter knife to remove the top middle of the strawberries. After this, use an egg slicer to slice up your strawberries until you have four cups. Next, purchase a graham cracker crust from the store, then place all the strawberries into it. After this, even them out and pack them into the crust. Set this aside, then take 1.5 c water, su...

In this video, we learn how to write the letter "r" in calligraphy copperplate. Start out by dipping your calligraphy pen into ink, then creating a curved line with a dot at the end of it. Next, fill in the line so it is smooth and there are not ragged edges. Next, draw a large swirl on the left side next to the curved line, then draw it over to make the initial loop on the "r". After this, create a loop in the middle, then draw it back down to make the end hump of the "r". After this, draw i...

We love Moroccan restaurants. The communal handwashing, the savory salads, the soups, the braised lamb appetizer, the pigeon pie, the baklova - oh, and there go our diets. Moroccan food is known for having a very rich and spice-ridden flavor that many foodies enjoy, but the more we let our appetites go at the restaurant, the more our waistlines go with them. But there is a way to make Middle Eastern food without turning into a piggy.

Telling others that you have crabs isn't always a bad thing. Especially if those crabs of yours are baked into crab cakes! A delicious staple on the east coast, and a favorite in the Hamptons, crab cakes are the ultimate summer dish.

In this tutorial, we learn how to make a meal from steak, potatoes, and asparagus. First, peel your mushrooms and then slice and chop an onion. After this, heat up a pan with olive oil, then add in your onions. Now, chop your potatoes into cubes, then boil until tender. When finished, drain and combine with a mixture of butter and milk. After this, cut your asparagus stalks off, then add in the pan with onions and mushrooms. SautŽ these all together until they are browned. To serve, plate the...

In this tutorial, we learn how to craft a duct tape wallet. First, tear out a 7 inch piece of duct tape and fold it so there is a sticky side just overlapping it. Next, tear out another piece of tape and fold it just over the sticky side of the other piece of tape. Continue to do this for around 10 pieces of tape, or until you have enough to make a decent sized wallet. When you reach the end, fold the bottom over itself, then cut off the sides and seal with another piece of tape. Then, measur...

In this tutorial, we learn how to make a braided wrap-around belt. You will need 3 long straps of leather and a medallion that has a big enough opening to pull the strips through. To begin, grab your three long leather straps together and create a knot where they will meet the medallion in the middle. After this, braid the straps together. When you get close to the end, knot it off. Do this on both sides of the medallion. This is a cut and cheap way to make this belt, and there are many diffe...

In this math tutorial, you'll be trained in the arcane art of adding and subtracting rational expressions by finding the common denominator. A skill many discard upon leaving middle school, it is used by the villians who operate under the acronym "SAT" to test those caught blank minded and whose minds are unrationalized.

In this how to video, you will learn how to make a hair bow. You will need a ribbon and a bobby pin. First, make a knot in the center of the ribbon. Next, pull it tight and make a bow shape in the ribbon. Make sure that it comes out evenly. if your ribbon is not double sided, one end may have no pattern. This means you have to twist it so that the printed side appears in the front. Next, take the bobby pin and slide one end through the loop in the middle. Make sure it is in the bottom area of...

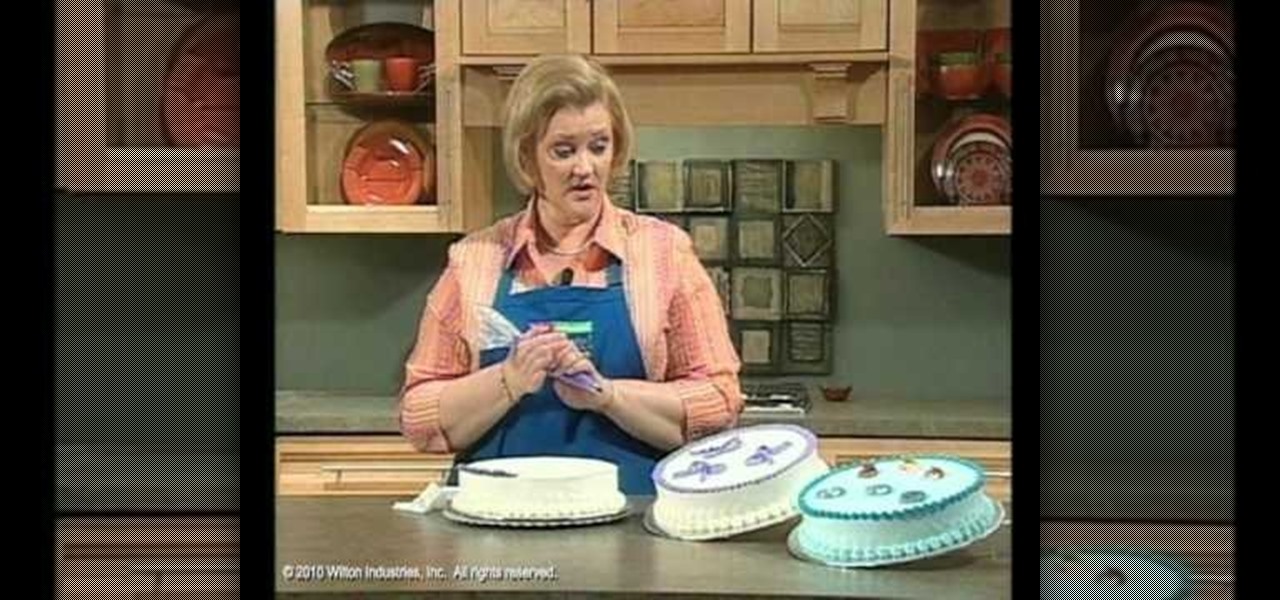
Wilton Cake Decorating demonstrates how to do a ruffle and a ruffle bow cake decorating techniques. Use a #104 petal tip to create this effect. Also use a medium icing consistency and hold the bag at a 45 degree angle. A petal tip can be used to make ribbons and bows. The icing tip has a narrow end and a larger end. Place the larger end down and move your hand up and down to create the ribbon. Make a figure eight to make the bow. Add a knot in the middle, if desired, and add strings. Star tip...

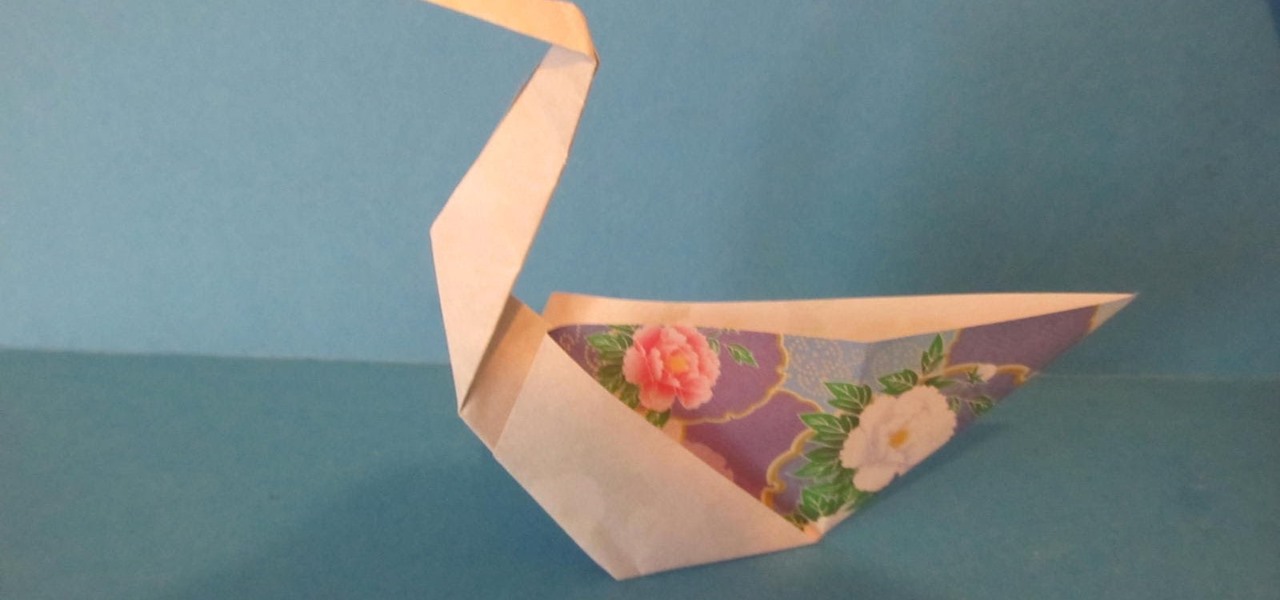
This video shows us how to fold a simple origami swan. Here are the following steps: Step 1: First of all take a paper and then crease it diagonally and then open the crease and then fold the paper on the crease line so that a cone is obtained with a triangle on the top.

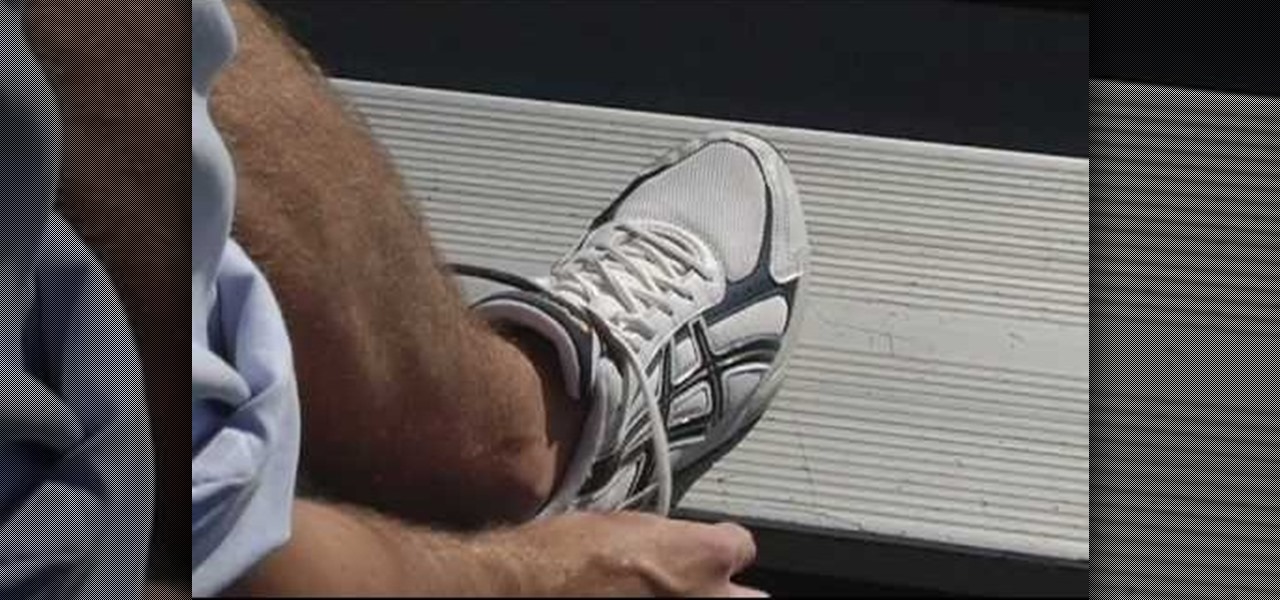
Chris from Hack College shows us the fastest way to tie our shoelaces. He starts with the regular twist-around knot on a shore. The key is to take two loops - one that crosses on the inside and one that crosses on the outside. Then put the loops through each other so that they switch positions and pull the loops to tighten the knot. A better description is to make two arches (loops) - one towards him and the other away from him. Then switch them in the middle and pull. Since practise will mak...

There are two recommended ways to hold the Bodhran Drum tipper for beginners. The first way is called the "curved wrist" technique. You put the stick in between the area of your index and thumb finger. Then you put the end of the stick in between your index and middle finger. You must make sure not to keep your fingers tight, they must be elongated and resting gently on the stick. When you drum, you keep your wrist curved and swing your hand up and down. The next method is the "straight wrist...

In this video tutorial, viewers learn how to make a French twist hairstyle. Begin by making a parting in the hair by brushing the hair towards the middle. Place a some grips to hold the hair to one side and spray on some hairspray to help hold it. Place your hands underneath the neck to hold the hair. Then wrap your hand around the thumb and secure it with your fingers. Use big pins to hold the twist. Brush the twist with a bristle brush and use some hairspray to hold it together. This video ...

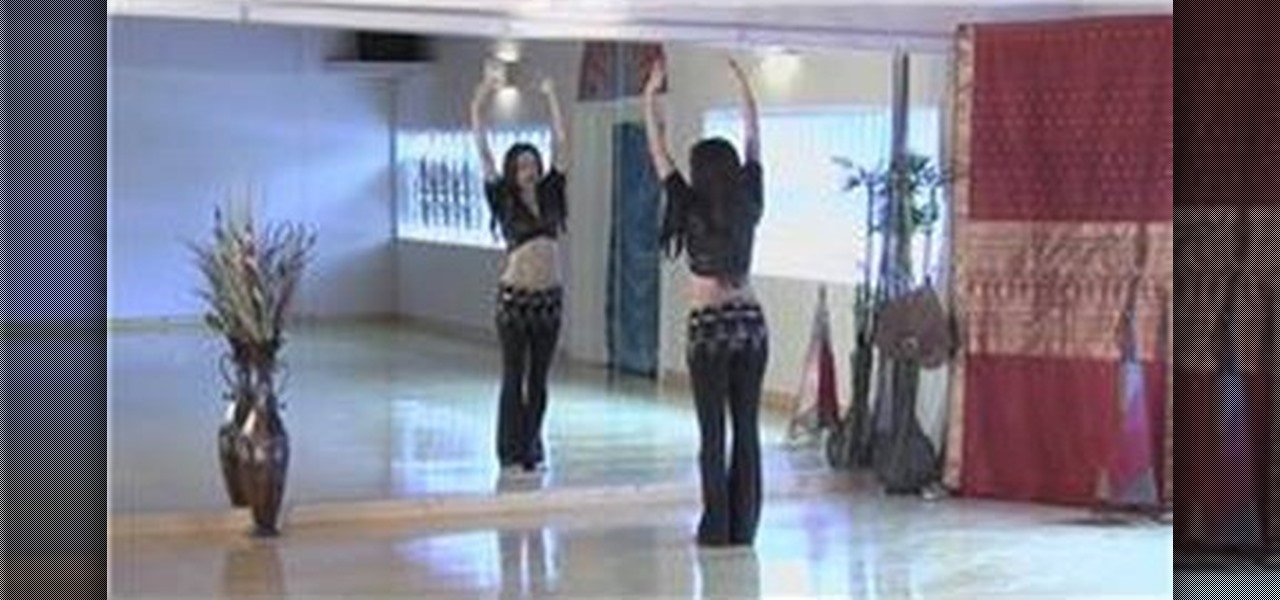
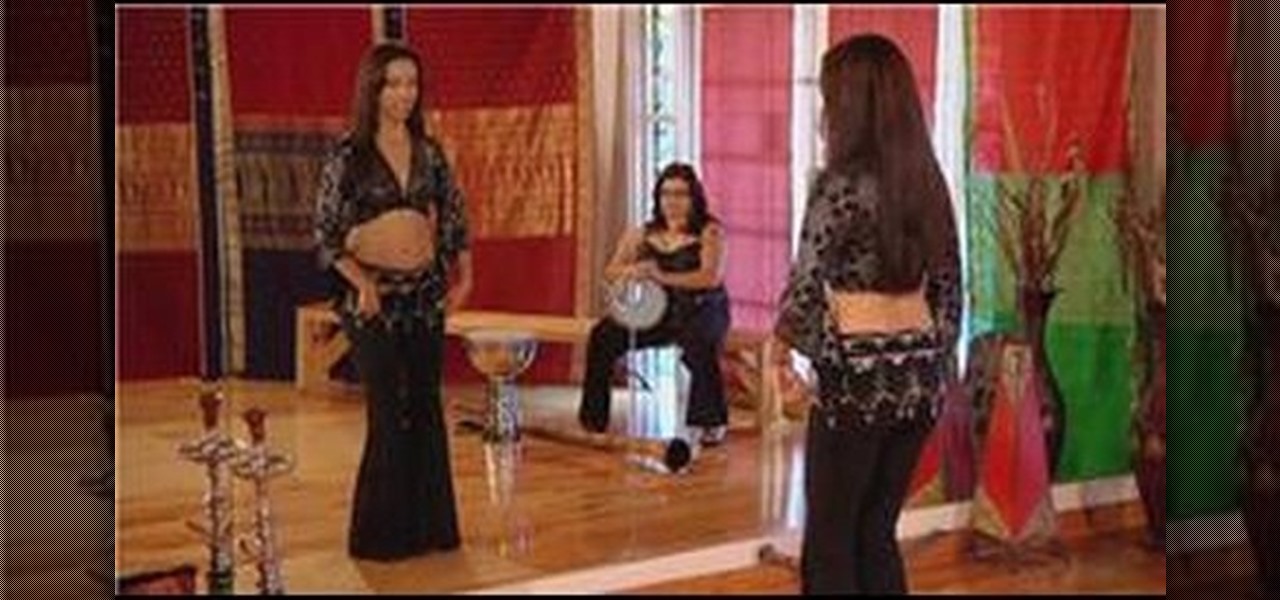
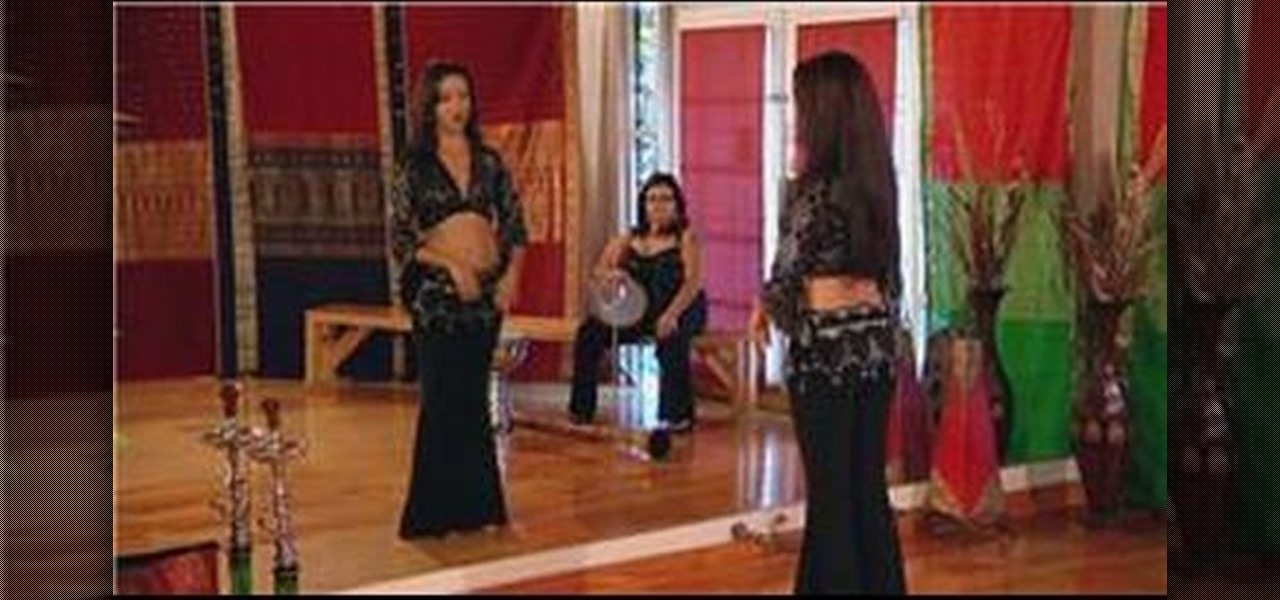
Why throw away tons of money on lessons at a studio when you can find free online video lessons! In this video, learn about the dance of the belly movements, also known as belly rolls, and how to isolate the abdominal region while the rest of the body remains in perfect posture. Practice isolating the belly muscles with help from an expert: Sahira began her career as a Middle Eastern dancer in Houston, Texas under the direction of Thalia and Shakira Masood-Ali. Get advice & more belly dancing...

It's always important after every form of exercise to cool down. In this video, learn how to cool down after belly dancing and temper the body back to its normal state. Learn how to stretch out your worked out muscles during a cool down with help from a belly dancing expert: Sahira began her career as a Middle Eastern dancer in Houston, Texas under the direction of Thalia and Shakira Masood-Ali. Get advice & more belly dancing lessons by searching Wonder How To!

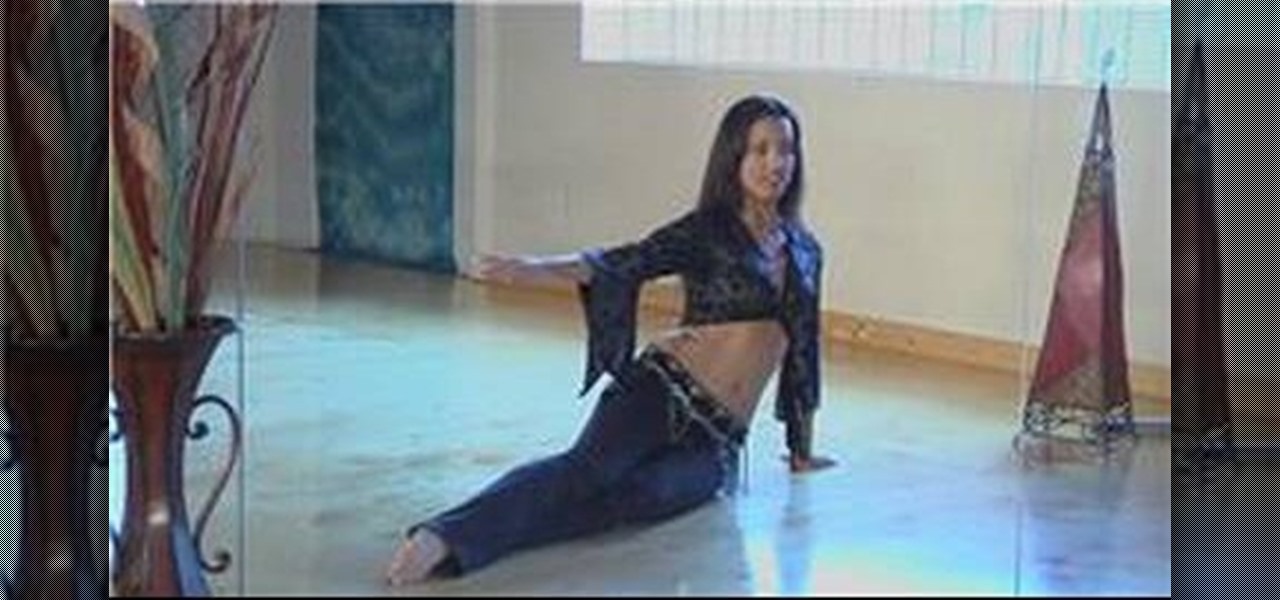
If you thought belly dancing was all about wiggling your hips, you were wrong. Expand your horizons and learn some belly dancing floor moves. It's important to wear knee pads in the beginning until you master the moves. Learn about the various ways to incorporate floor work into your belly dancing from this expert: Sahira began her career as a Middle Eastern dancer in Houston, Texas under the direction of Thalia and Shakira Masood-Ali. Get advice & more belly dancing lessons by searching Wond...

Do the figure 8! There are many different ways to do a figure-8 in belly dancing. This example is the horizontal figure-8 of the hips taught be an expert: Sahira began her career as a Middle Eastern dancer in Houston, Texas under the direction of Thalia and Shakira Masood-Ali. Learn more belly dancing dance moves from this expert by searching WonderHowTo! You're only practice time away from ruling the dance floor!

Get started doing the Egyptian twist belly dance move with help from an expert: Sahira. In this video you will learn how to do the basic isolations required to do the Egyptian twist move with tips and tricks given by a pro instructor: Sahira began her career as a Middle Eastern dancer in Houston, Texas under the direction of Thalia and Shakira Masood-Ali. Learn more belly dancing dance moves from this expert by searching WonderHowTo! You're only practice time away from ruling the dance floor!

The vertical figure-8 consists of two different isolations that can be done while keeping your feet on the floor. Get started belly dancing with the figure 8 move taught here by a belly dancing expert: Sahira began her career as a Middle Eastern dancer in Houston, Texas under the direction of Thalia and Shakira Masood-Ali. Learn more belly dancing dance moves from this expert by searching WonderHowTo! You're only practice time away from ruling the dance floor!

Get started with belly dancing and undulation with help from this free lesson. When doing undulation, first lift your chest up by contracting your muscles and then contract the muscles in your belly to bring the movement back down. Get comfortable using this belly dancing technique with tips and tricks from an expert: Sahira began her career as a Middle Eastern dancer in Houston, Texas under the direction of Thalia and Shakira Masood-Ali. Learn more belly dancing dance moves from this expert ...

Get started with Egyptian belly dancing with a move called the chest circle! To do the chest circle, you'll need to isolate your chest in two different ways. Learn how to isolate your chest with tips from an expert: Sahira began her career as a Middle Eastern dancer in Houston, Texas under the direction of Thalia and Shakira Masood-Ali. Learn more belly dancing dance moves from this expert by searching WonderHowTo! You're only practice time away from ruling the dance floor!

Get started moving that belly with "the shimmy", a very popular move in belly dancing that can take years to perfect. Find out how to perfect this popular move with tips from an expert belly dancer.

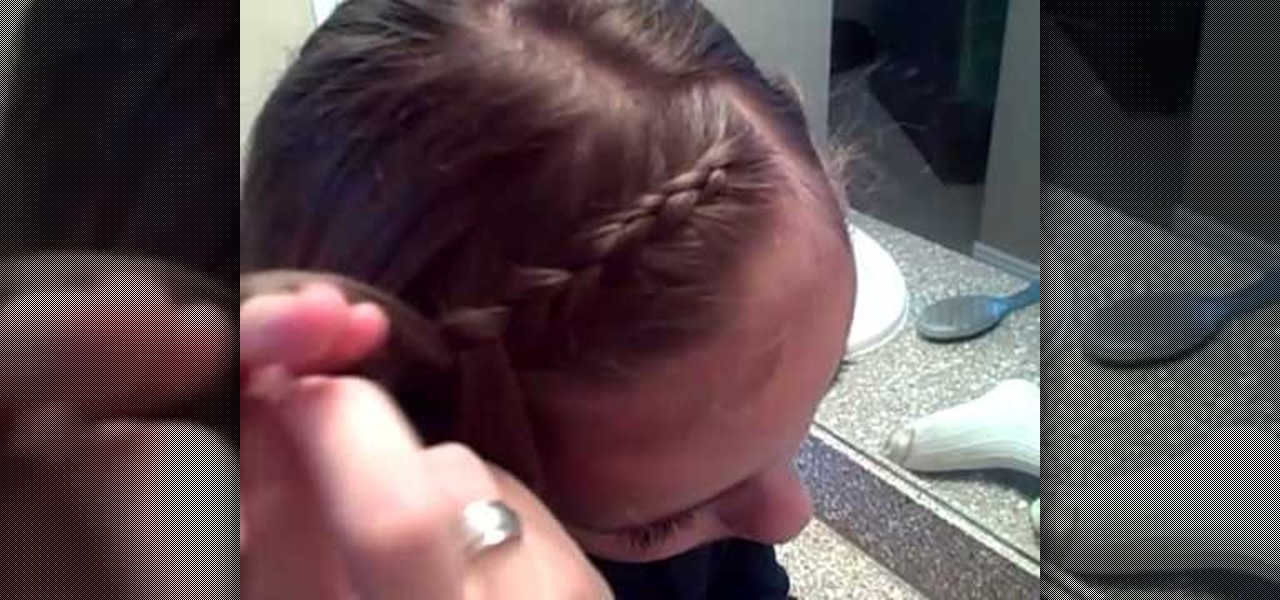
This video shows how to make an inside-out French braid across the front of the head. First divide the hair into three pieces like a normal braid at the very front off to one side. Instead of braiding the normal way, make the middle piece go over the top alternately on the left and right. Keep picking up more hair and adding it in, like you would do for a normal French braid. Continue braiding across the top front of the hair. The braids can be done tightly or loosely however you like, and th...

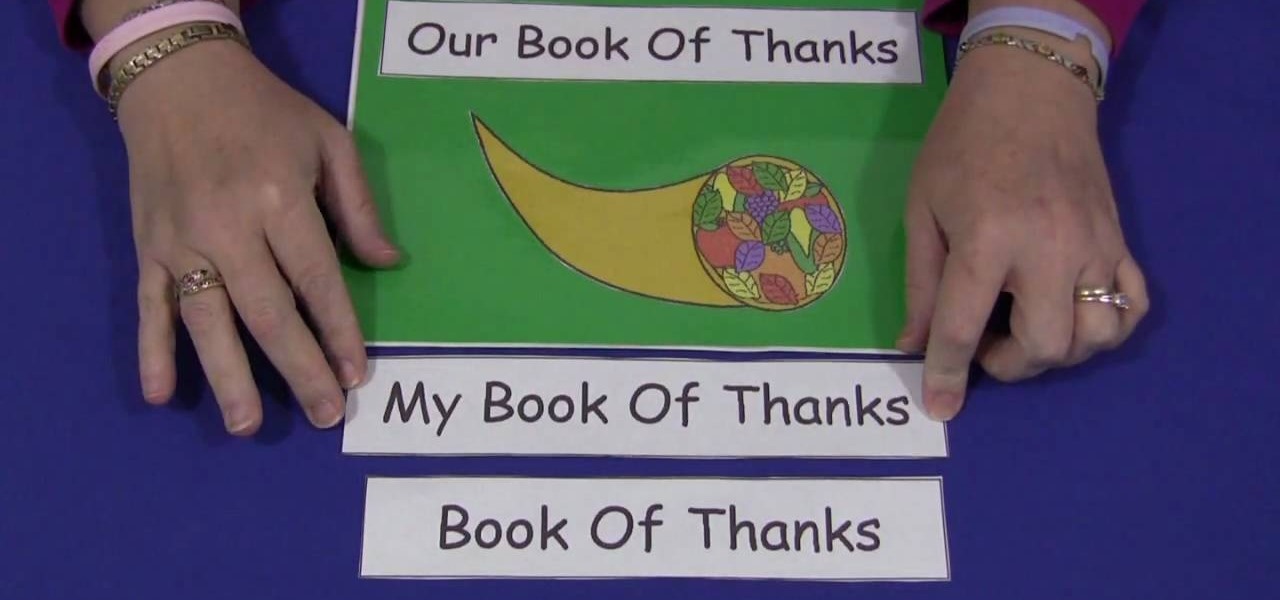
Childcareland demonstrates how to make a Thanksgiving book of thanks with kids in this video. A book of thanks can be done by a group or an individual. It begins a title page which can be labeled to reflect whether it is an individual book called "My Book of Thanks" or an group book called "Our Book of Thanks" or a general book called "Book of Thanks". The back page is a blank match of the cover page. In the middle are five pages labeled "I'm thankful for" with a line for older children to wr...

This video shows the way to make a paper balloon. A square paper is taken. Two perpendicular folds are made down the diagonals of the square. Then an isosceles triangle is made by folding one side of the square towards its opposite side and the other two sides are tucked in. Now there are four isosceles-right triangular flaps. The flaps are folded along its middle to resemble isosceles triangular flaps. The edge of the flaps is folded towards the center. The free end of the flap is tucked int...

In this video tutorial, viewers learn how to make a guerilla spotlight using household items. Users will simply need a cardboard cylinder and a light source. Te materials used in this video were a toilet paper roll, piece of aluminum, gaff tape and a lamp. Begin by cutting a couple of 90 degrees slots in the middle of the foil, slide in the tube ad secure it with tape. It should be a bit longer than the tube. Now wrap it around the light source. This video will benefit those viewers who produ...

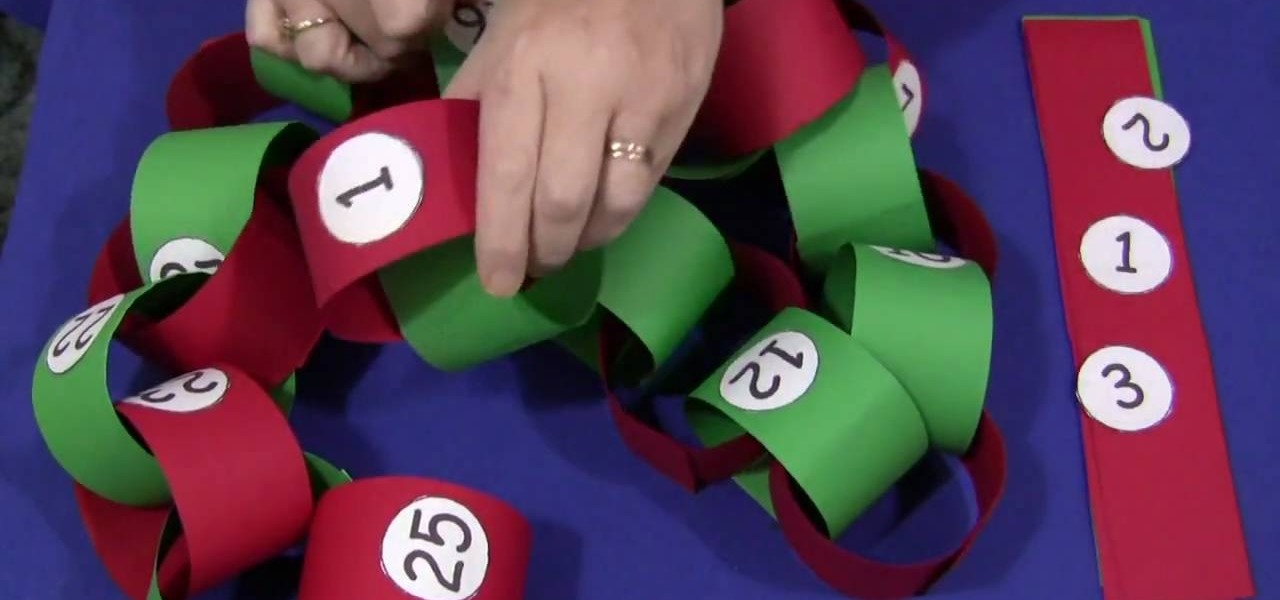
In this video tutorial, viewers learn how to make a Christmas countdown chain. The materials required for this craft are: construction paper, paper cut into small circles, glue and marker (optional). Begin by cutting the green and red construction paper into even strips. Users may choose to write out the numbers or print them out onto paper. Then cut out the numbers into small circles and glue them in the middle of the strips. Alternate the color of the strips each day. Then put the edges of ...

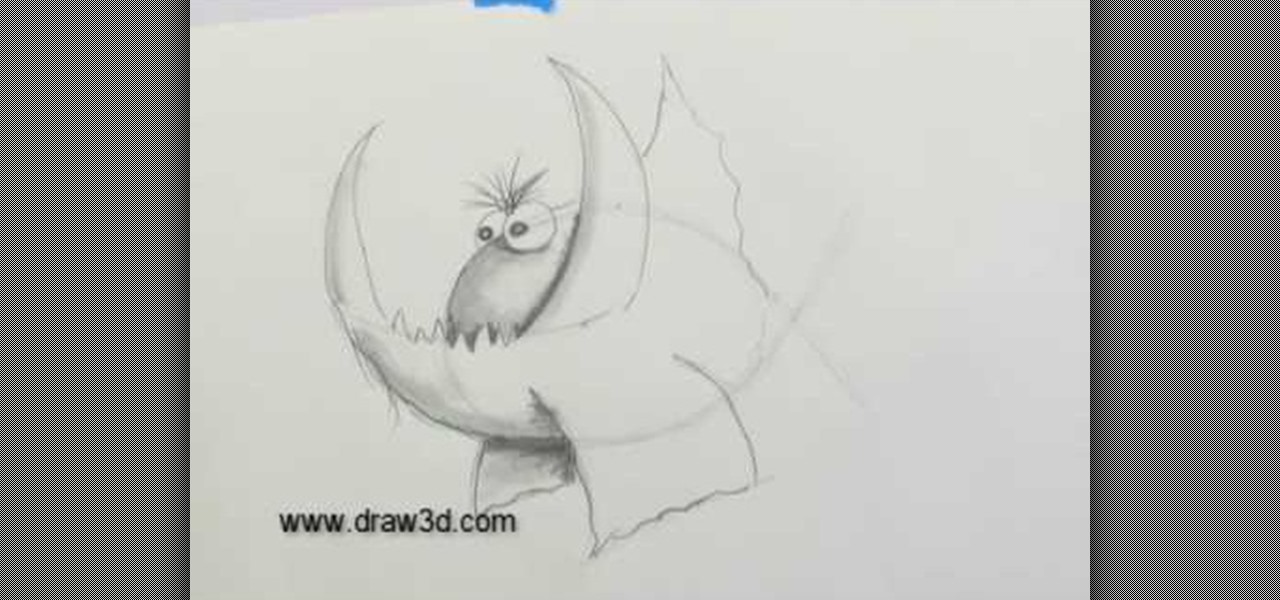
This video illustrate how to draw a 3D fanged fish. Here are the following steps.Step 1: Take a sheet of paper and pencil and start drawing a circle forming the face of the fish.Step 2: Now in the middle of the circle draw an wavy line showing the jaws of the fish.Step 3:Now draw two small circle on the boundary of the circle forming the eyes of the fish.Step 4: Now from the jaws draw two fins in opposite direction to each other.Step 5: Now draw Two fans beneath the face showing the back fins...

This video shows that it is possible to plant 100 tulip bulbs in less than 50 minutes, and it is easier and less expensive than you think.

Sometimes you will have to pitch underhand - whether you are playing softball, baseball or with little kids - sometimes a lighter throw is necessary. It may seem odd and unnatural to pitch this way at first, but check out this tutorial for tips on how to toss that ball over the plate with the same force as upperhand pitching.

Whatever the occasion, a multicolored rainbow cake is sure to delight everyone! Luckily, the recipe is easy and this tutorial will show you how to create a colorful dessert step by step.

To straighten frizzy hair with a flat iron, first wash your hair and towel blot it dry. Then, part your hair down the middle. Massage a product like Chi Silk Infusion through your hair by first applying a little bit to your palm and then working it into your hair. Use a flat rectangular brush and blow dry your hair. Separate your hair into sections. Use a flat iron and a comb to straighten your partitions of hair. Tilt your hair straightener at an angle when straightening the ends of your hai...

You want to start by determining what kind of charms and the size of the necklace. Most necklaces are about 16-20". If you wanted to make a choker or a bracelet, then measure out a smaller piece of cable chain. Using a ruler makes it easy to measure and later on to add the charms evenly. Using chain nose pliers and side cutters, you want to cut a jump ring and attach to the trigger clasp and then close the end with the pliers. Take the chain and center it on a ruler, find the middle and that'...


