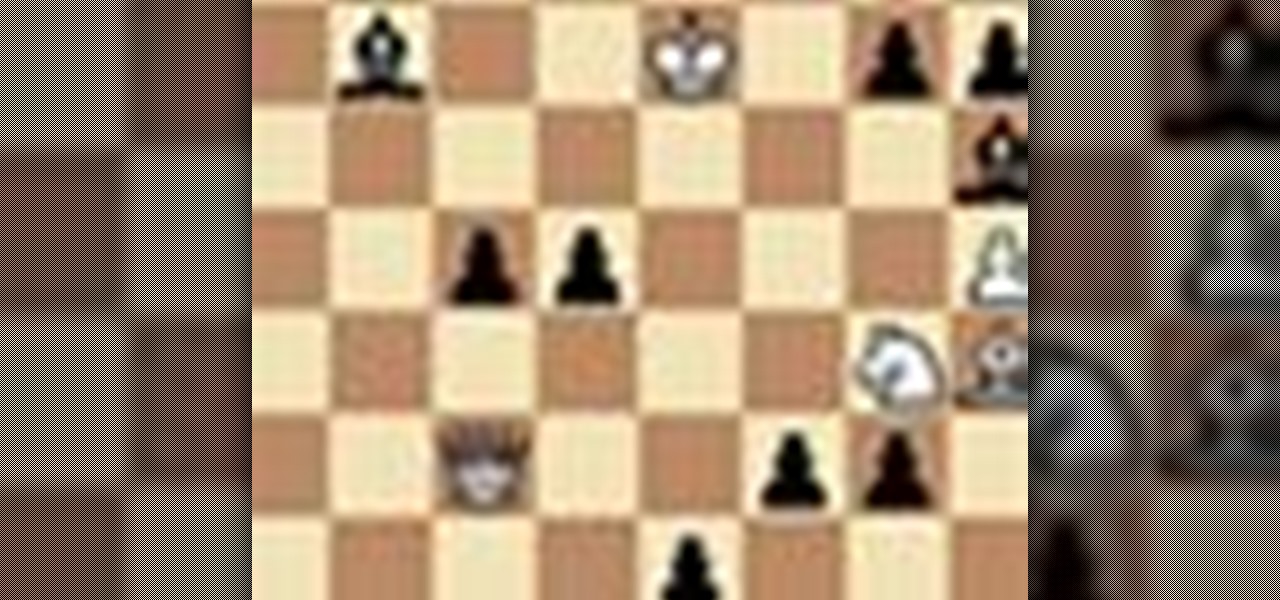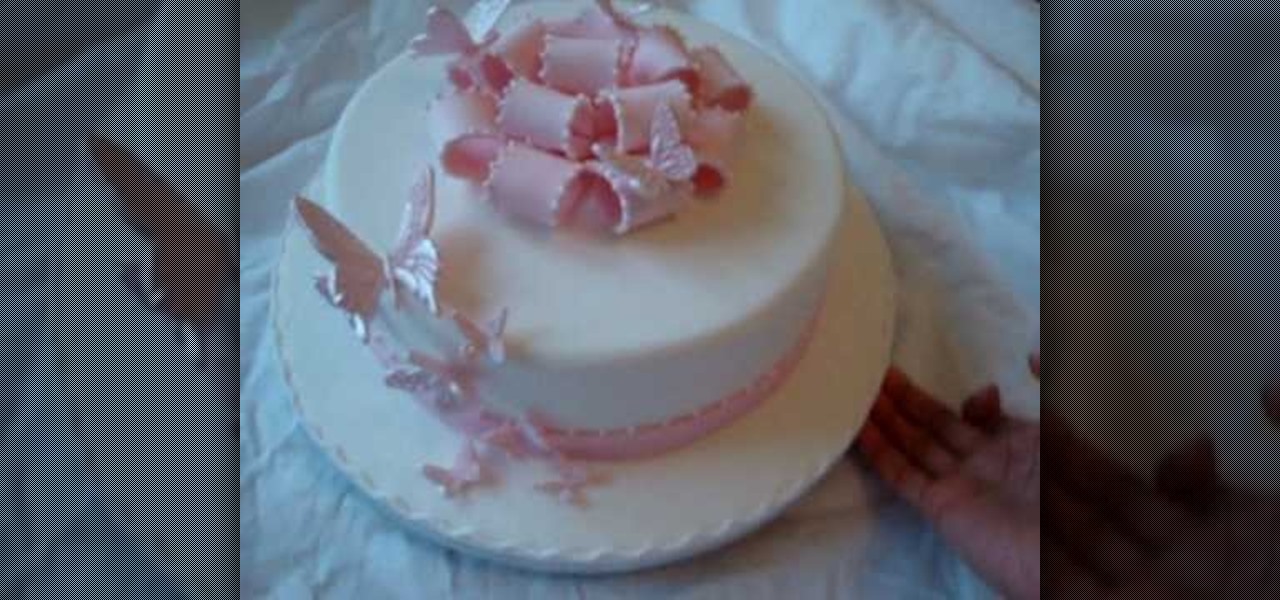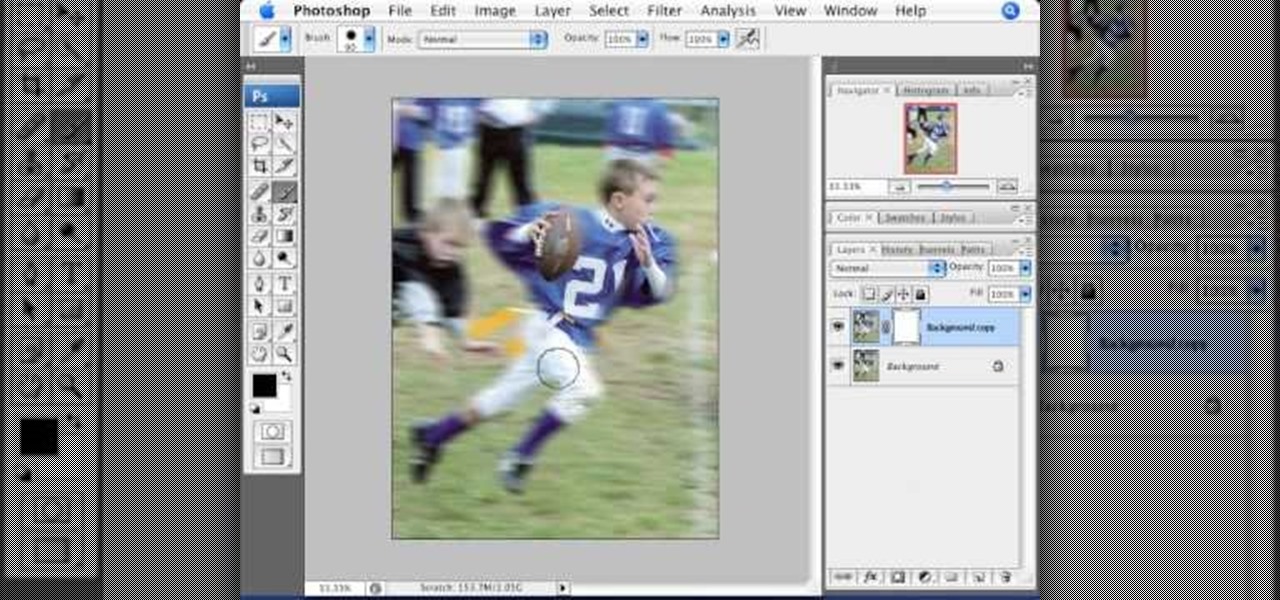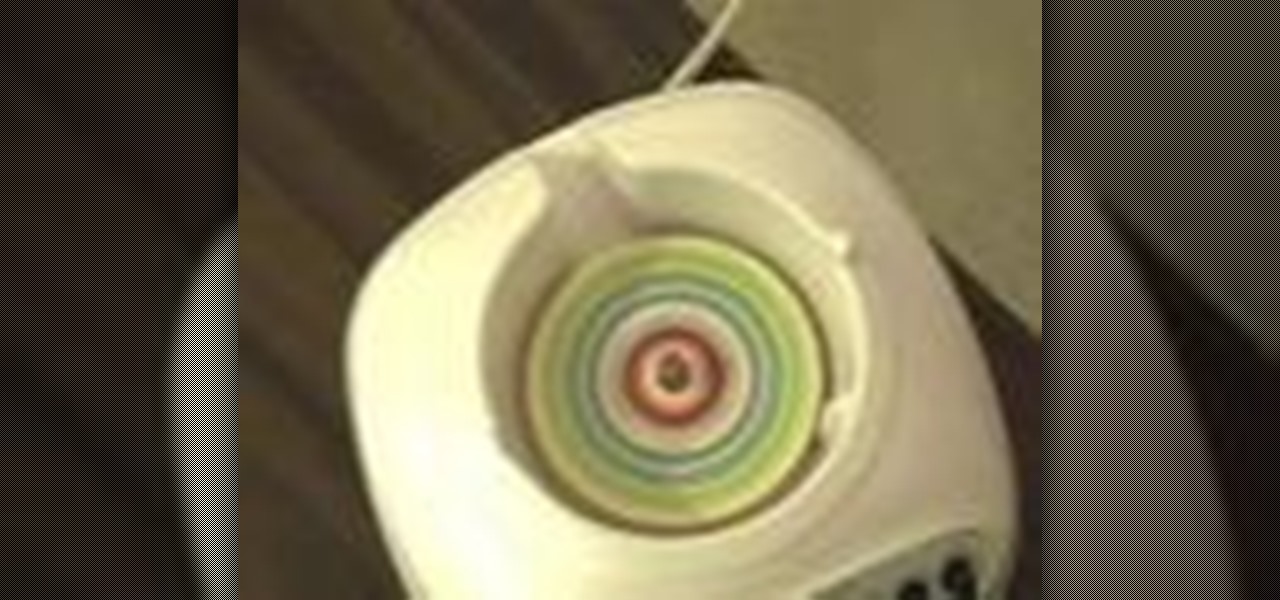
This is indeed a great instructional video on how to make a paper wind chime. The products you need to make paper wind chime are mixing grinder, scissors, paper, business card, pencils and a thread .First you draw a circle using the cup on a paper. Cut a few circles out of the paper. Draw x in the middle of all circles. Then make a hole in the middle of all circles. Now place the circle in side the grinder and let it rotate fast. now you can add colors as you like. Similarly you can make all ...

Learn how to pronounce the 'ng' sound in American English. This video provides a basic guide for pronunciations for ESL students.

In this tutorial, we learn how to understand the basics of reading sheet music. What you will first see are the basic clefs. One is for the right hand and one is for the left. In the middle is the middle c and on the far right is the c above the right hand. The notes continue in each direction but they follow an exact pattern. In the beginning, memorize only the middle "C", where it is on the piano. After this, you will learn the upper and lower "C". Continue to practice with reading the musi...

In this video, we learn how to make a great 3D paper snowflake. First, fold a square blue piece of paper into a triangle. Then, draw lines from the middle to the top going in the triangle shape. Cut these lines on both sides, avoiding the middle and the very top. Make sure you don't cut in the middle either. After this, open up the folder and take the inside. Roll it up and then tape it together so there's a ring on the inside. Flip it over, then make another ring on the top side and tape it....
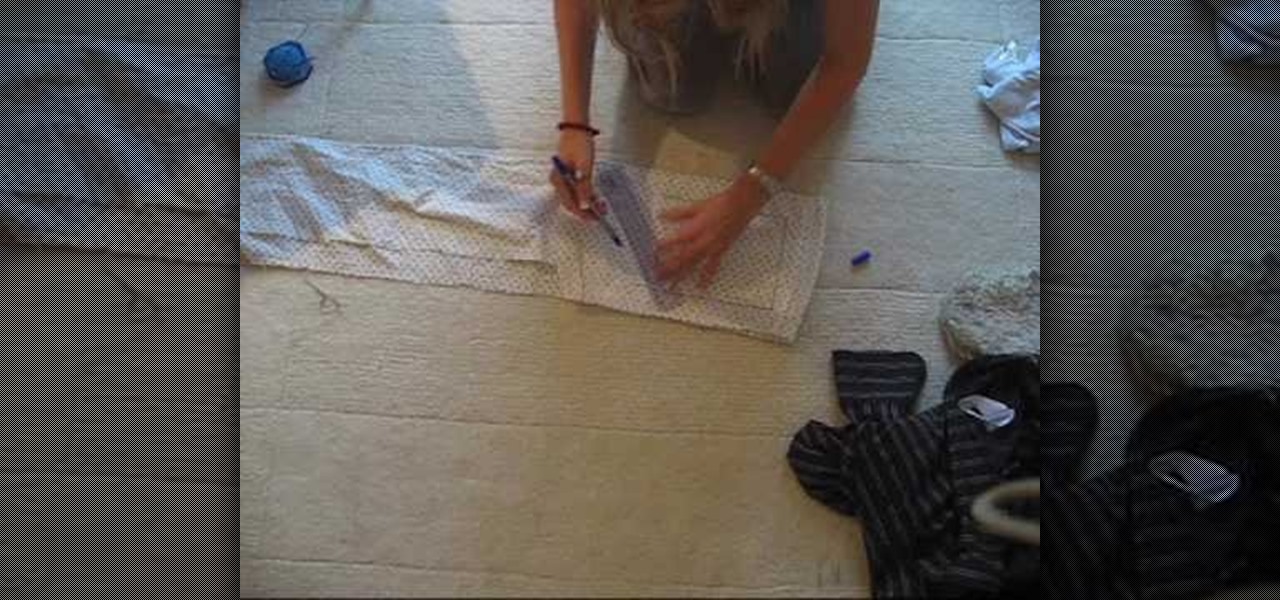
In this tutorial, we learn how to make an over-sized fashion bow fashion accessory. First, take your fabric and cut it to the desired size you want the bow to be. Cut this in a square shape at first, then sew the sides of the square. Then, fold this in half and pull in the middle of the square. Cut this in the middle to make a hole. Then, turn this inside out and push out the edges. Put an additional square of fabric around the square in the middle, then shape it out to be a cute bow to wear ...

In this tutorial, we learn how to make a bow. First, take some fabric, it should be double the size that you want the bow. Now, fold this up in half horizontally, then fold it in half vertically. After this, sew the ends together on the bottom of the fabric. Turn this inside out, then bring it to the middle and turn around. Bend this in the middle, then bring the sides up. Shape this until you see the bow form, then sew along the middle to hold it down. When finished, you can use this however...

In this tutorial, we learn how to glue straight and curved latex seams. First, press each piece of latex down so it's just touching in the middle. After this, use your finger to press down on the middle, then take a roller and roll over the middle until it's perfectly straight. Now, stretch out the latex to make sure that both sides are stuck together. To glue curved latex seams, place the pieces together slowly, pushing your finger down in the center as you go to make a curved effect. Once y...

Do the Hamman count card trick

In this video, we learn how to carve a mango creatively. First, cut small circle in the middle of the side on the mango. Next, cut out circles around the middle to make a cute flower shape! Make sure you take the middle peel out so you can see the yellow of the mango show through. Carve in leaves on the side where the petals are. Continue to carve a smaller line to make the image look shadowed. Use your own talents to make this all your own and be as creative as you'd like to be. When finishe...

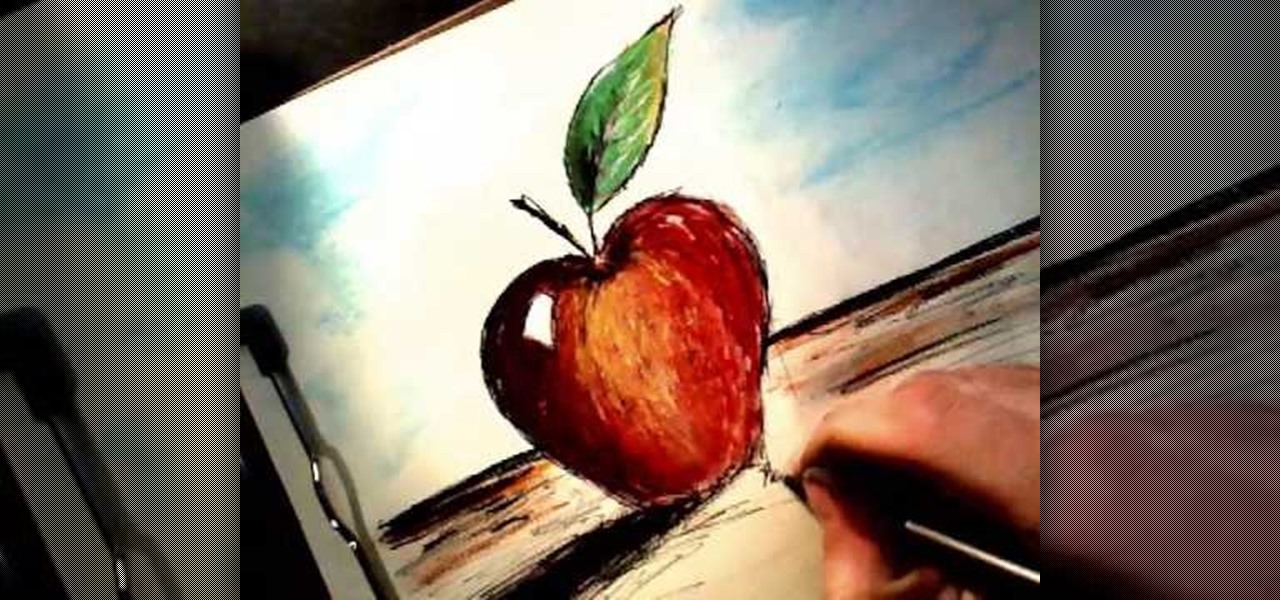
In this tutorial, we learn how to draw an apple. Start by drawing the outline shape of the apple. It looks like a slight heart shape in the middle of the apple where the stem is. After this, start to fill in the apple with lines to make it look more realistic, then draw the stem and a leaf coming out of the top middle of it. Color in the leaf with browns, blacks, and green. Then, draw lines on the bottom of the paper to make it look like the surface. Finish by coloring the apple red, making d...

In this tutorial, we learn ten different ways to wear a beret. The first way is to wear the hat with the long side on the forehead going down on the rest of the hair. The next way is to do this same look, except move the hat to the right. Next, place the hat in the middle of the hair with your bands on the side. Next look is in the middle to the left. You can also wear it in the middle with pigtails or to the left or right with pig tails. Wearing with a side pony tail is also another great op...

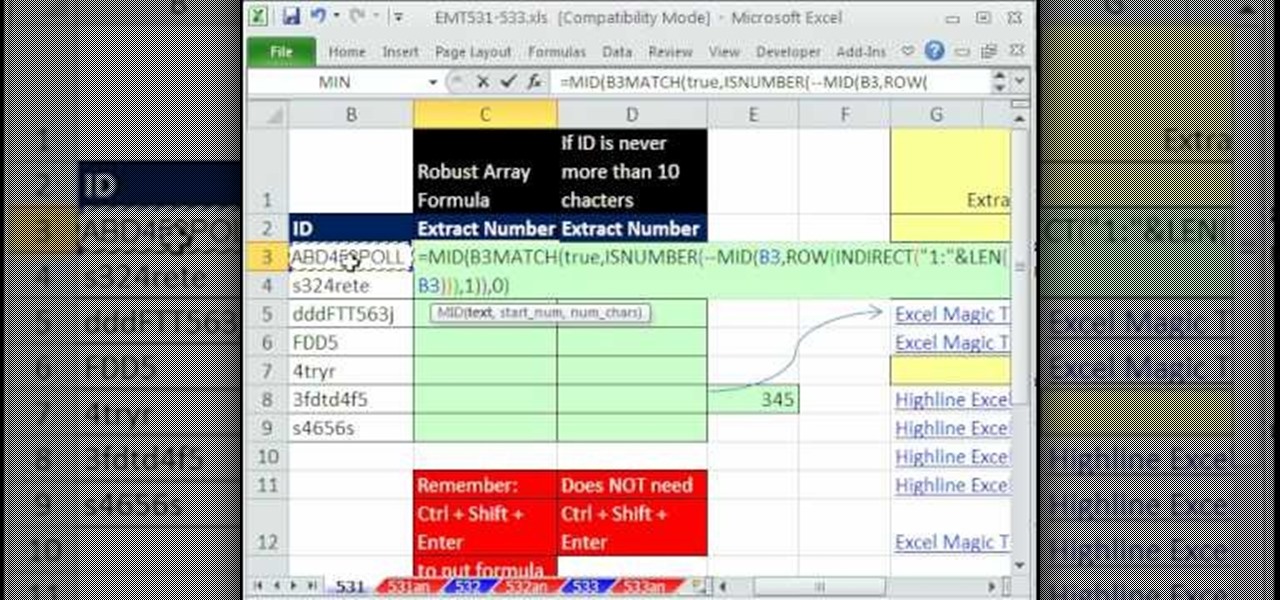
New to Microsoft Excel? Looking for a tip? How about a tip so mind-blowingly useful as to qualify as a magic trick? You're in luck. In this MS Excel tutorial from ExcelIsFun, the 531st installment in their series of digital spreadsheet magic tricks, you'll learn how to extract numbers from the middle of a text string (e.g., BB34G) becomes 34.

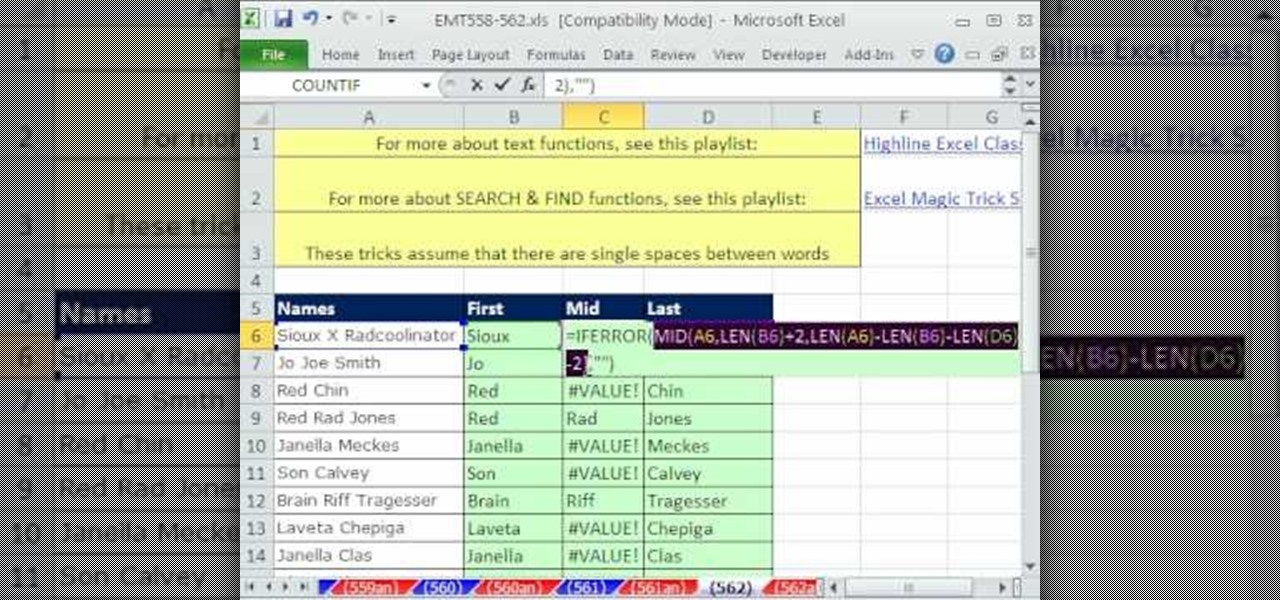
New to Microsoft Excel? Looking for a tip? How about a tip so mind-blowingly useful as to qualify as a magic trick? You're in luck. In this MS Excel tutorial from ExcelIsFun, the 562nd installment in their series of digital spreadsheet magic tricks, you'll learn how to extract first, middle and last names when the list contains names where some have a middle name and some do not using the LEFT, SEARCH, LEN, SUBSTITUTE, LEN, MID and IF functions.

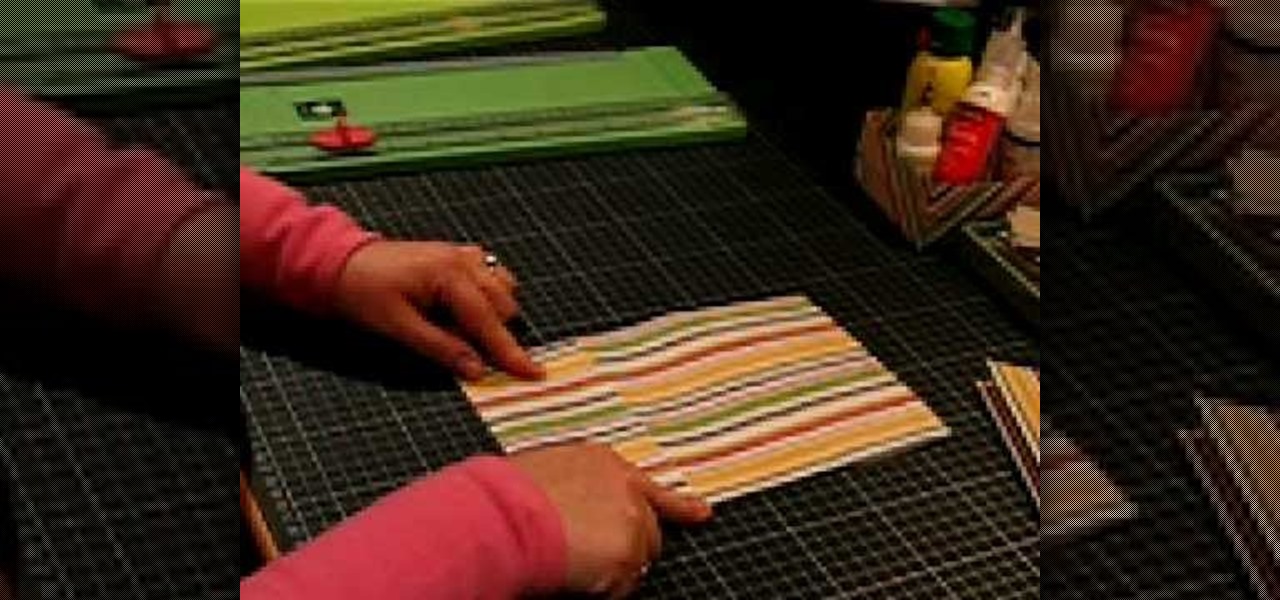
First of all you need a single sheet of paper 12 by 12 inches to make a mini book with four pages and measures 6 by 3 inches. You also need a tool for making creases and a knife to cut the paper. Start by folding the paper in half and then crease the middle line. You must always try to make the crease line as crisp and sharp as possible. Now open it out and then again fold it in the middle in the other side. After this step you have to place the paper with the length facing towards you. Now f...

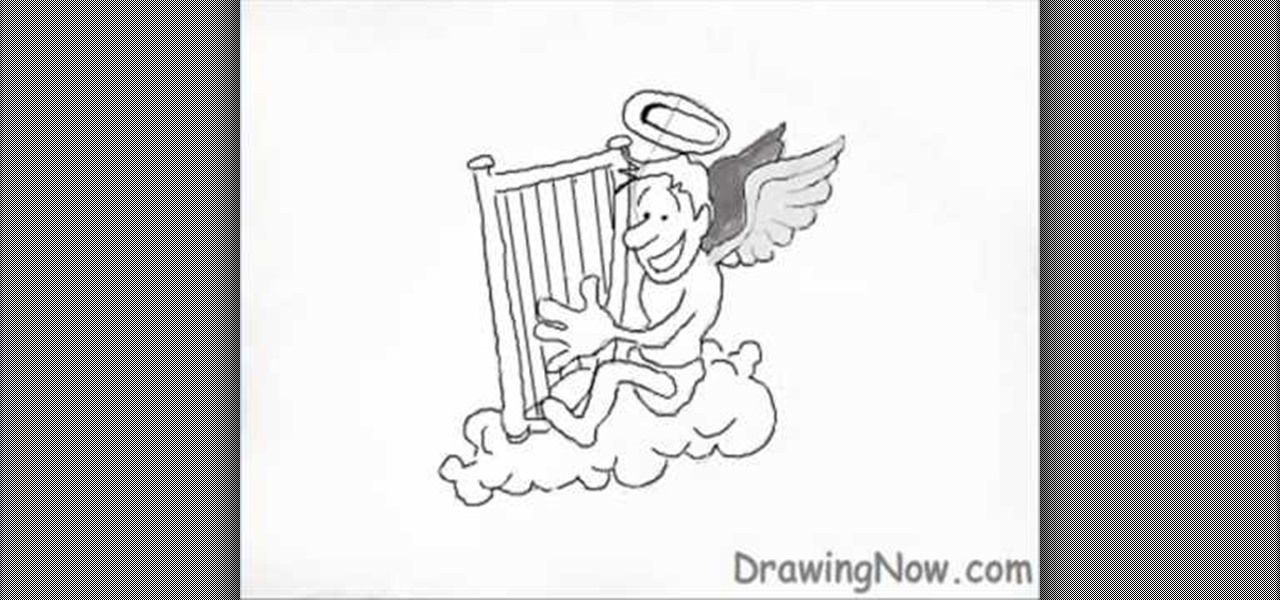
Three circles are drawn ontop of each other and a foot and a hand is added to the left side of the bottom and middle circles respectively; with the foot in a running motion. A rectangular shape is added in a way that the hand grasps it. A cloud is added below the forming person, so that he sits on it. Wings, a crown, a nose, an ear, hair, eyebrows, eye and a mouth with a smile are created in and above the first circle. The middle circle is traced onwards to the hand, to create the back,chest ...

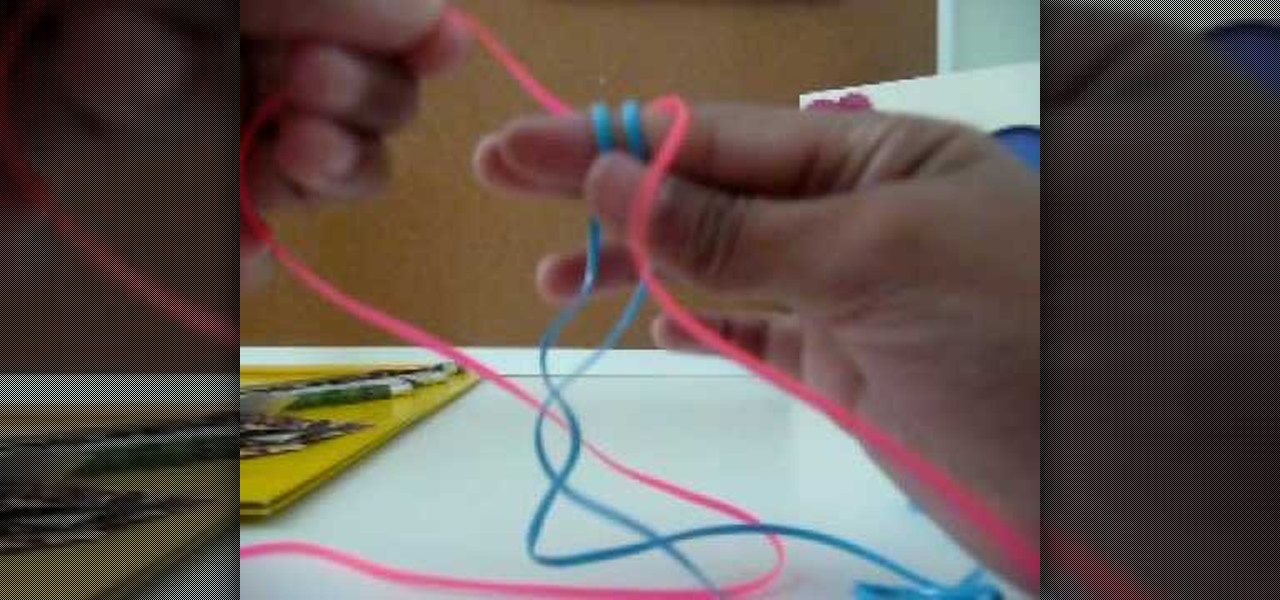
How to start a square or cube lanyard is demonstrated in this video.There are other videos to demonstrate how to stitch.

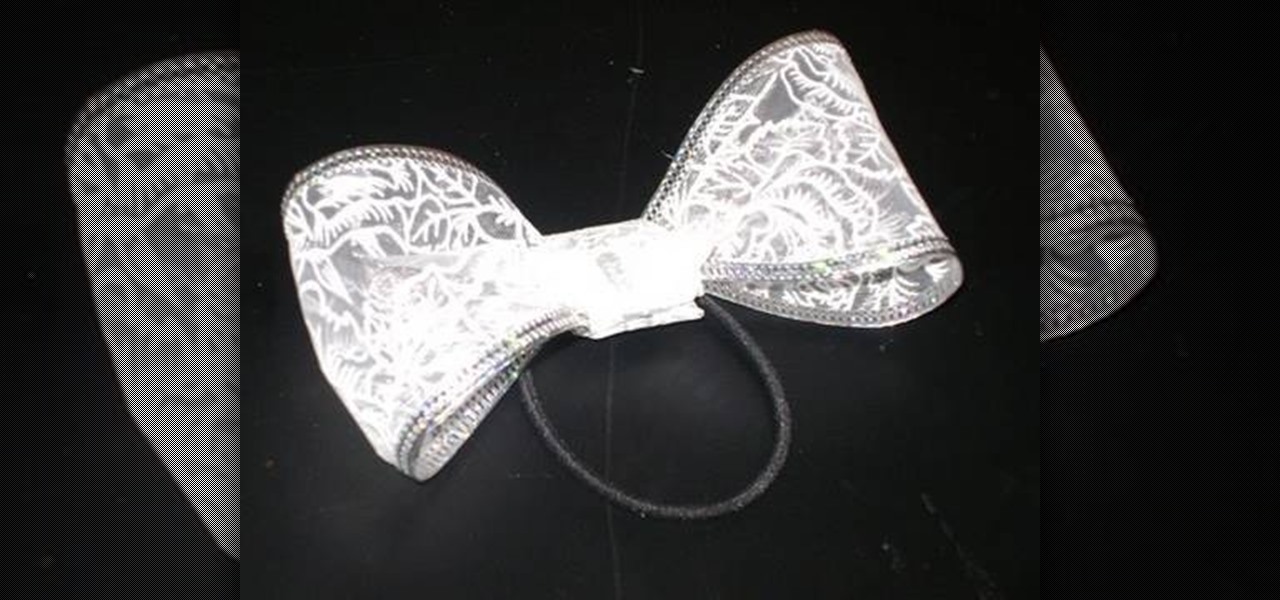
Materials required are lace, hair band, scissors and glue. Start by cutting off a piece of lace around ten inches length using a scissors. Now apply glue at the edges of one end of the lace. And then join the other end of the lace together to form a circle. Now hold this lace at the middle and then push in the middle. Press in at the centre so that it is divided into a Bow as shown. Spread the edges a little to make it appear fine. Now cut off a piece of lace around four inches using a scisso...

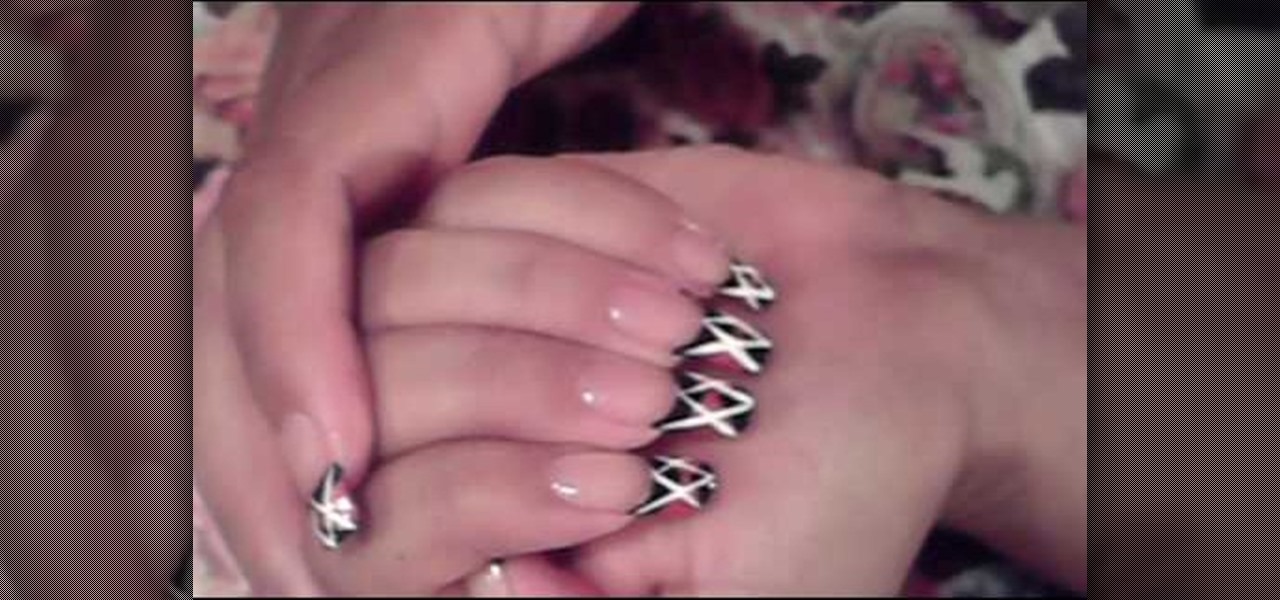
this short video shows how to paint nails in a black, pink, and white art design. The steps are simple and easy to follow. The first thing to be done is a regular black, French tip manicure. Once the black French manicure is completely dry, a pink thin tip nail polish is taken. From the middle of the nail , on the black tip, draw a V mark facing sideward on both sides. The next step is to fill the two "V"s, inside with the pink color. Once dried, with the white thin tipped nail polish, a line...

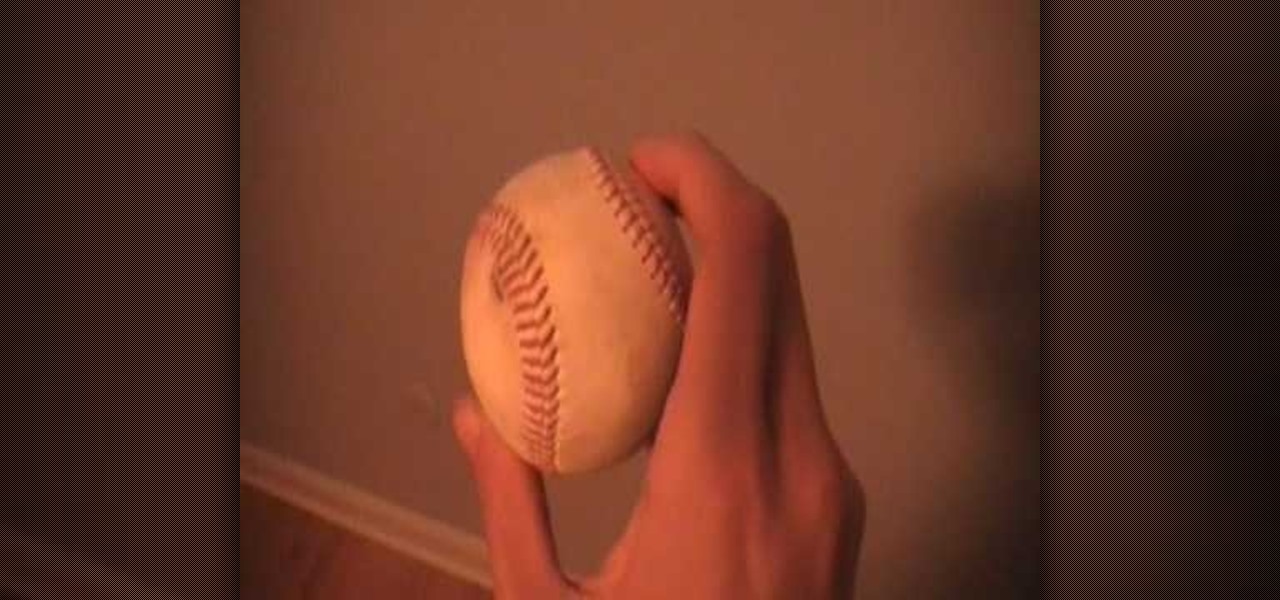
In this video, bawstansawkscawk99 demonstrates how to throw a slider, as well as the differences between sliders and curveballs. To throw a slider pitch, grip the baseball with your index and middle fingers on top of the baseball in between the two seams and your thumb directly underneath them (on the other side of the baseball and on the middle of the seam.) Throw the ball without flicking your wrist, letting it roll off your index and middle fingers. The ball should dive down and away from ...

This video from Origami in 30 Seconds demonstrates how to make a paper box in 30 seconds. Start with a square piece of paper and fold it diagonally to make triangles from both corners. Unfold it, and fold each corner into the middle. Unfold two of the sides and fold the edges of the other sides toward the middle. Turn it over and fold the triangular corners back so they touch in the middle. Fold the corners over backwards. Take the two sides and pull them out, and fold the outside corners in ...

CookiesHugs teaches you how to make an adorable hair bow for girls. For this, you will need a ribbon, scissors, glue gun, a hair clip, and a ruler. Cut 14-15 cm of the ribbon. Put clear nail polish on the ends of the ribbon. Fold the ribbon in half, width wise. Glue one side of the ribbon to the crease in the middle. Do the same on the other side as well. Place glue in the middle and fold the top and the bottom together. Wrap a piece of ribbon in on the outside, in the middle. On the back of ...

Find out how to change your middle name on Facebook. 1. Sign into your Facebook account. Go to "Settings" on the top right of your main Facebook home page. 2. From there click on "Account Settings". Find where it says name and click on "change". 3. Enter your middle name and click on "Change Name". 4. Read the legal paragraph and be sure to check the box that says "I confirm. " then click on "Confirm Request".

Accidents are the worst. They're costly, time consuming and an all around pain in the butt. Rear-end collisions are among the most common types of accidents on the road. Take these simple precautions to avoid a rear-end collision.

Step away from the tequila shooters and stop the morning-after agony before it starts. You Will Need

Kefta is a ground meat dish served all over the Mediterranean and Middle East. You will need ground beef, gournd lamb, parsley, salt, black pepper, sumac, nutmeg, and olive oil. Watch this video cooking tutorial and learn how to make Kefta kebab.

Grandmaster Alexandra Kosteniuk teaches you how to play a real game of chess in this video tutorial. From the game Onischuk vs Carlsen in Biel (2007). Black plays and wins, by first taking white's rook and checking the king. The white king then takes the black queen, and so on. This will show you how to keep a criminal pawn at bay in a chess middle game, causing your chess opponent to resign like the loser that he/she is.

Grandmaster Alexandra Kosteniuk shows you how to play a real game of chess in this video tutorial, showing you how to checkmate the king with two variations in endgame/middle game chess. This example is from the game DesChapelles - De Labourdonnais, Paris 1836. White plays and wins the chess game by first playing the knight to check the king, with a sacrifice. Then the queen moves in for the endgame/middle game chess kill.

Learn to teach the position of middle C on the piano and a one-finger etude to practice with.

In this tutorial, we learn how to draw steps in perspective. Start off by drawing a dot in the middle of the paper. From here, draw lines using a ruler coming from the middle diagonally on the top middle and sides. Now, you will be able to draw your pictures using these as a reference point. The lines at the top will show the steps that are at the top and farthest away the closer they get to the dot in the middle. After this, fill in the details of the picture making different items around th...

Are you interested in video editing, but have no background in it? Are you looking to put together a short from some clips you've shot, but don't know where to start? You could use iMovie, an application that comes free with every iPhone, but then what would you do on Android? There must be a universal solution that works across both iOS and Android to let you work however and wherever you like.

Why run in intervals rather than either slow, medium speed, or fast during your daily jog? Interval training, which alternates between slow, medium, and fast, surprises your body by constantly changing the pace. This makes your body work harder in the same amount of time as your usual run.

There's no better time to have your cake and to eat it too than your birthday. However crazy your tastes, the day of your arrival onto this earth entitles you to treats of all magnitudes.

Back in the analog days, slideshows were considered a boring aside reserved for family get-togethers and corporate events. On the web, where they can be viewed at the viewers own pace and from their own comfy chair, slideshows (or picture galleries) are enjoying a renaissance. This video will teach you how to create a slideshow using Flash CS4. It has no narration, so you must follow along closely, but the beautiful Mozart Rondo in C that plays at the beginning should make up for that.

This how-to video is a vibrant and animated tutorial on how to paint children’s furniture: in particular, a little girl’s tea table and chairs. It’s fast paced yet easy to follow. The video couple takes you from the taping and preparation of the table and chairs to the completed and professional quality finished product, which would thrill any little girl. Their method of communicating the most important steps is to race to the camera and speak to the audience, in an amusing sort of wink, whi...

This video is about adding motion to photos with the help of Photoshop. The video has clear picture with good audio. In a few minutes the video gave easy step by step instructions about adding motion to a particular object in the photo and it also gave an easy tip to get it gelled with the background. The instructor was good but needs to modify his pace for better clarity. The video surely gives the basic steps to be followed to add motion to a photo and will also be very useful in the field ...

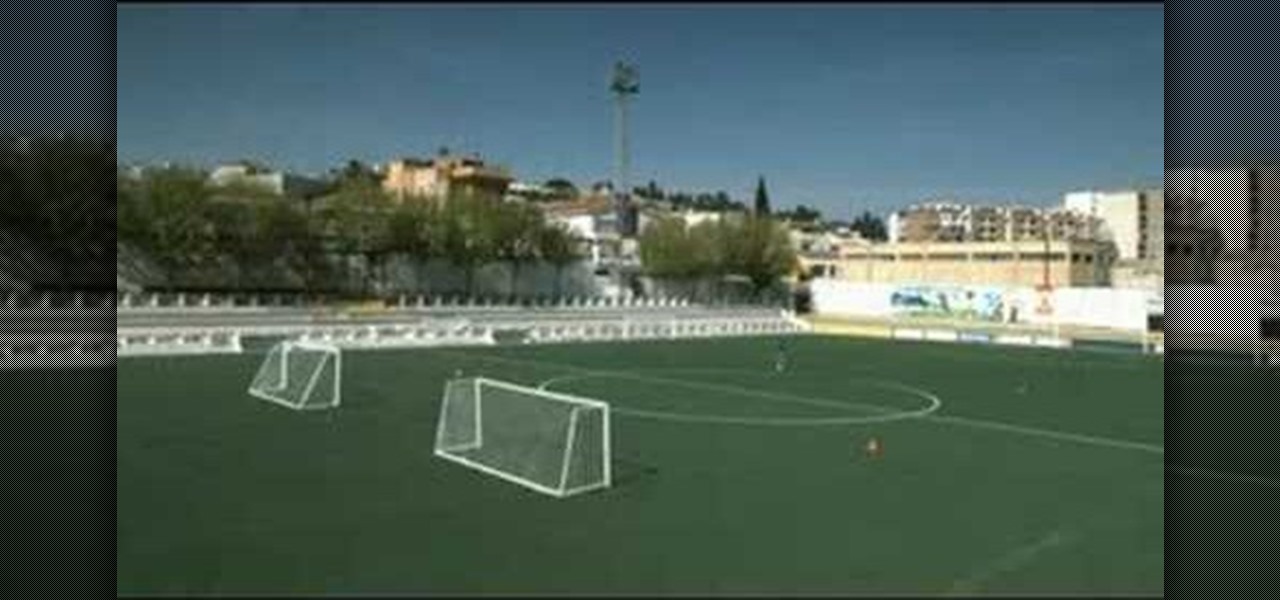
Running and scoring. Two things you can never get enough of. It’s a simple formula: grab one ball, two goals and four cones. Add a combination of electric pace and razor sharp finishing. What do you get? Dual Goals: this week’s featured Nike Bootcamp drill. Brush up on your soccer skills. Nike Bootcamp brings you this pro soccer drill training video: learn how to do the Dual Goals drill.

BMX: Catch Some Air If Ernest Michaux, inventor of the modern bicycle, could see what people are doing with his creation, he'd freak out. The art of creative biking has never been more challenging and rewarding than it is now. Check out the tricks for a guide to BMX mayhem. Watch this video tutorial to see how to perform a barhop on a BMX bicycle.

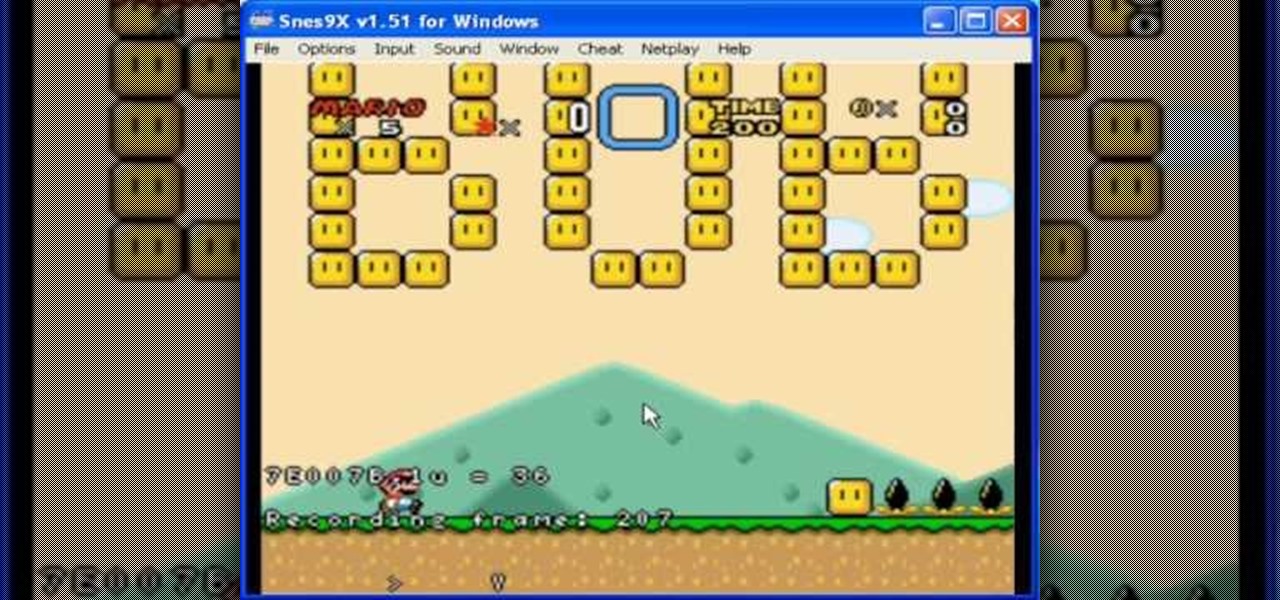
If you're going to make a really fast TAS keeping your character moving as fast as possible is crucial. This video features two Super Mario World TAS tips: how to use ZNES9 to set Mario's running speed as a high constant, and how to do walljumps impossible in the standard game.

This video is about folding an abstract, flexible origami shape

Before learning how to play a guitar your going to want to know how to hold your guitar pick. First there is the one finger hold, this looks like you're making a fist. You don't want to make a hard fist but a loose one, not a of strain should be put on the hand. Move your thumb down a little and your first finger too so that it looks like a ribbon or a bow. You have to line up the edge of the pick with the edge of your index finger. Once that is done adopt the hold defined above to complete i...


