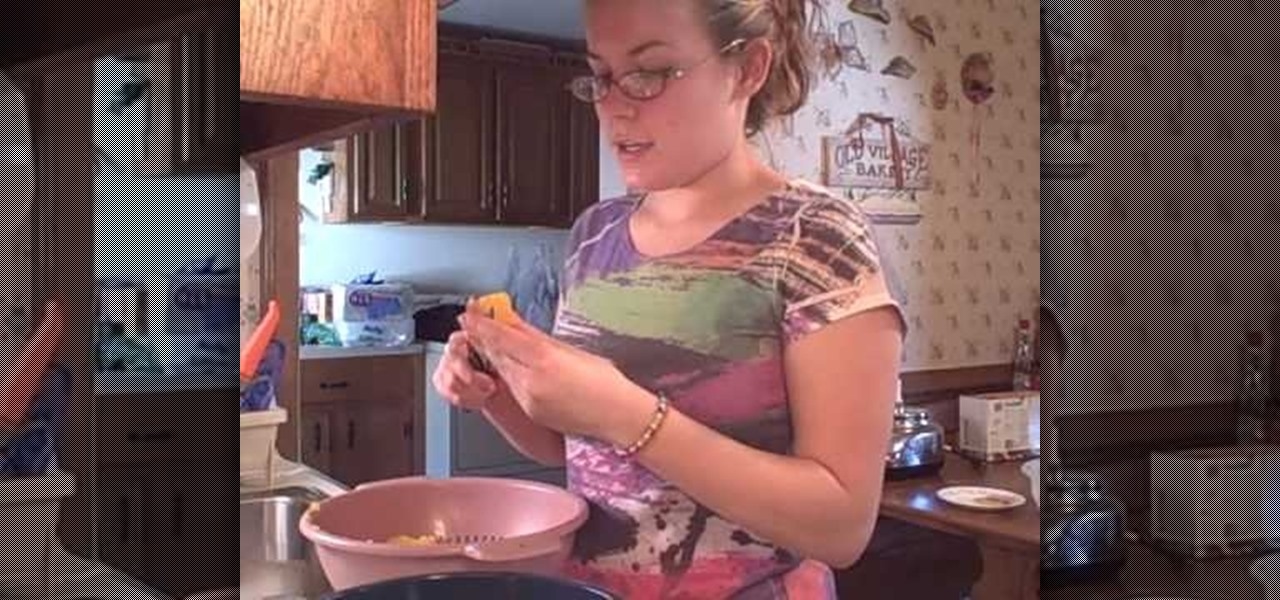
In this tutorial, we learn how to make a pumpkin pie with fresh pumpkin. First, take your pumpkin and cut it in half. After this, take out the middle of the pumpkin, then cut it into several large cubes in a large bowl. After this, place the pumpkin into boiling water and cook until they are soft. Once finished, take the filling from the middle and peel the skin off the pieces. Now mash these pieces up using a food processor and add together with the other ingredients for your pumpkin pie. Po...
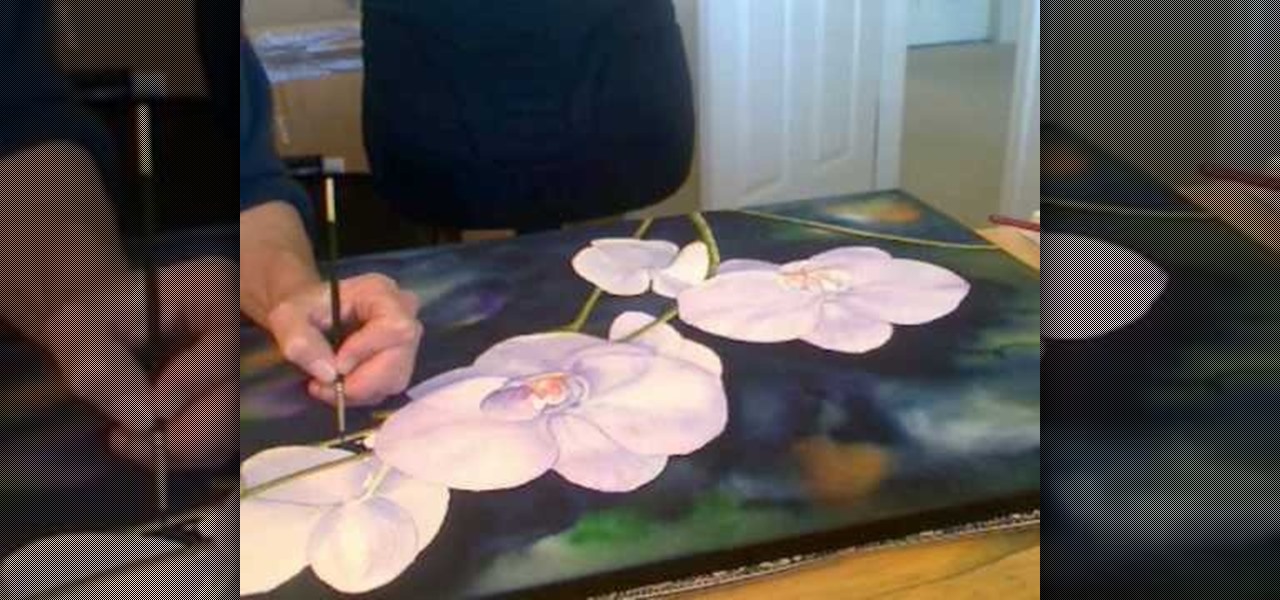
In this video, we learn how to pain orchid flowers with watercolor paints. Start out by using a light lilac color on the petals. Use a thin brush to push the colors around on the picture so you have slight shading around the different petals. Use a darker purple color in the middle of the flower. Then, use a yellow color in the very middle. Add in a green leaf and stem on the bottom of the flower. Use a paper towel to smudge any excess moisture or water off of the flower to make it more prist...
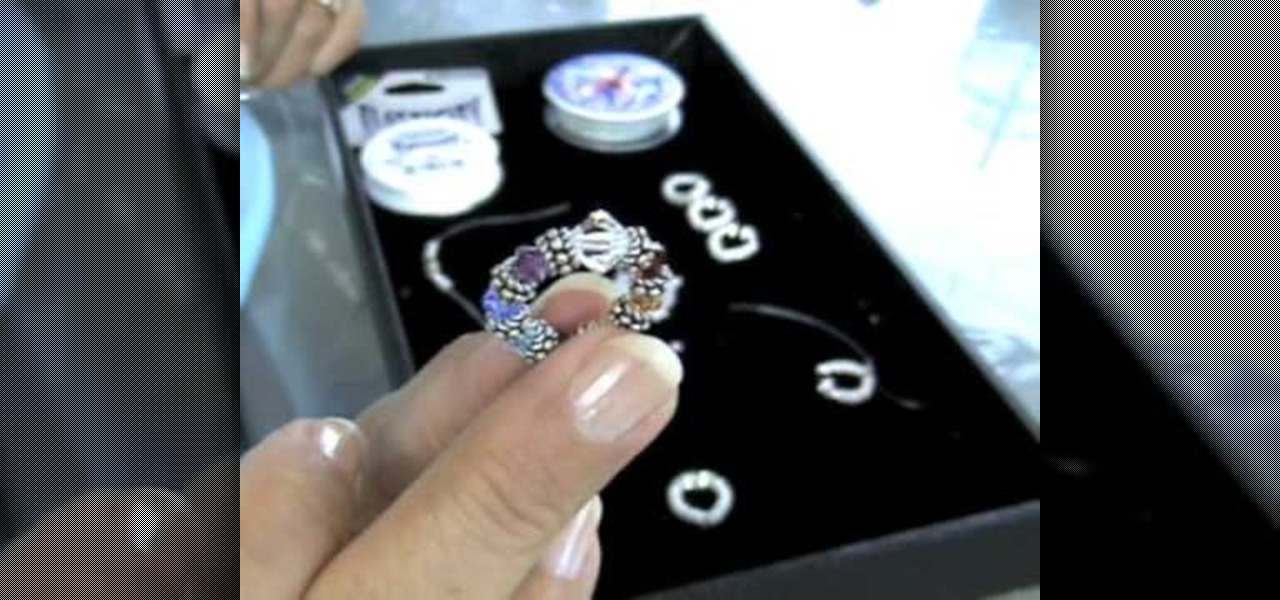
In this tutorial, we learn how to make an elastic Bali bead & crystal ring. First, you need to get all of your supplies together, which include: elastic cord, crystals, glue, beads, and scissors. Start by cutting a 6 inch piece of the elastic cord, then string a bead to the middle of it. Then take a crystal and string it onto one side along with another bead and a silver bead. After this, place more beads around the other side of the middle bead then put it around your finger to see if it's t...
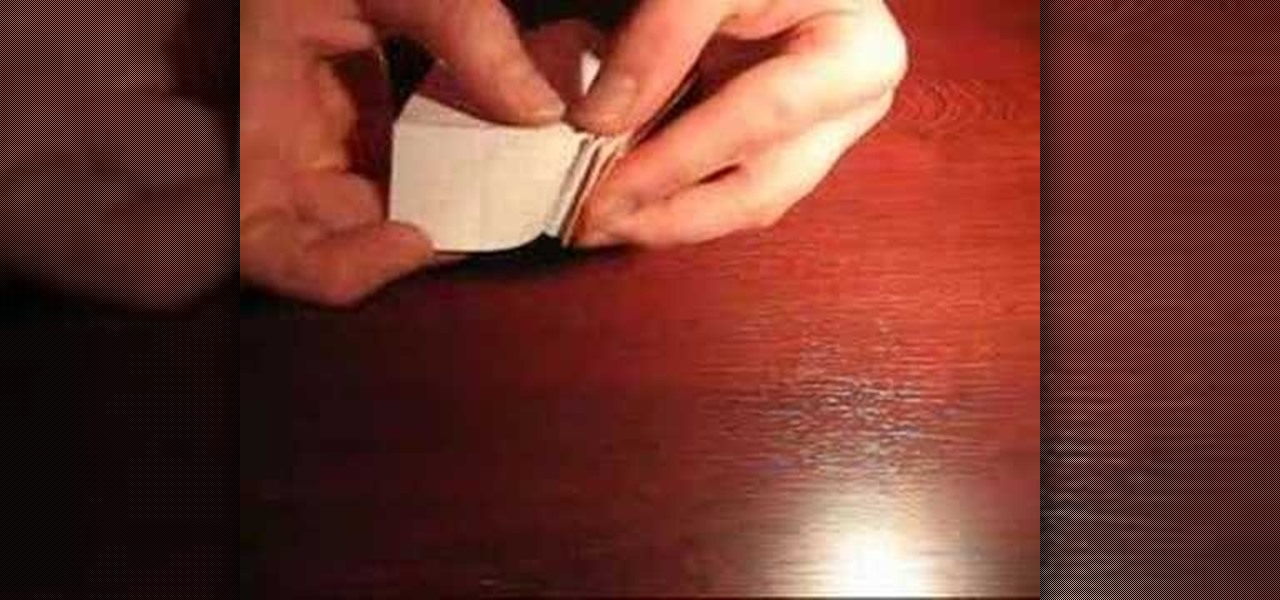
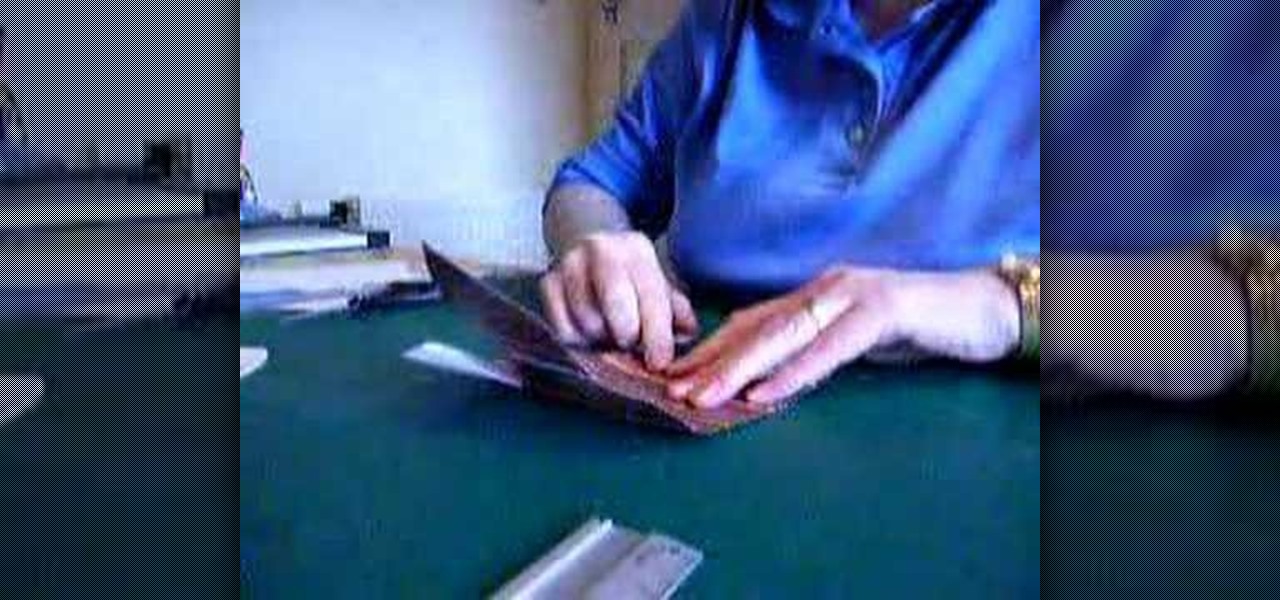
This video will show viewers how to fold a small book out of origami paper. You will need a square piece of paper for this project. First, fold the paper downwards in half, then fold it into quarters by folding down both edges of the paper to meet in the middle. Unfold and fold the two top sections down to make eighths on your paper. Then turn the paper around and repeat. Mountain fold both sides of the paper until you reach the middle, after which you should have a strip of folded paper. At ...
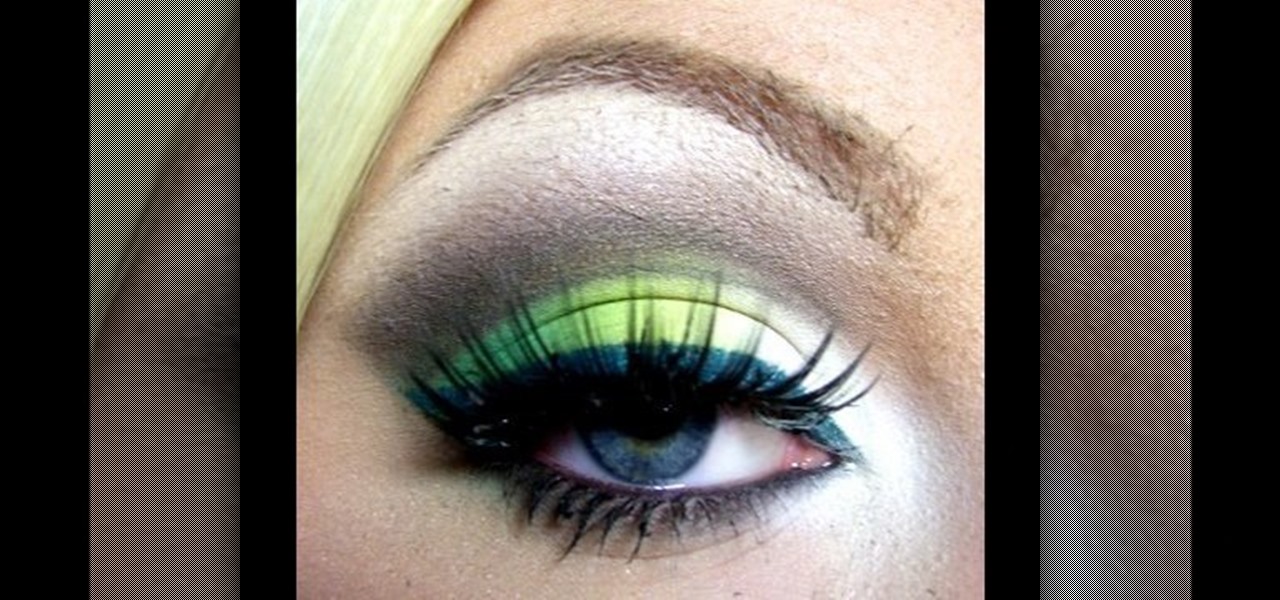
In this video, we learn how to get a spring makeup look with greens and whites. Start by applying a highlight underneath the eyebrow, brushing it on slowly, then blending down. Next, apply a white eyeshadow to the inner corner of the eye, into the middle of the eyelid. Follow this by applying a neon yellow color to the middle of the eyelid, then slightly blending the two colors together on the edges. After this, apply a dark green shadow to the outer edge of the eyelid and blend with the neon...
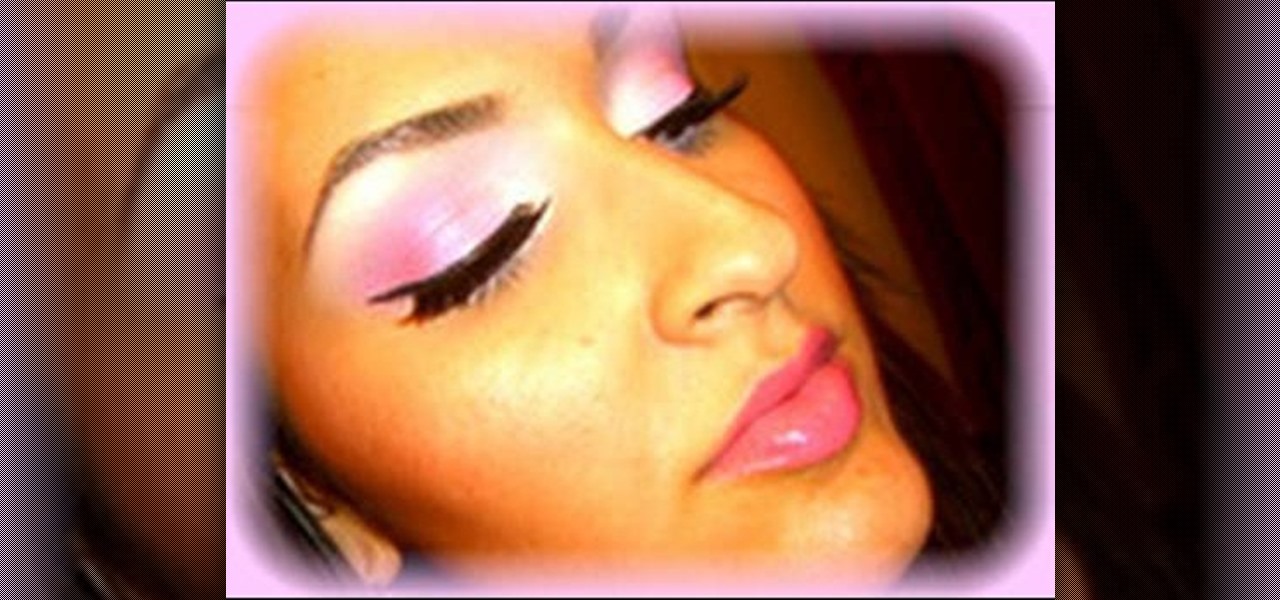
In this video, we learn how to apply ice princess pink shades with your makeup. First, apply a white cream pencil to the inner eyelid and underneath the eyebrow, then blend in. Next, take a white cream color and brush it on the inside of the lid and around the entire eyelid. Now, take a glitter pink shadow and brush it onto the middle of the eyelid. After this, take a bright pink shadow and brush it on the outer corner of the eye, blending it in with the middle pink. Now, take a lavender eyes...

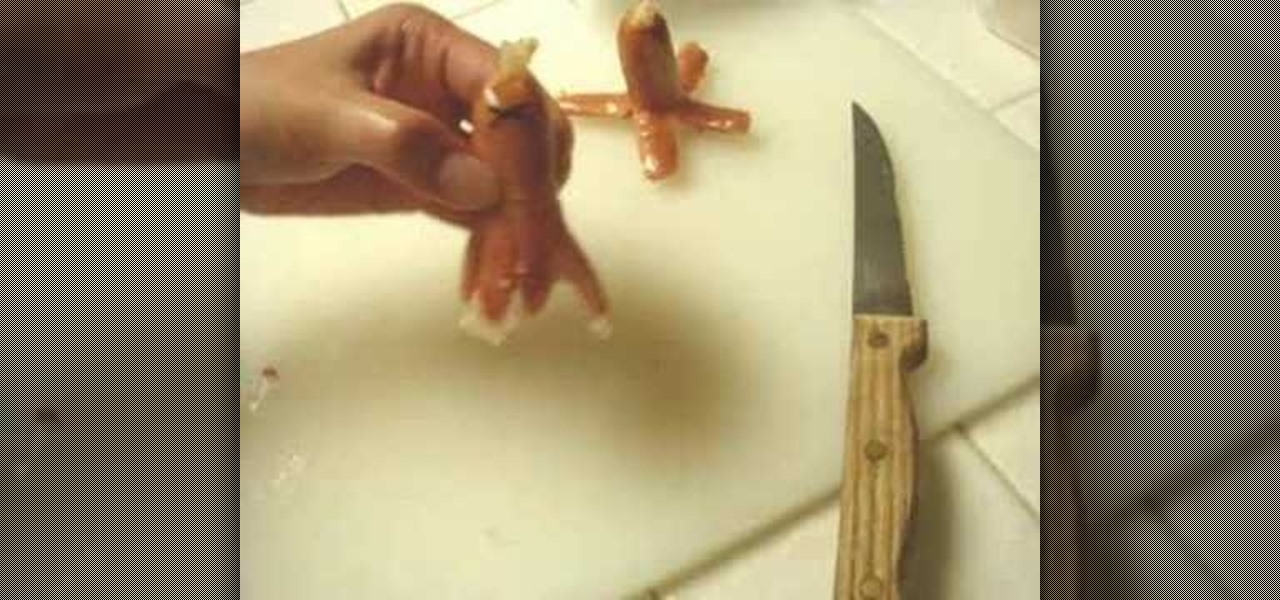
In this video, we learn how to make bento. First, you will need to purchase small quail eggs from a Japanese market, then place dried seaweed cut into two small circles on the top. Next, cut the middle of the egg with a knife, then pry it open to make it look like a knife. After this, take a small sausage and cut it at the bottom so there are eight pieces hanging, and it looks like a squid. Place an "x" cut out of seaweed on the top and cut the middle to make a mouth. Slice a strawberry while...

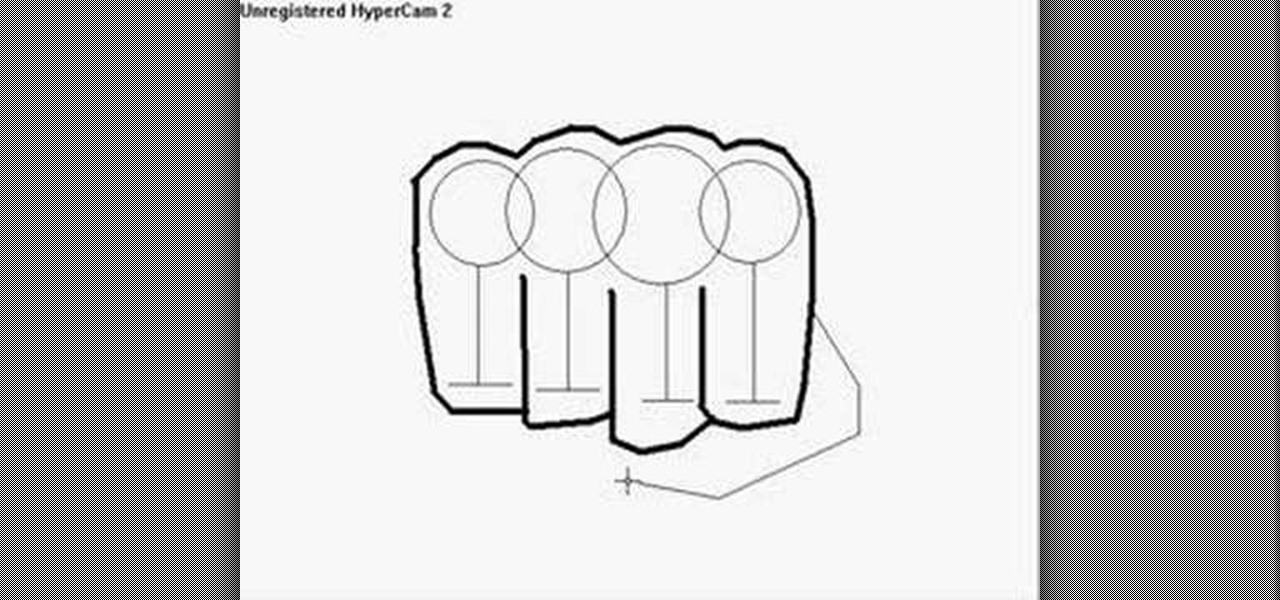
In this tutorial, we learn how to draw a fist. Start off by drawing for circles linked to each other, then draw lines coming down from the middle of each circle. Then, draw a line across the bottom of each vertical line, going horizontally. After this, use a dark line to outline around the circles and the bottom of the lines. Make sure to draw a line in between each of the individual lines. Next, add a couple of curved lines to make a thumb appear on the side. To finish, erase the original ci...

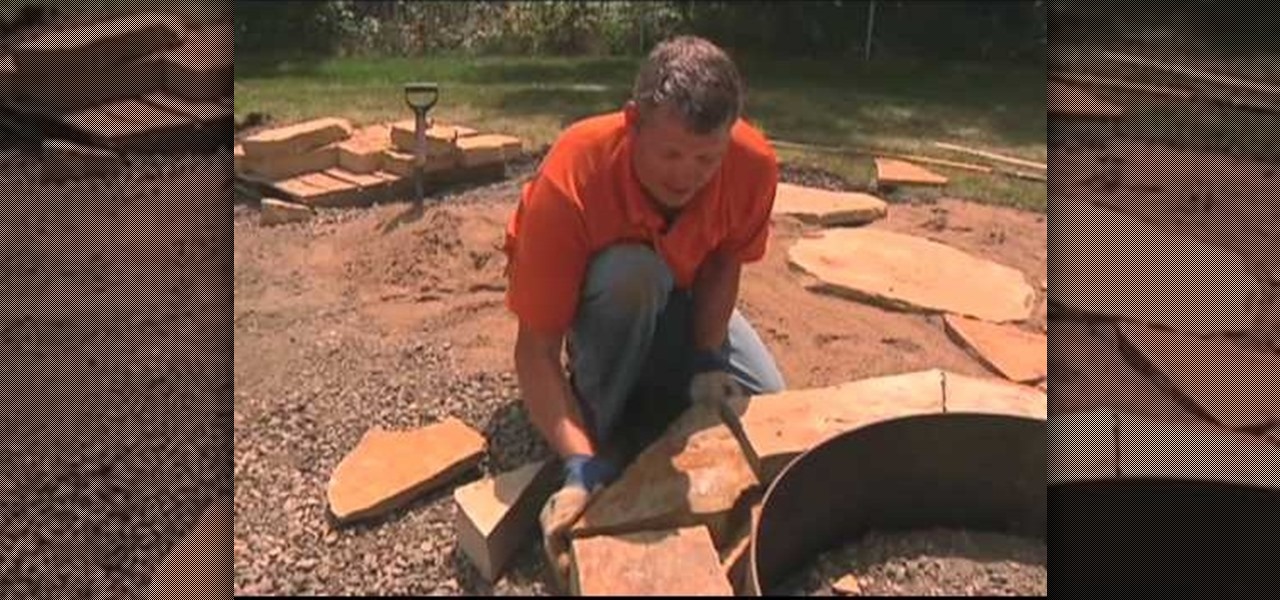
In this tutorial, we learn how to properly build a firepit. First, prep your base by filling it with dirt and small rocks. After this, set your ring down onto the dirt and make sure it's level. You can also raise it up if you want a foot rest or beverage holder. Next, apply your stone around the ring and then mortar it. Make sure all the pieces of stone fit nice and tight together. After you've done this, lock in all the joints on the stone patio by using sand and brushing it into the middle....

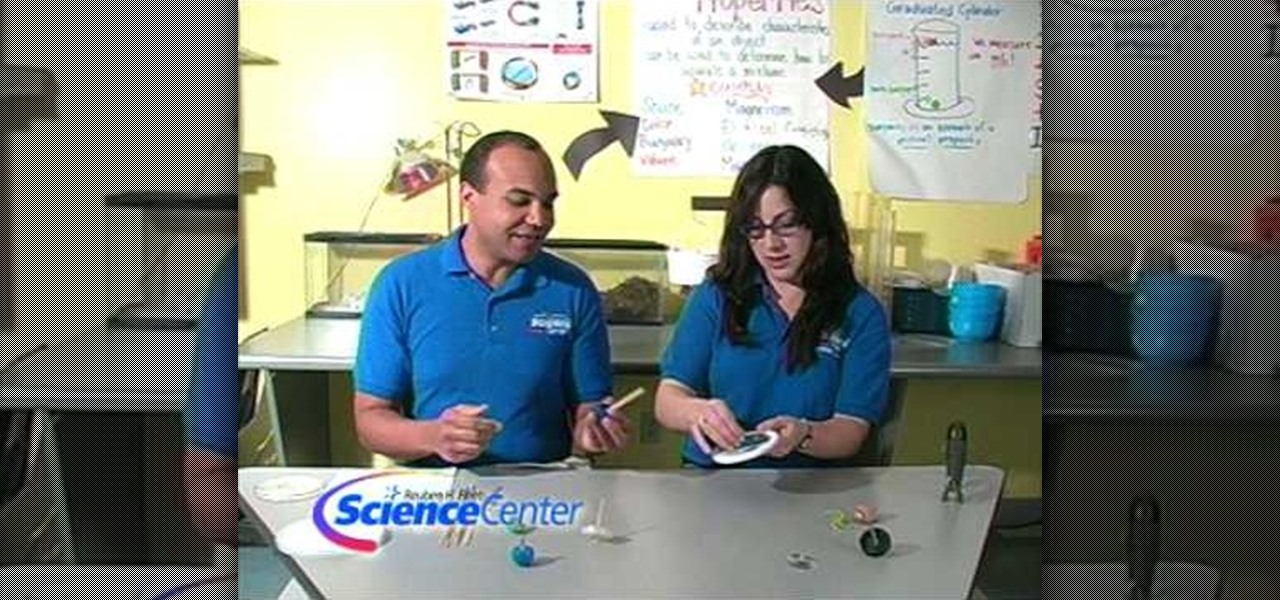
In this tutorial, we learn how to build spinning tops with everyday objects. You will need: round recyclable plastic lids, skewers, hot glue gun, and washers or pennies. First, take your plastic lid and weight it with a penny, then poke a skewer through the middle of it. After this, you will have a top made out of homemade products! You can use anything that is laying around your home to make a top, no matter what it is. Just make sure you have something to place int he middle and the weight ...

In this tutorial, we learn how to draw an eye in GIMP. First, open up the GIMP software and set up a circle, then color it dark blue. Next, add in light to the middle of the eye, so it looks like a light is shining onto it. After this, make a small circle in the middle of the eye, coloring it black. When done with this, create a new layer and then add brightness to the pupil of the eye. Continue to play around with the contrast and colors of the eye, so it looks more realistic and life like. ...

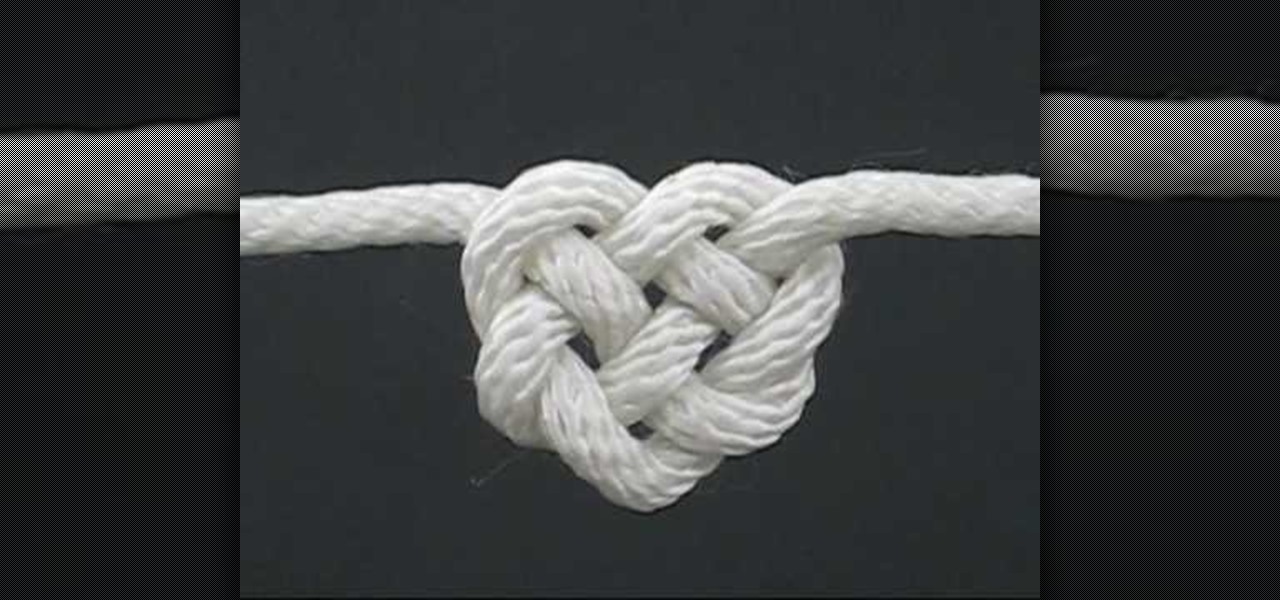
In this video, we learn how to tie the Celtic heart knot. Start off with your rope and make a loop in the middle of it. Now, bring the working en on the right side into the loop so you have a circle. Now, bring that end back into the knot and braid it through the other loop. Next, push this through the bottom loop, then braid it through the lines that are on the shape. After this, you will see a heart shape start to form. Pull gently on the heart with both sides of the rope and shape the midd...

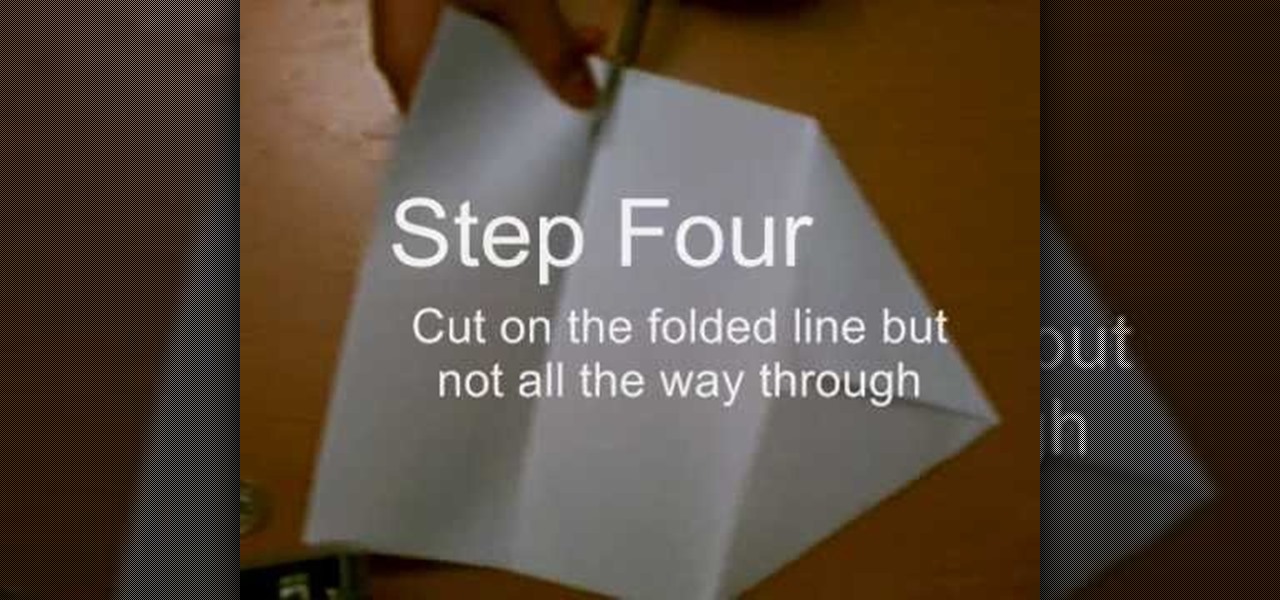
In this video, we learn how to make a whirlybird paper helicopter from printer paper. First, fold two triangles together on the paper. Next, fold the back to the triangle you just created. Next, fold the paper back and, then cut on the folded line but not all the way through. After this, fold the middle flaps until they reach each other. Then, cut through the middle of the bottom and fold one flap on the top, then fold the other flap on the flip side. Now you will be finished with your helico...

In this video, we learn how to make easy custom ornaments from clear bulb ornaments. First, you will need to grab your clear ornament, then grab some glitter glue and pour it into the middle of the bulb. Continue to fill in different colors into the bulb, then wipe off the top and shake it so the colors cover the entire bulb. The more you shake it, the more the colors will mix. After this has dried, place the clips back into the middle of the bulb, then you can hang this on your tree. This is...

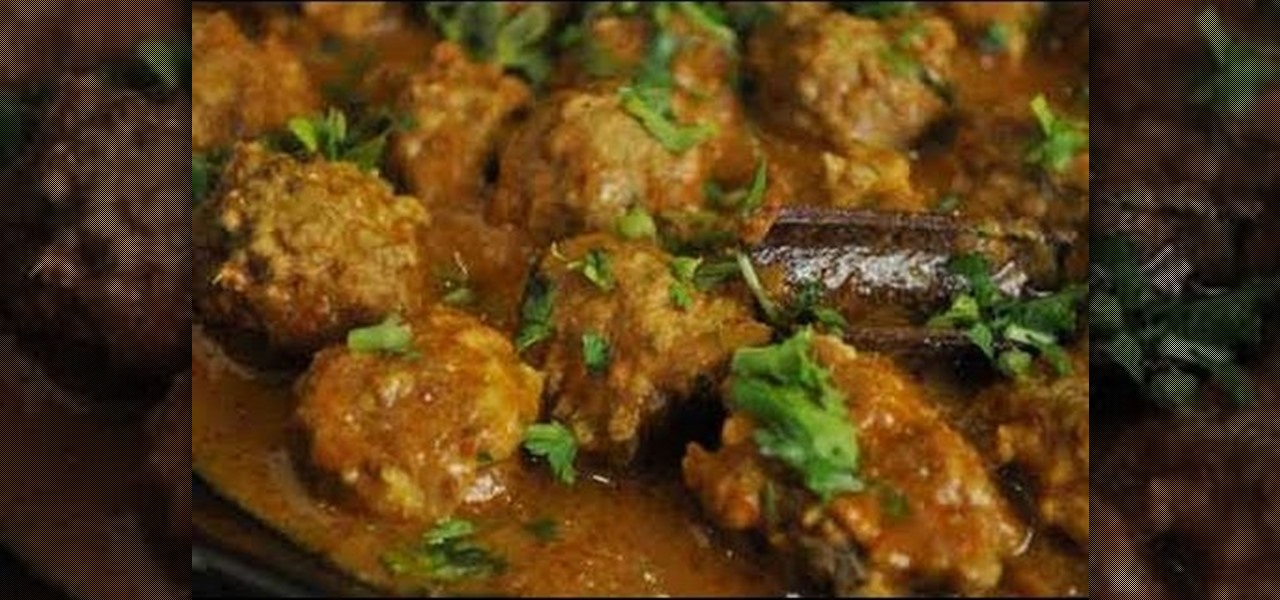
Are you planning to throw a big party soon and really want to surprise your guests with an unexpected and unusual food? Then this chicken kofta curry is just the thing for topping rice or couscous. Kofta just means a Middle Eastern or South Asian meatball, usually made from beef or lamb (though obviously the meat is chicken in this recipe).

In this tutorial, we learn how to make knit stitch markers. First, knit to the middle, doing two stitches together, then flip stitch over. When you get to the middle of your item, place your marker on the stitch to keep track of where the loops are at. You can purchase a knit stitch marker from a variety of different craft stores. Use this as often as you'd like, especially if you need help finding the gap when you are creating something. Set this aside when you are finished, and make sure yo...

In this tutorial, we learn how to throw an upside down double walled pottery vase. Start off by using water every few seconds to craft your vase. Use your fingers to press down in the middle, to make the round shape and have the vase rise up into the air. Make this into a bowl shape, which will be into the air. Next, shape the middle using your hands into a triangle shape. Raise the side bowl around it, and keep using water to increase the size of the bowl. Collar the bowl in, then start to m...

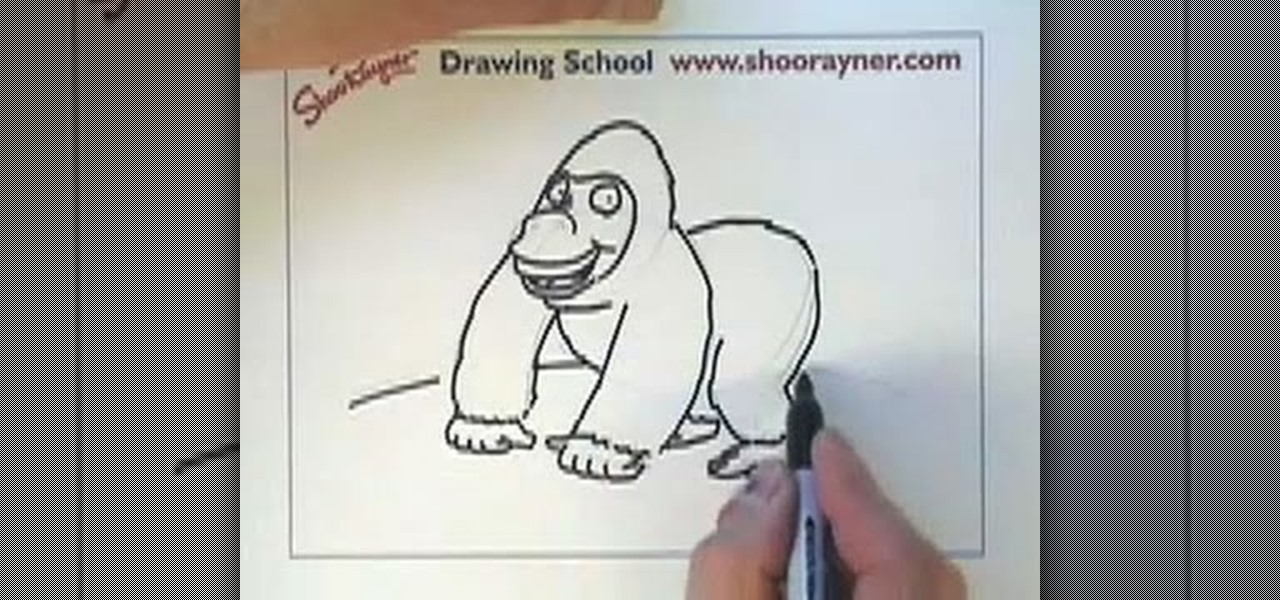
In this tutorial, we learn how to draw a gorilla. Depending on what type of gorilla you want to draw, there are various ways to change the look easily. To start, draw a bean shape that will be the body. Next, draw a smaller bean shape for the head on the side of the other shape. Now, draw the middle of the face, making eyes in the middle underneath the brow bone. Now, make the nose and mouth of the gorilla. After this, continue back down on the rest of the body and draw arms and legs for the ...

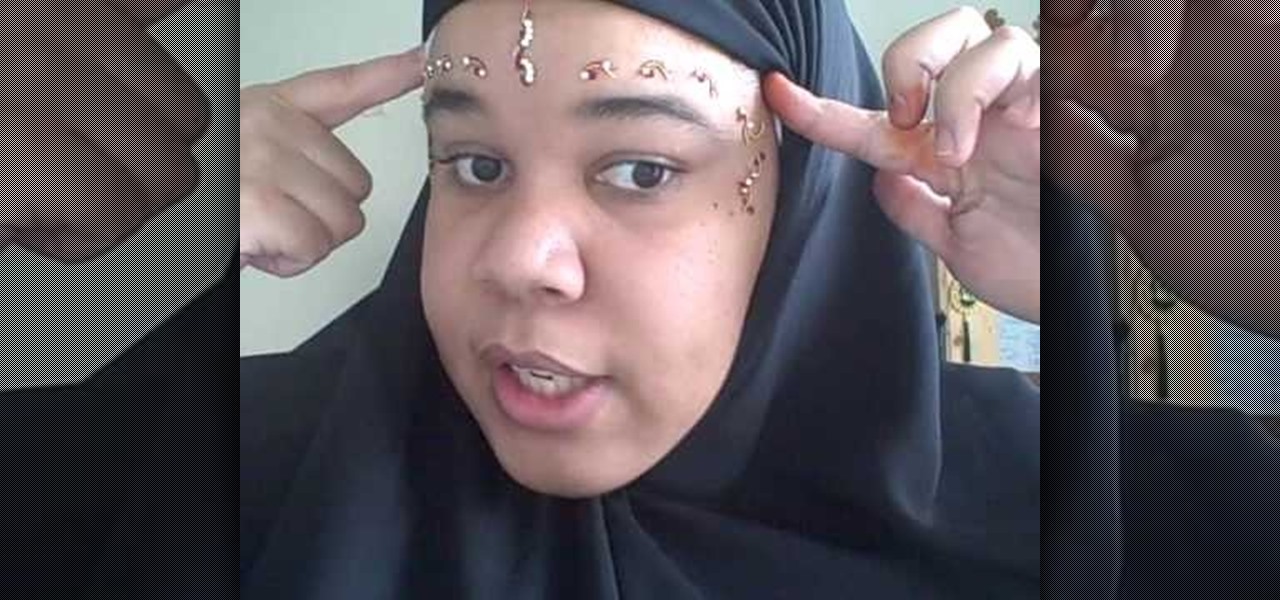
In this tutorial, we learn how to wear a peer bridal bindi. First, line a pencil with your nose, and mark the points where the points are parallel to the eye on all sides. After this, remove the bindi from the package and place the middle section onto the middle dot. After this, remove the other pieces and place them in the spots that correspond to the other marks. Continue placing these on until you have applied the entire bindi. You may need to use bindi glue to help apply these if you are ...

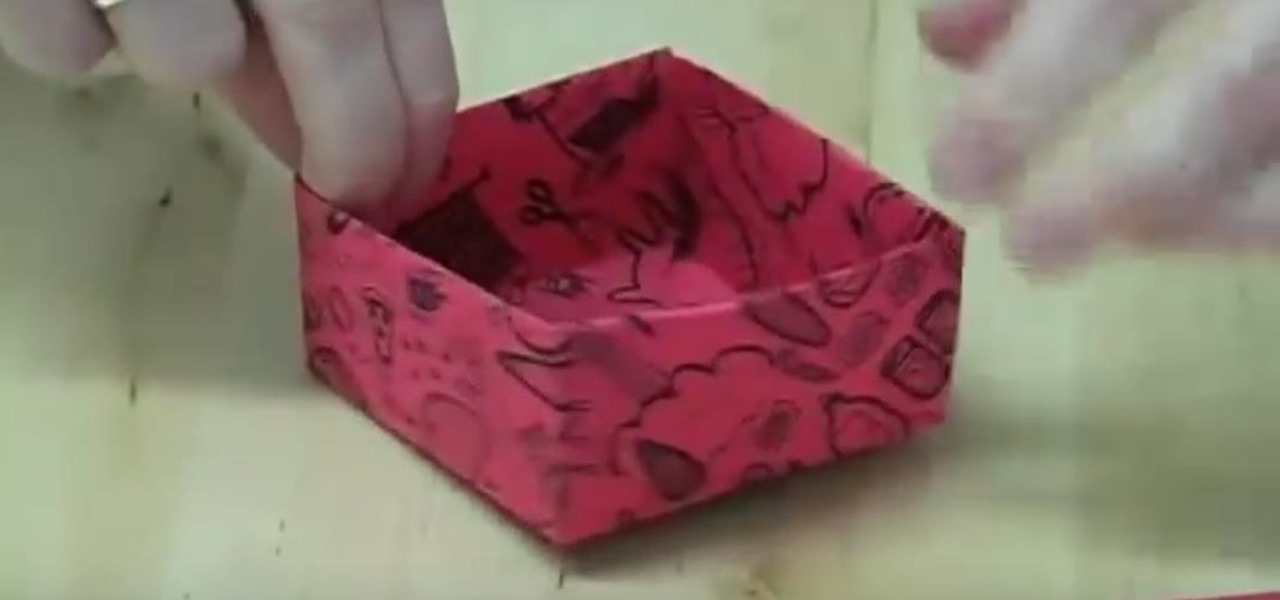
In this tutorial, we learn how to make mini paper square boxes. First, grab a piece of paper and fold two ends in so they touch in the middle. After this, fold the bottom up so it covers the triangles and they meet at the middle. Crease the edges, then cut down the edges on both sides where the crease is. Next, fold the sides in so you have a shape that looks like a sword. After this, fold the sides up, then fold the other sides in. When finished, push the creases in and you will form a box, ...

In this video, we learn how to perform a flat four string braid on your hair! First, you want to start off with either wet or dry straight hair that has just been brushed out. Next, you will grab the top three piece of hair on your head and perform a regular braid by placing the right section under the middle, then the left under the middle, and so on. Keep doing this for about 4 braids, then start adding in hair on the right and left hand side each time you get to them. Repeat this until you...

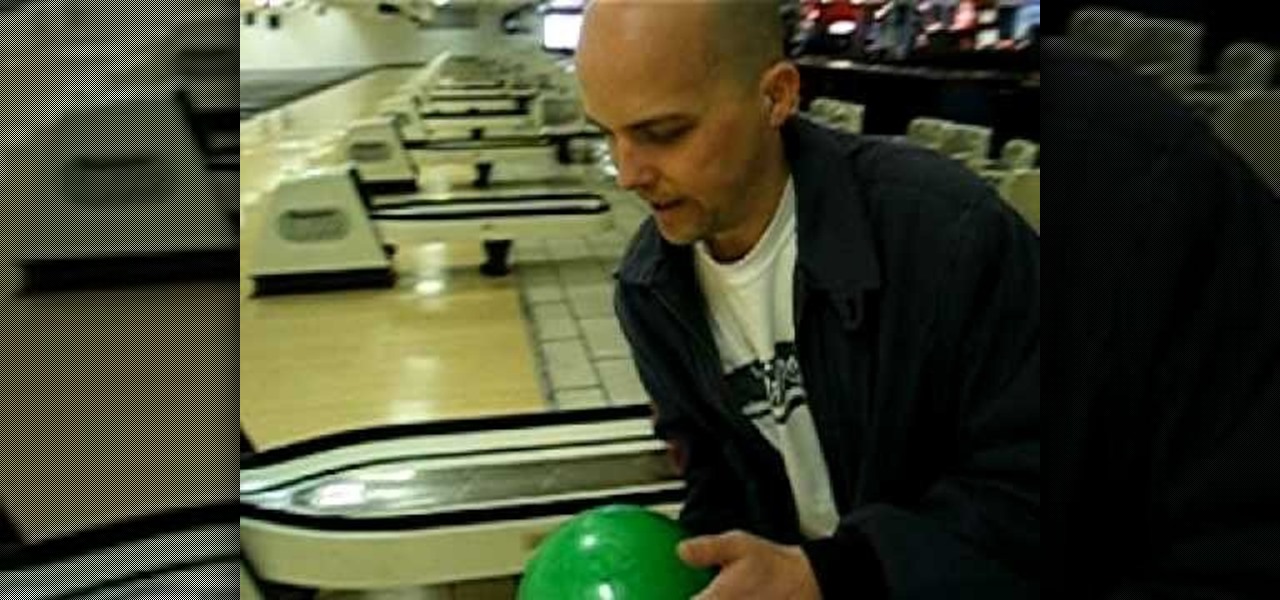
In this video tutorial, viewers learn how to curve a bowling ball. When holding the ball, users will only be using 2 fingers: the middle and index finger. Place the middle finger in the left hole and index finger in the right hole. Make sure that the bowling ball is not too heavy. Do not use your thumb to hold the third hole. When you let go of the ball, spin the ball really hard with just one finger. This video will benefit those viewers who enjoy bowling, and would like to learn how to curv...

In this tutorial, we learn how to perform basic skate tricks. To start, you need to know which end is the front and back of the skateboard. Flip the board over and look to see that there are four wheels on the bottom of it. To get on the board, put it in front of you and put one foot where the wheels are then one foot in the middle. To get off the board, lean on the tail and walk off. When you are ready to move, put your foot in the middle and use your other foot to push off. You can now prac...

In this tutorial, we learn how to make stacked hair bows. Start off with three separate bows: red, white, and blue. Make sure there is a string still hanging from the red one, but the strings on the white and blue are cut off. Now, put glue from a hot glue gun and place it on the middle/side of the blue ribbon, the glue the white one where the glue is and hold together. Next, take the red bow and glue it to the center of the blue and white bow. Hold the red bow in place until it's completely ...

This video tutorial is in the Arts & Crafts category which will show you how to make a box out of scrap paper. Take a piece of square paper and fold it across both the diagonals to get an intersecting crease. Now fold all the points to the middle of the sheet and unfold them. Now take any point and fold it to the furthest away intersection point. Repeat with the other three sides. Then fold all the four points to the closest intersection point. Now you will see a square in the middle of the s...

In this Magic & Parlor Tricks video tutorial you will learn how to do the gimmicked card color change trick. For this you will need two cards of different colors; a red card and a black card. Fold each of the cards right in the middle. Then glue the top half of the two cards at the back. The bottom halves of both cards should be free. Now take a third card and attach its face to the bottom halves of the two cards on the outer side. So, when you move the middle flap up or down, the card is goi...

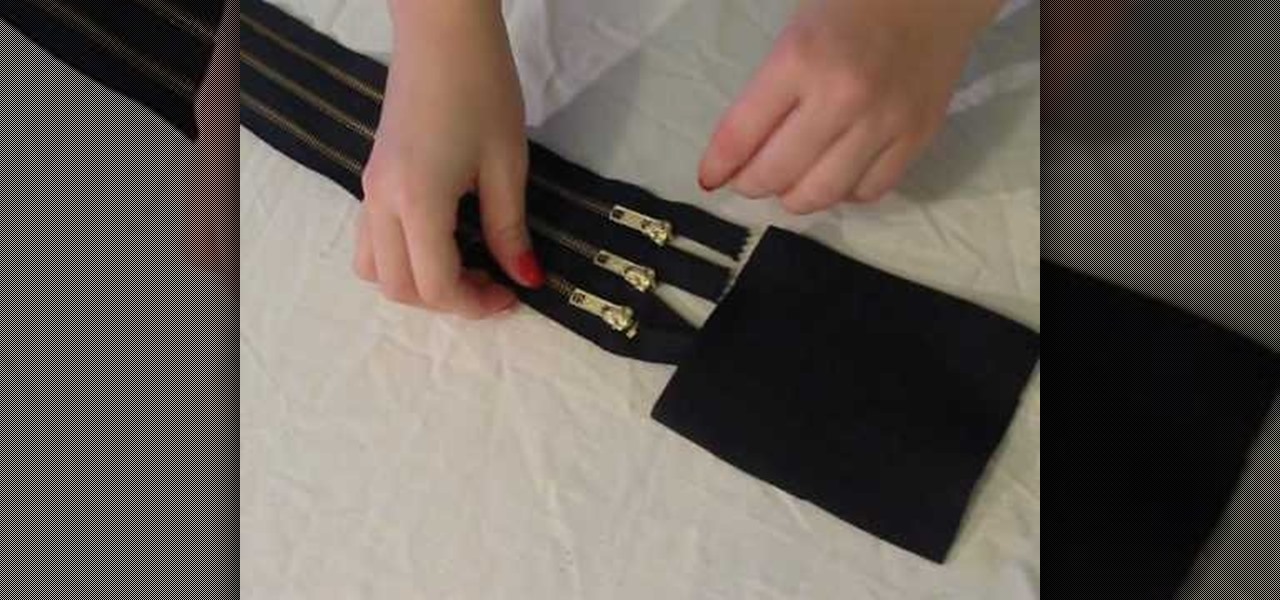
This video shows how to make a simple and stylish belt out of three zippers, a square of wool, and a glue gun. For those who are not skilled at sewing, there is no sewing required in the making of this belt. Taking the hot glue gun, place glue lengthwise along the back of the middle zipper and glue the top and bottom zippers to the middle one. After this is done, get a large square of fabric such as wool and glue the ends of the 3 zippers to the fabric. This fabric will serve as the location ...

Draw a persons face with this lesson by a professional artist. Start with a basic oval shape. Draw a light guideline through the middle of the face, then a cross line where the eyes might go. Then, draw a line for the nose and mouth. This will leave your drawling divided in three sections. Next, you begin the eyes. Draw oval shapes on the eye line. Then, draw the circles for the middle of the eyes. Then draw in the brows. Next, begin drawing the nose then the mouth. Now you're ready to draw t...

Carrie Bradshaw of Sex and the City never looks anything but flawless. No matter where she is - whether it be the middle of the dessert on a camel or the middle of Manhattan on a bar stool - Carrie always brings style.

This is a video produced by KazzieHeart on Youtube explaining how to make a puffy hairbow from a t-shirt. Choose a t-shirt and cut two equal-sized rectangles approximately 8"X4". Placing the two pieces facing inward, three sides are sewn together. It is then turned right side out and evenly stuffed with soft stuffing. The end of the remaining side is folded inward and sewn shut, forming a small pillow. A smaller rectangle approximately 5"X2" is cut from the same fabric. The pillow is sewn thr...

This video explains step by step how to create a "Lady Gaga hair bow with your own hair". The only materials needed are three bobby-pins, and your choice of hairspray. Take a section of hair from the side of your head and loop the hair (like a loop of a bow), pin this piece down (where the middle of bow will be). Take another section of hair close to the first loop, loop this second piece a crisscross the second bobby-pin with the first (creating the middle of the bow). Section off a piece of...

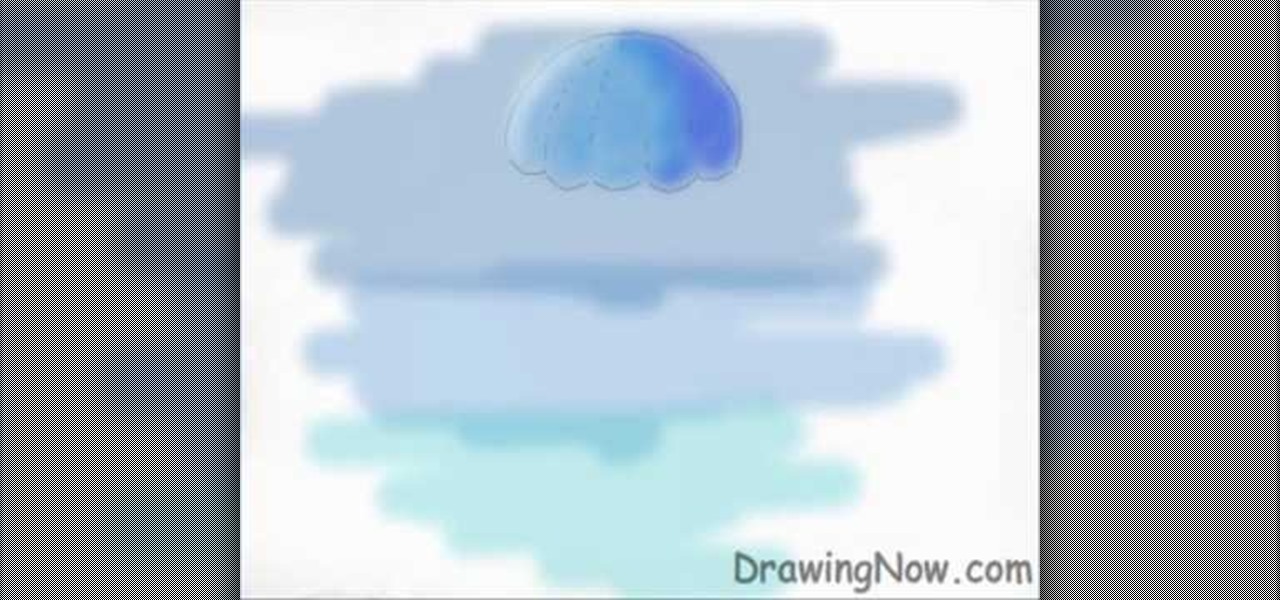
Drawingnow.com shows us how to draw and colour a jellyfish. First make an outline of the body of the jellyfish by drawing a dome with verticl sections like a parachute or an umbrella. Join the sections at the bottom of the dome like a skirt. Colour the background blue in three sections from top to bottom. Darker blue is used for the top-most section, a medium blue used for the middle section and a lighter blue for the lower section. Next colour the umbrella mass of the jellyfish in a blue ton...

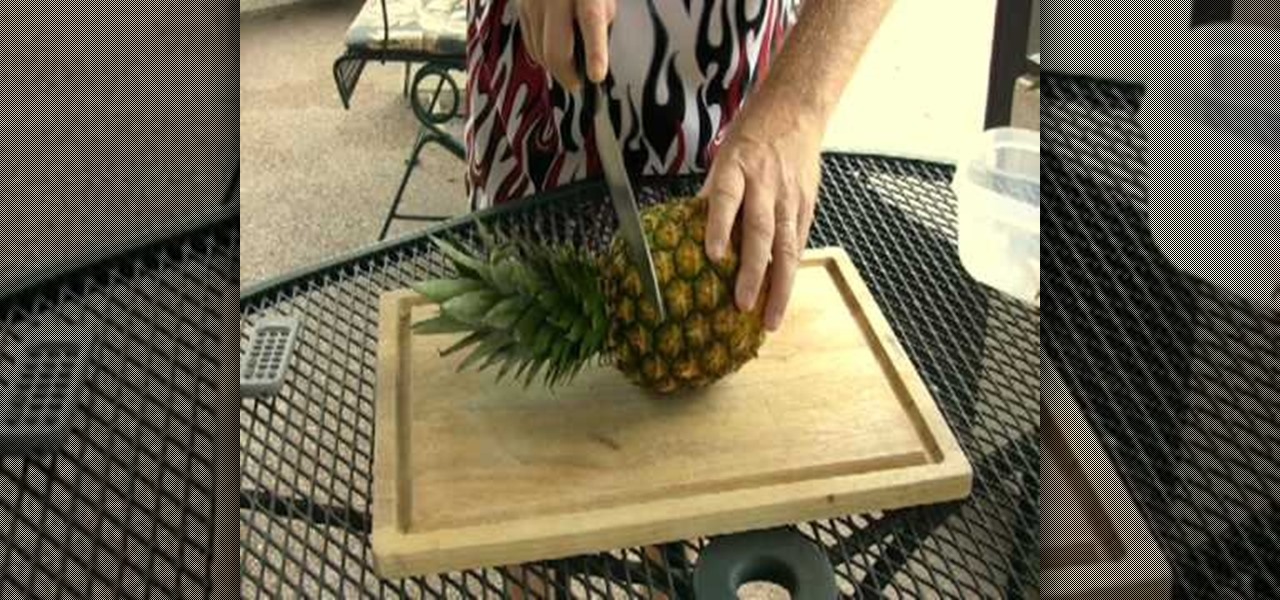
In this video Jack in the Net shows how to grow your own pineapple using just the crown. Find a nice firm, strong pineapple with no brown leaves. With a very sharp knife, cut straight through about an inch down from the crown. Then trim the flesh all the way around, leaving only the solid round core in the middle, being careful not to cut into the crown. The roots will grow off of the crown so all the fruit needs to be removed.

In this video tutorial, viewers learn how to do the Hey Moshi dance. For the first movement, place both hands up to the mouth while popping in the right knee. Then bring the right arm straight up down the middle while popping in the left leg. Now switch to the opposite side by bringing the left arms straight up down the middle while popping in the right leg. Then bring the right arm out while popping the left shoulder. This video will benefit those viewers who enjoy dancing and would like to ...

In this video tutorial, viewers learn how to do a kick-flip on a fingerboard/Tech Deck. Begin by setting the fingers into a Ollie position with the middle finger on the tail and the index finger behind the bolts of the board. Pop the tail down and slide the middle finger on the edge of the board. Tilt the board forward and towards you. Users should catch the board with the two fingers in mid-air, and do not wait for it to land. This video will benefit those viewers who enjoy playing with fing...

This video gives a demonstration of how to make a double bow for scrapbooking. First, cut a short piece of your ribbon off the end. Make this piece about 5 inches long. Next, after leaving a tail of ribbon bend a longer piece of the ribbon over and over, smoothly, until you have 2 loops on each side which creates the double bow. Cut off the end of the ribbon, leaving a tail. Pinch the middle of the double bow. Use the short piece which you cut earlier to tie around the middle of the bow. Adju...

This video shows us the method to do a 360 flip on a tech deck fingerboard. In a 360 flip the board rotates and exactly flips once before landing. Put your middle finger slightly of the side at the tip of the tail of the tech deck. Put your index finger between the tech deck logo and the front bolts in the normal position. Practice 360 flip on the side of your leg on to the top of it. You should apply pressure on your middle finger. As the board reaches 90 degrees point of spin, extend the in...

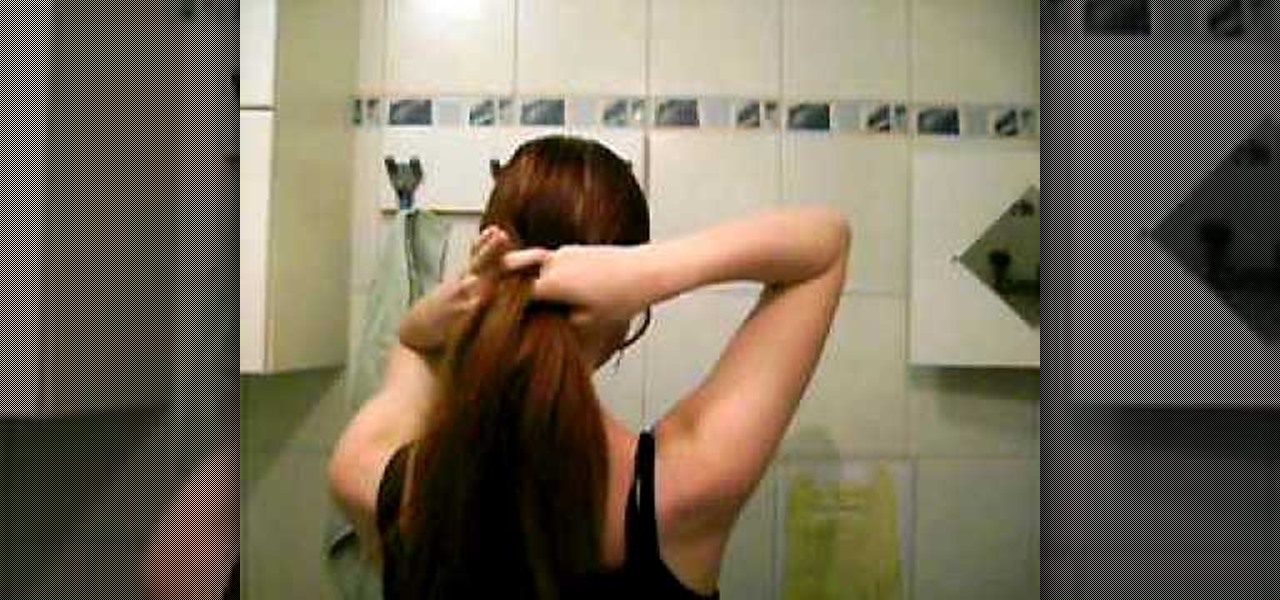
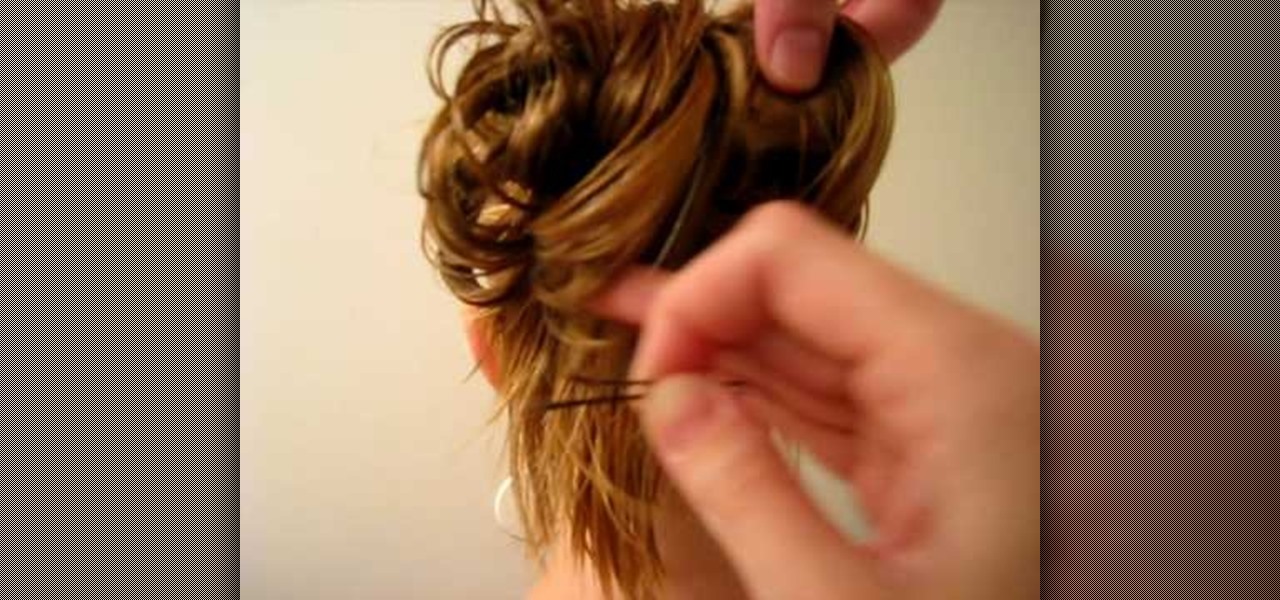
This video here is about making a messy hair bun. First the hair is drawn into a ponytail. Then, using a thick rubber-band, insert the the middle of the ponytail partially into the rubber-band so as to make a loop. Then spread the hair strands of this loop to make it look messy. Now from this spread loop, take bunches of strands and lift it slightly upwards and fix it using a hairpin. Fix the hairpins firmly so that they stay in the place. Spread out this bun from the middle. Curl up or tuck ...

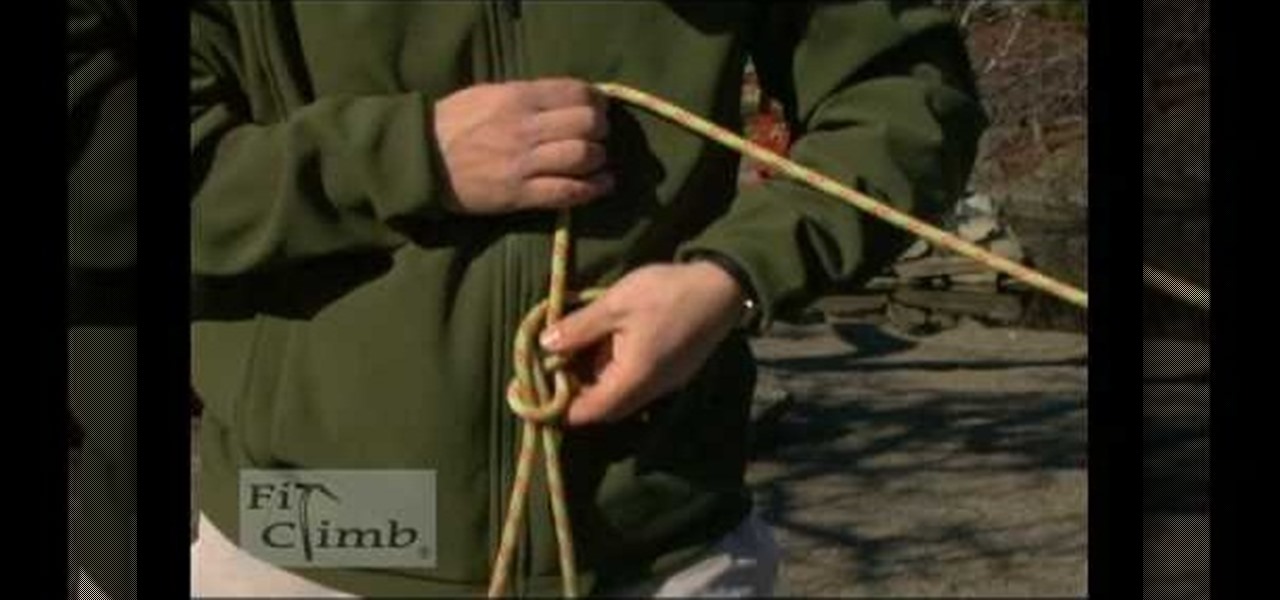
How to tie a Eight Figure Knot.

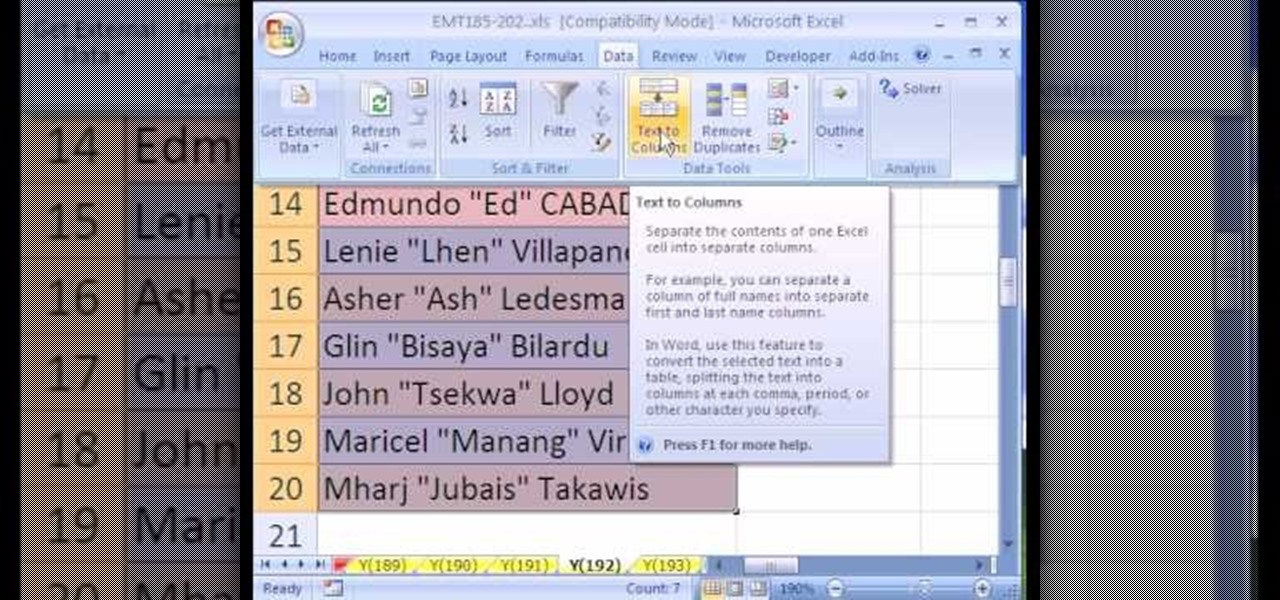
New to Microsoft Excel? Looking for a tip? How about a tip so mind-blowingly useful as to qualify as a magic trick? You're in luck. In this MS Excel tutorial from ExcelIsFun, the 192nd installment in their series of digital spreadsheet magic tricks, you'll learn how to extract the middle name in quotes from a cell that has last, middle and first name using Excel's in-built text-to-column tool.


