Tenderfoot is the first rank earned as a Boy Scout. The requirements of becoming a Tenderfoot provide basic skills to begin preparing the scout for higher adventure outings. Earning badges and receiving recognition can be very satisfying to boys. However, keep in mind that the badge is only a representation of a valuable set of skills that a scout has learned and demonstrated. The skills, wisdom, and experience gained through the activities of the scouting program are of much more value than ...

Tenderfoot is the first rank earned as a Boy Scout. The requirements of becoming a Tenderfoot provide basic skills to begin preparing the scout for higher adventure outings. Earning badges and receiving recognition can be very satisfying to boys. However, keep in mind that the badge is only a representation of a valuable set of skills that a scout has learned and demonstrated. The skills, wisdom, and experience gained through the activities of the scouting program are of much more value than ...
Tenderfoot is the first rank earned as a Boy Scout. The requirements of becoming a Tenderfoot provide basic skills to begin preparing the scout for higher adventure outings. Earning badges and receiving recognition can be very satisfying to boys. However, keep in mind that the badge is only a representation of a valuable set of skills that a scout has learned and demonstrated. The skills, wisdom, and experience gained through the activities of the scouting program are of much more value than ...
Tenderfoot is the first rank earned as a Boy Scout. The requirements of becoming a Tenderfoot provide basic skills to begin preparing the scout for higher adventure outings. Earning badges and receiving recognition can be very satisfying to boys. However, keep in mind that the badge is only a representation of a valuable set of skills that a scout has learned and demonstrated. The skills, wisdom, and experience gained through the activities of the scouting program are of much more value than ...
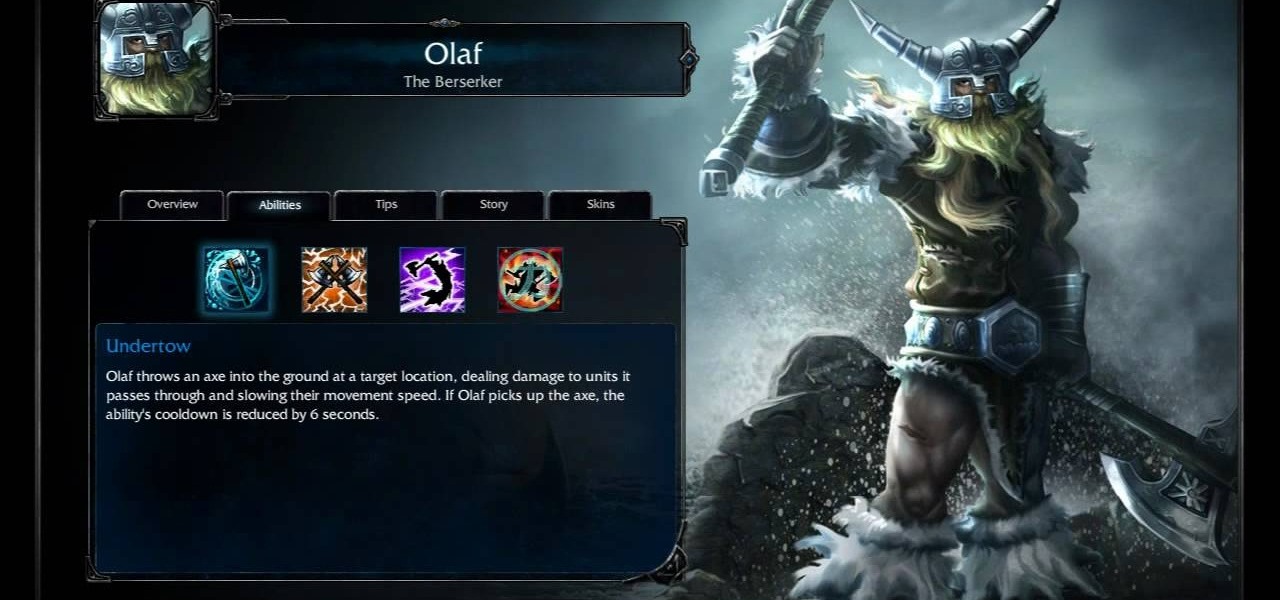
Olaf the Berserker is a melee DPS champion available for your summoner to play in League of Legends. There are many different ways to build an effective Olaf. This video shows you what you should keep in mind as you assign your own abilities and runes to the Berserker.

New to Microsoft Excel? Looking for a tip? How about a tip so mind-blowingly useful as to qualify as a magic trick? You're in luck. In this MS Excel tutorial from ExcelIsFun, the 616th installment in their series of digital spreadsheet magic tricks, you'll learn how to use the LARGE and SMALL functions to retrieve the 1st, 2nd, and 3rd largest values from a list. You'll also see how to do each of the following:

Take a piece of paper and fold it triangle wise. Then unfold it and fold two edged sides towards the center. Then turn back in the same manner and fold right there. Then again turn back and fold two sides as done before. Then straight that part and fold into two sides and then fold one side to an upside direction. Then fold it downwards holding the center part. Then again fold downward the folded portion and a little bit upward the edged part. Keep intact the edged portion. Then fold the next...

In this how to video, you will learn how to break up with your girlfriend. First, you should make sure that problems have been building up. This is the initial part that should make you decide whether or not you want to go through with it. This includes your girlfriend nagging and complaining at you. If you are prepared to do this, the next part is the actually break up. You can approach your girlfriend in person and tell her it is over. Tell her why you are breaking up. Another method is bre...

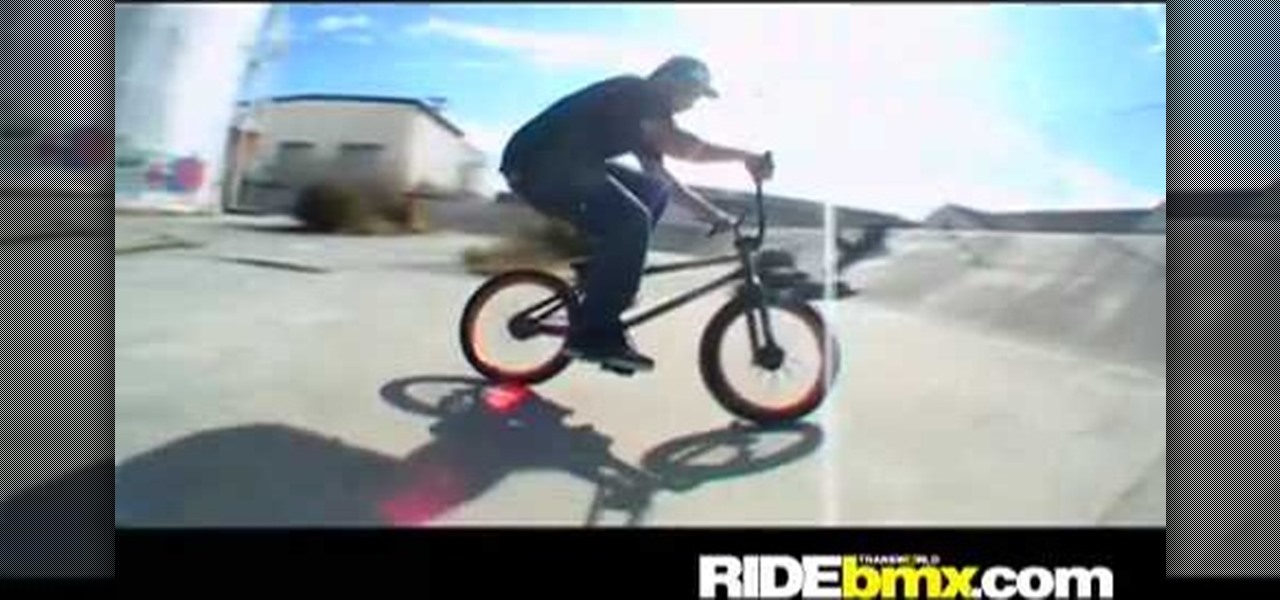
In this How To Video Kurtis Elwell will walk you through how to do a fakie on a BMX. The best place to start learning how to roll a fakie is on a steep hill or incline. As soon as you start to lose momentum on the hill you will stop for a moment then start rolling backwards. If your BMX is equipped with a cassette wheel it will start to force you to pedal backwards. Then, when you are rolling backwards and want to turn around, turn your front wheel to a 45 degree angle. Lean back a bit so all...

The Mac OS's Disc Utility allows for the encryption of files. To open Disc Utility click on the magnifying glass (spot light) up in the top right hand corner, and search for Disc Utility. Click on the first result in the list. Once Disc Utility is open, click on "create a new image" in the top tool bar. A new window will drop down, where you choose what you want to save the new image as. Give it a name, and choose the size you want it to be. Moving down, choose the encryption you want to use ...

New to Excel? Looking for a tip? How about a tip so mind-blowingly useful as to qualify as a magic trick? You're in luck. In this Excel tutorial from ExcelIsFun, the 237th installment in their series of digital spreadsheet magic tricks, you'll learn how to

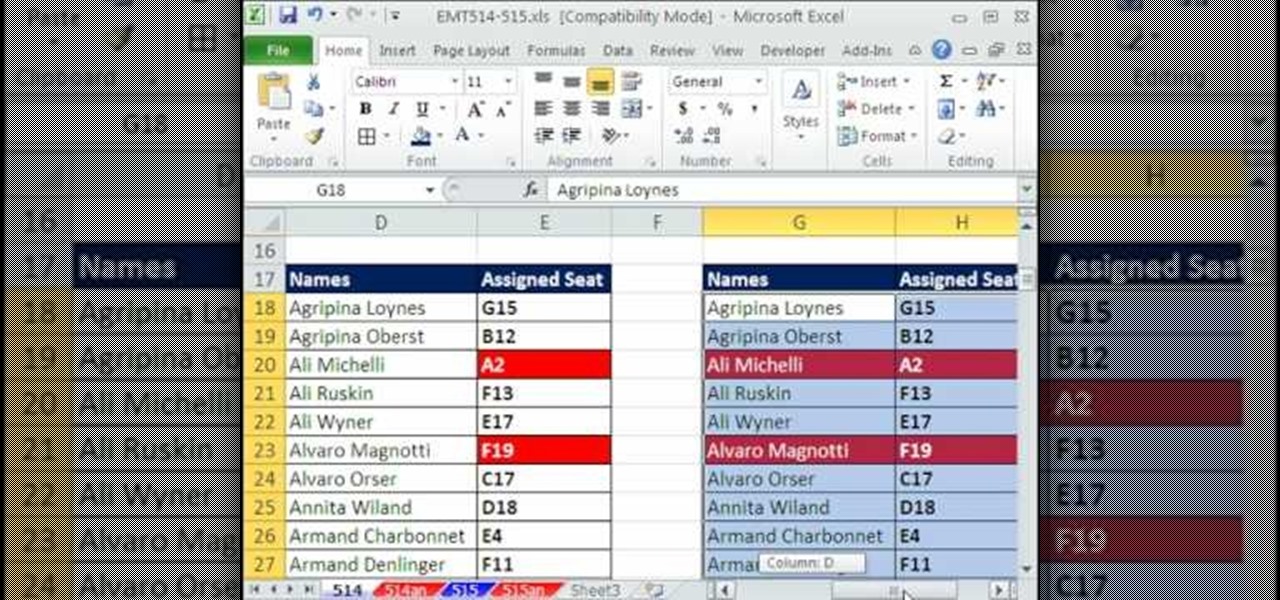
New to Excel? Looking for a tip? How about a tip so mind-blowingly advanced as to qualify as a magic trick? You're in luck. In this Excel tutorial from ExcelIsFun, the 514th installment in their series of digital spreadsheet magic tricks, you'll learn three methods for conditionally formatting duplicate values:

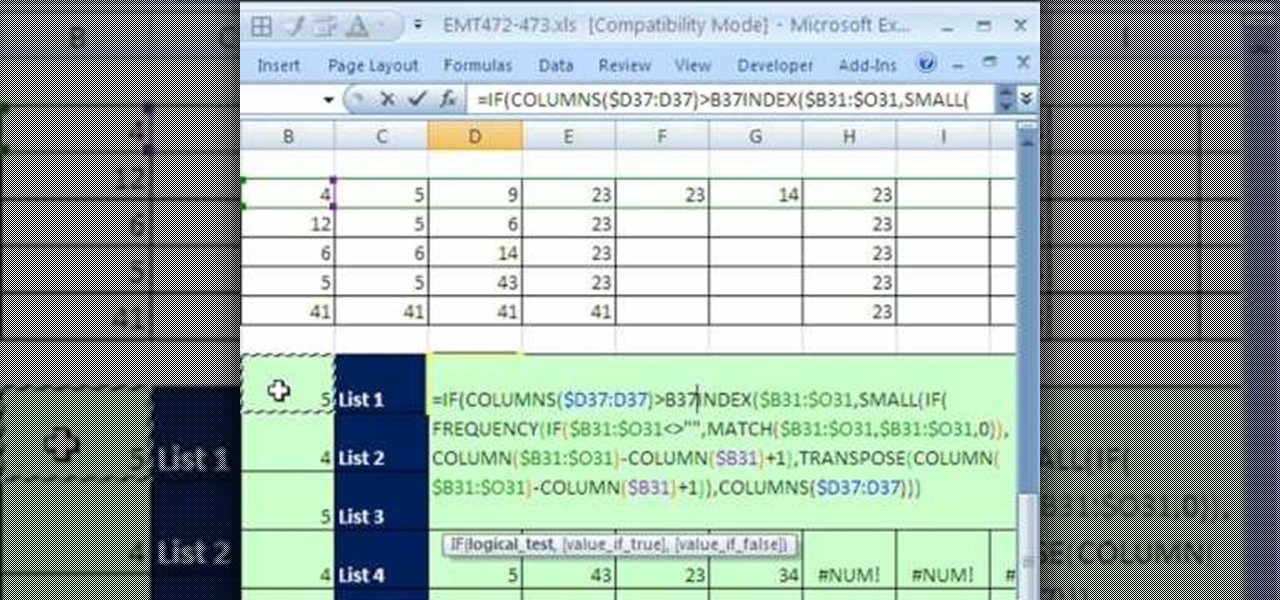
New to Excel? Looking for a tip? How about a tip so mind-blowingly advanced as to qualify as a magic trick? You're in luck. In this Excel tutorial from ExcelIsFun, the 473rd installment in their series of digital spreadsheet magic tricks, you'll learn how to extract a unique list from a group of individual rows.

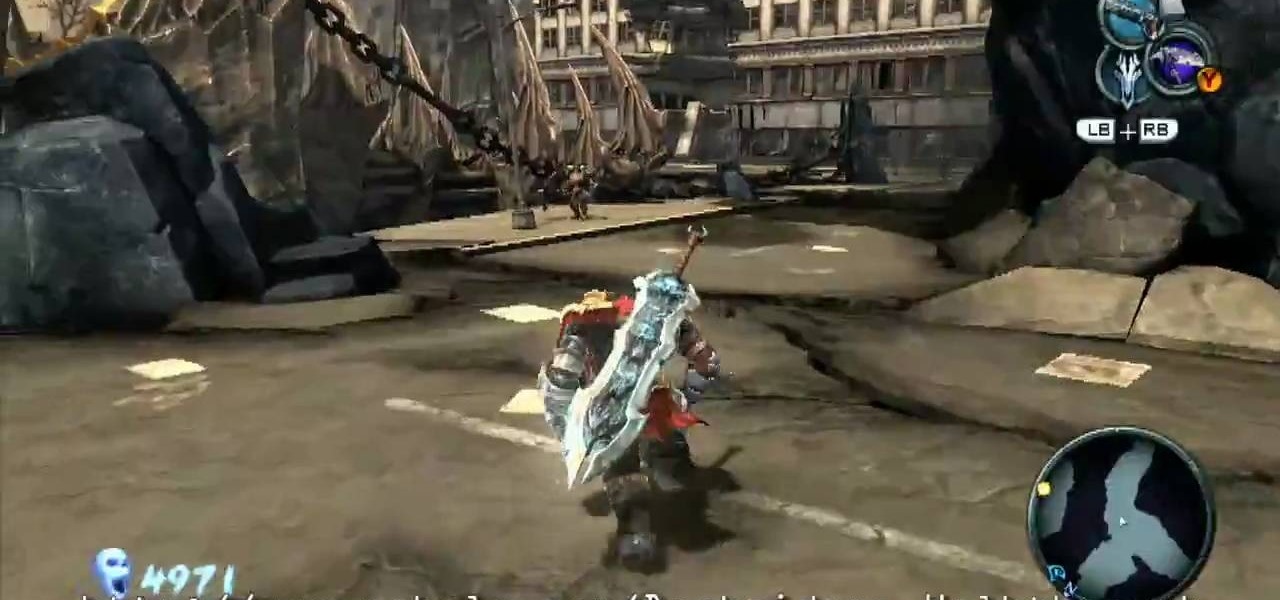
After defeating Stygian on the Ashland level of Darksiders for the Xbox 360, you're going to have to give Stygian's heart to Samuel. If you're not entirely sure how to accomplish this task, then this video will surely free your mind. For more info, watch the whole gameplay.

Does dentistry sound of interest to you? If you don’t mind spending the day in other peoples’ mouths, dentistry might just be the career for you. In this video, learn what steps need to be taken to break into the field of dentistry.

This is merely the End Credits for the Xbox 360 game Bayonetta. No need for any combat, just sit back, relax, and enjoy your victory as the credits roll.

This is the last of the Xbox 360 game Bayonetta, where it's all or nothing. In Epilogue - Requiem, you're playing a Jeanne. On verse one, you're on a motorcycle headed toward the camera. There are some enemies chasing you, so shoot them. You'll need to evade when they shoot at you. Ride in a serpentine (zig-zag) patter to avoid their shots. For more info, watch the whole gameplay.

In this level on the Xbox 360 game Bayonetta, make sure the bullet enters Balder's head. In Chapter 16 - The Lumen Sage, keep that bullet in line. Father Balder doesn't do much damage, but he tends to stay out of range. When you do have him in range do as much damage as you can. Keep fighting until you get his health meter down to zero and can do a climax attack. For more info, watch the whole gameplay.

Luka will need to fend for himself in this level on the Xbox 360 game Bayonetta. In Chapter 15 - A Tower to Truth, stay close. In verse one, when you start you'll see two statues of Fearlesses (dog-like creatures). Attack these statues and they'll come alive and attack you. For more info, watch the whole gameplay.

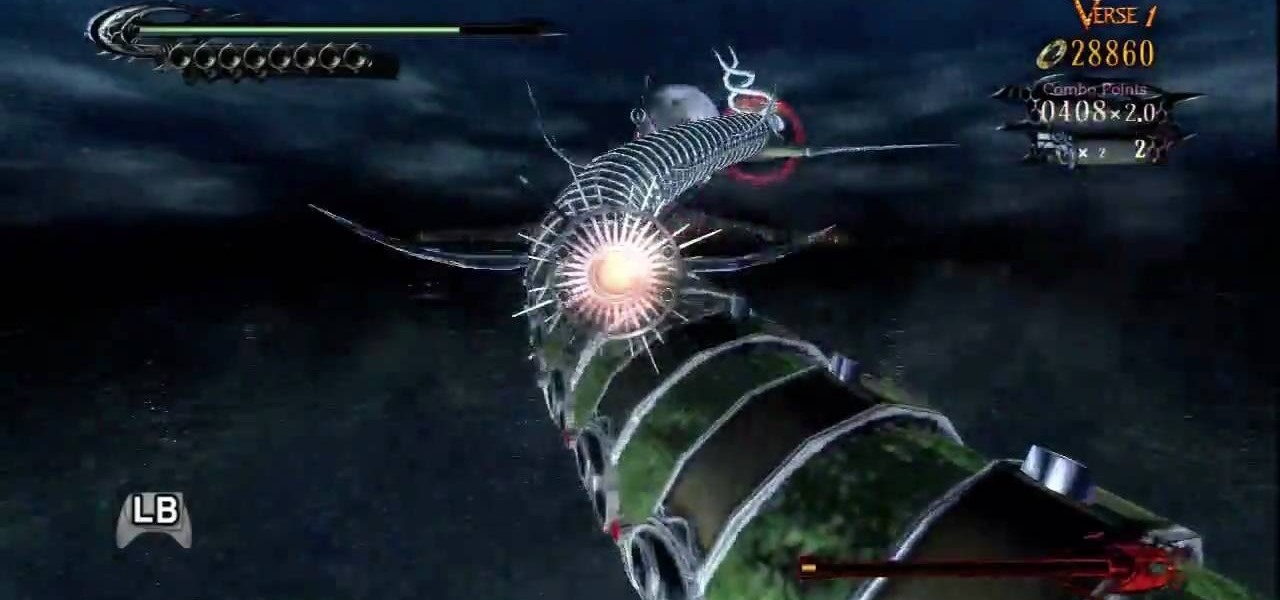
There's only three verses to beat in this level on the Xbox 360 game Bayonetta. In Chapter 14 - Isla Del Sol, be careful, you may not be able to see Jeanne all the time. In verse one, you'll be piloting a missile. Left stick maneuvers, X and Y fire guns, A and B fire guided rockets, triggers evade. You can invert the controls on the options menu. Hold down the fire button, keep shooting your guns at all times. Save your rockets for harder enemies. For more info, watch the whole gameplay.

Complete 10 verses in this level for the Xbox 360 game Bayonetta. In Chapter 12 - The Broken Sky, attack the tongue. In the verse 1 fight, there are a few minor enemies to kill. There is also a creature that looks like a wind-dragon, but you can't attack him. To end the fight, just head for the exit. Before you go through, look at the cage at the bottom of the stairs. Inside you'll find an Umbran Tear of Blood. For more info, watch the whole gameplay.

Defeat Iustitia in this installment for the Xbox 360 game Bayonetta. In Chapter 11 - The Cardinal Virtue of Justice, attack the tongue. The first part of this fight is against one Ardor and a bunch of smaller enemies. After defeating them you'll see another cinematic and face the boss named Iustitia.

This level is jammed with eleven verses for the Xbox 360 game Bayonetta. In Chapter 10 - Paradiso - A Sea of Stars, get ready for the Gates of Hell. In verse one, defeat the minor enemies here and you'll find three walls you can combo. Each wall will give you one gear for the machine in the center of the area. When you get the third gear you will have to fight Grace and Glory. Kill them to end the verse. For more info, watch the whole gameplay.

Complete five verses in this level of the Xbox 360 game Bayonetta. In Chapter 8 - Route 666, prepare for some hard battles. The first verse fight takes place on the back of a moving truck. There are two enemies with health bars on the same truck where you start. On other nearby vehicles you'll find minor enemies with ranged weapons who will shoot at you. If you fall off the truck you'll be killed. For more info, watch the whole gameplay.

Repetition, repetition, repetition. Brainwashing, is it real? Watch these absolutely stunning segments of hidden camera containing both Bill Clinton, and Barbara Bush. Probably one of the most debatable segments is the one featuring Clinton talking to Larry King behind the scenes. If you turn your volume up it is hard to disregard, that they both in fact knew, Clinton would be elected, and the corruption in media is also clearly demonstrated. There is a segment with Barbara, staring eerily fo...

Cutting the moon and making the shape perfectly round is simple. Usually we have problems drawing a circle free-hand.

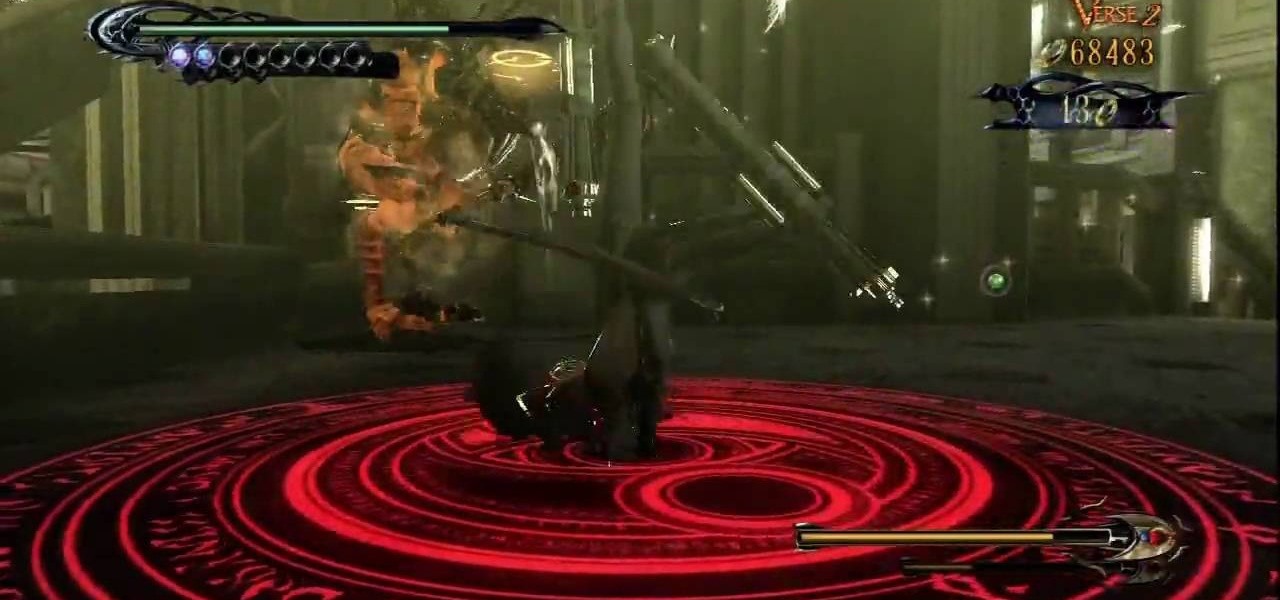
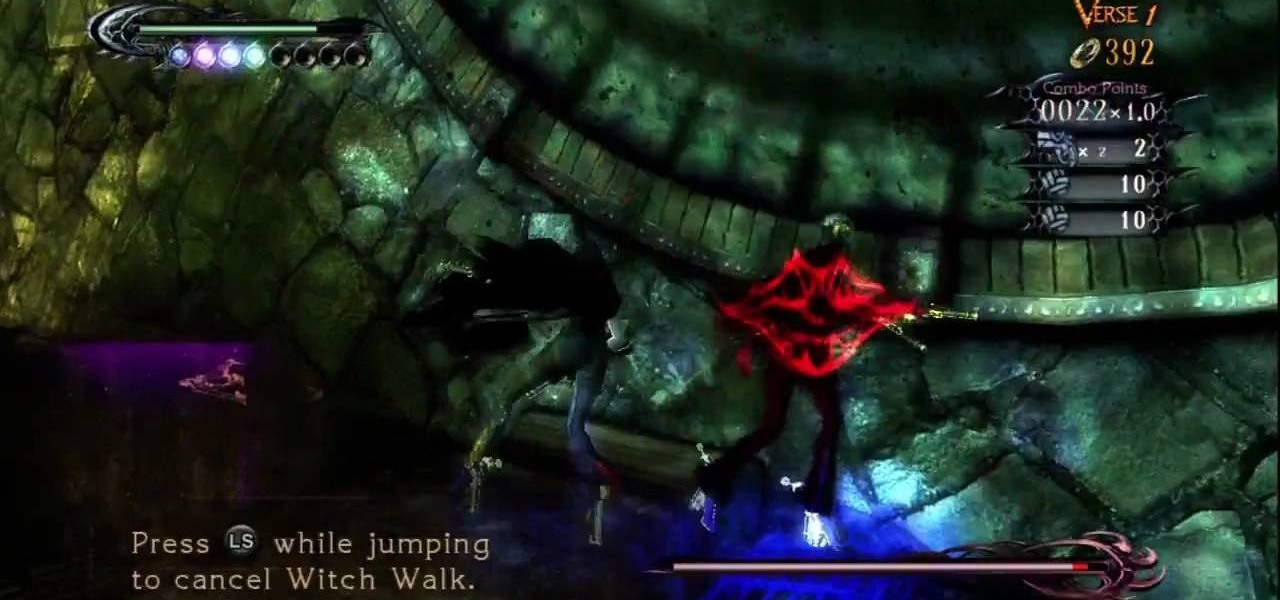
Fight Enchant Angels, Trash Mobs, and Fortitudo in the Xbox 360 game Bayonetta. In Chapter 2 - Vigrid, City of Deja Vu, it's time to shine as one mean mama-san. In the first battle you can walk on walls. To get back to the floor quickly press down on the left stick while jumping. Because this fight takes place on six different surfaces it can sometimes be hard to locate Jeanne (your opponent). If you don't know where she is, just shoot her. Your guns don't do any damage, but you will see wher...

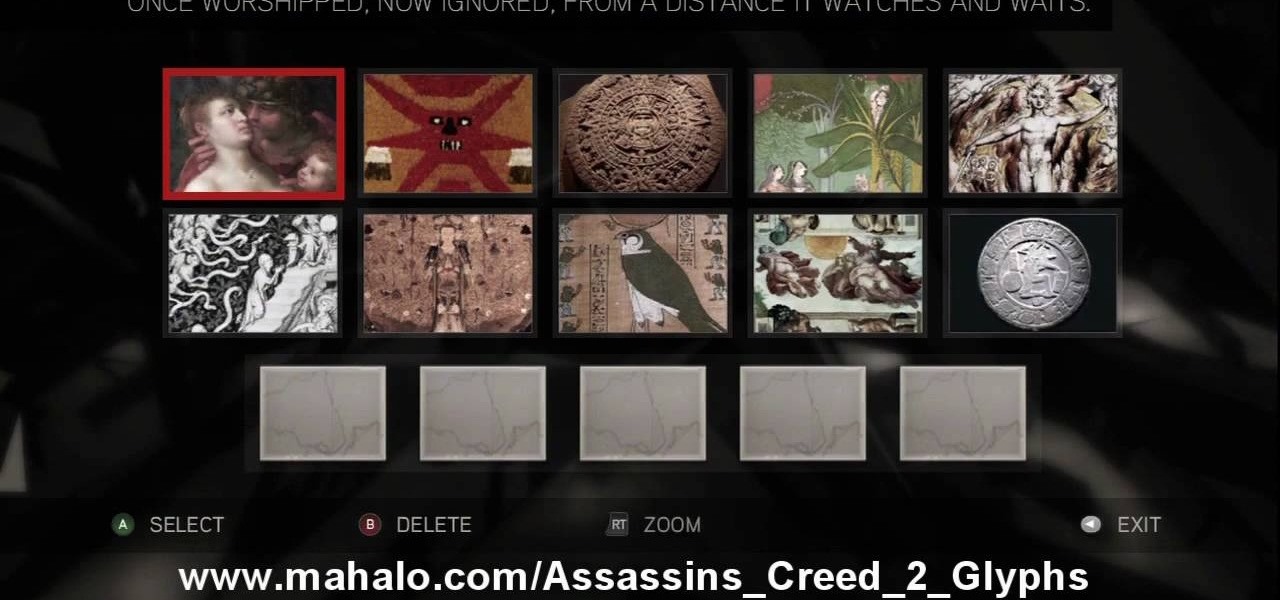
Here's the answers to the 19th puzzle, titled "The Fourth Day", in Assassin's Creed 2. Image set: What used to be worshipped by every primitive culture under the…? That’s right, the sun. Pick the five images that focus on it. Image: Find the tiny image of Earth in the lower-left quadrant of the sun. For more info, watch the whole gameplay.

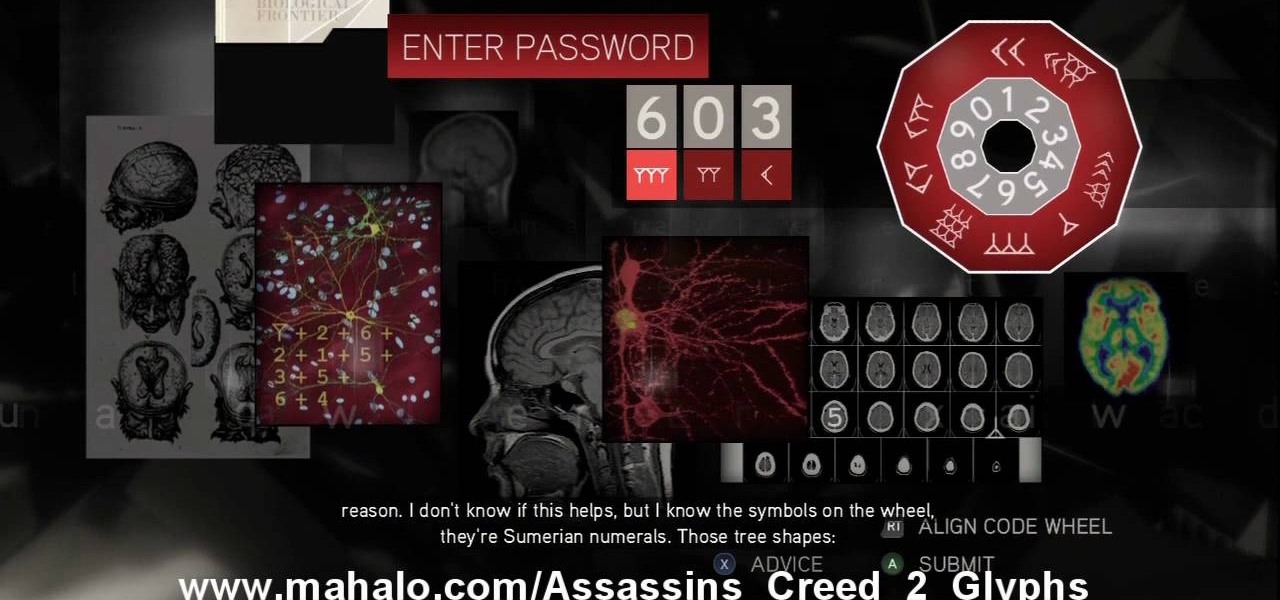
The 18th puzzle is called "Synapses". See how to solve it in Assassin's Creed 2. Code wheel puzzle: Your first clue is to line up 5 with a single tree-looking symbol. The key here is the weird-looking equation on the left, which offers a hint as to the progression of the symbols.

Figure out the 17th puzzle, entitled "The Bunker", in Assassin's Creed 2. Code wheel puzzle: Here’s a tricky one; your clues are “<” and “2,” and the only advice you’ll get from your handlers is that maybe there’s “something we can count” on the strange symbols. In this case that “something” is the number of times each symbol bends sharply. Don’t expect consistency across the wheel on this one; just take a look at what symbols flank the blank spaces and pick a shape with the number of bends t...

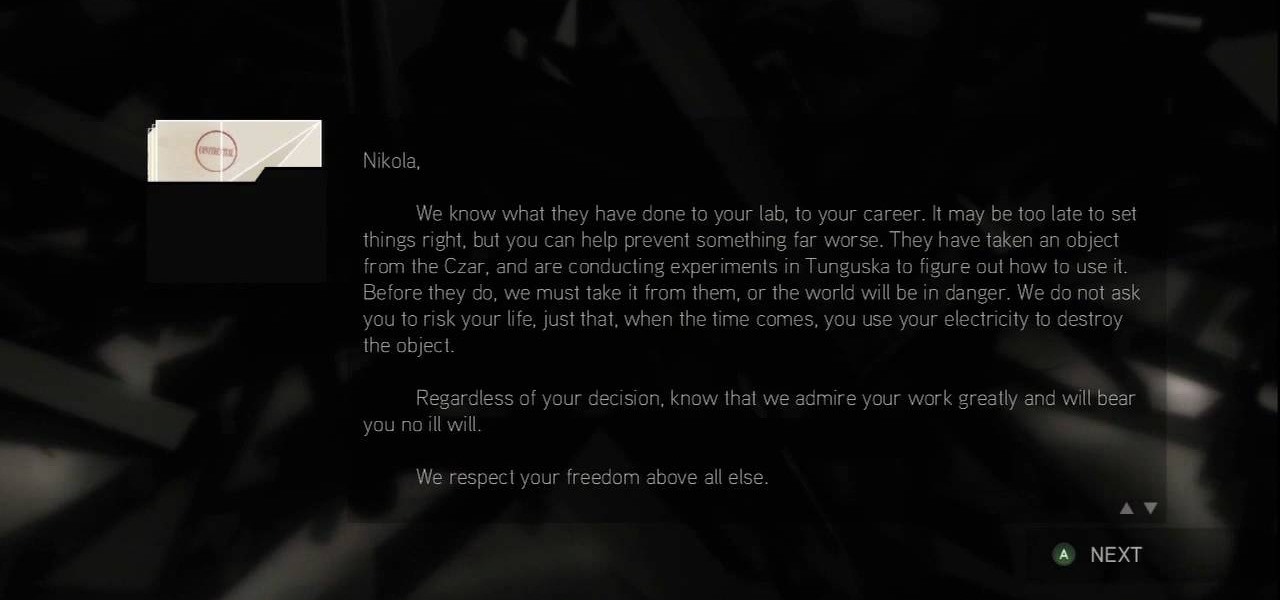
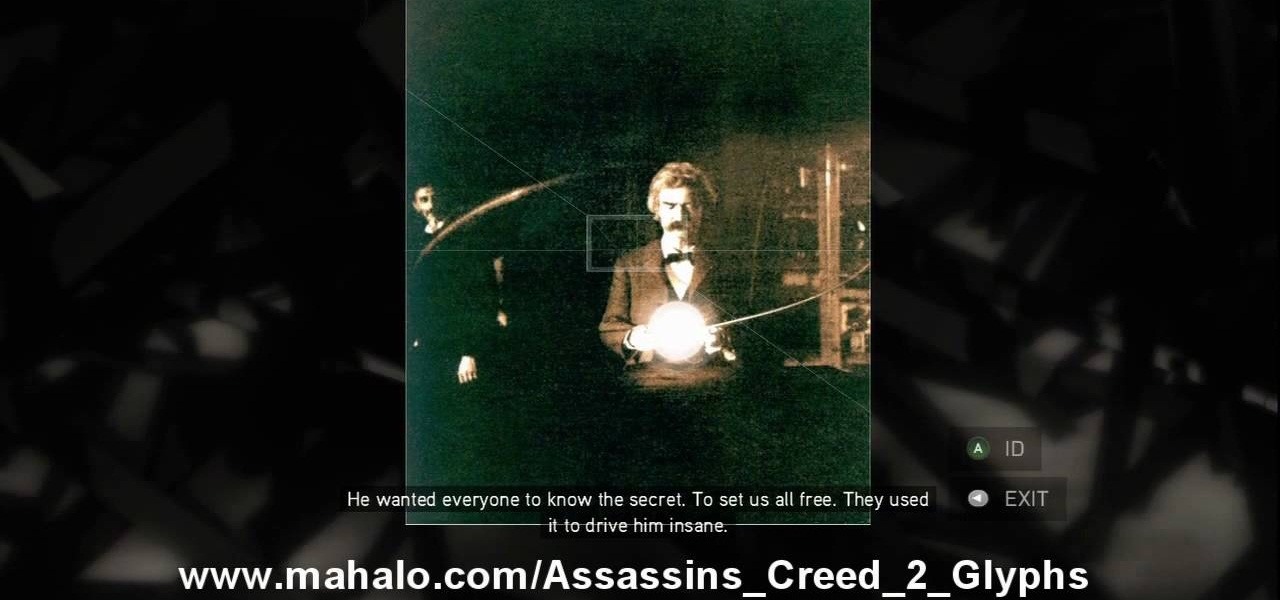
This one's pretty easy. Here's the solution to the 16th puzzle, entitled "The Cavalry", in Assassin's Creed 2. Image 1: Just move the cursor to the word “Tunguska.” Image 2: Move the cursor onto the staff and drag it onto Tesla’s photo. For more info, watch the whole gameplay.

Get all of the info on the 15th puzzle, entitled "Guardians", in Assassin's Creed 2. Puzzle wheel: Seemingly every other ring is linked here, so we’ll cut straight to the chase: Turn the third (and fourth) rings right twice, the fifth (and first) right four times, the fourth (and first) right five times, the fifth (and first) left five times and the second left five times. Finally, move the fifth (and second) rings right five times. Image: Another gimme – just move the Assassin logo over the ...

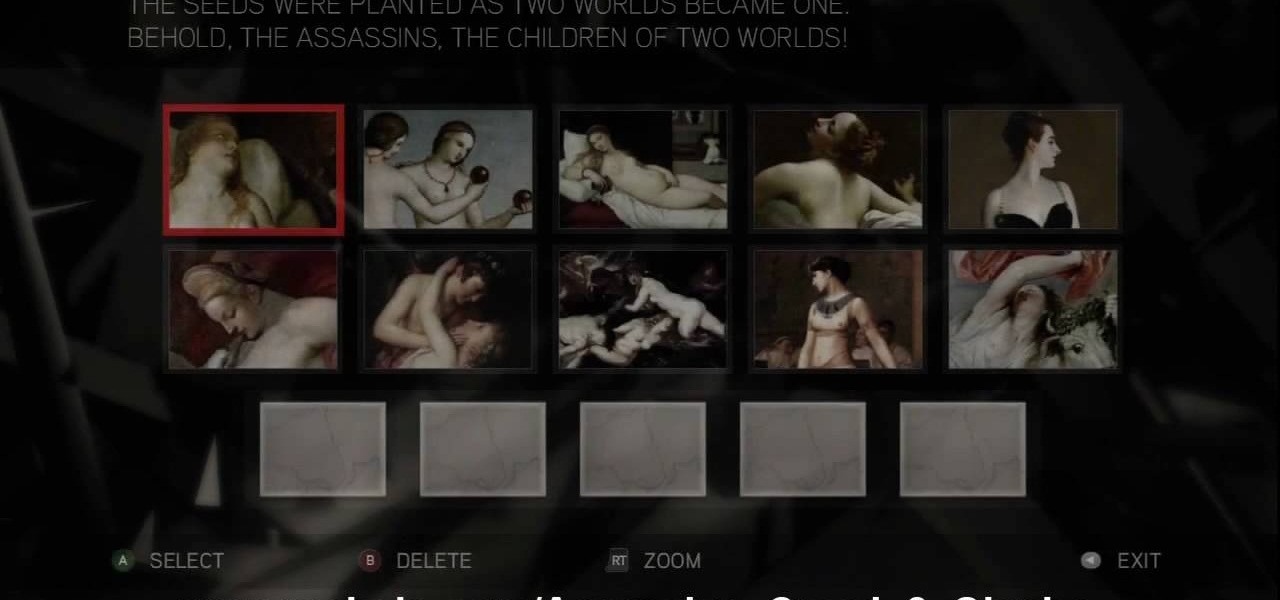
The 14th puzzle, entitled "Bloodlines", isn't really that hard in Assassin's Creed 2. Set 1: Highlight the images that depict women and gods in amorous entanglements (especially if those gods are disguised as animals). For more info, watch the whole gameplay.

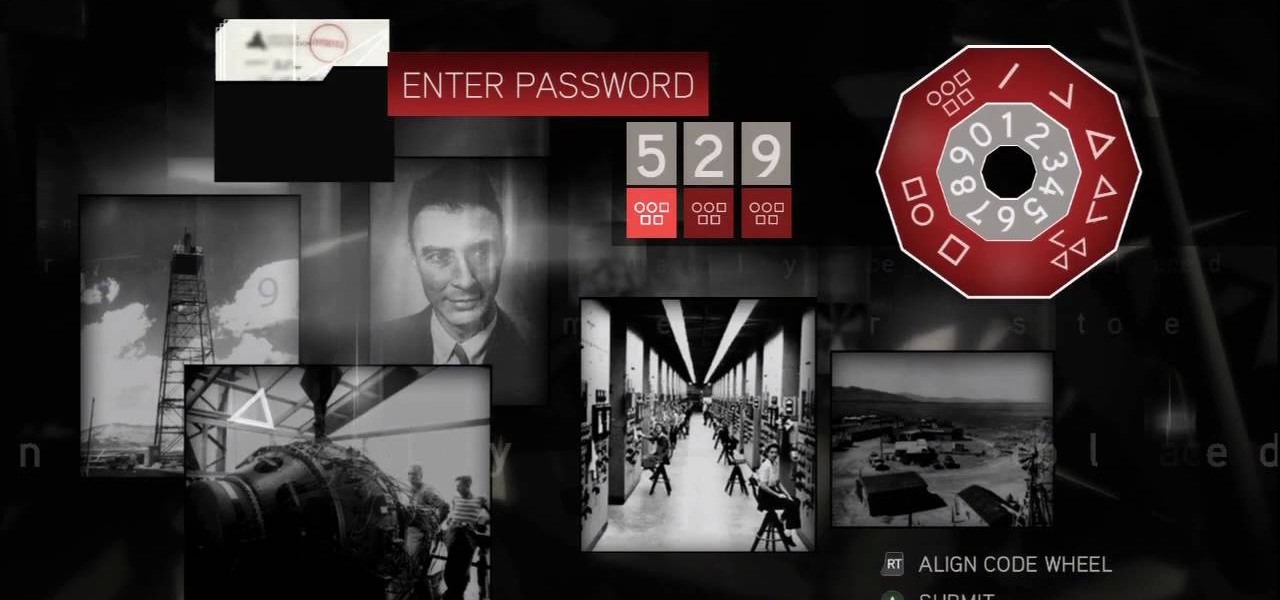
Solve the challenging 13th puzzle, entitled "I Am Become Death, the Destroyer of Worlds", in Assassin's Creed 2. Code wheel puzzle: This one’s even trickier than the last one; starting with the hint that 9 (next to the tower) equals “triangle” (up and to the left from the bomb), you need to figure out which symbols would fill in the blank spots on the wheel, going by the symbols next to them. Image 1: Just hit the button. It’s not hard. Image 2: Use the Geiger-counter clicks to guide you. For...

This is the 12th puzzle, entitled "Titans of Industry", in Assassin's Creed 2. Code wheel puzzle 1: The key here is in the “4=1” on the blueprint at the left of the screen. Line up the red 4 over the gray 1 and input the following code: 917240. Image 1: This one’s the opposite of the light-bulb “puzzle” from before – just move the dollar sign over the bulbs to extinguish them. Image 2: Highlight the glowing ball at the center of the image. Code wheel puzzle 2: Your hints here are the “2” on t...

Find out how to solve the 11th puzzle, entitled "The Inventor", in Assassin's Creed 2. Image 1: Just move the lightning bolt over the bulbs to bring them to life. Image 2: Highlight the area just at the base of the tower, between the two windows, to find this hidden image. Image 3: Move the pointer onto Tesla’s lap. For more info, watch the whole gameplay.

Figure out the 10th puzzle, Apollo, in Assassin's Creed 2. Image 1: Highlight the lunar lander just down and to the left of the moon. Puzzle wheel: Another linked-ring rotation puzzle. Your job here is to align all the channels; do this by moving the fifth ring to the left six times, the second ring to the left four times, the fourth ring to the right three times and the third ring to the left five times. Then snap the first ring into place. Image 2: Move the cursor down between the flag and ...

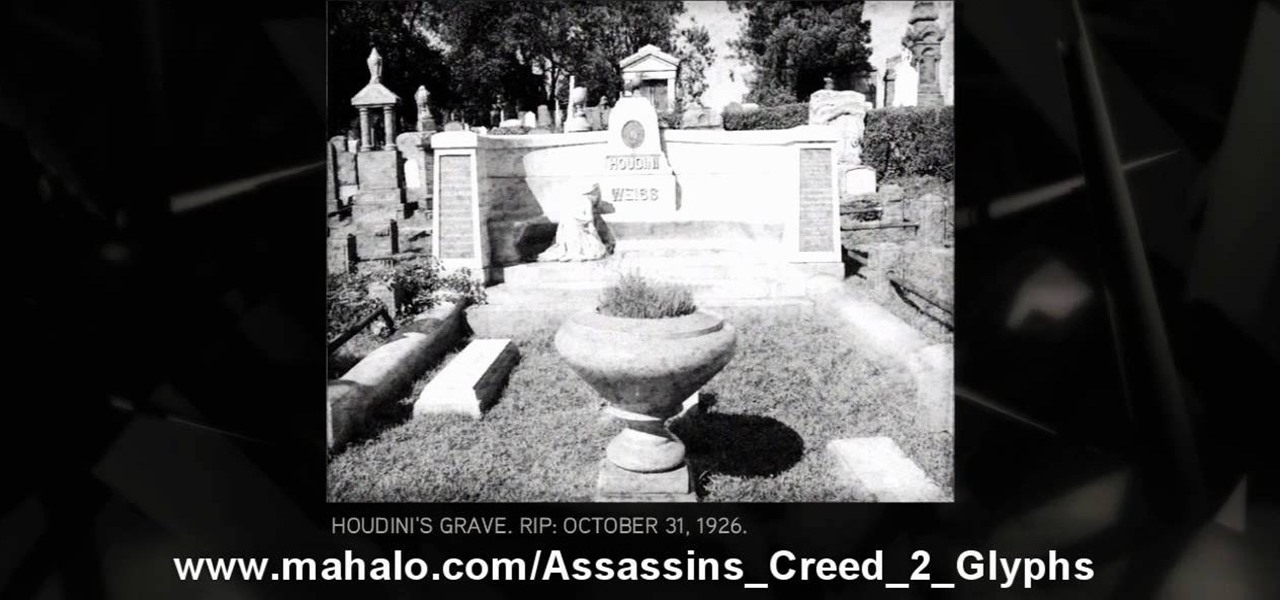
Execute the 9th puzzle, called Hat Trick, in Assassin's Creed 2. Image 1: Move the cursor onto Houdini’s torso. Image 2: Move the cursor over Gandhi’s heart. Code wheel puzzle: Your hint here is pretty obvious; there’s a big, glaring “6=1” next to Oswald’s picture. So move the red wheel so that the 6 is over the gray 1, and plug in the corresponding numbers. For more info, watch the whole gameplay.

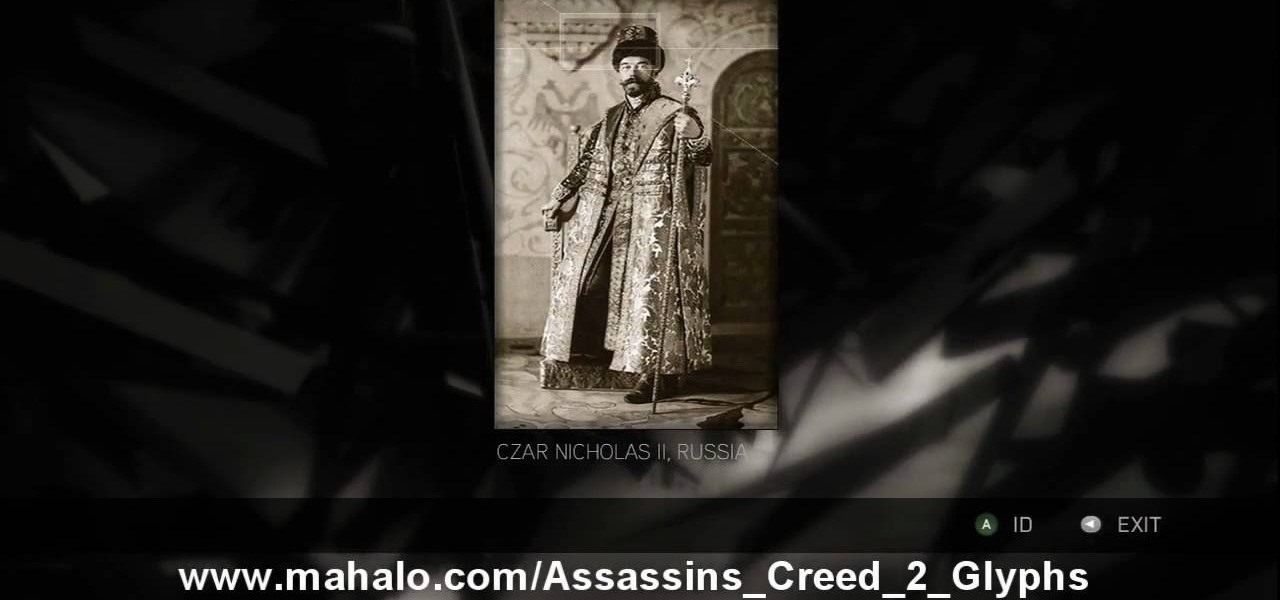
Learn about the 8th puzzle, titled Martyrs, in Assassin's Creed 2. Image 1: Highlight Czar Nicholas’ staff. Image 2: Highlight Joan of Arc’s sword. Image 3: Move the fireball to Joan of Arc’s portrait. Image 4: Move the photo of Rasputin onto Czar Nicholas’ portrait. For more info, watch the whole gameplay.

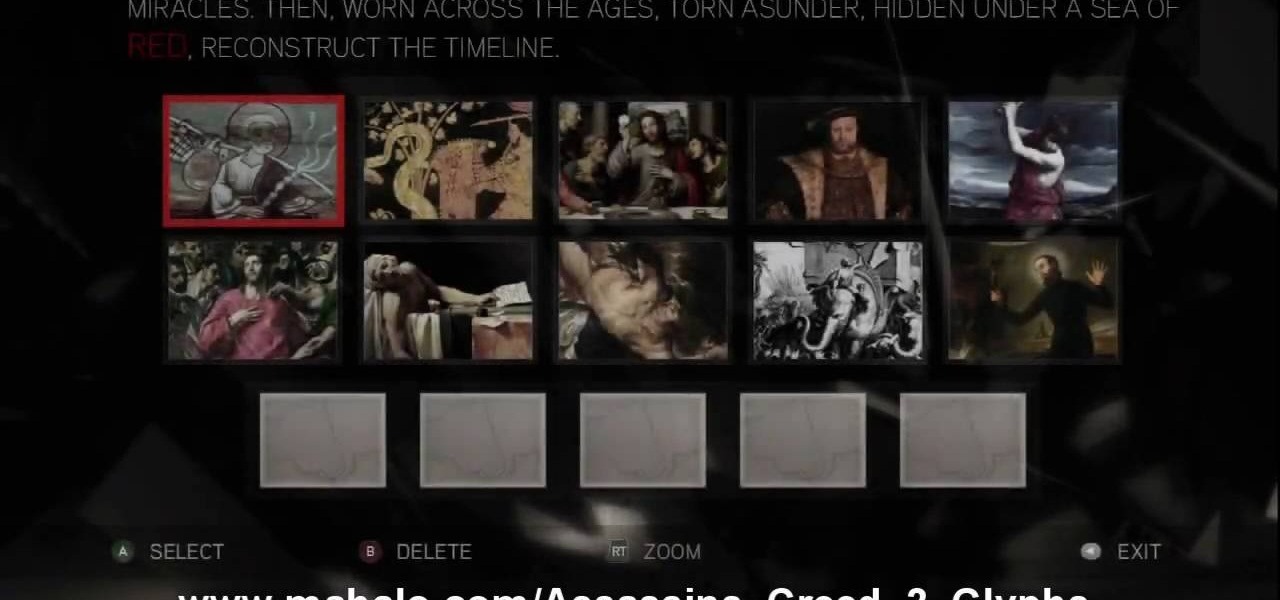
This is about the 7th puzzle in Assassin's Creed 2. Keep on seeking, and you should find… in the first image set, the key word here is "red", so pick the images in which that color shines the brightest. In the second image, highlight the area to the right of Jesus’ hips to reveal a Piece of Eden. For more info, watch the whole gameplay.


