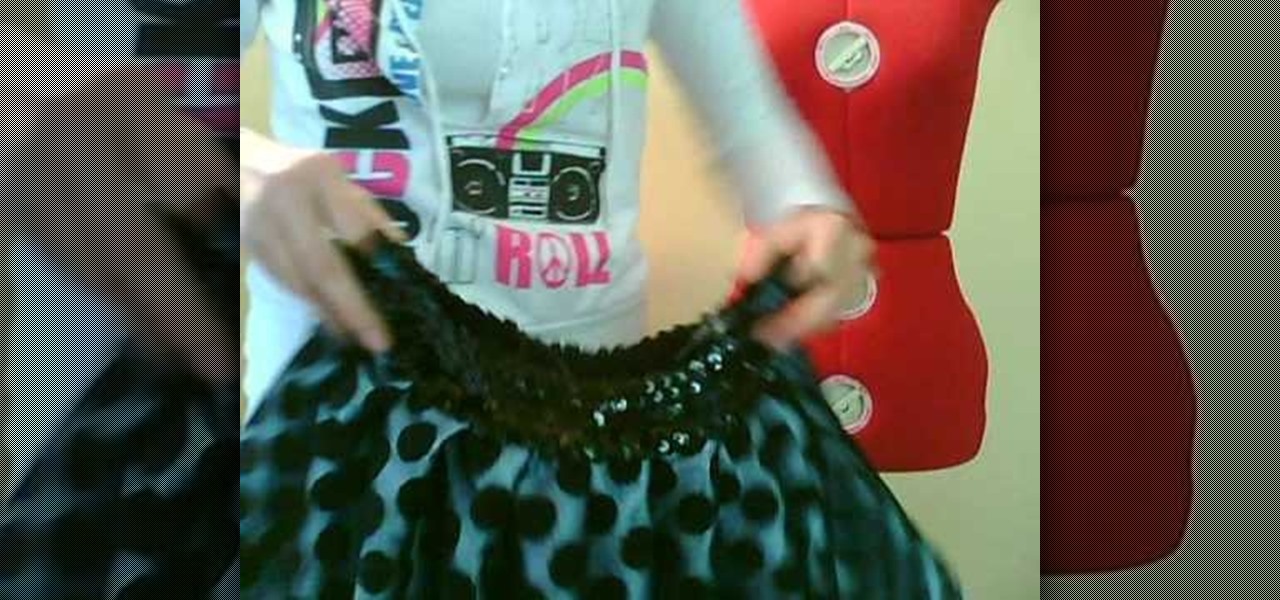
How To: Make a cute bubble skirt
The bubble skirt is very 'in' right now, but who knows for how long it will last. Trends come and go, so why not make your own skirt instead of heading out to the mall?


The bubble skirt is very 'in' right now, but who knows for how long it will last. Trends come and go, so why not make your own skirt instead of heading out to the mall?
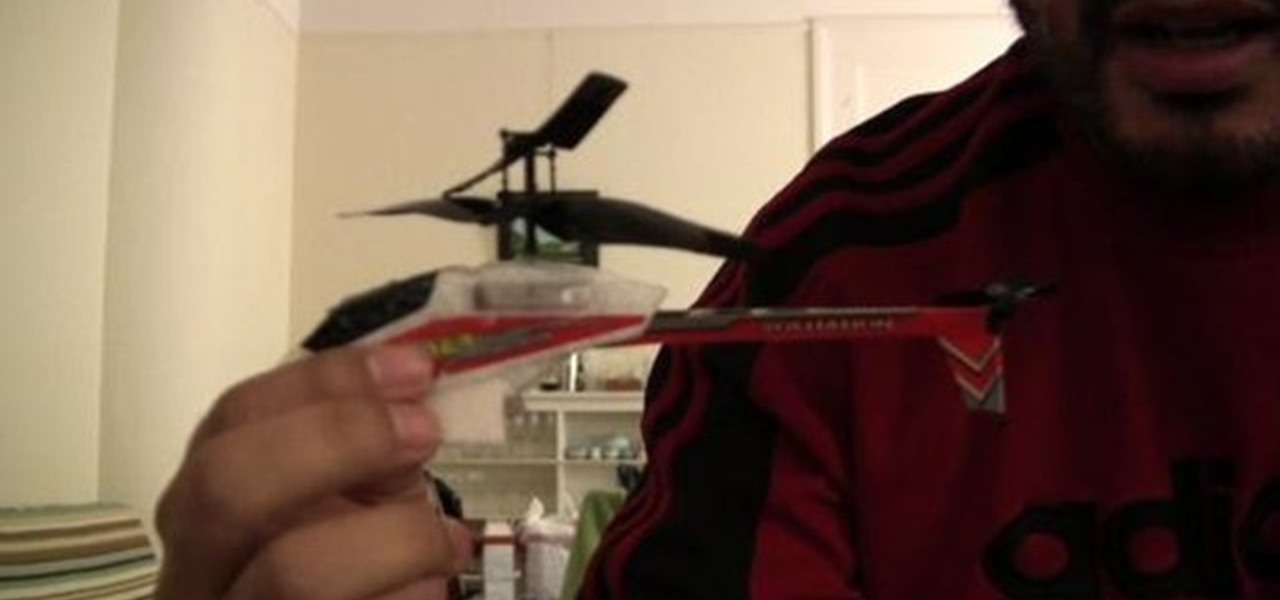
To begin in controlling the tail spin on your helicopter you need to turn your helicopter on and then turn the controller on. On your controller there are two trim bars. If it begins spinning to the left, tap the right trim; likewise, if it begins spinning too much to the right, tap the left trim. Unfortunately there is no memory in the PicooZ helicopter, so every time you turn on the helicopter you have to trim it. In the example video the helicopter needed to have the trim bar pressed 12 ti...

In this video tutorial, viewers learn how to make a natural and inexpensive Christmas wreath. The materials required for this wreath are: some greenery, garden wire, pair of pliers, ball of string, scissors and ribbon. Begin by cutting the wire into 120 cm and bend it in half. Now weave the strands together and bring the ends to each other. Hook them and twist it together. Now weave the greenery along the wire. Tie down the greenery with some string to secure it. Finish by trying the ribbon o...
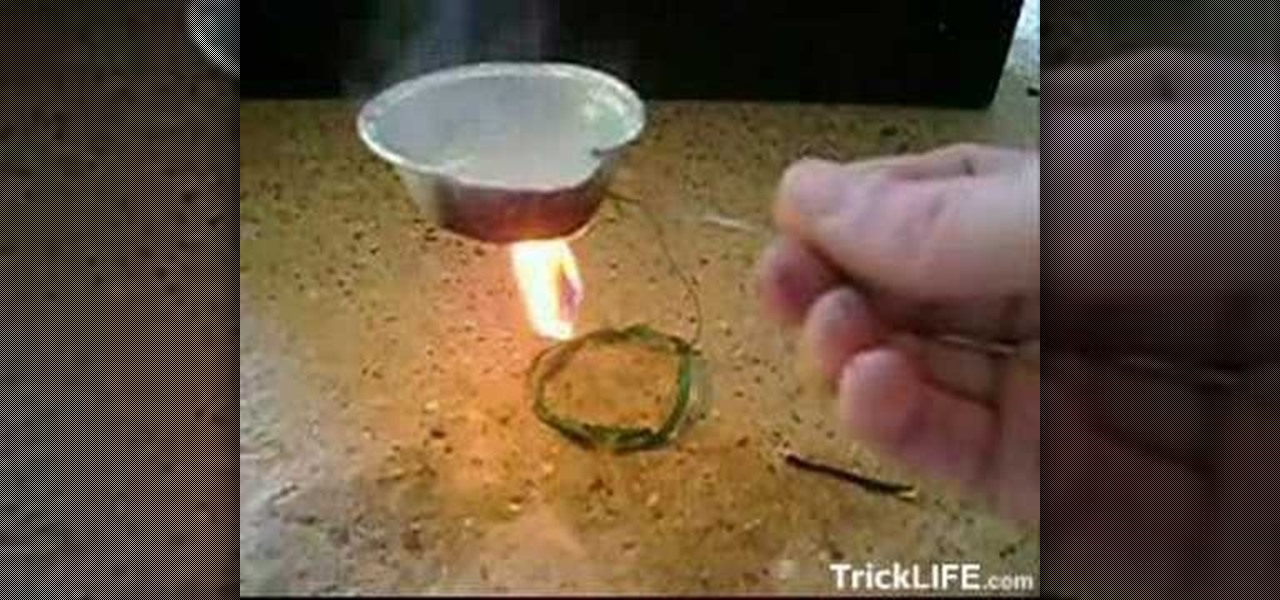
With the use of these items: an almond, a wired, tin foil filled with water, and matches, it is possible to boil water and cook over an almond. A wire is needed to tie around the almond so the almond is above your work area. Then, light the almond on fire using the matches. Hold the tin foil filled with water above the burning almond for a minute or so and the water should begin to boil. It is also possible to use a tin pan and cook items such as a mini pancake. The almond will burn for about...
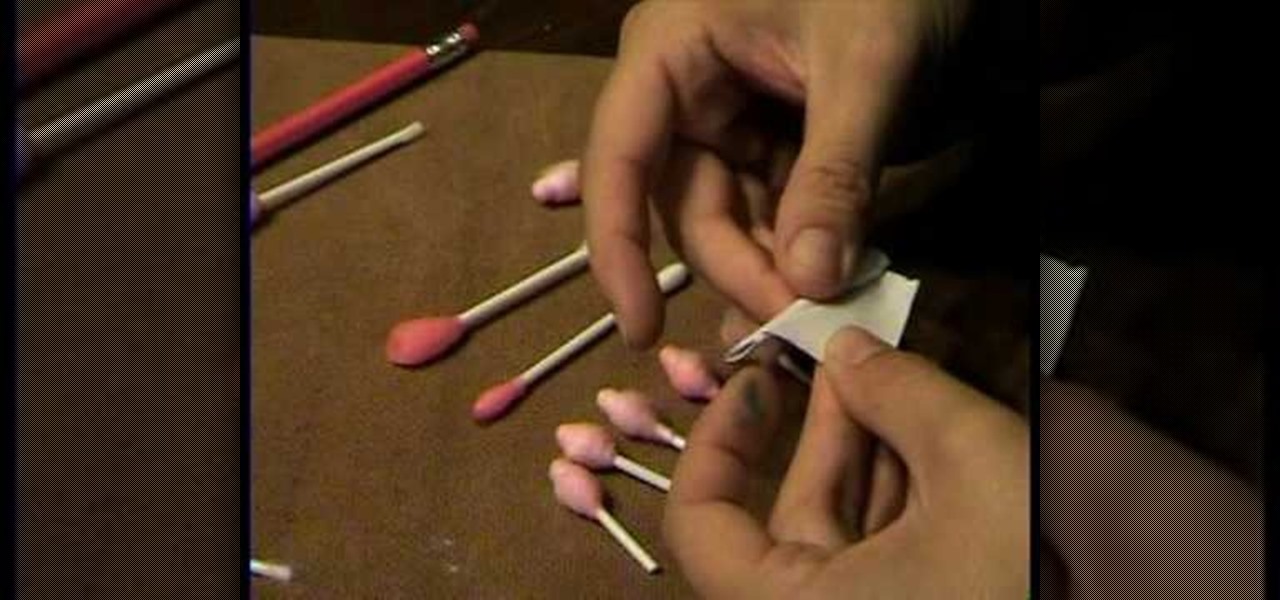
Use a q-tip (ones for little kids will have a larger base, but are not required). Put a few drops of red food coloring in a glass of water and stir it up as necessary. Dip q-tip in red water, get it nice and saturated. Remove q-tip and let sit overnight. Cut q-tip in half, then take a small rectangle of paper, apply glue from glue stick to one side, then make a small fold from a corner and roll (this may take some work). Use scissors to cut down to the correct size. Next rub q-tip's cotton si...
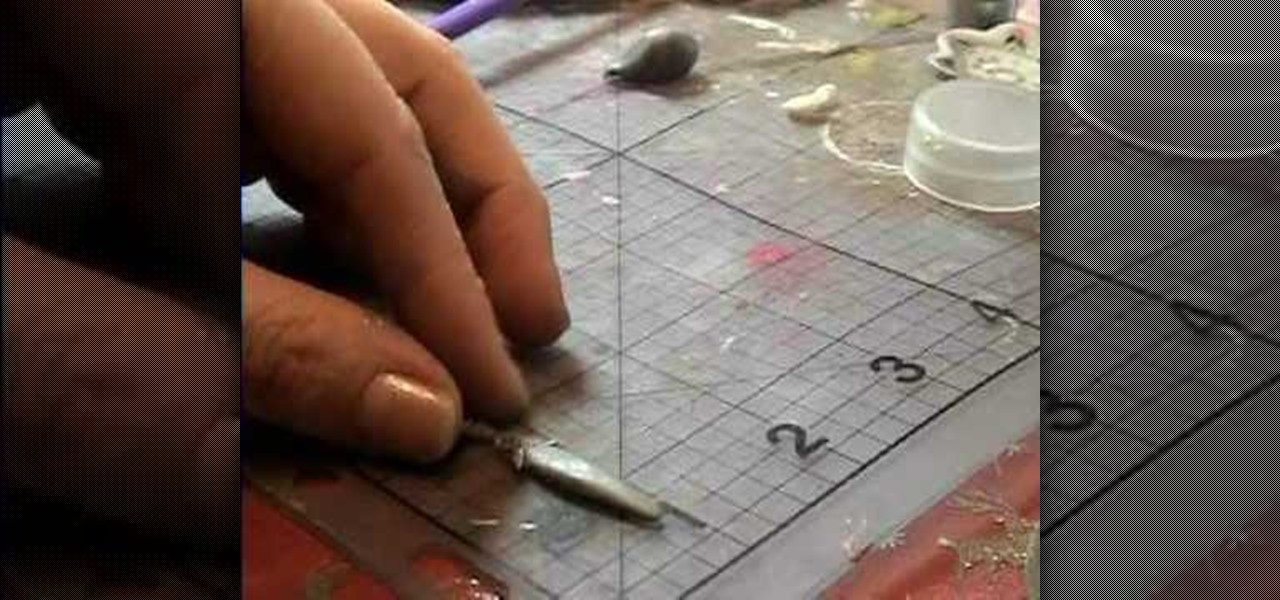
Garden of Imagination is demonstrating how to make a miniature knife for the doll house. This knife has a clay blade and a metal handle. The metal handle is made of a hanging earring finding. Now some black clay is taken. It is rolled and flatten and made into the shape of the blade. Now this is fixed to the handle and some glue is applied so that it stays permanently. Now the knife is ready. Now this is to be baked and after that some glaze is applied using brush so that it gets a shining ef...
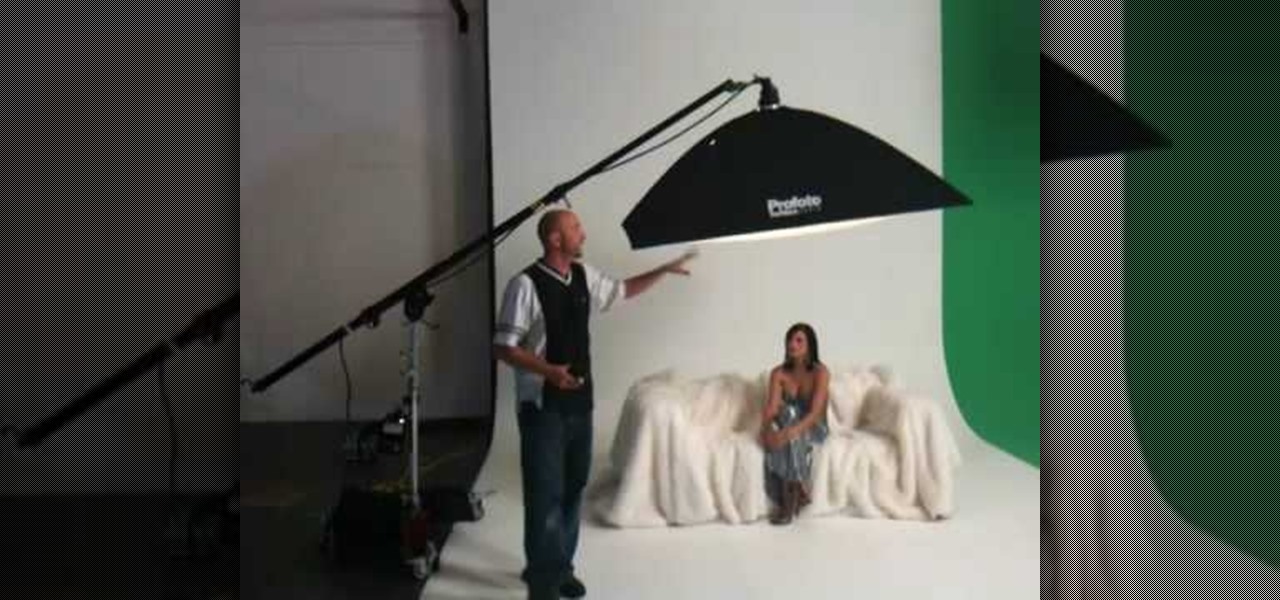
Mike Wallace is going to show you how to set up a softbox in order for a photo shoot. First, you are going to need an 1200 watt generation and with the Profoto one it comes with a pocket wizard built into it so it allows the photographer to meter and trigger with a pocket wizard TT1 on the mini camera. Also, you want to use a Manfrotto Megaboom softbox, and this is much easier then using a ladder because on the ladder you'd need to climb it whenever you wanted to reposition it. With the Megab...

Garden of Imagination shows you how to create a very small ice cream cone out of polymer clays. The lady shows to add some texture to the cone before adding the ice cream portion on to the top of the baked cone. There is even a cherry on top of the lovely small ice cream cone when you are finished. This tutorial is a slow and close up view of making this ice cream cone. The perky voice and calm explanation of the process makes this video simple and easy to follow along to and to create your v...

In this video by, you are shown how to make miniature pomegranates out of clay for use with doll houses or however you may want to use them. You will be shown exactly what materials to use, how to make the items, painting and even exactly how to glue everything together. There are even suggestions for where you might want to shop to find the materials you will need. She shows you step by step how to make the items, and describes in detail the tools required to make incredibly realistic lookin...

Garden of Imagination demonstrates how to make realistic looking ice out of polymer clay. To make the polymer clay ice, first take one part pearl white polymer clay and one part translucent polymer clay. Add the clay to a food processor and chop up the two pieces of clay into clay chips. Bake the clay chips in an oven according to the manufacturer's recommendations. Take the clay out of the oven and let it dry. After the clay is dried, it takes the appearance of ice. Store the ice in a bowl u...
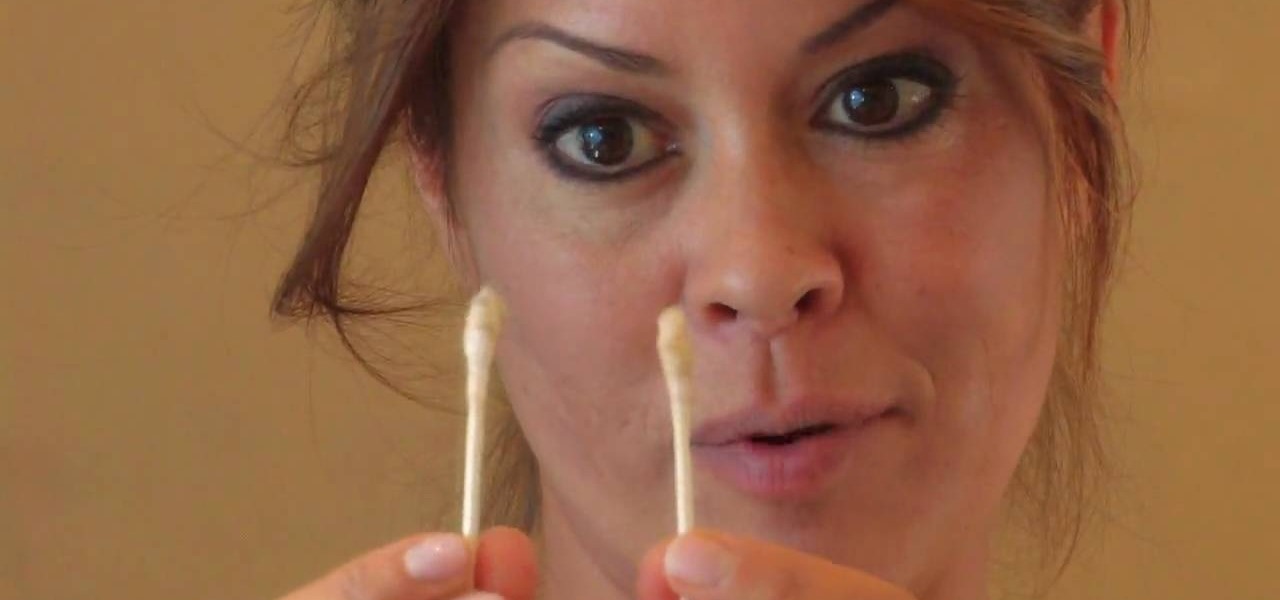
Brooke Burke shares a personal mini tip. According to her under eye cleansing is important because usage of different shadows cause some spillage. She used a cotton bud to apply cleansing cream in her under eyes area. She applied little cream on her hand and then with the help of cotton bud, she applied it on her under eye. She shared with her viewers that during a busy working day, she always keep eye buds and eye cream in her purse and clean her under eyes. This ensures to keep wrinkles hid...
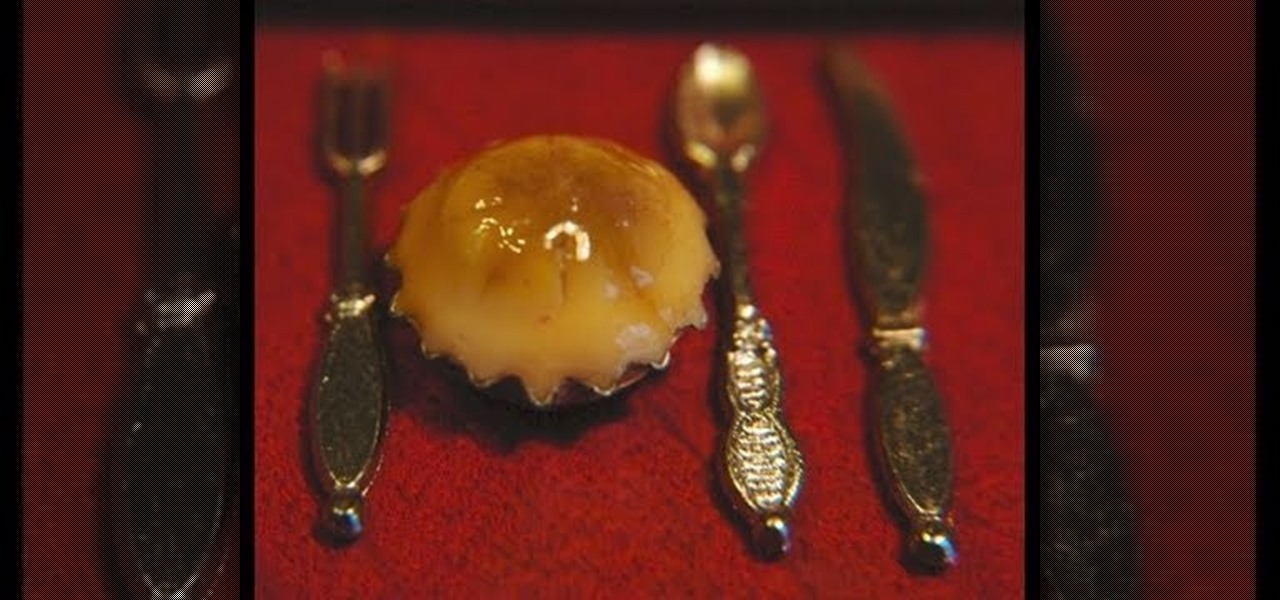
Garden of Imagination demonstrates how to make miniature polymer clay pot pies. Find miniature bottle caps in the scrap booking section of the craft store. You can use a regular sized bottle cap to make a big pie. Roll a piece of ecru clay into a ball and mold it into the bottle cap. Round the top to give it a pot pie shape. Use a small blade to create seared lines into the pie top. Brush mustard yellow pastel to tint the top of the pie. Brush a brown pastel accent on the top of the pie. Bake...
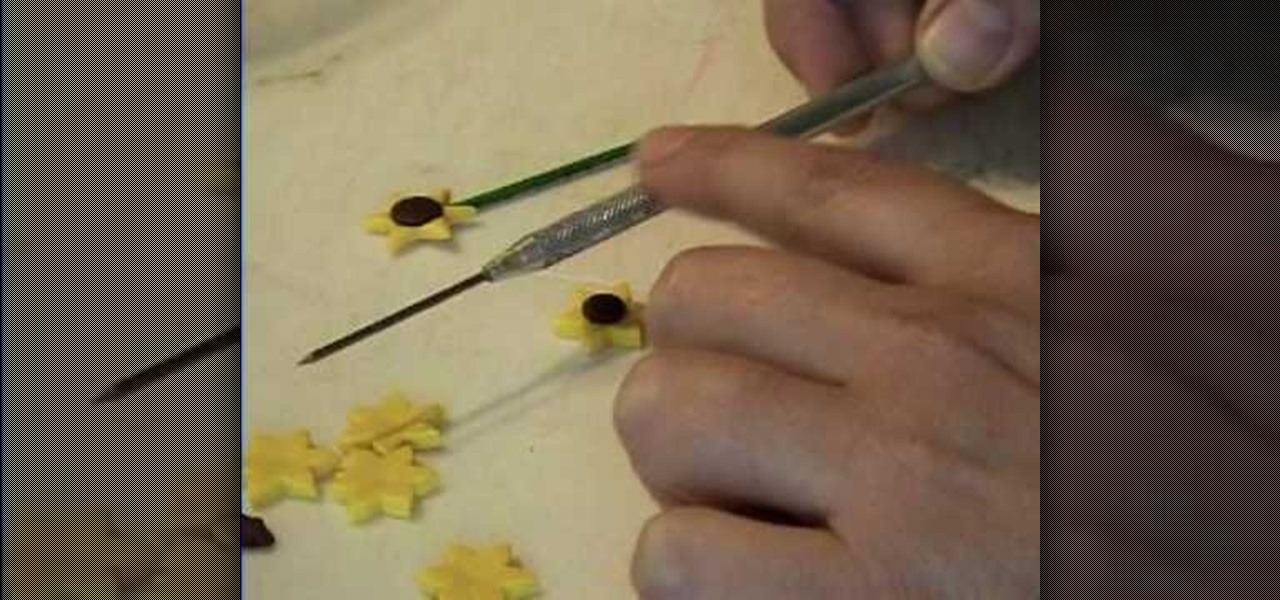
This video shows how to make a tiny sunflower from polymer clay. Start with some yellow clay and roll it out using a pasta machine using the number 1 setting on the pasta machine. Wilton cake decorating supplies makes a flower shaped cutter that is designed to cut pieces of fondant, but works well for polymer clay. Make some of the flower shapes and even out the cut edges. You can texturize the flower petals so they are not left completely smooth. Add a piece of brown clay to the middle of th...

The first step in making burritos for a dollhouse is to take some off white clay and roll it as thin as you can get it. After that, take a small circle using a small circular cutter of some sort. Next, make the "beans" with translucent liquid sculpting clay and some red clay by mixing the two ingredients together. Take a toothpick and apply this mixture in a line down the center. Now take one side of the circle and fold in just past the bean mixture. Now fold the side flaps over and roll the ...
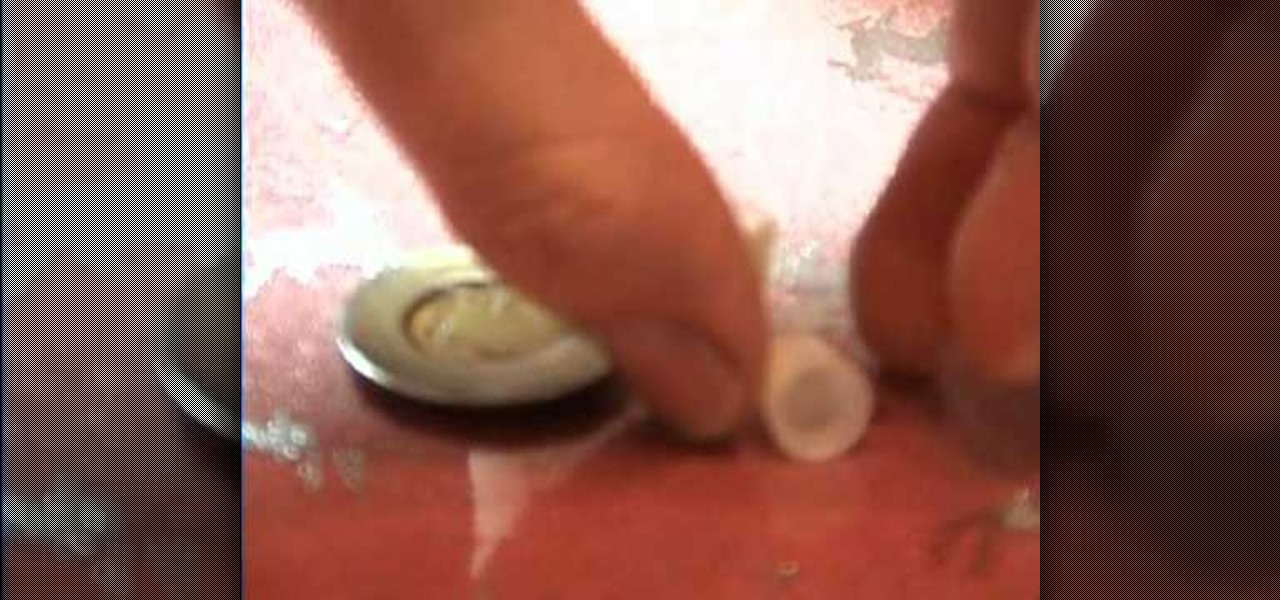
First of all to make a glass you need to find a bottle, preferably a gallery glass bottle. Take off the top lid from its pointed top. Clean this cap and if you put it inverted it appears just like a miniature glass. The tutor advises to use empty bottles' caps for making the glasses. You can also add a little ice into the glass (for making ice in glass the tutor suggests watching her other video on YouTube site). Now paint yellow color in the inside of the glass. This shall appear like that t...

In this short video tutorial you'll be shown how to build or create a LEGO fire extinguisher/spray paint can. The process only requires two LEGO pieces to complete the item. The first piece required is a 1x1 studded can LEGO brick. The second piece is a 1x1 nozzle LEGO brick. Each piece is clearly shown and described in the video to make the process easier. Simply attach the two LEGO pieces together, forming an item which resembles either a fire extinguisher or a spray paint can. The last ste...
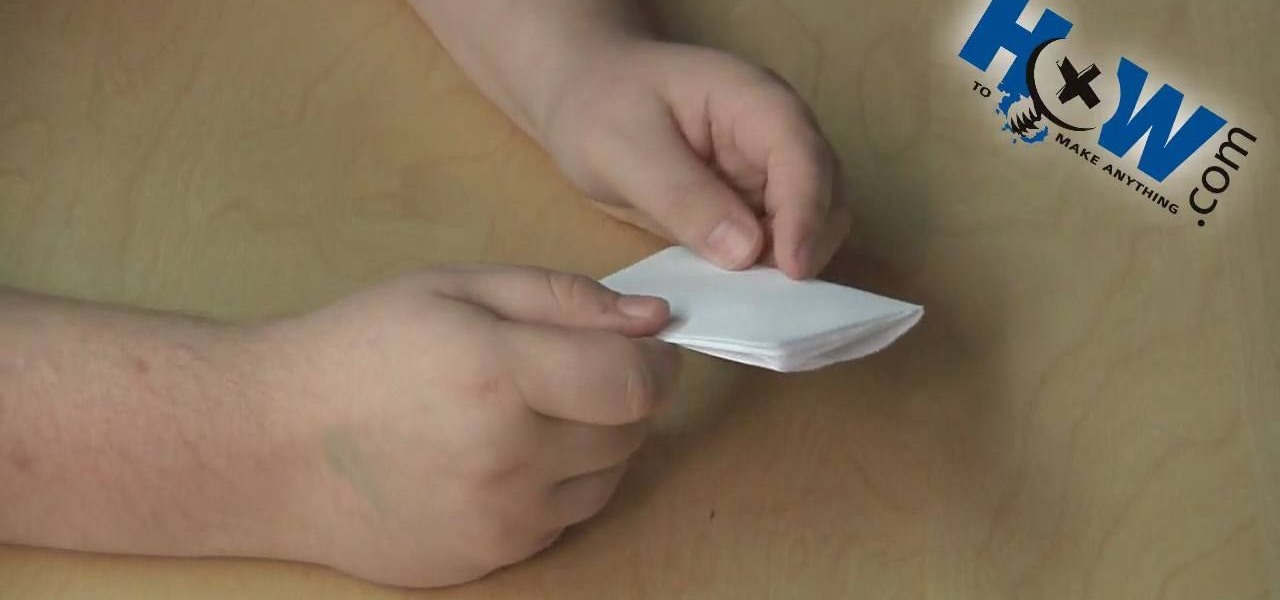
"How to make anything" is going to show you how to create a pocket mod, which is very handy and more elegant then just tearing a sheet of paper and stuffing it into your pocket. This demonstration is going to show you how to create the pocket mod using a regular piece of blank white paper. First, you want to fold the piece of paper "hamburger" style, and then fold each flap back towards the crease. Fold the paper again in half the "hamburger" way and unfold the paper so there's a ridge in the...
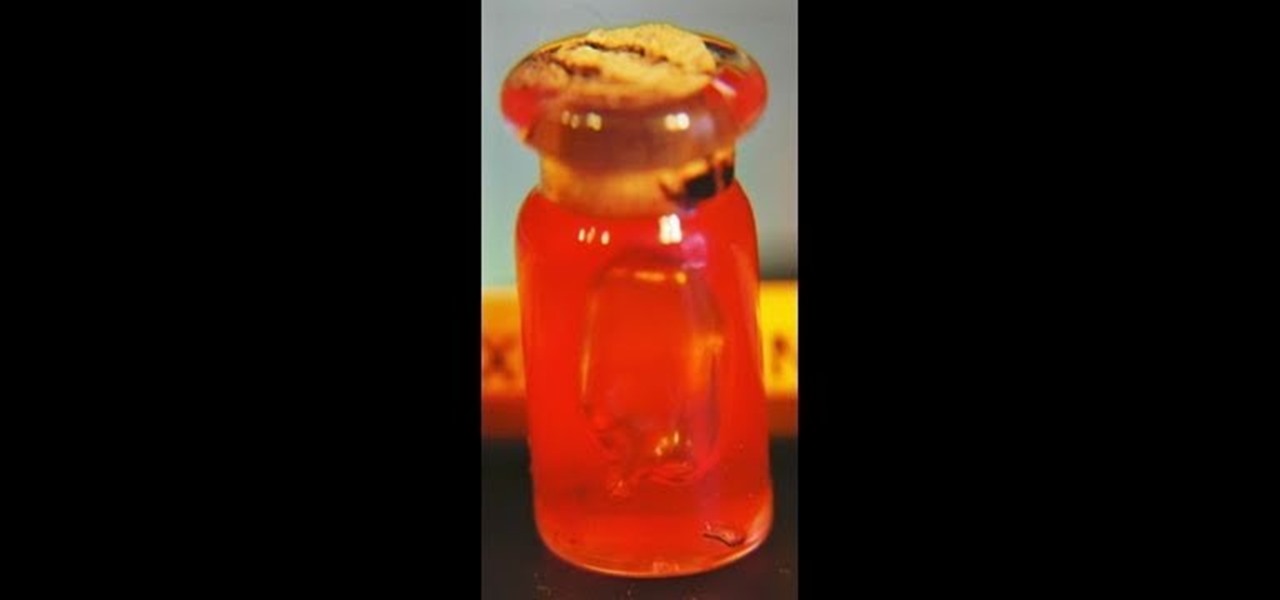
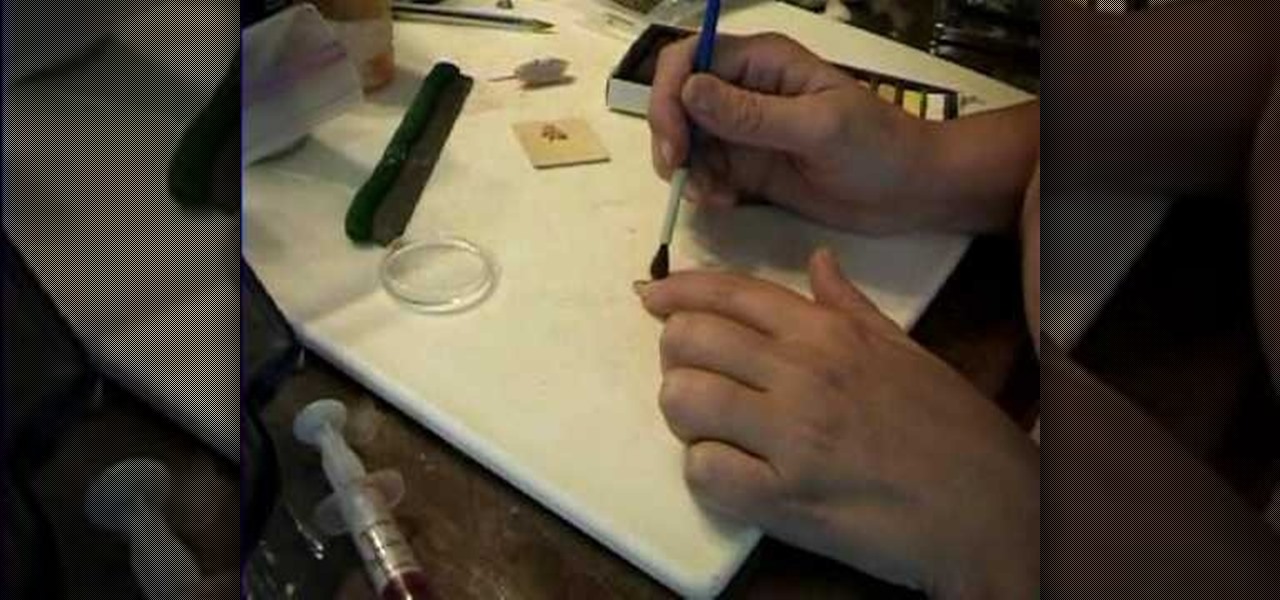
Decorating a dollhouse with tiny details is easy with this informative clip. You'll learn how to make a miniature jar of jelly for your dollhouse. Learn step by step how to use clear liquid nail, coloring gel, a syringe and Q-tip to fill a tiny jar that looks more than realistic. Using a jar from a necklace, the presenter fills it with the colored glue then takes a small amount of cotton cloth, attached with a small wire, to make it look like a jar of jelly from your pantry. This easy to foll...
Garden of Imagination presents a video that teaches how to create a miniature pretzel for a dollhouse. First, she rolls polymer clay into a tiny snake-like roll. Then, she wraps the clay to form a pretzel shape. After she gets the shape she wants, she cuts the clay to make it even. Next, she retrieves chalk. She breaks up a little to dust the pretzel. She uses a dark yellow and brown to achieve a baked look. Then, she adds sea salt from her kitchen. Last, she instructs to bake the pretzel in ...
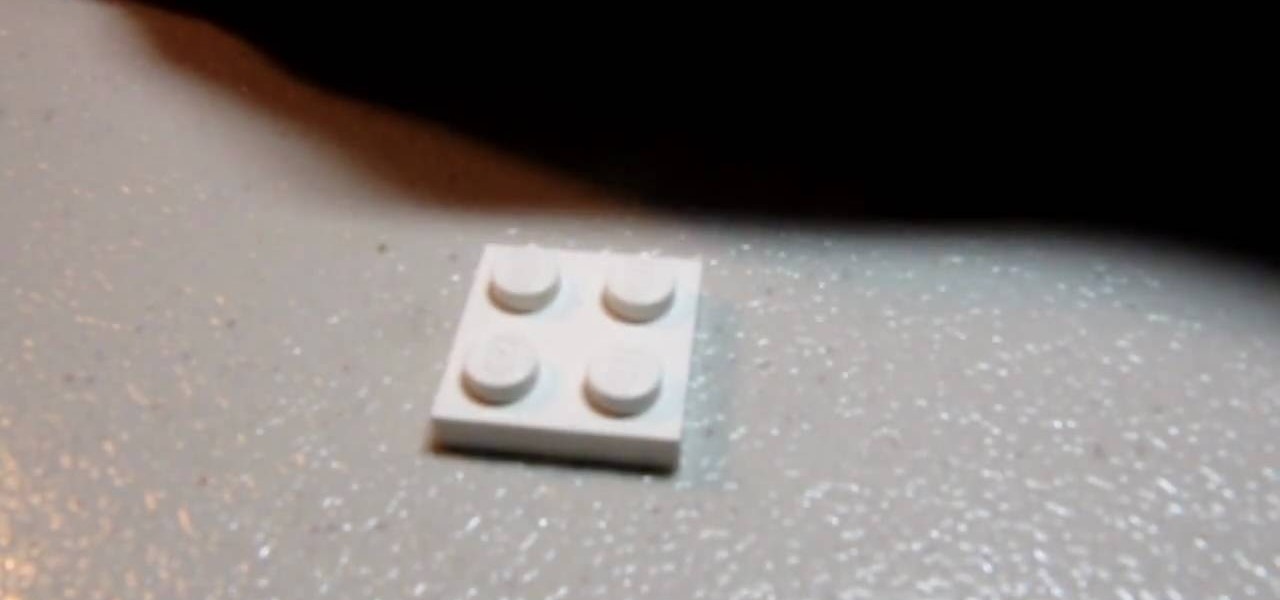
Building a LEGO sink is not difficult at all. You will need only 6 simple parts: 2 1x2 thins, 1 2x2 thin, one sink element (this is kind of rare so if you're not able to find it, you may have some trouble making the sink), and 2 1x1 right-angle elevated bricks. Starting with the 2x4 thin, stack the 2x1s on top of each other and place them on the end of the 2x4. Now take the elevated bricks and snap them on the other end. Finally, attach the sink element so it is facing the elevated bricks. Th...
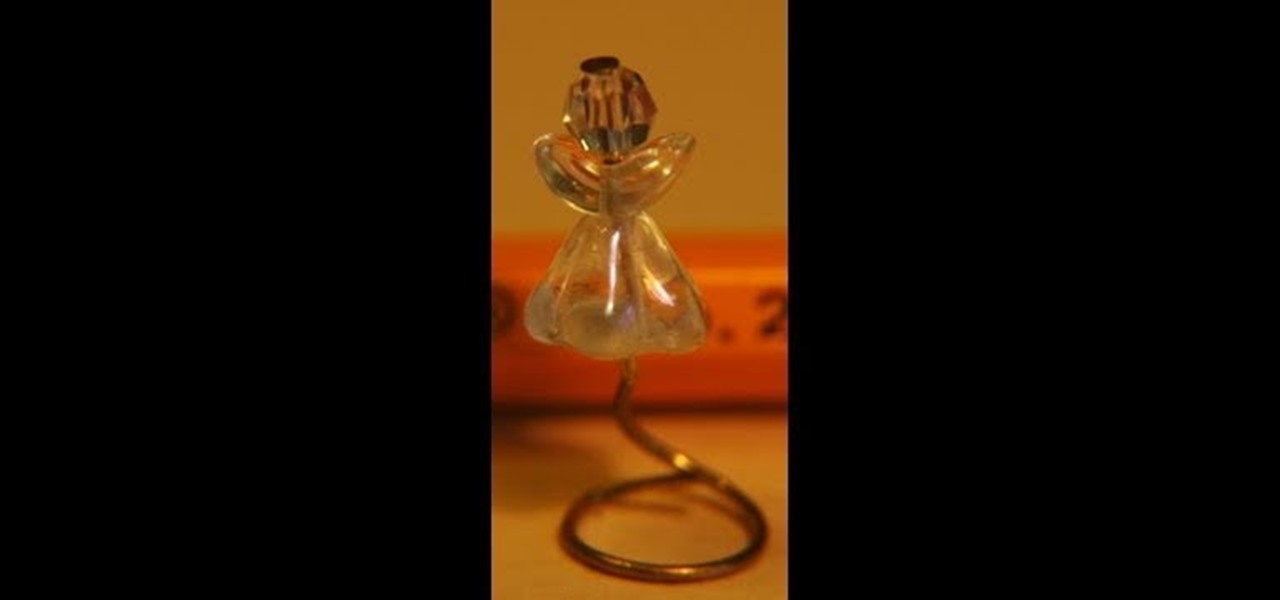
In this demonstration garden of imagination shows how to make a doll house Christmas tree angel topper ,which is less expensive and easy to be made at home .First she inserts a round bead in an eye pin which is for the crown of the angel and followed by crystal ball .after that small glass wings are inserted and then followed by a flower crystal which will be inserted upside down so it will look like an angel skirt and then inserts a bottom of an earring for the base and fixes tightly as it s...
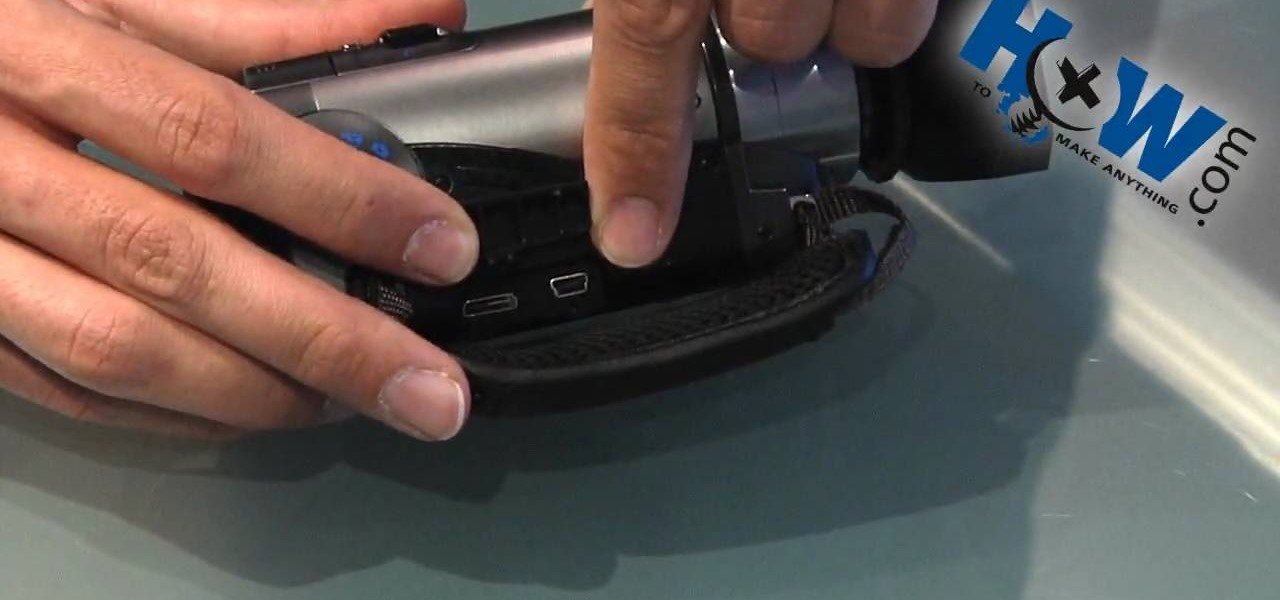
In this video from lunawebs they show you how to transfer video from your camera to your computer as quickly as possible. If you're using a camera with a mini DV tape there's not much you can do to speed it up. If you're on a memory card it can be done. Take your memory card and plug it directly into your computer if it has a slot. If it doesn't, you can buy a USB card reader and plug in your memory card into that, and then plug into your USB port. There's no time loss here and a USB reader i...
In this video you will learn how to mod your Xbox 360 so that it will have rapid fire. He notes that the control he uses is a TP3 controller, you can tell if you have a TP3 controller by opening up you battery pack and on the bottom left on the micro chip it says TP3. He doesn't know if this tutorial will work for any other controllers. The materials you will need are a mini flat head screwdriver and a wire with two ends (as well as the controller of course). Then you take apart your control ...

Mix cinnamon brown chalk powder and clear polymer clay and roll it out flat. Paint some more powder on the flat clay. You need quite a lot of powder to create brown rings later. Roll up the flat clay into a sausage shape. Cut slices of the long sausage and lay them on a wooden tray. Blunt the edges with your finger. Put some white chalk into a blob of thick varnish to make icing. Drizzle the icing on the top of the cinnamon rolls. You can add yellow chalk to make it look dark and cooked befor...

A video from Helpvids.com that shows how to Insert and edit text in Microsoft Word 2007. There are many ways to do document editing tasks in any of today's advanced word processing programs and MS Word 2007 is no exception to it. There are many ways to do the same task in word (For Ex. from the menu, using mouse gestures, using shortcuts etc).

Mismag822 shows you how to perform the "best little self working" card trick. Get your mini deck of cards and count out 16 cards. Shuffle the cards out and lay them out in a grid. Select 4 cards over the deck. Then the other person selects a row and fold it over like a book. Keep folding till you have one deck. Spread out the cards 4 should be face down. The four cards that are left should be all aces.
This video is about making fondant icing. 1. Grease the bowl with Crisco or other shortening to prevent having a mess to clean up.
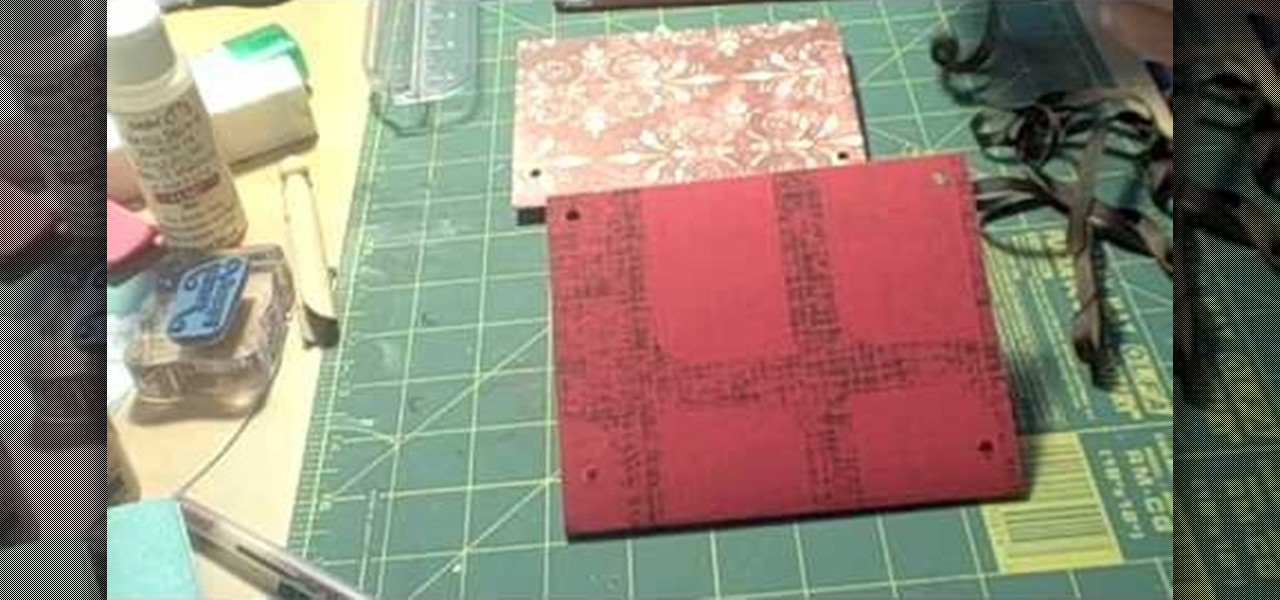
Making this DIY album is easy and fun! This video will show you how to make an 8x10 photo album enclosed in ribbon. After cutting two pieces of cardboard to size, you can take the material you've chosen for the cover and cut a 9x11 piece so that you can fold over the edges. After that, it's as simple as gluing the material to the backs of the cardboard and taking an extra piece of material for the inside cover. Good luck!

Amber takes you through making a Marshmallow Fondant using Crisco, powdered sugar, mini marshmallows, a spoon or spatula, water, plastic cling wrap, a mixing bowl, and a microwave. These step-by-step instructions are simple to follow, and because of the ingredients, it is inexpensive to make. Amber recommends this fondant over store bought because the marshmallows make it taste better. The fondant has to refrigerate overnight in the plastic cling wrap. The recipe makes enough fondant to cover...
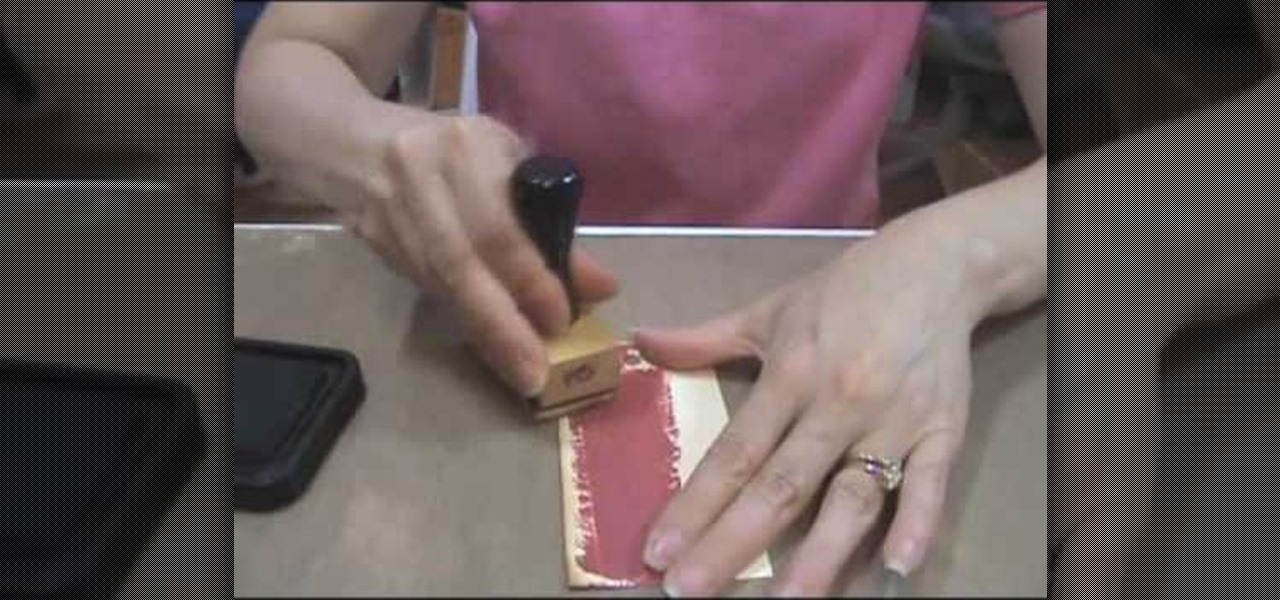
Learn how to use the Tim Holtz' Distress Crackle Resist technique with this tutorial that gives step by step instructions on applying this method to a Manila tag. Materials you will need include distress crackle paint, distress ink (for this project, in "Vintage Photo", "Fire Brick" and "Black Soot"), Inkssentials' ink blending tool, foam, nonstick craft sheet, Inkssentials' Mini Mister filled with water, heated craft tool, paper towel, stamp, and a Manila tag. After done, use this tag in a s...
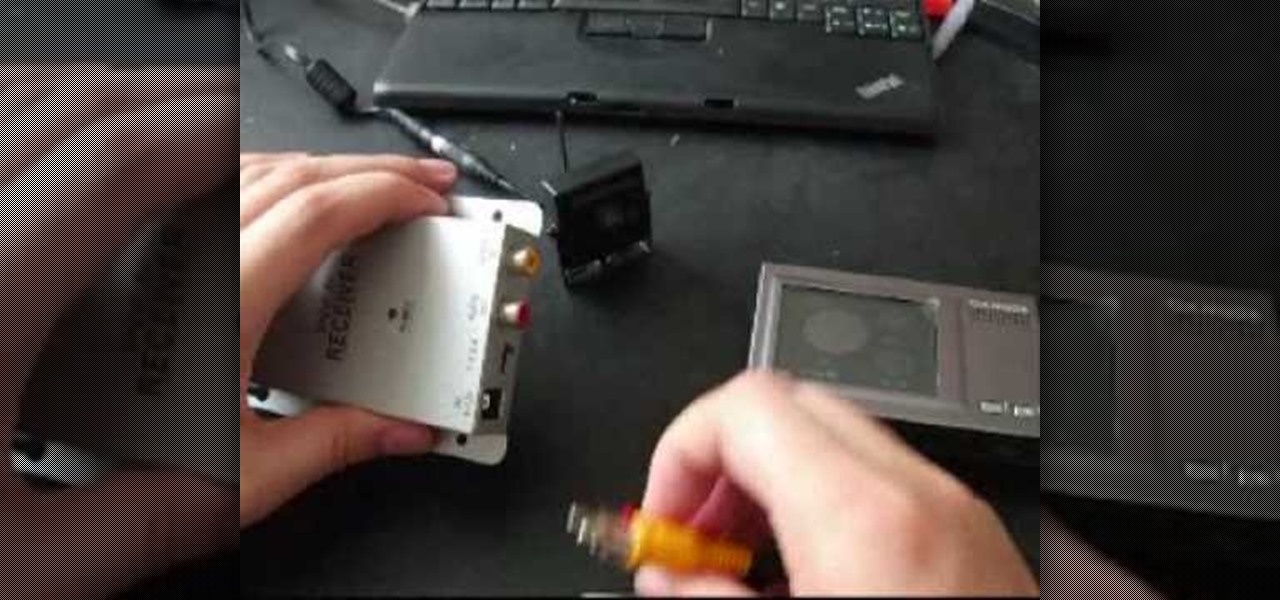
Have a Cambox portable/professional DVR? Well, if you're one of the lucky few, then this video tutorial from Vofoo could help you out.
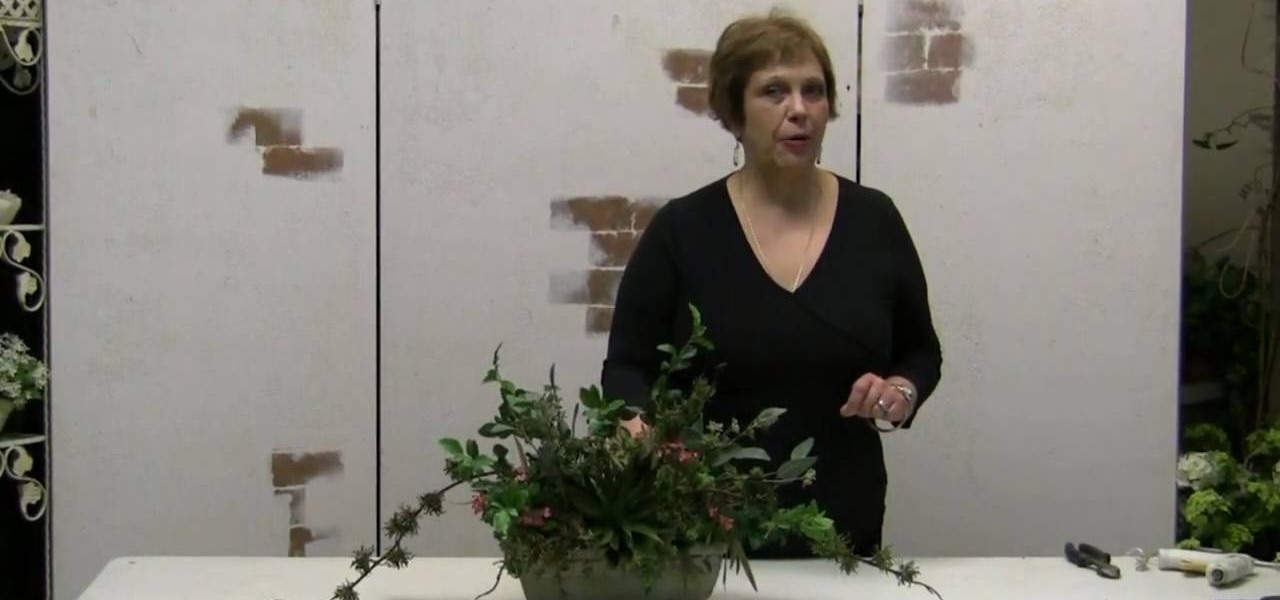
The art of floral arrangement is a fun and valuable skill. Dana Plazyk of Flowers by Design lends useful tips and tricks on making simple flower arrangements.
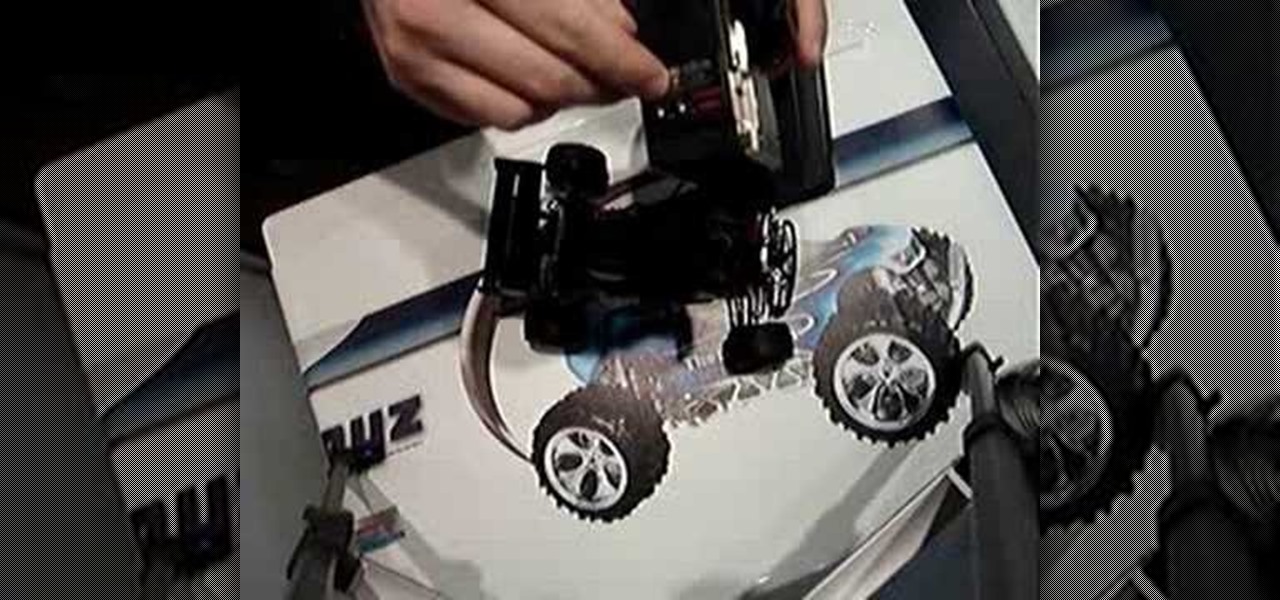
This video will help you diagnose and troubleshoot on a basic level, your electric kit. I get asked alot "please fix my rc" and the main issue is that people do not understand how their rc works. While using a multimeter, I will show you how to diagnose battery batteries bars, esc, receiver, antenna, radio on crystals 2.4ghz synthesized modulation motor brushless bl brush less brushed transmission slipper gears pinions cvd dogbones dog bone wheels pins hex and other aspects that will not allo...
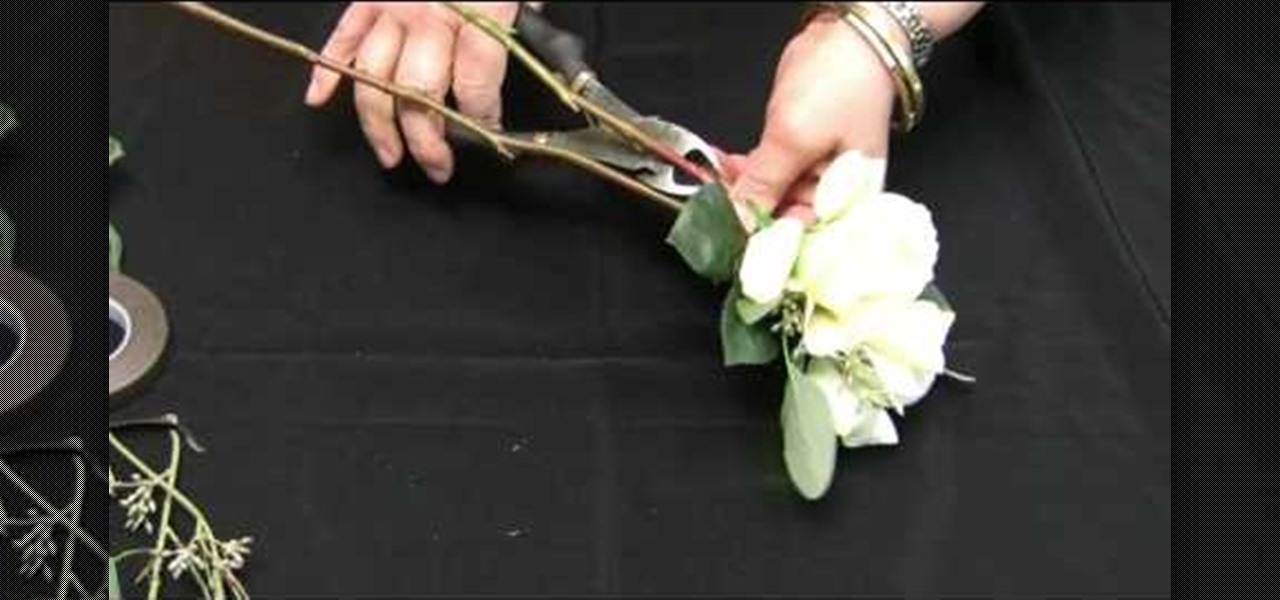
The art of floral arrangement is a fun and valuable skill. Dana Plazyk of Flowers by Design lends useful tips and tricks on making simple flower arrangements.

If you want to make it as an actor, you’ll need to get the parts. So the first step on the road to fame is impressing the casting director.
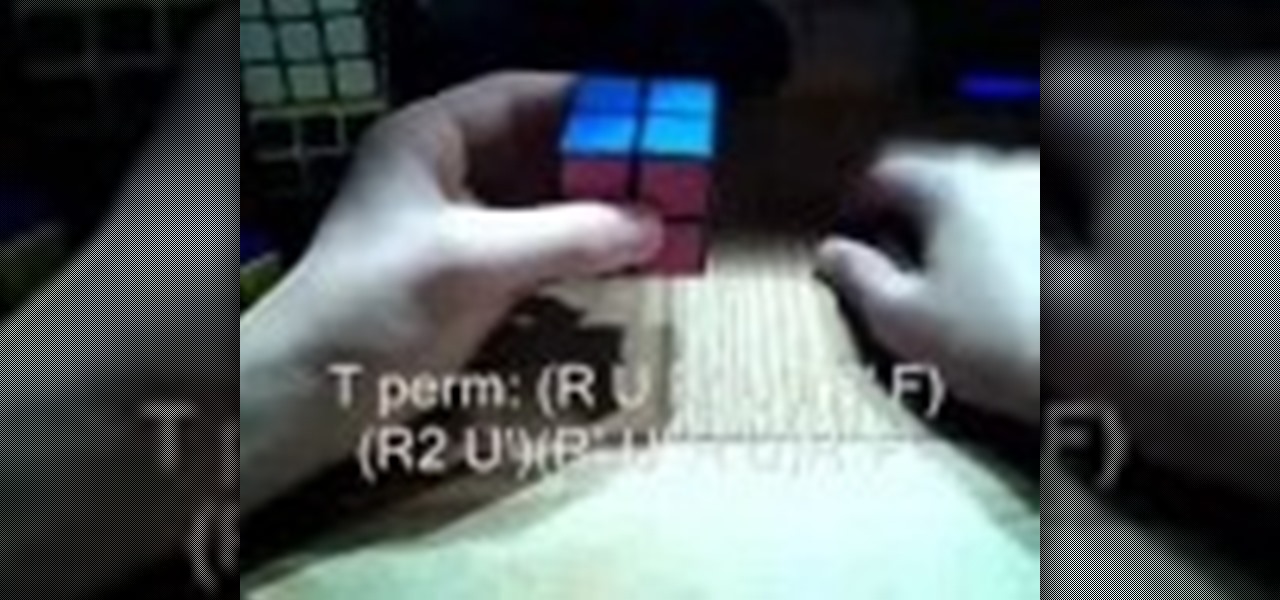
Solving puzzles can be hard, especially when it comes to Rubik's Cube. Erno Rubik's puzzles are extremely difficult, three-dimensional mechanical cubes, unless you're determined and can handle a few mathematical algorithms, then they're easy, or at least not impossible.
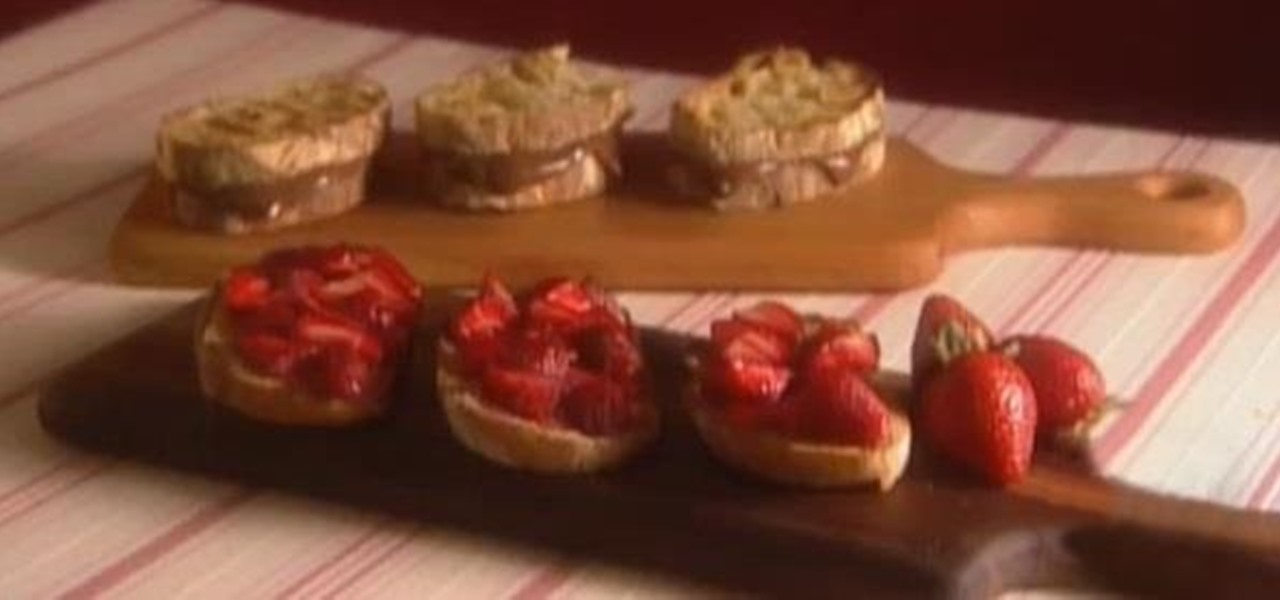
Nutella can be used in many, many recipes, but most prefer it on sandwiches. However, even with Nutella, sandwiches can be pretty boring. That's where these "sweet" Nutella sandwiches come in, which are basically like mini fruit tarts. Use bruschetta bread and fresh strawberries. Buon appetito!

How many notes are there on the saxophone? Check out this instructional sax video that teaches you the One Note theory. This mini tip explains that there's only one note on the saxophone. That note is the middle C. This is one of the easiest notes to play on the saxophone. Behind this one note is a philosophy that if you can take the feeling of the middle C note and transfer that to all the other notes on the saxophone, you can play every single note easily. Learn more about the One Note Theo...
If you've never dabbled in water cooling, it's all about removing heat from the components in your PC using water instead of air–although instead of having a "cooling jacket" designed into the engine block, you attach a waterblock to the component you want to cool on your motherboard (or GPU, HD, memory, etc) in place of a heatsink, along with a set of tubes, a heat exchanger (i.e., radiator) along with a pump to move your coolant. In this video, you'll learn the fundamentals of watercooling ...
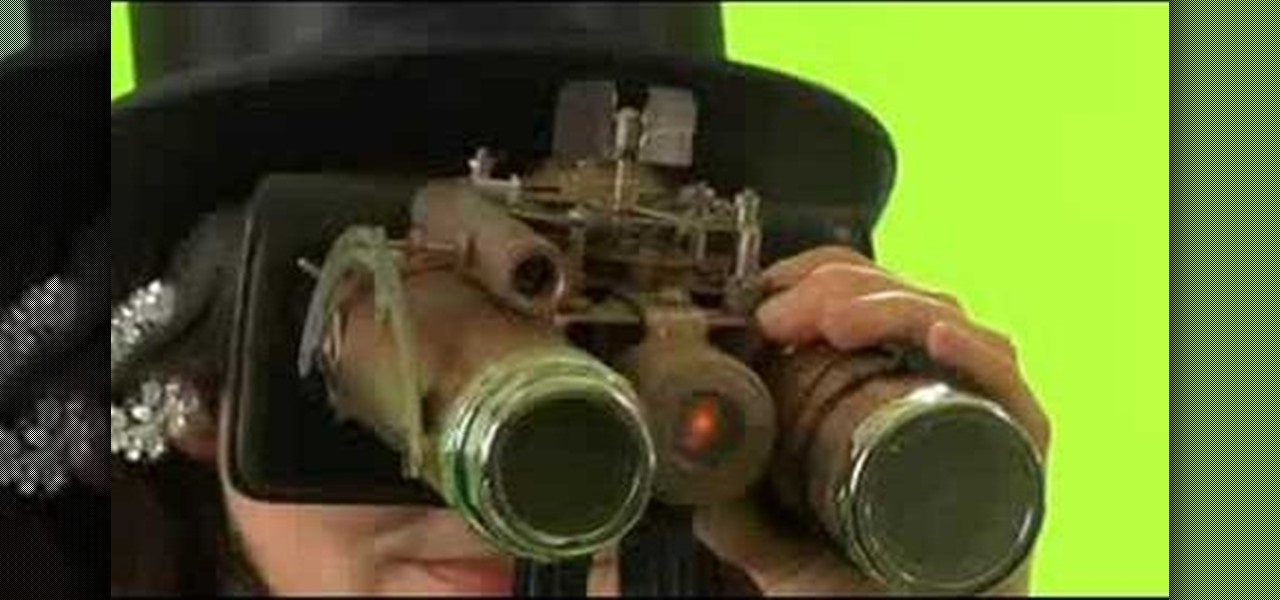
Evenin' Gov'na! How lucky you are to have that datascope (a.k.a. computer); for now you can build yourself some SteamPunk Goggles for your next bioscope (a.k.a. movie)! You will need an old wallet, metal pieces, two plastic water bottle caps, old clock parts, an electric motor, mini tires, plastic pipe, an LED toggle switch, and a pair of sunglasses. Watch this video fashion design tutorial and learn how to make a pair of steampunk binocular style goggles.