In this video, we learn how to change your toilet into a silent toilet seat. A silent toilet seat will shut itself by going down slowly without the loud slam. To remove the old toilet seat, go to the back flaps and pop them up. Remove the plastic screws with a screwdriver and then set them aside. Replace this with your new toilet seat and screw the screws back into the back. Now, lift your seat and the lid up and tap them gently. After this, the toilet seat will slowly start to lower and clos...
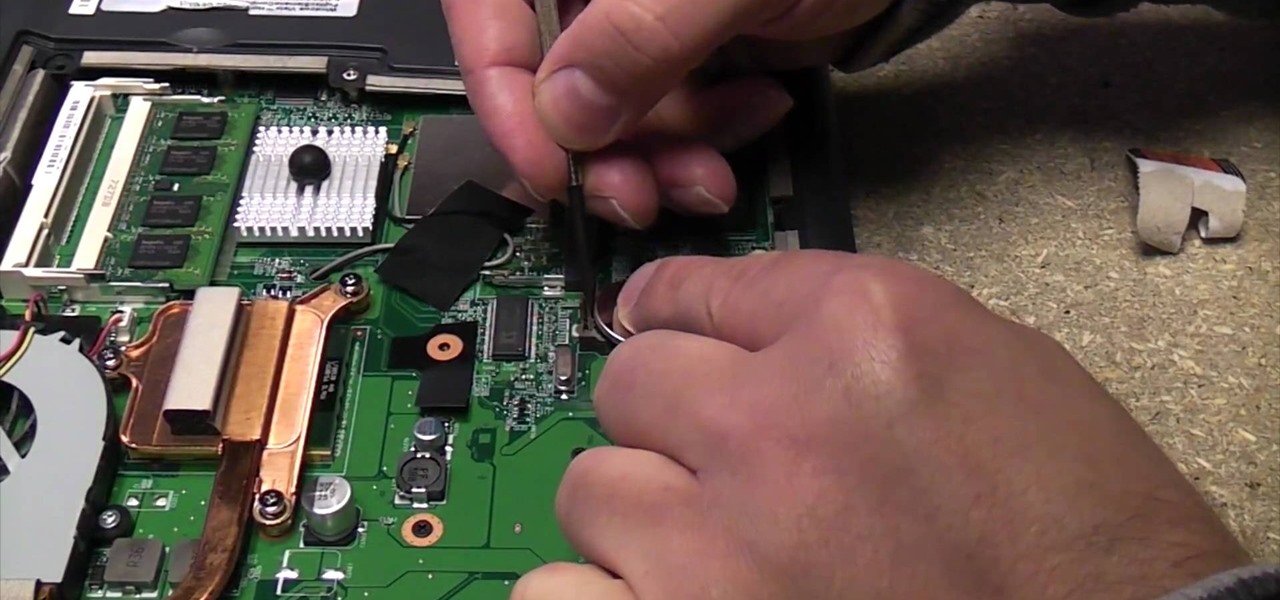
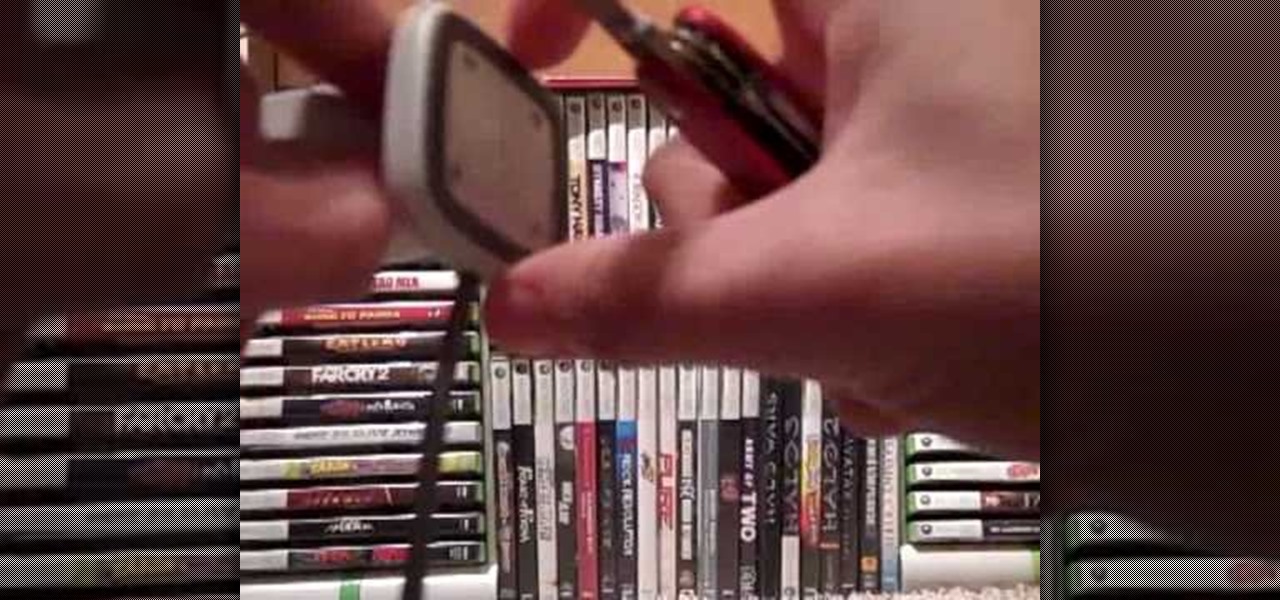
In this video, we learn how to replace a laptop CMOS battery. First, turn the laptop upside down and remove the screws around the panel you need inside. Set these aside and then pry the top up with a flat screwdriver. Now you will see the CMOS battery, remove this with the tab that is on top of it. Remove the battery from the area it's at and then replace it with the new one. Make sure you place it in just how it was before. After this, replace the panel on the top and screw the screws back i...

In this tutorial, we learn how to take apart the Google Nexus One. First, take the battery cover off, then remove all the screws along the side and top of the phone on the back. Next, use an opening tool to pry the case off of the back. Then, pry the bottom cover off and then remove the two T5 screws underneath that. After this, take the casing tool off of the back and then remove all the Philips screws. Now, remove the three flex connections and the cable connected and set them aside. Pry th...

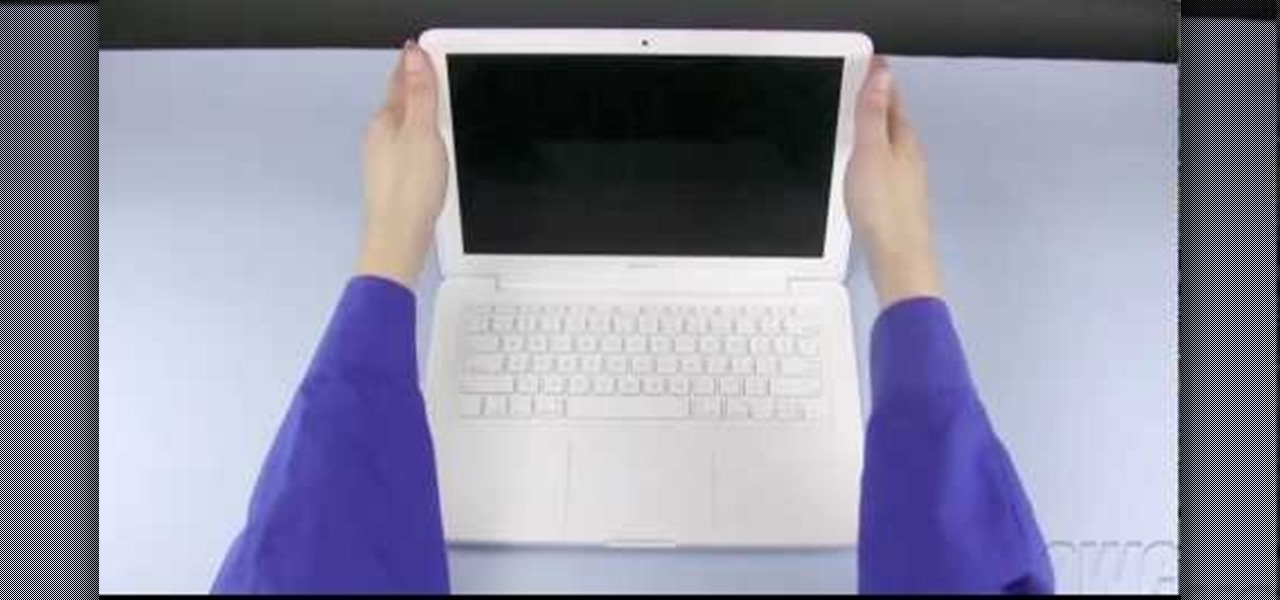
You can change your RAM in a 13" MacBook Pro. To do this you need a screw driver and a new ram. So first put your notebook on the table and take all the screws out of the notebook but be careful when doing this. Now place your fingers on top and the bottom and leisurely take out the back cover. Now there are two slots located at the right side and you have to push it out to remove the old rams. Now take the new ram and make sure you put it as the video showing and place it where you removed t...
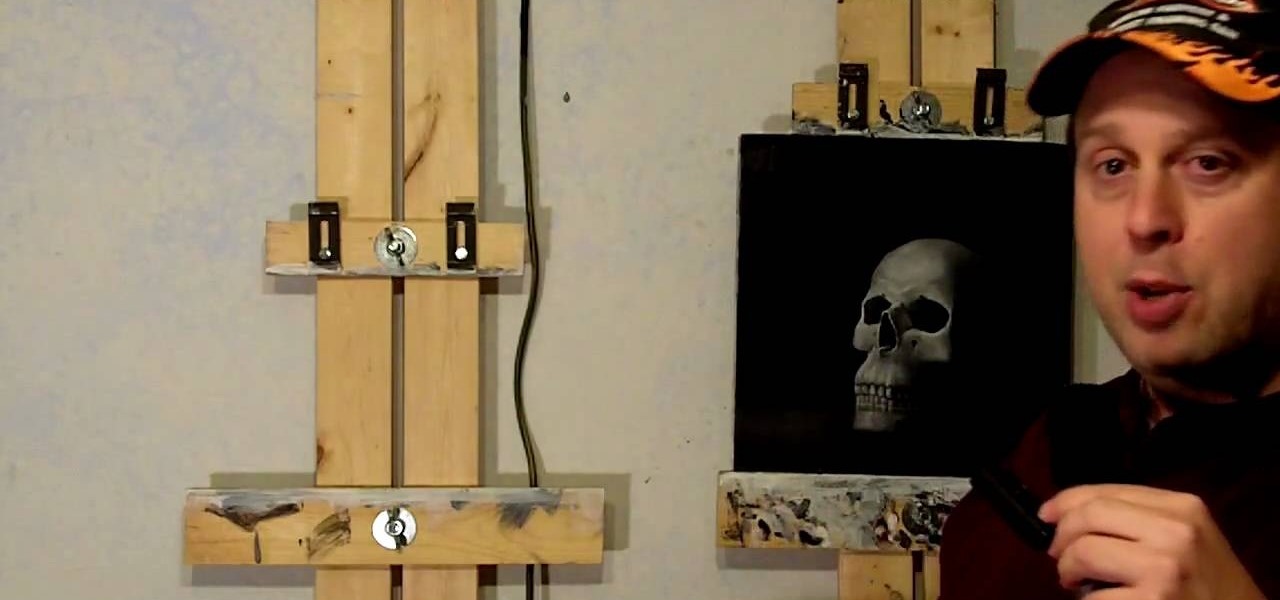
In this video, we learn how to make an easy $20 DIY art easel with Patrick Lawrence. Each side should be about 6' tall, and make sure you screw it into the wall when you are finished. First, you will hold these together with a carriage bolt that slides up and down the two pieces of wood. At the top, screw the screws into the wall and at the bottom, bolt it up the same way as in the middle using a wing nut and a big washer. That's all there is to making an easel yourself, saving you tons of mo...
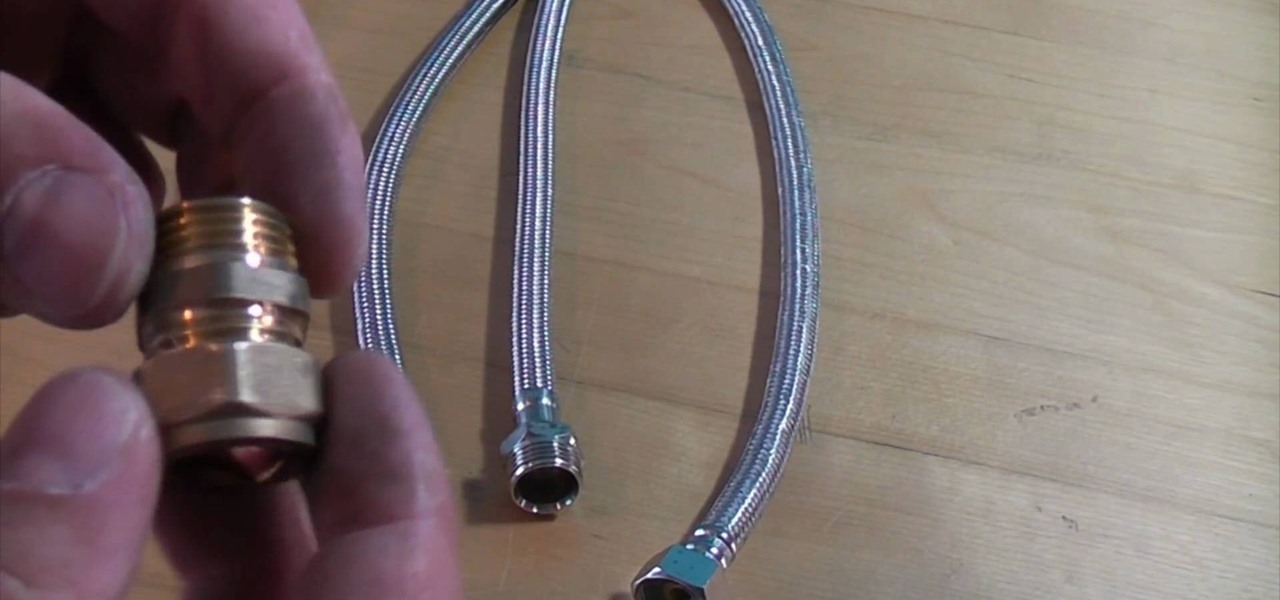
In this video, we learn how to connect flexi-tails properly. First, take your flexi-tails and grab one with a female end that will screw onto the end of a male. After this, use an isolating valve to fit the compression onto the valves and then tighten it up. Screw the flexible tail onto the end of this. Be careful buying this off Ebay, because a lot of fittings will not screw onto a compression knot. It is very simple to make this, you just have to connect the two tails and make sure they are...

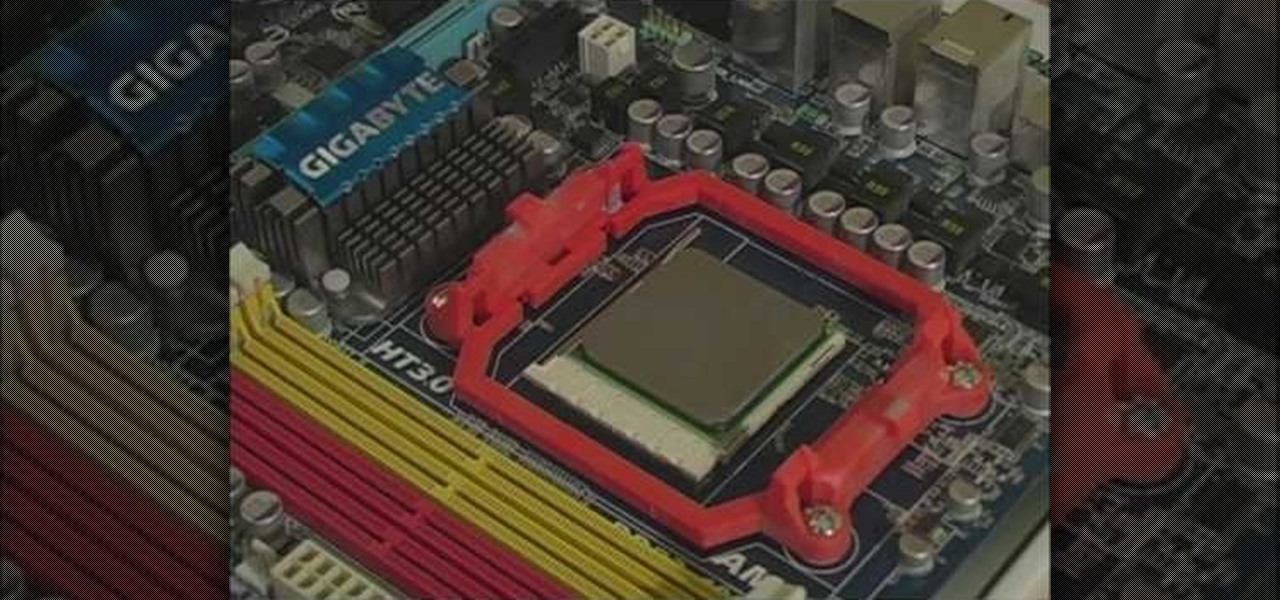
In this tutorial, we learn how to build a gaming PC at home. First, grab your processor and place it into the socket of the motherboard. Lock it into place, then apply compound on top, rubbing it in evenly. Next, install the heat sensor, which will keep the processor cool. after this, install the RAM into the correct slots. After this, insert the motherboard inside the case, matching it to the slots in the case. Use a screwdriver to screw it in, then install the cases. Install the hard drive,...
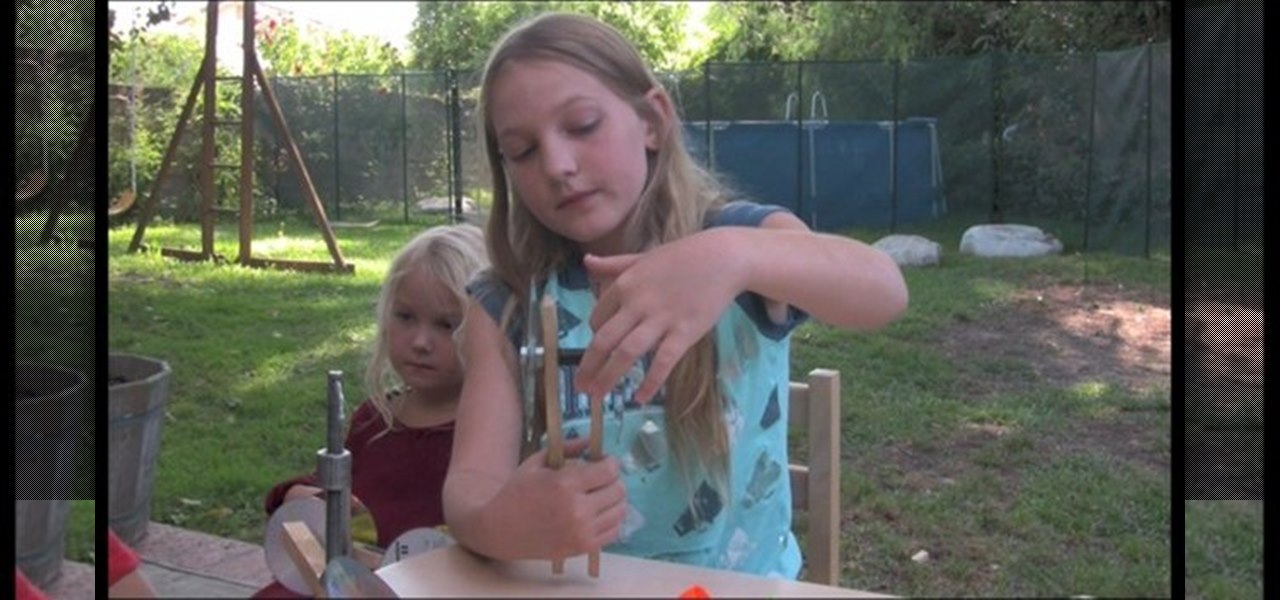
In this video tutorial, viewers learn how to make a toy car with CD wheels. The materials required for this task are: 2 thread spools, long piece of thing wood, 4 CD's, 2 screws, 2 washers and 2 bolts. Begin by drilling a hole in the spools and 2 holes in the wood. Then place a washer on the screw. Now place the CD on the washer. Then add another washer and secure it by screwing on a bolt. Now put the wheel through the first board of wood. Then put it through the spool and other wood board. N...
In this video tutorial, viewers learn how to upgrade the hard drive on a PlayStation 3. Begin by removing the plastic side panel on the PlayStation console and remove the blue screw on the tray. Then open the metal latch on the tray, move it to the right and remove the drive. Now unscrew the 4 screws on the tray that hold the hard drive on the tray. Then replace the old hard drive with the new one. Finish by replacing the screws, putting the tray back into the system and place on the plastic ...
In this video tutorial, viewers learn how to install a PlayStation 3 hard drive upgrade. Make sure to turn off the system and unplug it before installing the new drive. Begin by removing the plastic side panel and unscrew the blue screw. Then open the metal latch, move the tray to the right and slide out the drive. Now remove the 4 screws that hold the tray of the hard drive. Then swap in the new hard drive and replace the screws. Finish by inserting it back into the system and place on the p...
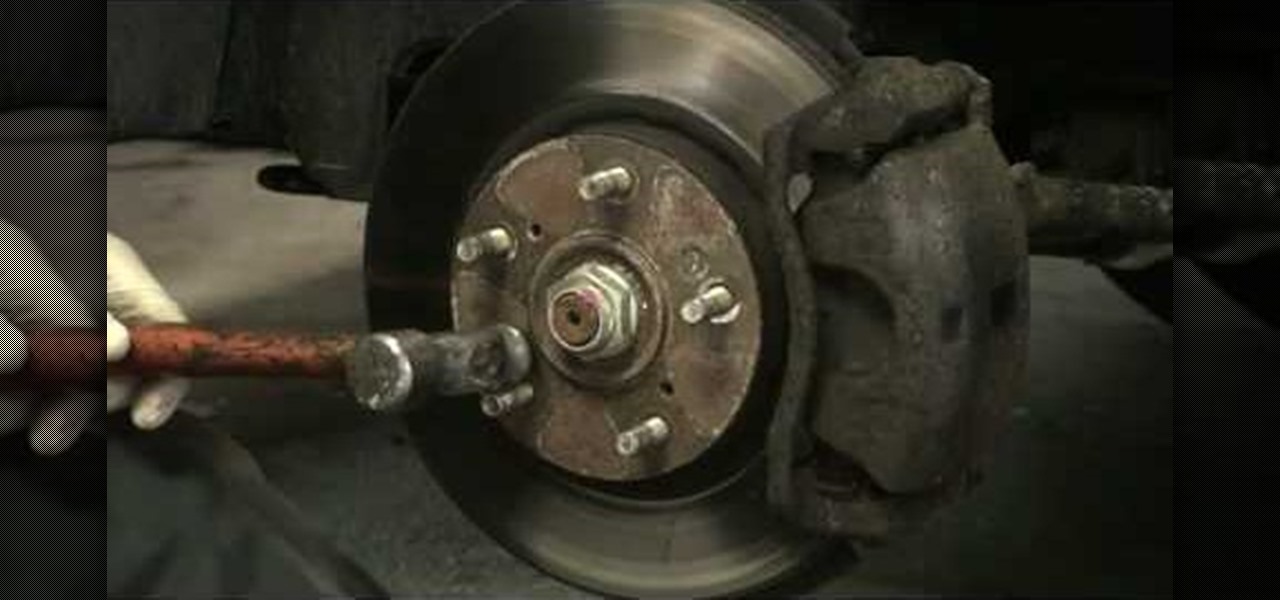
If you own a Honda, then this may be a problem that you are fully aware of. If you don't, if you need to remove anything near your brake wheels, it's important to know how to remove the rotor screws. This can be quite difficult to take out and so a special tool is needed in order to do so. In this tutorial, you'll find out how to remove any screws that may be stuck with a special tool. So good luck and enjoy!
Adjusting the rear derailleur on a bike is an important way to fine-tune your bike's shifting performance, but is complicated and can vary in method and effectiveness depending on the brand of derailleur. This video features instructions on how to adjust a low-normal rear derailleur using the adjustment screws.
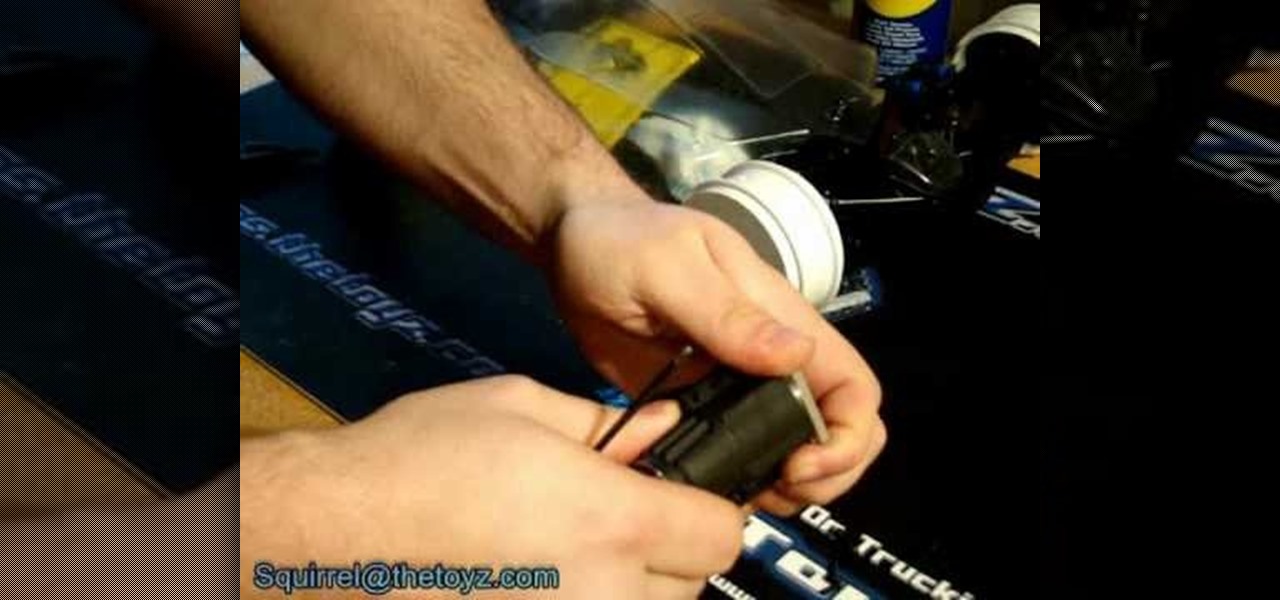
This is a video tutorial describing how to modify a nerf nite finder toy rifle. The first step is to take the nerf nite finder toy rifle out of the box and unscrew all of the screws on the gun. Then unscrew the light in the gun and then unscrew the back wiring and pry the metal out of the back. Next pull out the plunger tube assembly by unscrewing the two screws. Next add a pvc pipe to the connector piece from the gun, connect it to a piece of brass. Then add springs to your gun, and add a pi...
In this how to video, you will learn how to dismantle an Xbox 360 vision camera. First, take off the sticker on the bottom with a knife. Next, unscrew the the screws on the bottom. You should note that the sticker is really easy to place back on. There will be two screws revealed once the sticker is off. Unscrew these to access the inside of the camera. The bottom plate will come right off now. There are two more screws holding the inside of the camera. Unscrew these to entirely dismantle the...
Starting with the cooling head you are going to have many different screws that could require a screw or a hex. After the screws are removed you can easily lift the cooling head from the engine. The plate underneath should pop right off along with the sleeve and the shim. Make sure you keep the sleeve and shim together. The starter will off once the screws are removed for it as well repeat the process for the backplate. Rotate the piston and this will allow you to pop the sleeve off. To remov...
In this Electronics video tutorial you will learn how to repair the LCD screen on the HTC Tilt. Remove the stylus pen, back cover and the battery. With a T6 torque screwdriver, remove the three screws. Using a safe pry tool, pry off the top part of the cover. Take out the small piece of rubber as shown in the video and remove the screw below it with a Phillips screwdriver. Then remove one screw on top left corner with the T6. Using the safe pry tool, release the clips and lift off the next la...
In this how-to video, you will learn how to take apart a Blackberry 9700 Bold. First, set the Blackberry on a sturdy and flat surface. Next, pry off the bottom front plate with a non-metal tool. Remove the battery and place it aside. Next, unscrew the front plate with a screw driver. Be sure not to lose these screws. Now, carefully pry the front bezel off. The keyboard pad will come off as well. Now, remove the screws around the area where the screen is. Once this is done, you can easily remo...
This Home and Garden video tutorial shows how to hang heavy art on lath and plaster walls. This is really very easy and simple to do. Heavy objects of art will need big size nails for hanging. Hammering big size nails on lath and plaster wall is not possible. The nails just go in after a little distance. Then what do you do? There’s a really very simple and easy method of hanging heavy art objects on lath and plaster walls. You just need to screw in. Take a screw, hold it perpendicular to the...
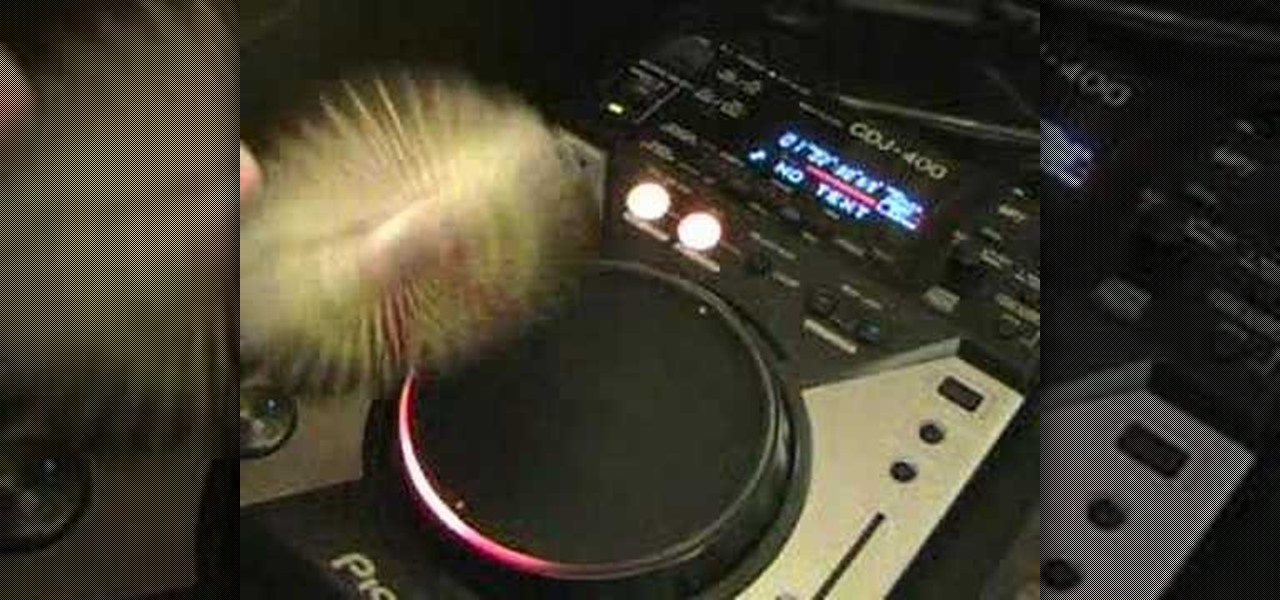
Want to mix and scratch like a professional DJ? To be a good DJ you need to understand the concepts of mixing tracks, adding cool effects, and of course you need a good sense of rhythm to line up the beats. This how to video explains how to pimp up your Pioneer CDJ-400 mixer. Just follow the simple step by step instructions: remove the two small screws and take off the see through piece of plastic, place a picture down on top of the platter and replace the cover, and re-screw the two screws. ...
Here's how to spot nails and screws with joint compound. This instructional video will show you how to coat nails and screw holes in drywall with a thin layer of spackle. Use a metal putty knife and fresh joint compound to get a smooth surface of spackle and avoid heavy sanding.
Take a look at this instructional video and learn how to completely disassemble electronics without damaging the tamper seal or the parts. This tutorial uses a brand new HP IPAQ 2410 for instructional purposes and you can apply these techniques to other electronic products that you wish to modify or repair. The materials used for this procedure are a #5 Torx driver (8
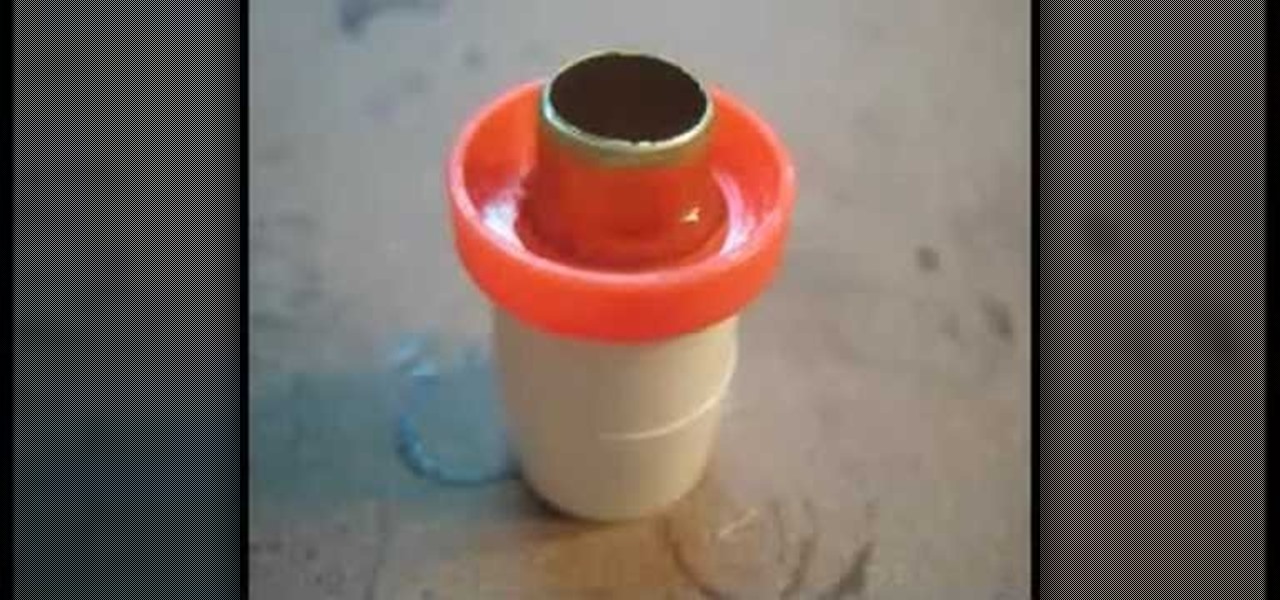
Build a faraday motor with tips from this how-to video. In the early 1800s, physicist Michael Faraday invented the first device to convert electrical energy into mechanical motion. This is an easily built version of his motor. The magnet sets up a magnetic field, and the electrical current through the screw sets up a separate electromagnetic field around the screw. The two fields react and the result is rotation.
Tim Carter demonstrates how to use a hidden French cleat to attach a gorgeous fireplace mantel to a wall. Learn this clever way to attach the mantel to the wall without using screws or nails.
Learn how to make a great tasting drink with an interesting name - the Slow Comfortable Screw. You'll need Southern Comfort and Sloe Gin.
Microsoft has behaved pretty douchily as far as managing the hard disc drive (HDD) sizes it made available for the XBox 360. The 20GB drive included in most models of the system is woefully inadequate, and many have been convinced to give Microsoft even more money to get a larger one. That's not necessary. This video will teach you how to upgrade the XBox 360's hard drive yourself, putting in any large-capacity SATA drive you wish and massively increasing the storage capacity of your XBox 360...
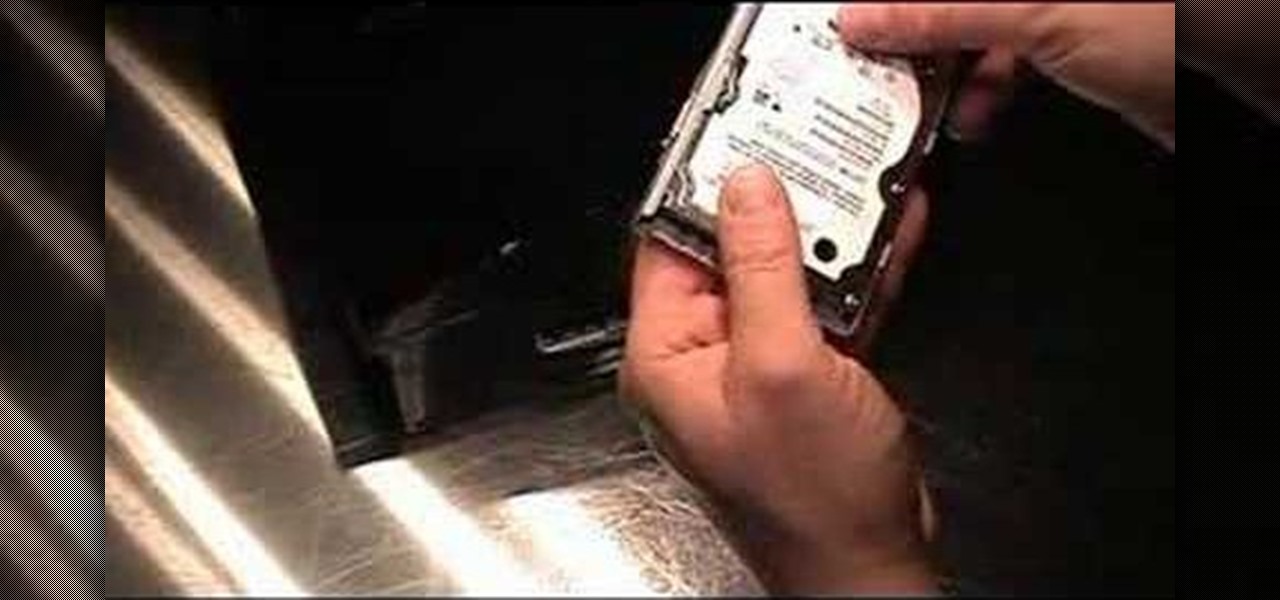
In this how-to video, you will learn how to install a 2.5" hard drive into an external closure. This will take only about five minutes. You will need a small Phillips screwdriver. Make sure you use anti-static precautions before performing this procedure. Take off the top of the enclosure. Line the SATA connector of the hard drive to the enclosure. There is a tab on the top part of the enclosure. Make sure that it connects to the other part of the lower part of the enclosure. Take the screws ...
OWC, Other World Computing, demonstrates how to install RAM or upgrade and replace the memory in a 13-inch Macbook unibody. Installing RAM will take approximately 10 minutes to complete and is a relatively easy task. It will require the use of a Philips head screwdriver. First, discharge static electricity before performing the upgrade and make sure the computer is turned off. Close the lid, flip the Macbook over and remove the eight screws on the underside of the computer. Then, lift up the ...
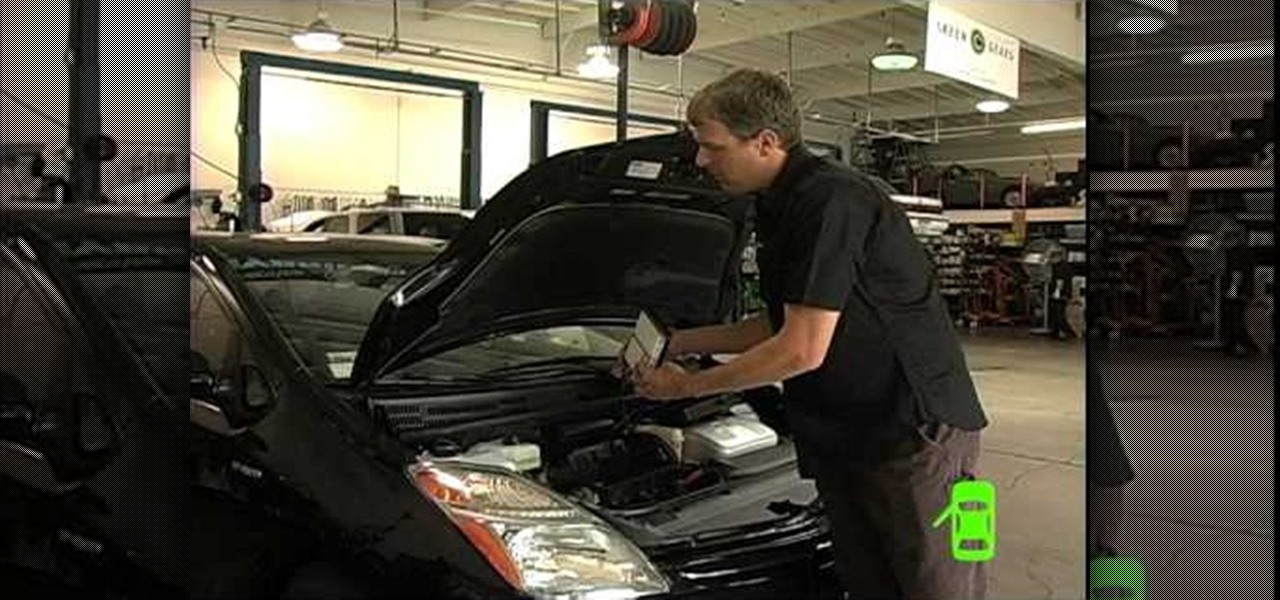
Kim the in-house mechanic for Driverside shows you how to quickly and easily replace your cars air filter. The reason you would need to change your air filter is that over time the flow is reduced which consequently reduces your car's gas mileage. To change your air filter you first need to locate it on your car. The air filter is under the hood and usually in a box that either has clips of fillip's head screws holding the cover on. Remove these to gain access to your filter. From there you c...
bObi has four floor detection sensors on her underside that warn her not to drive over ledges and stop her from falling down stairs.
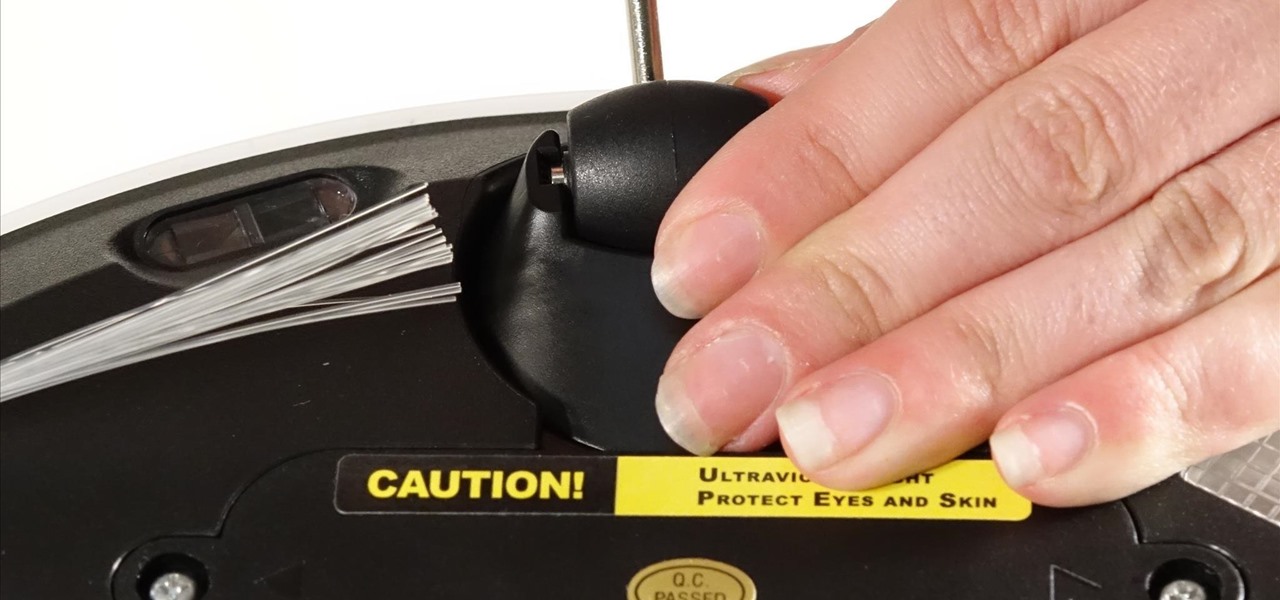
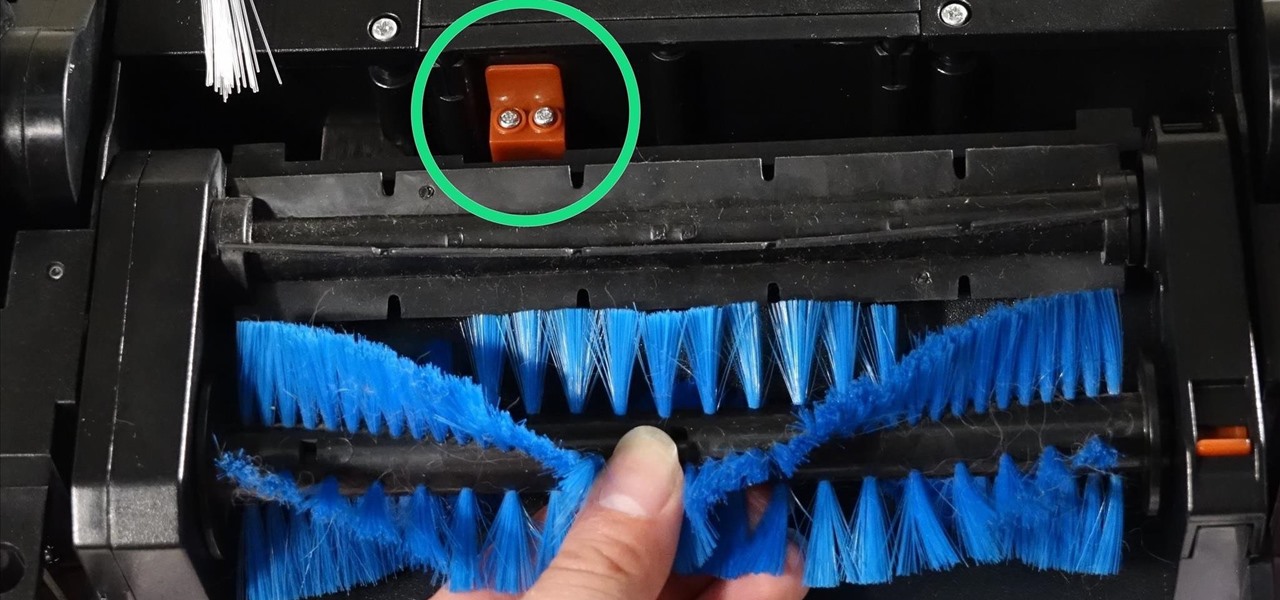
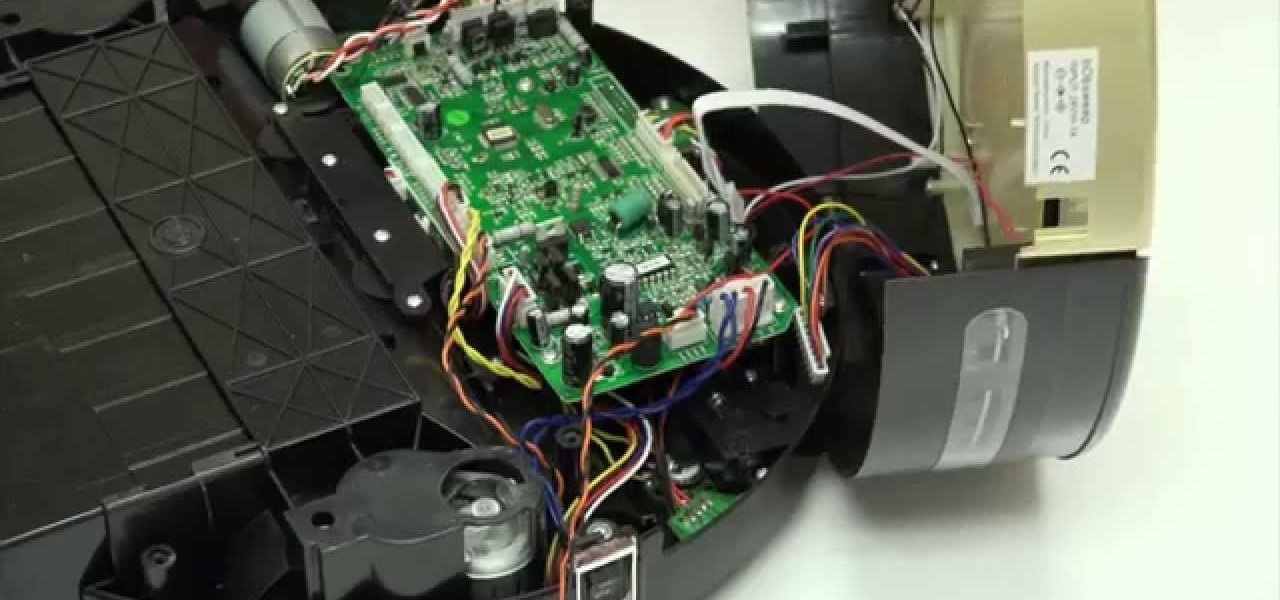
One of the quickest repairs for bObi is replacing the main brush motor. To do this, you'll need a Phillips head screwdriver and a replacement main brush motor.
You can get an expensive ticket for driving with a busted tail light. But that's not all. Driving with a faulty brake light can be dangerous. Replacing the bulb is a simple task that takes only a few minutes.
Home improvement expert Danny Lipford talks about a caulk tube extender. Check out this video tip to see how to get everything out of your caulk tube.
First of all take one eight inch 'Ellen ' wrench and take off the back screw. Now you have to slide out the back plate. There is no need to take the front plate apart. You can clean it using some hot water.You can run hot water over it for a minute. You can also set it in a sink and then run hot water from the tap. You can see a scratch mark on the shaft. That is there to show you the vertical. Now insert in to the round so that this mark is in line with a little mark over it. If it is not al...
Hanging closet hooks is one of the simplest ways to expand your storage space. You will need hooks, drill and bits, a steady hand, a stud finder (optional), a hammer (optional), & wall anchors (optional).
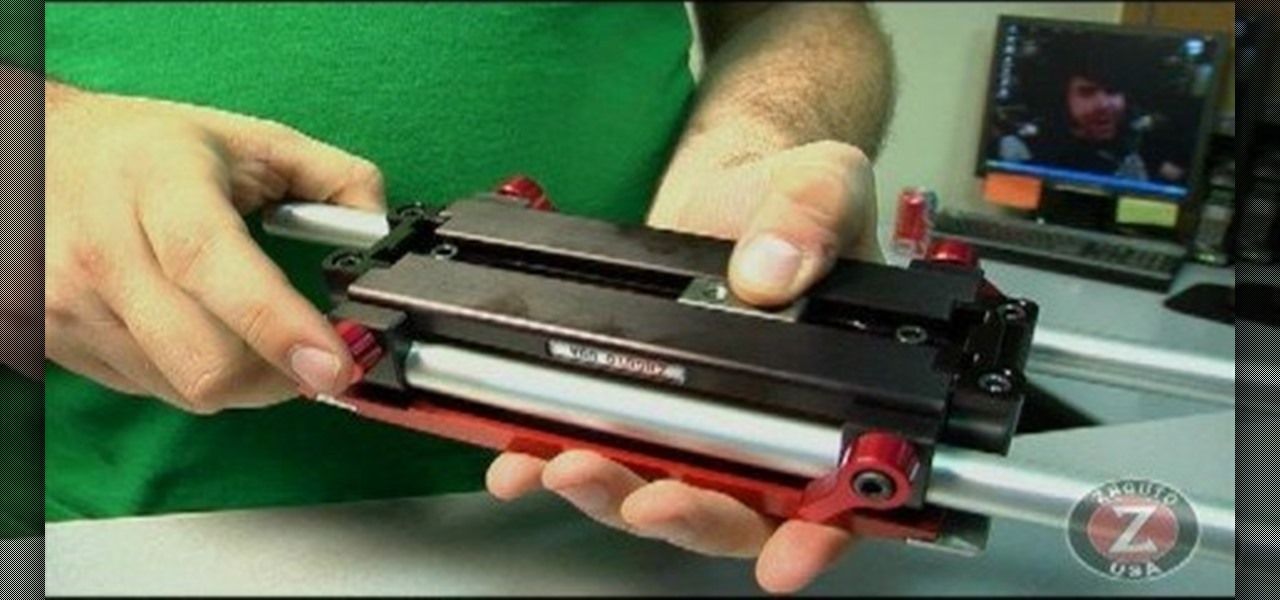
Zacuto Universal Baseplate V3, includes 12-inch rods and works with all cameras. Zacuto's Universal Baseplate allows mounting accessories off the front and the back of the rods. Our new version 3 Universal Baseplate is 22% lighter then Version 1 or 2. The baseplate measurements (excluding rods) are 7 x 4 x 1 ½
Both bObsweep Standard and Pethair models have two bumper sensors inside their covers. Whenever Bob runs into an obstacle, the sensors tell Bob to back away.
The bumper for bObsweep Pethair and Standard are installed the same way. It holds the sensors that allow Bob to see any obstacles in his path. If a repair of the wall detection sensors is needed, the steps for replacing the whole bumper are the same when working on either bObsweep model.
Repairs Universe demonstrates how to replace the LCD screen on the LG Xenon GR500 cell phone. First, remove the battery and the SIM card from the phone. Then, use a small phillips head screwdriver remove six screws from the back of the phone. Next, use a safe pry tool to release the clips by running it along side of the phone. Remove the back layer. Remove the two screws on the inside of the phone. Also remove the volume key, the hold button and the camera button. Slide the phone to the side ...
This video shows you how to take apart a Microsoft Zune HD. To take it apart, you will need a tri-wing screwdriver. Using the screwdriver, remove the four screws at the corners. Once the screws are removed, you can easily remove the back cover. To remove the bottom cover, slide it off with your fingers. Next use a T5 screwdriver to remove the three screws, one on each side and one in the middle. There is one more tiny screw near the bottom that has to be removed. Using a prying tool to remove...
Let's face it, pretty much everyone has an automatic dishwasher. They are super convenient and are becoming cheaper to allow the general public better access to them. With that being said, though, dishwashers are also becoming a lot smaller.