Wow! No longer do you have to buy those huge marble machine roller coaster toys — you can DIY one! This video covers the materials, tools and techniques used to make a homemade rolling ball marble machine. If you haven't seen this rolling ball marble machine toy in action yet, WATCH IT. It's a looping rolling marble machine made with wood, rebar tie wire and polyurethane tubing, featuring a magnetic elevator.

Make the most of summer's bounty by learning how to preserve it for winter. You Will Need

Hanging a door evenly isn't easy, and if you screw it up, you'll probably have to start over with a brand new door. Master this skill, however, and save a bundle in installation fees.

Learn how to use more English phrasal verbs with this instructional English language lesson. get...over with
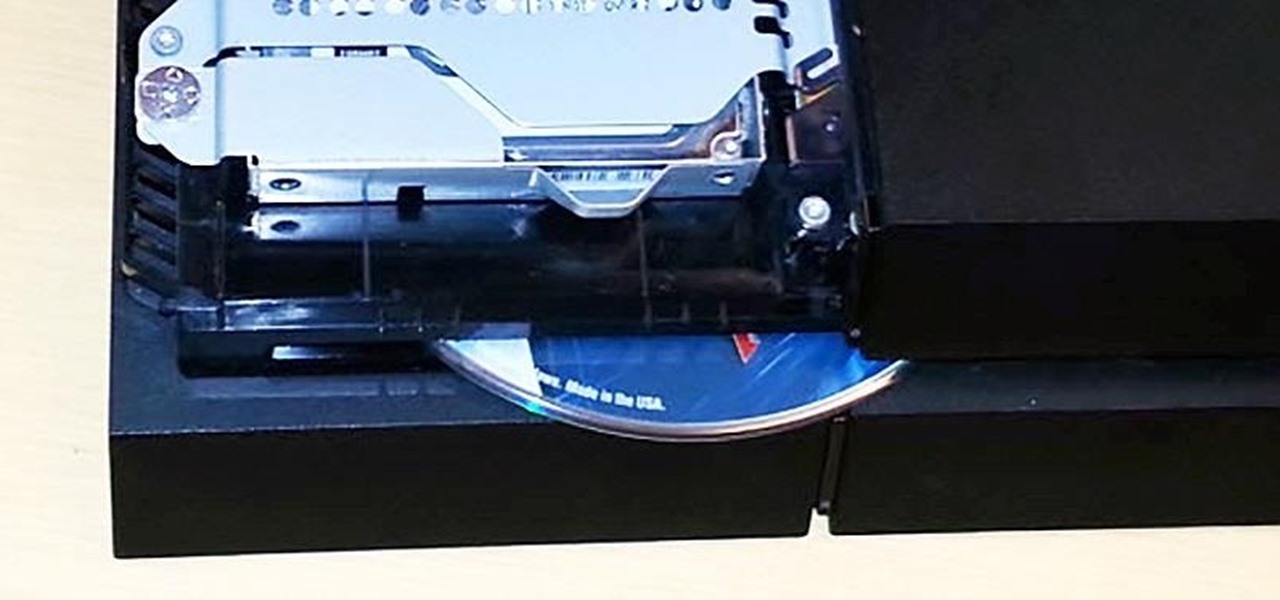
You know how annoyed you get when you put a quarter into the vending or washing machine and it gets stuck? There's a quiet rage that boils inside you. Now, imagine that quarter is a sixty dollar video game, and it's stuck inside your brand new, four hundred dollar PlayStation 4 system.

Everybody should have plants in their home. Not only do they give off oxygen, but they add a whole new level of decor and awesomeness to an otherwise drab room. So naturally, if you want to improve a room, just display a few plants.

Run rabbit run! Well, your rabbit can't run unless you build it a place TO run! Check out this video and see how-to make a space in your backyard for your bunny to get its hop on. You'll need some tools, including a saw, screw gun, or hammer and nails and a skill saw. The dimensions are 80L x 43W x 36H. (measured in inches) This project takes about 4.5 hrs to build. Get building and give your fluffy little pet some outdoor love. Know what? He'll return it in leaps and bounds. And hops.
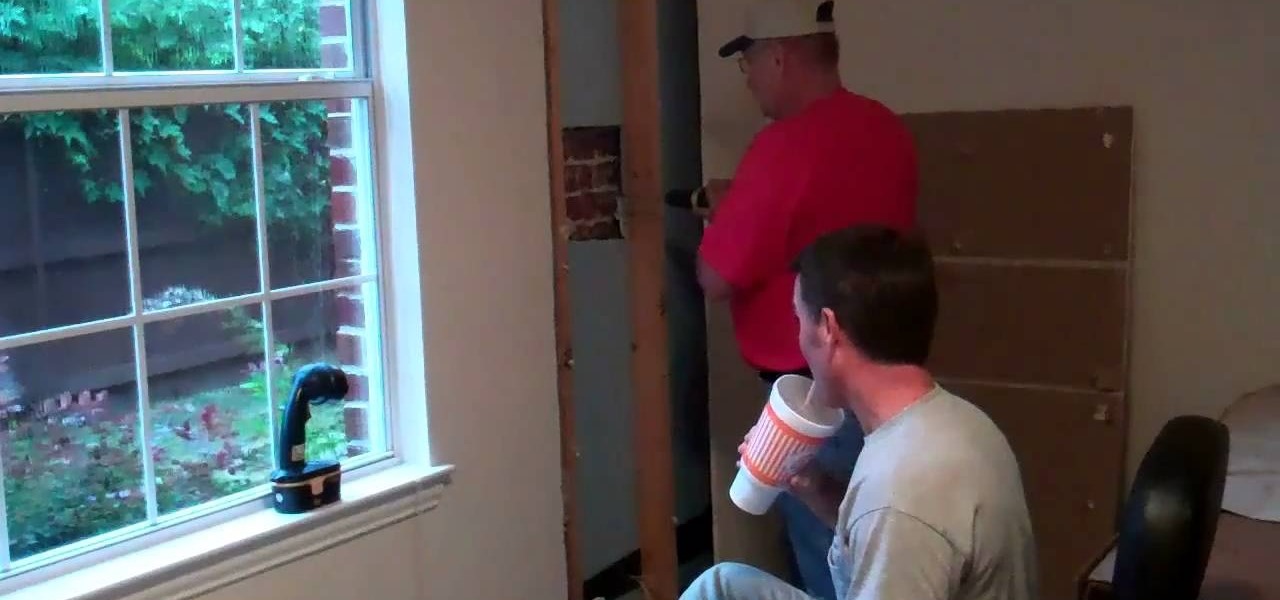
If you've got a brick house and are looking to install a door in the brick, this how to will get you there. Be prepared, it's a big job and you'll need to be comfortable wielding several power tools. Are you ready to take the challenge?
In this tutorial, we learn how to make a serving tray from a picture frame. First, grab a picture frame in a larger size that comes with glass on it and a backing. From here, you will grab some scrapbooking paper or another type of paper and cut it to size to fit on the background of your paper. Then, find two handles that you have and screw these onto the sides of the picture frame. After this, glue your favorite pictures onto the paper and then let it dry. When finished, stick this under th...
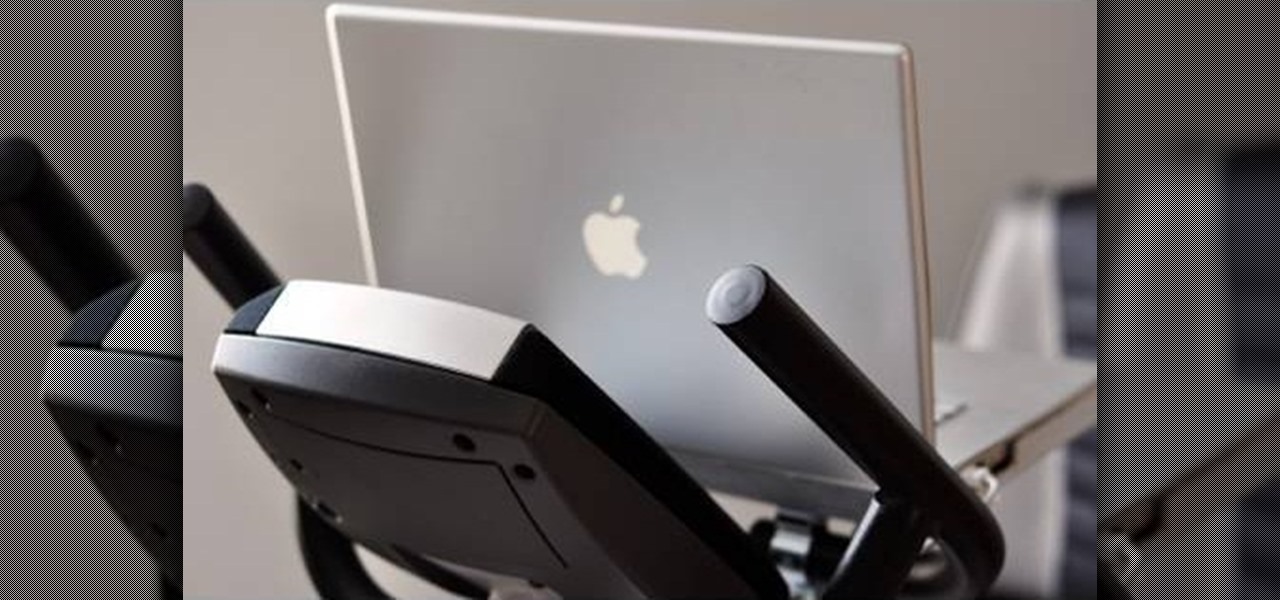
In this tutorial, we learn how to mount your laptop to your exercise equipment with Chris Gardner. This is a great way to stay active and get your work done at the same time. First, grab some measurements of your machine, then grab aluminum bars that are the sizes of the front of the bike. Cut out the pieces so they are the size that you need, then mount onto your machine and place your laptop onto it! You can use screws to remove this, or you can leave it on to use whenever you would like wh...
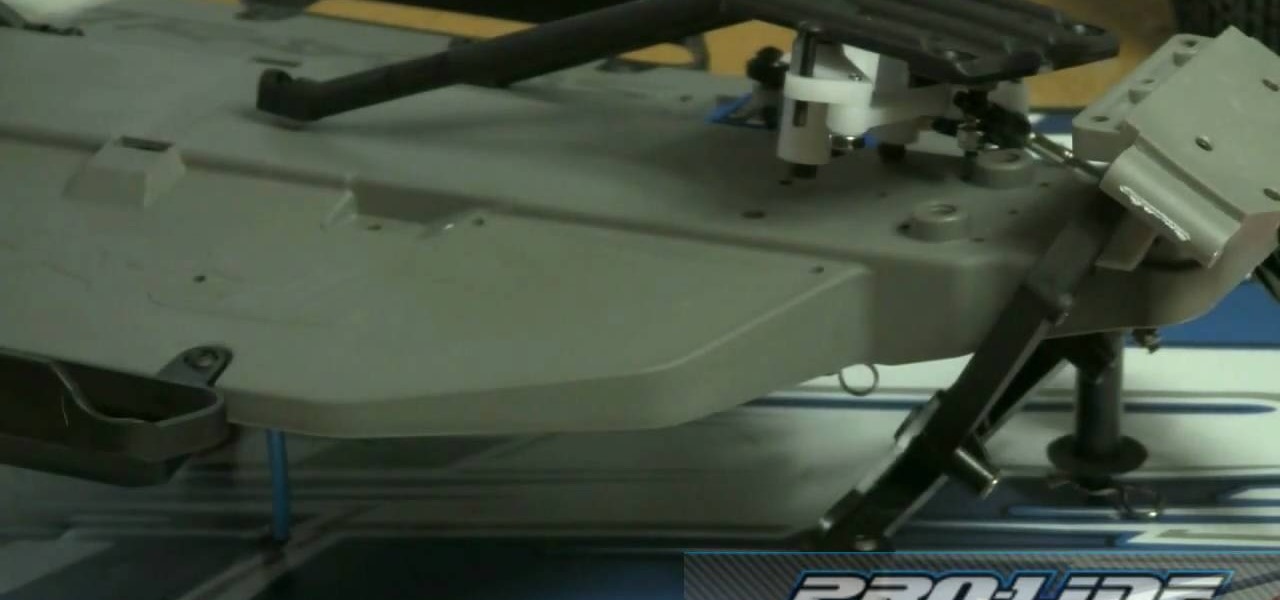
If you own a Traxxas Slash RC vehicle and plan on installing a ProLine Slash Protrac, then this tutorial is what you need. In both videos, you'll find out the necessary steps that are needed to help install whatever it is you need on your RC vehicle. The tools you'll need include, the installation piece, some drivers, flat tip screw drivers, and more. It's easy to follow and really helpful, so good luck and enjoy!
You thought that modding your XBox 360 was such a good idea didn't you? Well now look what you've done. You've screwed up the process of flashing your Hitachi disc drive at a crucial point and bricked it. Fear not! The ruined board within the drive can be replaced at home. This video will show you how to just that quickly and easily, giving your console new life and keeping your activities away from the prying eyes of Microsoft.
It's amazing what you can create with a few, everyday household and office supplies. Most of these items are already sitting in your junk drawers, so there's no need to spend money! Kipkay shows you 4 awesome hacks you can make in this "household hack pack" video.
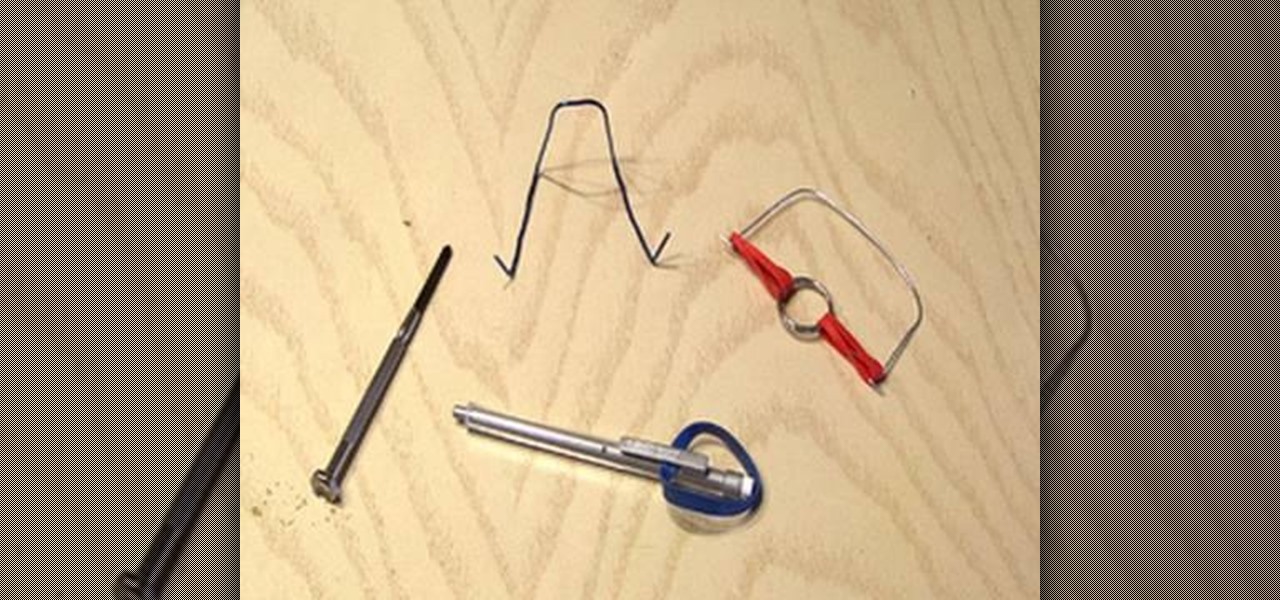
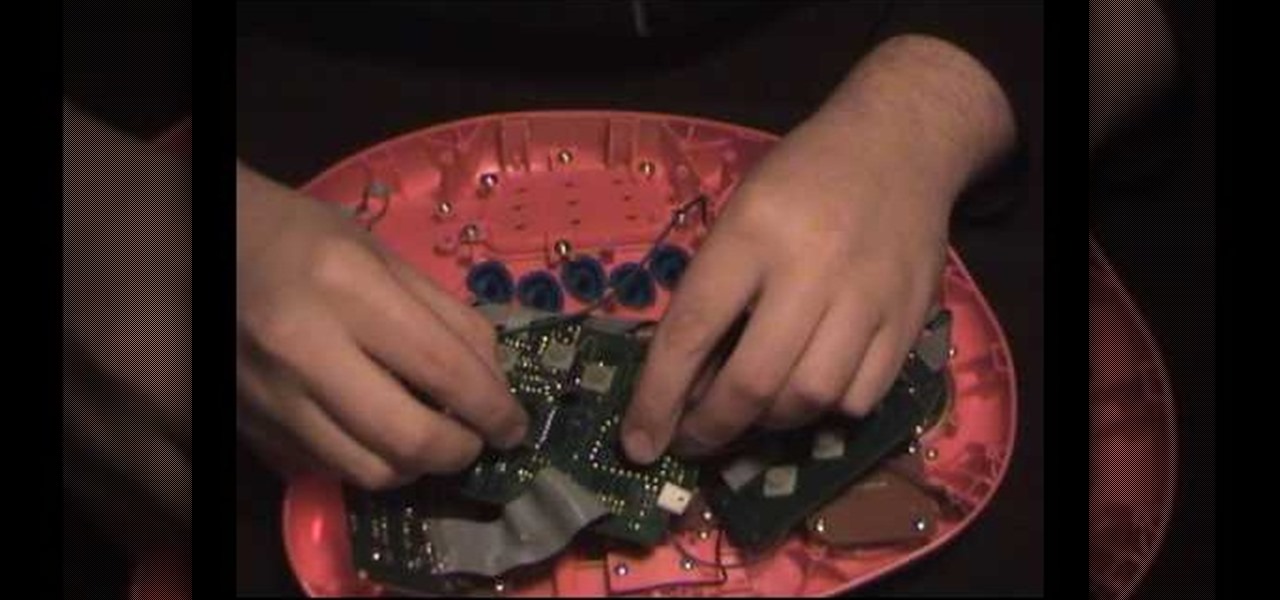
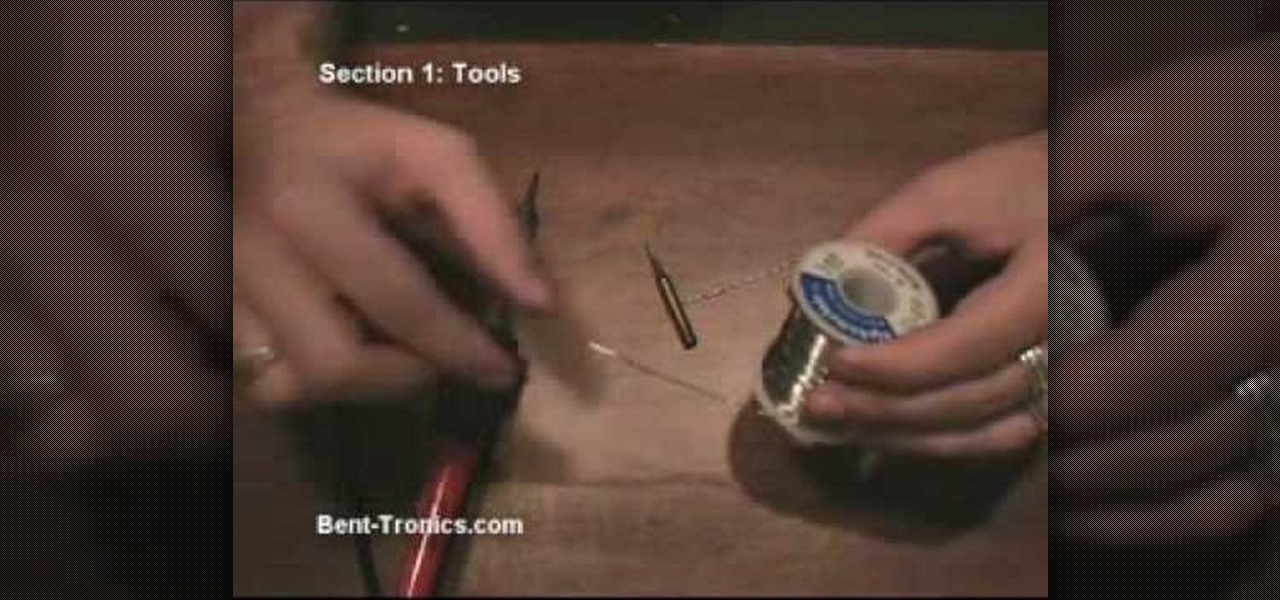
In this how-to video, you will learn how to perform basic circuit bending. You will need a screw driver, alligator clips, solder, a soldering iron, wires, a wire stripper, a button or switch, and a drill. Open up the device you want to circuit bend. Once the side of the board with the solder points is exposed, take your alligator clips and find two solder points that make an interesting noise. Be careful of areas where the battery is connected, as you might shock your self or destroy the devi...
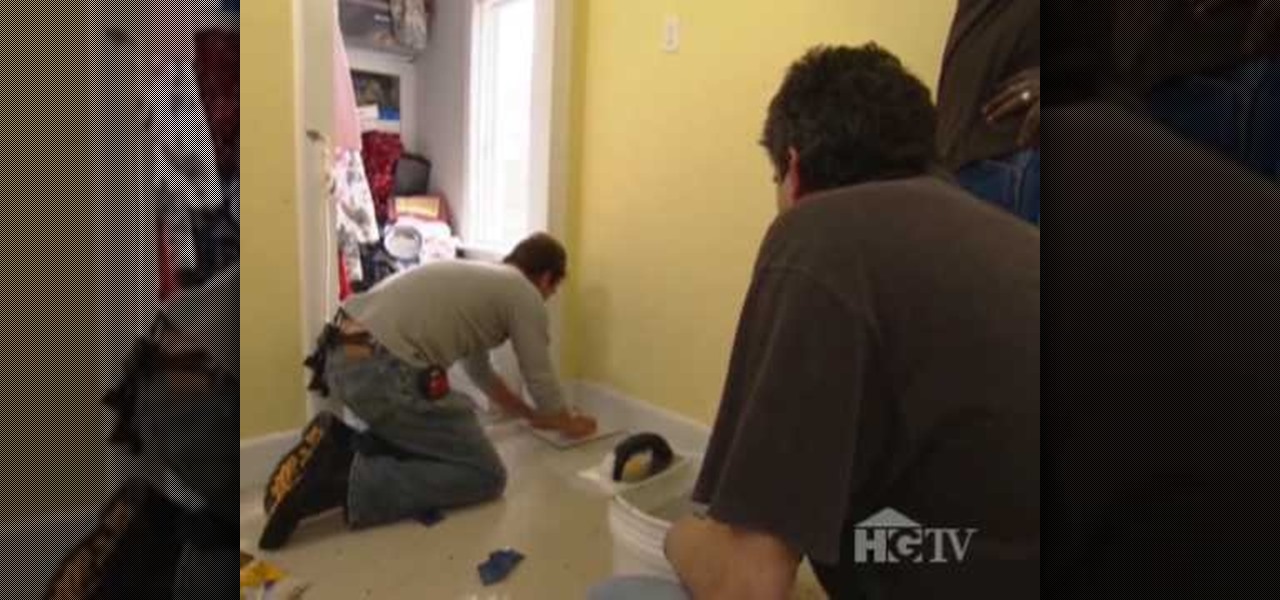
If you want to change the look of a bathroom, giving yourself a brand new tile floor is a quick and fun way to go about it. It's also easy — that is, provided you can assemble all the necessary tools and materials: You'll need grout, cement board, cement board screws and tile as well as a wet tile saw, a mastic trowl, a grout trowl, a tape measurer, spacers, a hammer, a matte knife, a jigsaw, a cordless drill, a tile scraper, a bucket and a mixer. For complete, step-by-step instructions on re...
The temperature control onto hot and the fan is turned off. A bleeder is loosened with a 12mm screwing object. A funnel attachment is placed onto the cooling system and the actual funnel placed ontop. A pre-mixed liquid is poured into the funnel. The bleeder valve is then tightened. Another set of liquid is poured into the funnel and some is poured into a reservoir at about 3/4. The vehicle is started and druiven a few steps back and left on, to run at about 2500 rpm until the cooling fan com...
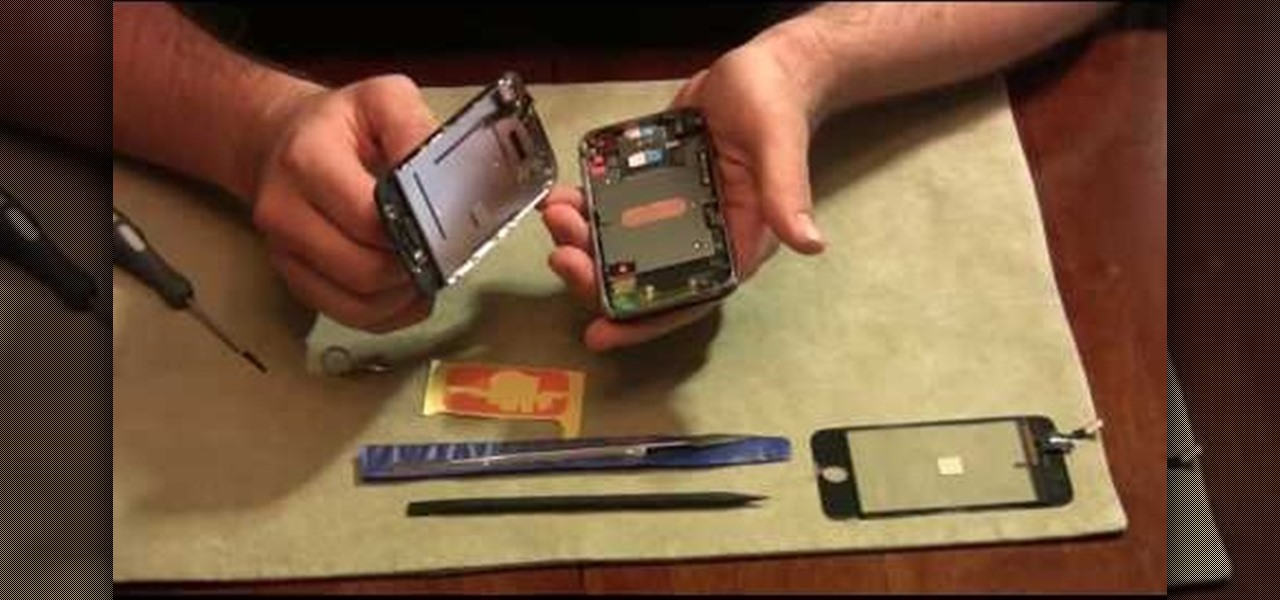
In this how to video, you will learn how to replace a broken iPhone screen. This screen is called a front panel. First, turn off the iPhone. Open the repair kit and look up the instructions. First, remove the screws at the bottom. Next, use a suction cup and pull the front assembly upwards to remove it. Do this carefully and then remove the connectors. Next, remove the screws on the metal plate assembly. Turn the display over and peel the black tape off. Next, insert the metal tool and put it...
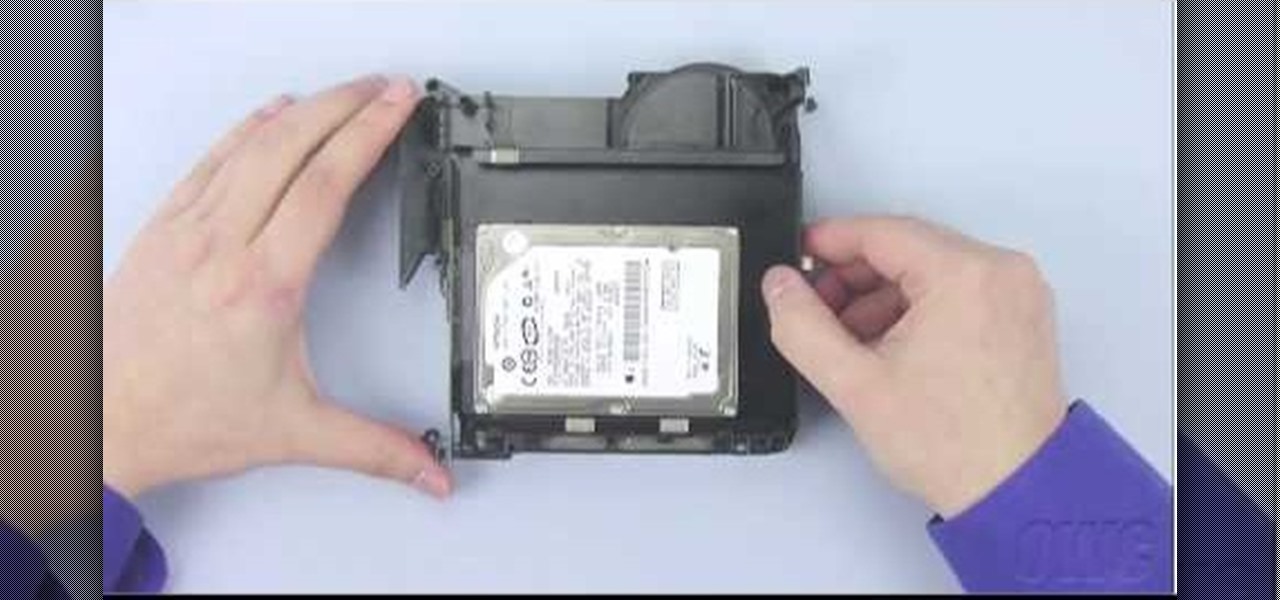
Other World Computing provides a guide for advanced users demonstrating the upgrade or replacement of a hard drive in a Mac Mini Server computer. This comprehensive video takes you through all steps from tool selection to re-assembling the Mac Mini Server and it is recommended that the video is watched right through before attempting the procedure. In particular, it demonstrates the difficulty of opening up a Mac Mini using a small putty knife. Once the case is off, the three wireless antenna...
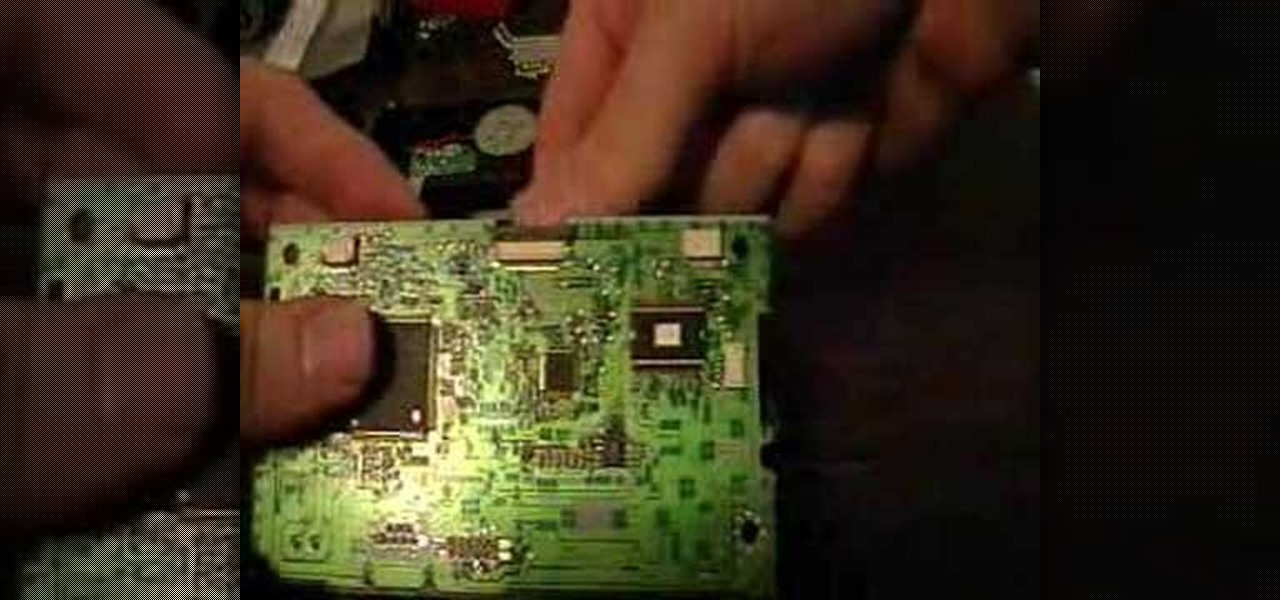
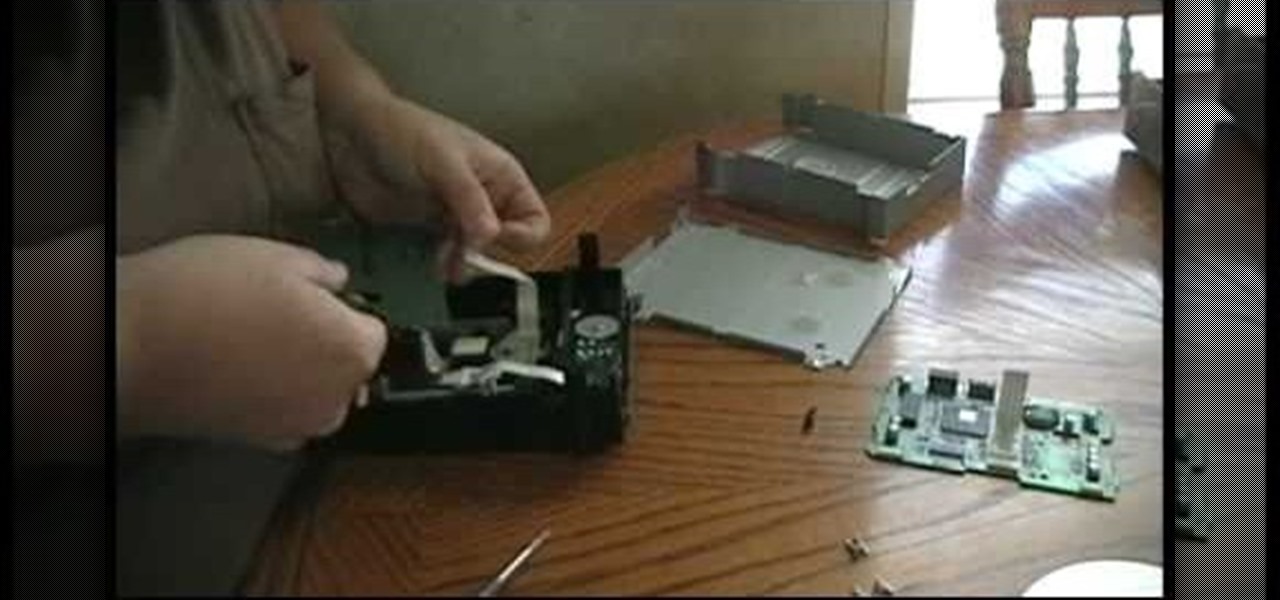
In this how-to video, you will learn how to repair and replace an optical drive in an Xbox 360. This will be helpful if your current optical drive does not work anymore. Remove the drive from the actual Xbox. Also remove the chrome tray from the old drive. Take the screwdriver and remove the screws of the cover. Push the black tab, allowing the board to be removed fro the drive. Do the same with all the other cables. Now, do the same with the new drive. Replace the old board and reconnect the...
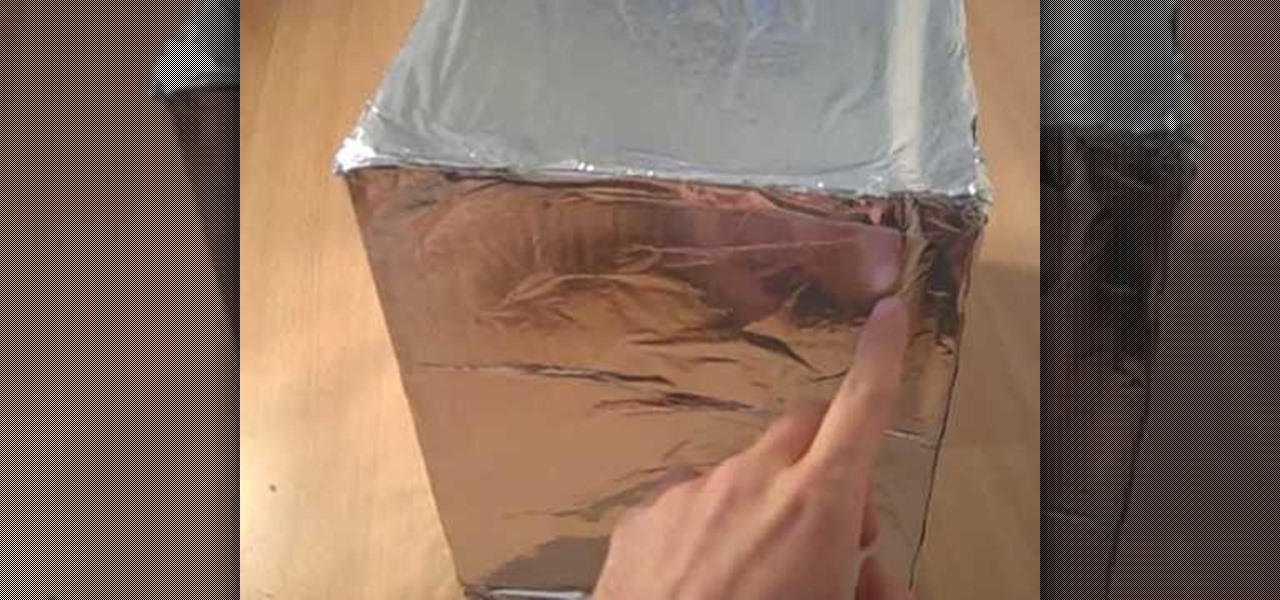
This video describes how to make a talking robot mask using iPhone. For that you need Reading scale, Cutter scissor, Box to fix into head, Cutter Knife, Screw Driver, Glue, Cello tape, Aluminum Foil, Pen, 2 Bottle caps, used paper and an iPhone with mouth analysis software. First take together, now take that Box and have to two parts for make it convenient to wear into head by sticking both using Cello tape, now we have to make the mouth with size of "50mm by 75mm" which will fit with iPhone’...
Looking to get into the weird world of circuit bending? In this four part video tutorial geared towards beginners, learn in thirty minutes how to circuit bend. Tools you will need include a soddering iron with innerchangeable tips (thin pencil preferred), thin sodder, hook-up wire, a wire cutter, a wire stripper, a drill with drill bits, plyers (needle nose included), and screw drivers of various small sizes. Other useful tools include cresent wrenches for toggle switches, jewelers files, & a...
In this video, Woman's Day will show you how to use toothpicks in 5 different useful and unique ways you may not have thought of. You can use a toothpick as a screw, or you could use it to decorate a cake. Once you learn these tips, the possibilities are endless!
In this video Bob Schmidt shows you how to use a simple tool to prevent damage and injury during your home remodeling project.
Learn this easy way to repair holes in drywall with this method of repair using no nails, screws or wood required.
Here's an instructional video that teaches you how to make a toilet paper blower out of a leaf blower, some screws, and two pieces of sheet metal or wood... and of course toilet paper. Use this as inspiration for one of your April Fools Day pranks!
This video shows you how to properly adjust the curb idle speed on your Holley carb. First find your idle RPM setting from under your hood or from a repair manual. Turning the screw clockwise will raise the RPM's and counter clockwise will lower the RPM's. Check and adjust until the proper setting is reached
Tim Carter demonstrates one technique for finding squeaks in floor and an easy way to eliminate floor squeaks. Tim uses screws and nails to locate thie floor joist in this highly informative video.
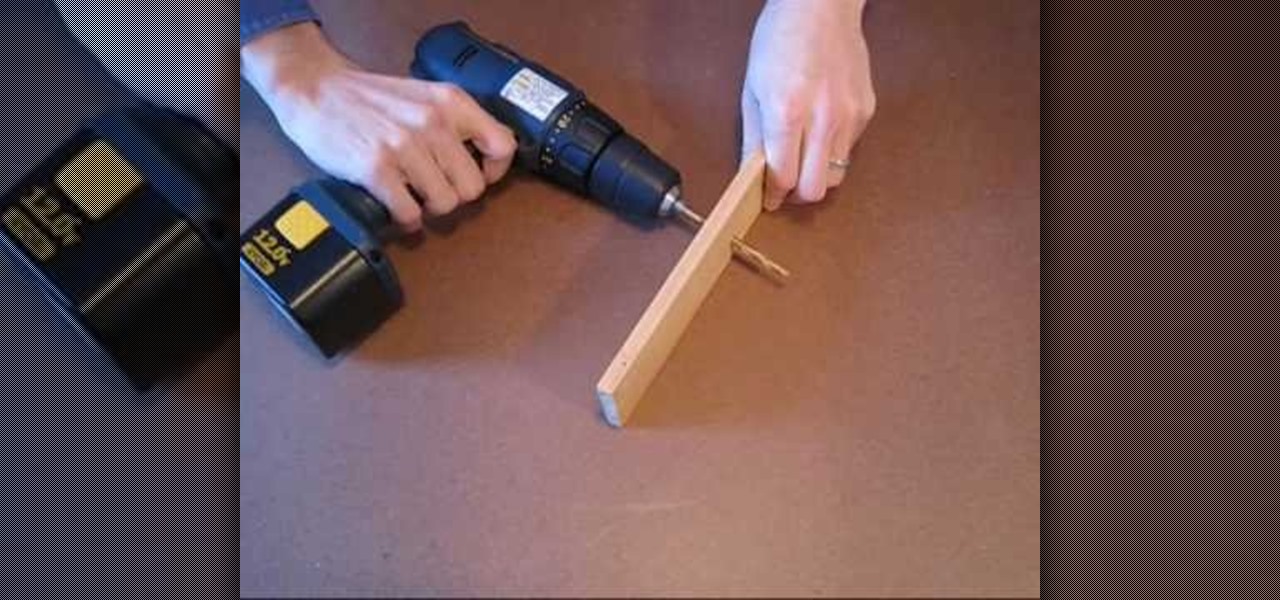
Tim Carter demonstrates how easy it is to remove damaged screws with a reverse drill bit. Quick-and-easy solution for a drilling problem.
There's a big hole in the wall from the picture I just took down. How would I ever fill that? Watch and see. This video is geared towards the no too handy viewers among us.
This video will show you how to set your circular saw blade to the proper depth, so that you can cut a piece of plywood back to the rafters.
In this how to video, you will learn how to replace the glass digitizer on your iPhone 3G. First, remove the two screws at the bottom and the SIM card at the top. Once these are removed, use the safe pry tool and run it at the bottom between the bezel and back cover. Slowly remove the cover. Pop out the three connecters at the top of the inside. The third connector is in a jaw connected. Place the pry tool in a 90 degree angle to remove it. Now that the connectors have been opened, carefully ...
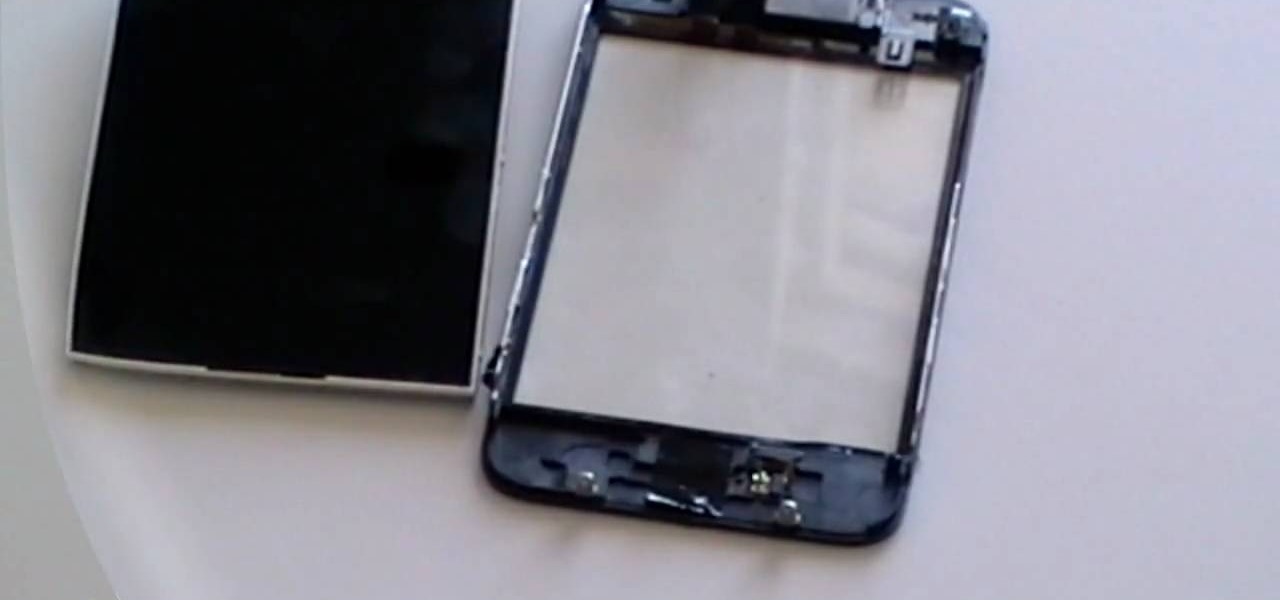
This how to video will show you how to repair an iPod Touch screen. First, take a pry tool and undo the clips of the device's front cover. Now remove the front cover. Use the tool to remove the cable connecting the cover to the main board. Next, remove the screw from the metal frame. Lift up the foil from the top of the screen. Now, remove the LCD screen with the pry tool. Not that it is still connected to the board. Next, remove the screws on the metal board. Release the ribbon to the LCD sc...
Repairs Universe demonstrates how to replace the battery on an Apple 3G iPhone. First, remove the SIM card and remove the two screws from the bottom of the phone. Next, use a safe pry tool and run it along the phone between the bevel and the glass to pop out the screen. Then, slowly lift the glass. It will still be connected to the phone body with three ribbon cables. Popup the connectors on the cables one and two. Pop out the three connector from its jaw connector. Remove the digitizer glass...
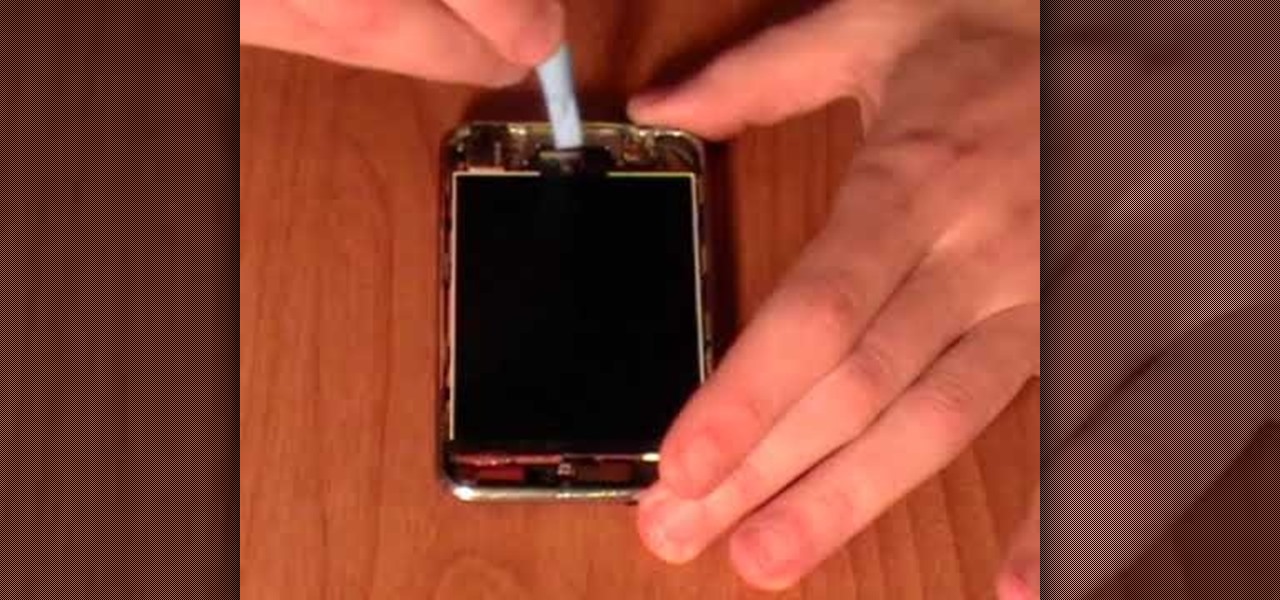
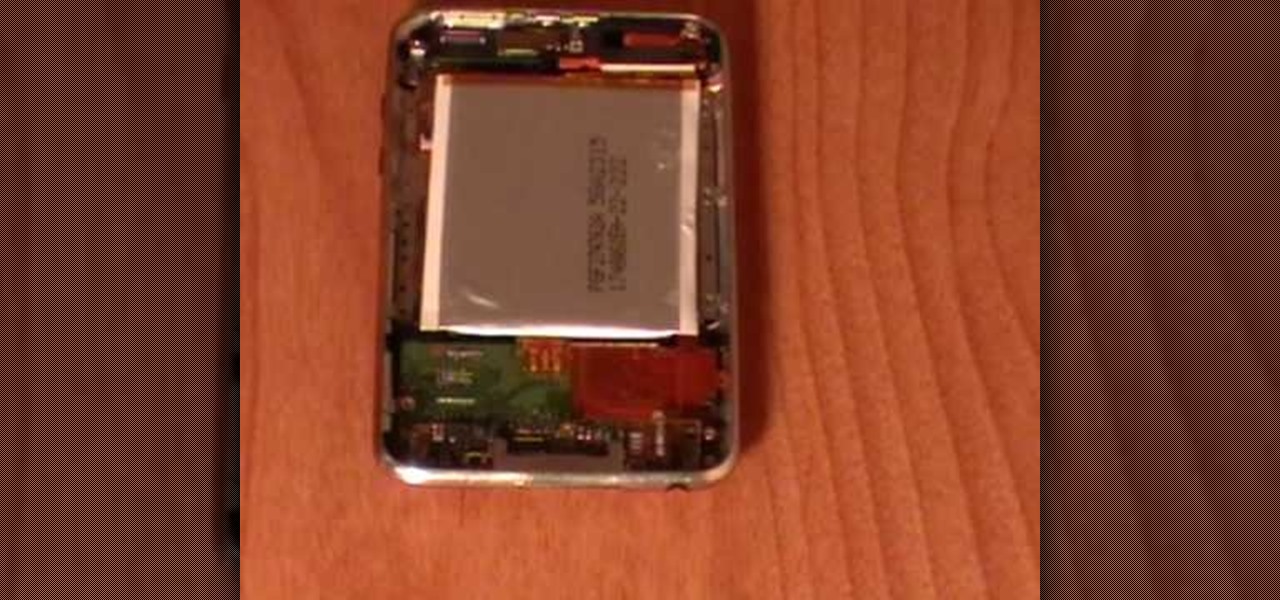
This video by repairs universe shows viewers how to replace the battery in the 2nd Generation iPod Touch. The tools you will need for this project include safe-open pry tools and a small phillips head screwdriver. To begin, remove the screen by releasing several clips that hold it to the frame using the safe-open pry tool. Run the tool between the case and the glass along all edges. Gently pull glass off and pry off the digitizer. Next, remove the small screw in the upper corner, lift up the ...
Ben for Mechanical Mashup demonstrates how to build a barn door halogen light system for a studio and how to establish right triangles and parallel lined without a square. It is quiet expensive to buy a barn doors according Ben, so it could be built by us. These barn doors can be adjusted anyway we want to. So the barn doors are to be fixed to a halogen light. First thing done is to unscrew the frame of the halogen light. The glass is removed by just bending the frame. Next thing to do is to ...
It can be very difficult to see underneath wall cabinets. The cabinets and your body can cause a lot of shadows and make it very hard to see. Getting light under the cabinets is very easy. The answer is to install thin profile fluorescent lights that are made to go under the cabinets. Remove the diffuser and bulb from the lamp and you will expose the screw holes. Put the lamp up under the cabinet in the location that you want them to hang. You want to install them as far forward as possible. ...
If you're interested in upgrading your RAM for the Samsung NC20 netbook, this video shows you how. This simple to follow video gives you a quick and simple way to make changes to your netbook. The only tool that is required is a small screwdriver.
If you've ever built a piece of IKEA furniture, you're familiar with the confusion that some 2D instruction booklets can create. But neuroscience suggests that they're cognitively overloading, as our brains have to translate their basic flatness into physical reality and that's pretty hard to do. Fortunately, augmented reality has come to the rescue.
We see Steampunk props all the time and wonder where the maker found all their pieces. In fact, for some people it's almost like a game to examine each prop and see if they can name all of the original parts.
This video tutorial is in the Home & Garden category which will show you how to light up your ceiling without recess lighting. Tamara Maslar shows two easy lighting projects to brighten up your living room. The first project is lanterns. You will need paper lanterns, assorted fabrics, some screws with hooks at the ends, a glue gun with sticks, fishing line, 40W bulbs, extension cords and light kits. Put three screw hooks on the ceiling. Prepare the lanterns by fixing the bulbs to the light ki...