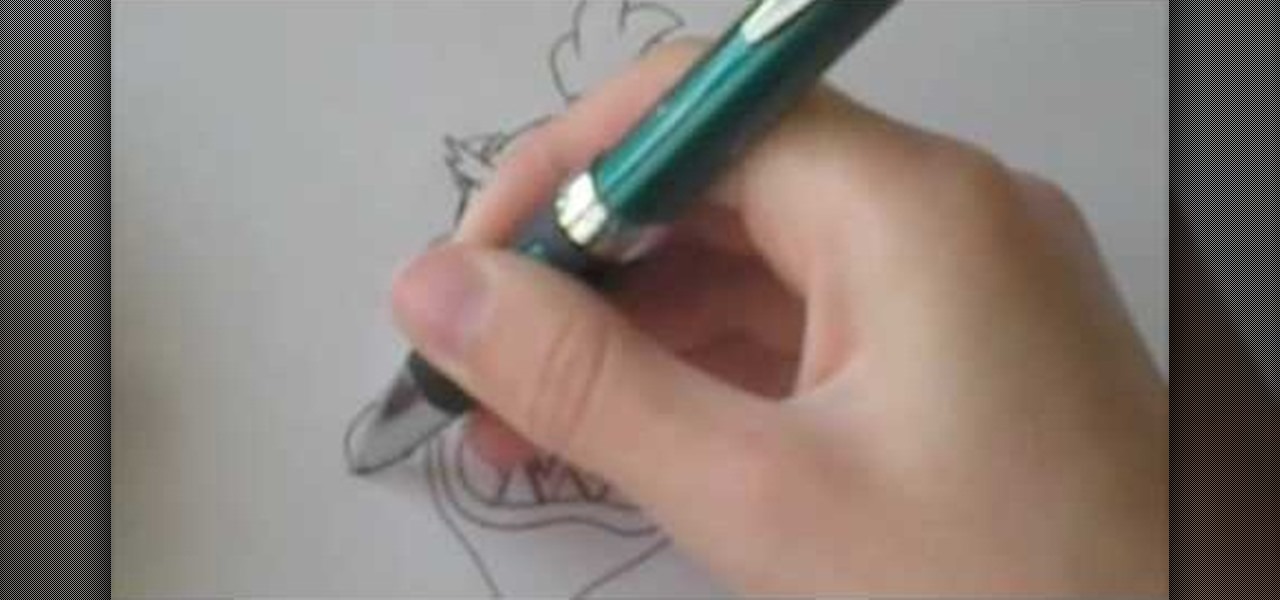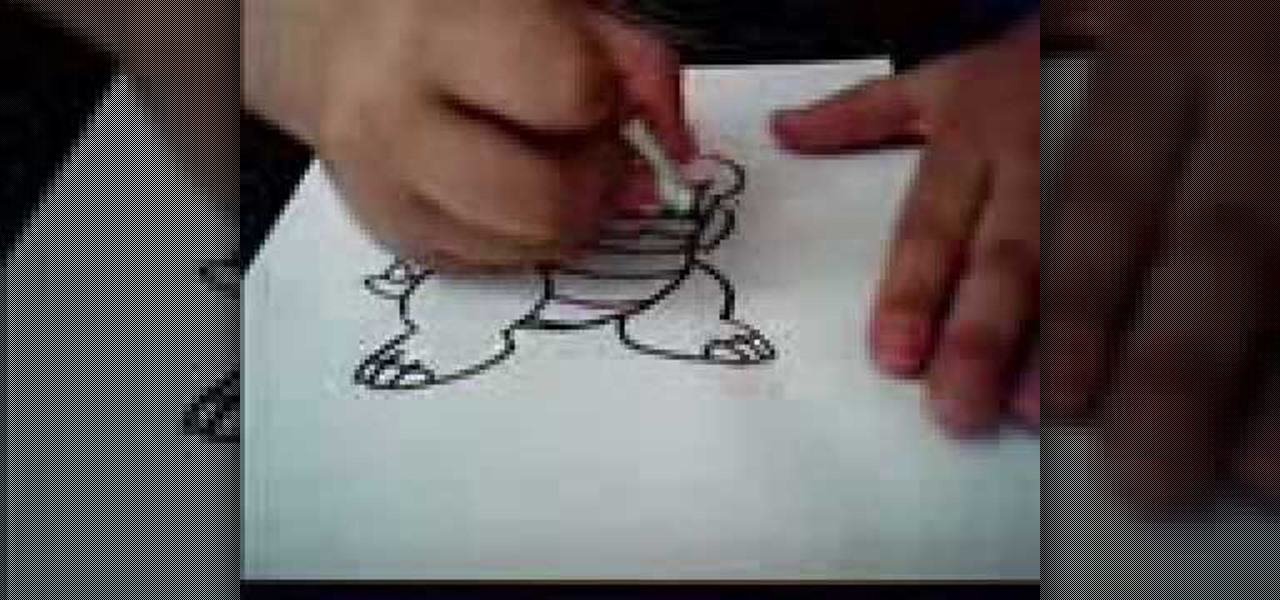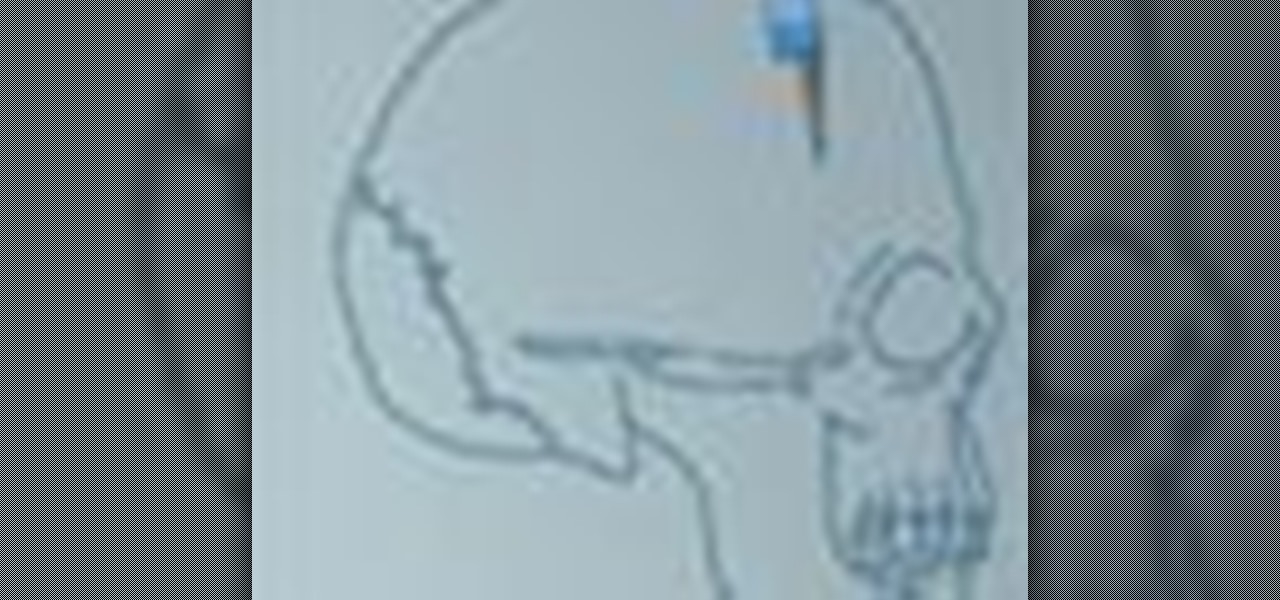
In this video, we learn how to draw Sonic the Hedgehog in his soap shoes. First, draw his muzzle and nose. After this, draw in angry teeth in the mouth and then draw in the eyes and the ears. From here, you will draw in the rest of the spiky hair around the head. After this, draw on the arms and legs, as well as the feet and shoes. The shoes should be larger than the entire body and have lots of details on them. When finished, add in shading around Sonic with the side of the pencil to give hi...

In this tutorial, we learn how to draw a human skull. To start, you will use your pencil to draw a light outline of the skull on your paper. After this, you will start to add in more shading and lines throughout the face to make it look like it has depth and contours. From here, you will draw in the teeth and then create the nose and the pits for the eyes. After this, you will start to shade in the sides of the skull darker and then add in any additional details like small cracks on the face....
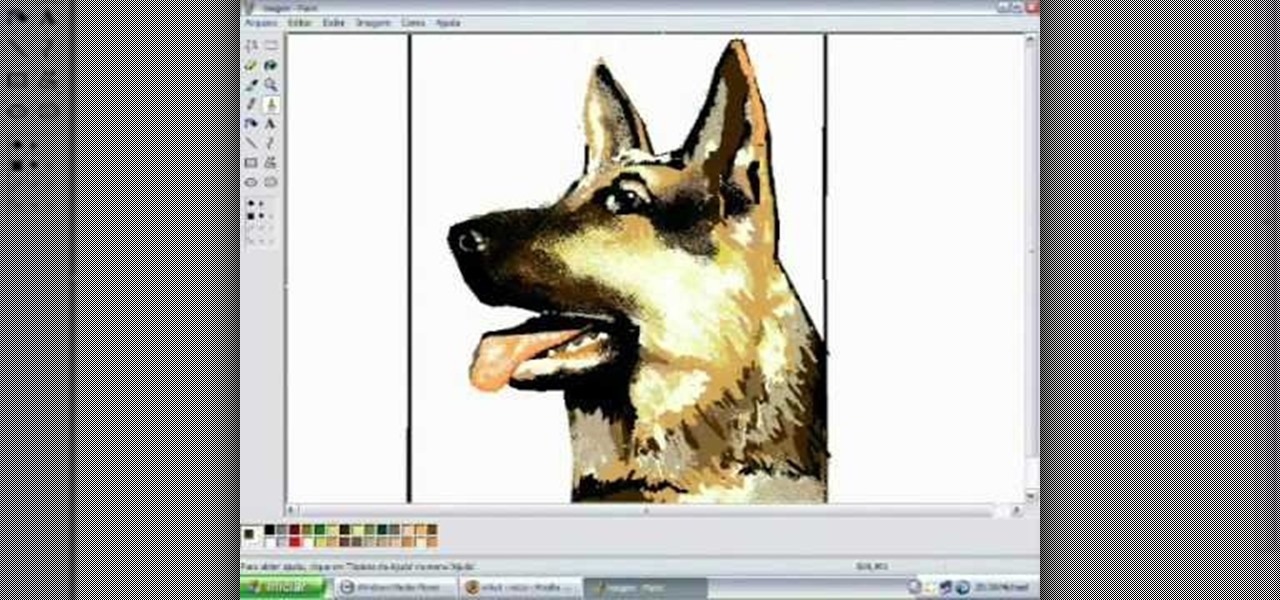
In this tutorial, we learn how to draw a dog in MS Paint. You will do this by using Paint and your mouse, not using a tablet or a pen on the PC. Start out by drawing the outline of the dog in the middle of the page. Next, fill in the nose, mouth, and eyes with black. Then, color the tongue and draw on the ridges of the teeth in the mouth. From here, you will spray paint the color of the dog onto the edges. Spray brown around the edges, then add in white, tan, black, and other colors to make t...
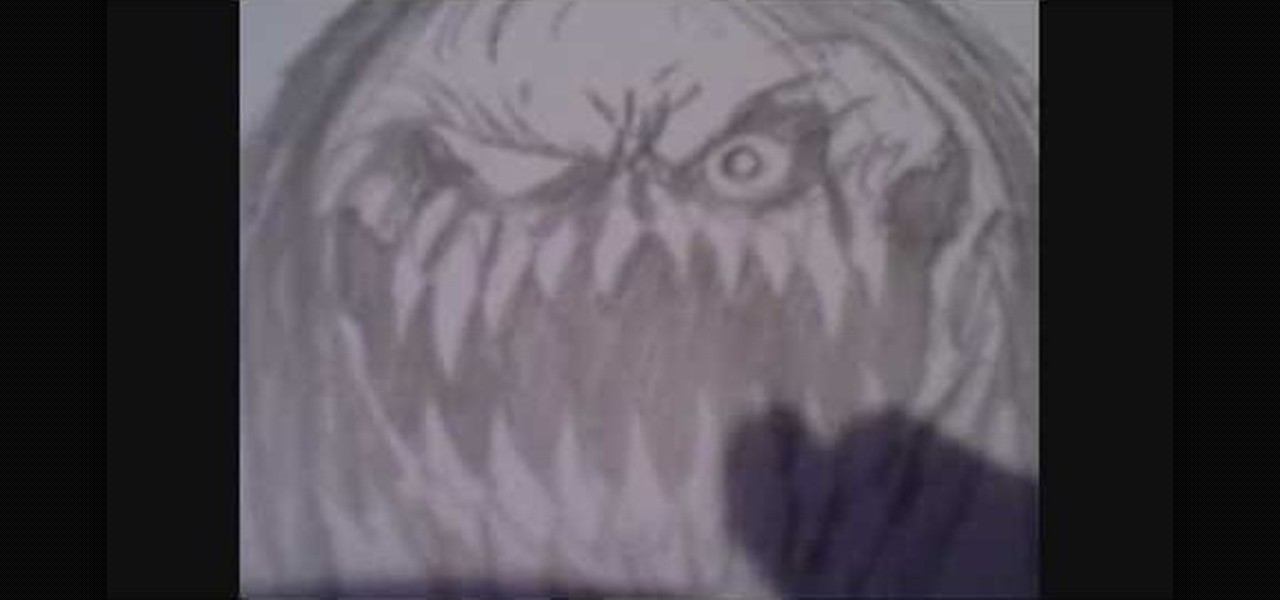
In this tutorial, we learn how to draw a scary demon mother. Start off by drawing a circle for the face with huge sharp long teeth and small evil eyes. Add in details around the face to create a more realistic feel and creases in the eyes. Next, draw in the hair by using your pencil and just drawing in straight and straggly hair. After this, add in additional details to the eyes and the rest of the face, creating a nose and other features you want. After this, draw in lines on the bottom of t...
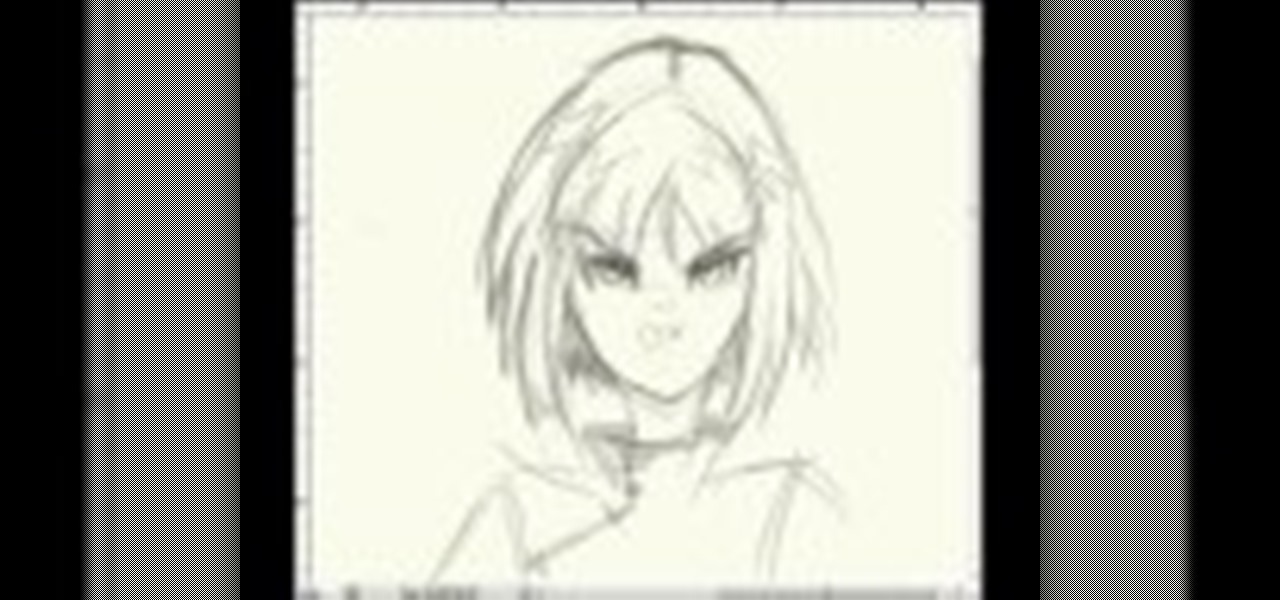
In this tutorial, we learn how to draw manga facial expressions. To draw an angry face, you will draw a circle for the head with a point for the chin. Then, you will draw in a slight frown for the mouth and half circles for the eyes. Then, draw in slanted eyebrows above the eyes to make the character look angry. Add in highlights around the face to make the expression larger. Then, add in lines around the face to show it being crunched up and the person being angry. You can also make the mout...

Looking for a quick guide on how to brighten your smile with Photoshop? It's easy. And this clip will show you precisely how it's done. Whether you're new to Adobe's popular raster graphics editor or a seasoned designer looking to better acquaint yourself with the new features and functions of the latest iteration of the application, you're sure to benefit from this free software tutorial. For more information, watch this video guide.

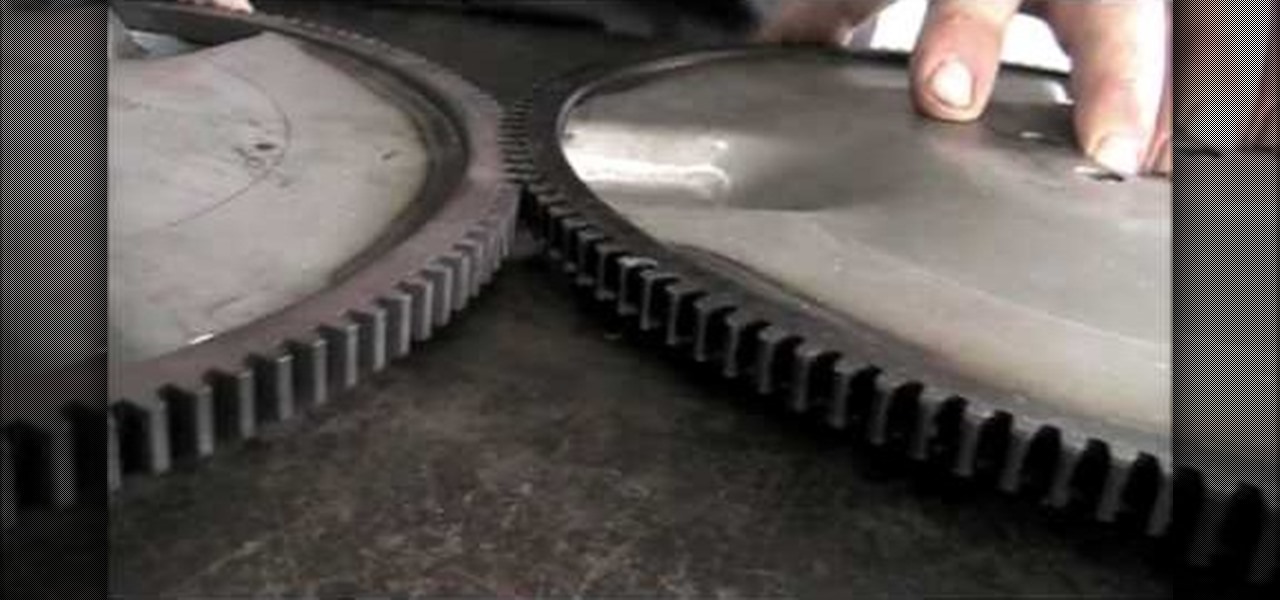
When replacing flywheels on an LLV (Long Life Vehicle), which is a postal truck used by the United States Postal Service (USPS) and made by Grumman, always look for the quality of the new flywheels ordered. Just because they're new doesn't mean they're good. The ring gear can sometimes be welded off-center to the plate, which will make the starter teeth grind the new flywheel. If you don't want to replace the fly wheel a second time, watch this video to see how to spot check them.

In this video, we learn how to get a Twilight New Moon Cullen inspired makeup look. First, take some red lipstick and make two red dots on the neck where you would have gotten bitten. Then, drag the lipstick down to make it look like blood going down the neck. After this, apply fake fangs to the teeth to give the ultimate vampire look. You can also apply a light foundation to the face to give yourself a pale glow, just like the Cullens have. You can take this further by applying dark eyeshado...

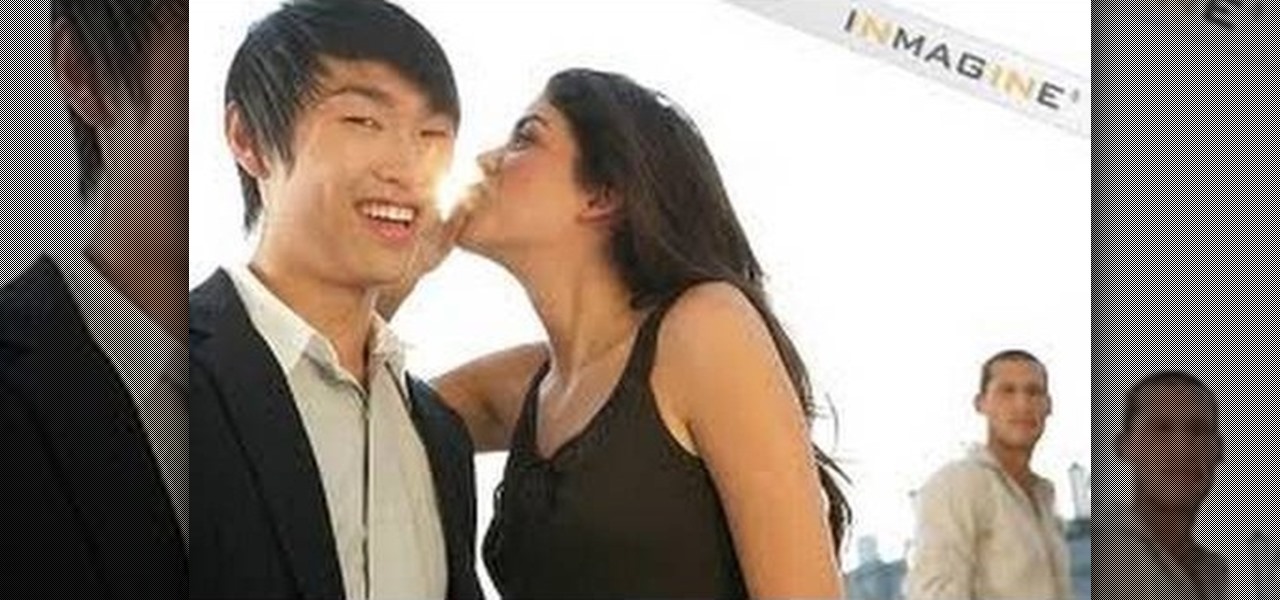
In this video, we learn how to fake confidence. First, you need to look your best and tell yourself that you look great. Your breath should smell good, you skin should be soft, and your teeth should be brushed. Also, wear bright colors because this shows confidence and will make you stand out to a girl. Also, smile at girls. This works because girls love to see men smile and want to know that they are kind and happy. Also make sure you are making eye contact, and not looking away from the gir...

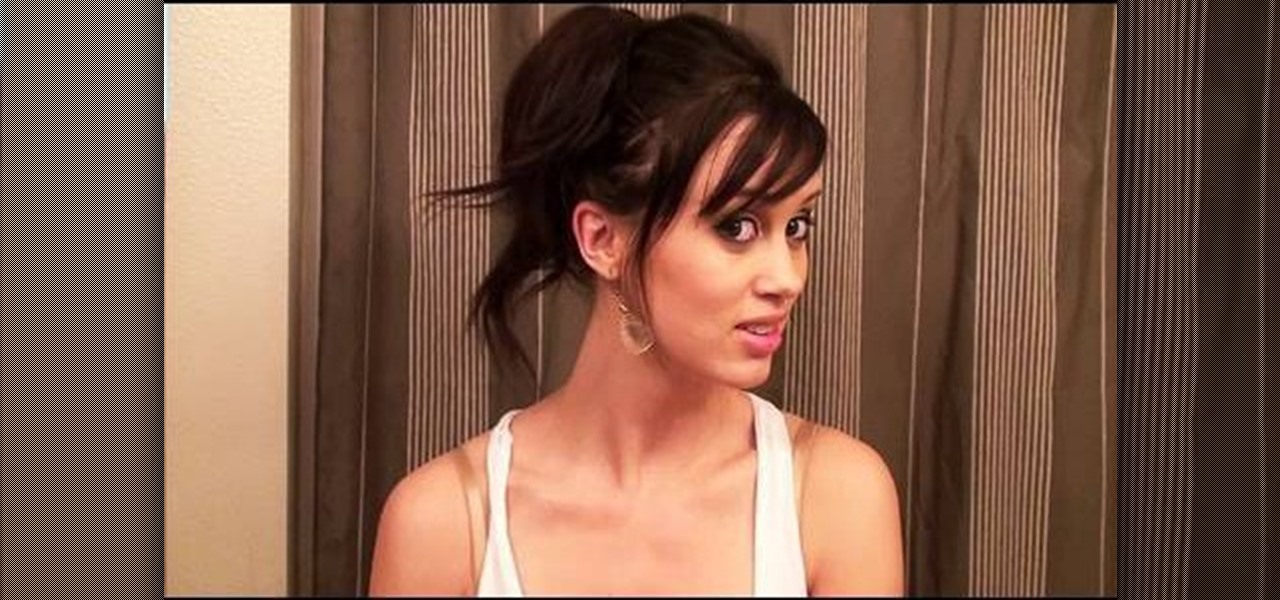
If you're anything like us, then you try to take the easiest route possible when styling your hair in the morning before work. You know: Wake up, brush your teeth, and then wearily comb through your hair a few times with your eyes closed.

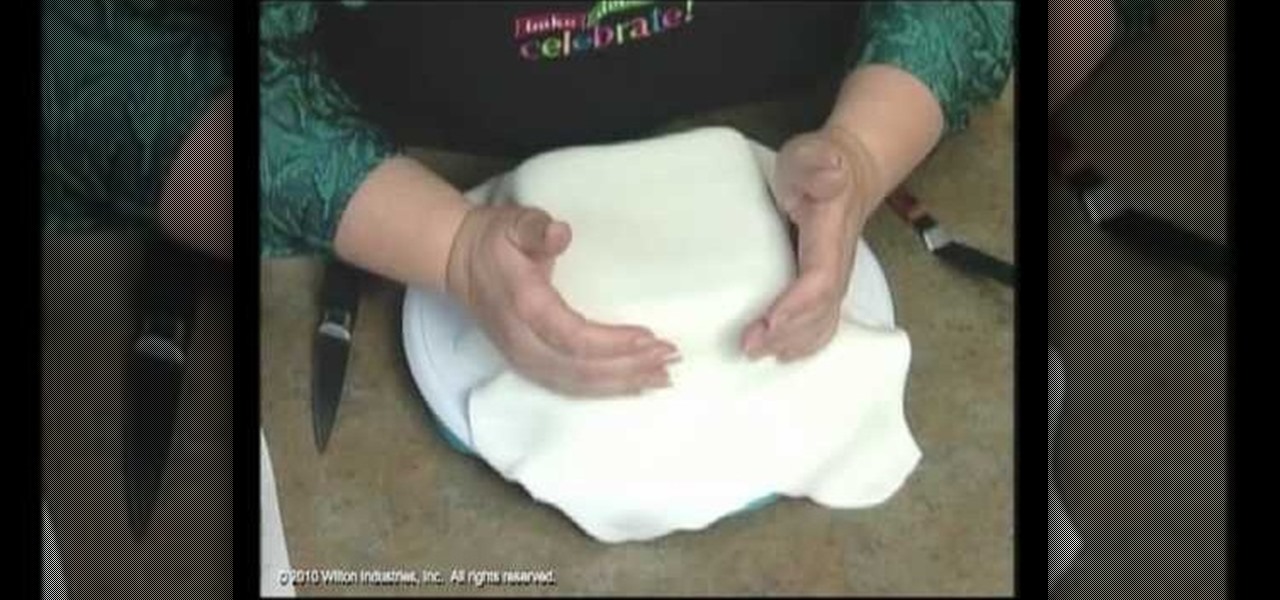
Fondant is an indispensible tool for pastry chefs, and not because they're good at satisfying a sweet tooth. Smooth in consistency and rolling out just like dough, fondant is often used to cover professional cakes and to make miniature cake decorations.

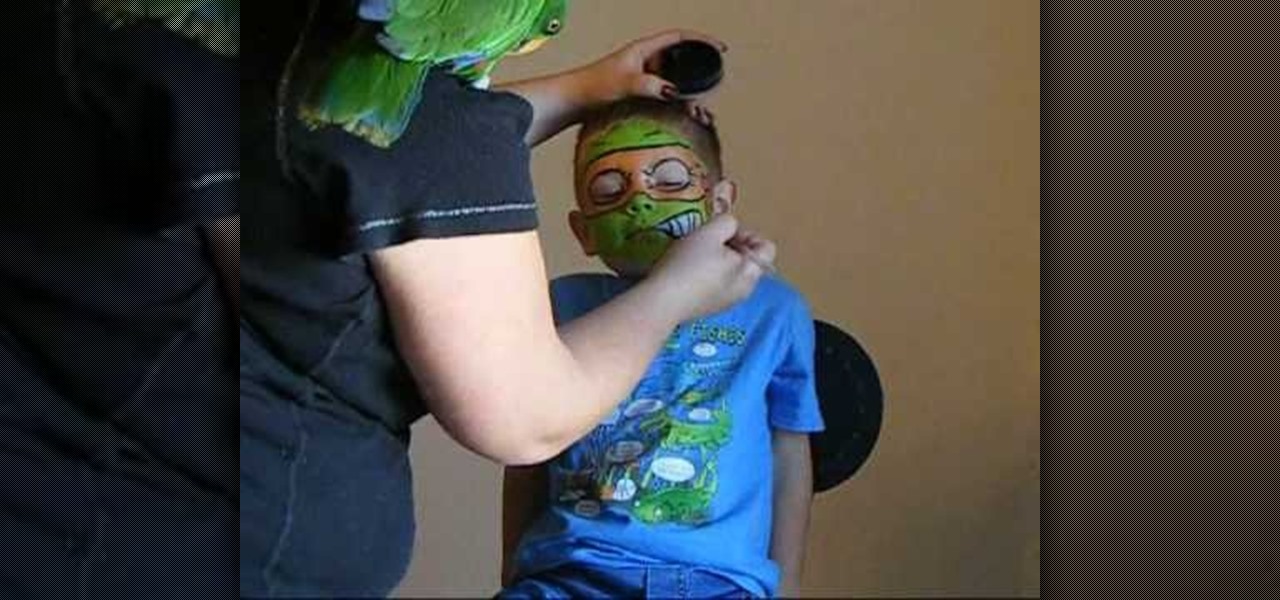
We are painting the ninja turtle-Michelangelo. Use orange metallic to cover over face. Put orange metallic around the eyes and ears. Use green metallic on forehead and across the nose, chin, mouth and cheeks. Use white close to the mouth for smile and teeth. Take black paint and give a bandit face. Outline the eyes, forehead. Place wrinkles around the eyes and make knots on the side of the face to make it look like a tie. Make the ninja turtle mouth smile.

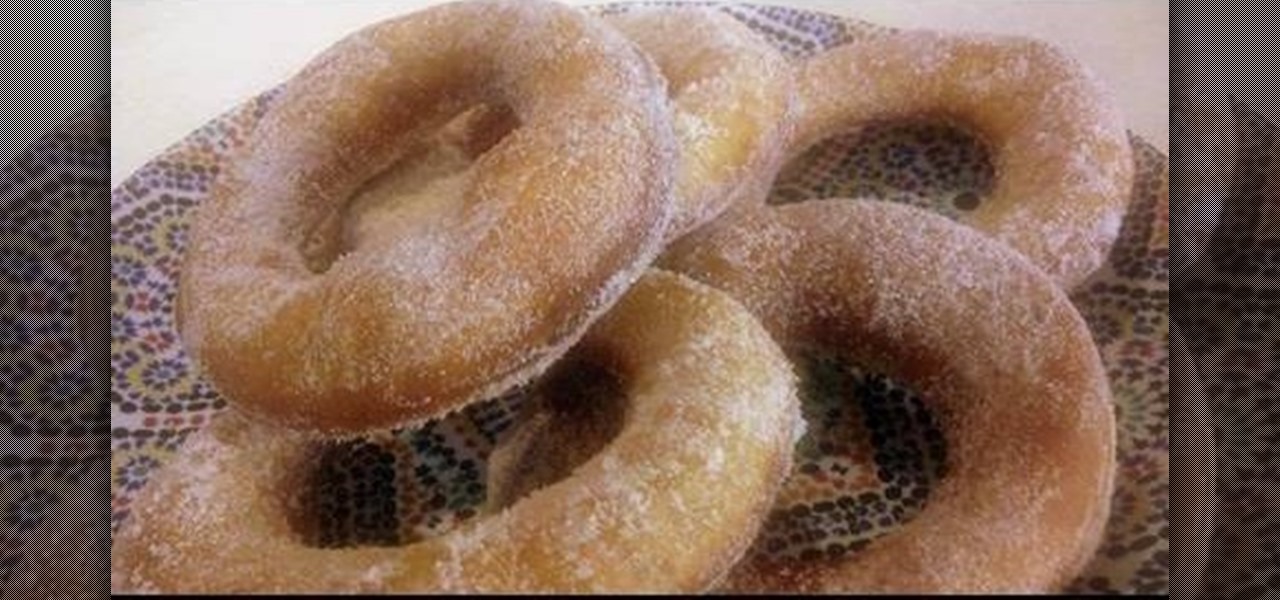
The French sure know how to make good food. Beignets, which are fried French doughnuts, are like American doughnuts but are much more tender and soft, and the flavor is not quite as sugary as the American stuff. This makes beignets easily savorable alone for those who don't like too much sugar and with mountains of powdered sugar for those with a sweet tooth.

In this video, we learn how to make a "puppy love" box for Valentine's Day. To key to creating this box is a thin strip of paper that has teeth (pointy spikes) at the end of this. Turn this into a heart shape, then tape it around the heart to make a perfect box. It will be easier to find your center and cold it in half, then place it on the box. Glue the heart onto a black card stock to situate it, then tie a cute ribbon along the edge of the heart. This is very cute and a great idea for Vale...

In this video tutorial, viewers learn how to draw a chibi-style animation face. This task is very fast, easy and simple to do. Begin by drawing box-like face with any type of angle, depending on the character's emotion. Then add an ear. Now draw the eye. Make sure that the eyes are exaggerated and over-sized. Then draw a small nose in the center of the face and add a mouth. Add detail to the mouth such as: teeth, tongue and a chin. Finally, add the eyebrows and hair. This video will benefit t...

In this video, we learn how to draw a realistic skull. Start off by using a pencil to draw out the basic outline of the skull. After this, add in further details, such as shading on the side of the head to show that it is hollow. Also add in the sockets for the eyes and show where the nose is at. Draw in the jaw bone as well as the teeth and the jaw line around it. Draw on cracks to the face at different places to make it look more realistic. Add in shading and darker lines where you feel nec...

In this tutorial, we learn how to draw Timmy Turner. Start off by drawing the head, making the front round and the body will be a triangle shape. The back of his head should be a triangle as well. Draw two large circles on the face, followed by arms and legs coming off of the body. Next, draw ears onto his face followed by a shirt and pants on his legs. Draw Timmy's mouth with a large smile and two teeth at the top. His eyebrows should almost touch in the middle, then don't forget to add on h...

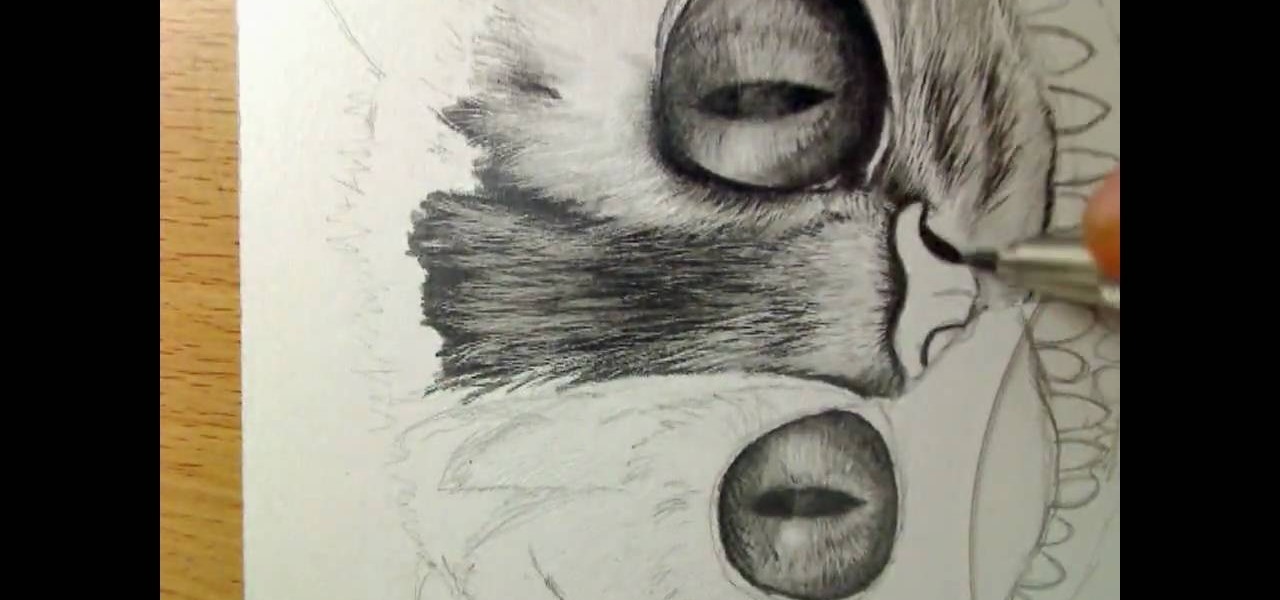
In this tutorial, we learn how to draw Cheshire cat in Tim Burton's Alice in Wonderland. Start out by drawing the large eyes, then drawing in the nose and face around the cat. Add in the many teeth, then draw on the ears of the cat. Shade in the eyes and make the pupils diamond shapes for a more realistic cat look. After this, shade in areas and make it look as though there is hair on the cat. After this, shade in the nose and add hair around the outside of the cat. To make this look more rea...

In this tutorial, we learn how to draw Bowser Jr. from Mario Brothers. Start off by drawing the nose, which has two large humps going to the chin. Next, draw his mouth, dimples, teeth, and nose holes. Next, draw in the eyes and eyebrows, filling in the pupils with small white circles in the middle. Make sure the eyebrows are pointed upwards, so it looks like he's glaring. Now connect the top of the head, followed by drawing the hair onto the top of the head. Next, draw on the arms and front o...

In this tutorial, we learn how to draw a cartoon critter. Start out by drawing a little fat body with two arms and two legs. Next, draw on two large bunny ears on the head and create eyes that are giving a mean look. After this, create the mouth to be open with sharp teeth inside. Next, use a dark paint brush to outline the image and draw a gun in the bunny's hand. Draw details onto the critter by making hair and a belly button. After this, paint in any colors you would like, then save and pr...

In this video, we learn how to draw Paper Bowser from Mario. Start off by drawing the legs and feet. Make sure you draw claws instead of toes and make three large toes with nails. Next, draw the belly of Bowser in the middle of the two legs, with stripes on it. Next, draw upwards and make a curve for the back and draw spikes onto it. Also, draw a tail with a spike on it coming from around the thigh by the foot. Once you are at the top, draw the head and all the facial details in. Make sure to...

In this tutorial, we learn how to draw a husky puppy. Start off by drawing the head, don't use a straight line at the top, make it look like it has hair. After this, continue and draw teeth and a tongue hanging out of the dog if you want it to look happy. Next, add ears to the top of the head and eyes to the face. Give the dog markings and pupils on the eyes. Then, add the nose on with a button shape at the top. Draw out the collar and chest of the dog, then add on the two front feet, the bel...

Cory teaches us how to do a high pitched scream in this video tutorial. This is the same as a low scream, just higher in pitch. The first this to do is to let out a lot of air when you are using a high pitched scream. This is the opposite of what you would do for a low pitch yell. The next thing to do is to position your tongue in your mouth. The tongue should be up to the front of your mouth touching your bottom teeth. The last thing to remember is to use a different spot in your throat, fin...

In this video, we learn how to groom men's eyebrows with Aaron Marino. You will need: high quality tweezers, small scissors, fine tooth comb, and a pencil. First, use the pencil and place along the inside and outside of your eye to know where your eyebrow should start and stop. Now, take your tweezers and pluck the middle of your eyebrows, as well as the outside and underneath of the eyebrow. Next, take the comb and brush against the grain. Trim the hairs that come up at the top, making sure ...

A laptop keyboard can collect a lot of dust, dirt, and breadcrumbs. In this tutorial, we learn how to clean out your laptop keyboard. Start off by removing the casing from around your laptop, making sure not to unplug any wires. You will need a screwdriver to remove the screw. Next, you will want to use a soft brush or tooth brush to clean where the keys were, and the inside underneath the screen. Next, replace the keyboard where it was and any screws. Also, plug in anything that may have com...

See how to do localized image distortion using Blender. The rig is a simple UV-textured plane filmed using an orthographic camera. You then subdivide the plane, add some curve guides, and use proportional editing to alter an image. The above before-after shot shows a nose job (rhinoplasty), teeth filing, raise cheekbones, enlarged eyes, and a lengthened face. Whether you're new to the Blender Foundation's popular 3D modeling program or a seasoned graphic artist just interested in better acqua...

First, make the chin of the skull by drawing out a slight sharp curve facing downwards. Then, make the forehead and the upper part of the skull by drawing huge slight curves. Draw a circle on the spot where the eye socket should be. Draw a curve at the side of the circle to give it an illusion of popping out. Draw the cheekbone lines as well as the jaw lines to give the skull more definition. Draw several rectangles standing vertically to create the skull's teeth. Finish the head with a sligh...

This video demonstrates how to draw a Rottweiler dog using a piece of paper and any writing utensil. The creator of this video has already sketched the rough outline of the dog using a pencil in order to give them a general idea of the final product. First, you should start by drawing the outline of the dog, adding the brows and ears. The ears should be very floppy, as are the ears of most dogs. Next, draw the eyes of the dog, making them somewhat squinty in order to make it appear like he is...

In this how-to video, you will learn how to draw a human skull. First, start off with the main outline of the skull. From here, add the eye and nose sockets. Next, redo the outline of the skull to give it more texture. You can do the same for the holes. From here, add the teeth and the jaw lines of the skull. You can start adding in details such as the shading of the sockets and the jaw. Erase the old outlines to fine tune the skull. You can also add details such as cracks and texture marks. ...

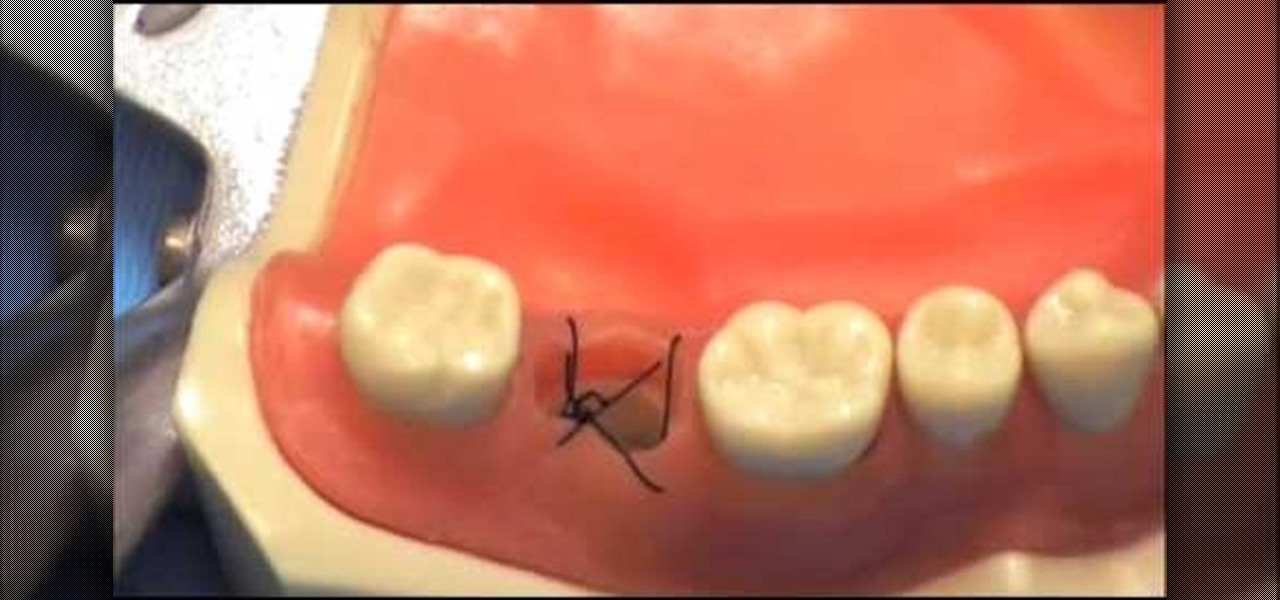
This how-to video shows you how to tie a figure eight suture. This is useful for finishing up oral surgery dealing with things such as tooth extraction. First, pull the string through one side of the gum with your tools. Next, take the end and pull it through on the other side. Once this is done, pull the string through the gum on the opposite corner. Once this is done, pull the string through the gum on the opposite of the corner. From here, you have formed a basic figure eight suture. This ...

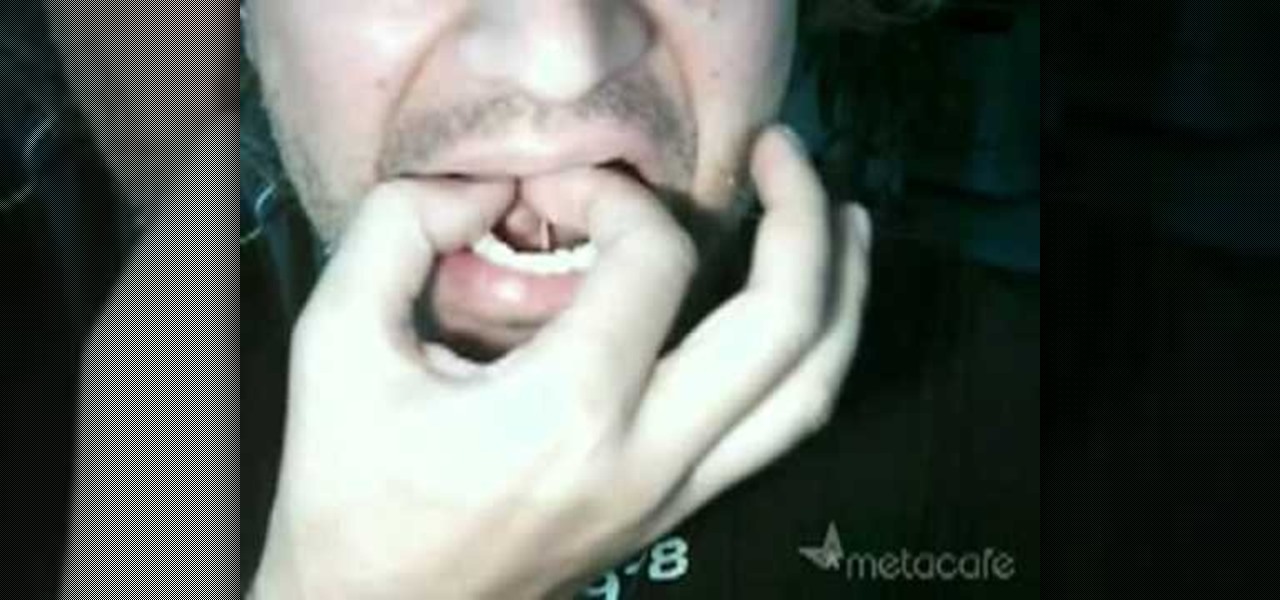
How to loudly whistle with one hand

Facebook is a wonderful website where you can connect and keep up to date with your friends. Facebook has some useful features like chat. Facebook chat can be used to chat in live with your online friends. The chat also supports smileys. Using different character combination you can create different smileys. To create the happy smiley type :). To create sad smiley use :(. Use :P to show a funny smiley. These are the basic smileys. There are many more smileys present like the one showing teeth...

Are you sick of your dogs bad behavior? Such as chewing your furniture, bothering you while eating dinner, barking incessantly, and even stealing your slippers! Dee Hoult shows us how to properly use the 'Kong' toy to prevent all this undesirable behavior. It's simple, you just fill the toy with your dogs regular dog food, soak it with water, and put it in the freezer for 1 hour! Then you give your "Kong Pupsicle" to your dog, who will play with it for 30-45 minutes, getting the food out of t...

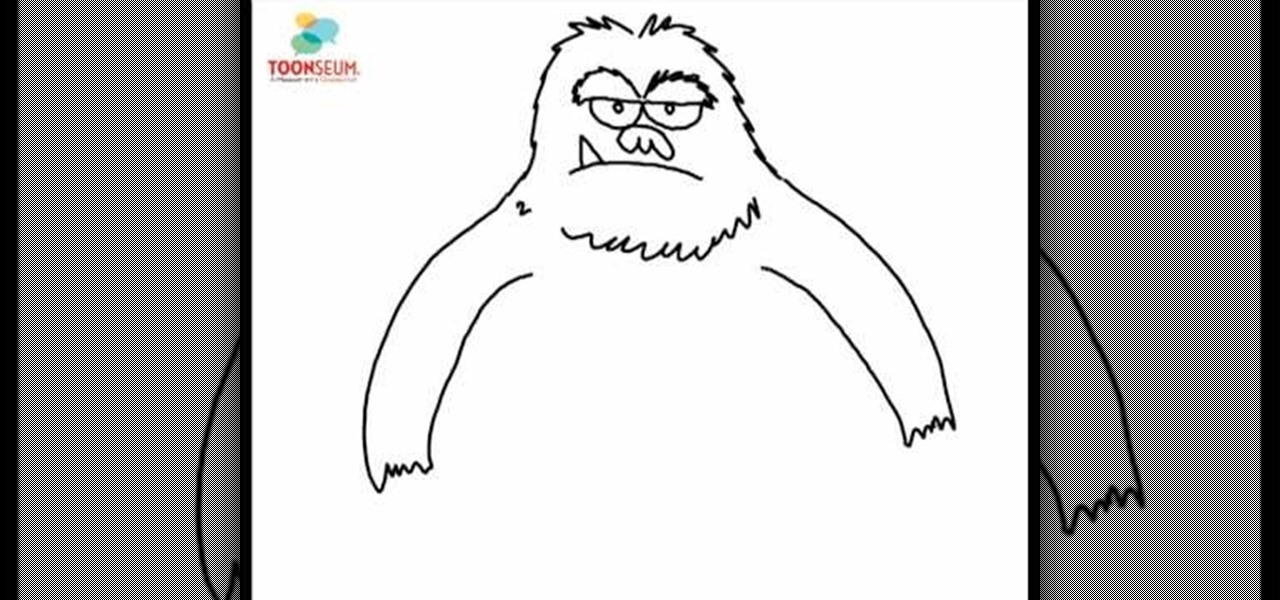
In this video, Joe Wilson, executive director of TOONSEUM explains how to draw a sasquatch. He starts with the eyes, by drawing a B letter on it’s side. Next he draws a pair of pupils and eyebrows. Next, he creates a nose, and a mouth. In order to make the sasquatch look angry he places a triangle shaped tooth sticking out from the mouth. After this, he starts creating the head and body outline. With this finished, he adds hands and feet to the sasquatch. After tweaking the expression a bit, ...

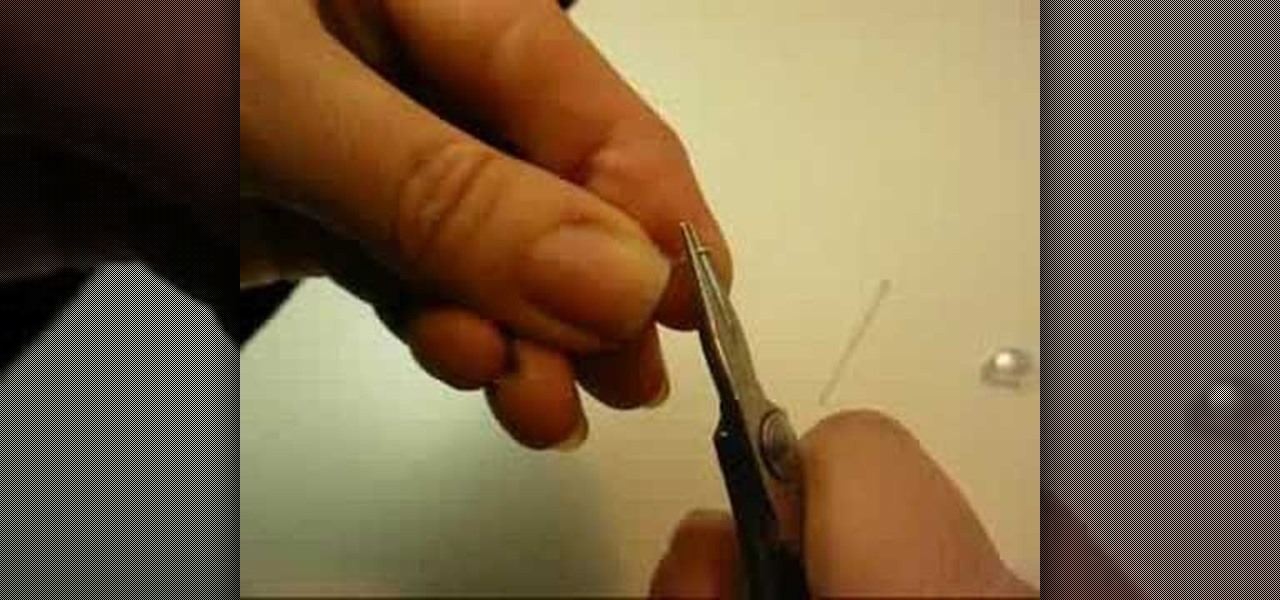
This video explains how to create a pair of Swarovski crystal earrings. You will need a tooth headpin, two pear-shaped crystals, two spacers, two diamond beads, and sterling silver ear hooks. First, slide the pear-shaped crystal onto the head pin. Follow with a spacer, a bead, then use a pair of pliers with a side-cutting edge to cut the wire and bend at a 90 degree angle. Use round-nose pliers to then create a circle at the end of the wire, then 'squash' a bit with the other pliers. Then ope...

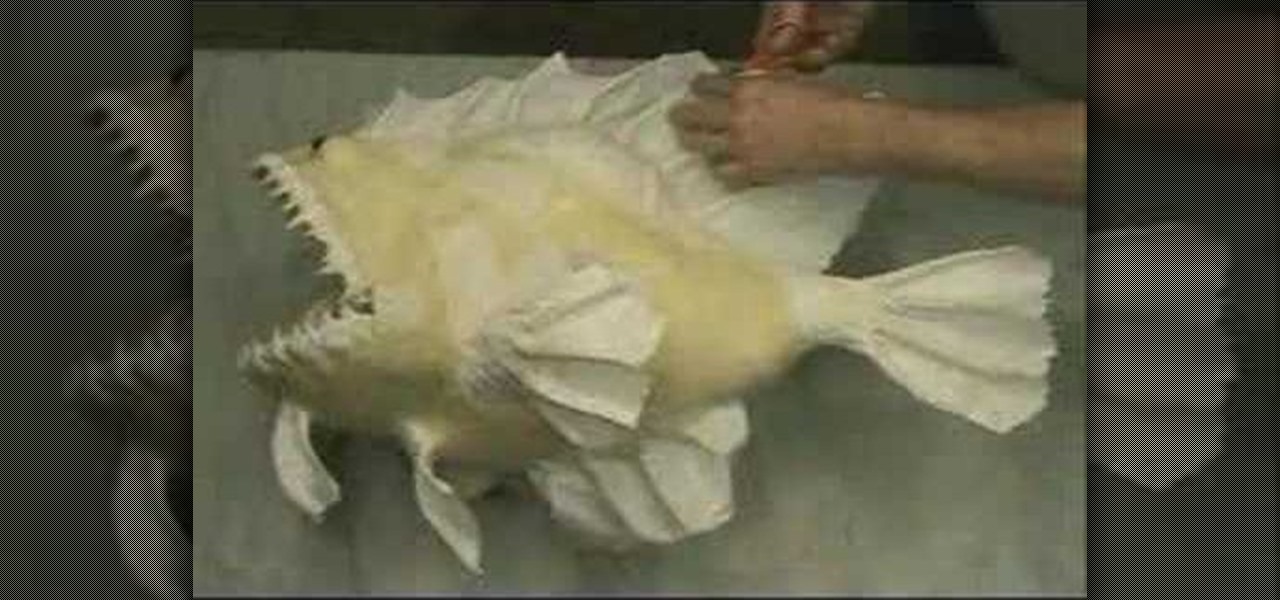
In this video you get to watch a talented mache artist make a fishwichwich from paper mache. It is fast paste but you get the idea of how he does it. Starting with the paper mache materials, the paste and paper, he makes the body and head in several pieces. He pastes these together and uses some sort of stick to make its spikes. He covers the spikes with mache so they have a more realistic look and starts to smooth out the features of the fish. Once the body is done, he's got the teeth and so...

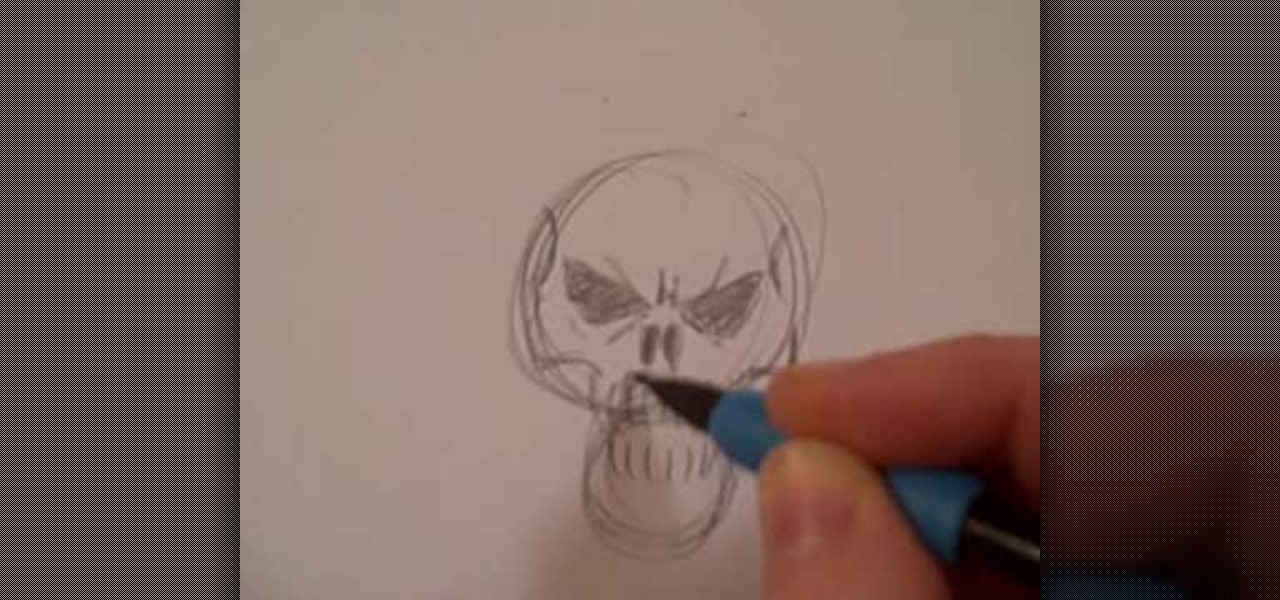
This short video shows how to draw a skull with a pencil. The video contains no spoken or written description of the process the artist in the video is going through, so to duplicate his drawing, you'll have to just watch and draw along. The artist starts the drawing by making two circles vertically, the lower circle being about half the size of the upper circle. He then adds the nostrils, eyes, and teeth, before going on to add some definition to the jaw area, making it look like a complete ...

To make roasted acorn squash first, cut the top and bottom off the squash. Then you will have to cut the squash into two pieces scooping out the seeds with a spoon. Next you want to cut each half so you would now have four pieces. If You want to give it a salty sweet flavor. So then you'll put salt and pepper on each piece seasoning it well. Then you'll chop up rosemary making sure that the rosemary isn't too small so it won't stick to your teeth. You then sprinkle the rosemary on each piece....

DrawingNowVideos teaches you how to draw SpongeBob Squarepants. You start off with a squiggly line and you want to create a rectangle and then create a 3D box out of that. That will be the head. Add circles and ovals on the side to make it look more like a sponge. Add eyes, eyelashes, nose, cheek with freckles and an open mouth with two teeth up front and the tongue. Then draw the body and add details such as pants and a tie. Complete the face by adding a few circles around. Also don't forget...

The video is a step by step process for drawing a SpongeBob using a coin and crayons. First he took the coin and drew two circles nearer to each other using a black crayon. Then he added a black dot to its center so that it looks like the eye of SpongeBob. He drew the lens of the eye using green crayon.


