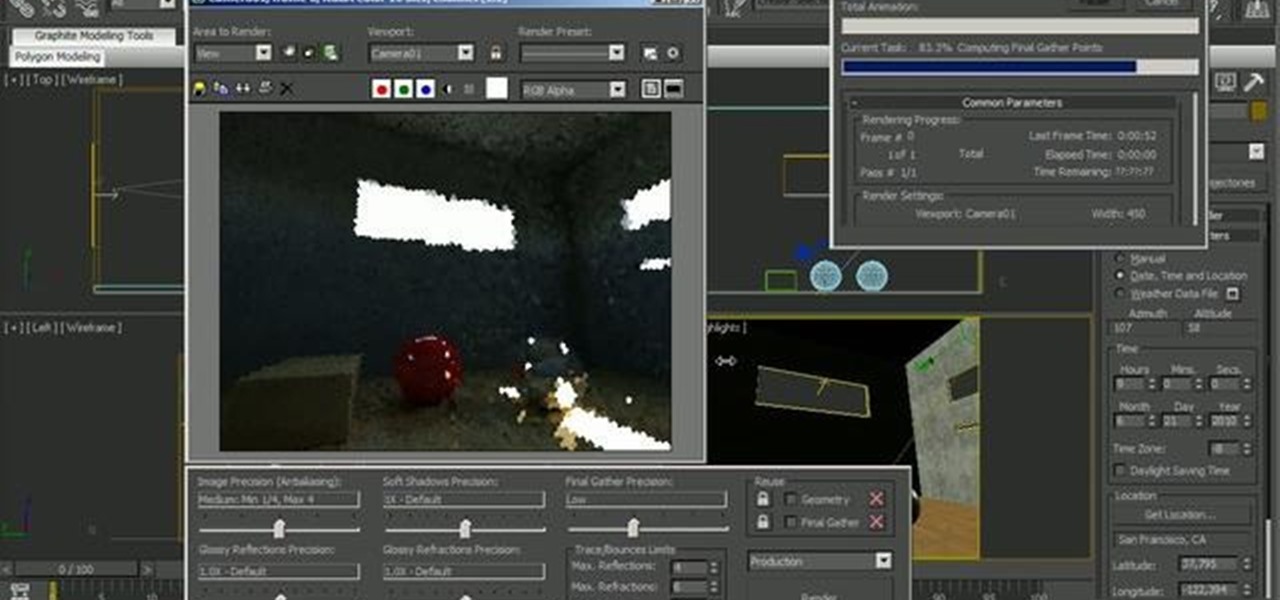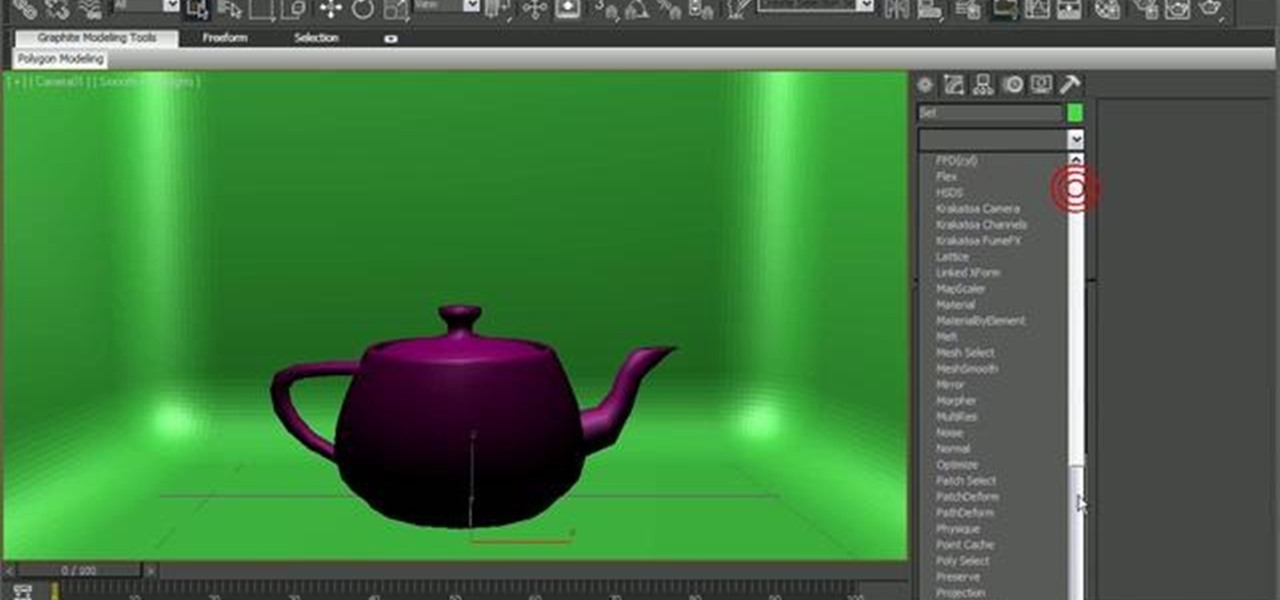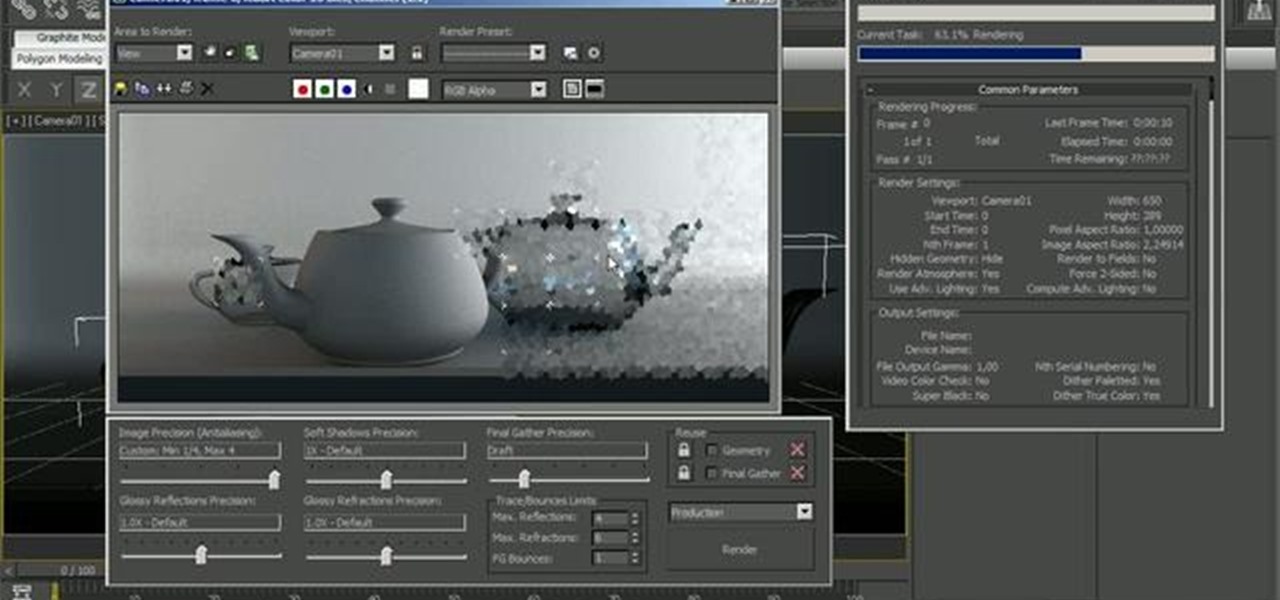
This clip presents an exhaustive overview of the MR photographic exposure tool in 3ds Max 2010. Whether you're new to Autodesk's popular 3D modeling program or a seasoned graphic artist just interested in better acquainting yourself with the application, you're sure to be well served by this free video tutorial. For more information, including detailed instructions, take a look. Use the MR photographic exposure control in Autodesk 3ds Max 2010.

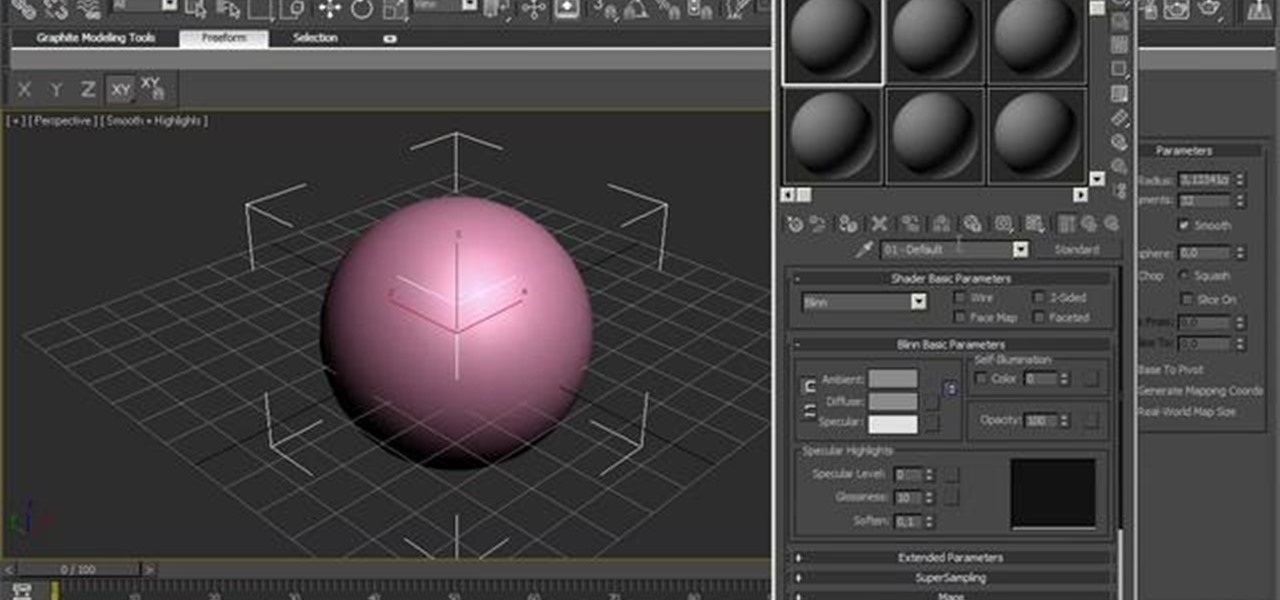
This video lesson provides a general overview of the Ink & Paint shader tools in 3ds Max 2010 or 2011. Whether you're new to Autodesk's popular 3D modeling program or a seasoned graphic artist just interested in better acquainting yourself with the application, you're sure to be well served by this free video tutorial. For more information, including detailed instructions, take a look. Use the Ink & Paint shader tools in 3ds Max 2010 or 2011.

In this 3ds Max 2010 video tutorial, you'll learn how to use Manipulators to create custom UI objects. Whether you're new to Autodesk's popular 3D modeling program or a seasoned graphic artist just interested in better acquainting yourself with the application, you're sure to be well served by this free video tutorial. For more information, including detailed instructions, take a look. Add custom UI objects over the viewports in 3ds Max 2010.

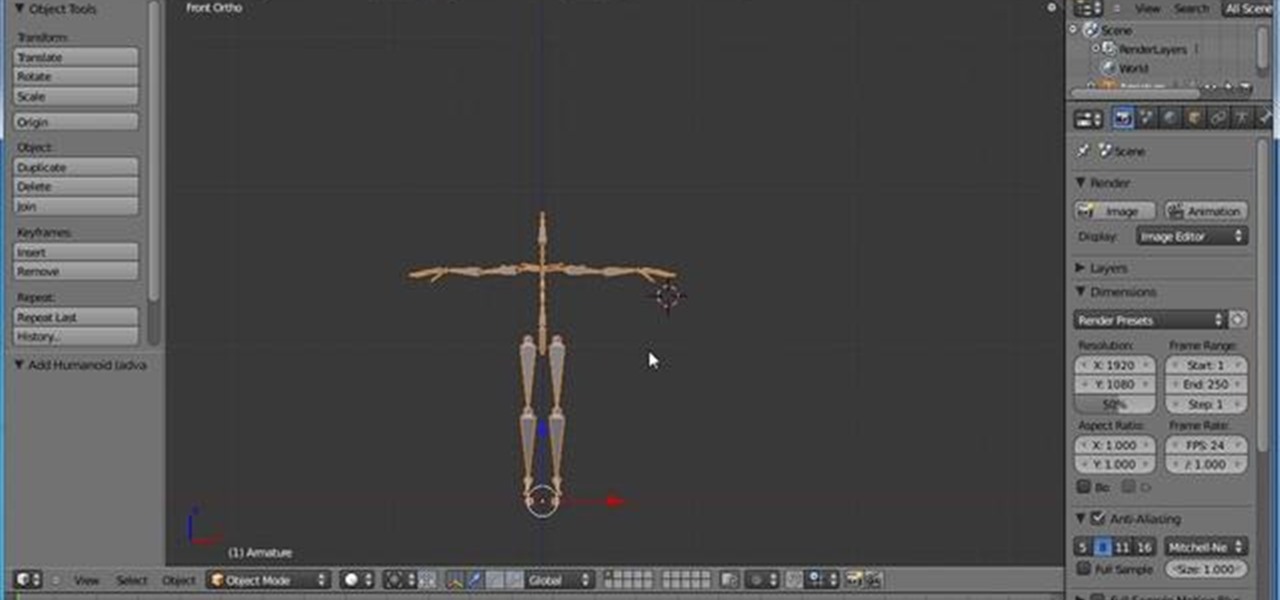
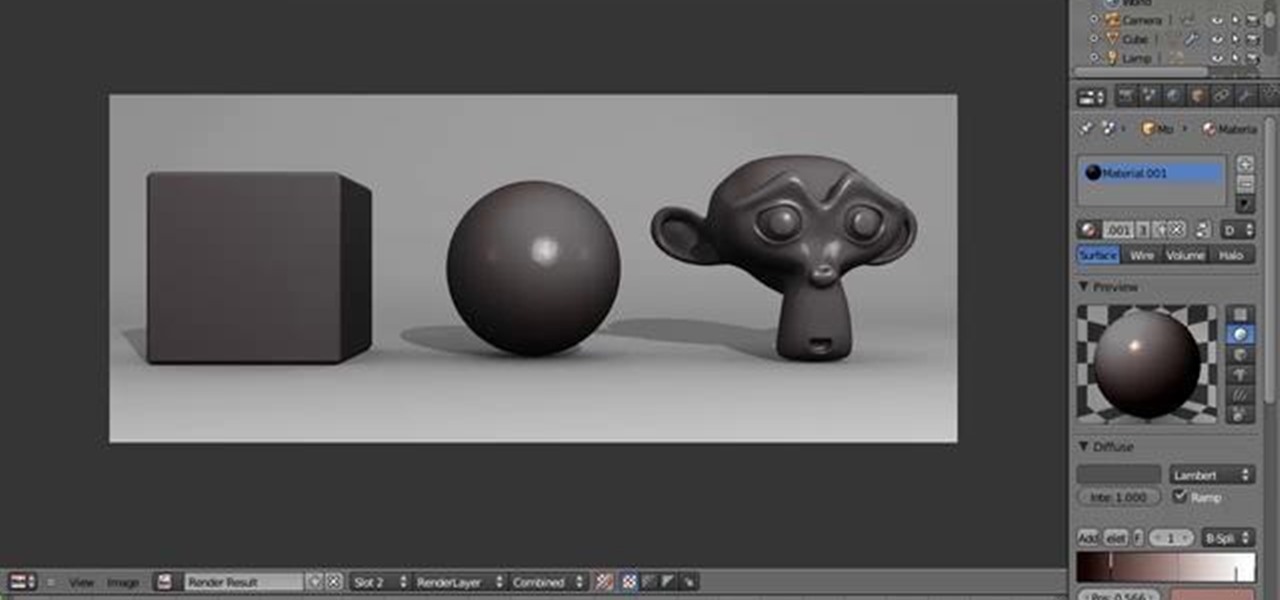
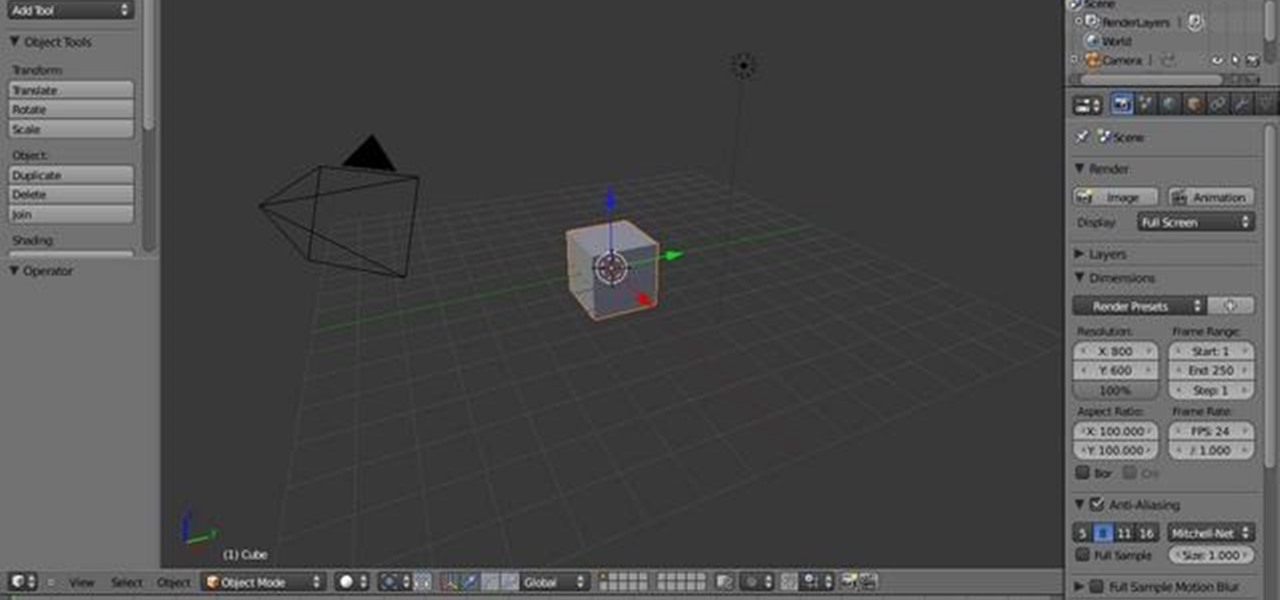
Learn how to create and use a human meta-rig within Blender 2.5. Whether you're new to the Blender Foundation's popular 3D modeling program or a seasoned graphic artist just interested in better acquainting yourself with the application, you're sure to be well served by this free video tutorial. For more information, including detailed instructions, take a look. Create and use the Human Meta-Rig tool in Blender 2.5.

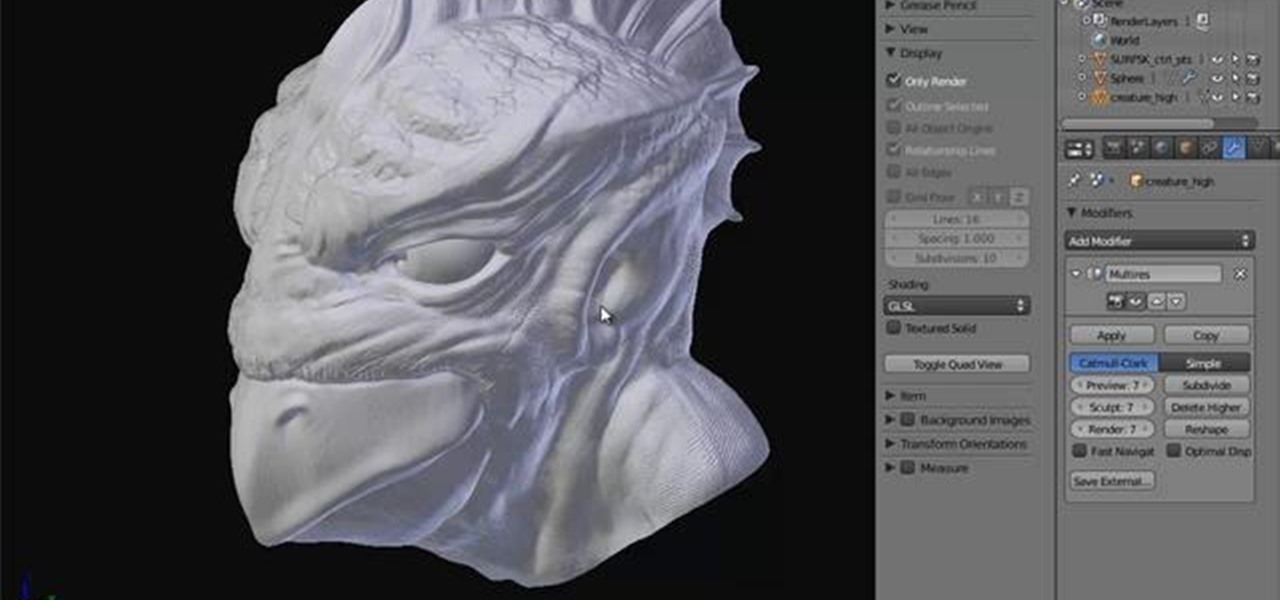
In this clip, you'll learn how to retopologize a high-res sculpted object into a low-res object suitable for rendering. Whether you're new to the Blender Foundation's popular 3D modeling program or a seasoned graphic artist just interested in better acquainting yourself with the application, you're sure to be well served by this free video tutorial. For more information, including detailed instructions, take a look. Retopologize a high-resolution object for rendering in Blender 2.5.

In this clip, you'll learn how to create reflections for environment-less objects in Blender 2.5 without the use of raytracing. Whether you're new to the Blender Foundation's popular 3D modeling program or a seasoned graphic artist just interested in better acquainting yourself with the application, you're sure to be well served by this free video tutorial. For more information, including detailed instructions, take a look. Fake reflections for objects without an environment in Blender 2.5.

In this quick Blender 2.5 video tip, you'll see how, by changing a couple settings in the User Preferences menu, you can dramatically increase the accuracy and ease of manipulating your object in the viewport. Whether you're new to the Blender Foundation's popular 3D modeling program or a seasoned graphic artist just interested in better acquainting yourself with the application, you're sure to be well served by this free video tutorial. For more information, including detailed instructions, ...

See how to create photorealistic glass shaders with the Mental Ray rendering engine in 3ds Max 2010. Whether you're new to Autodesk's popular modeling software or a seasoned 3D artist just looking to better acquaint yourself with the application, you're sure to be well served by this video tutorial. For more information, and to get started creating your own glass shaders with Mental Ray, take a look! Create a glass shader with Mental Ray in 3ds Max 2010.

Learn how to create an icy glass shader using Mental Ray in Autodesk 3ds Max 2011. Whether you're new to Autodesk's popular modeling software or a seasoned 3D artist just looking to better acquaint yourself with the application, you're sure to be well served by this video tutorial. For more information, and to get started creating your own frosted glass shaders, take a look! Create a frosted glass shader in Mental Ray.

An introductory video tutorial on the material editor within 3DS Max software. Learn about material selections, shaders and more. Whether you're new to Autodesk's popular modeling software or a seasoned 3D artist just looking to better acquaint yourself with the 3ds Max 2011 workflow, you're sure to be well served by this video tutorial. For more information, and to get started using the Material Editor in your own projects, take a look! Use the 3ds Max Material Editor.

Once Upon A Cake shows you how to create beautiful fall themed cupcakes to be the hit at your next Autumn party. Start with basic supplies such as cupcakes, icing of various colors and knifes to spread the icing. Using modeling chocolate you can mold leaf shapes and attach it to the cupcake. Using warm colors also adds a very fall touch. Browns, yellows and reds are great colors. Watch the rest of the video to get many cute tips such as pumpkin cupcakes, fall critters and Halloween. These wil...

This is a Maya Tutorial By Kurt Boutilier. Learn how to use Maya to recreate this zombie rabbit sketch into 3d using 3d modeling. Make a zombie rabbit in 3d with Maya - Part 1 of 6.

This 3D software tutorial shows you how to use the cross section modifier in 3ds Max. The cross section modifier tool works on splines and is most often used when modeling with curves in 3D Studio Max. he CrossSection modifier creates a “skin” across multiple splines. It works by connecting the vertices of 3D splines to form a skin. The resulting object is another spline object that can be used with the Surface modifier to create a patch surface. These two modifiers, when used together, are s...

This 3D software tutorial shows you how to use the mirror modifier (same as the mirror tool) in 3ds Max. The mirror modifier allows for procedural mirroring of objects. As a one time operation thesymmetry modifieris better but, that being said, if stacked, the mirror modifier can then be used as almost a procedural radial array. Like most modifiers, Mirror can be applied to sub-objects which again takes advantage of 3ds Max’s procedural and/or parametric modeling capabilities. Watch and learn...

This is a 3ds Max tutorial that David Fano has tuned into a video from a PDF written by Theo Calvin and Omer Barr. Using wire parameters and expression controllers in 3D Studio Max we will make a panel that opens and closes based on the distance of a point. Learn how to model in 3ds Max with wire parameters and expression controllers. It will help if you are already familiar with the 3ds Max interface for this tutorial. Create an expression driven panel in 3ds Max.

This 3ds Max software tutorial covers how to turn your mesh into Hexagon poly’s which creates a smoother mesh. This is a technique Dave learned from Toru Hasegawa that he is sharing with all of us. You essentially triangulate a quad poly surface then collapse the triangles to have hexagons. Watch and learn how to convert a mesh into hexagon shaped polys with Classic Mesh Smooth in this 3ds Max modeling tutorial. Convert a mesh to hexagon polys in 3ds Max.

In this 3D software tutorial you will learn how to use wire parameters to create a scalable circular patterned object in 3ds Max. Using the wire parameters in 3D Studio Max you can create a scaling circular pattern based on the distance of the circle to a point object. This is a great way to model things with repetitive parts in 3ds Max. Learn how to create a circular panel with circular openings and attach it to a rectangle in 3ds Max. Create a circular pattern with 3ds Max wire parameters.

The morph modifier in 3ds Max is mostly meant for storing animation procedures like facial animations, but that's not all it can do. In this tutorial you will learn how to use 3D Studio max morph modifiers to store modeling deformations. Using the Morpher modifier to create a bi-directional blend between two conditions. In this case we build a modular panel system in which one can quickly test different patterns in 3ds Max. Use morph modifiers to store deformations in 3ds Max.

This 3D software tutorial shows you how to work with editable polys in animate mode in 3ds Max. The idea is to use edit poly modifiers to control and have selections active when working in 3D Studio Max. See how to use modifiers like features in 3ds Max, a parametric modeling software. Learn how to use parameters to store design intent and avoid having to remodel geometry in Max. The tutorial is best viewed full screen. Use edit poly modifiers to animate in 3ds Max.

This CAD software tutorial covers how to use reference lines to constrain or drive radial shapes in Revit Architecture. This can be tricky when using Reference plane but with a reference line it is quite easy. David doesn't get too much into adding parameters but one could imagine using a length parameter to drive the length of the reference line as well as the ellipse. Watch and learn how to model and control radial shapes with reference lines in Revit Architecture. Use reference lines to co...

In this Rhino video tutorial we cover how to make a sine and cosine curve with Explicit History (Grasshopper). The initial set up for this Rhino tutorial can be used to test any of the math functions. We set up a a simple interface to drive range parameters which can then connect to many of the scalar components. Get better at your math skills for modeling in Rhino with this 3D software tutorial. This Rhino video is best viewed full screen. Make a sine & cosine curve Rhino's Explicit history.

Cleaning your spinning reel after every major fishing trip can prolong the life of your spinning reel. Clean those spinning reels "too" and have fewer problems with any spinning reel from very cheap models all the way up to the Shimano Stella! Cleaning your spinning reel can be done quite easy but some people like to have professionals do the work for them especially if they aren't comfortable working with these high tech reels. Watch this video fishing tutorial and learn how to clean a spinn...

This Rhino 3D video tutorial is a very basic introduction to the software. This is not meant to be modeling 101 or anything of the sort. This video is really meant for anyone that has never used the Rhino application and is curious as to how it hows. Graet for those that are just wondering how Rhino works.

Check out this instructional magic trick video that explains how to escape from a set of professional hand cuffs, just like the famous escape artist Houdini did. All you need is a regular bobby pin and, of course, a set of Smith and Wesson model 100 double lock handcuffs. Watch this instructional video and amaze your spectators with this classic escape technique. Escape from a set of professional hand cuffs.

Replacing brake discs can vary depending on the make and model of car, two wheel or four wheel drive. Always replace brake rotors with top quality or OEM (original equipment manufacturer) brake rotors; some less expensive brake rotors can squeak and not dissipate heat as well because of there inferior metal quality.

How does one snap in Autodesk's 3ds Max and how can one move things dimensionally? This 3ds Max video tutorial explains both of these questions as well as angle snaps and axis constraints.

The Surface modifier in Autodesk's 3ds Max generates a patch surface based on the contours of a spline network. A patch is created wherever the segments of the interwoven splines form a three- or four-sided polygon. The Surface modifier and the CrossSection modifier, taken together, are referred to as Surface Tools. They allow you to create complex or organic surfaces, like the fuselage of a plane, or a three-dimensional character.

The Bend modifier in Autodesk's 3ds Max lets you bend the current selection up to 360 degrees about a single axis, producing a uniform bend in an object’s geometry. You can control the angle and direction of the bend on any of three axes. You can also limit the bend to a section of the geometry.

Apple's iOS 4.2.1 firmware update was released yesterday to all iPads, iPhones and iPod Touches, with enhanced multitasking features. It was the first significant update for the iPad since its introduction.

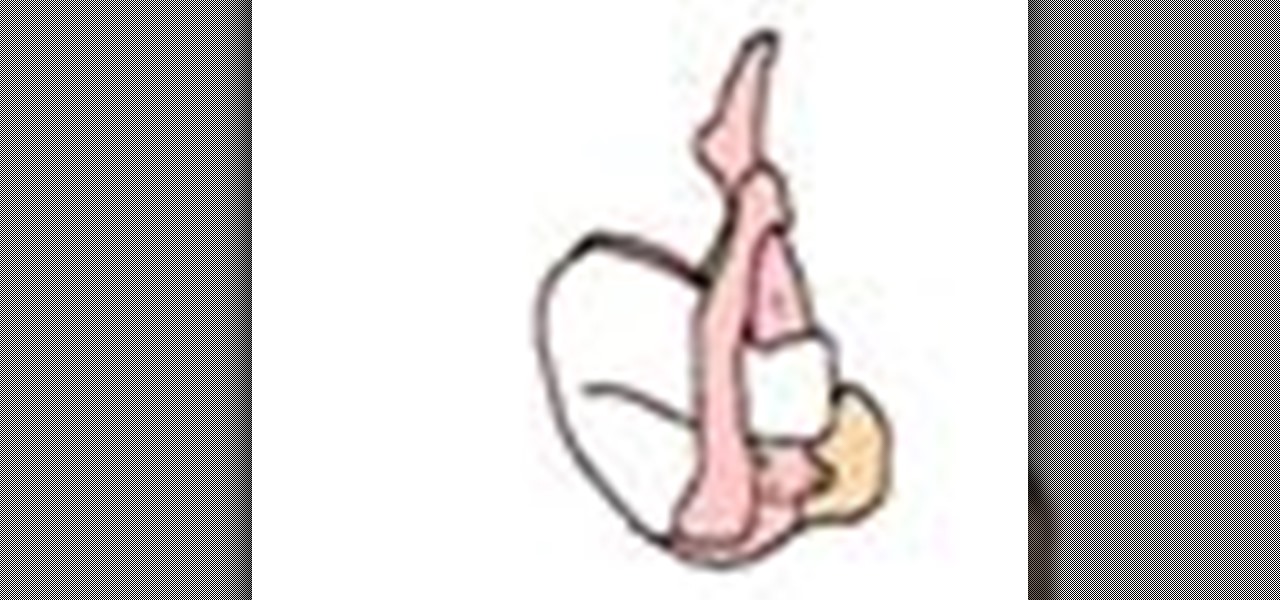
Search "Pilates animation" on Wonderhowto for other more videos by this user. If you are looking a for a quick pilates reference, take a look at this pilates animation. This a quick & easy, clearly explained diagram of the pilates mat exercise: Classical Pilates for Beginners:

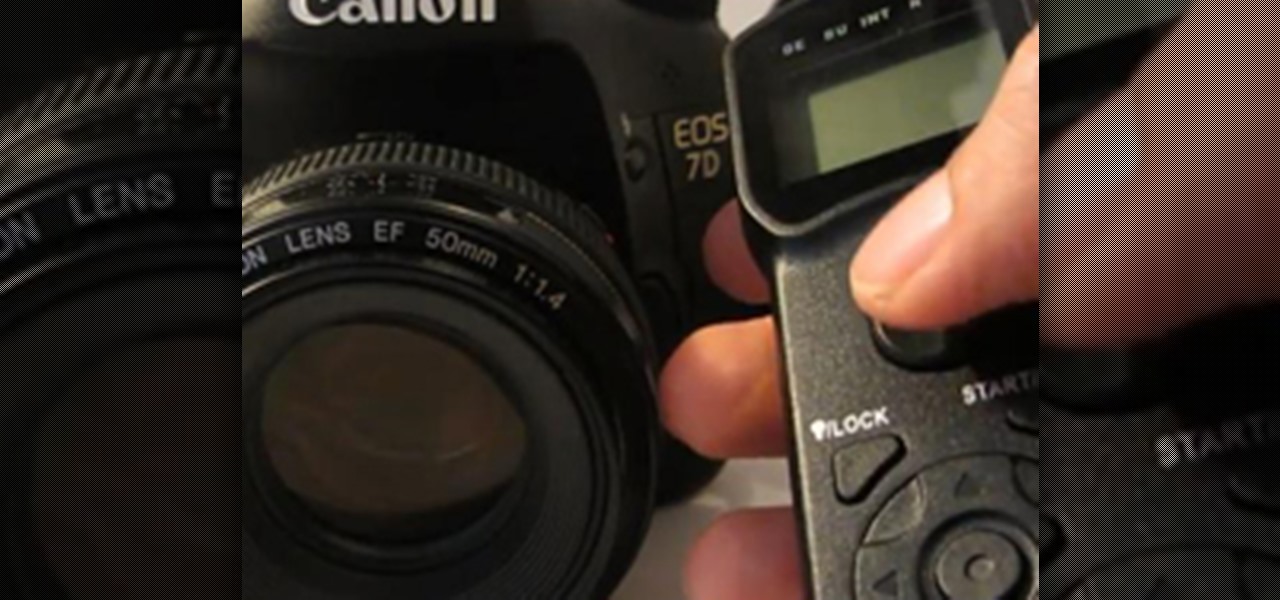
This tutorial is for complete beginners to time-lapse photography and will show you all the settings and equipment you'll need to start taking time-lapse videos with a DSLR camera relatively cheaply. Although this tutorial focuses on the Canon 7D, the steps outlined and equipment discussed also applies to other models available on the market.

This German video is amazing. A joyously analog interpretation and deconstruction of the digital gaming experience. Malte Jehmlich is as primitive and inspiring as the the Vanuatu natives who devoted themselves to cargo worship after World War II!
Sage Workshops are a series of student run poetry workshops. The workshops are inspired and modeled after the Pen In The Classroom program. The Downtown's Central Library is hosting our workshops. The workshops are in their Teen'Scape department. These workshops will eventually branch out to other organizations or schools. We are currently sponsored by PEN In The Classroom. Part of Sage Workshops is maintaining this world in the wonderhowto website. Please support our project and visit our Fa...

This morning, NASA launched the five suborbital sounding rockets from Virginia as part of ATREX (Anomalous Transport Rocket Experiment). Each rocket was launched 80 seconds apart and released chemical tracers that created "milky, white clouds at the edge of space." Now, I've seen plenty of bullet tracers in my life, but these are far more poetic. Take a look at the time-lapse video and see for yourself. Why shoot these tracer rockets? To help scientists "better understand the process responsi...

After becoming addicted to basic sonobe modular origami, I decided to make ornaments for relatives as Christmas gifts. I tried using fancy paper from stores like Paper Source, and cutting it to proper origami size, but I could never get the tight folds I wanted with non-traditional, non-origami paper. I ended up using this metallic origami paper that folds beautifully, and I'm pretty happy with the tiny models I ended up with. Forgive these pictures (iPhone/Instagram), I don't have my regular...

I wondered how silly you could get with sonobe, and had a bash at a buckyball, which is a fullerene (technically a truncated isocahedron; you can see a simple model here). It's twelve pentagons—each surrounded by 5 hexagons (20 in total)—making a football shape in England or a soccer ball shape in the USA.

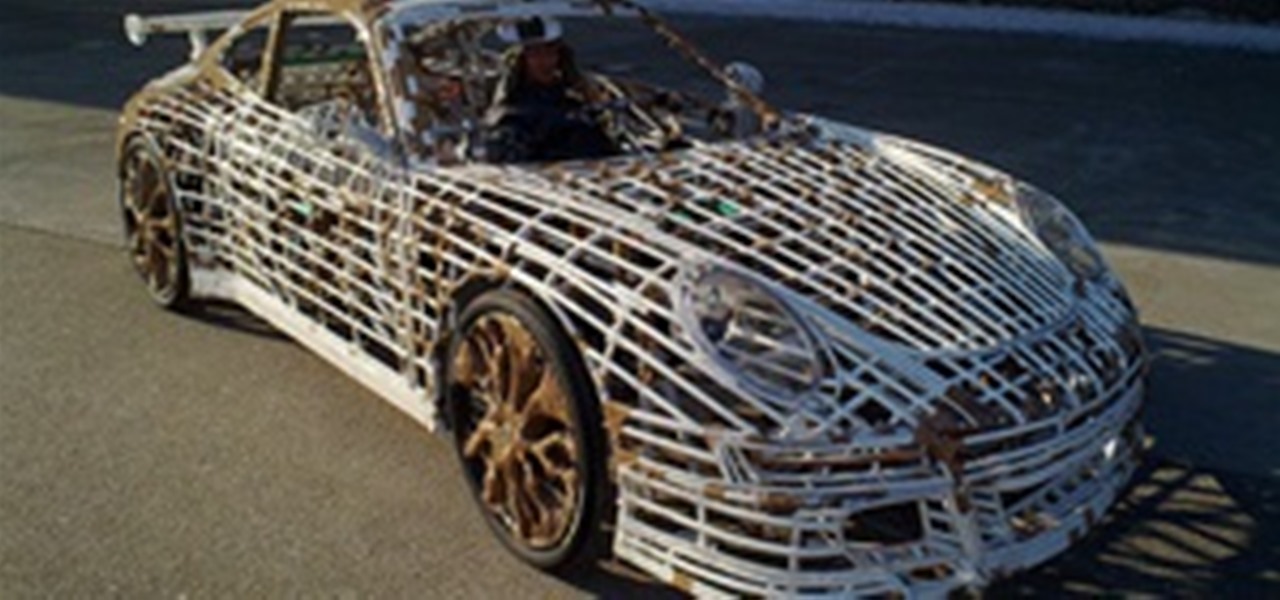
Now how's that for alliteration? WOO! Anyway, this has already made the rounds, but if you haven't seen it yet, check this out. When you take a low-slung four wheel bike frame, a crap load of PVC pipe, miles of duct tape and about 1,000 hours, you, too can drive a Porsche without the high insurance payments.

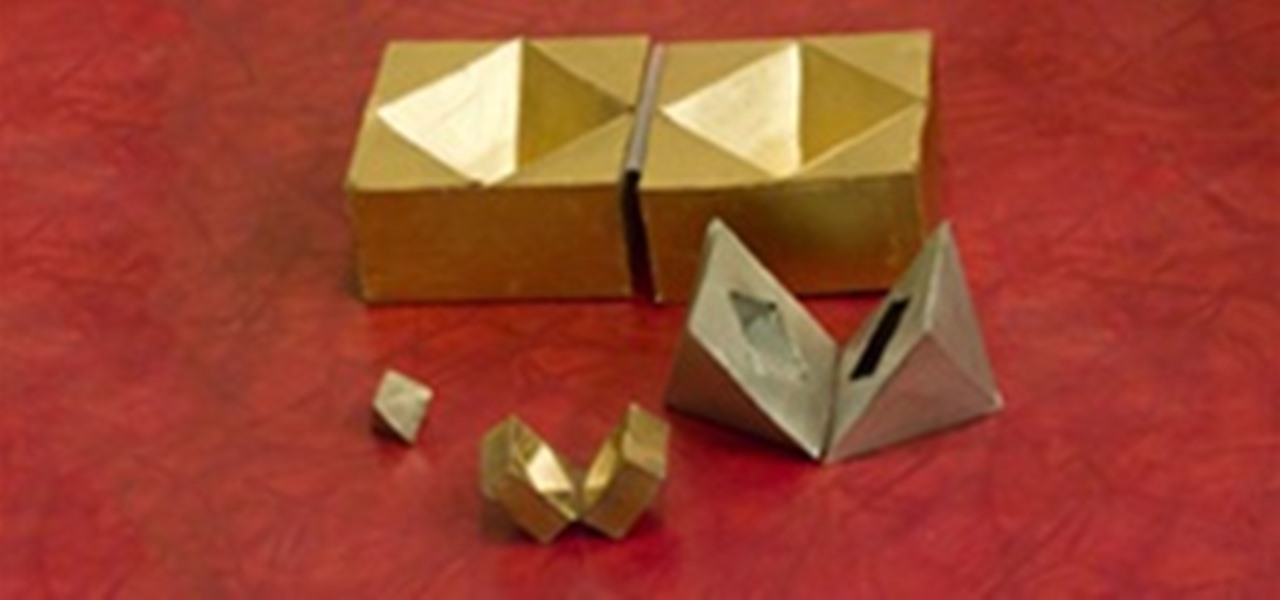
These boxes are inspired by a comment from Imaatfal Avidya on a corkboard post on Platonic polyhedra from sonobe units. Imaatfal was commenting about how the cube and octahedron are related to each other.

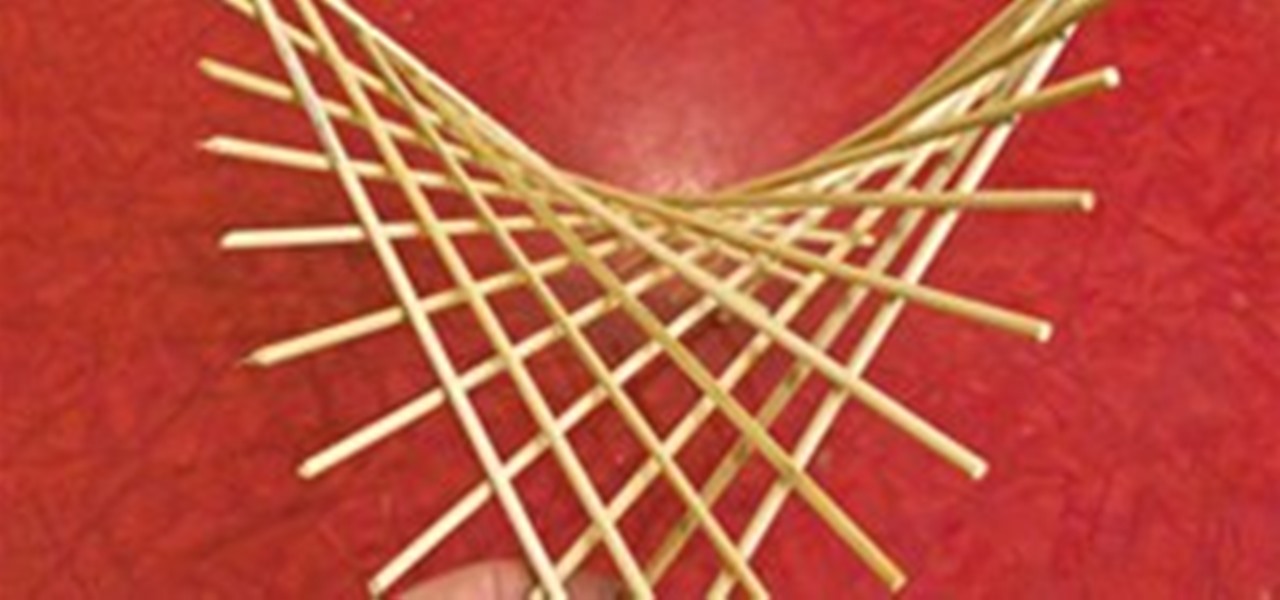
In Monday's post, we created a sliceform model of a hyperbolic paraboloid. In today's post, we will create a similar model using skewers. The hyperbolic paraboloid is a ruled surface, which means that you can create it using only straight lines even though it is curved. In fact, the hyperbolic paraboloid is doubly ruled and is one of only three curved surfaces than can be created using two distinct lines passing through each point. The others are the hyperboloid and the flat plane.

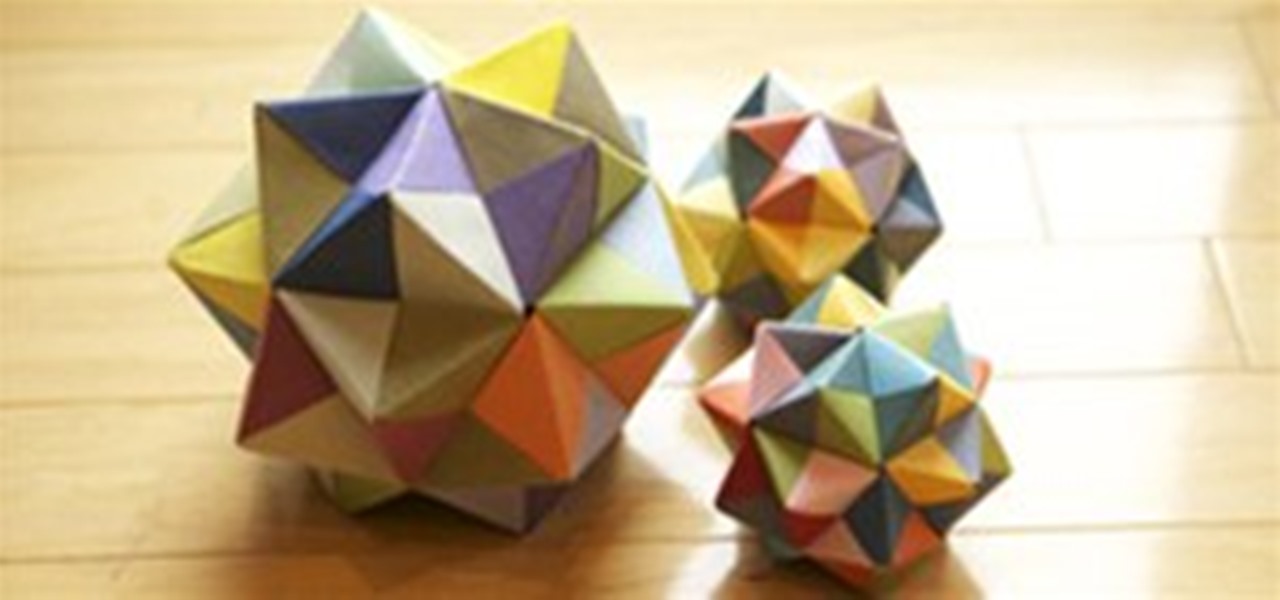
I spent the holiday weekend becoming fluent in the basics of modular origami. With practice, you can churn out the below models surprisingly quickly.
