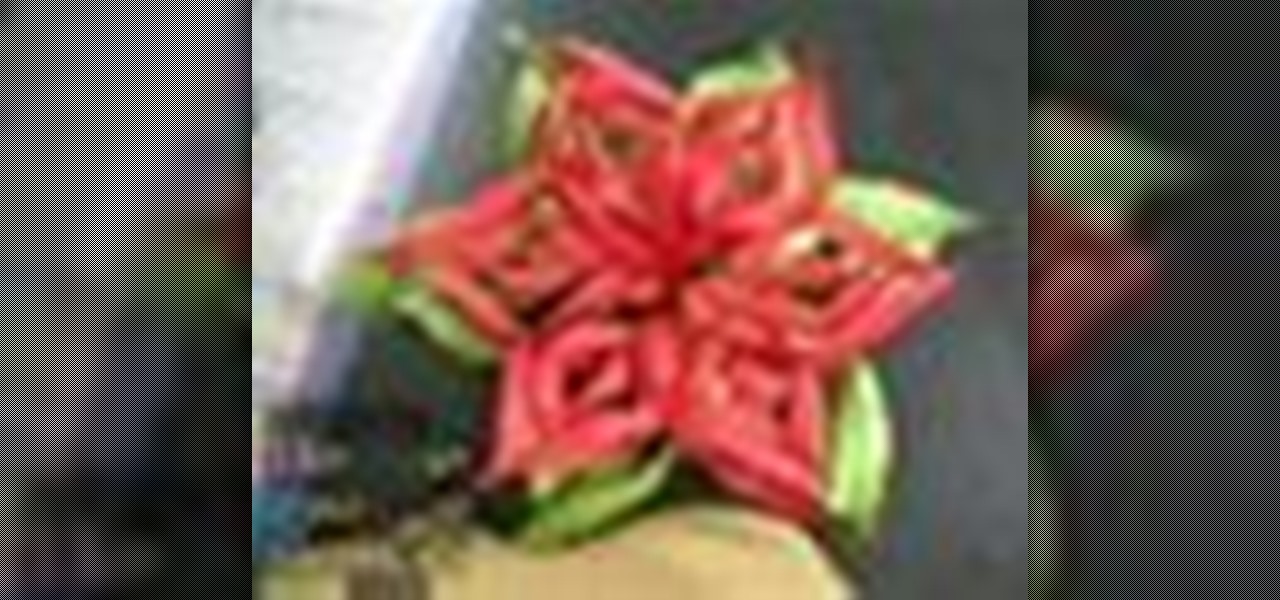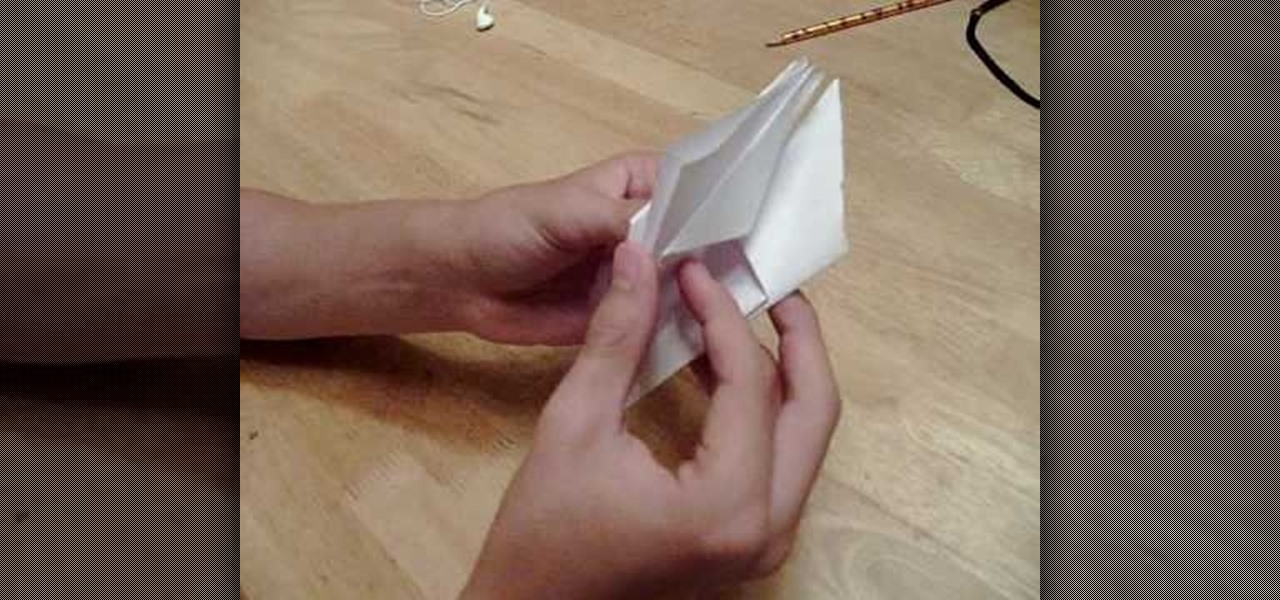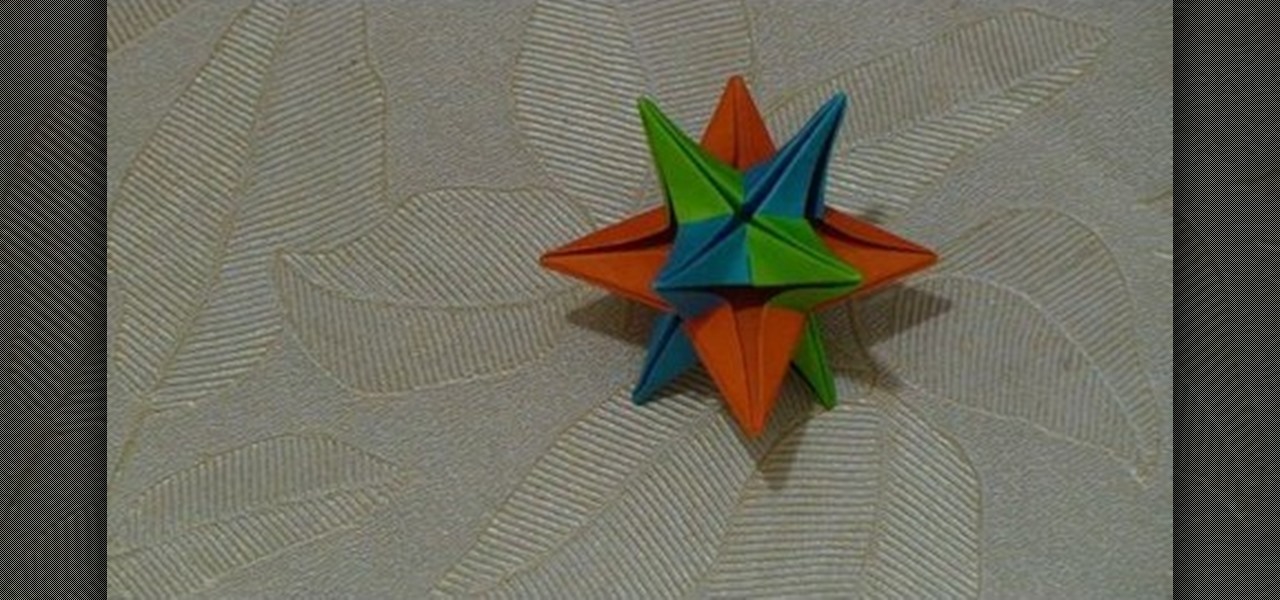
In this Arts & Crafts video tutorial you will learn how to make a six-sheet 3D paper star with origami. Take three pairs of paper; each pair of different color or take six pieces of paper of the same color. The paper should be square size. Fold the paper in half, open the fold and fold one half up to the center line. Repeat this step for the other side also. Open up the paper and repeat these steps by folding the paper in the other direction. This will divide the entire paper into 16 squares....

You will need a sketch book and various pens. Start by roughly sketching the head. Next draw a center line that will become the center of Xena's torso. Sketch the arms, legs, breasts, and the ring that she is holding. Remember, this is the first draft and it doesn't need to be perfect. Next, flip another page down on top of your first draft. On this draft begin to add more details and proportions. Start with the head forming the shape of the jaw and the size of the head. Work your way down to...

By watching this video, you will learn how to create your own art journal. Begin by cutting pieces of heavy weight cardstock 5" by 8". After you have cut all your sheets, fold them in half. If you want a defined crease, you can use a bone folder. Next, poke small holes in the crease of each sheet. Start at the center and then poke one every inch above and below the center hole. Then using a regular running stitch, sew through each hole of a single sheet. Once you reach the bottom hole, bring ...
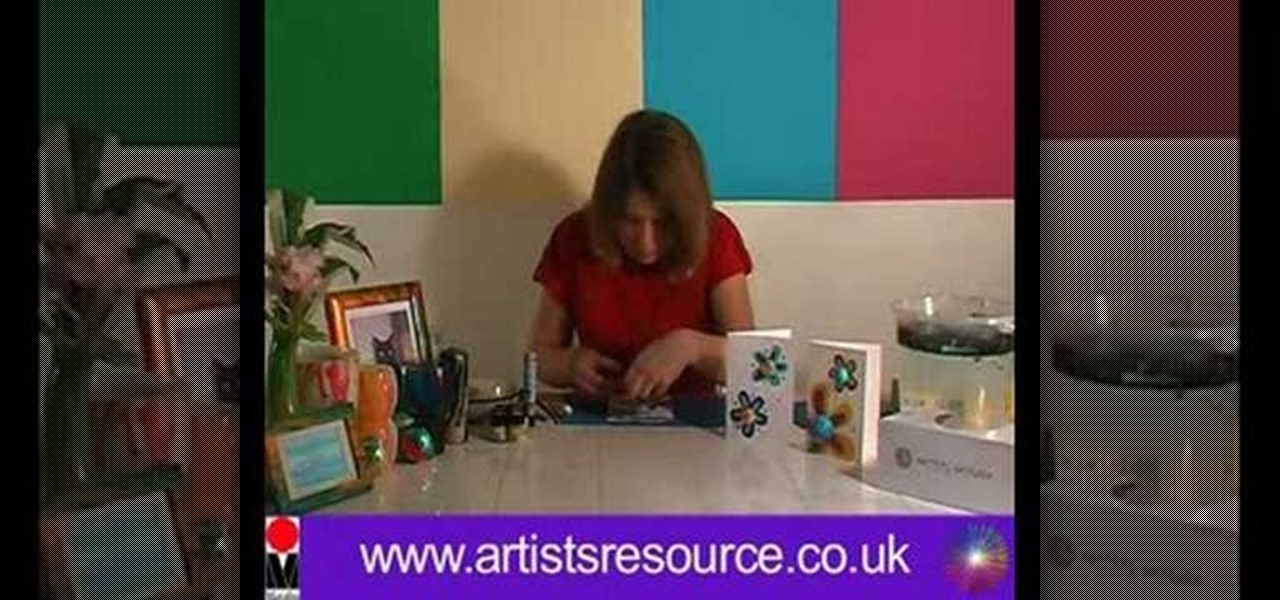
This video is about making a marble greeting card. The materials required for making them are marabu marble starter kit which consists of six marble paints,a marabu konturf paste, a polyester ball, a bowl, kebab sticks, a pencil, a cutting knife, a glue, sweat pieces of card, three cards of different colors and a bucket of water. The video starts by folding one piece of card into half and then cutting the ball into two pieces. Keeping the piece of ball as the center draw a flower around it on...
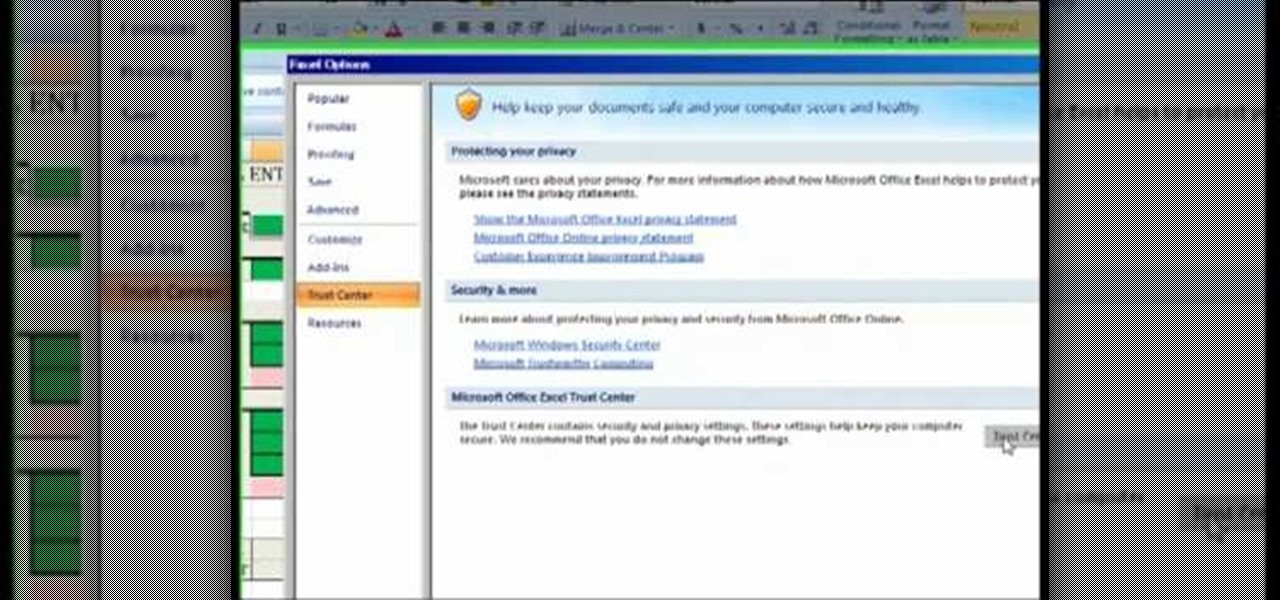
The Costsheet demonstrates how to enable macros in Excel 2007 to run correct spreadsheets. First, open up the spreadsheet. Make sure that the macros are enabled. If they have not, enable the macros by placing them in a trusted source by saving them in a particular folder. You can also choose to recognize the publisher as a trusted source. Click the office button and scroll down to Excel options. Click on the trust center option and go to trust center settings. Then, view the trusted locations...
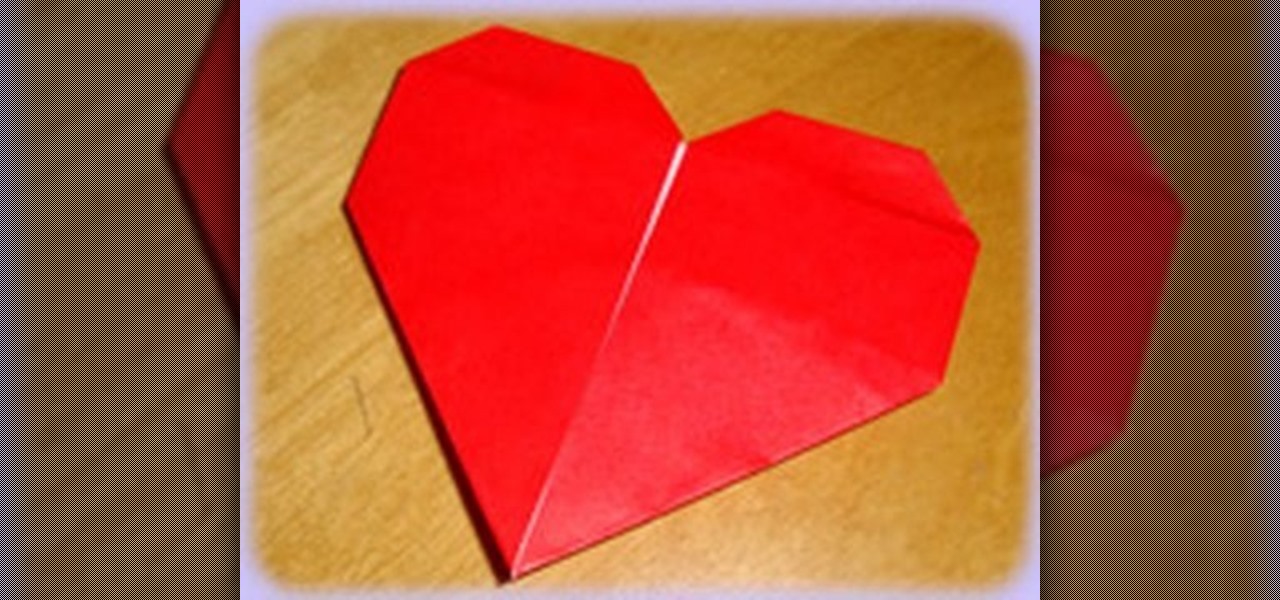
This video shows us how to fold a simple origami heart. Firstly a piece of paper is taken and is cut in the form of a square and then it is folded into half to form a rectangle. Then it is properly creased and then using a knife it is cut into two halves. Then one of the pieces which are in the form of a square is taken and is folded vertically to form a thinner rectangle. It is creased and then unfolded and then the paper is folded horizontally to form a square and it is creased and then unf...

In this how-to video, you will learn how to sew a cape. The pattern is made of three pieces. The main part is made of a circle with a hole in the center. There is a cut made from the center to the edge of the circle. The diameter is about 145 centimeters. The hood is two half circle pieces, with a diameter of about 62 centimeters. The two parts will be sewn together along the green marks shown. Fold the rest fabric above the seam and sew it to the fabric next to the seam. Next, sew at where t...
How to draw a face with guide linesIn this video we are about to see how to draw a face with guide lines. Even though the tutorial don’t get into the full details of how to draw a face it guides us with the basics. To start with is drawing the outline of the face and the guide lines. The focus mainly is on placing the eyes, nose and lips on the right spots. The center vertical line to cut the head to two halves and horizontal line in the middle for our eyes. Draw horizontal lines for the nose...
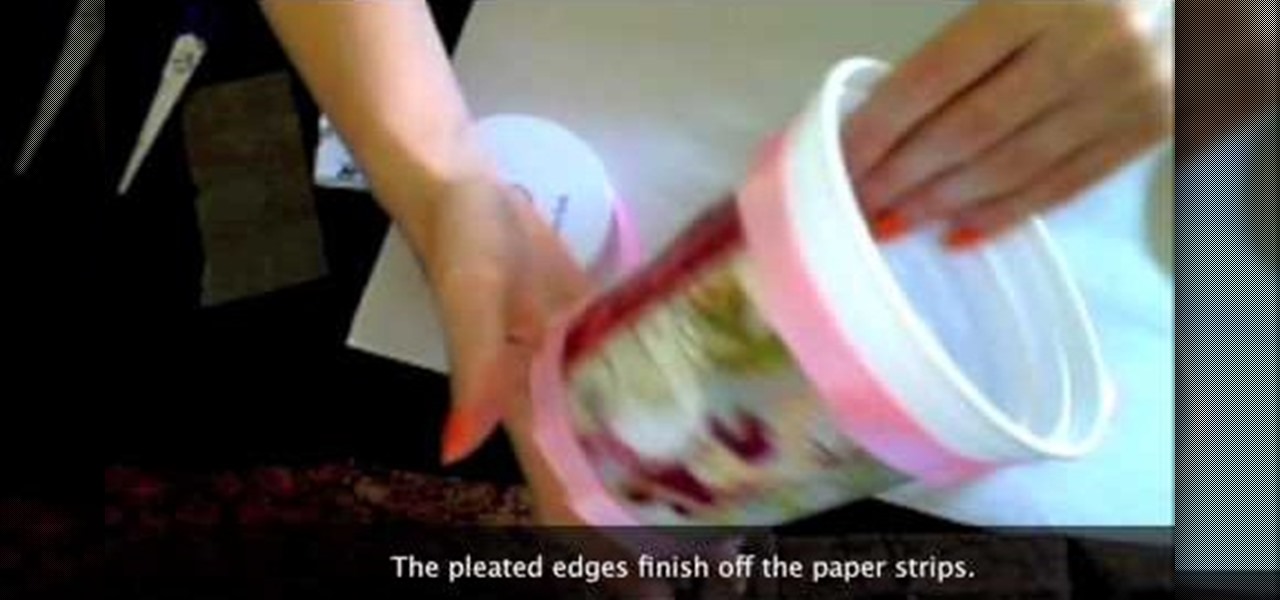
Creativity Prompt demonstrates how to turn a yogurt container into a mini-album. First, measure the lid's diameter. Then, cut a corresponding circle from your patterned paper. Use Mod Podge to adhere the paper circle to the lid and seal it with another layer of adhesive. Next, cut a bunch of different 4 x 1 inch strips of patterned paper. Adhere the paper strips to the yogurt container with Mod Podge. Seal it with another layer of adhesive and set it aside to dry. Measure the bottom of the co...
This video describes how to create intricate nail painting designs. The first step is to choose a background color. You can either choose a lighter background color so the darker designs you paint over it will stand out, or a darker background color so the lighter-colored designs will stand out. For this specific design consisting of 3 flowers and a few dots, the former will be used. Next, take globbing paper and glob it with some white polish. Use a nail dotter to apply the polish from the p...
Garden Imagination shows viewers how to make a polymer clay mini birthday cake for your dollhouse. First you will want to start off with yellow clay and roll it out on your pasta machine at level 1. Fold this yellow clay in half and use a shape cutter to cut out the cake. You can find a shape cutter at Hobby Lobby and use a circle scare or any shape you want. Cut out two pieces - one for the top and one for the bottom. Next, you will want to use size 8 font on your computer and type "Happy Bi...
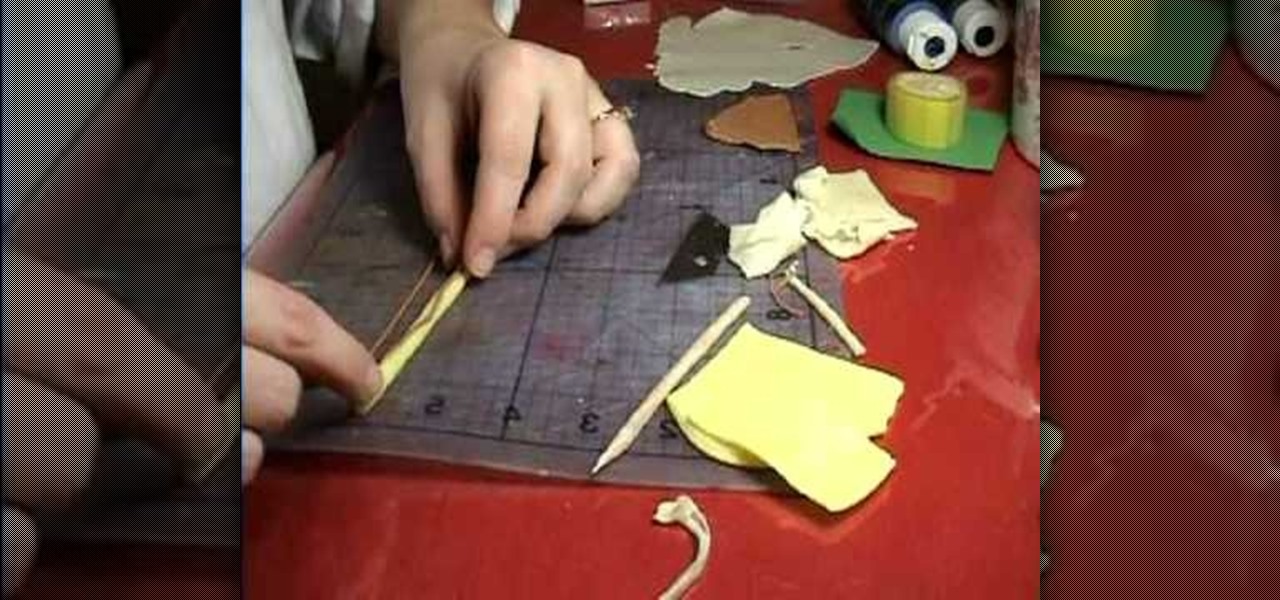
Translucent, yellow and brown clays are needed to make the banana. For the covering mix the translucent and yellow clays. Another translucent mixed with a little yellow is needed for the flesh of the banana. The seeds are made with the brown mixed with translucent rolled out very thin. The rolled light yellow clay needs to be twisted into the shape of a triangle vertical. Take a translucent rolled flat and place the yellow clay and cut little clay and roll it together into a very thin roll. T...
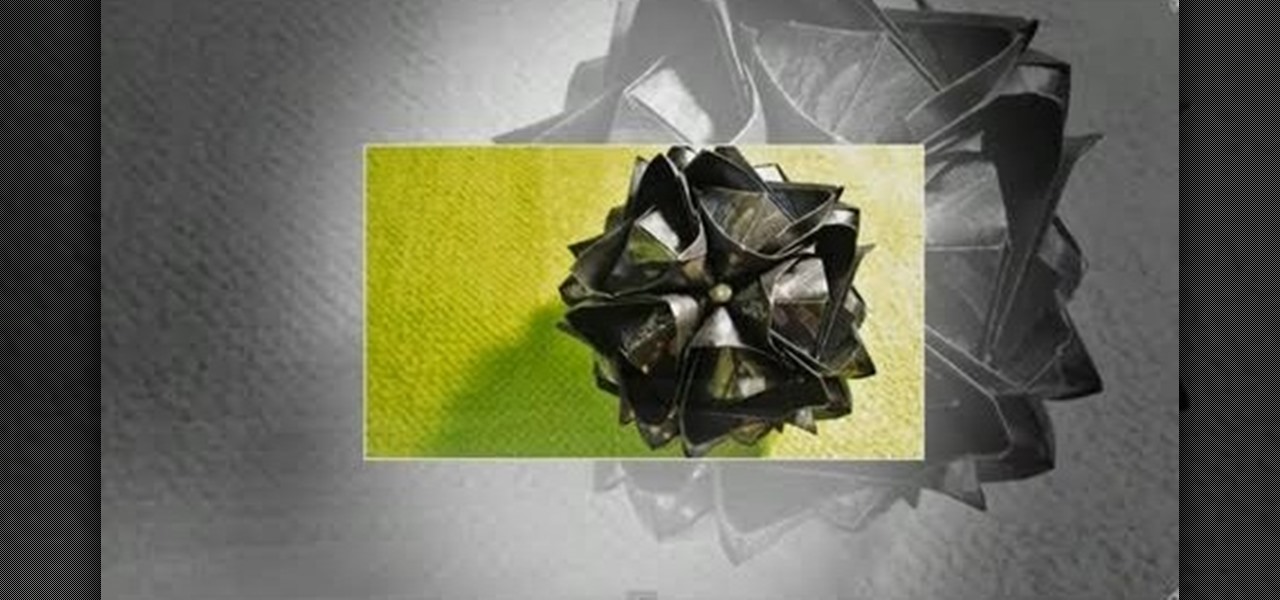
This video tutorial demonstrates how to fold a Bluten Kusudama. For this we have start with an eight by eight cm piece of paper. Fold it into half. Fold the half into another half so as to make the paper into four equal parts. Now fold this into half creating a cube. Now open the paper we can see that there are eight equal parts. Again fold the paper from one corner to the first vertical fold. The first vertical fold will meet the center fold, creating an oblique. Now fold in the same way in ...
Watch this video to learn how to draw a rose in just seconds. • To draw a rose, you need a paper and three sketch pens of light green, dark green and red colors.
Brickbiys518 here, teaches you to make a LEGO cabinet. You need one 2x6 thin, two 1x6 chunkies, six 2x1 thins with the dot in the center and 12 traffic light bricks. To start off, take the 12 traffic light bricks and put them into stacks of two. There are 6 stacks in the end. Lay them out horizontally one below the other. Take the 1x2 with the dot in the center bricks and put them on two stacks at a time thereby joining the two stacks. In the end, you have three stacks. Put them aside and tak...
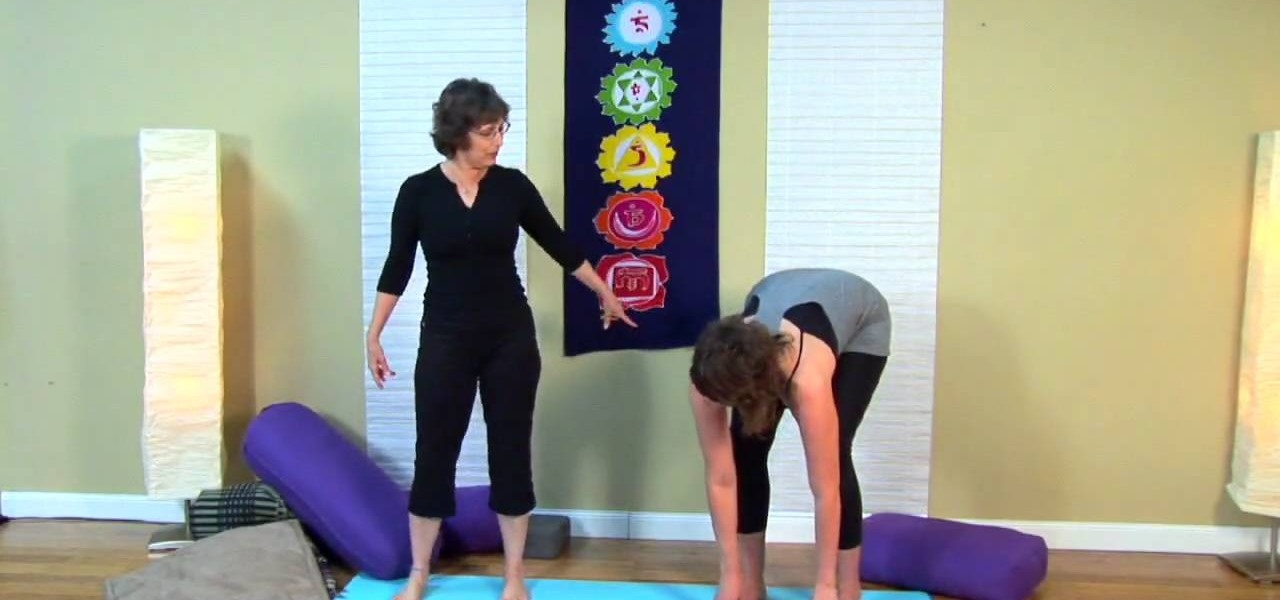
This video details how to do easy yoga poses for beginners. To start out, assume 'mountain pose' which involves placing the feet at about a hip width distance apart. After the feet are placed, lengthen up through the spine and roll the shoulders back while also tucking the chin slightly back. Arms are then raised upward while inhaling, and lowered while exhaling and in the same exhale lift out of the hips, hinge, then enter a forward bend. Note, it is acceptable to bend the knees in this proc...
This video is about showing you how to use feng shui in repairing your dysfunctional family and getting rid of the bad vibes that may be in your home, re-energizing the foundation of love. The family center is located on the left center of your home. The element for the family is wood and you wouldn't want to have dead or plants with sharp leaves because they start arguments. Too much red is considered the fire element and can also lead to your family having arguments. If you have metal in yo...
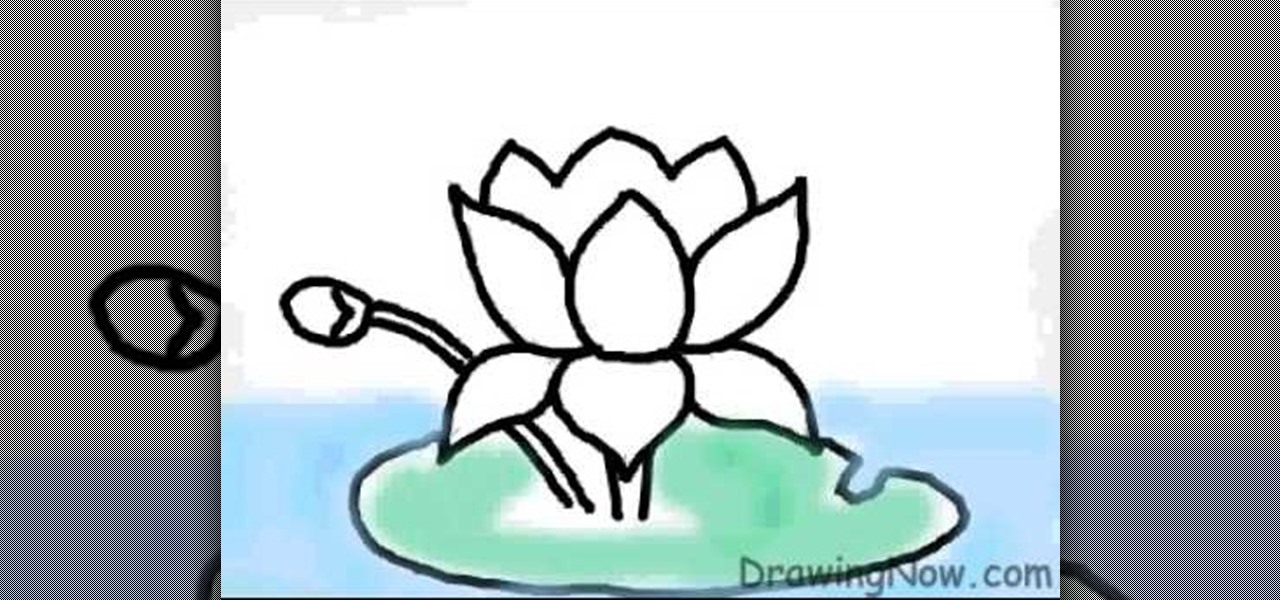
Learn the art of drawing a ‘Lotus Flower’ on your computer, by watching this video. Begin by drawing a faint outline of the flower at the outset. This is done by drawing an oval shape first. Then a straight line is drawn below the oval, along the center. A semi-circle comes next, touching the extreme ends of the oval shape. Similarly, a mirror image of the semi-circle is drawn, below it. The petals of the lotus flower are then outlined in dark, from the center and on either side symmetrically...
1.This video describes how to perform the auto reversal trick. Take a seat on the rocking chair of magic. To do this magic you are going to need regular deck of cards of 52 and you can have the joker, also it doesn't matter. Before you keep the cards in hands you have to do little setup that is turn down the bottom most card to face up.
SOLOMATION Cy Porter, the owner of the mentioned website demonstrates how to draw a hand from the thumb perspective. He says that this tutorial is to bring out the thumb's measurement and relation to the rest of the hand. First he draws the palm and the wrist, giving as a square shape to the palm. The he draws the first joint of the thumb saying that the center point of the line joining the knuckles and the wrist and the center point of the thumb's first joint forms an arc. Then he draws the ...
Origami is a creatively fun and entertaining artform that can relieve stress and help you with your hand eye coordination. This video will demonstrate how to create an 8 Point Origami star.
Create a photo frame out of an origami paper or any art paper in minutes! 1) Lay the paper down on a flat surface. 2) Fold the paper in half with the shortest ends together. 3) Fold in half again so that you get quarters. 4) Unfold step#3 and with the first fold at the top, fold the top corners down along the center fold. 5) Unfold the corner flaps, open up the original fold and fold the corner flaps inside, now close the original flap. 6) Fold the lower edge up as far as it will go, do the s...
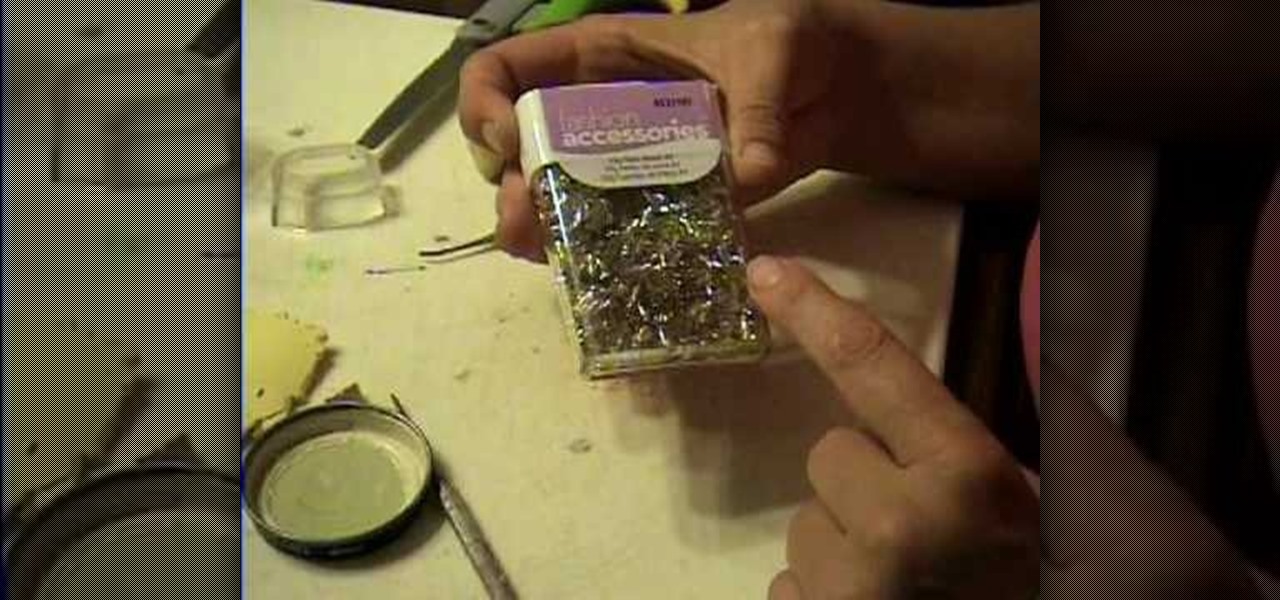
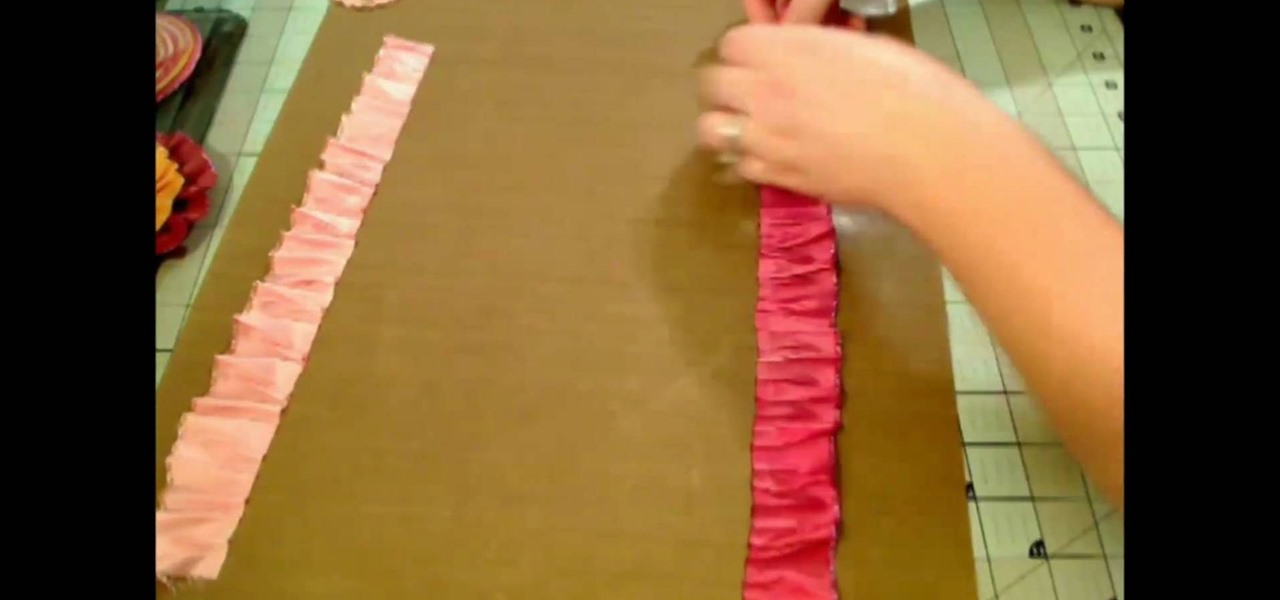
Kathryn shows how to Glimmer Mist silk flowers for an additional decoration in scrapbooking. In this tutorial, she uses the Red Velvet and Cherub Pink Glimmer Mist colors. The flower is made with strips of silk. The strips should be cut to your own desire. Using a white gel pen, trace circles onto black paper, which will be the center of the flower. Use a dye to add color to the strips of silk. Before beginning this process, place the strips on a piece of foil to make sure the spray does not ...
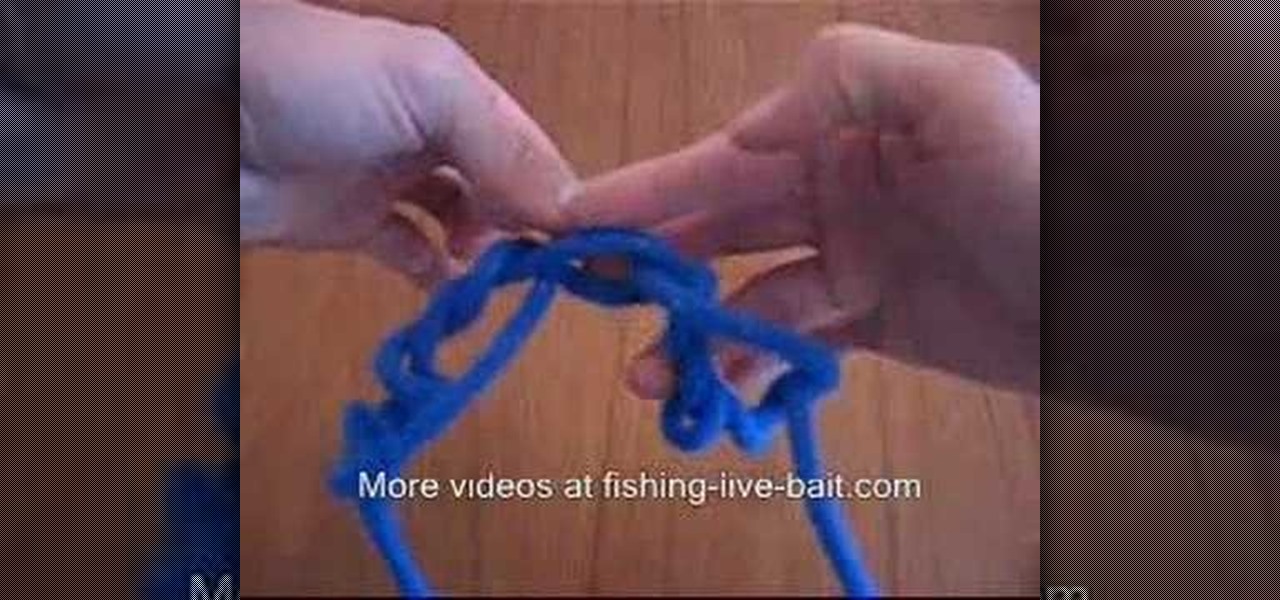
Learn the right way of tying 3 handy fishing knots by watching this video. The first knot shown is the 'Clinch Knot'. One end of the fishing line is passed through the eye of the fishing hook. This end is pulled and wound around the main line about 6 to 8 times. Thereafter, the free end of the line is passed through the small loop formed at the beginning of the winding process. The winds are gently pushed to tighten the knot. The free end is then tucked in to complete the clinch knot. The nex...
Steps on how to make 3D paper snowflakes for decorating your home. Things you need: 6 pieces of square paper of equal size. scissors. gum. stapler. Steps: 1. Fold one paper to make a triangle. 2. Make three uniform cuts from both directions towards the center leaving a gap along the center. 5. Unfold the paper, let the edges of the inner cuttings meet to make a tube-like appearance and gum the edges together. 6. Turn over the paper and do the same on the second cutting. 7. Turn back again to ...
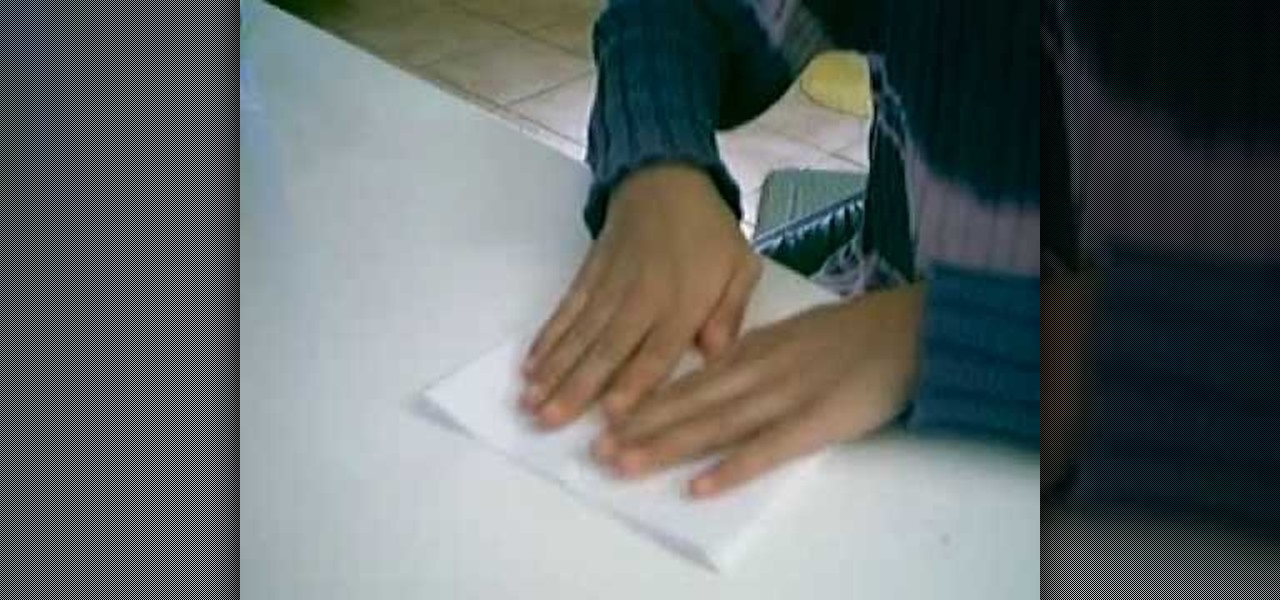
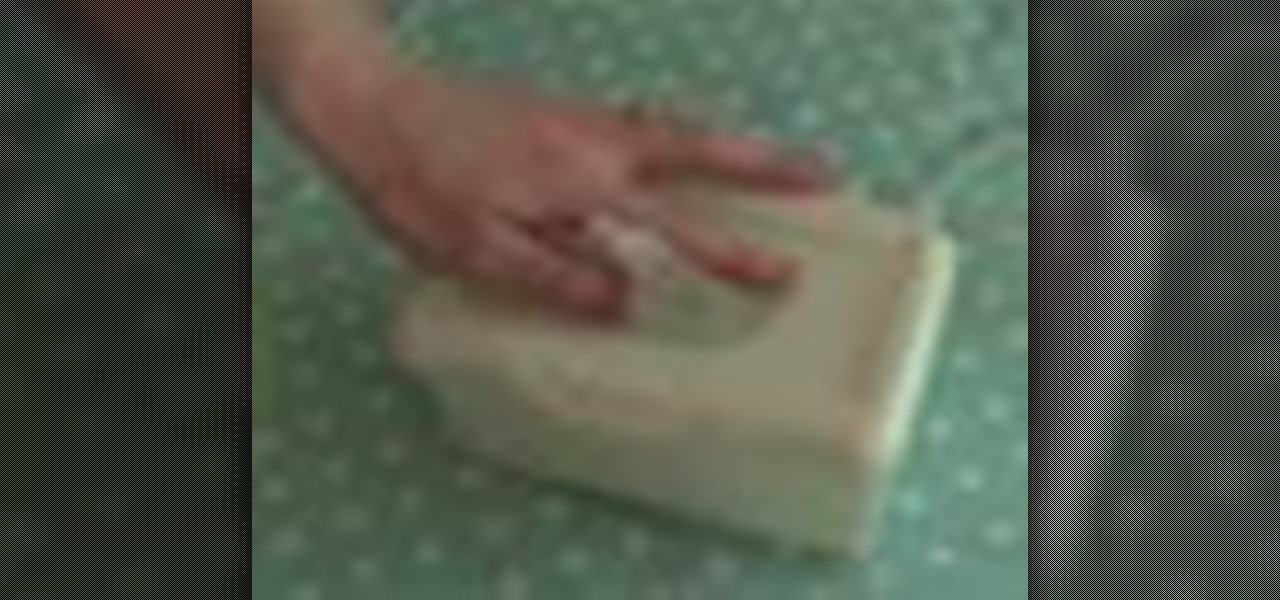
This video describes how to make a paper box.1.First take rectangle shaped paper, Fold the paper in half hot dog style in the long way, 2.and fold each side of the paper to the center crease and the paper should be in quarters. 3. Now fold the paper in half hamburger style that is in the short way. 4. Fold each side into the center crease as like we done in 2nd step and keep it folded. 5. Fold each corner to the crease nearest it and should end up with an uneven octagon. 6. Fold the flaps fro...
It is very easy to make a paper box using rectangular paper and anyone could do it, just follow the steps below, Fold the paper in half hot dog style (the long way). If you are using square paper, it doesn't really matter which way you fold it. Unfold. Fold each side of the paper to the center crease. Unfold. The paper should be in quarters. Fold the paper in half hamburger style (the short way). Again, if you are using square paper, it doesn't really matter which way you fold it. Unfold. Fol...
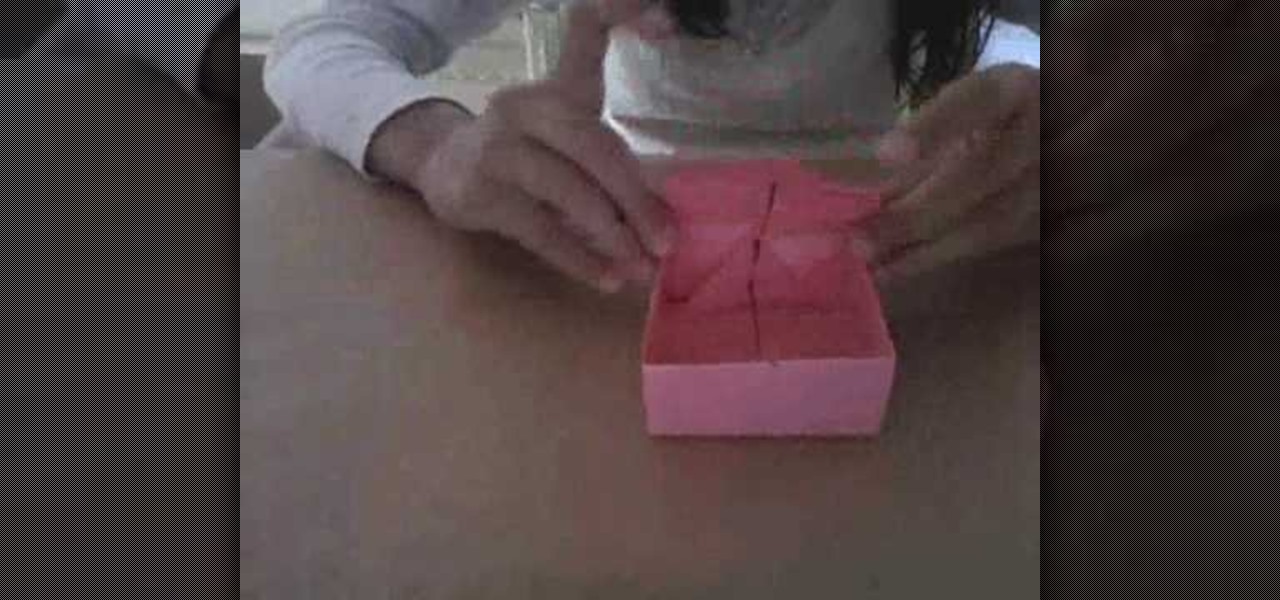
Learn how to make a paper gift box by following the steps in this video tutorial. The first series of steps shows you how to make the lid. Take an 11" by 8.5" piece of paper. You can use whatever color you want. Fold one corner toward the opposite end creating a triangular shape. Trim the remaining rectangular shape. Unfold the piece of paper and create another fold in the opposite direction. Take a marker to mark the center and bring all four corner to that dot. You will create an additional...
Learn to make an origami flower with just a few easy steps in this video tutorial! 1. Use an 8 inch by 11 inch piece of paper.
Hmm... wondering what to do with a lazy Sunday afternoon? Why not build a volcano that can erupt? Have fun and make a mess, all in the name of science!
Holidays such as Thanksgiving are doomsday for most garbage disposals due to clogs. If you're garbage disposal is clogged, check out this video to see some helpful tips on how to fix it.
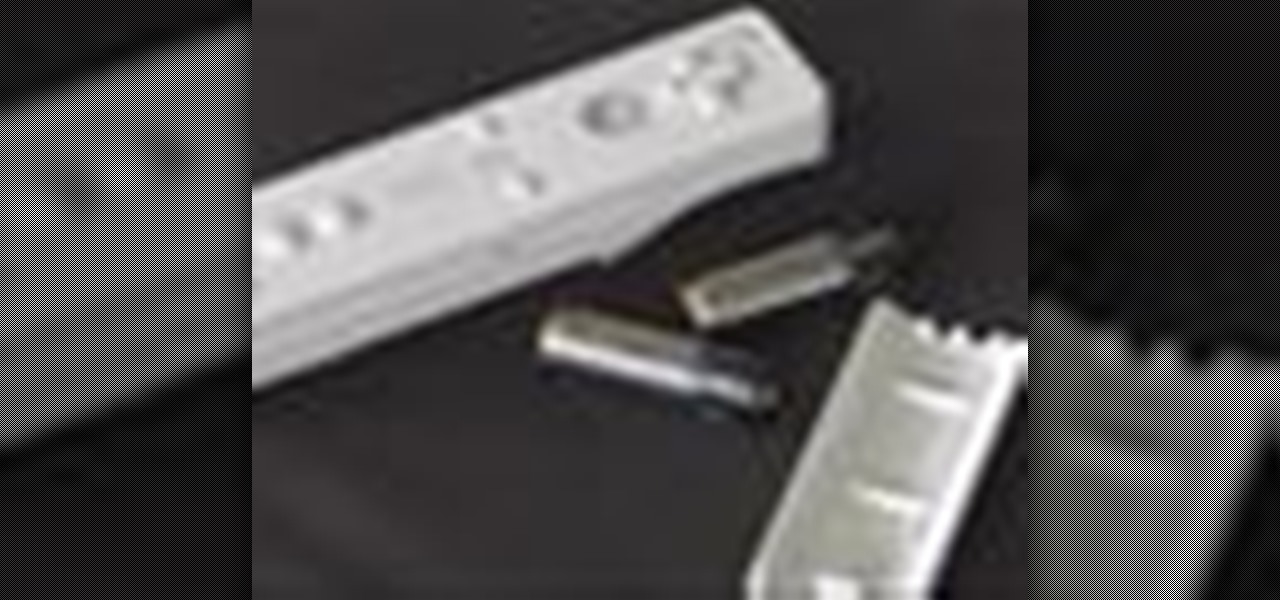
Those old cell phone and laptop batteries staring you in the eye? Don’t worry, recycling them is easy.
Learn how to make homemade baby wipes. Make your own baby wipes for a quick and easy money-saver. You Will Need
Turn a patch of dirt into a gorgeous green lawn by planting the seeds correctly. Learn how to plant grass seed with this how to video.
Get luscious, pillowy, kissable lips—with or without injections. You Will Need
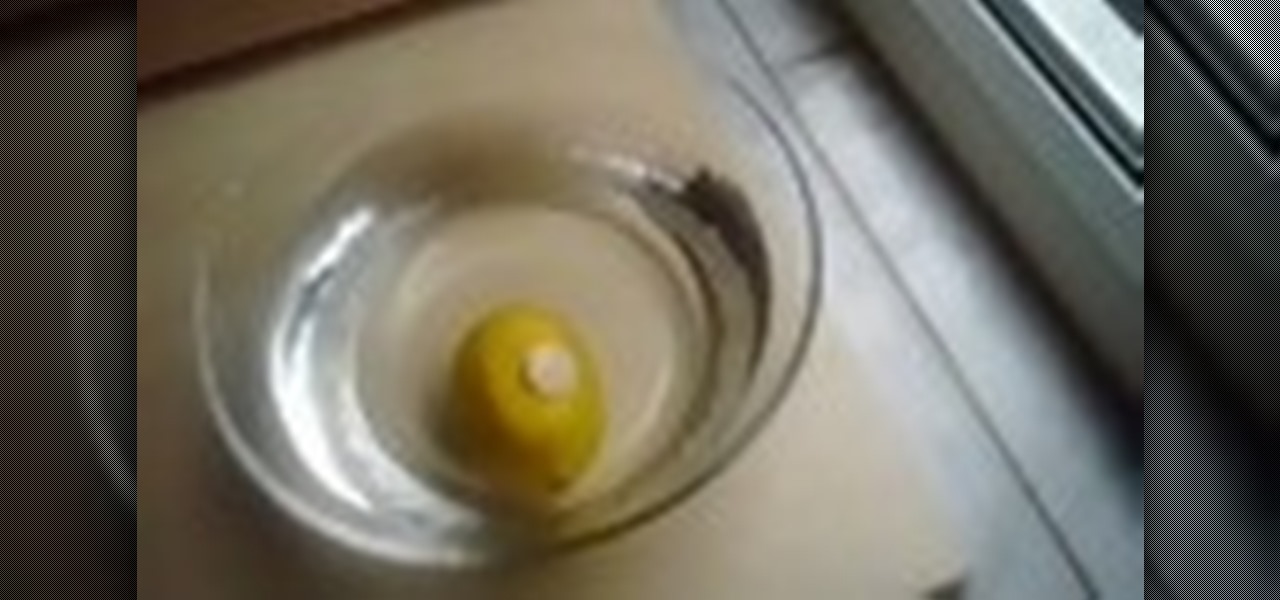
Do you think it's easy to place a coin on top of a lemon that is floating in a glass of water? If you said yes, you're probably right.
Forget the store bought chocolate cakes, they are dry and who knows how long they have been sitting there. Watch this how-to video and learn how to bake a chocolate cake from scratch.
Learn how to do single arm pec decks. Presented by Real Jock Gay Fitness Health & Life. Benefits
Origami isn't just folding paper, it's a form of art. So, if you want to try a new creative way to express yourself, and if you like birds, try out this tutorial on folding an origami paper swan.
This video will show you how to connect two monitors to one computer for more work space and comfortability.