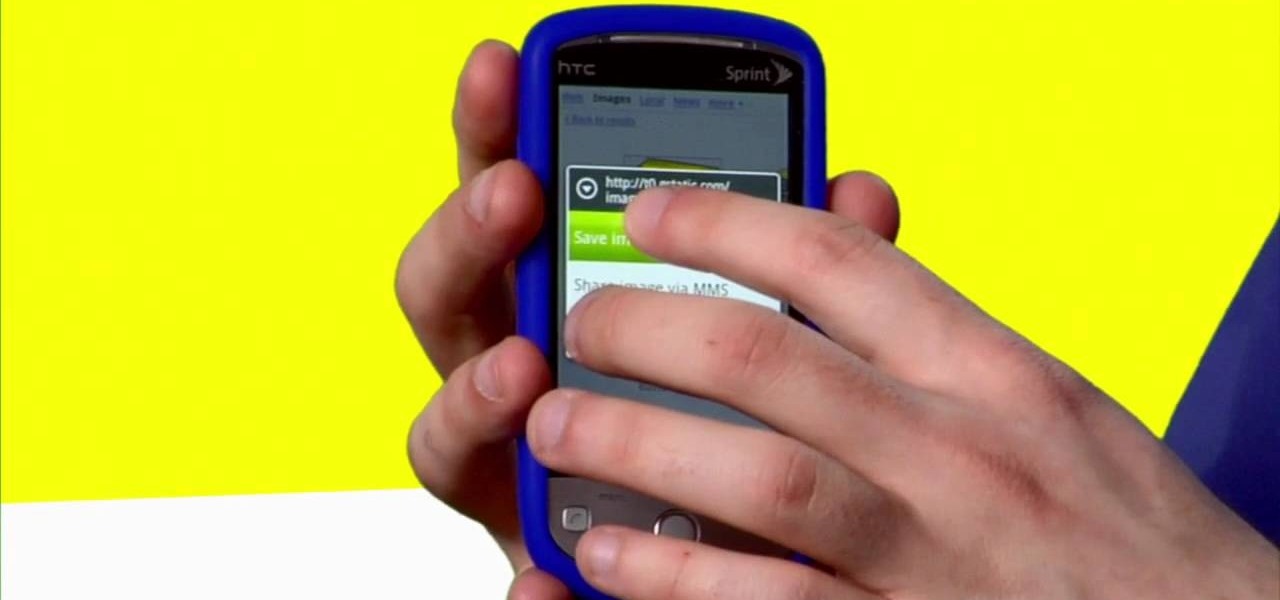
Sometimes, you just want to save a photo from the web onto your phone for further use, maybe a background or maybe to send to someone. Well, on the HTC Hero Android enabled mobile device, it's not hard at all. Best Buy has answers. The Best Buy Mobile team explains how simple it is to save web images to your HTC Hero cell phone.
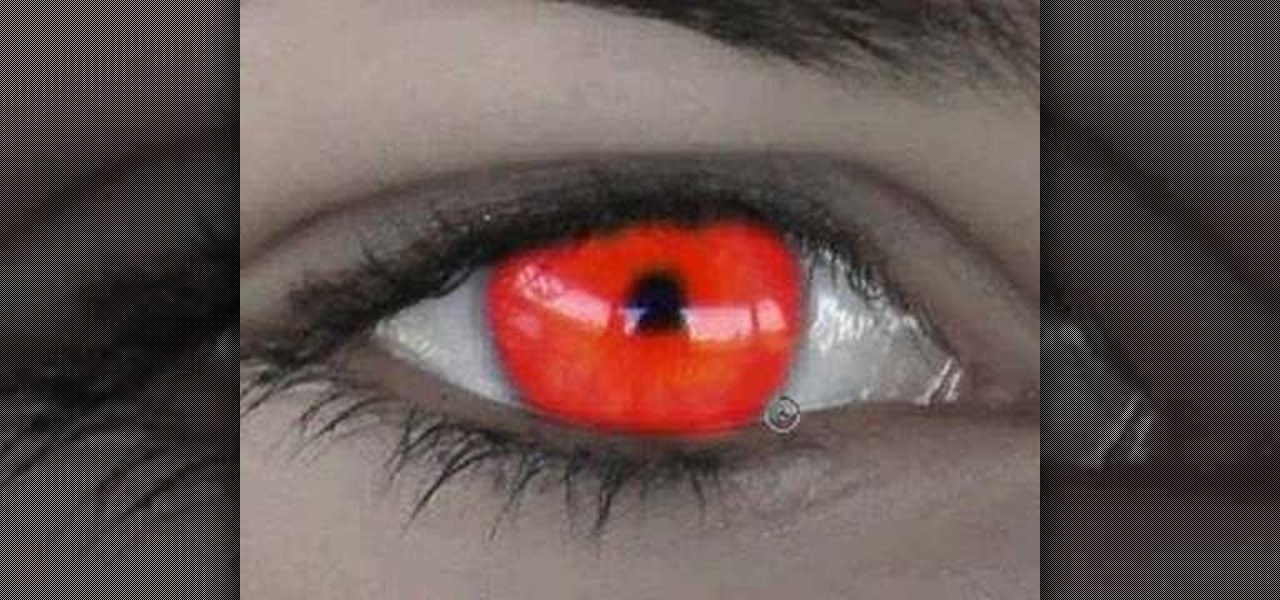
This video is about how you can change someone's eye color. The first thing to do is to load up a picture in which you want the eye color to change. The next step is to zoom in the eye that you're interested in working on. Just simply press "D" button on the keyboard and draw a rectangular shape on the eye. Now that you've zoomed in, make a selection of the iris, the part that we want to change the color on. The first thing is, you need to set up colors found on the lower left of the window. ...
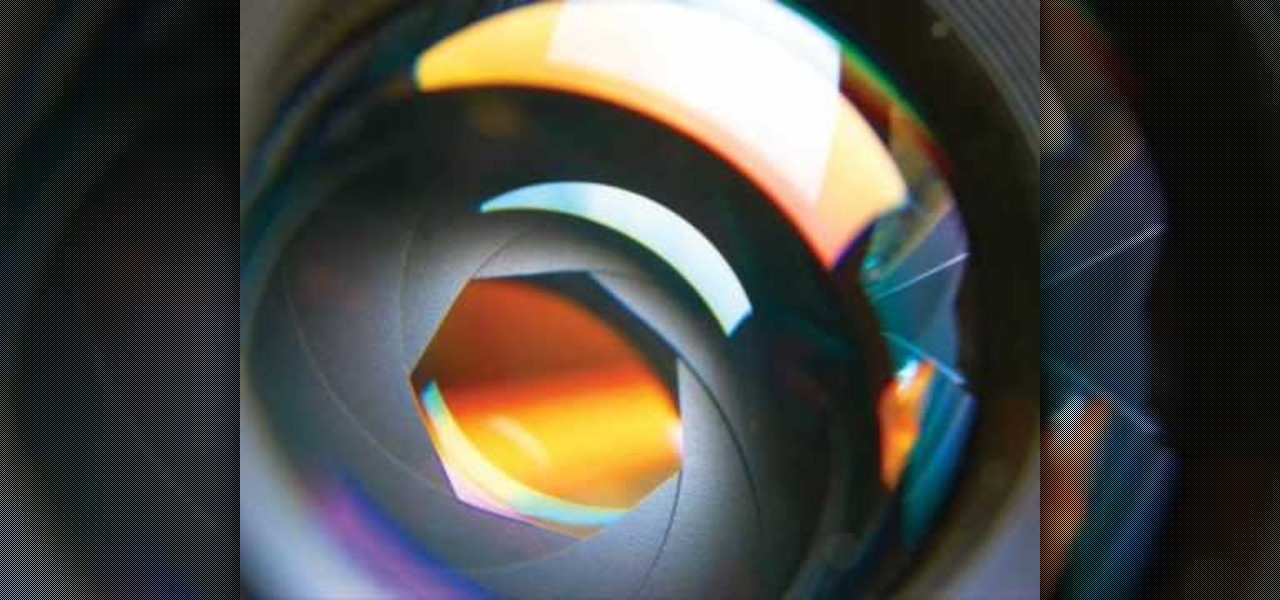
In this Fine Art video tutorial you will learn how to focus stack for great macro photos. This video is from EPhotoZine. The idea is to take several pictures of the same subject at different distances. For this you will need focus stacking. If you focus with a wide aperture, everything in front and behind the subject will be out of focus. The idea of focus stacking is to shoot several shots and put them together in a program that automatically brings them all into one. And that is focus stack...
This video will go over how to insert a check box in Microsoft Word for printing or for electronic distribution. With just a few clicks you can get a check box. You can even add different symbols or styles for your check box.

Open the Adobe Photoshop program. Choose a picture with a head shot. This maybe something that is already in your pictures folder on your computer, downloaded from the internet or transferred from your flash drives, and those photos you may have scanned and saved in your computer.
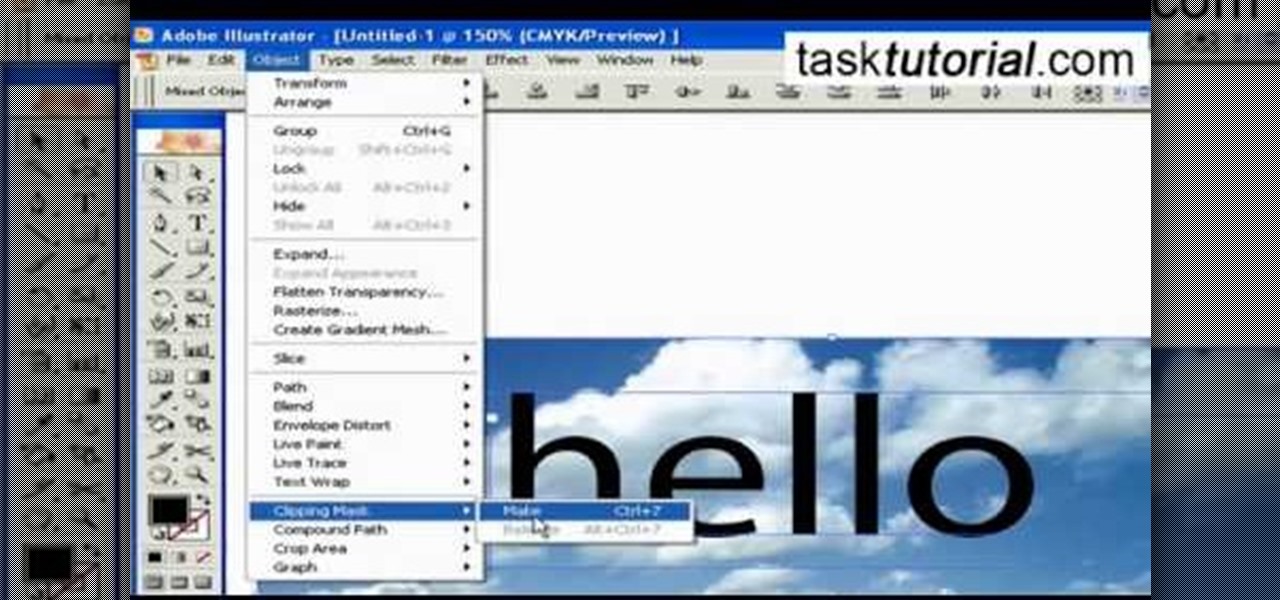
1. To create a clipping mask in Adobe Illustrator, go to File menu select Place button. It will open a dialog box select any picture from there.

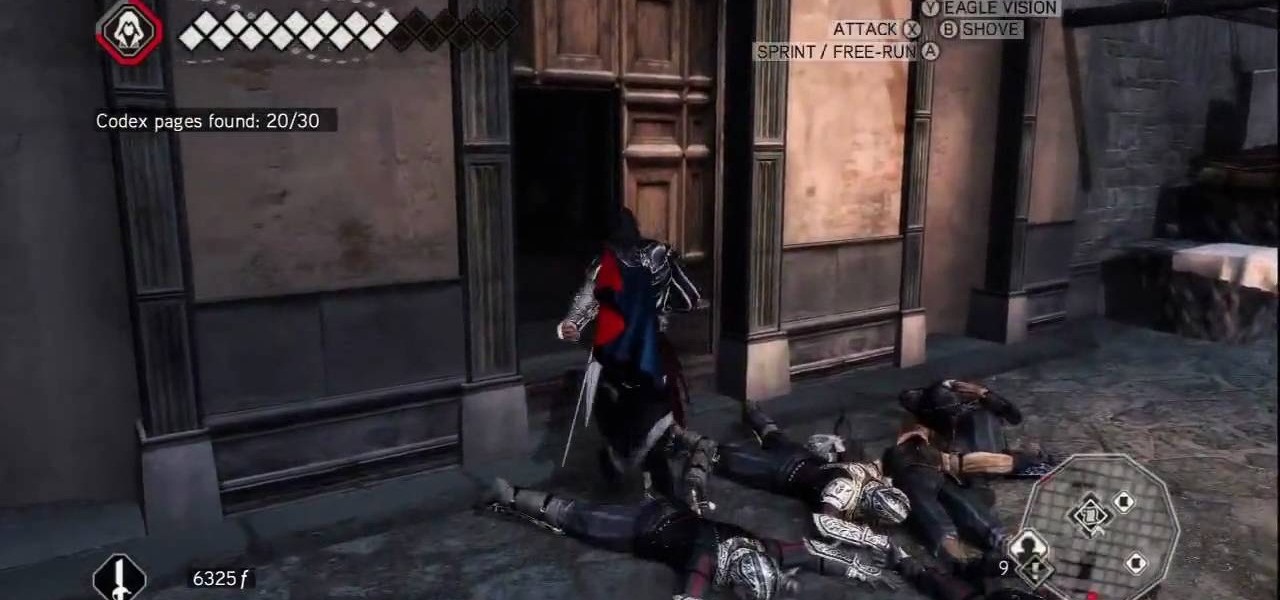
X Marks the Spot: Activate the odd glowing thing and then walk up to the wall of codex pages to bring up a puzzle. Use eagle vision and you can spot the faint red outlines of a picture. You need to rotate all of the pieces around into their correct positions in order to complete the picture. Start by going around the perimeter of the puzzle and arranging the border—it's the easiest. Once you've got the border in place, go for the inner pieces.

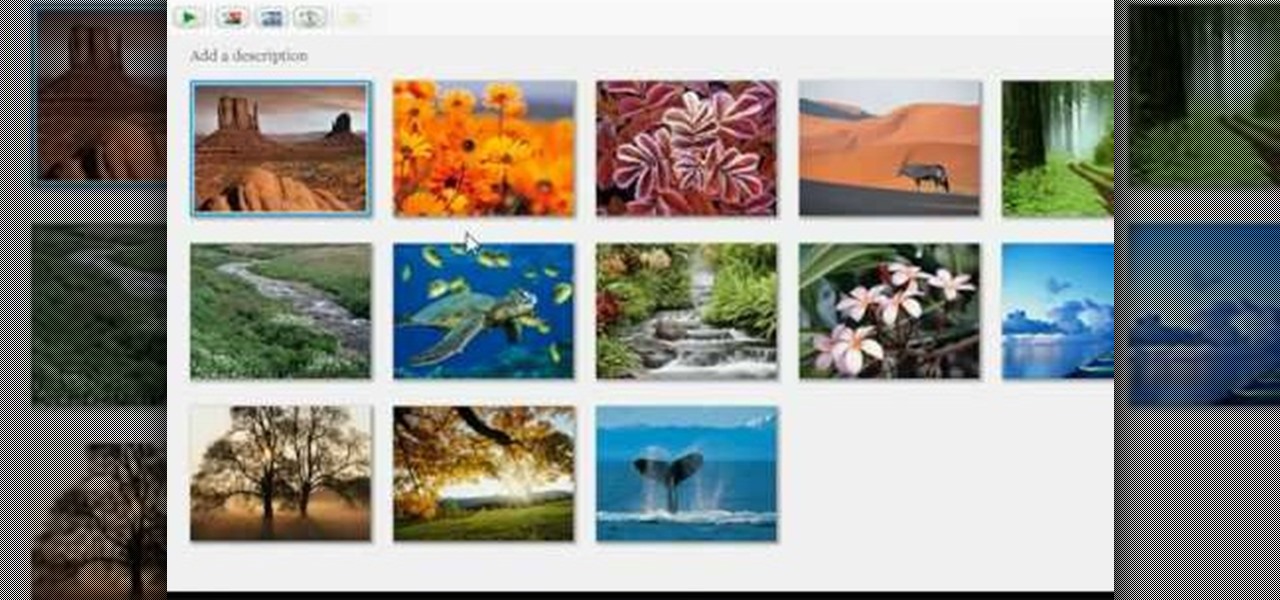
Let's try the Ken Burns effect. First Google photo story 3 and download the second link and install it. Now open photo story 3, select a new story and import pictures. Then click customize motion under preview and determine the start and end position. When done customizing, click next and select the music required with the desired genre and then save the story with a appropriate name. This will help in creating presentations, good memories as well as slide shows.

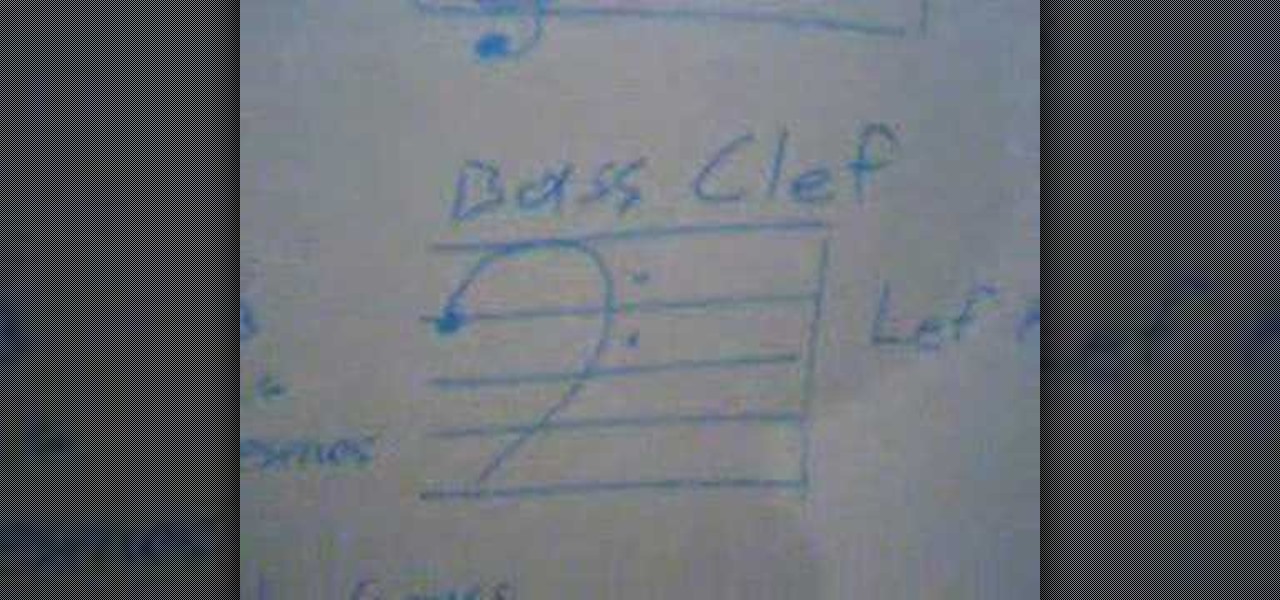
This how to video covers the basics of reading sheet music, the contrary motion scale, and how to play Happy Birthday on the piano or keyboard. These are very basic techniques for playing piano. Watch this piano tutorial and you will be playing piano in no time.

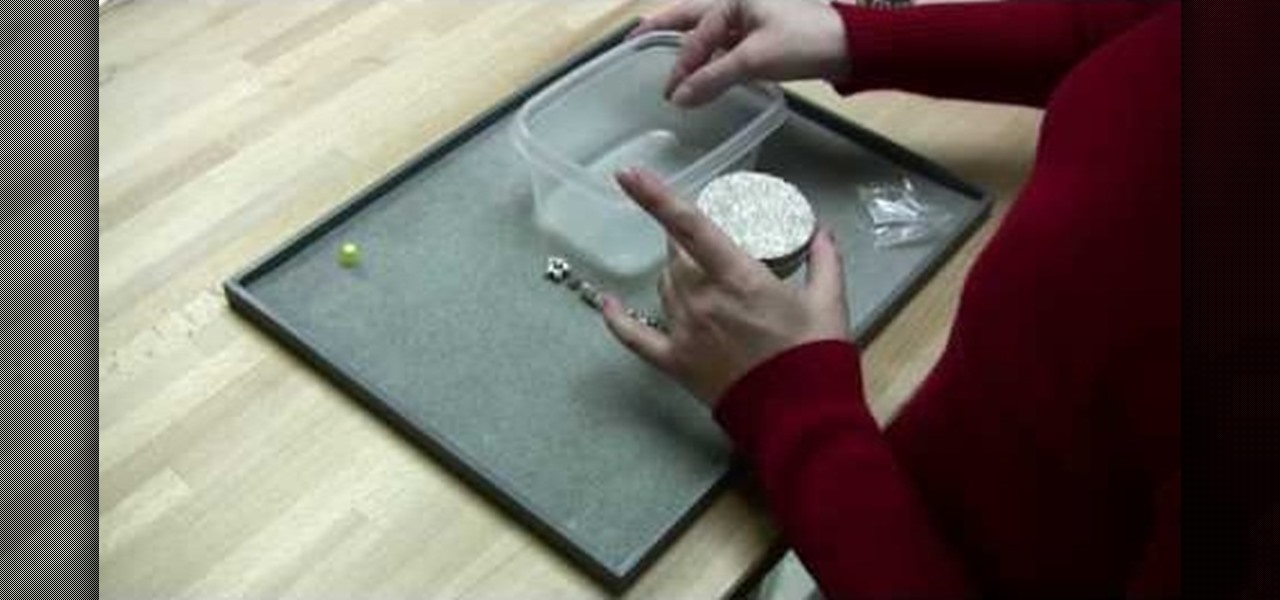
This video tutorial is in the Arts & Crafts category which will show you how to create a floral antique photo stand. The photo stand can be used to place photos or picture cards and it also doubles up as a candle stand. A picture holder measures 4 1/2 inches from top of the ring to the top of the stand. But, you can have different length. Take a lid of a tin and drill a small hole in the center. Place a wire through the hole. Apply generous amount of glue on the outer side of the lid. Sprinkl...

This video tutorial from adamstechvids shows how to resize photos in Windows using Picasa application.

This video tutorial will help you to use the bone tool on an imported or Photoshop image while in Flash. If you want to use an image from Photoshop you must first pull the image up in the Photoshop program. Once the photo is pulled up in Photoshop you can save it by going to, file, and save us. Save your file as whatever file extension you would like to use (Photoshop, jpeg, etc). Pull up the Flash program and find file, and import. At this point you can import your Photoshop picture to your ...

Make light saber glow effects in lsmakerThe author found freeware that helps create light sabers. The freeware is not as good as adobe after effects, but it will serve the purpose. Download the software from the website http://www.lsmaker.uw.hulpage.php?main=lsmaker.html. Extract the folder. Open lsmaker.exe. Save the extracted file to the desktop. Select import. Add either picture or video file. Change the saber color to red. Click ok. The blade needs to be white. In the dialog box change pi...

Video demonstrates how to make rounded corners in GIMP. First step is to open an image. The image needs to have transparency for this to work. An alpha channel is to be added to the image. This can be done by going to the layer option in that select transparency and add alpha channel. By doing this if the picture grays out it means the image already has transparency and there is no need to add an alpha channel. Now Select option is selected and in that rounded rectangle is selected. The radiu...

SchizoFilms brings the viewers instructions on how to make an animated GIF in Windows Movie Maker. First open up Movie Maker. You will need to import pictures. To do this, click the button on the top left of the screen that reads 'Import Media'. Find your files here and import them into Movie Maker. Now, you will want to order the pictures in the sequence you want them to show up in. To do this simply drag and arrange them. Now, you can make adjustments for how long you want each to run by dr...

This video describes how to use the Chroma Key Effect in a few easy steps.

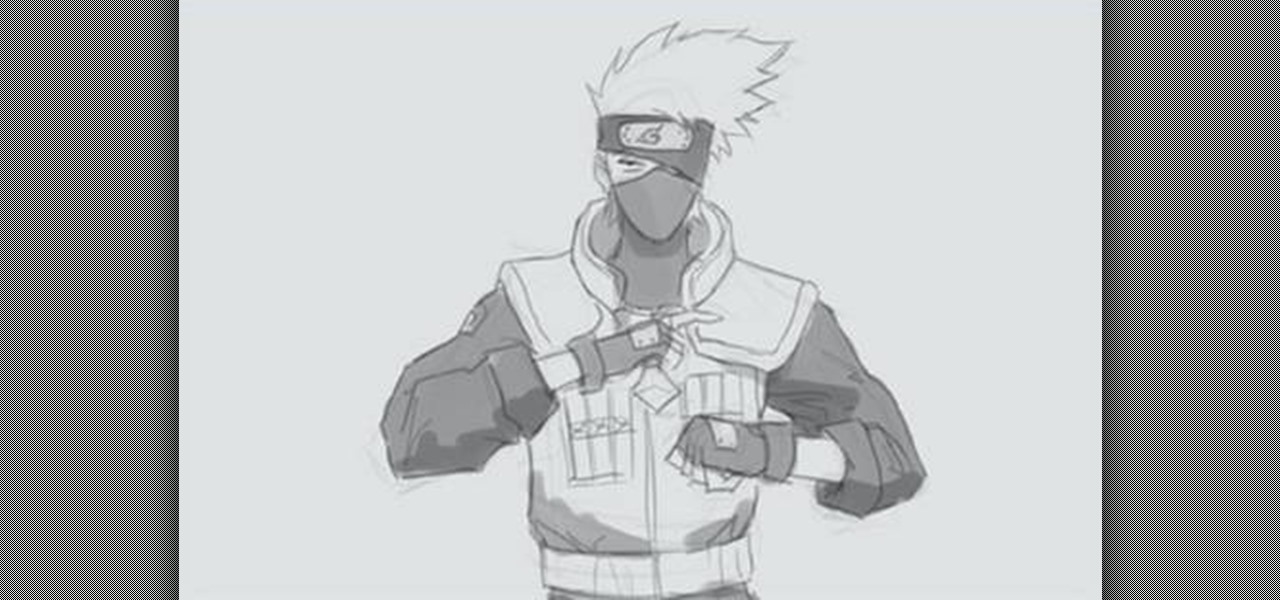
This video will show you how to draw the Japanese anime character Kakashi. You don’t have to be an artist to do this but is perfect for beginners too. This will show you how to sketch and some information on how to get the best results.

Make a great online dating profile with this tutorial! Having a good profile is very important because when it comes to catching someone's eye and getting them to contact you. You have maybe a few seconds so your profile has to stand out, be interesting, and personable. Photos are also very important. You need 3-5 nice solo photos to put on your profile. Photos will help a person decide if they are interested in you. Posting good head and shoulder and full body photos is important. Do not use...

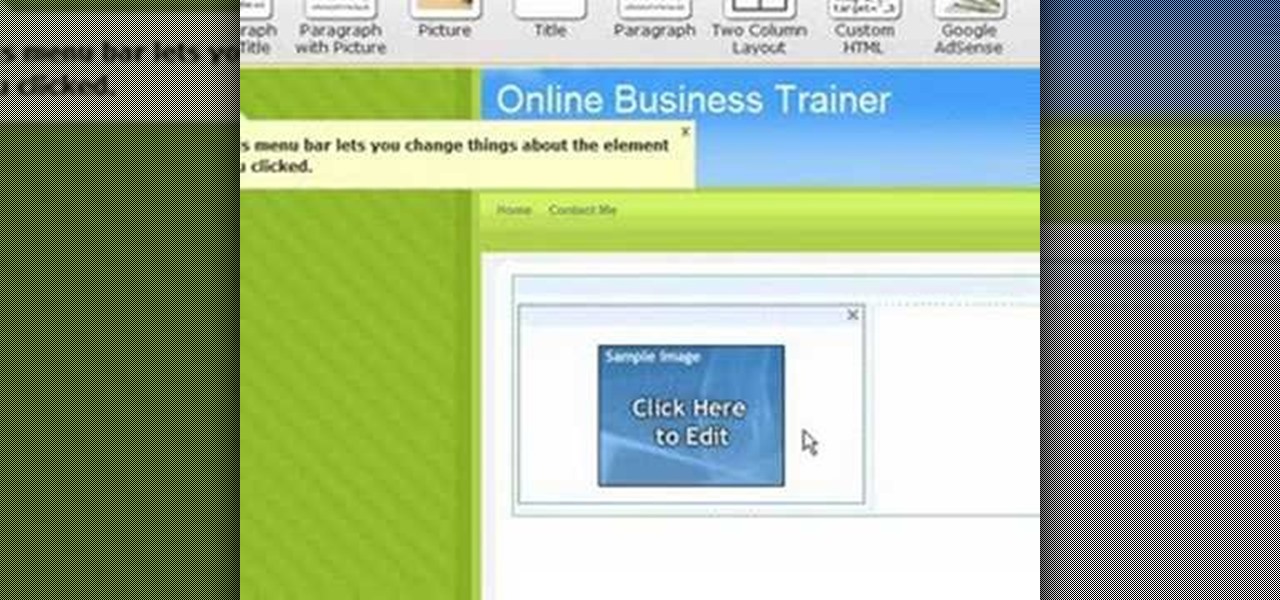
1. On the browser, type www.weebly.com. If you are a new user, then sign up. Write your username, email, password, and click on Sign Up and Start Creating.

The citizenship card is a document that naturalized Canadian citizens use to prove that they are Canadian citizens. This card is needed to get certain documents such as a Canadian passport. It never expires but it can be updated to include a new picture or name change. Citizens born in Canada do not use the card, they use their birth certificate to prove citizenship. Naturalized citizens can apply for this card and so can people with parents of Canadian descent. People who have previously had...

A little planning is all it takes to decorate your dorm with style! You Will Need

Learn how to play "Black" by Pearl Jam, an acoustic guitar tutorial. Follow along with this demonstration, tabs and lyrics here:

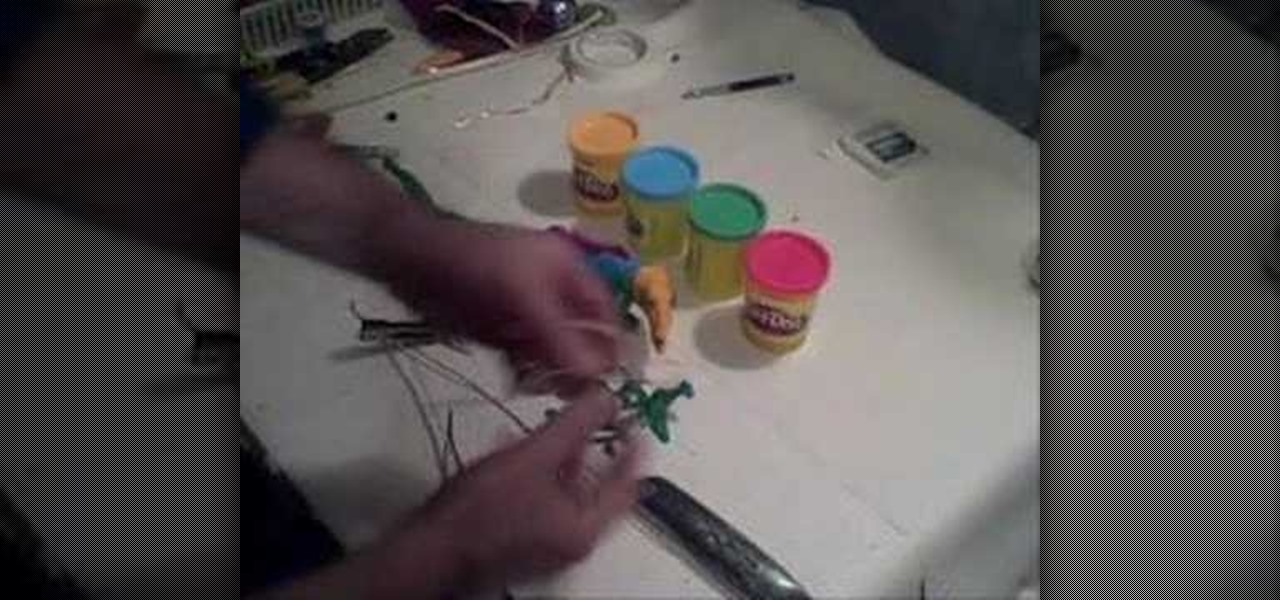
Watch this video to learn how to make a 3D stop motion animation using playdoh and a wire armature. You must have some knowledge of stop motion animation and Movie Maker software to make an animation. This is easy to do and just takes some creativity.

No cheerleading routine is complete without the motions.This video demonstrates a number of motions.

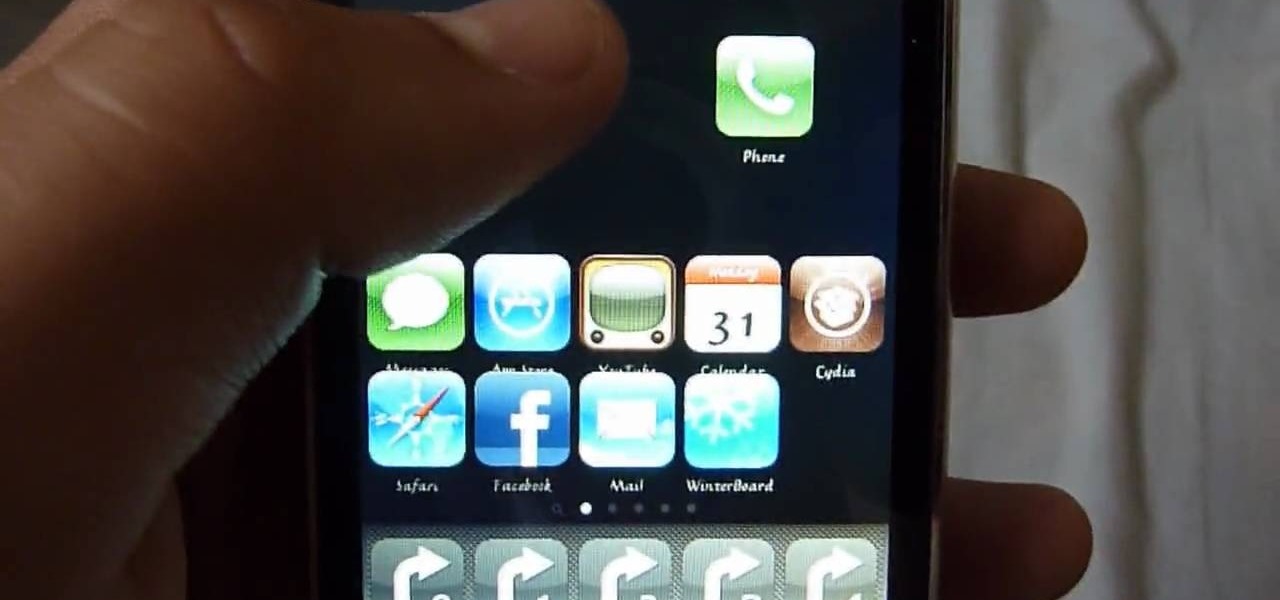
You know how you can personalize your computer desktop by pinning any picture you want as the background? You can do the same thing with phones - well, iPhones. Since nowadays it seems everyone and their mother has an iPhone or iPod Touch, make sure your iGadget looks different than everybody else's by installing a theme.

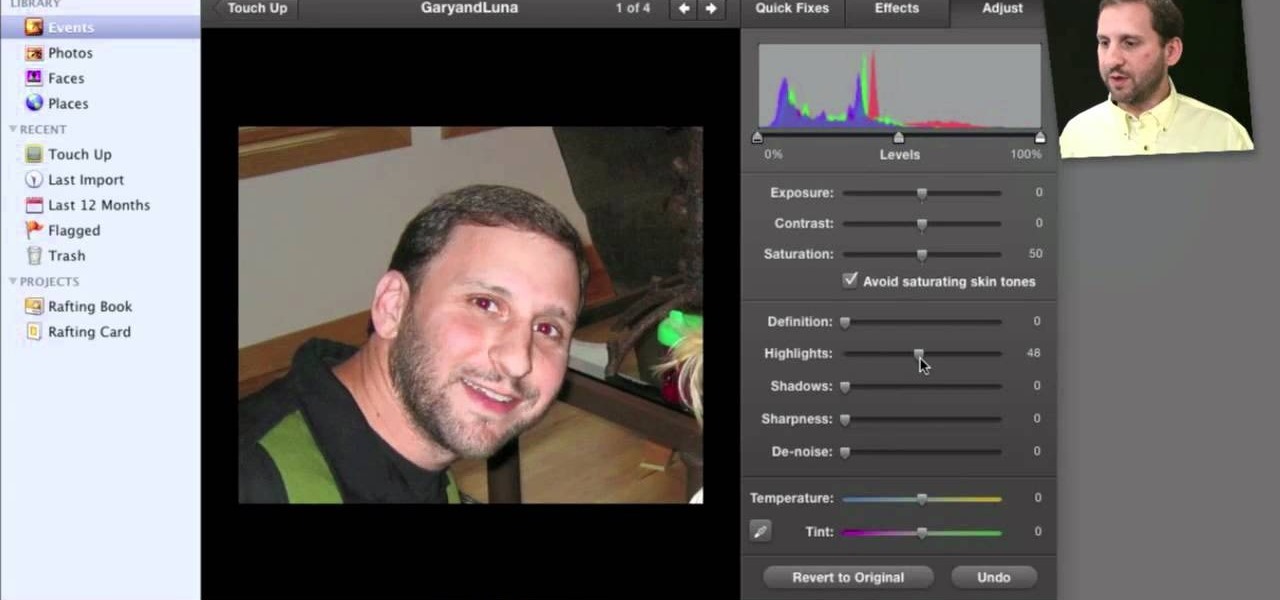
It's pretty rare someone takes a perfect photo without the need for retouching after the fact. So, open up your iPhoto 11 and learn how to make that photo the beautiful picture you intended to take.

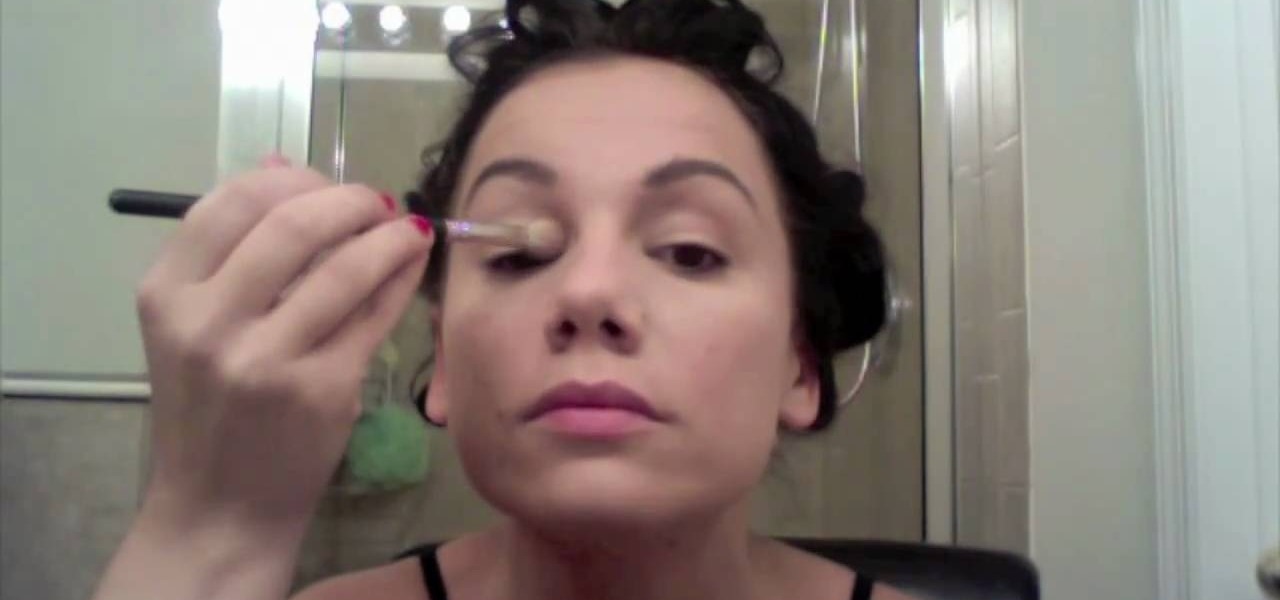
Jealous of thin as a rail models with those chiseled, sculpted cheekbones so sharp they could grate cheese? You need not be. We normal folk can look just as defined and ready to strut our thangs down the runway by learning how to contour our faces.

Celebrites make party hopping look so easy. Flitting around from red carpet event to after party to after after party, they always seem to look so flawless in their pictures. But here's a little secret: They have some help from Hollywood's top hairstylists.

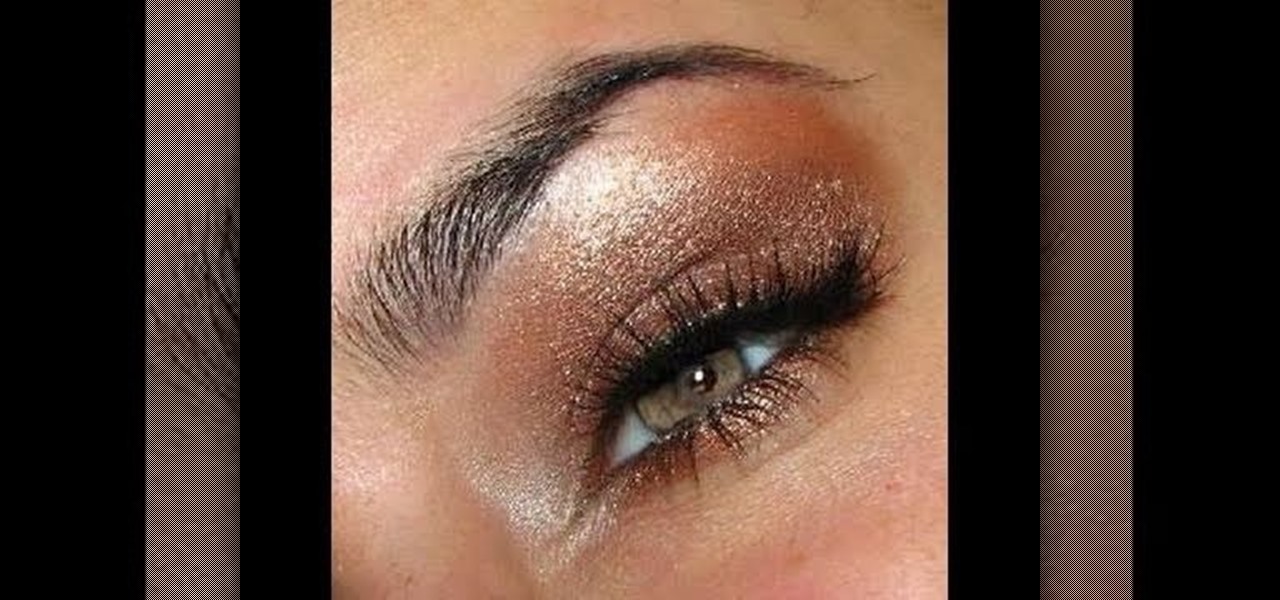
New mommy Adriana Lima is gorgeous in a way only Victoria's Secret models can be. Tall, statuesque, and with beautiful light blue eyes that contrast with her dark brown hair, she's really quite a picture of perfection.

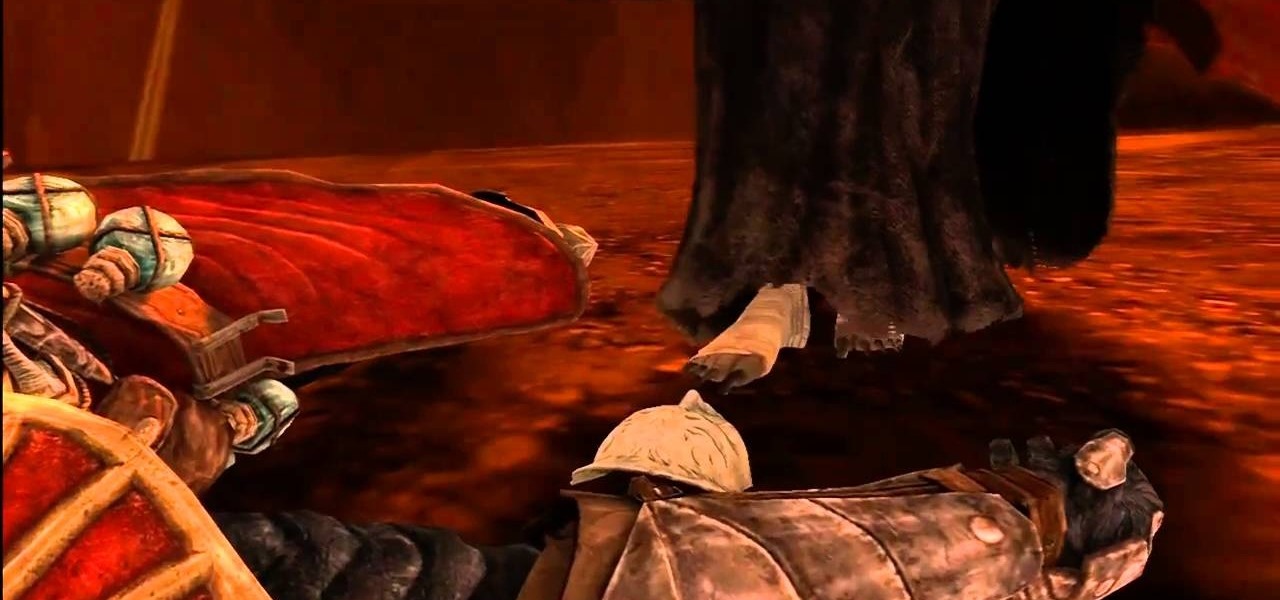
The final boss of Castlevania: Lords of Shadow is Satan himself, quite literally the Lord of Shadow, King of the Underworld, there's more, but that I think you get the picture. He's a tough guy to beat, but there's a strategy! In this video you will get a tutorial on how to crush Satan himself and beat Castlevania: Lords of Shadow!

Frankly we think that all the Disney princesses are beautiful, though Snow White, the original Disney princess, does have a special place in our hearts. With a voice as sweet as honey, milky white skin, and apple red lips, she is the picture of perfection.

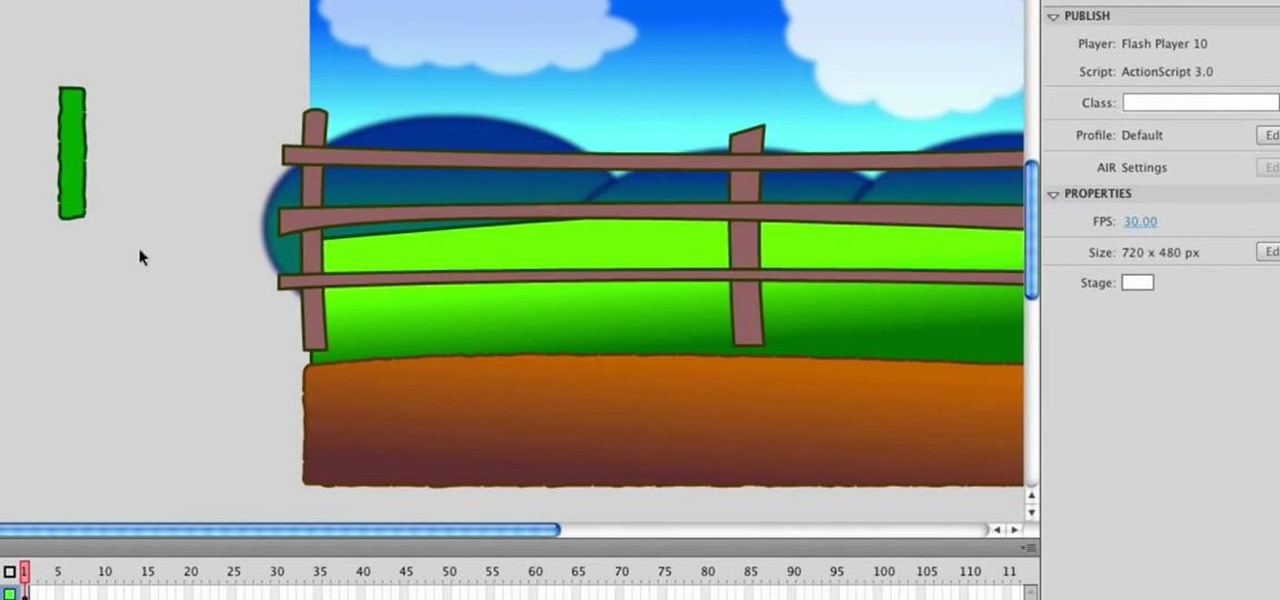
In this tutorial, we learn how to design a cartoon environment in Adobe Flash. Start out by picking the color for the green. Use different types of green, making a gradient so it transitions from a lighter to a darker color. After this, draw on the sky making it go from darker at the top to lighter blue at the bottom near the grass. Add in a fence on the grass, then draw on circles with gradient layers to create mountains. Create a new layer to make dirt and grass on the front of the picture ...

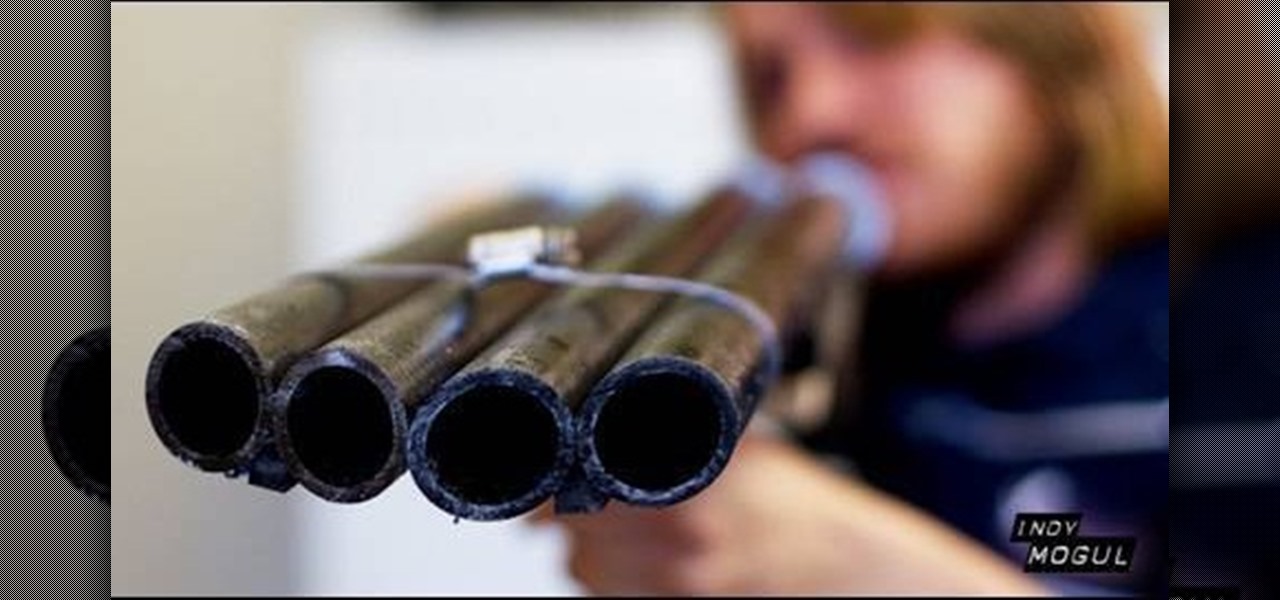
In this tutorial, we learn how to build your own prop shotgun. To make this, you will need: one 2x6 that is 2 feet long, one 1x3 eight inches long, two 8" diameter PVC piping 2 feet long, two one inch PVC end caps, picture hangers, assorted nuts, bolts, and crews. First, draw on the shape of your gun on the pieces of wood, then cut them up with a saw. Then, cut out a prong shape in the front and stain the gun to your desired color. Next, connect all the pieces together and attach the wall han...

In this photography tutorial, you learn how to create a contact sheet using Photoshop for your digital photography prints. In order to create this contact sheet, you can open Photoshop, go to File, find the subfolder called "Automate" and then choose to create a contact sheet. If your version of Photoshop does not appear to have this setting, your version of Photoshop should have come with a secondary disk which has this feature. You can also find the file from Adobe if you do not have the go...

There's a technique available for digital SLR cameras that most amateur photographers do not know about, or do not use correctly, and that's using a simple telephoto lens (long lens) to create blurry background, great portraits or awesome up-close macro shots. Without the telephoto lens, you lose a lot of the emphasis on your subject, because the background blends in, whereas telephoto lenses help create a degree of depth, blurring out the background, giving concentration on the foreground. I...

In this video, we learn how to use iPhoto Smart Albums. These are useful for organizing your photos to see what you have. First, create a smart album on the file menu, then name it and go through the drop down menus to choose how you want to categorize your pictures. Choose the type of camera model you used, then you can see what photos you have that are taken with the type of camera that you used. This is very easy if you have a lot of photos and want to go through them easily. It also separ...

This crafty project is inexpensive, it's easy to do and it's really handy for attaching things like letters, photos and to-do lists. This isn't like a cork memo board, because you won't need any push pins or cork pins! Watch and learn how to make this French memo board. This is the pretty alternative to drab store-bought memo boards.

In this video, we learn how to draw a manga or anime girl on the computer. Start off by drawing the torso, with the arm coming out. Have her leaning on the pillow on an incline, then draw her legs. Continue to draw up the body, making the head and hair, then the other arm. Draw in the details on the body and the face, then start to fill in with a bold tool to bring out all the features. Go over all your construction lines, then erase whatever is in the background that you don't need as a guid...

Interested in using a satellite picture of the Earth as the background on your Microsoft Windows desktop computer or laptop? This clip will show you how it's done. It's easy! So easy, in fact, that this handy home-computing how-to from the folks at Tekzilla can present a complete overview of the process in about two minutes' time. For more information, including detailed, step-by-step instructions, take a look.

Want to browse pictures in a Flickr photo gallery like they were photos on your Windows XP/Vista/7 hard drive? This clip will show you how it's done. It's easy! So easy, in fact, that this handy home-computing how-to from the folks at Tekzilla can present a complete overview of the process in about two minutes' time. For more information, including detailed, step-by-step instructions, take a look.


