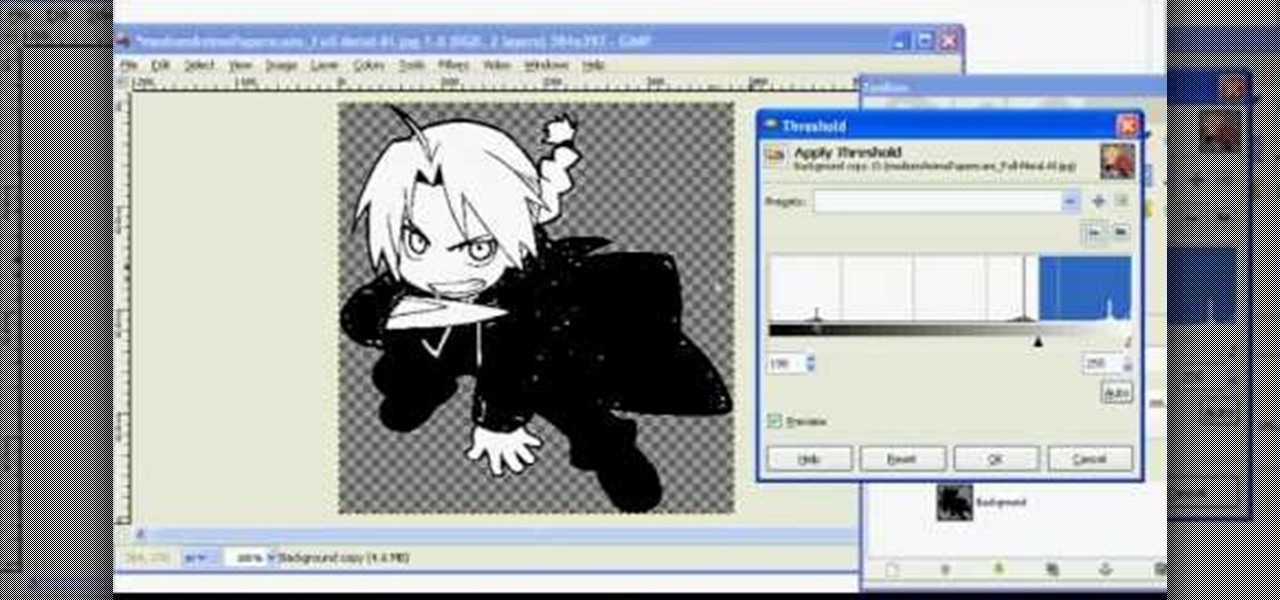
In this tutorial, we learn how to make 2-layer stencils in GIMP. First, cut out the background before you begin. Now, right click on your main layer and then select "add alpha layer". After this, select the magic wand tool and delete all the white areas on the outside of the picture. Now duplicate the layer, then hide the top layer and select the bottom layer. Now, go back to threshold and move it all the way to the right to get an outline of the image. From here, go back up to the top layer ...
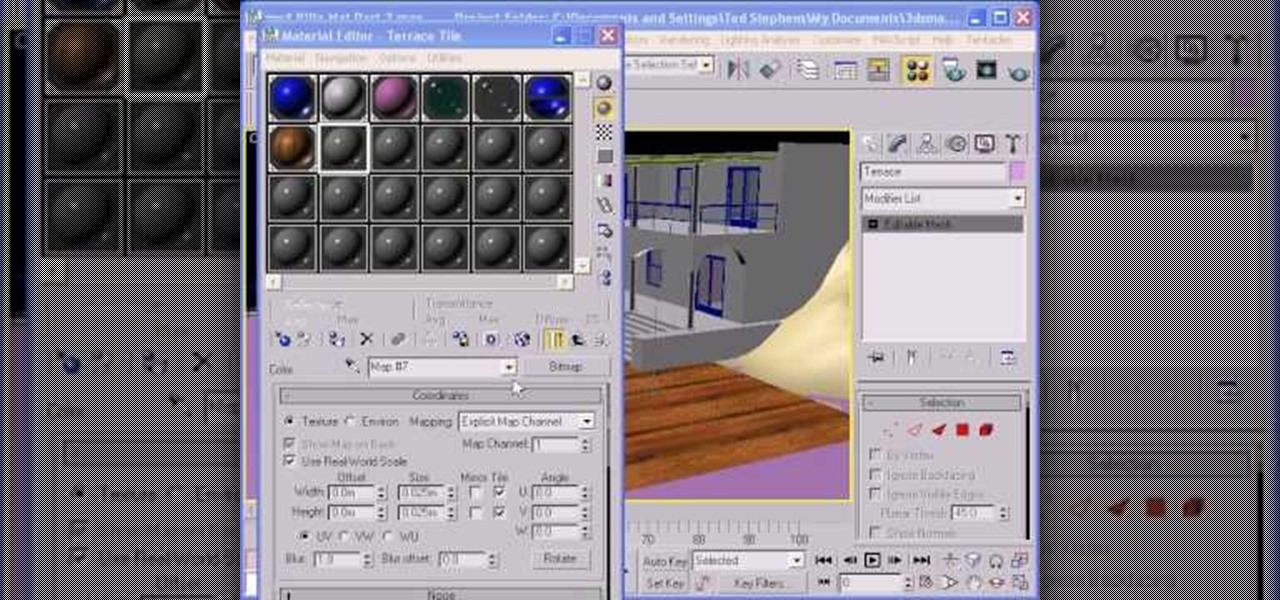
In this video, we learn how to use custom map or UVW map in 3D Studio Max. First, go to the material editor and add a custom map to it using a hardwood deck. Change the material to cedar fence, then change the size as you would like it. As you continue to edit the different surfaces in the picture, it will preview it for you in the main screen. You will be able to see it customized how you would like it to be as you edit it. The material editor can be changed in design and renamed to help you...

Wish there were an easy way to give your digital photos the appearance of an old Polaroid picture? Well, there is. And it's easy! So easy, in fact, that this home-computing how-to from the folks at TekZilla can present a complete overview of the process in just under two minutes. For more information, including step-by-step instructions, and to get started applying a Polaroid effect to your own digital photos, take a look.
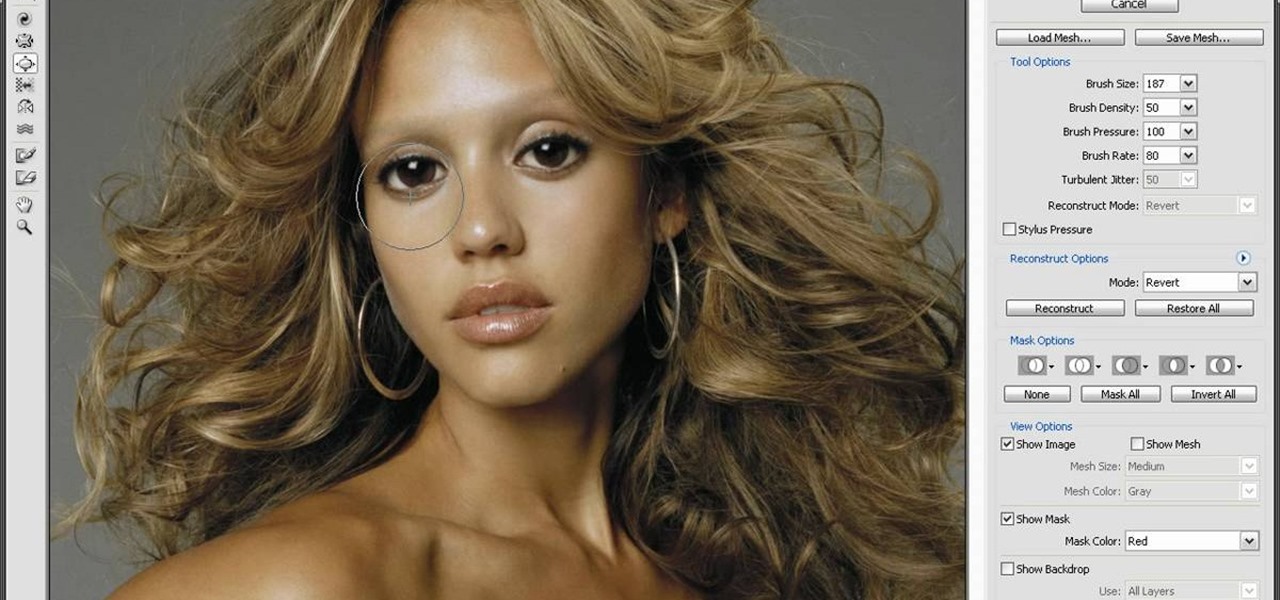
After watching Avatar, a lot of people went nuts over the world that James Cameron created, some even went as far as turning themselves into Na'Vi in Photoshop. Ever wondered how you could? In this great video series from ipaintgirls.com you will learn how to turn a picture of Jessica Alba (yeaaaaa) into a Na'Vi in no time!

In this video, we learn how to use the polygonal lasso tool in Photoshop. This will allow you to create a selection on your photo in a freehand style. First, select the tool from your toolbar, it's the third selection down. Once you select this, go to your picture and find the piece you want to cut out or copy. Press and hold the control and space bar, then highlight the area you want to. This is great to make a selection that has a straight edge. If you just click with it, it will have a dia...

A photographic effect blends the visual effect of creating different 'stills' of photographs and animates them in sequence; and then adds in an audio track to make it sound like the snapping of pictures. This tutorial shows you how to thread all the effects together to add a photographic style to your next intro using the Sony Vegas Pro video editing software.

When we first saw Lady Gaga donning this, well, gaga headpiece at the Grammy Awards, we were wondering what the Fortress of Solitude was doing on her head. The headpiece, composed of what look like stalactites crystalized with thousands of swavorski crystals, looked like an Abstract Expressionist sculpture, and made little sense.

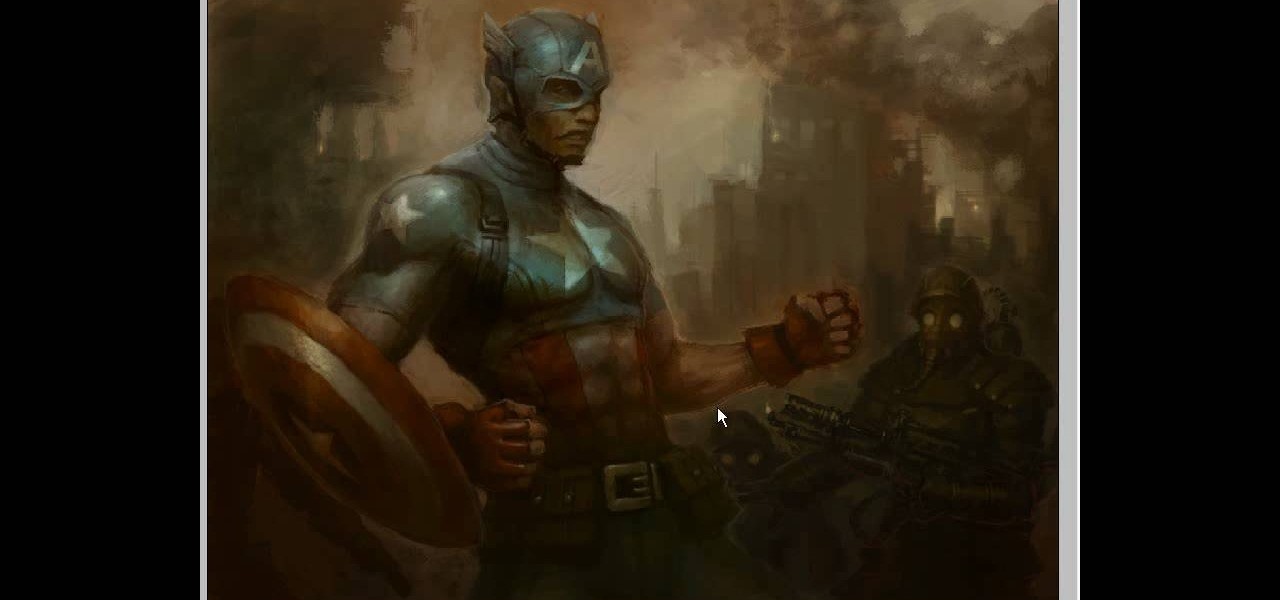
Now that the "Avengers" movie and the "Captain America" movie starring Chris Evans have been confirmed, fanboy hype about Marvel heroes has officially reached fever pitch. Though shooting for "Captain America" has just begun, pictures of Evans wearing his Captain American costume have surfaced, showing a very body contouring costume and a very fit Evans.

In this video, we learn how to create a free Weebly website. First, type a title in that you want for your website. After this, you will be brought to a new page where you can change the elements and designs. The design can easily be changed until you find one that works for you. After this, you can start to customize the template that you have chose and add in new paragraphs, columns, pictures, and more. Next, you can change the pages and add in links and more information. Adjust the setting...

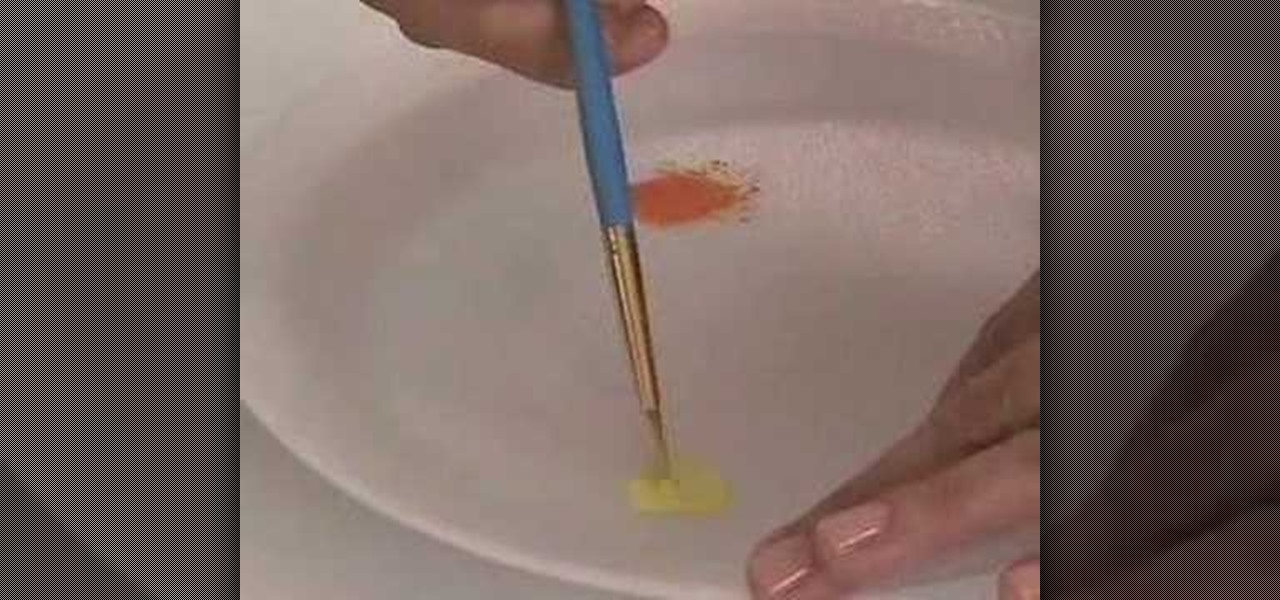
In this Arts & Crafts video tutorial you will learn how to use the cross stitch 'n paint technique. It combines simple back stitching and water color painting. Most of the materials are found in your kitchen. You will need wax paper, paper towels, and a plate to use as your paint palette, some water colors and paint brushes. After choosing your design, back stitch the outline on the fabric. Place the white paper towel over the wax paper and spread the stitched fabric over it. Now you are read...

In this video, we learn how to create a web logo with Photoshop Elements. First, go into Photoshop and select the text tool to enter in your logo words. Now, put your picture logo underneath it and change the font and size that you want for your text. Change the colors as you prefer, then place the logo in the background of your image and create a new layer. Place the icon behind the text so that the text is what stands out the most. Now, use FTP to place this logo up onto your website and sa...

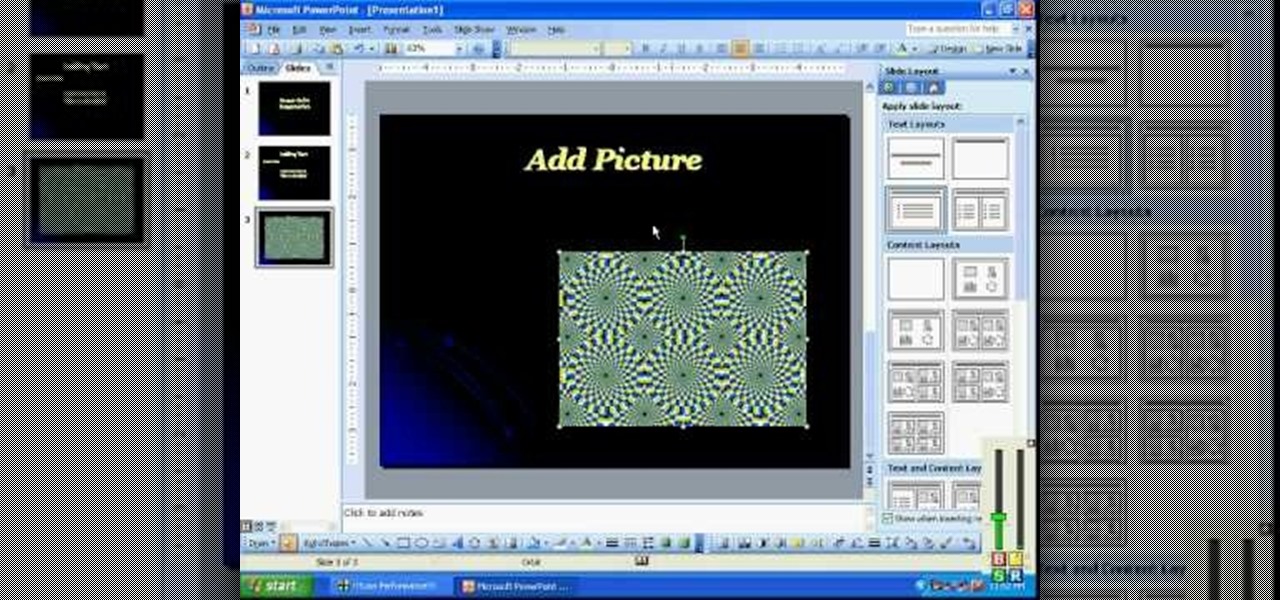
In this video, we learn how to create a PowerPoint presentation. Start off by adding in the title and subtitle of the project. After you do this, you can start to change the fonts and colors, as well as add pictures to the background and add transitions to the next page. When you're done with this, go onto your next page and start to add in all the information you need to on the following pages. When you are finished, you will be able to save your project and then use it for a presentation. T...

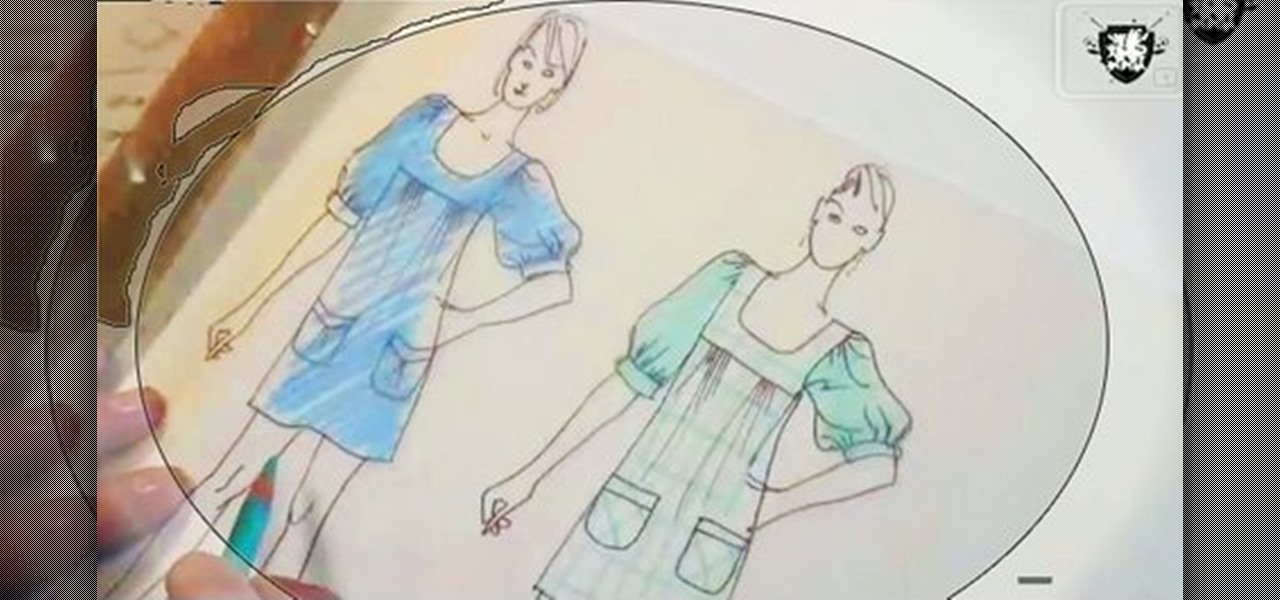
In this video, we learn how to draw a fashion sketch. Start off by using a fine pen and drawing the silhouette of a woman. Draw on the outfit to the woman, adding in all the fine details. Draw in ruffles of the clothing as well as the prints of clothing you are going to use. Use a colored pencil to color in the picture so you know what colors you want the clothes to come out like. Shadow the model slightly to make it look more realistic, then finish up the details of the image. When finished,...

In this tutorial, we learn how to make a glue in and glaze jewelry ring. First, grab a blank ring that has a spot on the top to place a picture. It can have a jewel on it, just pop the jewel out. After this, choose an image from collage art papers, then cut it out. When done with this, place the image inside of the top of the ring and push it down with pliers. After this, place a clothing pin around the ring bottom to hold it in place, then grab you DG3 gel and add it to the top of the image....

In this clip, you'll learn how to adjust your privacy settings to prevent your friends from sharing your personal information on Facebook. Share pictures with your friends by making photo albums on Facebook. This clip will show you how it's done. Whether you're completely new to the Facebook's popular social networking site or simply require a small amount of clarification on how to perform a particular task on Facebook, you're sure to benefit from this helpful video guide. For more informati...

Want to enhance the a drab sky in one of your digital pictures? With Adobe Photoshop, it's easy! This clip will teach you what you need to know. Whether you're new to Adobe's popular raster graphics editing software or a seasoned professional just looking to better acquaint yourself with the program and its various features and filters, you're sure to be well served by this video tutorial. For more information, including detailed, step-by-step instructions, watch this free video guide.

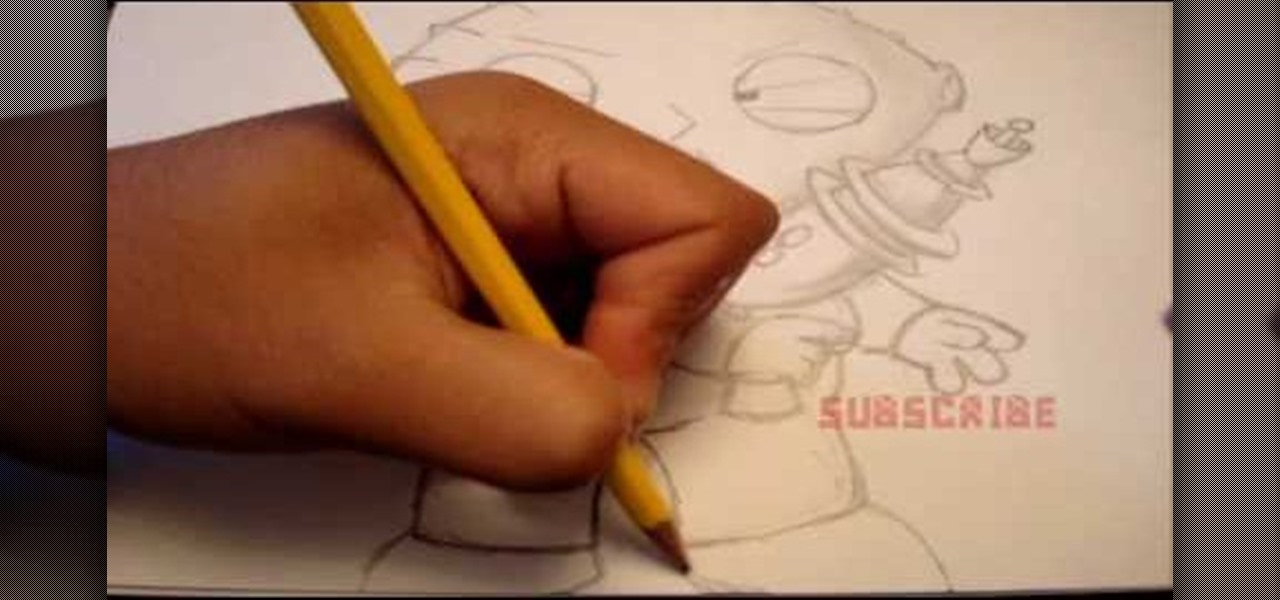
In this tutorial, we learn how to draw Stewie Griffin from Family Guy with a pencil. Start off by drawing the ears, then the football shaped head around the ears. next, draw the arms with the shirt on it, and make the hands. Also, draw a rocket with Stewie holding it. Keep drawing downwards, making the arms around the rocket and the body with pants and a bib on top. Draw in the details of the face, giving the character large eyes and a triangle shaped nose. Give the character narrow eyebrows ...

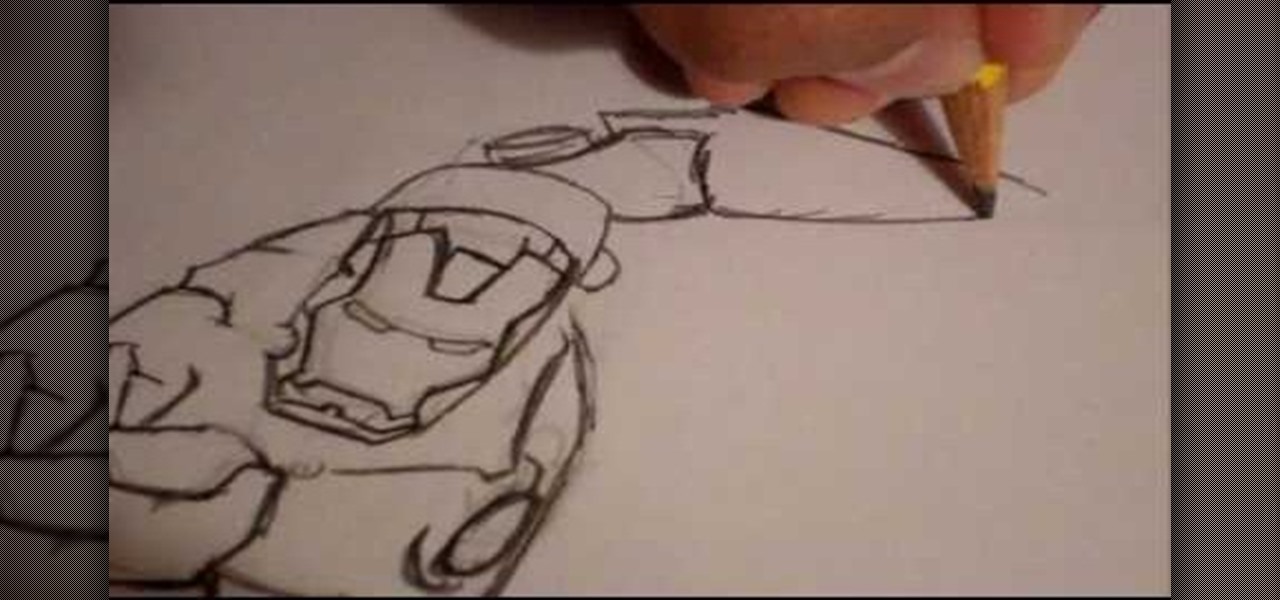
In this tutorial, we learn how to draw Ironman. Start off by drawing the feet to Ironman, making sure to pay close attention to the detail that is on the outside suit. Make sure to include bolts and screws to make the picture more lifelike. Use shading on the outside of the sides to make it darker and more realistic. Continue working your way up on Ironman until you reach the torso and the rest of the upper body. Then, draw the head onto the top followed by the large mechanical arm and the he...

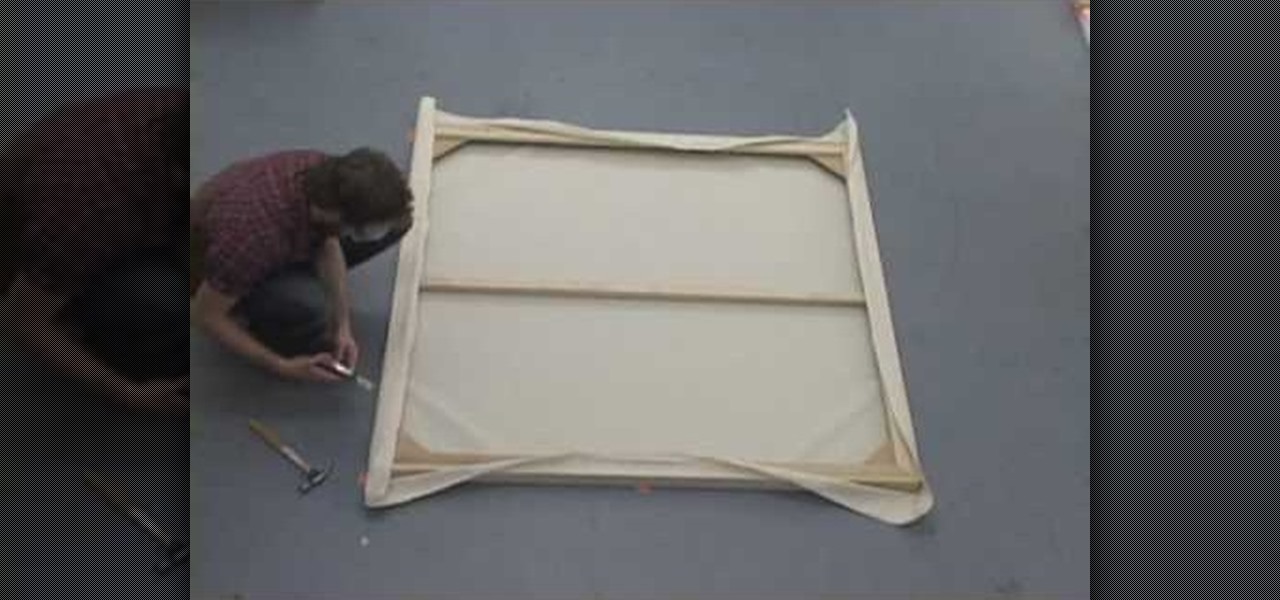
In this tutorial, we learn how to stretch the perfect canvas. First, measure the canvas. After this, center the canvas and make sure there are no wrinkles. Then cut the canvas and staple it to the frame. This will take several minutes, and you will work your way from the inside to the outer corners. After you are finished stapling hide the folds on all of the corners with the stapler gun. When you are finished with this step, you will be done and ready to paint on your new canvas! These steps...

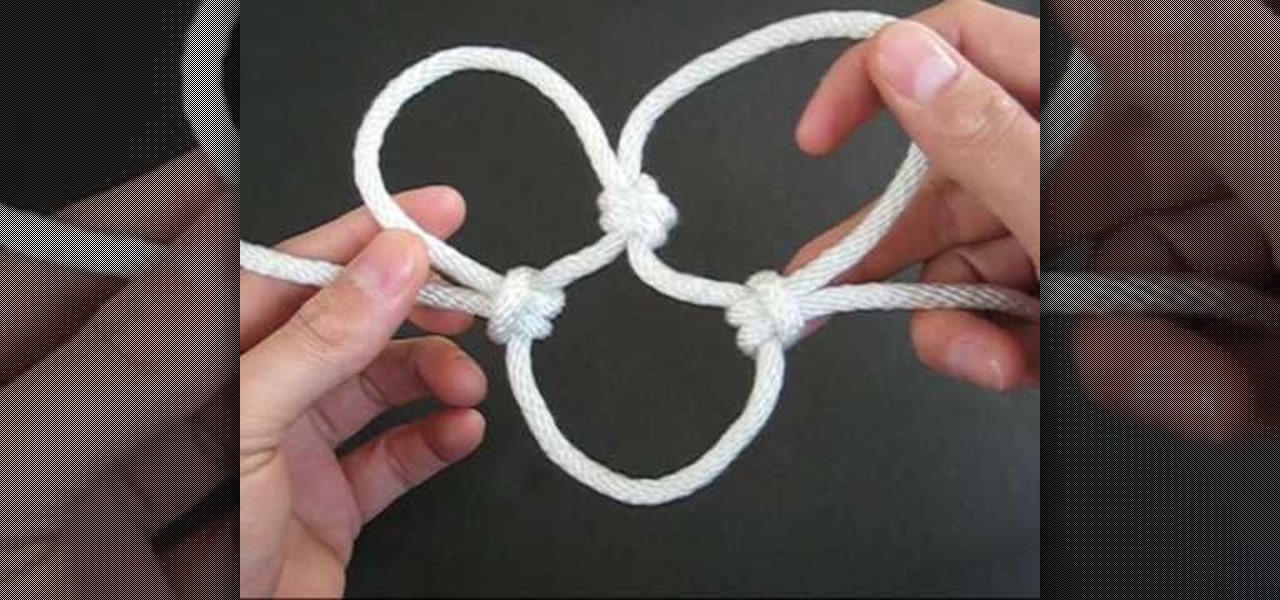
In this video, we learn how to tie the basic knot design of a cargo net. First, tie a double overhand knot on a rope bent into two. After this, make cow hitching on the first loop that you created. Next, make a second double overhand knot followed by cow hitching the second loop. After you do this, you will be able to size up for use! To make this, you must have some prior knowledge of how to tie different knots. If you don't, you won't know how to make the shapes. Use a picture as a referenc...

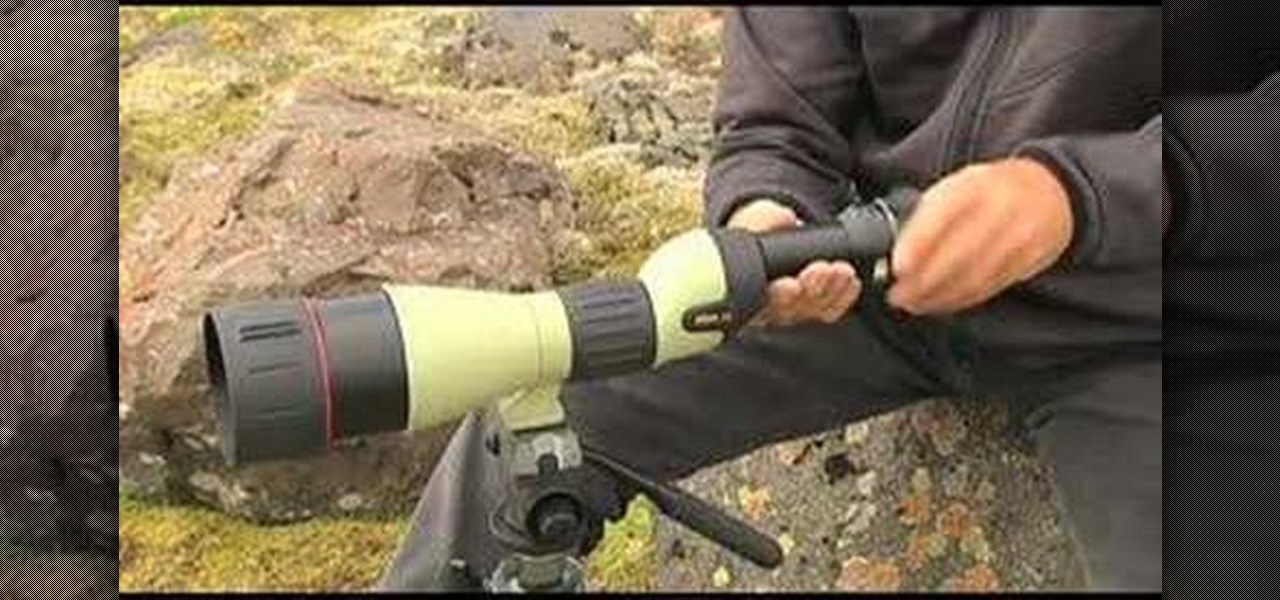
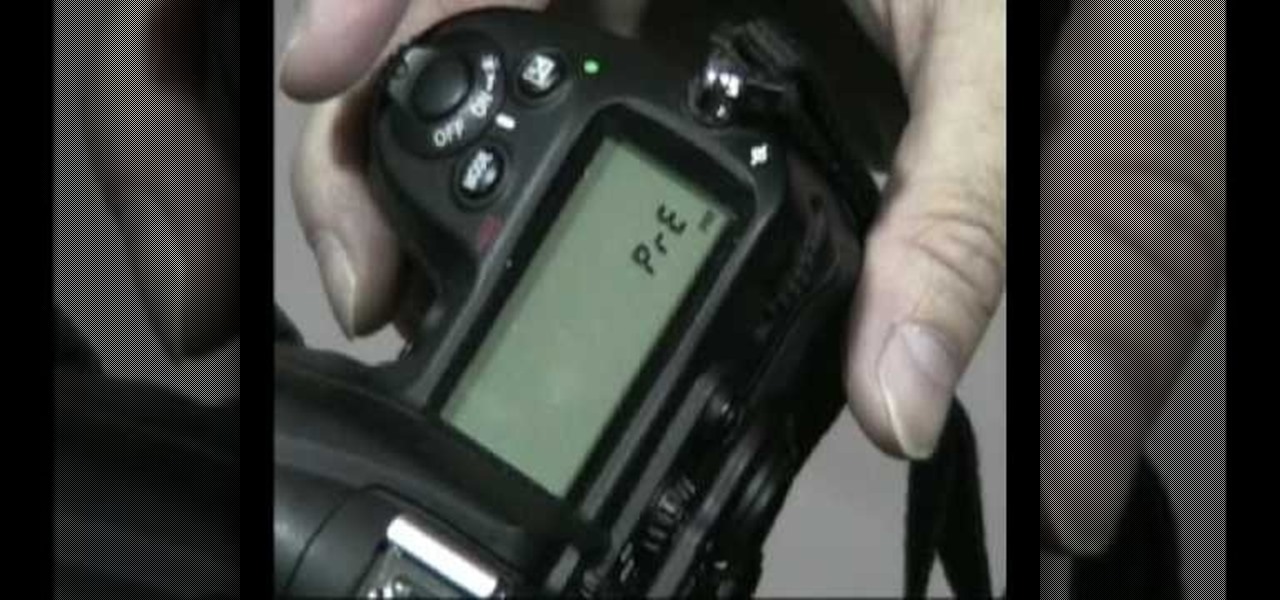
In this tutorial, we learn how to use Nikon digiscopes. This means taking digital pictures with a digital camera through a lens. You can use two different versions of lenses with the Nikon Coolpix camera. You will need an eyepiece to use the camera with these lenses. You can get up to 75x magnification while using these, but risk of camera shake is greater. First, mount the camera on the triPod and apply the lens adapter, then the Coolpix camera. After this, use the view finder to see through...

If you are interested in tying knots just for show and are looking for a challenge, this next tutorial might be what you need.

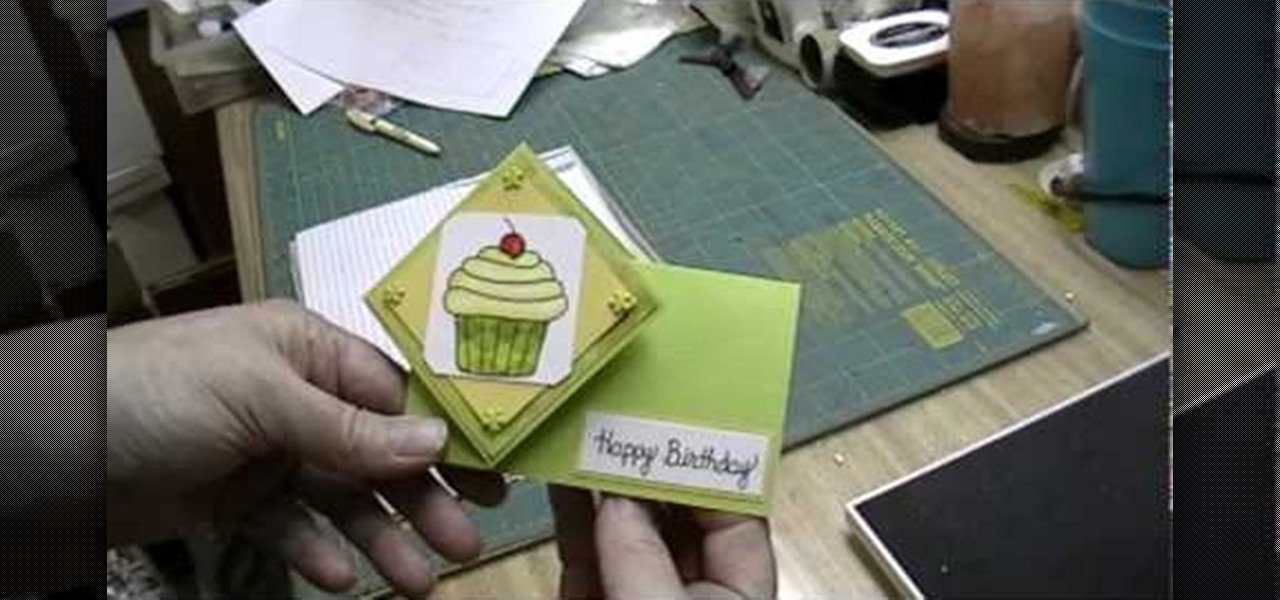
In this video, we learn how to make a twist turn style card. The card will open with a neat pop out image on the front of the card! First, get an 8 1/2 x 5 1/2 piece of card stock and then score it 2 and 3/4 inches from the left edge and 4 inches over from the left edge. Then, turn the card the other way and find the center, then score from the right end to the very first score line. Then flip the card over and score the rest of the center line up to the first line. Now, make a score line fro...

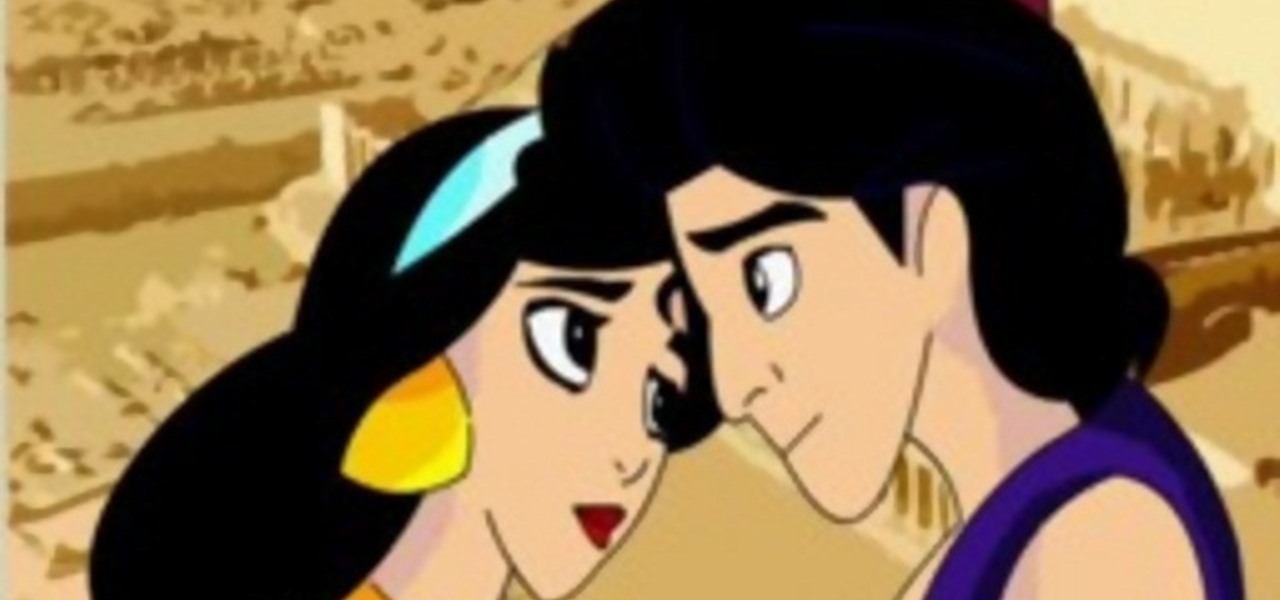
In this tutorial, we learn how to draw Aladdin and Jasmine. Start by drawing Jasmine, draw her hair on first, then start working on her face and head. Add on her earrings, eyebrows, and mouth. Make sure to pay attention to details and use a picture as a reference to what they should look like. Fill in Jasmine with the colors she wears in the movie, and then start to work on Aladdin. Draw in his hair to start, then make sure to draw on his hat on the very top of his head. Draw his face, giving...

New to Microsoft Excel? Looking for a tip? How about a tip so mind-blowingly useful as to qualify as a magic trick? You're in luck. In this MS Excel tutorial from ExcelIsFun, the 637th installment in their series of digital spreadsheet magic tricks, you'll learn how to create a dynamic two data series line chart for blood pressures — how to look up a chart using defined names, a data validation list, and a formula using the INDIRECT function inside a picture of a chart.

The iPhone has some pretty awesome video capabilities. Whether you are working with Cycorder from a jailbroken 2G or 3G, or Apple's own video camera in the 3GS, you will get pretty great picture resolution in a handy pocket size. In this tutorial, learn how to create your own tripod, on the cheap, for use with your otherwise handheld device. This will help you keep your image steady and stable and take great shots.

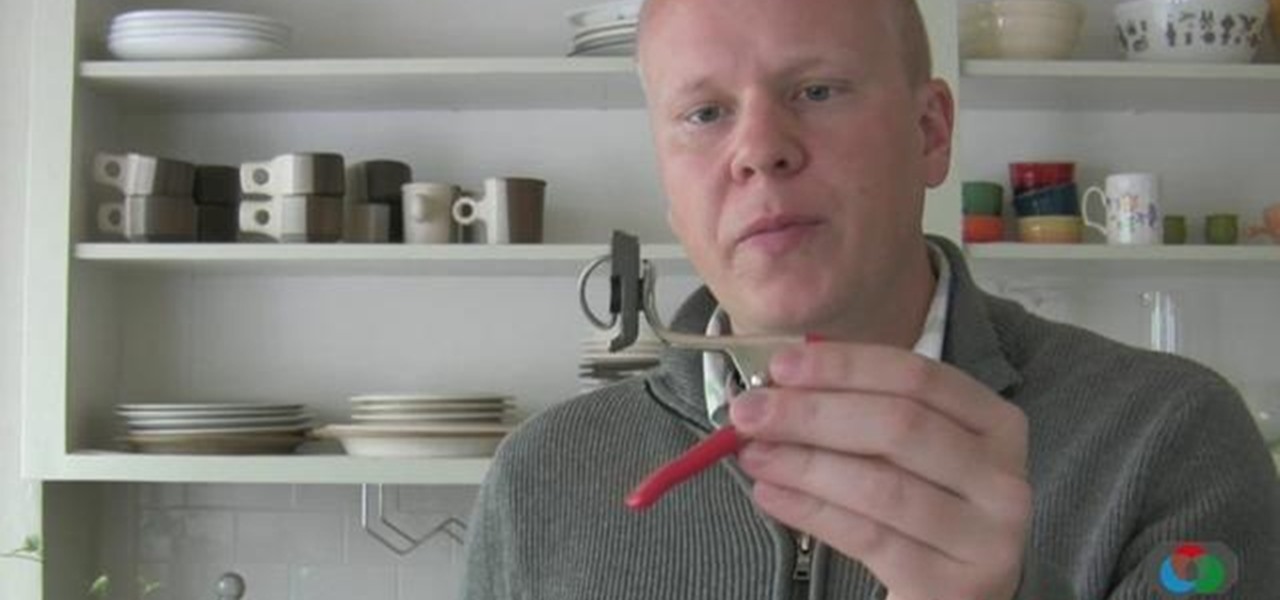
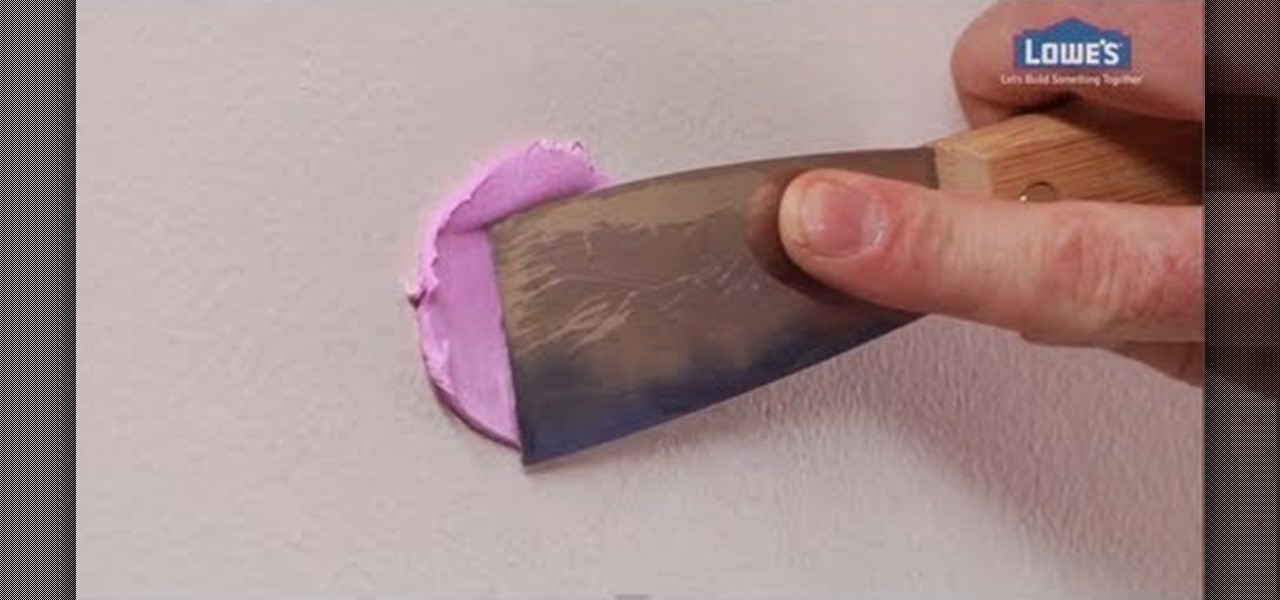
Having tons of pictures hanging in one single room can be a beautiful site to look at. But if you plan on moving or changing the style of that room, you're bound to have a few holes in your wall. Not to worry, those holes are easy to take care of and will take you less than a day to complete. In this tutorial, you'll find out how to properly spackle and patch holes in your wall. It's an easy task that anyone can do in a snap! So good luck and enjoy!

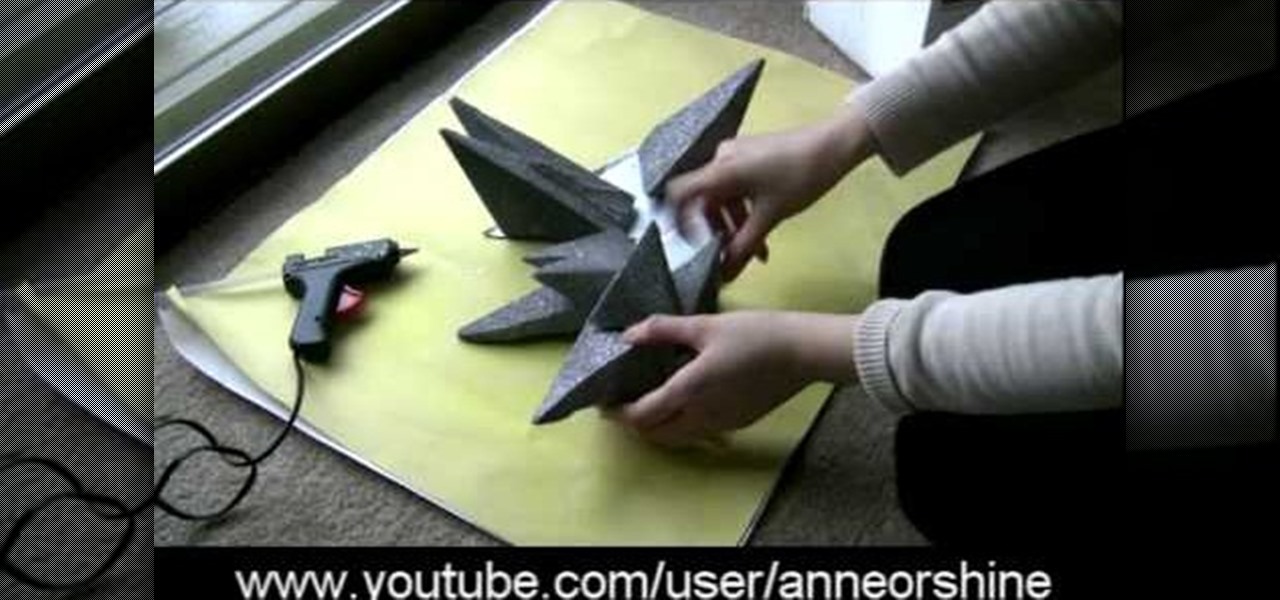
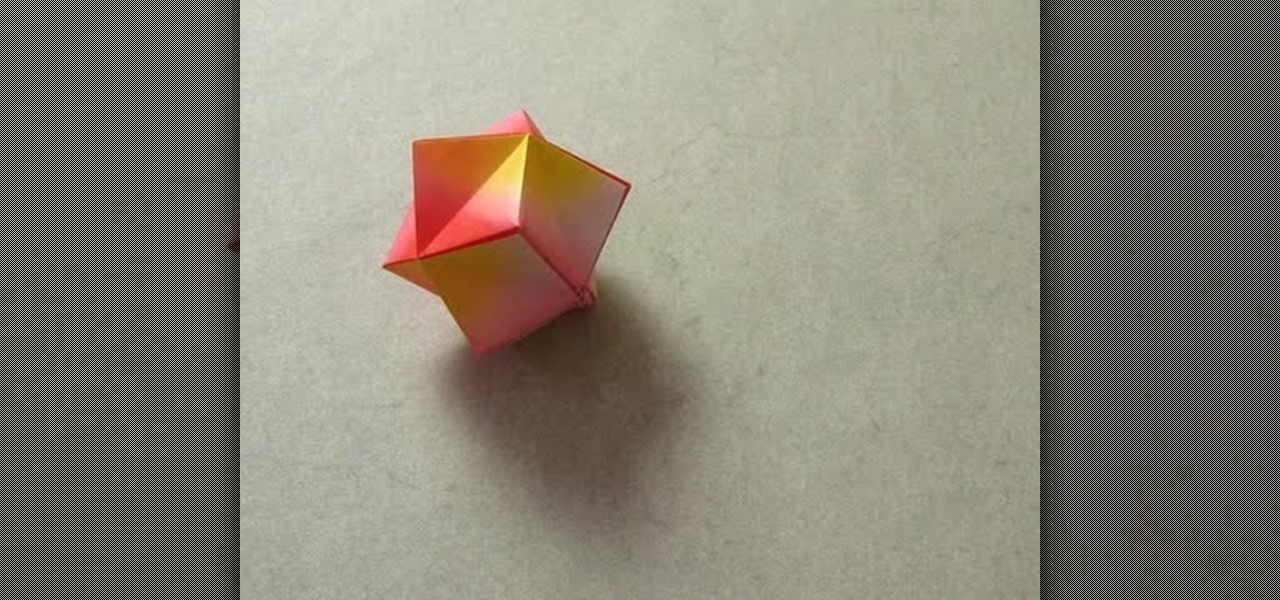
These adorable origami stellated octahedrons commonly provoke fits of jealousy within real stars, who envy their smooth folds and pretty peaks.

Taking professional photographs at night poses a whole new set of problems relative to taking pictures during the day. This four-part video is here to help, in great detail. It covers several topics, including subject selection, tools necessary, deterring depth of field, and all of the other things that you will have to do to take really good-looking photos at night.

This four-part video describes, in great detail, how to develop black-and-white 120 film. With photo labs becoming rarer by the day, knowing how to do this yourself will become increasing important if you want to continue to take and develop pictures with film. Developing 120 is a bit different than developing 35 millimeter, so if you can already do that still watching this video! Thankfully, the presenter demonstrates the process in full light. Bear in mind it will be very dark when you do t...

White balance is an important aspect of photography. Balance your camera correctly and you will take impressive pictures, balance it poorly and your photos will appear washed out or blurry.

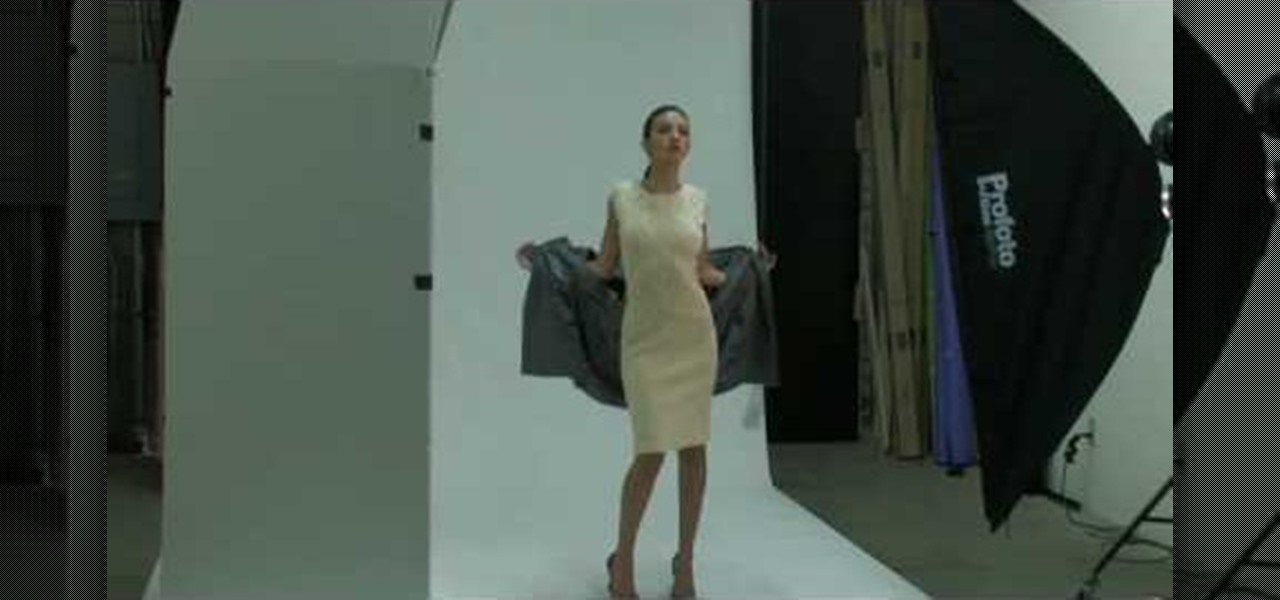
Lighting is very important to photography. The proper lighting can make your subject or scene appear in a totally new way. Whether you are adding, or eliminating shadow, using light to manipulate the way something looks, or just setting up for a flattering portrait, you will need to know some light basics. In this tutorial, Mark will show you how to set up lighting for a fantastic picture. You will learn seven different setups to make sure you have the right arrangement for your particular ne...

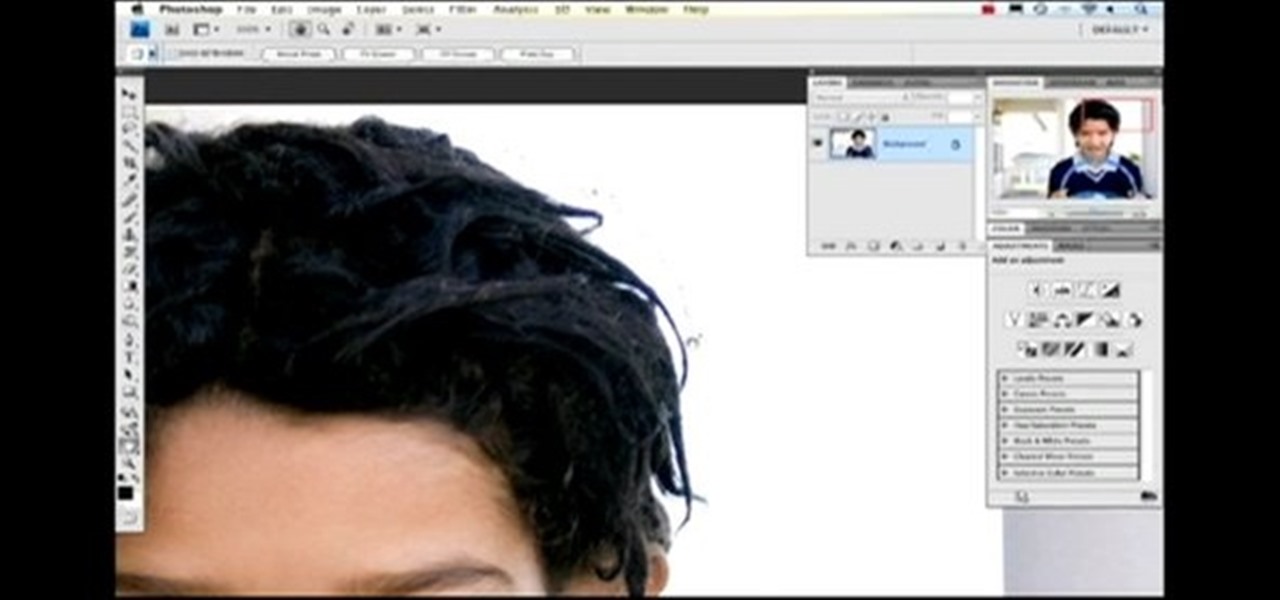
In this video, learn how to remove purple fringing from an image using Photoshop. Most people would not even notice this distortion in a photo but if you are a professional, you will need to know how to recognize and remove this tint.

In this Software video tutorial you will learn how to create a vector RSS icon in Illustrator. Open illustrator and open a new document. Select the ‘rounded rectangle tool’ from the rectangle menu. Click and drag to draw a rounded square. Select the gradient fill on the left side and change the color to orange on the right side and make it dark to light from top to bottom. Next grab the corner and turn it around 180 degrees. Move the picture to one side and select the ellipse tool. Draw a...

In this Electronics video tutorial you will learn how to Email photos from your iPhone. This is really very easy and simple to do and takes practically no time. On your iPhone go to the camera icon and tap on it. Then find a picture that you want to email. Then tap on the little icon on the lower left of the screen as shown in the video and then select email photo. Then you put in you want to send the photo to, type in a subject and add some text if you want. And the final step is to tap ‘s...

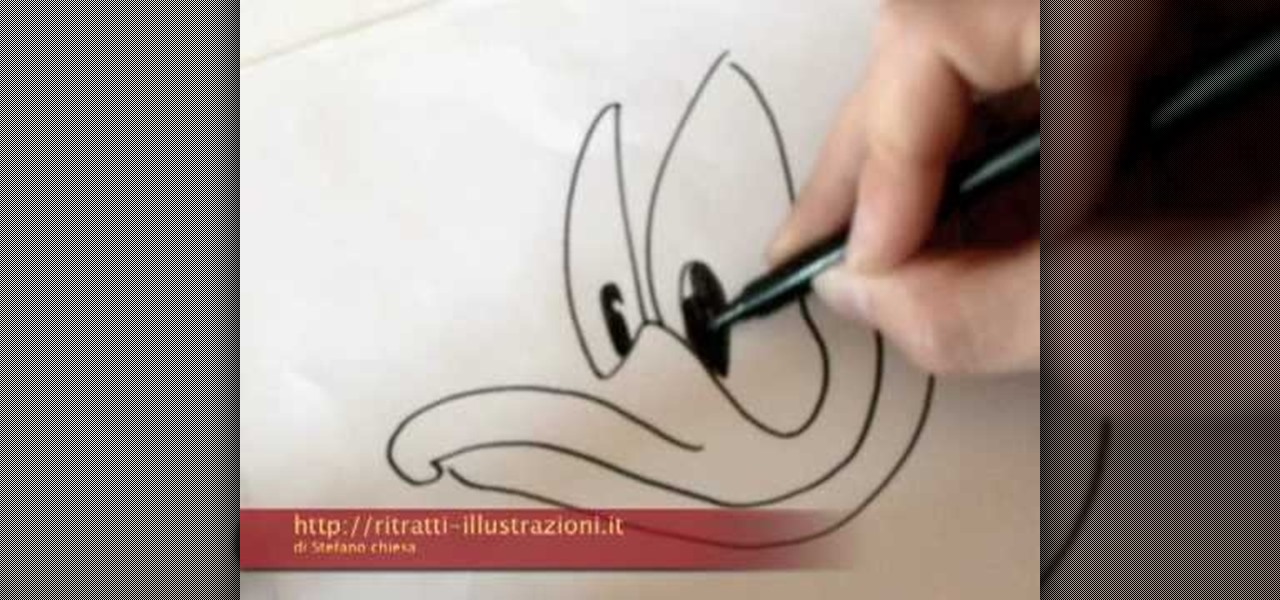
This video illustrate us how to draw Donald Duck. Here are the following steps: Step 1: First of all take sheet of paper, pencil and colors.

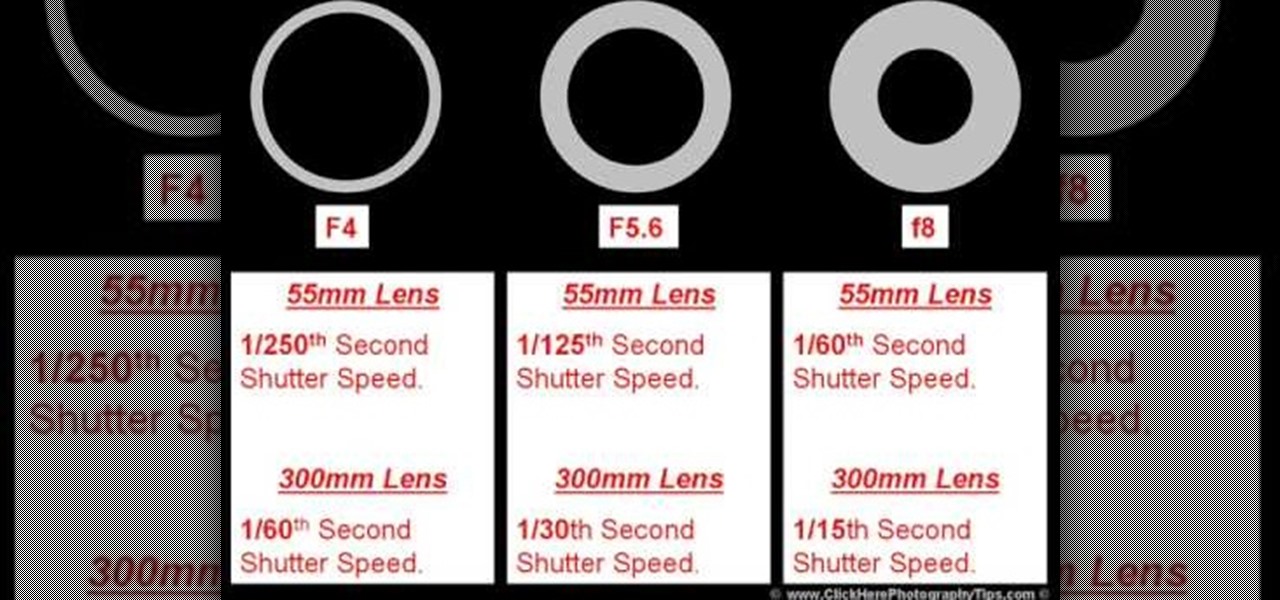
To understand and use depth of field you should realize that depth of field is the area behind and in front of your focusing point - the thing or object you are shooting. Depth of field is determined by apreture or f -stop, the shutter speed of your camera and the focal length of the lens. If you have the right combination of shutter speed and the f-stop, your picture will have the right exposure. If you change either the f-stop or the shutter, you need to remember to adjust the other! Differ...

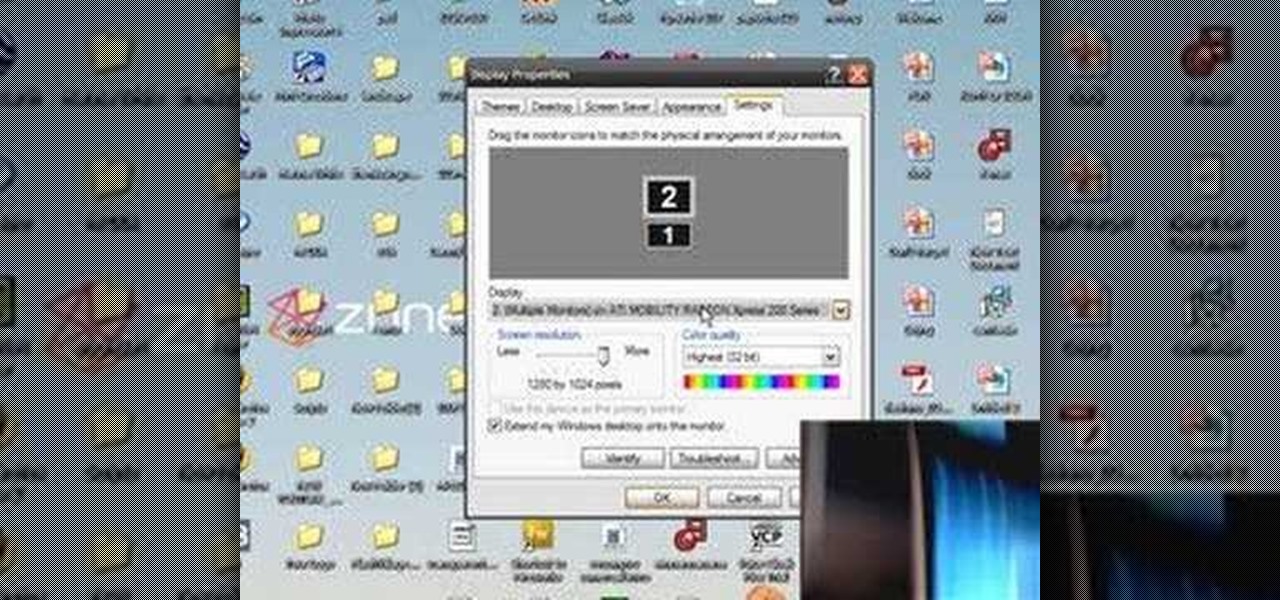
In your computer you can setup up two monitors on the same screen. This is the dual monitor setup which will give you more space to work with. So if your desktop is cluttered with icons and other program shortcuts, then you can use dual monitors. To setup a dual monitor system, the first thing you will need is two monitors. Now right click no your desktop and select properties from the menu. In the properties window go to the settings tab. If you see two monitor screen pictures over there the...

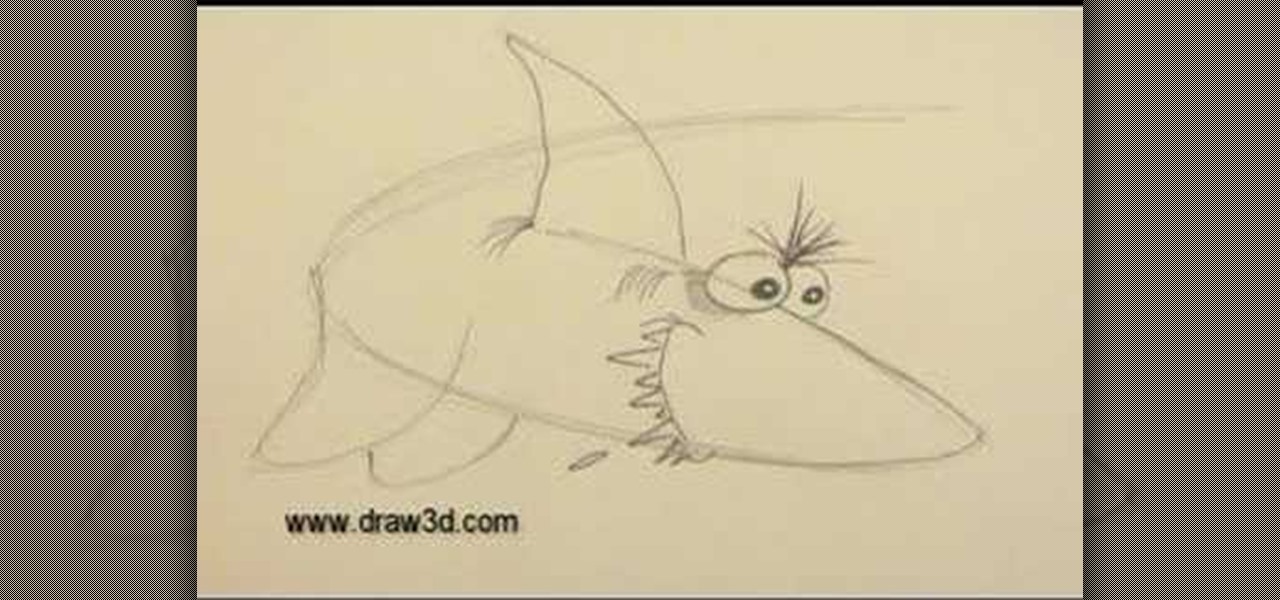
This video illustrate us how to draw 3D cartoon shark. Here are the following steps.step 1: First of all take a sheet of paper and pencil.Step 2: draw a U shape structure and again draw a U shape structure above the previous on representing the body of the shark.Step 2: Now from one end of the double U draw a V shape representing the front body of the shark, within the face draw two eyes and jaws of the shark.Step 3: Now at other end draw a tail and from the side of the body draw a triangle a...

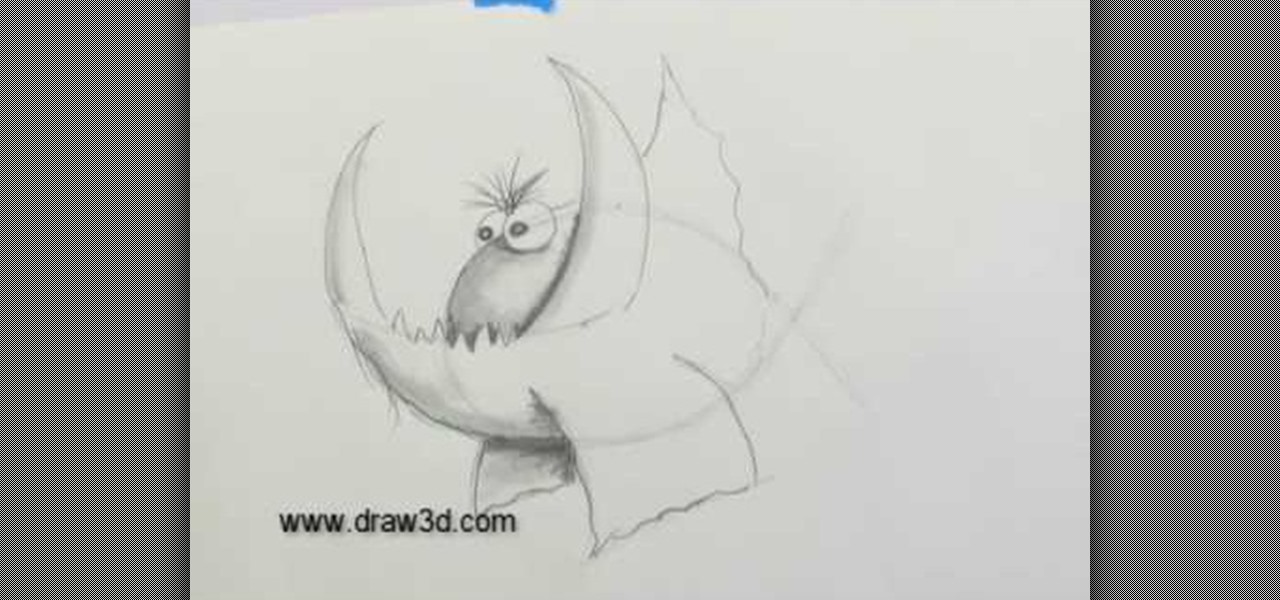
This video illustrate how to draw a 3D fanged fish. Here are the following steps.Step 1: Take a sheet of paper and pencil and start drawing a circle forming the face of the fish.Step 2: Now in the middle of the circle draw an wavy line showing the jaws of the fish.Step 3:Now draw two small circle on the boundary of the circle forming the eyes of the fish.Step 4: Now from the jaws draw two fins in opposite direction to each other.Step 5: Now draw Two fans beneath the face showing the back fins...


