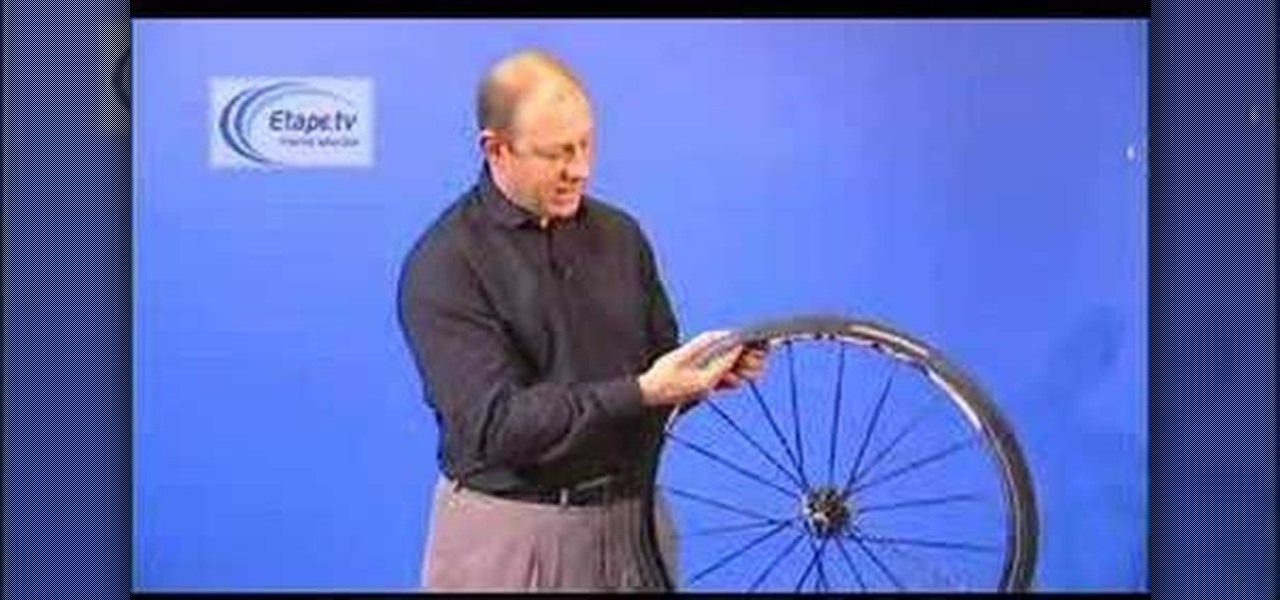
How To: Replace a bicycle inner tube
How to change a bike inner tube using a tire lever. Necessary to replace punctured tubes.


How to change a bike inner tube using a tire lever. Necessary to replace punctured tubes.
You asked for it, you've got it... Bike maintenance videos. This week we discuss and show chain cleaning and lubrication. Please thank Doug Moak and our sponsor, River City Bicycles, for making it possible.
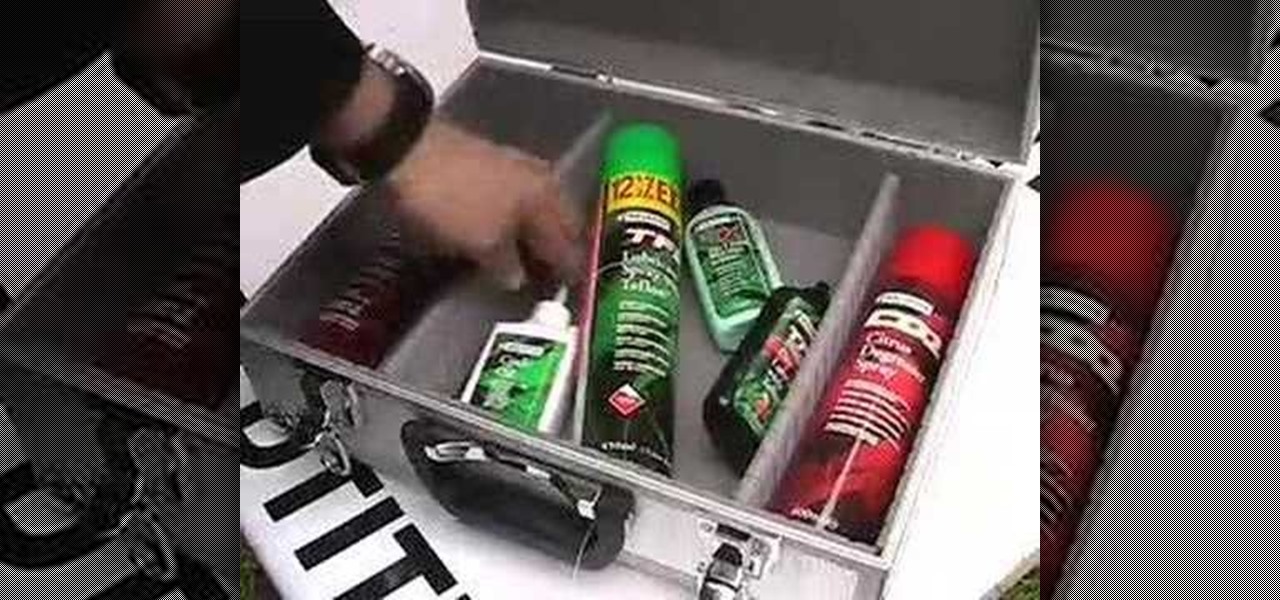
An eight-minute video podcast on how to wash your bicycle and lube it properly. From www.quickrelease.tv.
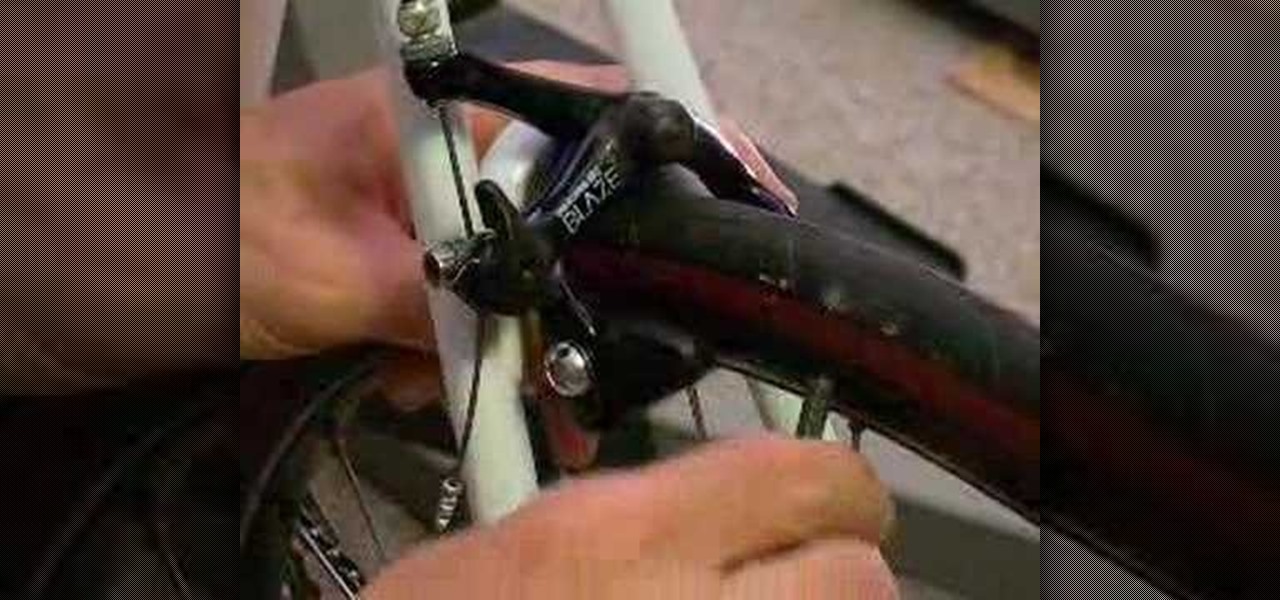
Worn brake pads can be dangerous, and lead to accidents. It only takes a few minutes to replace a set of brake pads on a bike, and it is very easy to do.
If you're an urban bike rider, you're probably all too familiar with how hard it is to find a safe, convenient place to store the bike. This video offers one solution, constructing a bike rack on the ceiling in your apartment. It looks cool, and at least it won't get stolen this way.
In this video, we learn how to find the right bike and bike fight. First, you need to think about what you are using the bike for, then look at the bikes that are included in that category. After this, you need to test out different bikes to see what type of size works best for you. Once you test out a bike that closely fits you, you can fine tune the bike to fit your body exactly. Once you get on your bike, you need to get your position down correctly and make sure your hands are in the corr...

In this tutorial, we learn how to bleed a Shimano break system. First make sure the reservoir is leveled and then take the cover off. Make sure you use mineral oil to clean the top, then rubber band a hose onto the bag. Now take a Shimano spacer and release the fluid by squeezing the lever. When the fluid level has dropped down, fill it back up. When you bleed remember to completely remove the pads, as recommended by Shimano. Replace the pads with the spacer when you are doing this, then you ...
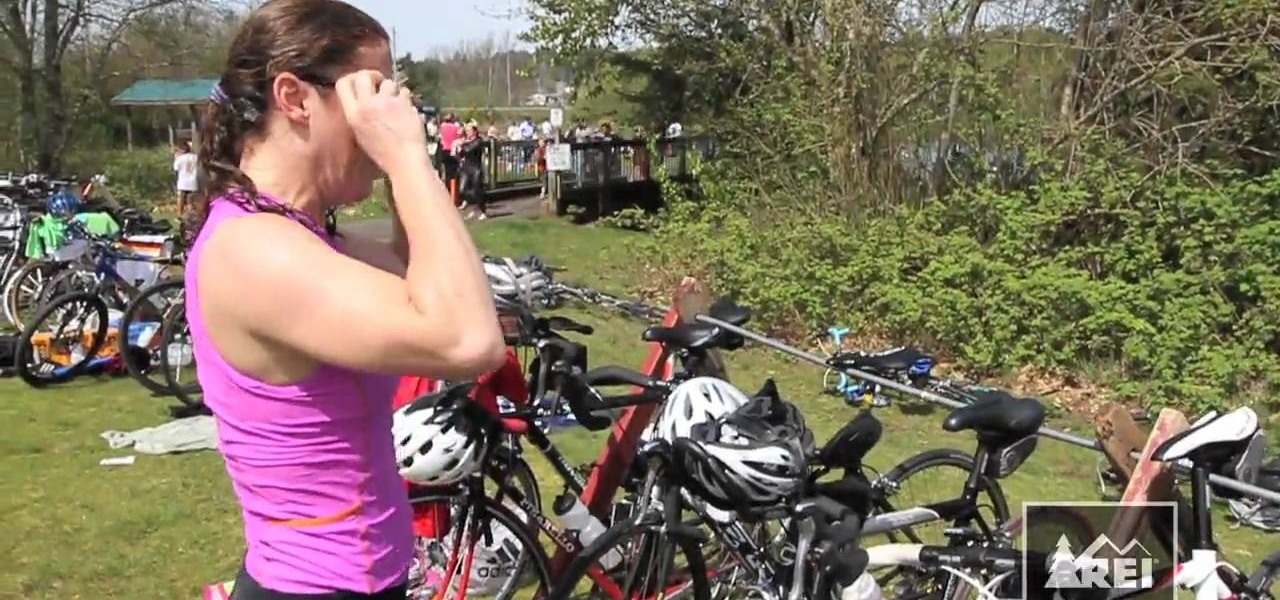
Switching stages during a triathlon can be a hectic and time-wasting experience for many racers. It need not be so. This video will teach you a couple of easy ways to save time during your transition from swim to bike, the first of the two in the race. By storing your equipment properly you can save yourself a lot of time and worry and have a more enjoyable, successful race.
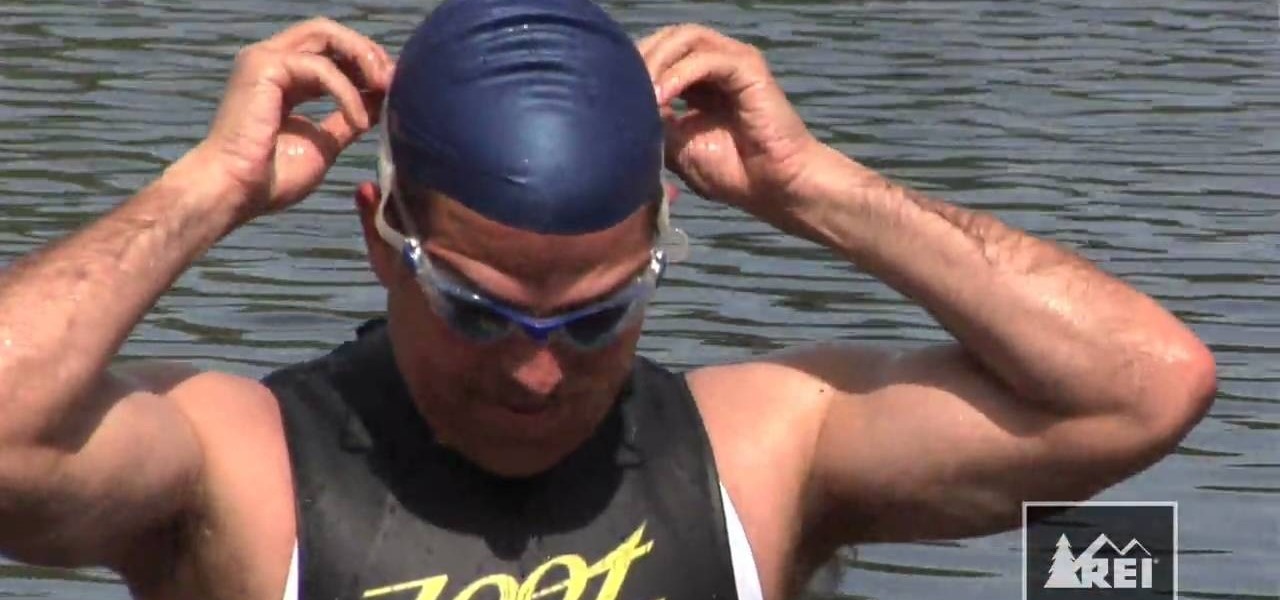
Triathlons are a lot of work, and making sure that you have the proper clothing will keep you functioning properly throughout the race. This video offers tips for what to wear during each stage of the race, and how to get the gear ready before you race. The moral of the story is: the less you have to think about your gear the day of a race, the better off you are.

Riding your bike can be a great way to avoid traffic and parking hassles, but in the big city especially it can be very dangerous. This quick video will give you some tips for improving your visibility on the bike. Wear bight colors during the day and reflective clothing along with a headlight at night and you will be able to see and be seen wherever you are, and that will help keep you safe.

If you've ever installed a rear derailleur, you know how hard that is. You probably also know how relatively easy it is to install a front derailleur. If you don't, watch this video. It explains how to quickly and easily install a front derailleur on your bike, keeping your chain straight and ensuring good shifting performance for you bike.
Installing new pedals on your bike is one of the simplest types of bike maintenance you can perform, but doing it properly is important or they are likely to fall off while you are riding. Not good. This video will help you attached pedals correctly and quickly, avoiding accidents making sure that your feet have an ideal surface to apply their force to.
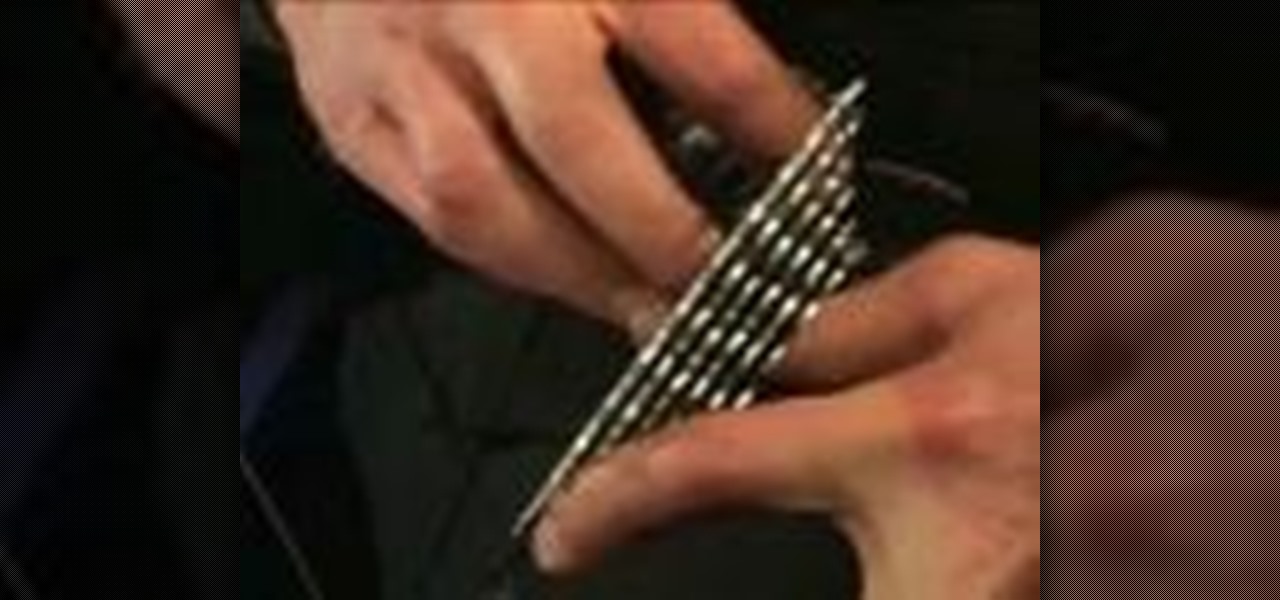
The cog sets are the iconic pieces of the bike on the wheels with all their delicate layers of gears. This video features detailed instructions from a professional bike mechanic on how to install or remove a cog set on a mountain bike. This is useful if you want to clean your cog set or have purchased a new one that you would like to install.
Replacing the pads on your bike's brakes is a crucial and reasonably easy part of your bike's maintenance regimen. This video features detailed instructions on how to replace the pads on Avid caliper brakes, ensuring that even in a wet environment your bike will still stop when you want it to.
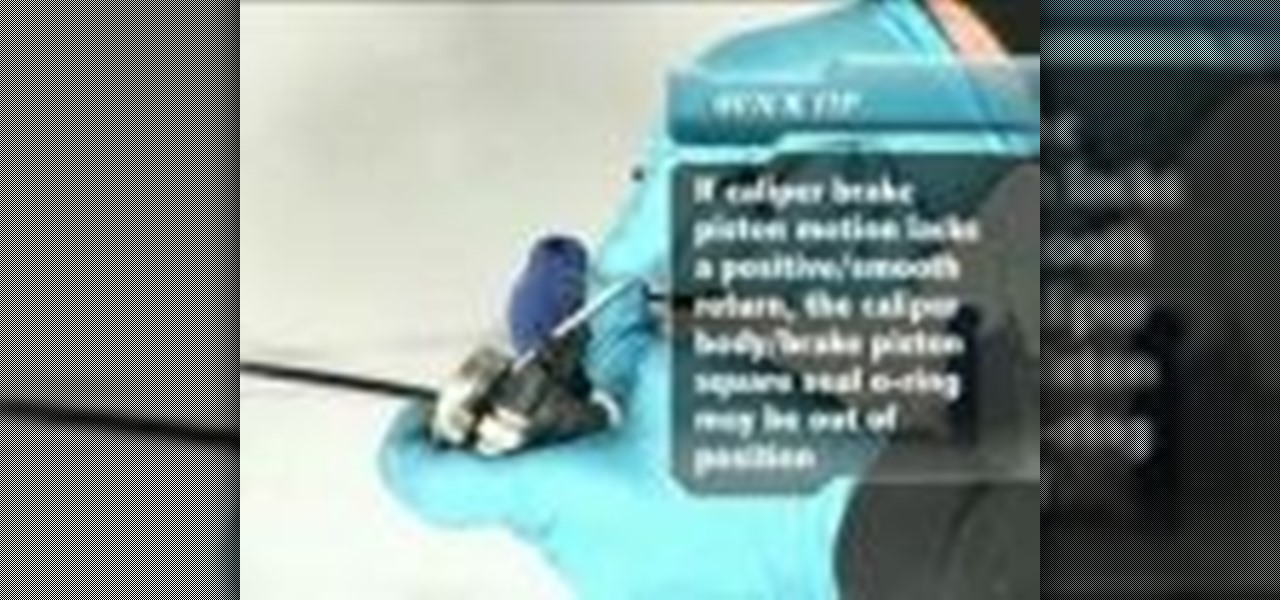
Hydraulic brakes are the new kid in town in the world of bike brakes, but their simplicity and functionality make them a good choice if you want to upgrade your brakes. This video features a professional bike mechanic explaining how to overhaul a Hayes caliper brake and reset the piston on it.
If you mountain bike, and are lucky enough to live somewhere that has enough water to support civilization without major civil engineering, then your brake pads are probably going to wear out a lot faster than your dry-climate comrades. Fortunately for you, this video features instructions for how to replace the pads of a Hayes caliper brake for a mountain bike.
Hayes sole brakes are a very popular type of bike brake. Then, you probably already know that if you are watching this video. It features a professional mountain bike mechanic explaining how to quickly and easily replace the pads on your beloved Hayes brakes, ensuring a lack of fade while braking and making sure that your bike will stop when it has to every time.
Installing and maintaining properly functioning brakes is one of the most important mechanical parts of keeping your bike working safely. This video features a professional bike mechanic setting up an international standard, or IS, brake caliper on a mountain bike.
Being able to stop a mountain bike abruptly is crucial to your continued survival if you ride. SRAM Avid Juicy's are a popular type of high-performance mountain bike brakes. This video will teach you how to install and cut said brakes on your bike, as long as you have the proper tools. It features many safety tips for keeping your corrosive brake fluid from damaging all sorts of other things, from your bike's paint to your eyes.
Back in the day, all mountain bikes had square taper bottom brackets and cranks. Modern bike makers have moved away from this style, but some still prefer it. This video will teach you how to install a specialty square-taper bottom bracket and crank on your mountain bike.

Removing the spider from your mountain bike crank is an important part of the cleaning process, allowing you to get at areas on the crank that you never would be able to otherwise. This video features a demonstration of how to do this for XT or XTR chainring spiders. For those who refuse to compromise while cleaning their own bike, this video is a must.
Bicycle equipment company Shimano is the father of the free hub. This video features a professional mountain bike mechanic walking you through the process for overhauling a Shimano free hub, ensuring that your wheels spin as freely as possible and that your rides will be as easy and fun as the terrain and your effort level will allow.
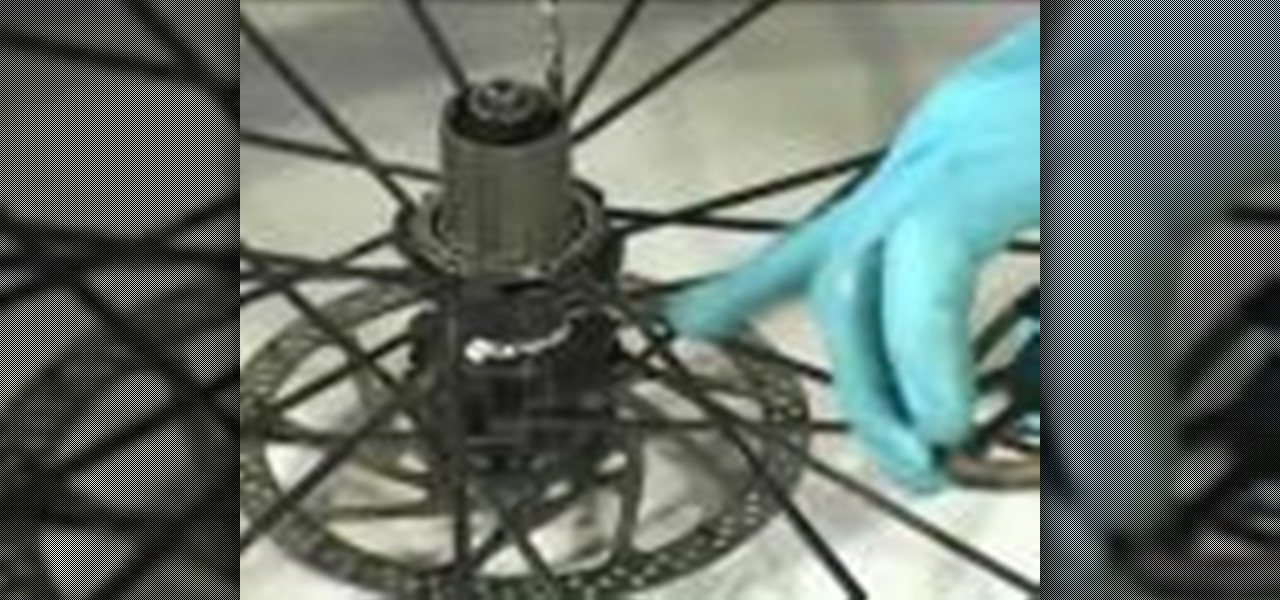
Overhauling the wheel hubs on your bike is important to ensuring proper wheel spin. Proper wheel spin means you get more power out of your pedaling. This video features a professional bike mechanic explaining how to overhaul the free side of a Mavic wheel hub. Keeping the hub clean is vital to making your rides as fun and easy as possible, so don't skip it!
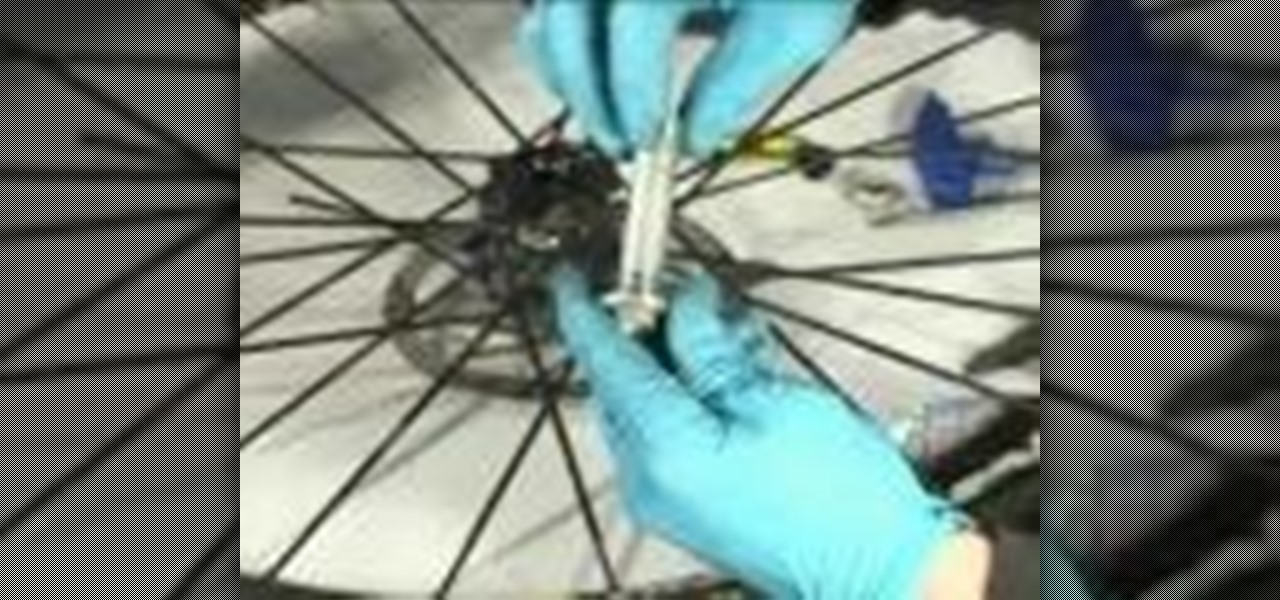
The wheel hub is the center of great wheel performance for your mountain bike. This video features a professional bicycle mechanic explaining the process for overhauling a Mavic wheel hub, installing a new bearing and cleaning all of the parts, ensuring clean spinning for your wheels and a smooth ride.
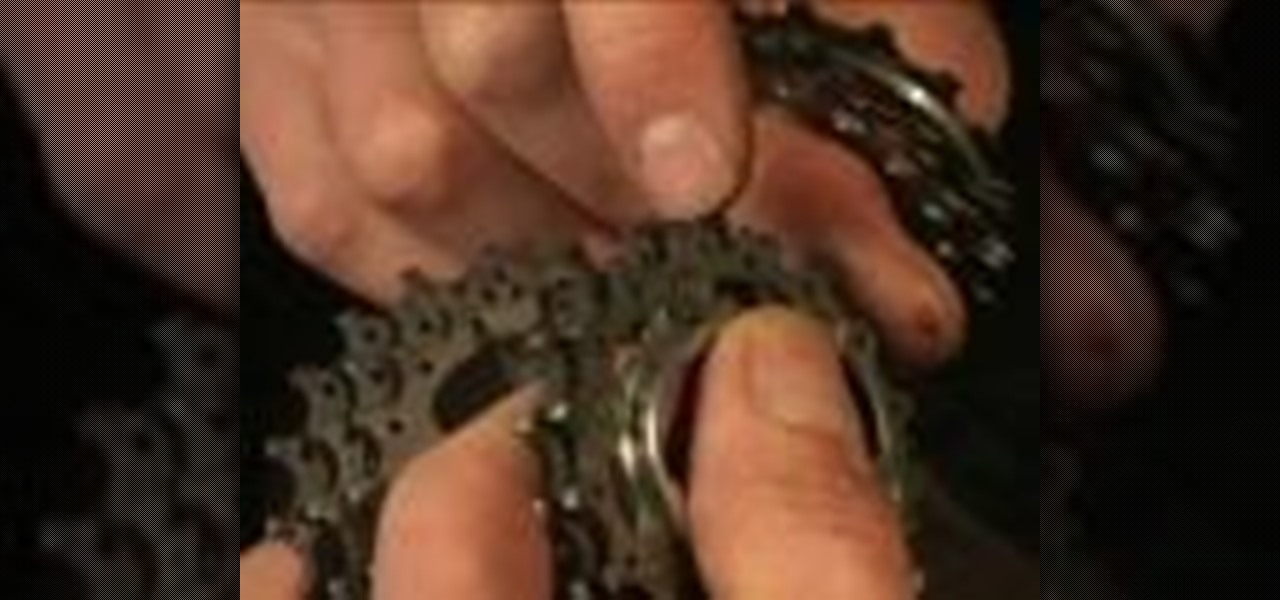
If you bike chain is skipping, and you aren't sure why, you could have a worn-out cog issue. This is especially likely if you cogs are substantially older than your chains. This video will teach you how to assess your cogs for wear. which will help you determine whether you need new ones or need to take other steps to get your bike riding smoothly again.
The p knuckle of the rear derailleur is a small part that regulates the tension of the chain running over the derailleur. This video features a professional bike mechanic installing the p knuckle into a rear derailleur during an overhaul of the derailleur. This is an important piece of maintenance even for new equipment, so take note!
Most rear derailleurs (read: not Shimano) are high-normal, which means that they shift into the highest gear on the bike by default. This video features a professional bike mechanic walking you through the process of adjusting the rear derailleur and its cables into a high-normal setting, ensuring crisp shifting and a more successful ride.
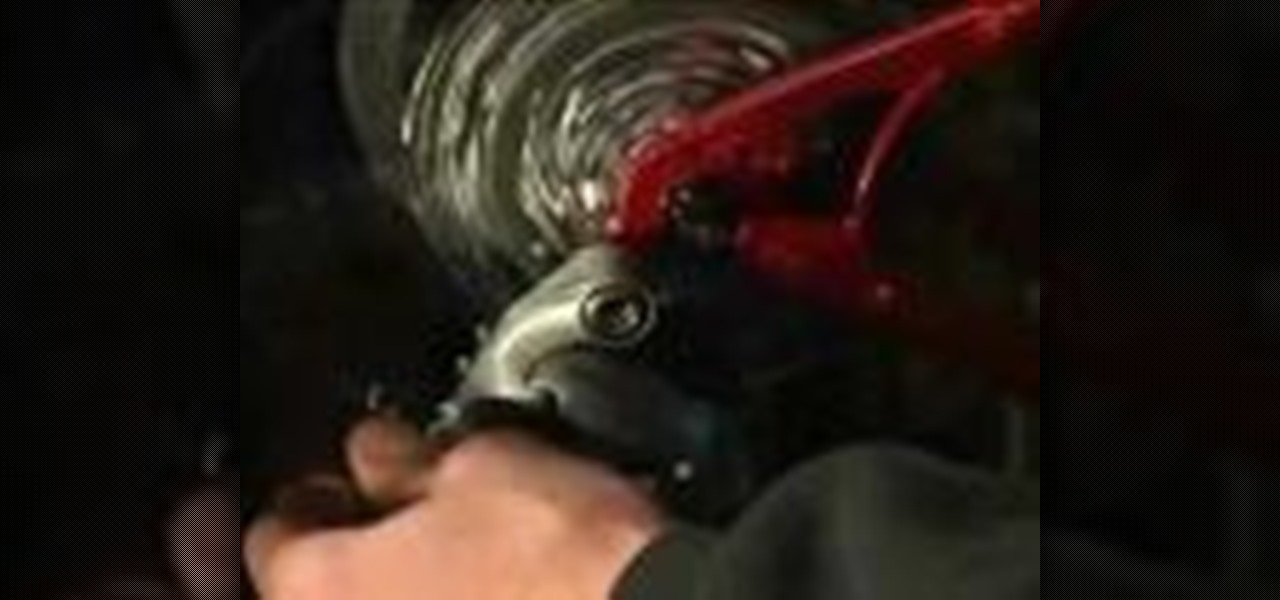
THere are many parts of the rear derailleur on a mountain or road bike that need frequent adjustment to function properly and give you proper performance on your rides. This video will teach you how to adjust the cable tension, the jockey wheel, and the hanger of the derailleur, ensuring that the whole system is functioning smoothly and that your bike will work as well as possible.
The cable that connects your rear derailleur to the shifters on your bike may seem too long, delicate, and complex to fix yourself. You may be right, but if you have some bike maintenance experience and want to try then this video is for you. It walks you through the whole process of replacing the cable in your rear derailleur. It is a long process, and elaborate, but will dramatically improve your shifting performance if your cable is old and worn.
Adjusting the rear derailleur on a bike is an important way to fine-tune your bike's shifting performance, but is complicated and can vary in method and effectiveness depending on the brand of derailleur. This video features instructions on how to adjust a low-normal rear derailleur using the adjustment screws.
Most rear derailleurs are high-normal, which means that they default the chain to high gear. Shimano derailleurs, however, are low-normal, defaulting to the lowest gear on the bike. This video details how to adjust a low-normal derailleur into normal cable tension. This works very differently than on a normal bike, so make sure you pay attention!
The derailleur is an important, albeit French, part of most modern bikes. This video features a professional mountain bike mechanic demonstrating the installation of a rear derailleur on a mountain bike. It is a short video, but detailed enough that any DIY bike mechanic should be able to do it themselves.
Cleaning your bike chain is an arduous but necessary part of regular bike maintenance. The Cyclone chain cleaner, or any of its competitors, make the process a lot easier to do without taking the chain off the bike. This video features a professional bike mechanic demonstrating how to use one such product effectively, saving you time.

Having a clean bike chain is vital to the proper performance of you bike, mountain, road, or BMX. This video features a professional bike mechanic walking you through the process of cleaning your chain when you have it taken off of the bike. He recommends a modern biodegreaser, but if you want to give your work some old-school flair you can use diesel fuel like the old European pro teams. The environment will hate you for it, but it works.

Does the chain on your bike skip? One common reason for this to happen is stiff link chains. This video features a professional mountain bike mechanic demonstrating how to illuminate, or make loose, stiff link chains if you get caught with them out on the trail. If you don't do this, and your chain skips enough, it's going to come off and you are going to stack, so make sure your bike is maintained properly!
If you have a more old-fashioned mountain bike, you may be familiar with the loose bearing square taper system of bearings. This video features a professional mountain bike mechanic demonstrating the process of overhauling a loose bearing square taper, giving new life to that old bike that made you fall in love with mountain biking in the first place.

This bike maintenance video features an experienced bicycle mechanic removing and installing an Octolink-ISIS cartridge from the bottom bracket of his mountain bike. You need some specialized tools if you're going to try this bit of mountain bike maintenance yourself, but doing so will save you time and money on going to the shop, so try it!

Eventually when you get a couple of thousand miles on your bike, you'll find that you'll need to replace your brake pads. Take a look at this instructional video and learn how to replace your brake pads on your bicycle. Most brake pads have grooves cut into them, this allows you to see how far the pads have worn away. When the grooves are gone, it's time to replace them. When you're going through this process, pay particular attention to how the parts come off the bicycle.
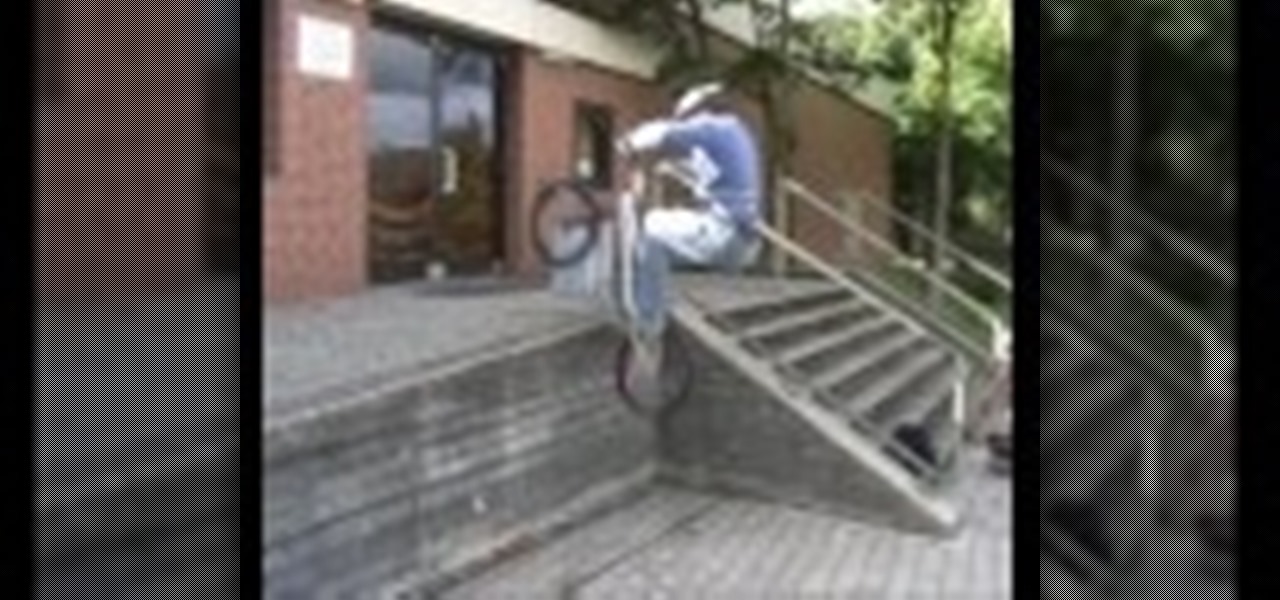
Take a look at this instructional video and learn how to bunny hop with your bicycle onto any obstacle. To perform this trick, you'll want to crack to the gears one or two rotations to gain sufficient speed. Then, shift your weight backwards until your front wheel is in a high position but relatively short so you don't fall off. Then jump; keep in mind that the front of your bike won't be any higher than it has been just yet. Next, lift up your bike with your arms onto the obstacle and spread...

Convert your bike to tubeless using the "ghetto" method. You will need a sealant, a tire, a rim, a metal tire lever, a knife or scissors to cut the tube, a tube a size smaller than your rim, an air compressor, and soap and water. You will need a sweet, doggy mascot as well.