In this how-to video, you will learn how to draw Ned Flanders from The Simpsons. First, start off with the basic outline of the body. Use simple shapes for this. Next, fill in the eyes, hair, nose, mustache, ears, and mouth of the figure. From there, you can move on to the details of the clothing such as the collar and cuffs of the sweater. Finish with the shoes and the fingers on the hand. The basic outline is finished. Now, go in and erase the simple shapes from the drawing and fill in more...
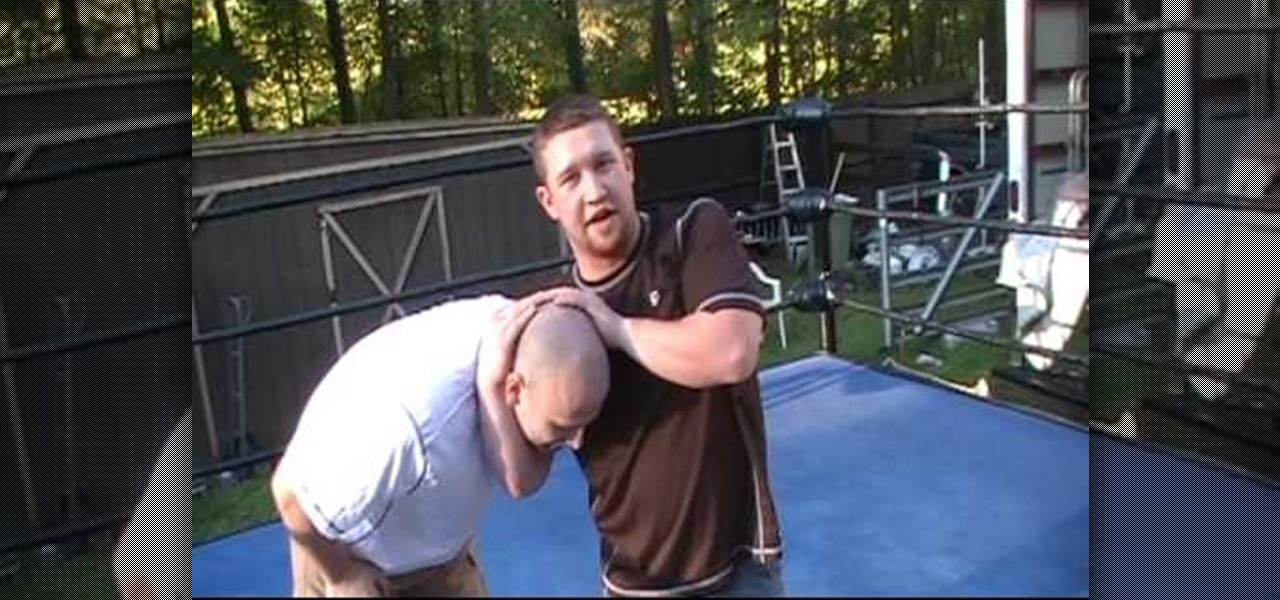
In this video tutorial, viewers learn how to perform Jeff Hardy's Twist of Fate wrestling move. Begin by setting the opponent up with a toe kick. This will force the opponent into a bending position. Then grip their head in a DDT position. Then do a pose with the other hand. Now twist your body around, so that your other arm goes underneath their chin. Do not wrap the arm under the opponent's mouth. As you come down together, kick your bodies away from each other to prevent any contact in the...
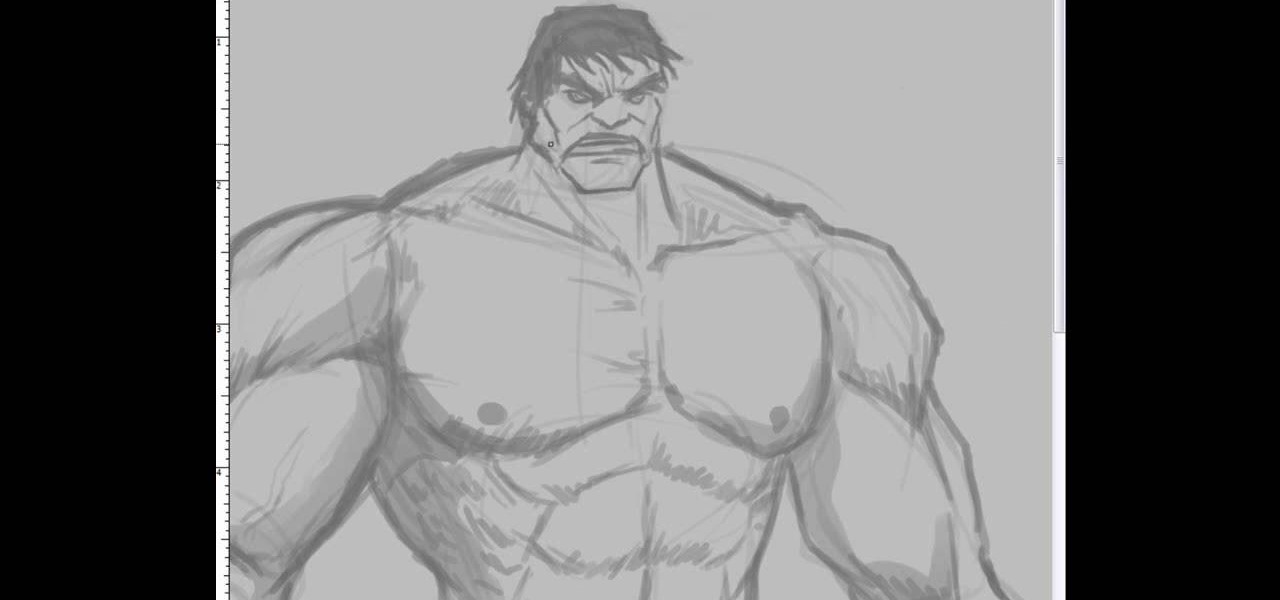
This video illustrate us how to draw the incredible hulk. Here are the following steps:Step 1: First of all take a sheet of paper, pencil and pencil color.Step 2: Now draw a square with round edges representing the face of the hulk. Within the face draw eyes and a big mouth and hairy eyebrows.Step 3: Now from the bottom of the circle draw an oval with wavy structure on it showing the six-pack abs of the hulk.Step 4: Now from the down side of the abdomen extend two legs with muscular legs and ...
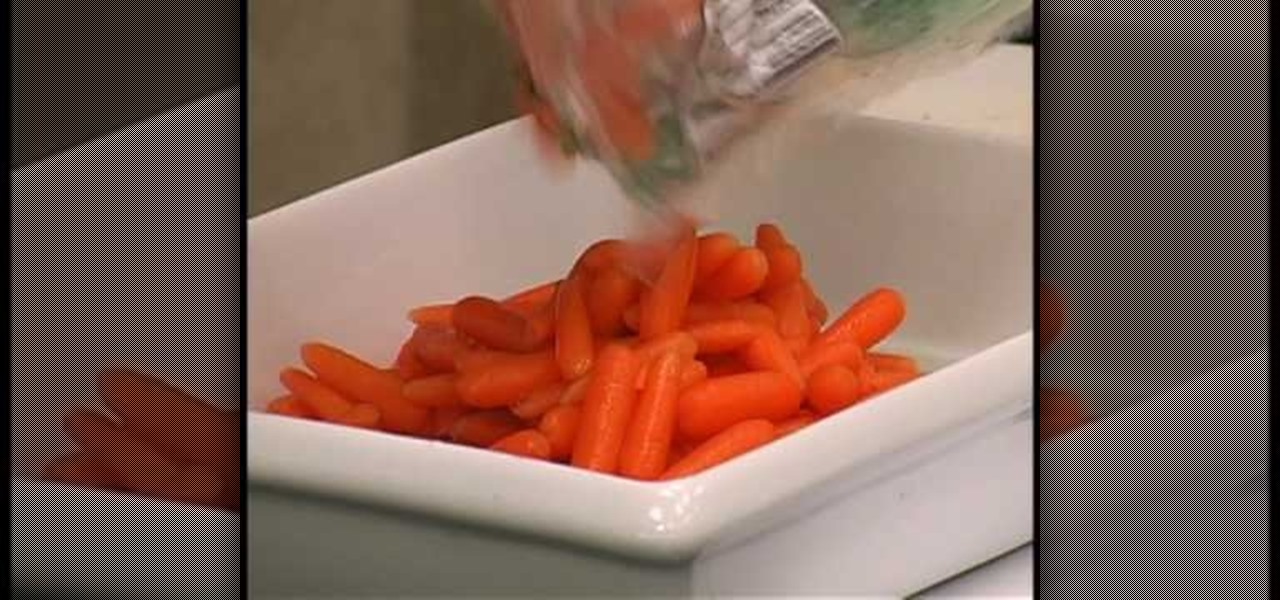
Make the perfect side vegetable dish this evening with this divine recipe for glazed carrots. Serve your man course with a complimentary dish that will have your guest's mouths watering. This recipe yields 6 servings.
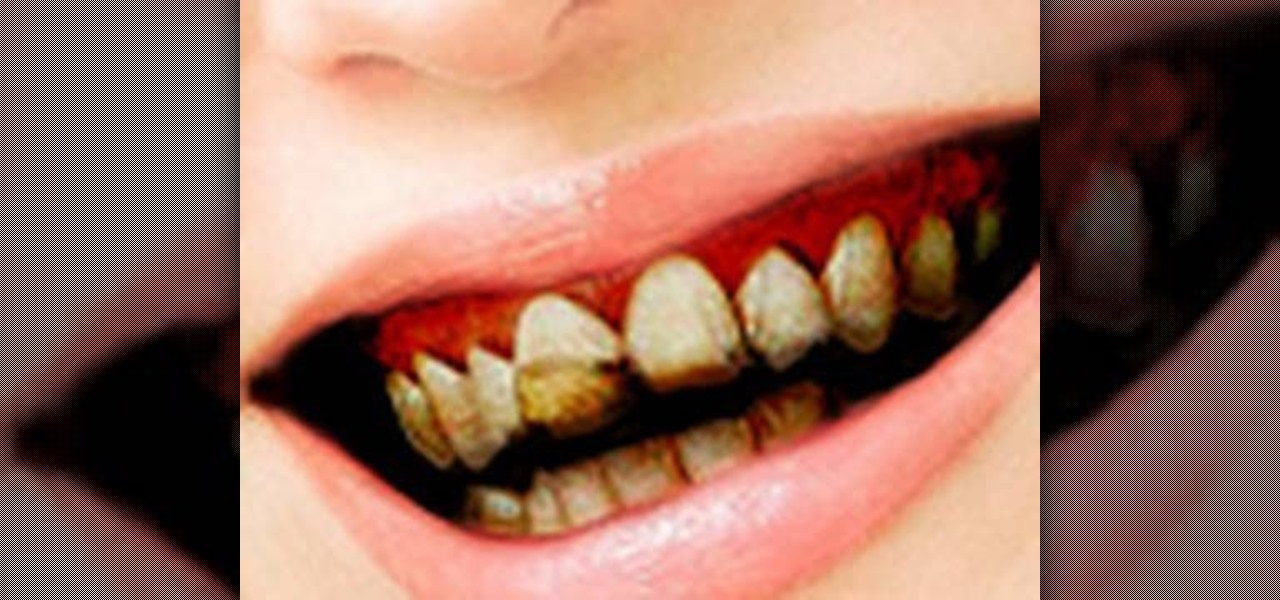
Nobody in the world enjoys seeing somebody with really bad teeth. Or enjoys kissing them for that matter. So this video is perfect for you pranksters out there looking to get revenge on a family member, friend, or even enemy. Find out what it takes to make rotten teeth using Photoshop.

Not a very good artist? Well Joe makes it simple for anyone to create a great looking wiener dog! First he starts with the eyes. He draws two large circles then adds the dots for eyes. Joe gives them a little personality by making the eyes a little cross eyed. He next moves down to the nose where he draws a small round circle and fills it in. Next he follows his way down and creates the long body for the dog. He even includes realistic aspects such as eyebrows and a smiling mouth. Learn from ...

This video details how to draw a penguin that is skiing downhill. You start off by drawing the eyes in an oval shape, and drawing a line cutting them in half for the eyelids. Don't forget dots for eyes! Following that, you draw the penguin's mouth and the top half of the body, including the flipper. You will next draw the ski poles and the lower half of the body. Of course, in order to ski the penguin will need two feet, and two skis so you should probably draw those too. You can now add deta...

This video shows how to make a bay girl and boy head made of clay. The first thing you need to do is get a small round ball of clay that is a skin color color. Then you get the small black beads and place it firmly on the ball they will act as the eyes. Then make the eye creases on the side of both eyes. After that you add the other physical features like nose, mouth, ears, and eyebrows. The last thing you do is fold two square pieces of clay into the shape of a bow then place it on the top o...

This video teaches you how to make a steampunk bunny. You want to start off by making a blob with a fairly light color. Then you want to use a sharp stainless steel tool to create a round head. Make sure to make the head of the bunny is forwarded a little bit so that it looks like a bunny. Next, using your hands create a tail in the back of the bunny. Insert one of the bigger eyes using the little wire. Go ahead take your tool and carve out the nose, the cheeks and the mouth. Next you want to...

In this video you will learn how to draw a graffiti version of "Slimer" from the movie "Ghostbusters". The materials you will need are a writing utensil (the artist in the video uses a permanent marker) and some paper to write on. The artist begins by drawing the eyes and the pupils (the pupils appear cross-eyed). Then you draw the nose, the mouth and start outlining the area around the top of the eyes. Then draw the outline of the ghosts body then continuing around the left arm to the hand. ...

Brittany Black Rainbow demonstrates how to draw an emo boy. Begin with the back ground of hair, draw it like an inverted cone, assuming like one eye is covered by the hair. Draw the second eye and brows, and now draw the nose and mouth. Complete the face. Just draw the neck and the body with a round neck T – shirt with half sleeves and the hands. Now complete the hair. It’s like thorny bush, just draw all these lightly. Give black shade to the hair with pencil itself. Now darken every thing, ...

Neti pots can be used to clean out your nose of dust, dirt and allergens and can help reduce swelling of the nasal passages. Stir half a teaspoon of salt in to a cup of warm water. Salt should be kosher salt or sea salt (DO NOT use ordinary table salt). Pour saline solution in the neti pot, then leaning over a bowl or sink place the spout of the neti pot in one nostril. Tilt your head so that your nose is slightly higher than the mouth, then rotate your head so your ear is facing the bowl or ...

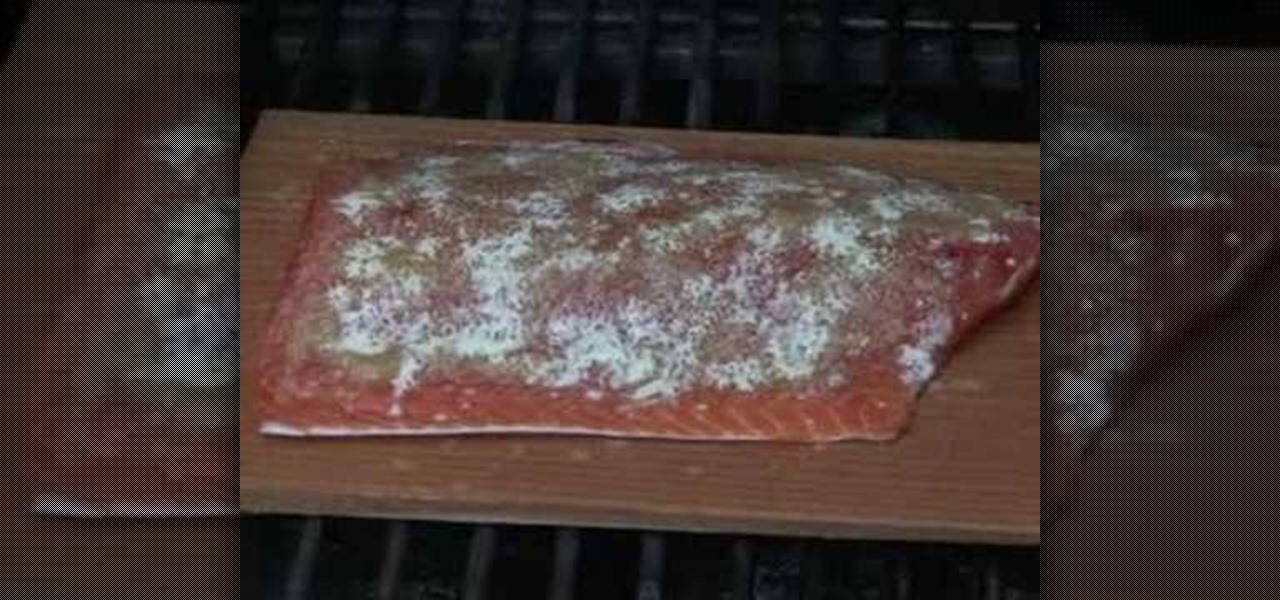
This video offers a method for cooking Coho salmon on a cedar plank. The author suggest you start by soaking a cedar plank in water for an hour, then lay a filet of Coho salmon on the thicker end of the plank. The salmon is then seasoned, first with a puree of ginger, then turbinado sugar, then finally a spray of liquid butter to bind it all together. The sugar will caramelize as the fish cooks. Place the plank over two burners of a grill set to medium for about 25 to 30 minutes, but take car...

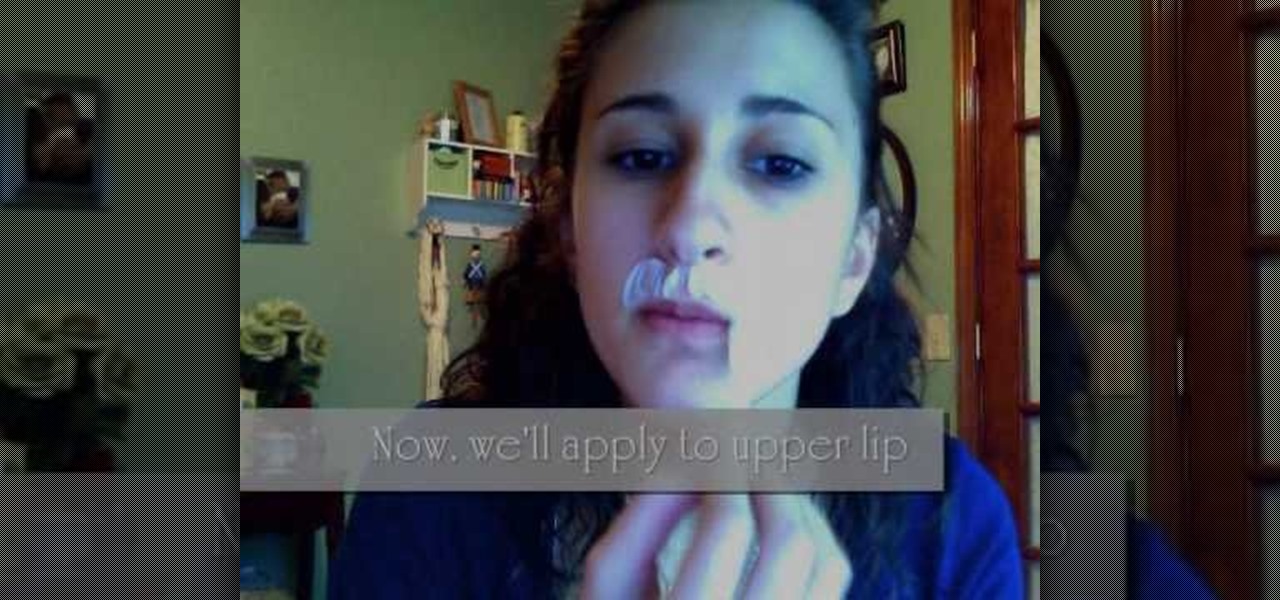
This tutorial teaches you how to bleach an upper lip. The presenter is a young woman. She starts by demonstrating all of the items needed for the process (most of which are contained in a standard kit): bleach kit, plate, spatula, bleach and accelerator). Next she shows one how to put accelerator on the plate using the spatula. Then she adds the bleach and mixes it well. The proportion of bleach to accelerator is 2:1. Next she applies the mixture to her upper lip and along the sides of her mo...

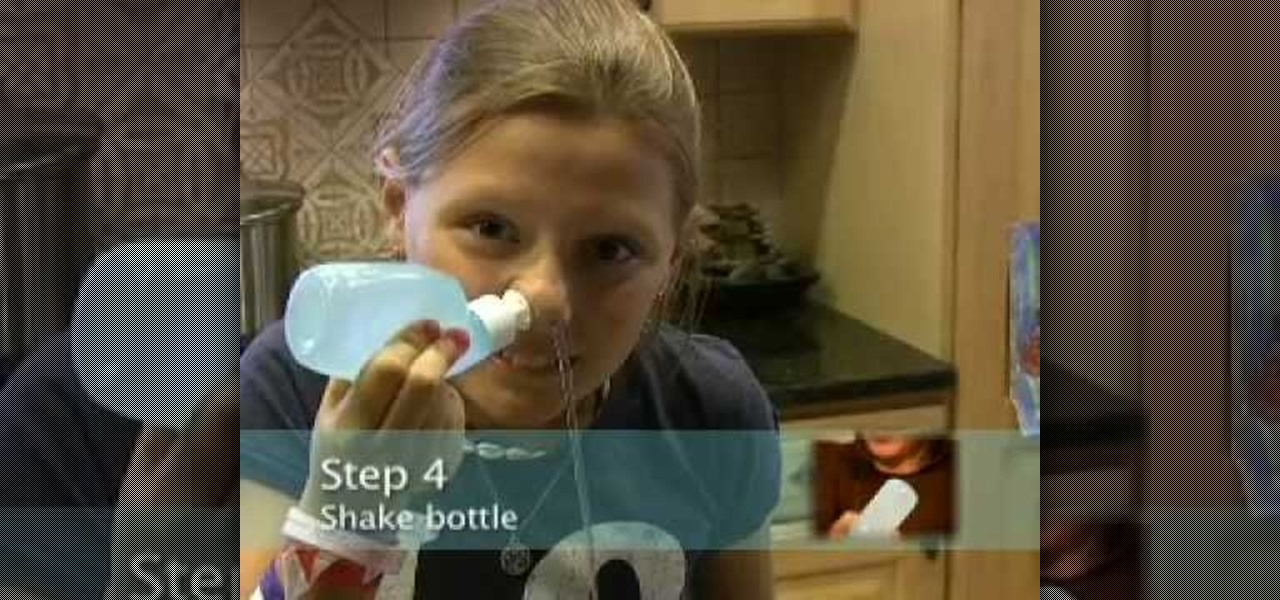
The video is of several different people demonstration how to use the Nasopure, a nasal cleansing device. The woman narrating explains the simplicity of the device, which is similar to a soap dispenser, but simply upside down. The device is filled with salt and lukewarm water. Then it is inserted into one nostril, while the tongue is press against the roof of the mouth, it flushes the slat water through the nose, cleansing the nose and then dripping to the floor. It removes irritants, reduces...

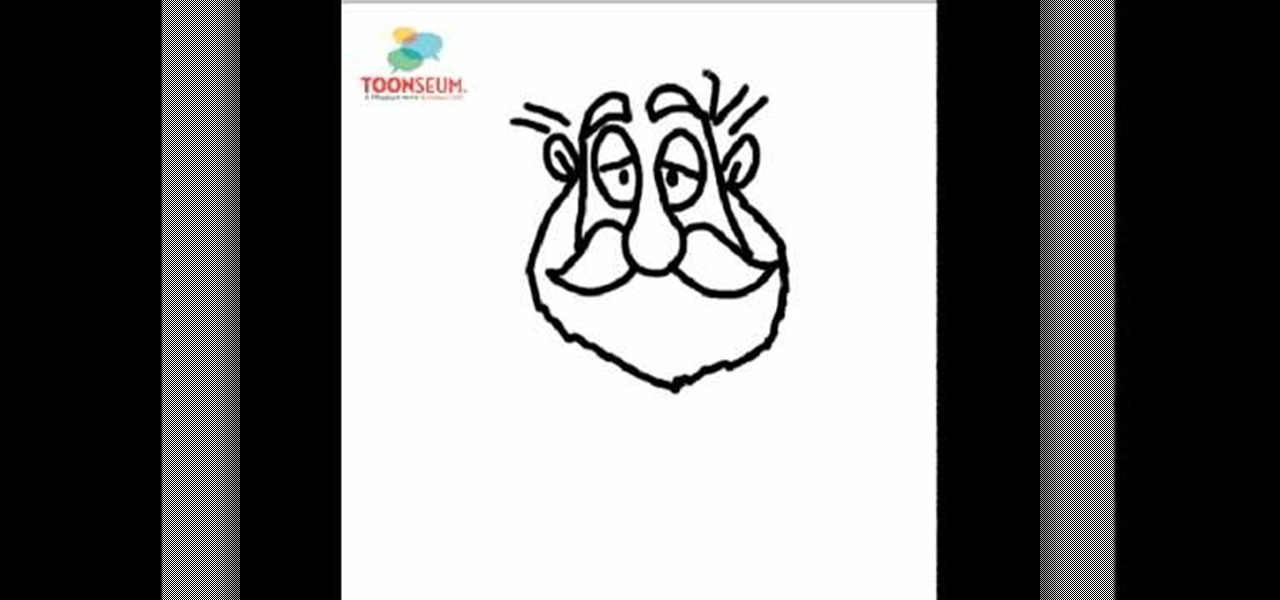
This video shows the viewer an easy way to draw Father Christmas or Santa Claus. The drawing demonstrated is a line drawing but could easily be colored in. The method shows starts by drawing a bulbous nose connected to the eyes. The moustache and the eyelids are then followed by the beard and ears. The hat and eyebrows finish off the top of the face. The mouth is simple and smiling. The body is relatively crude and the legs are very small in comparison to the head. The overall effect is very ...

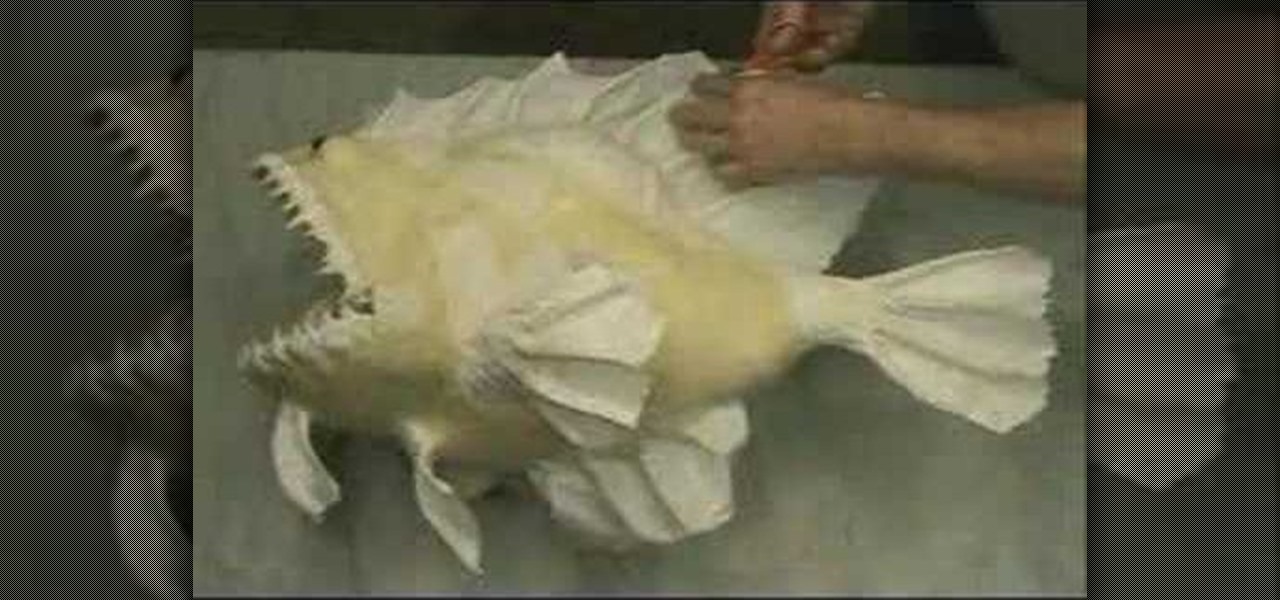
In this video you get to watch a talented mache artist make a fishwichwich from paper mache. It is fast paste but you get the idea of how he does it. Starting with the paper mache materials, the paste and paper, he makes the body and head in several pieces. He pastes these together and uses some sort of stick to make its spikes. He covers the spikes with mache so they have a more realistic look and starts to smooth out the features of the fish. Once the body is done, he's got the teeth and so...

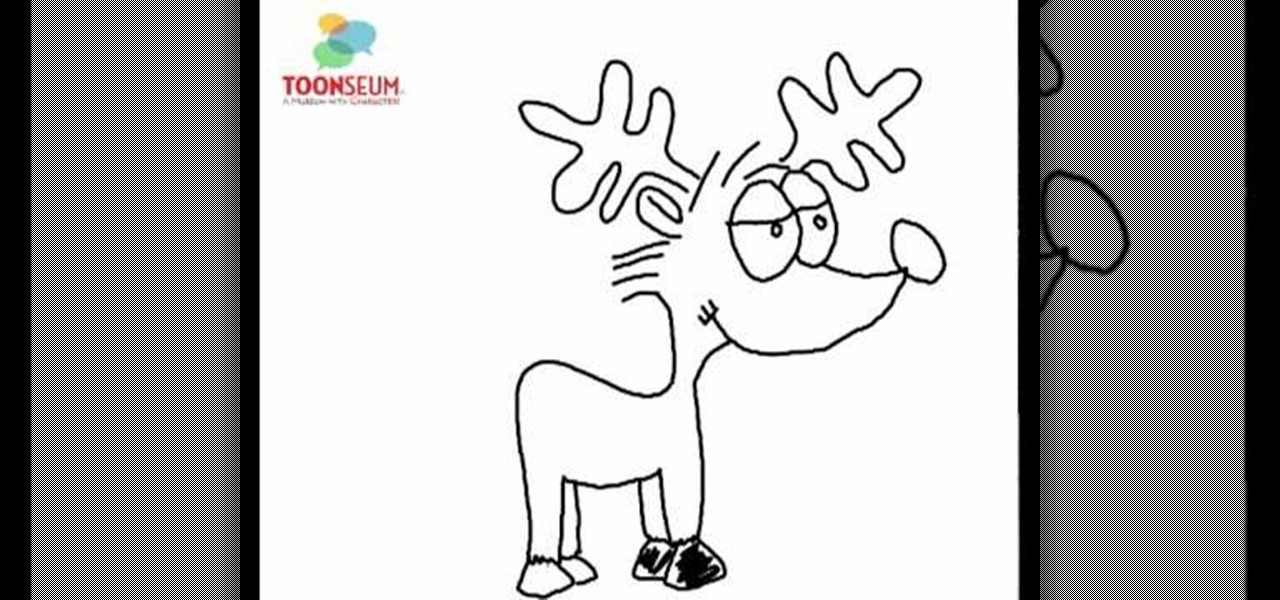
This video shows the viewer how to draw a cartoon reindeer. This is done by building up the character of the reindeer gradually -drawing different features in a set order to create the whole cartoon. The first stage is to draw the eyes and eyelids. The eyelids are crucial as they add character to the drawing. Next is the mouth and the nose, followed by the cheek and the eyes. The antlers complete the reindeers head. The body is very simple and simply compromises of four legs and a tail drawn ...

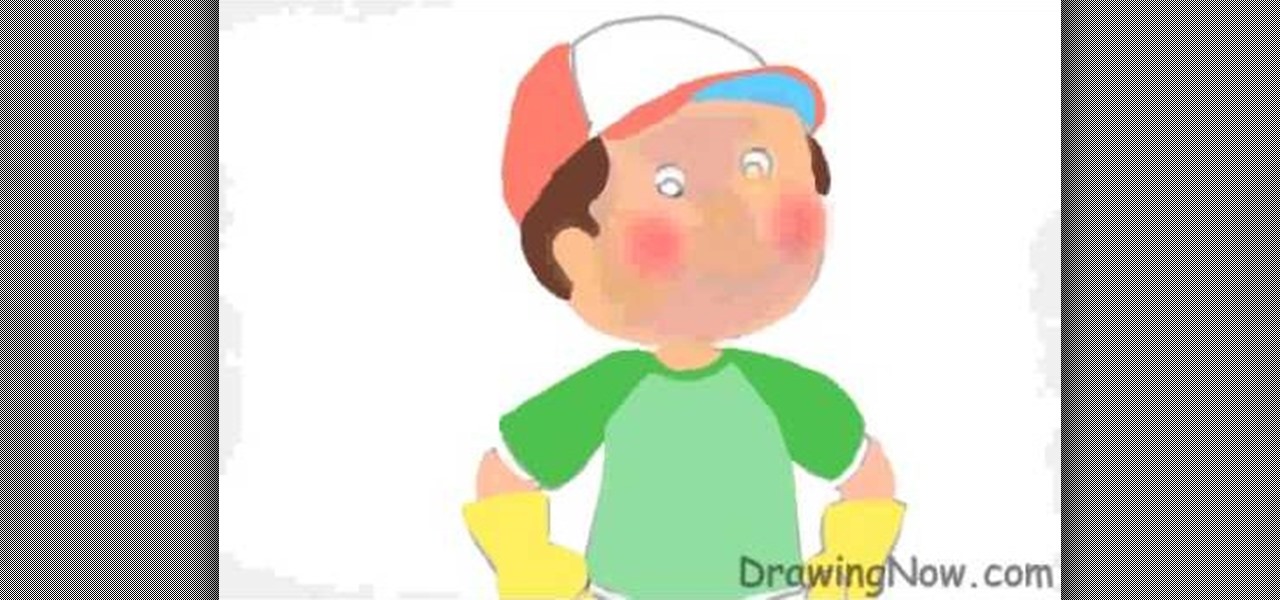
In this video tutorial, viewers learn how to draw Handy Mandy. This is a close up, which means it’s easier to draw. Sketch a large circle for Handy Manny's face and box in his body. Flesh out the arms, draw in gloves, sketch in the T shirt, draw the cap and put details on the face. Handy Manny has big eyes, snob nose and a smiley mouth. To color this in, use the airbrush tool with orange for the face and rosy cheeks. Make the face red and white, then outline the whole thing in a darker shade....

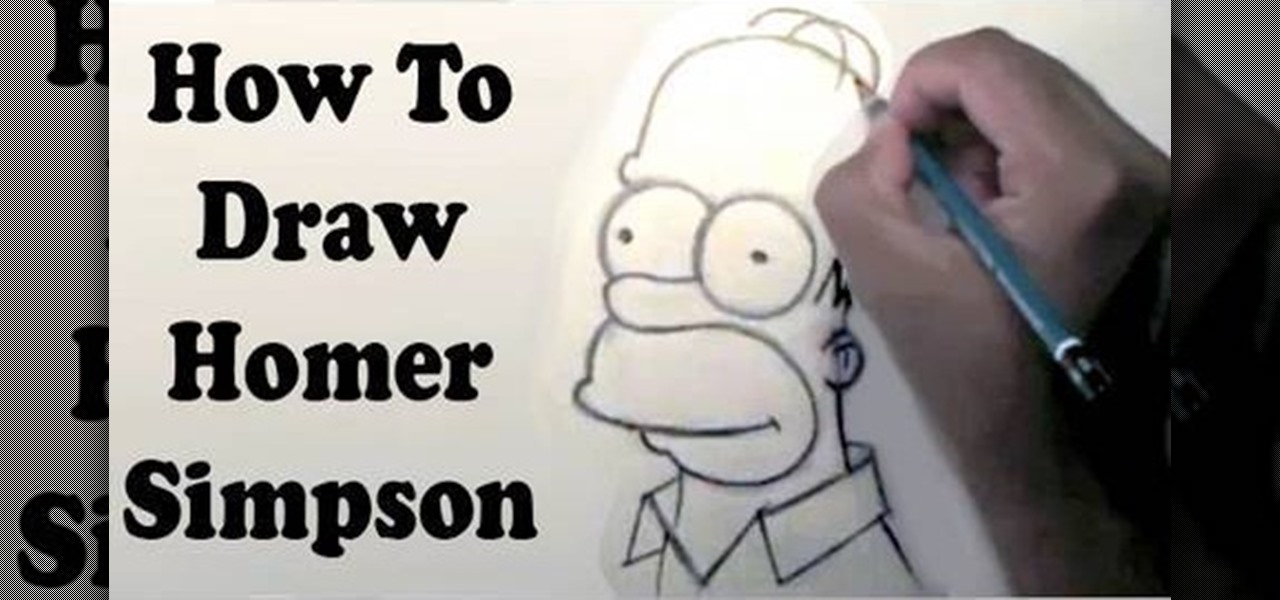
The video shows you how to draw a Homer Simpson cartoon. Start off with a big circle and a smaller circle below. Draw two slightly diagonal lines to the sides, a slightly curved line below and two lines for the lower part of the head. Then add another circle on the left side of the smaller circle. Draw a small pickle shaped nose and an eyebrow above the left circle. Draw the ear just below the eye line. The hair is drawn above the ear, like an M shape. Draw the mouth and the lower lip and ext...

First, begin by drawing a big circle in the middle of the page. Then draw a smaller circle (about a third the size of the bigger one) above your first circle. This will be the head. Next draw two lines where you want the arms to be, and one leg on the right side. Next draw two big eyes and a big half circle mouth as well as a little curl (for the tail) on the left side, opposite the leg. In heavier ink trace over the head and face and begin to draw arms around the arm lines you drew earlier. ...

In this video you will learn how to draw an angry tiger using your basic drawing tools. In order to do that just follow these steps and instructions: The first thing to do is to get a pencil and a sheet of paper. These are the tools that you will use for the drawing. Draw the head and the mouth just like in the video. Now draw the body, the legs and draw the right arm in the air. Draw all the other details and complete the sketch. Now you can start to color it. Use the same colors like in the...

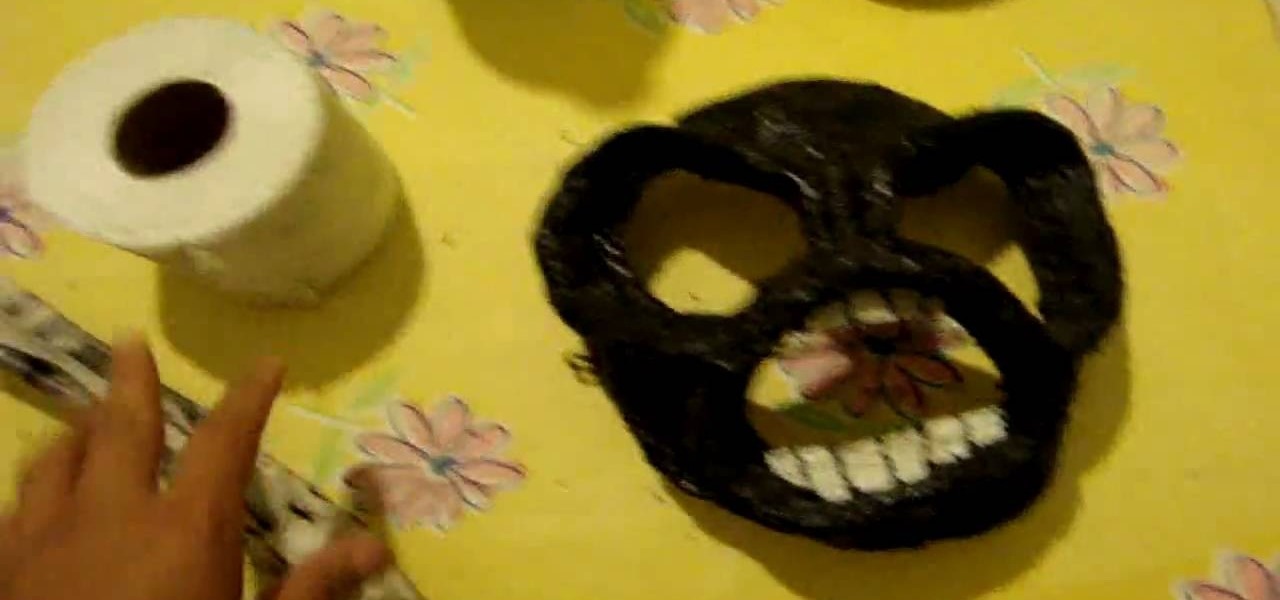
In this video, user mudvayne200 teaches you how to make a Sid Wilson from Slipknot mask. You will need a roll of toilet paper, a newspaper, water, a balloon and scissors. You will want to fill up the balloon and then cut strips of newspaper. Put water on the strips of paper and place them on top of the balloon. Do this a few times to have a few layers. Once it's dry, you can cut it in half and cut holes for the eyes and mouth. You can also add a layer of toilet paper and let it dry. Color it ...

This video will show you how to draw the character Pein from Naruto Shippuden. The first step is to draw an oval to begin his head. Then you want to add guidelines for the headband and hair. His face angles down, so you want to factor that in when drawing guidelines for the eyes, nose and mouth. You'll want to use a black pencil to fill in the details. You can erase the guidelines with white pencil. Follow the directions in this video and you'll have a great drawing in no time.

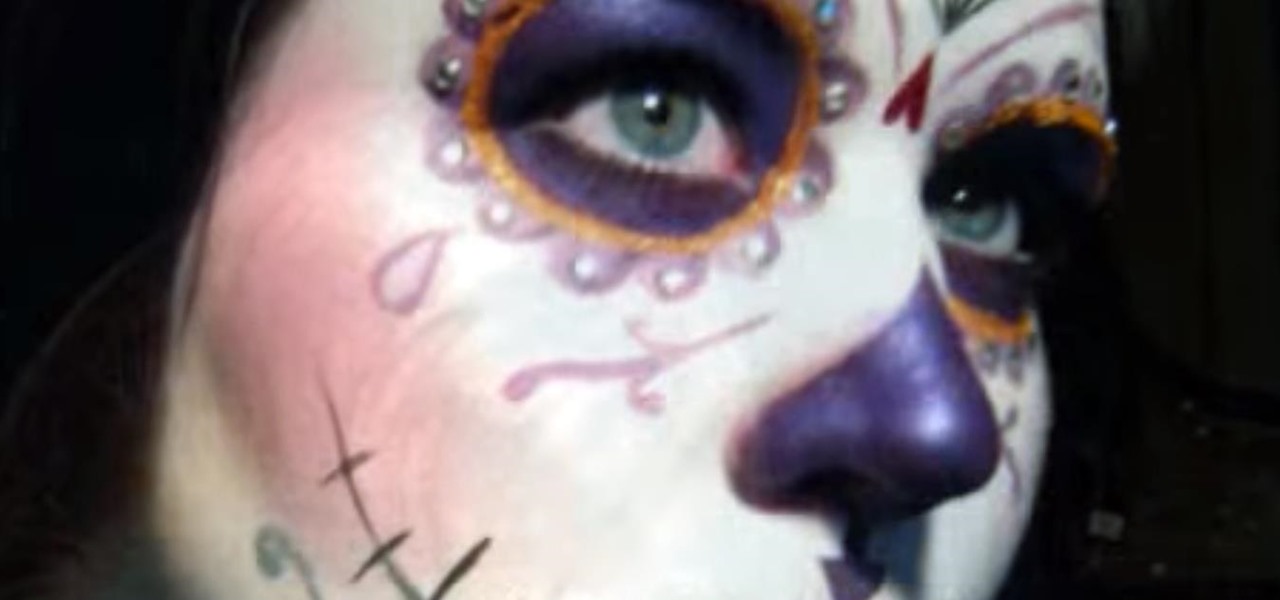
YouTube user goldiestarling teaches you how to apply a purply sugar skull makeup look inspired by Sylvia Ji's Purple Crush painting. Use a white eyeliner to create the sockets of the skull, then go around the nose area. Color the whole face using a creamy white pencil and add red blush on the cheeks. Use a creamy purple color to fill in the sockets and the tip of the nose. Draw small flower petals on the edges of each socket. Use a black color to draw a spider web on the forehead. Then draw b...

DrawingNowVideos teaches you how to draw SpongeBob Squarepants. You start off with a squiggly line and you want to create a rectangle and then create a 3D box out of that. That will be the head. Add circles and ovals on the side to make it look more like a sponge. Add eyes, eyelashes, nose, cheek with freckles and an open mouth with two teeth up front and the tongue. Then draw the body and add details such as pants and a tie. Complete the face by adding a few circles around. Also don't forget...

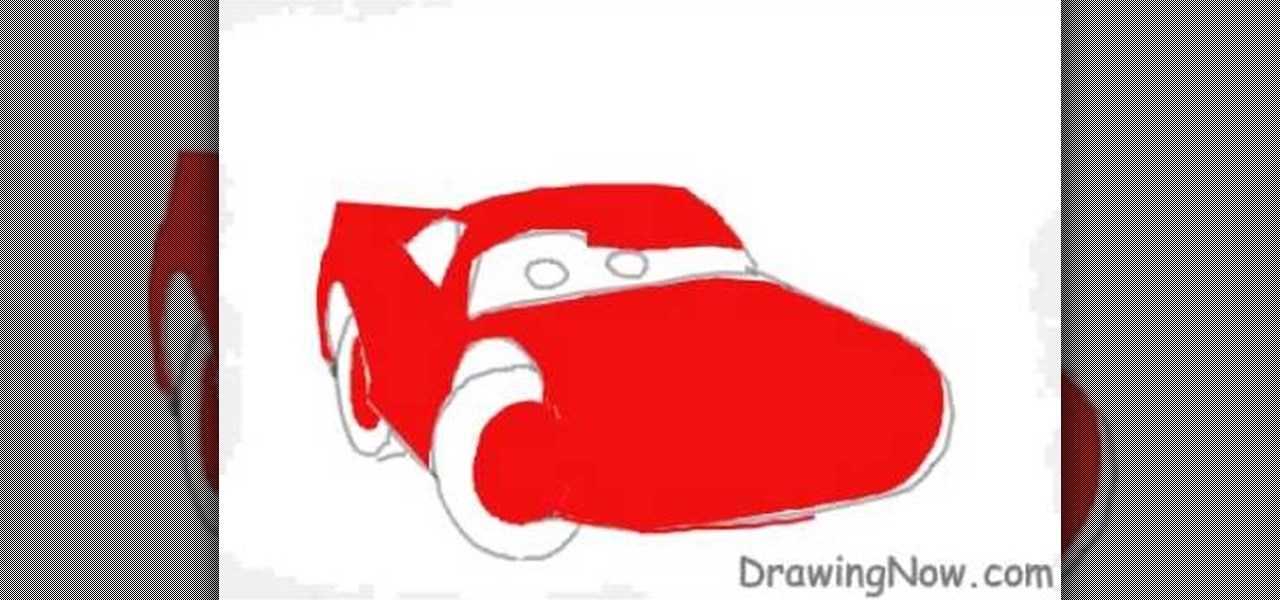
In this video tutorial, viewers will learn how to draw the character Lightning McQueen from the Disney movie Cars. Begin by drawing a 3D rectangle. Make it rounded. Add the wheels and windshield. Draw the mouth on the bumper and the eyes on the windshield. Draw the spoiler and add the details of the car. Then erase the guidelines. Then start adding the colors. Add a darker shade of red for shading. Finish by adding the details on the car. This video will benefit those viewers who enjoy drawin...

User DrawingNow teaches you how to draw a skateboarder in mid flight. You start by sketching basic shapes like an oval for the head, parallelograms for the hands and feet and a large square for the body. Make sure you make the legs bent and placed on top of the skateboard. You can then draw on top of that, adding more details like a cap, muscles for the arm and a shirt on the body. You can delete the first outline and start coloring it in. Add more details, like wheels, shoes and pants, and a...

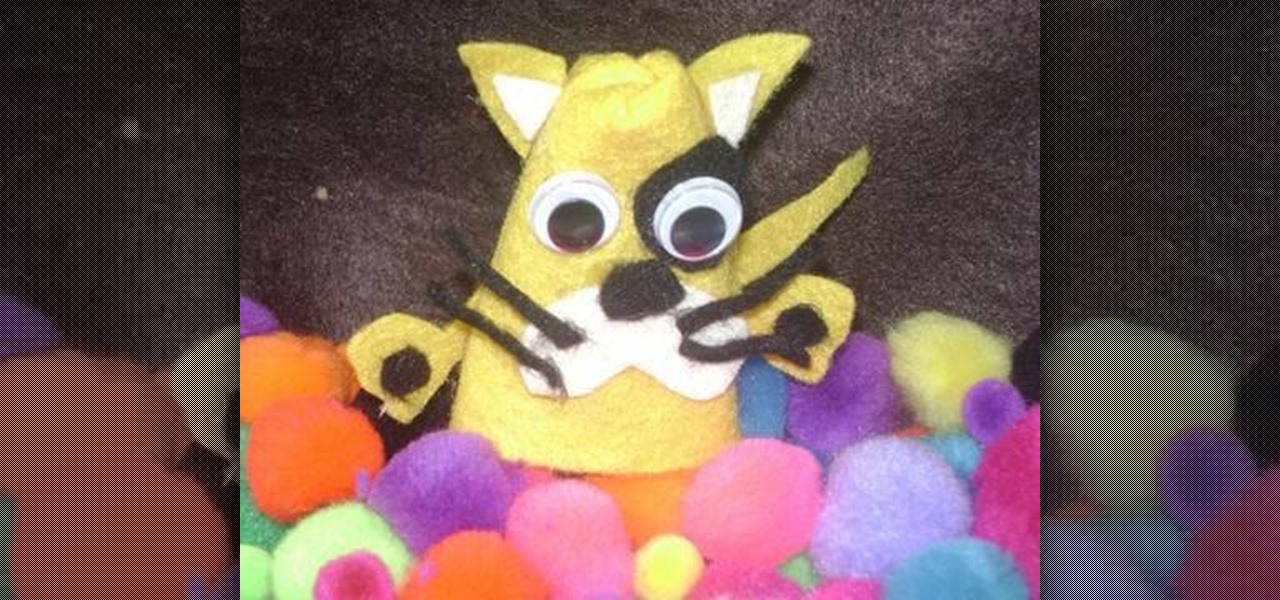
This is step-by-step video tutorial on how to make a basic but adorable cat puppet. The kids will have such a good time cutting and gluing the materials to make their very own puppet. The process is very quick and very easy. The materials you will need are: Felt (black, white and yellow), 2 googly eyes, scissors, and fabric glue. First cut out 2 triangles for the ears. Glue the circular edges of a half circle of felt together and glue the ears to it. Glue the eyes, nose, mouth, whiskers, and ...

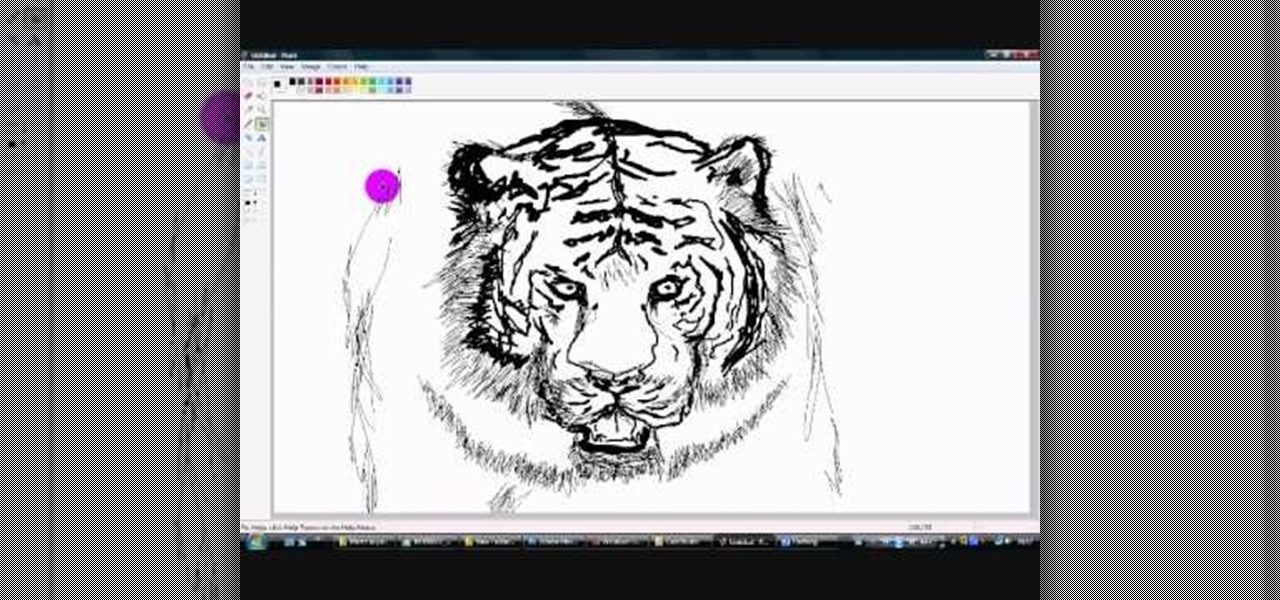
FreshLove8 teaches you how to draw a tiger in Microsoft Paint. Start with the thick pencil or paintbrush to first draw the whiskers and the nose. Connect this to the mouth that you will draw open, underneath. Continuing upwards you will draw pointed ovals for the eyes and then forehead. You can now start adding more details to the drawing, accentuating the contour. Draw the lines on the tiger's face and also add fur around it. Give it a menacing look and complete the head by adding ears. The ...

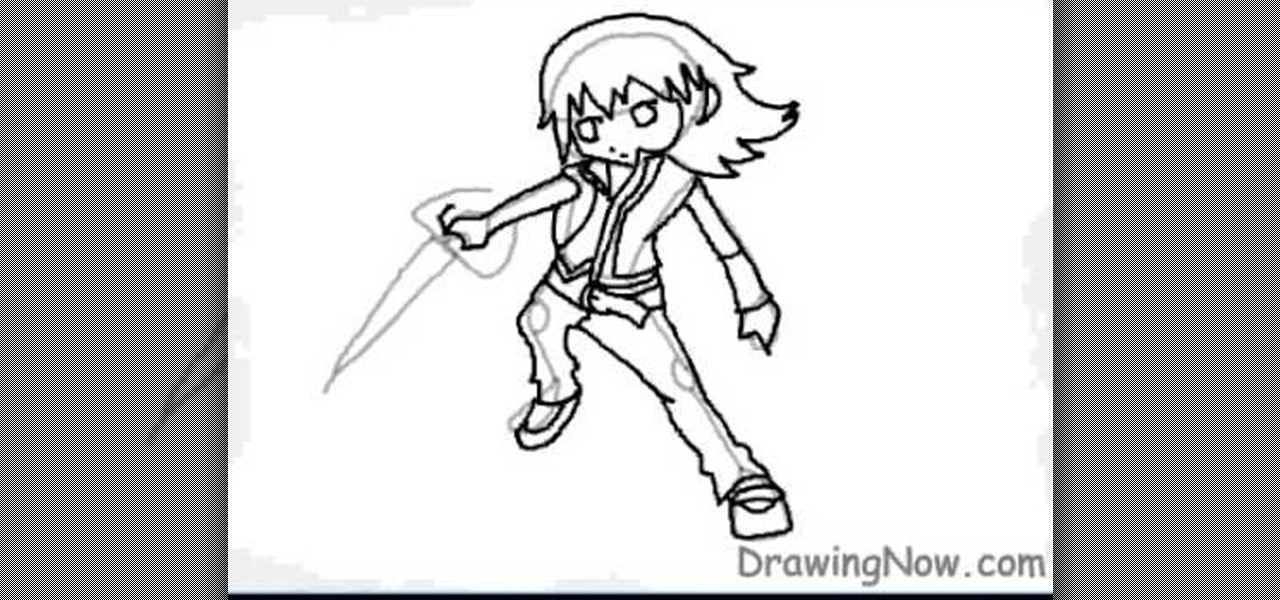
The video shows us how to draw Riku from Kingdom Hearts. Firstly draw a rough circle and then draw a center line to it. Then draw the rest of the body parts along with the sword aligned to it along the way down. Draw all this using a lighter shades and once you are done creating the body line roughly, use the darker shades to highlight that and also start drawing the other important parts like parts of the mouth, costume, limbs and the shoes. Then erase the parts which were in lighter shades ...

Stitch shows how to do the inward keh snare and its advantages over outward keh. Put the tip of your tongue on the roof of your mouth. Breathe in through the sides of your tongue for a "Darth Vader"-like sound. Forget steps 1 and 2 for a while. Say a "k" with the back of your throat while breathing in. Combine all three steps together. Advantages of inward keh over outward keh. Inward keh sounds nicer than outward keh. Inward keh is much louder than the outward keh. Inward keh allows you to b...

If you are learning the English language make sure to follow this video which can better explain to you how to pronounce the letter R. When speaking in the English language we may often make common errors on how to pronounce the letter R in the words we use. One tip to pronounce the letter r better is not to touch the top of our mouth with our tongue when saying the letter r. Secondly, you have to make your lips shape in a tightly rounded manner to say the letter r accurately. You could also ...

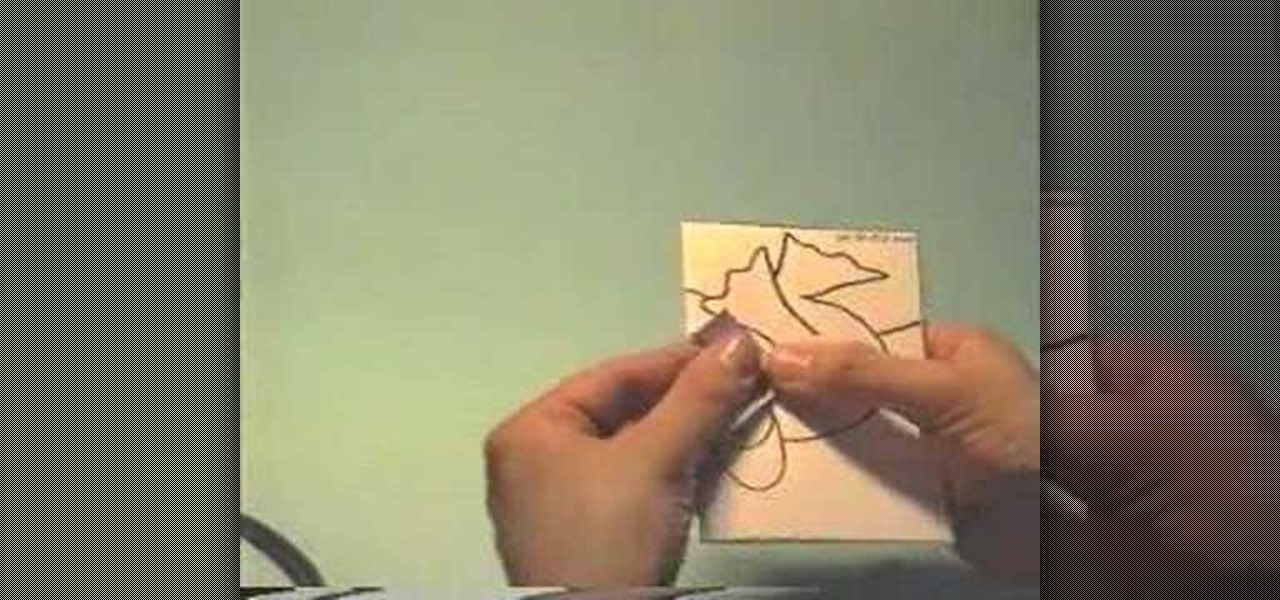
This video teaches the secrets of making a frog pop-up card in simple steps. First draw a frog in a card by outlining its mouth wide open as shown in the video. Now fold the card into half with the frog image on front. Cut the center and fold it to both sides using the outlines as shown. Open the card to check the pop-up. Finally stick a colored card to the back and do some coloring to finish.

This video describes how to make a whiskey sour cocktail. First take the following ingredients Bourbon Whiskey, Lemon Juice, Gomme Syrup, Cocktail Glass, Strainer, and Shaker. Now take Cocktail glass with full of "Ice cubes", and stir it well and using "strainer" filter the water out and pour the "Lemon Juice" of 1 1/2 oz(ounce),and add 3/4 oz of "Gomme syrup" and then now pour 1 1/2 oz of Bourbon Whiskey into Cocktail glass added with ice cubes. After added all the ingredients take the "Shak...

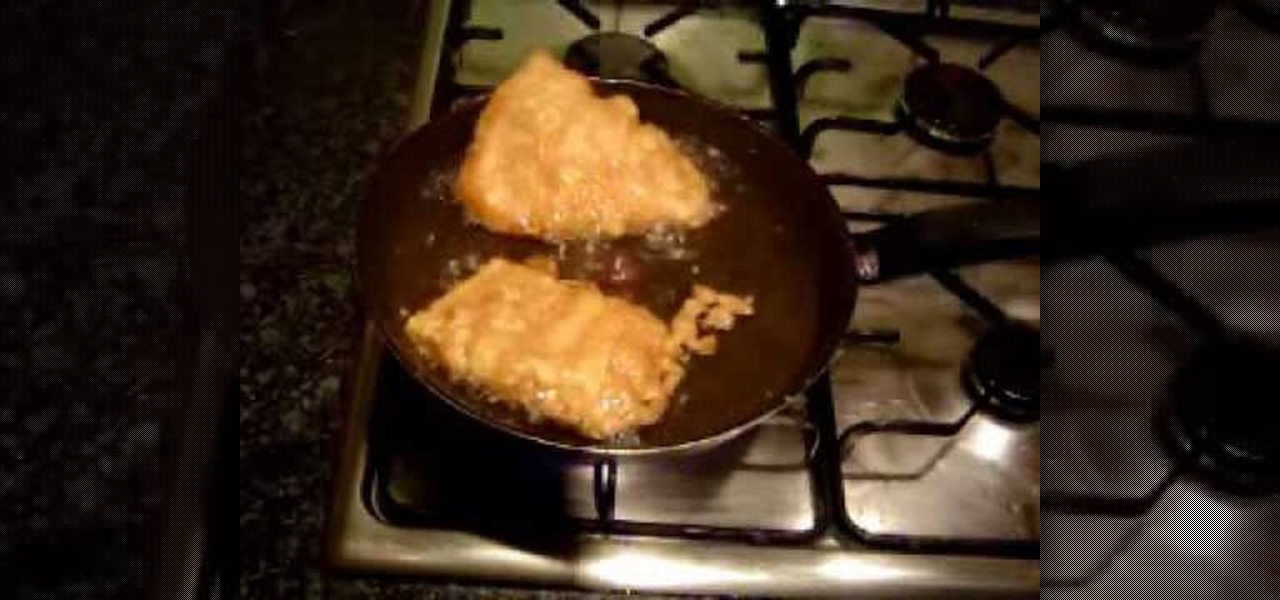
Need a new recipe for a crispy batter for fried fish? The Original Naked Chef uses a simple seasoned flour and water base with an extra twist. He adds a healthy dose of Guinness beer to the mix. This affords a rich and fragrant batter. Chef believes that the perfect surface for cooking fish is in a shallow skillet with very hot oil. Simply dipping the fillets in the batter and allowing them to fry several minutes per side yields a mouth-watering main course. Serve with chips and Guinness beer...

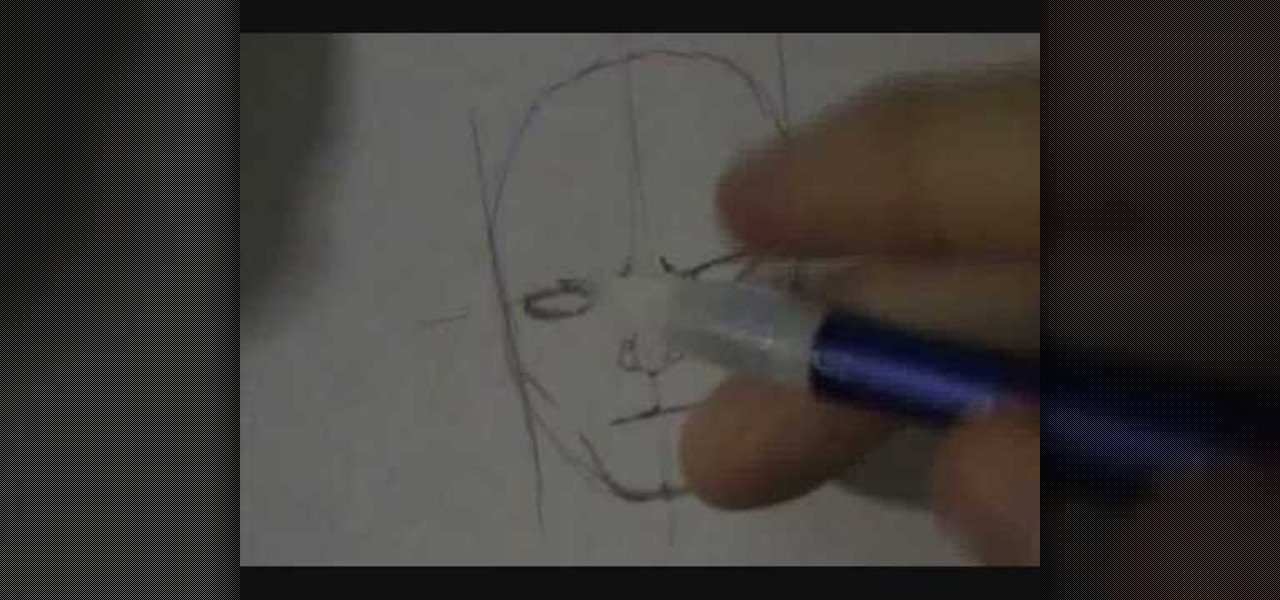
This video teaches the secret of drawing a realistic cartoon face in simple steps. First draw an oval in a plain paper using a pencil ,then make a light cross inside the oval. Now make a pair of eyes by drawing a coin like image on both sides of the horizontal line. On the vertical line draw the nose. Make a line below the nose for the mouth. Draw two vertical lines on the sides of oval and erase the line coming out from the oval. Make a light curve from the oval for cheeks and highlight the ...

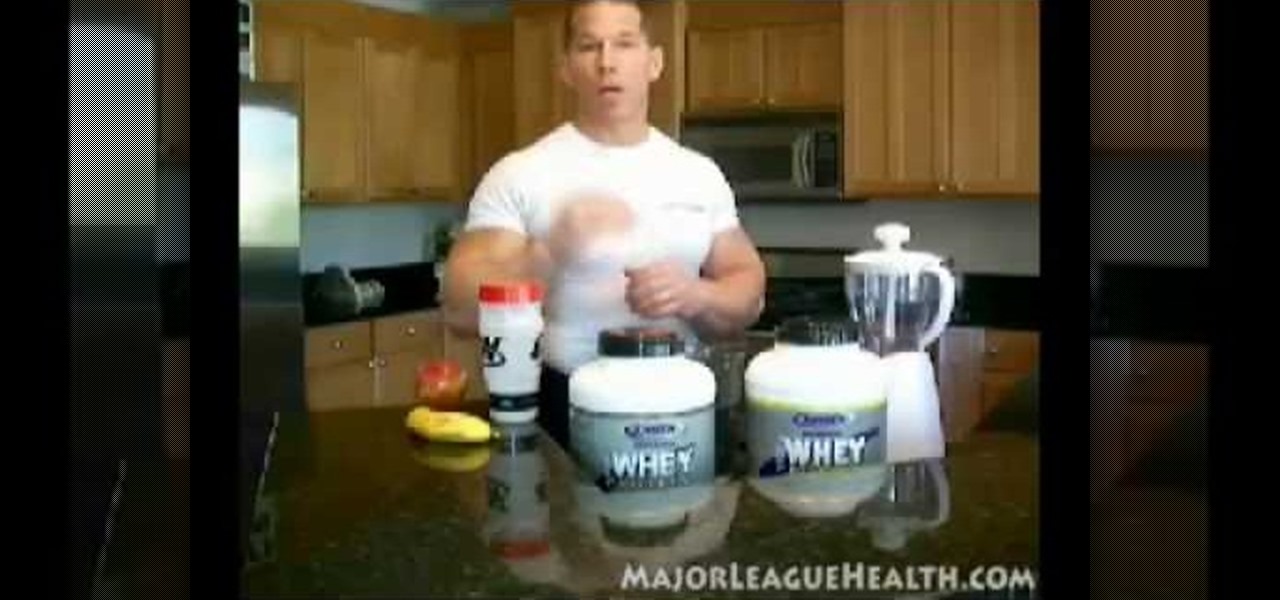
Darin Steen of Major League Health explains how to lose weight with a healthy meal after a workout. What you put in your mouth composes 70% to 80% of fitness fat loss gain. Meals that you eat after intense workout sessions are very important. Eat a meal that is predigested and absorbed quickly like whey protein and a banana. Eat your meal 30 minutes to 60 minutes after your workout. For people weighing 120 pounds to 140 pounds, use 15 grams of whey protein and a half of a banana. For people w...

In this video the instructor shows how to whistle using four fingers. The first thing he shows is how to make a V formation using the index finger and middle finger of both your hands. Now he shows how to place them on your tongue by folding the tongue back words. He shows how to seal around all the cracks in the mouth and says that the air should be let out only through the center opening. He finally blows a whistle using the method shown. This video demonstrates how to whistle using four fi...

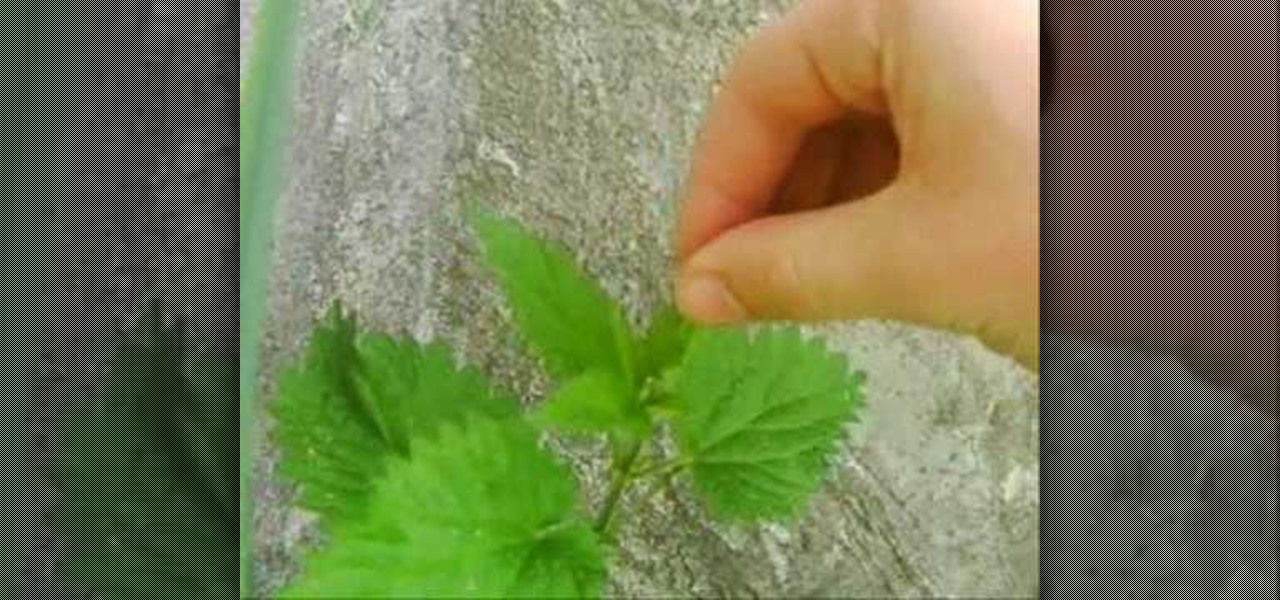
If you like to eat stinging nettles, there is actually a way to do it without stinging yourself, and this video will show you a very simple trick. Take the leaf between your thumb and forefinger and stroke it away from the stem of the plant a few times, then tear the leaf off. Roll it between your thumb and finger so it forms a cylindrical shape, pop it in your mouth and eat it. It tastes good and you don't get stung. If you've ever been curious about eating stinging nettles, this is the plac...


