

How To: Draw a simple strawberry
This video illustrate us how to draw a simple strawberry. Here is the procedure for the following: Step 1: First of all take a sheet of paper, pencil color and pencil.

This video illustrate us how to draw a simple strawberry. Here is the procedure for the following: Step 1: First of all take a sheet of paper, pencil color and pencil.

In this how to video, you will learn how to create a rainbow effect in your photos with Photoshop. First, open the image you want to edit in Photoshop. Next, edit the hue and saturation. Make sure to desaturate the drawing. Next, create a new layer. Select a brush and choose a blue color. Make sure in the new layer that color is selected. Color the top part of the image. Next, select a purple or pink color and color the middle part. Choose a yellow color and color the bottom of the middle par...
One of the things you can do to manipulate your images in Photoshop CS3 is to change and replace colors. You can use this tool to edit your photos to your liking and enhance their appearance.
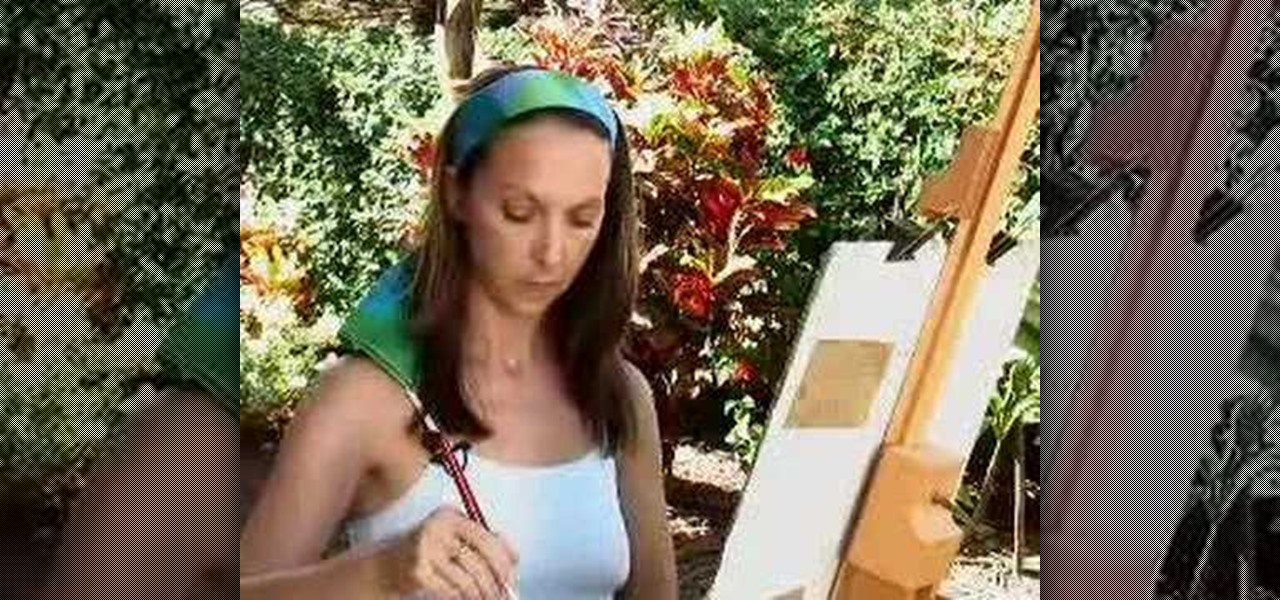
This is a video about how to create a simple water color painting. First we have to select the seen that we are going to paint on the paper. Next give a rough sketch on the paper about the scene that you have imagine or select to paint with a pencil. Next take the water proof marker give the outlines to that paint. Then you have to give two washes to your paint. First one is warm wash. For that you have to take yellow, orange, and red colors. First wet the paper with the water. Next splash on...
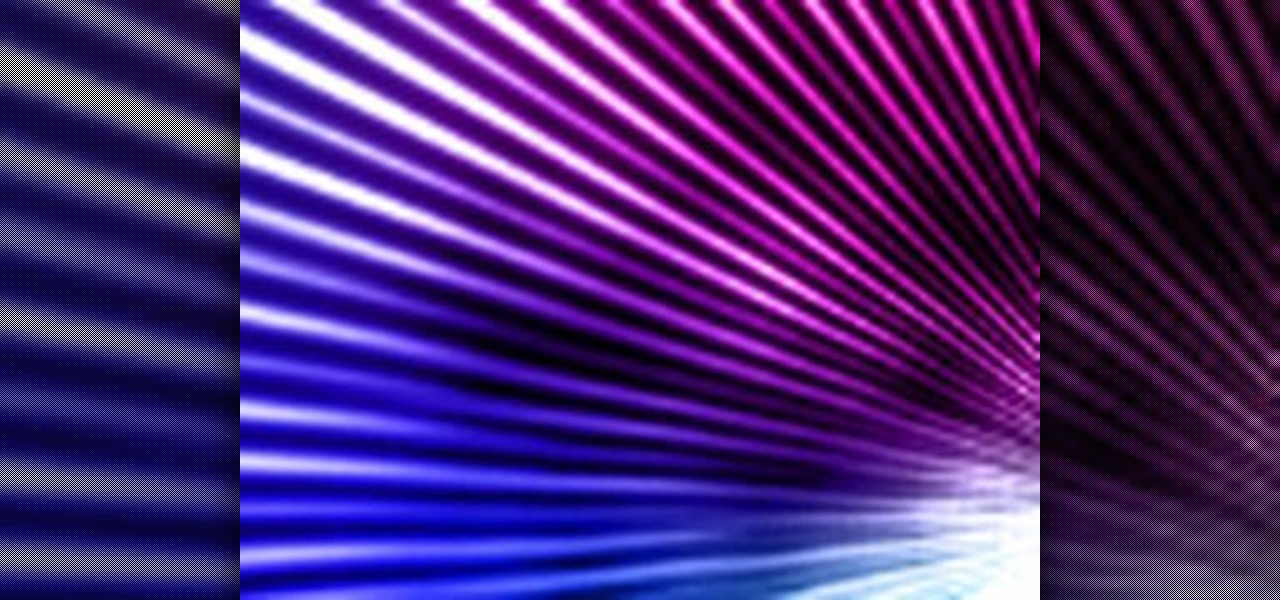
In this Software video tutorial you will learn how to create a cool color blast effect using Photoshop CS4. Open a new document of 700 x 700 pixels. Press ‘D’ on the keyboard and set the color palette to black on top and white at the bottom. Go to filter > render > clouds. Then go to filter > render > difference clouds. Press ‘F’ a few times to change how the color looks and select the one you like. Then go to filter > pixelate > color halftone. Here you set radius to ‘ pixels and c...
If you do any sort of graphic design, photo or video post-production work, it's imperative that your monitor display colors in an accurate, predictable manner. One way to ensure that this is so is through a color-managed workflow. This video tutorial will teach you how to use monitor color calibration & management.

This video teaches you how to achieve an eye catching stained glass nail art effect without attending a nail salon. To achieve the striking effect, one needs between 4-7 nail polish colors, and a fine lined nail art nail polish in black. Beginning with the base color, one applies the desired outlines for the "panes" using the nail art brush. Once that is dry and you are satisfied with the outlines, you can begin applying your desired colors to the "panes" achieving the effect of pieces of sta...

In this how-to video, you will learn how to draw Madara Uchia. First, start off with an oval shape for the face. Next, draw several spike shapes for the hair and bangs. Now, move on to the armor of the character. From here, draw a circle behind the body. Now you can fill in the details of the character. Move into the face and draw the eyes, nose, and mouth. Outline the armor in more detail so you can see straps and metal folds. Erase any of the previous lines that were used for guides. Once y...
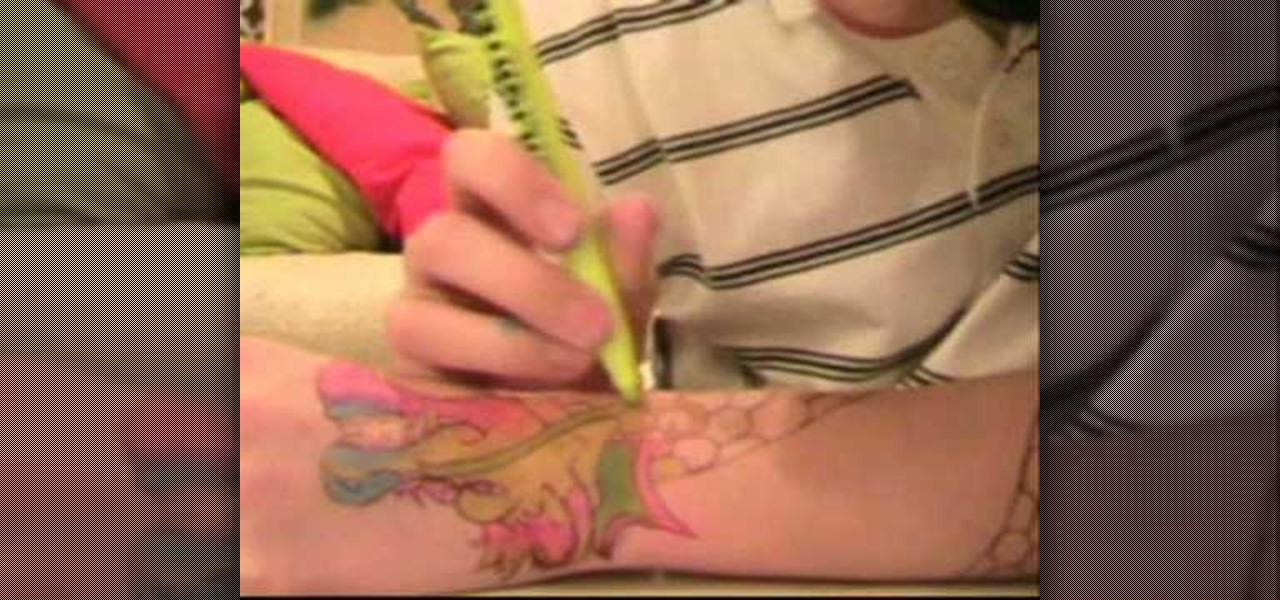
Learn how to draw a ‘Fake Tattoo’ using a ballpoint pen and some colored highlighters, by watching this video. Begin by drawing a faint design of your choice at the back of your palm, using a ballpoint pen. Darken the outlines when you are done with the image drawn. Now according to your choice, fill colors in the drawing using colored green, blue, yellow and pink highlighters. Begin with the yellow color and blend it together with the other color applied in each area, using your fingers. Use...
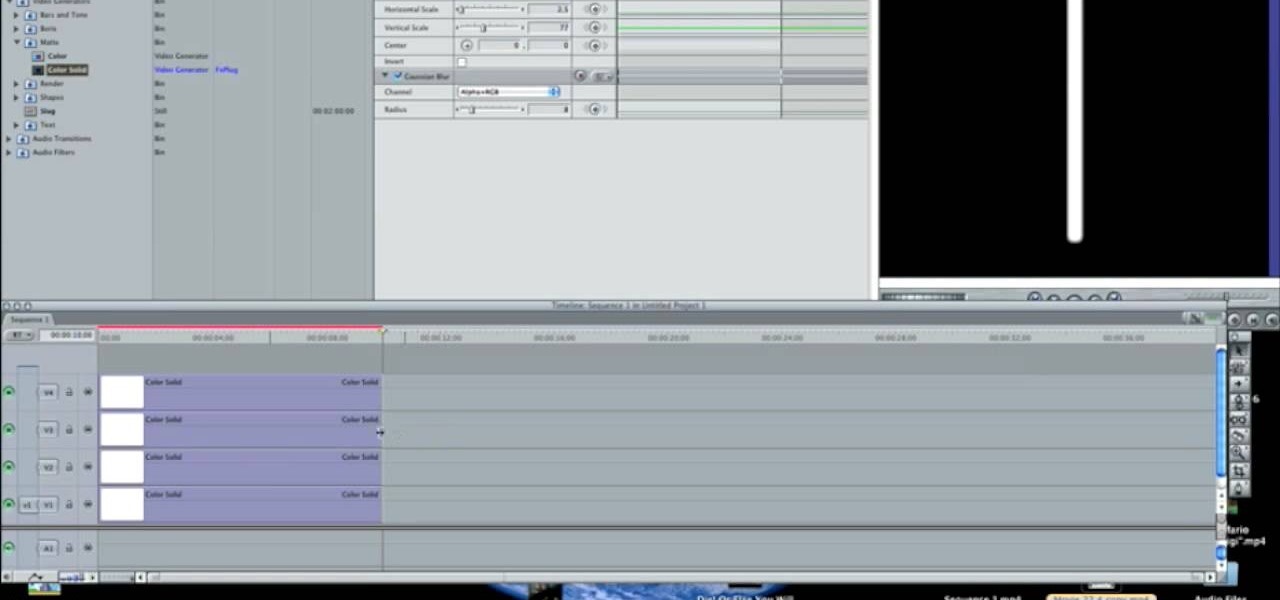
In this how-to video, you will learn how to make a light saber or similar image in the Final Cut Express program. First, go to the effects tab and go to video generators and select color solid. Drag this to the viewer. Go to the control tab and select the blue color. Now drag it to the time line. Double effect the color solid and go to mask shape. Select filters and change the effects settings to 2.5 horizontal scale. For the vertical scale, select 75 to 85. Go to the effects, video effects, ...

This video explains how to paint your nails in a red, black and silver art theme. The instructor begins by showing off her finished nails and the different colors she had chosen to use for her own nails. The instructor asks the user to choose the solid color and highlighting color to use, it is also necessary to choose various types of glitter to use as well. The color red is first used to color just the part of the nail away from the finger and then rhinestones are then used to decorate the ...
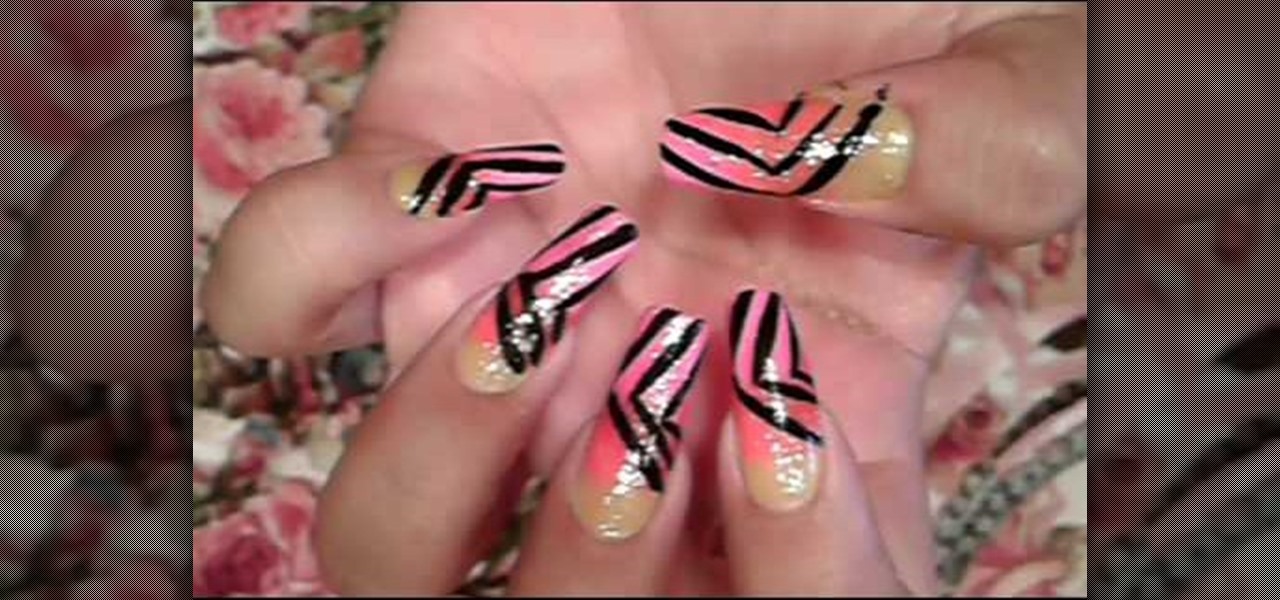
This video on nail art shows how to paint your nails with a summer rainbow stripe design. The nail colors needed for this design are yellow, orange and pink, a glittery color, a transparent clear polish and a black thin nail polish. The first step is to color only the bottom of the bare nail with yellow, here neon colors are used. Next the middle portion with orange and the tip with the pink color. Quick drying polishes can be applied one after the other or else the colors are applied after d...

Learn how to draw Kenpachi Zaraki from the manga series, Bleach. "Drawing Now" teaches fans of the manga series, Bleach how to draw a sketch of the character Kenpachi Zaraki. You will need: a drawing pencil, colored pencils/markers, and a basic idea of how Kenpachi looks. Start by drawing a lighter, erasable outline of Kenpachi (this is so mistakes can easily be fixed before bringing in more color). Using a darker color (preferably black), trace over the lines you wish to keep in the drawing ...
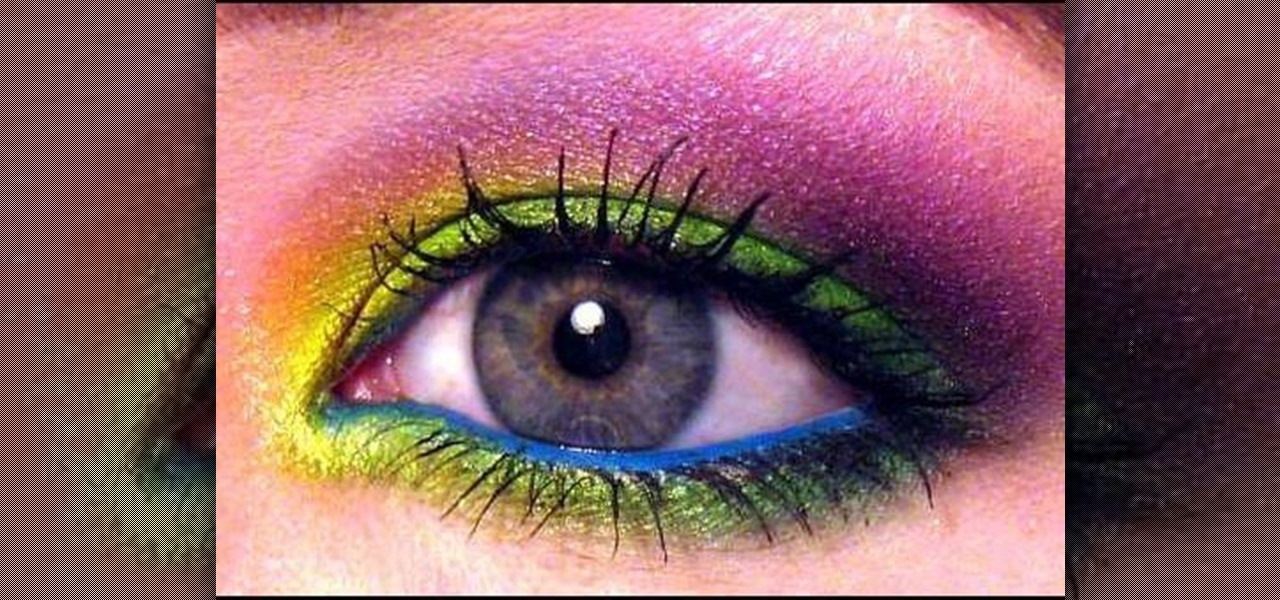
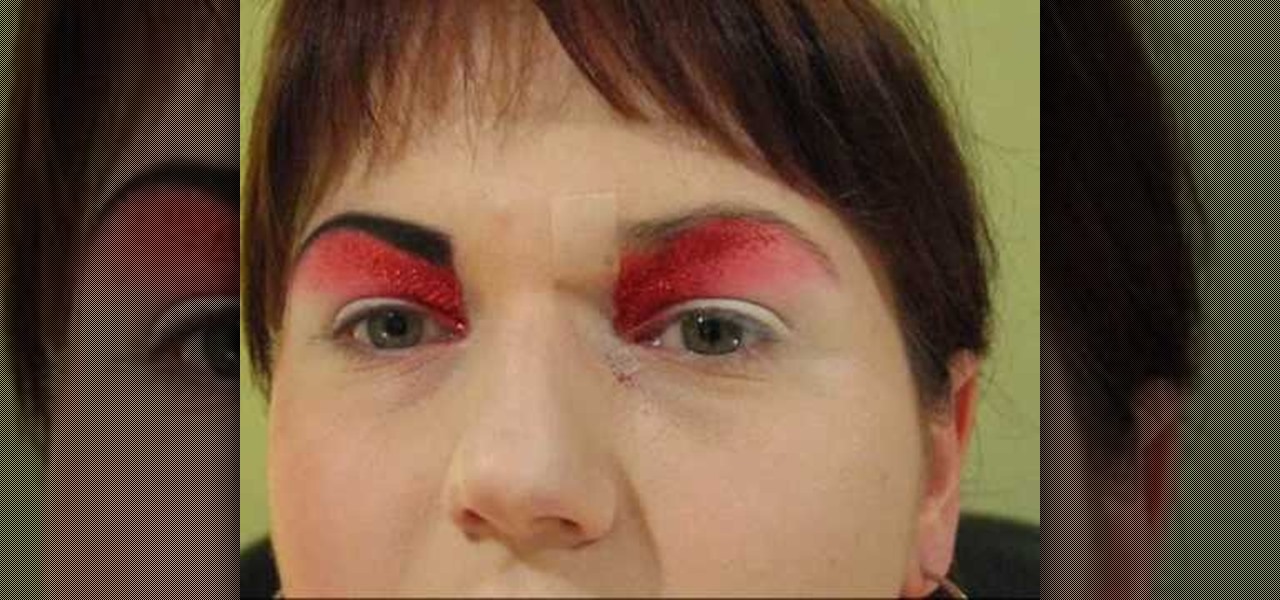
To apply this particular Mad Hatter inspired makeup you need to start first by applying a lime green color from the mayron pallet to your lid. Then you just take the brush and feather out the edge you created. Taking sun yellow color from ben nuys, apply it to the inner third and inner corner of your lid. Then take the chartreuse color, applying it to the middle third of your lid taking the brush blending it slightly into the sun yellow. After this, take a jade color, applying it to the outer...
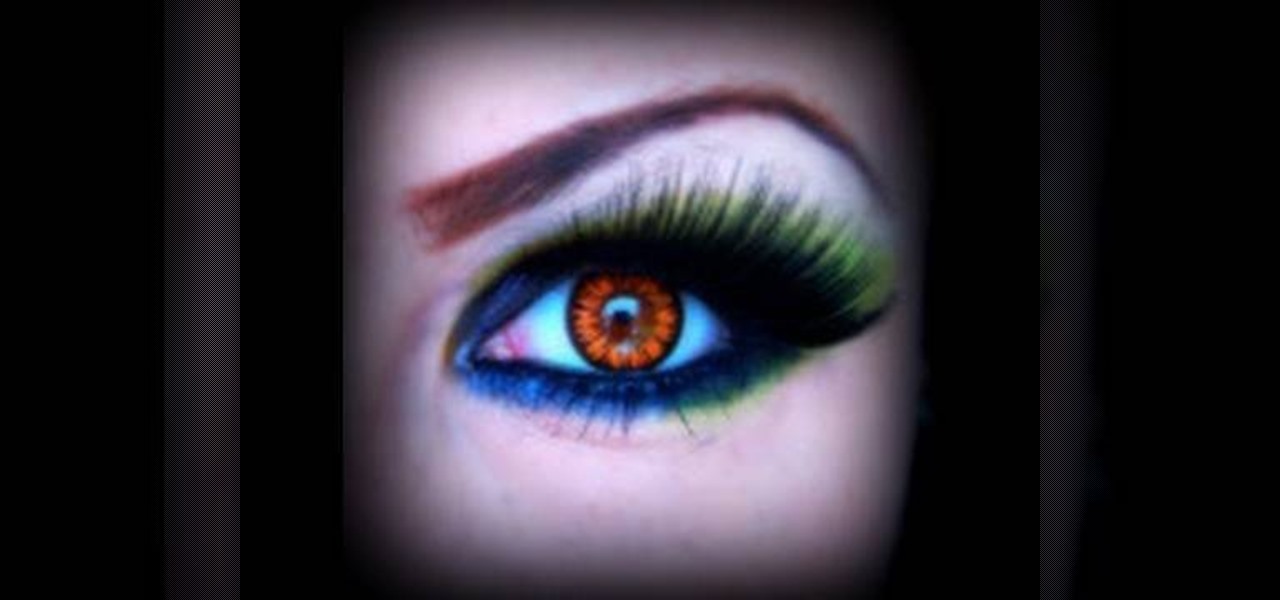
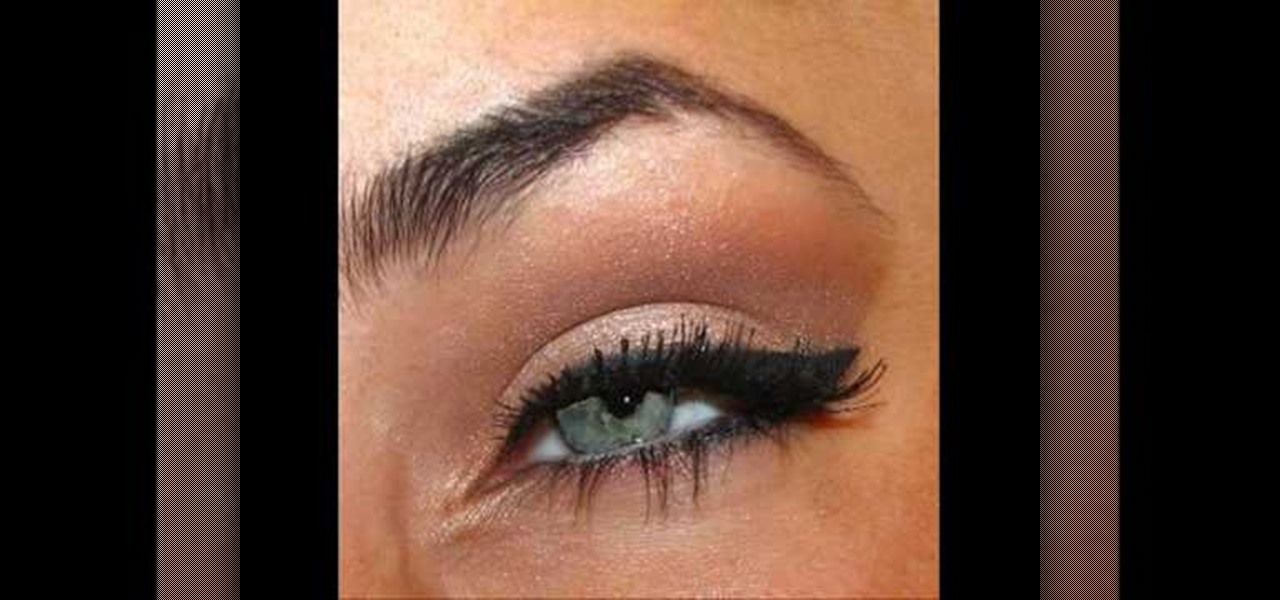
In this beauty tutorial, learn how to get the dramatic eye synonymous with Ed Hardy-Inspired makeup. The first thing you will need to do is apply a foundation over your entire eye area. Because so much makeup is being used, you really want to make sure there is a foundation in place to keep all of the color in place. Then, with a no. 217 brush, sweep a dark navy blue color over your entire lid as well as the crease. Line your lower lash line with a dark blue cream eye shadow and also fill in ...
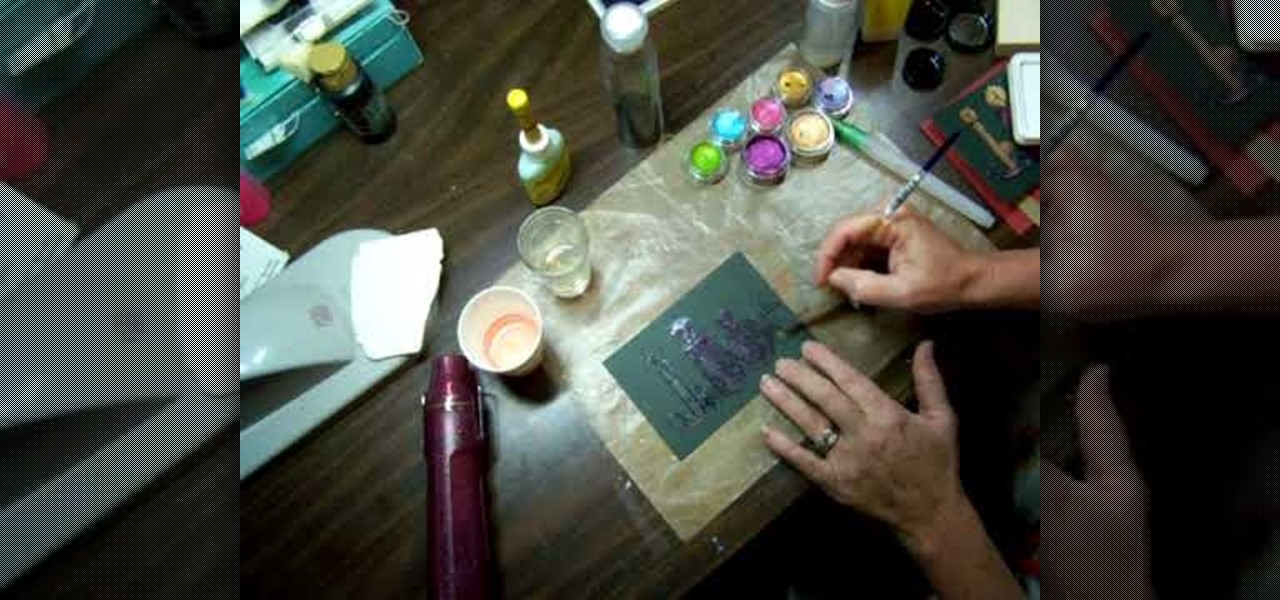
This video tutorial is going to show you how to bleach paper to make the color pop. First take a piece of black paper, apply a bit of bleach and see what color it turns. Because, different cards change color differently. Next you will need a stamp, embossing ink and black embossing powder. Apply embossing ink on the stamp, stamp the black paper and put black embossing powder on the paper and dust it off. You then need to heat the paper. Bleach out the portions that you want color. Follow the ...
In the tutorial, GeorgiAnastaso shows your how to change color of an object in Photoshop. First of all open the picture which you want to change. Then make a new layer and go to make adjustment layer option. There will be three options. Hue, saturation and lightness. If you change the hue amount it will change the color of your object. Saturation will maintain the color amount. After finishing this tutorial you will be enable to change any color in photoshop.

StephanieValentin teaches you how to draw a realistic ear in Adobe Photoshop. You create a new document of 1300x1900 pixels and then create 9 layers named L00, L01 and so on until L08. The first layer should be black. On Layer 01 use a soft round brush with a white color, 100 pixels width and 50% opacity. This is the base sketch of the ear. You then apply a gaussian blur of 30 pixels. For Layer 02 you use a soft round brush with a white color, 50 pixels width and 50% opacity. Apply a gaussian...
Learn how to create a cell phone icon in Photoshop with this video tutorial. Draw a rectangle of radius 30 pixels by holding shift key. Right click on the toolbar and select Stroke button. It will open Layer Style dialog box. Set stroke color and set size to 2 pixels. Select Stop Color set little light red color and click on OK. Now, check on Inner Color option change size to 4 and Capacity value to about 60%. Now select Ellipse tool which will draw a ellipse and cover half of rectangle. Sele...

This task tutorial explains how to use Photoshop to create a YouTube subscribe button. First, select the rectangle tool and draw a bar. Select color options and deselect the color overlay. Then, go to gradient. Using the dropper tool, select the first and second color. Open layer options again and select the stroke color using the eyedropper tool. Increase the stroke size and change the position to inside. Click okay. Select type tool, create text field and type in the text. Open layer style ...
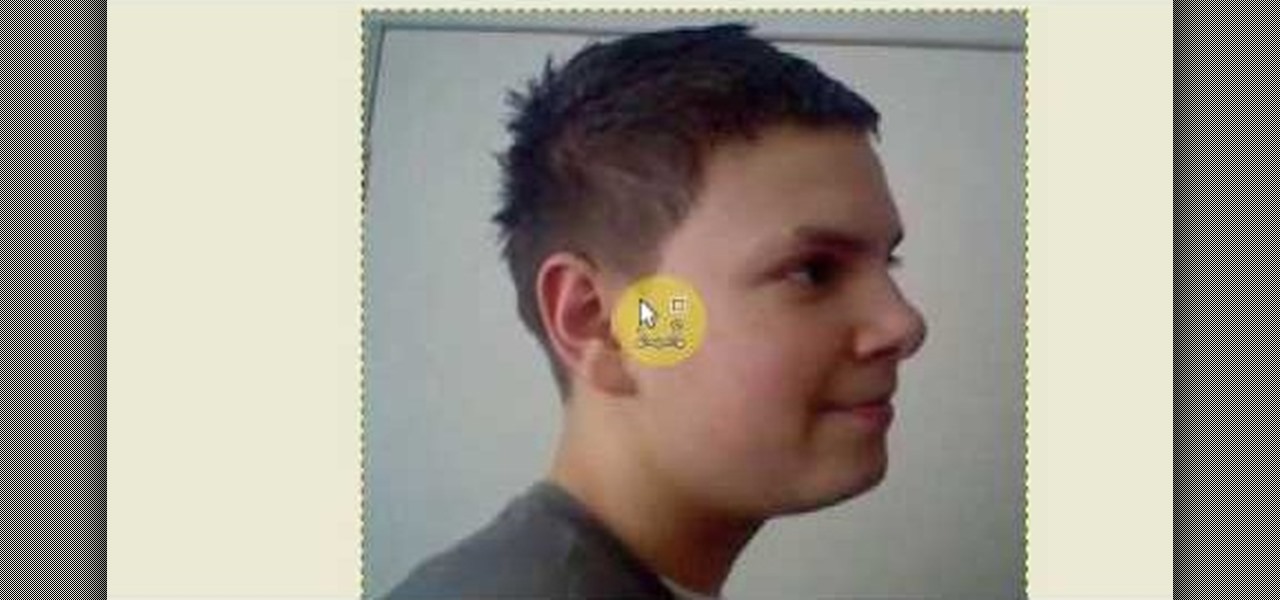
Open up the GIMP on your computer, and then proceed to open up the photo you wish to modify. Now, select the scissors tool from your Tool palette or by clicking "Tools" on the menu bar, then click "Selection Tools," and also click "Intelligent Scissors." Use this tool to outline the person's hair in the photo by clicking along the hairline at about 1/4-inch intervals until you return to the first place you clicked.

Using a popular movie character as a basis, and drawing in manga style, our video host shows us visually how to properly color in whatever hair you may be attempting to draw. Using first the primary color along each strand, we are then show that a lighter or darker version of the primary color should be utilized, right alongside the initial color. And then, to complete each strand and give the hair a varied and popping appearance, you should always outline each strand in a nice simple black. ...

This video is about how to draw a camouflage pattern. For this project you need a paper, ruler and writing utensils. You only have to remember a few easy steps. Draw a square box. Draw out the first pattern layer. Draw out the second pattern layer. Draw out the third pattern layer. Color the first pattern layer with any color, the second pattern layer with any other color and the third pattern layer with any color except the colors you used for the first and second pattern layers.
This tutorial is perfect for beginners to learn how to apply dramatic eyeshadow correctly. This technique will require several layers of eyeshadow to be applied and if done correctly, will highlight and bring attention to your eyes. First apply lighter shades of eyeshadow to your eyelids, stopping at the crease. You can then layer and blend colors on top of this, with increasingly dark colors towards the outside of your eyelid crease. A matte color should be used which matches your eye color ...
- First, use a Maybelline Quad in Chai Latte and use the lid color and put into the crease of you eyelid (use a color slightly deeper than your natural skin color).
First thing you've got to do is to clean your brows with the brow brush to clean the brows and the surface as well.
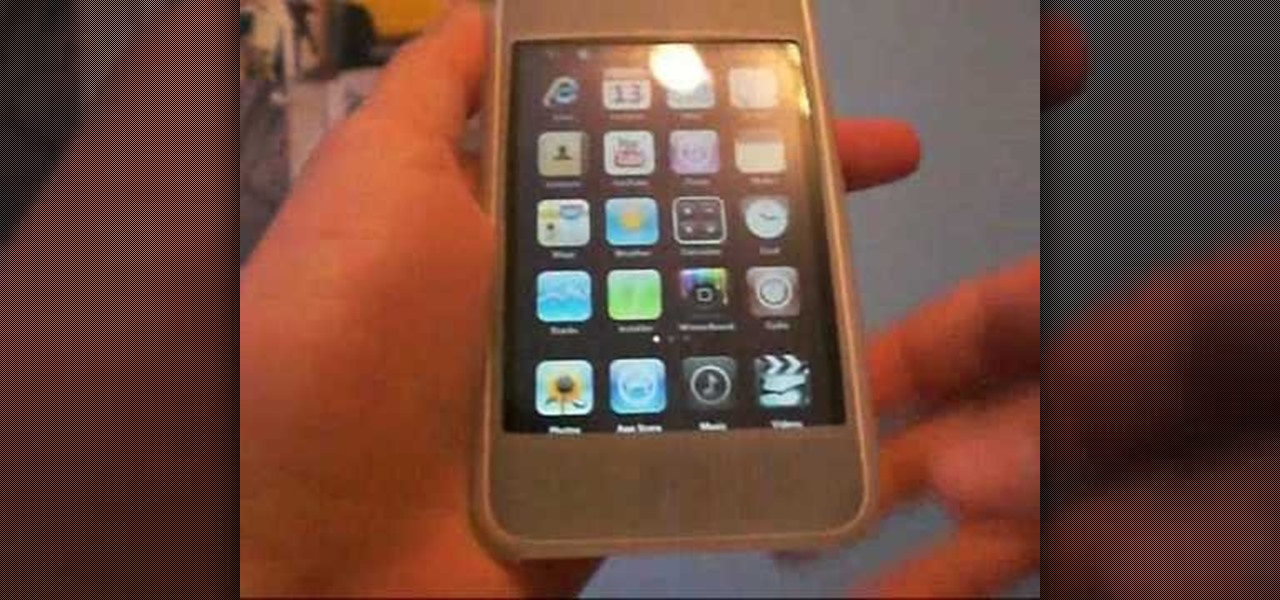
Want to personalize the color of your slider text on your iPod Touch? In this video, learn how to change the color of your "slide to unlock" text with a little help from a jailbreak/hack expert. Things you will need to complete this:
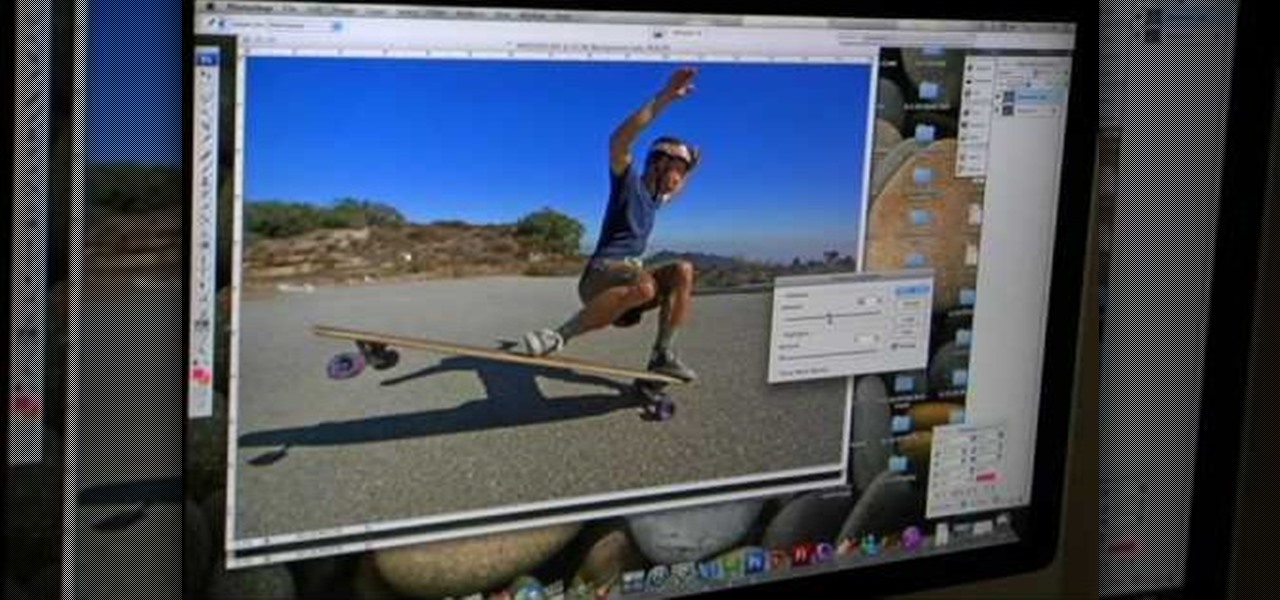
A tutorial from the folks at Loaded Boards, demonstrating color correction tips for your photos. The wrong colors can ruin even the best photos. In this clip, we're introduced to a technique to keep your pictures looking both natural and dynamic
With quick preparation you can perform a mind boggling card trick for your friends. You Will Need

Improve your magician skills with this magic card trick video lesson. This magical tutorial will show you how to perform the color changing deck card trick. Doing the color changing deck card trick just takes a little sleight of hand and practice. See the reveal of this cool card trick.

One great feature of OnTime 8.1 is the ability to add color schemes to the main grids of OnTime Windows and OnTime Web. This installment from Axosoft's own series of video tutorials on the OnTime Project Management Suite covers how to activate this functionality to allow color changes for items based on their Priority, Status, Severity, and Workflow.
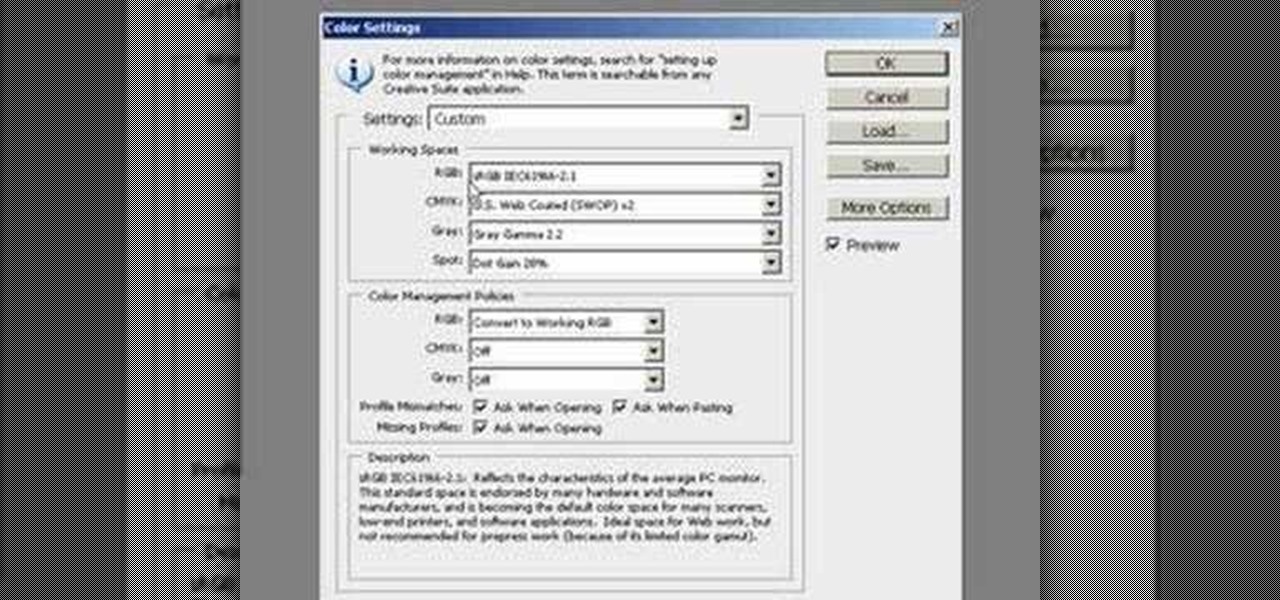
If you are a professional photographer or artist, as great as Photoshop CS3 is, it doesn't do you much good if your print quality and coloring isn't correct. This software tutorial shows you how to set up your Photoshop workspace to be sRGB in the Color Settings dialog for the purpose of lab printing.
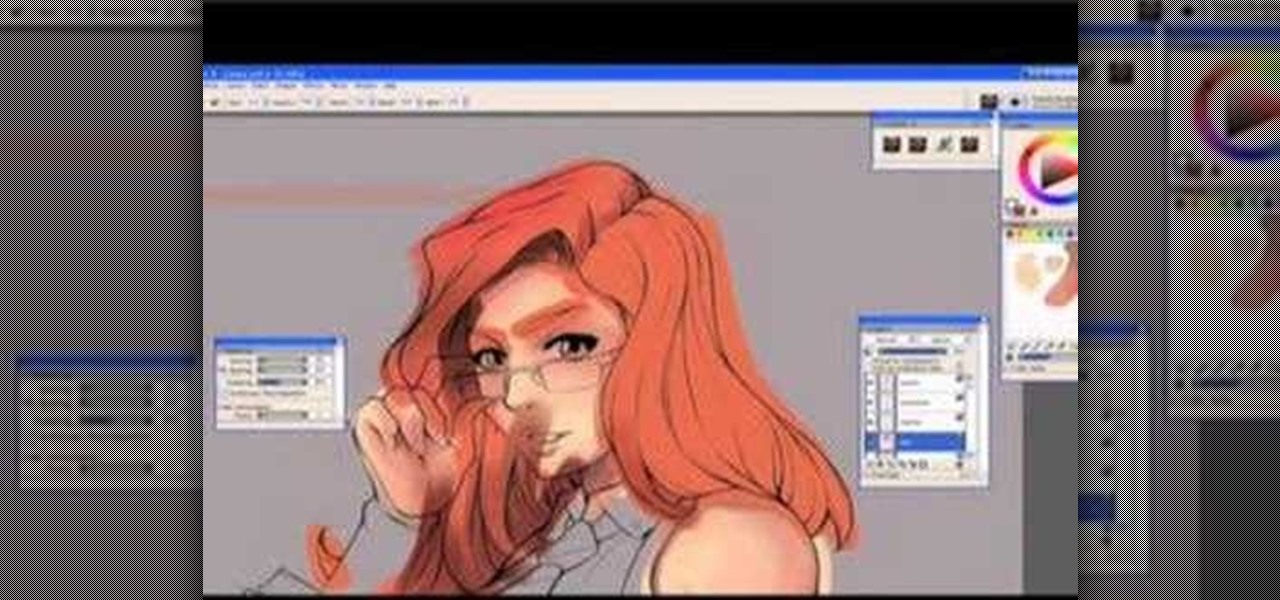
This digital drawing tutorial shows you how to color or ink a manga animation type drawing in Corel Painter. The tutorial assumes you are using a Wacom or Cintiq tablet to work. The tutorial explains the steps taken to digitally color a drawing in Corel Painter and is more about the process than the specific mouse movements.
Check out this instructional science video that demonstrates how to perform the experiment "Kool Colors." From the Oregon Museum of Science and Industry's teacher curriculum, "No Hassle Messy Science with a Wow", this is an activity using Kool-Aid as a reactant. The experiment measures the reaction rate of Kook-Aid with steel wool. Perform the Kool Colors science experiment by following the simple step by step outlined in this science tutorial video.

Check out this instructional Cherokee language video that demonstrates how to pronounce all the colors in Cherokee like black, green, blue, grey, white, pink, and purple. Practice and improve your Cherokee language skills by learning how to say the colors by watching this instructional language video.

Nail artist Anna shows how easy it is to design a spur of the moment nail decoration. You'll need any two colors of nail polish that you want and rhinestones. Watch this video nail art tutorial and learn how to create a two-color diagonal manicure with rhinestones.

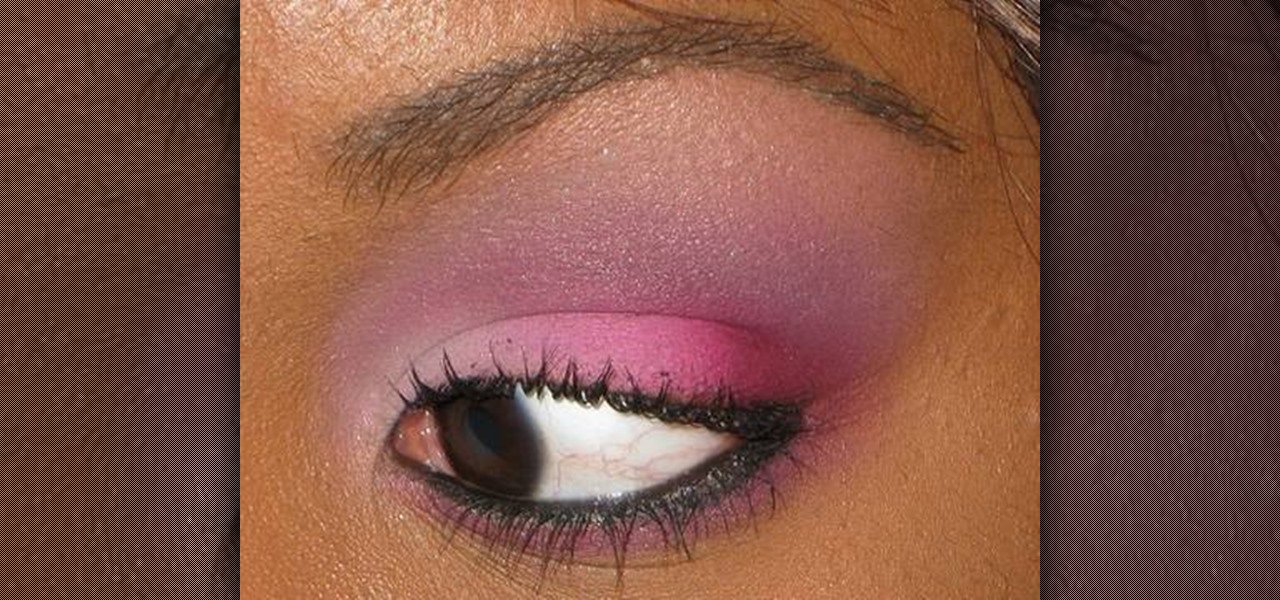
Watch this instructional cosmetics video to apply pink, purple, and blue eye shadow over a MAC cream color base. Use soft brushes to blend the color transitions. This creates a three color eye shadow fade with a dramatic shape.
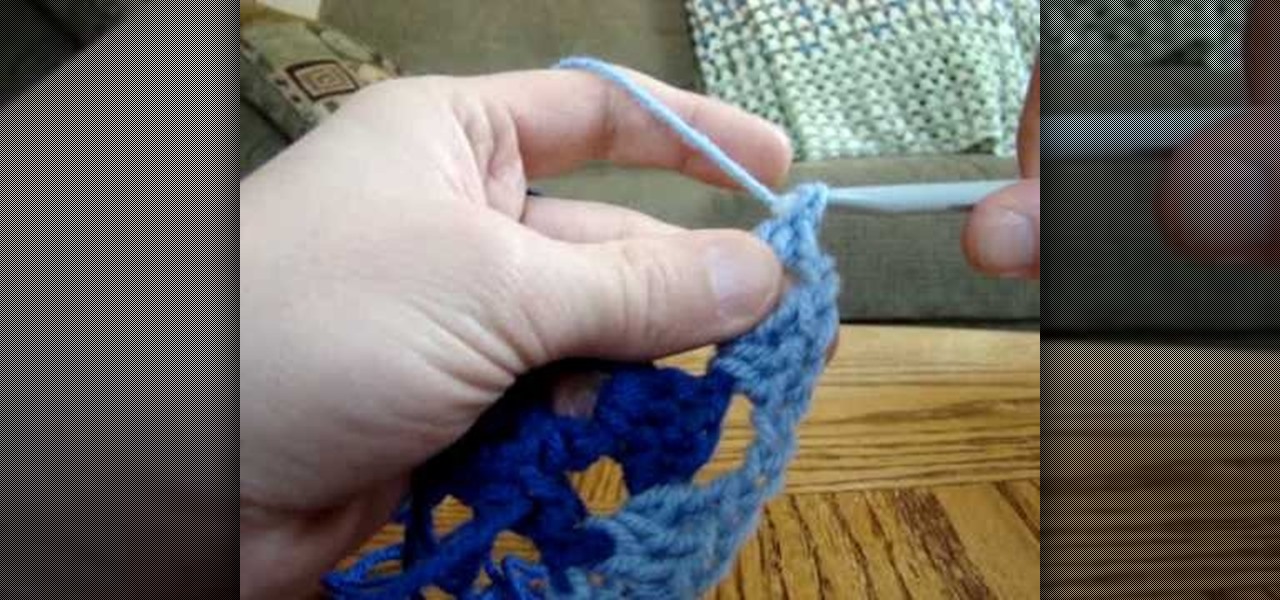
Watch this instructional crochet video to crochet a color change within a granny square pattern. These visuals make crocheting easy to understand. The granny square is more complex than the open work stitch, but once you can crochet around a corner and switch colors within a pattern, all of your projects can take on a new complexity.

In this web application development tutorial you will learn how to use brushes in Microsoft's Silverlight for color, gradient and video. Learn how to write ASP.Net functions in Silverlight to control colors, shapes, gradient and videos on your web app or web page.
Raspberry juice will change colors with the help of a couple simple home ingredients, and creates a a great trick effect. Learn how to perform the color changing juice trick by watching this video magic tutorial.