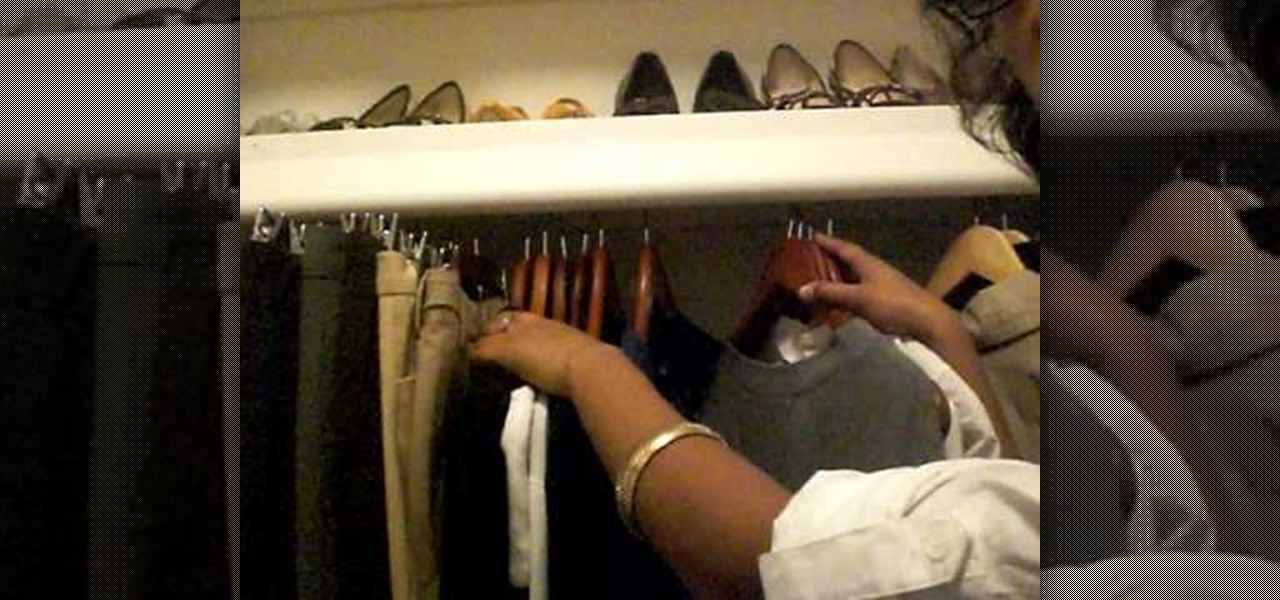
In this tutorial, we learn how to organize your closet by establishing a wardrobe system. If you have tops that you wear during the day, put these on a different colored hanger than your nighttime tops. Color code these in your closet and then hang up your nighttime tops with a light wood or your choice hanger. If you have other random tops, you can hang them according to how you would wear them the most. Dresses can be hung on another color hanger and then pants can be worn on another color ...
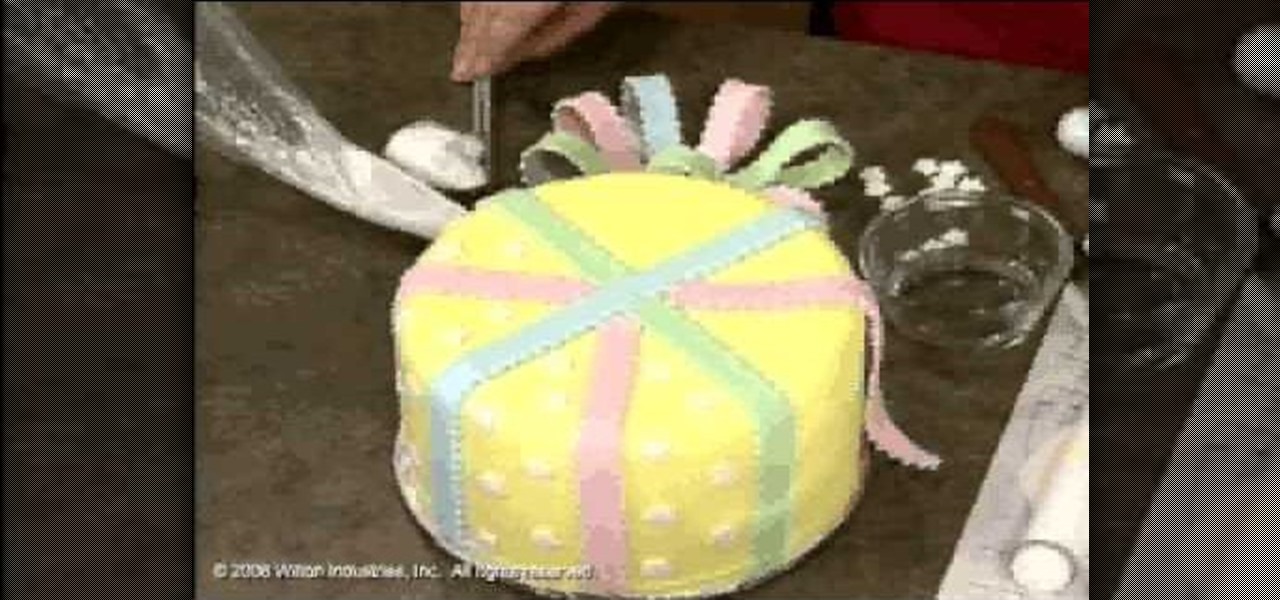
In this video, we learn how to use fondant when making & decorating cakes. Fondant is a dull type of sugar paste that you can form different shapes with and add colors to. When you add the color to the fondant, simply work it with your hands until the color runs all the way through and is smooth. Roll it out when finished, then you can apply it to the cake. To apply it, you will simply drape the fondant over the cake so it's hanging off on the sides. Then, flatten it out on the top and sides ...
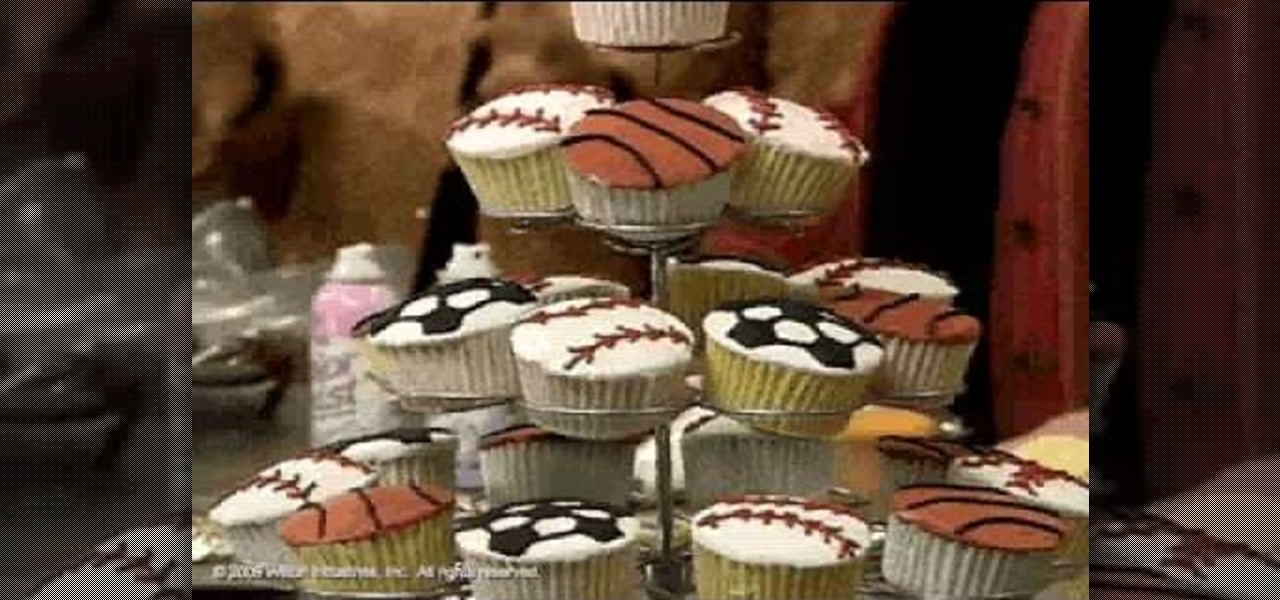
In this tutorial, we learn how to get creative the next time you make cupcakes. The first way to make a cute cupcake is to cover it with tall icing and then sprinkles, you can add a candle for a birthday. You can use different colors of icing to make it more exciting, then add a sugar color decoration to the top of it. Use airbrush in a can to color the icing on top of the cupcake. Kids can help you with this and have a lot of fun! You can also make a sports cupcake by using different colors ...
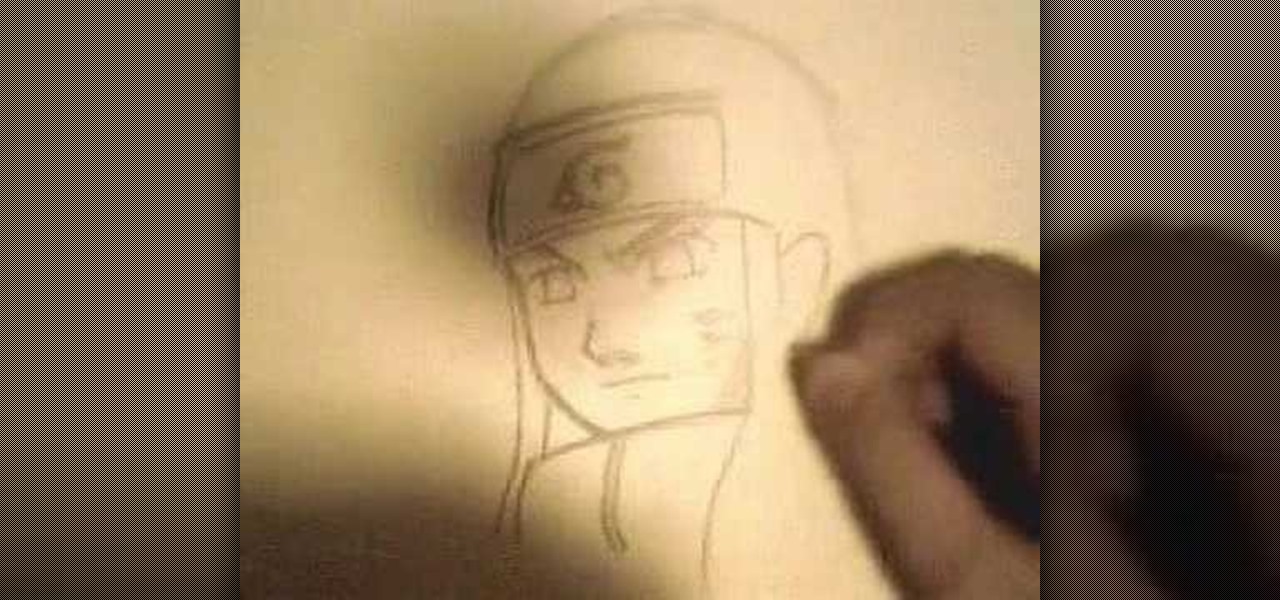
In this tutorial, we learn how to draw manga Neji. Start off by drawing the outline of the character. Don't forget to include the parts where the facial features, limbs, and hair are at. From here, you will use a darker pen to draw in the rest of the character. Next, you will start to draw in the additional lines and shading to make the character look more realistic. Once you do this, you can start adding some color! Use any colors that you would like or use the normal colors that are on Neji...
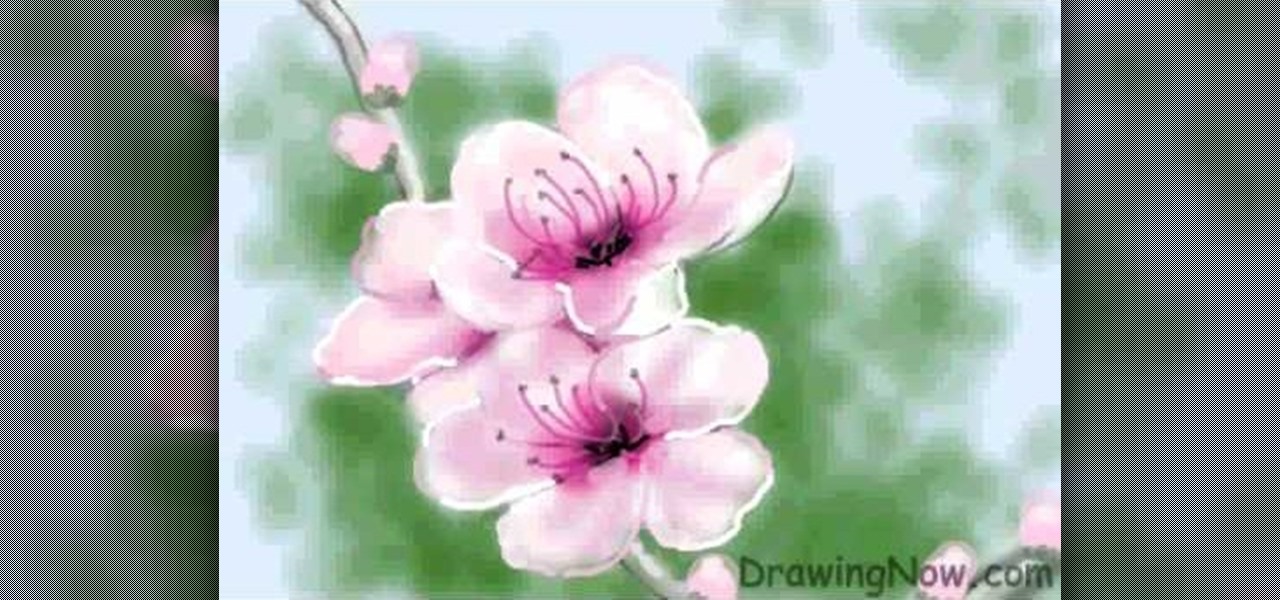
In this tutorial, we learn how to draw a peach blossom. First, draw the vine where the flowers will be. Then, draw the petals for the flowers, creating a basic outline. From here, you will color in the middle of the flowers with black and then a darker color of what the petals will be. After this, color in the petals and then create the background of the drawing. Next, color the vine in where the petals are on. Then, add white to the edges of the petals to show light hitting them. When finish...

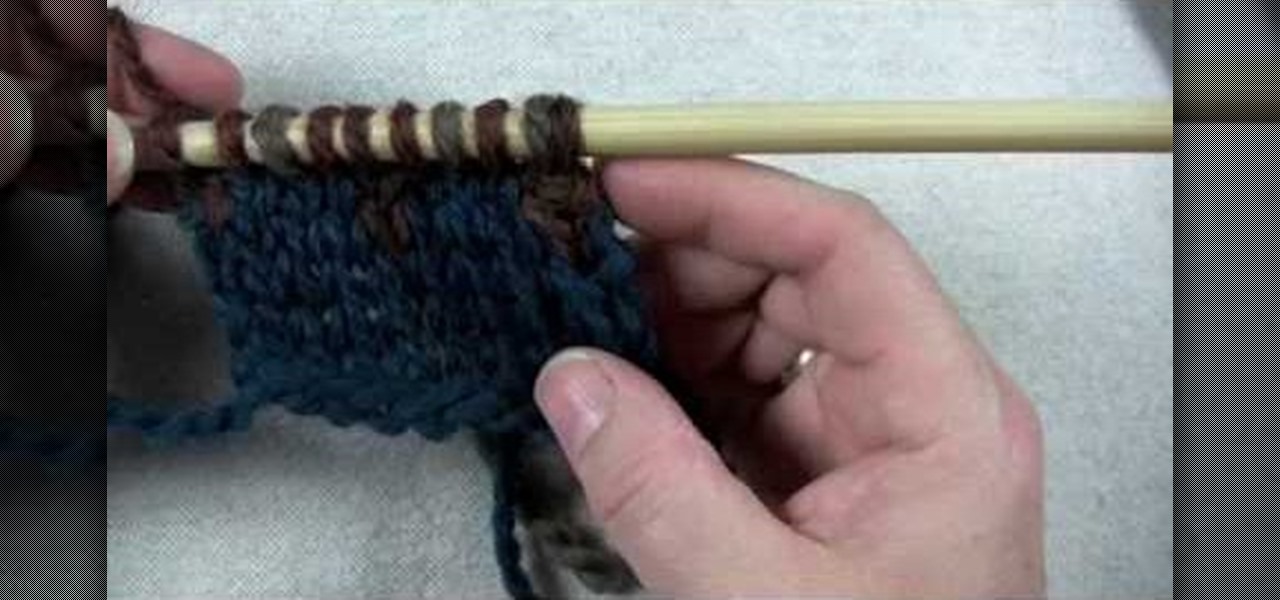
In this video, we learn how to manage two different colors of yarn with Eunny Jang. You can do this all on your left hand, right hand, or with both of your hands. It's all about what is most comfortable for your, even if it's something different. Start out with all your yarn in your right hand then knit with one yard at a time. This means to just knit as usual by dropping the yarn and picking up the next color. This can be a bit tedious because you will be constantly stopping and starting. Yo...

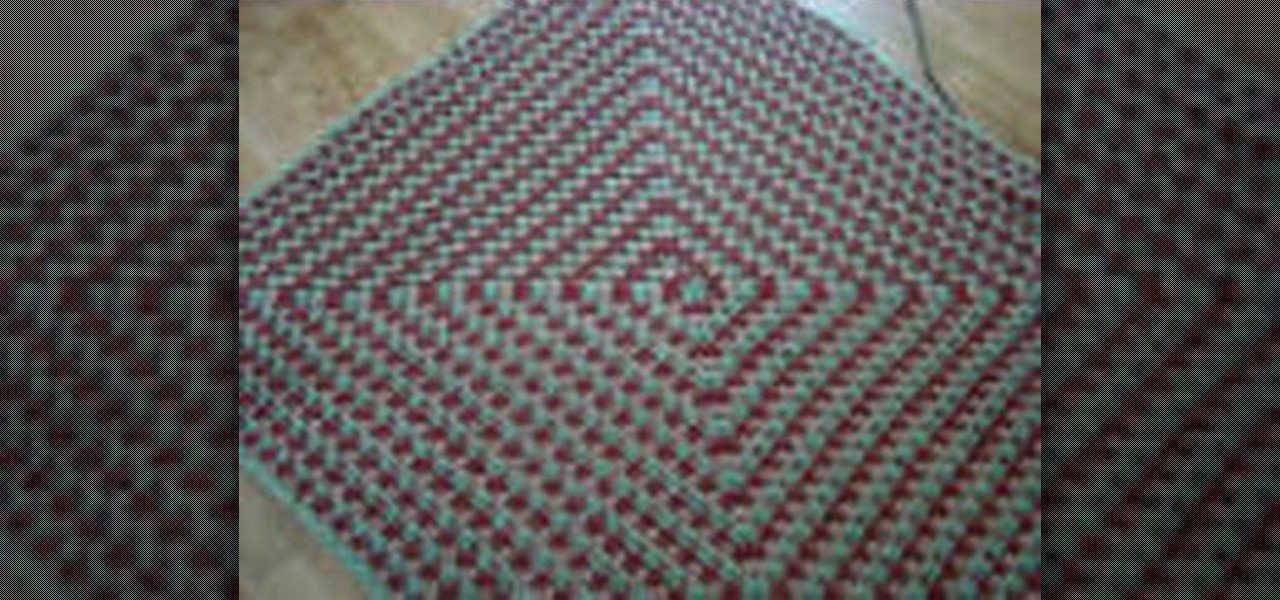
In this tutorial, we learn how to crochet a super fast 3 color granny square. Start out with your first color on the crochet needle. Then, chain four and put the needle back into the first chain. Before you pull everything tight together, you will move your middle finger into the stitch with your thumb so when you pull it will wrap around your fingers. Then, chain three and do this over twice more to create the outlining area around the hole. From here, you will use two other colors using the...
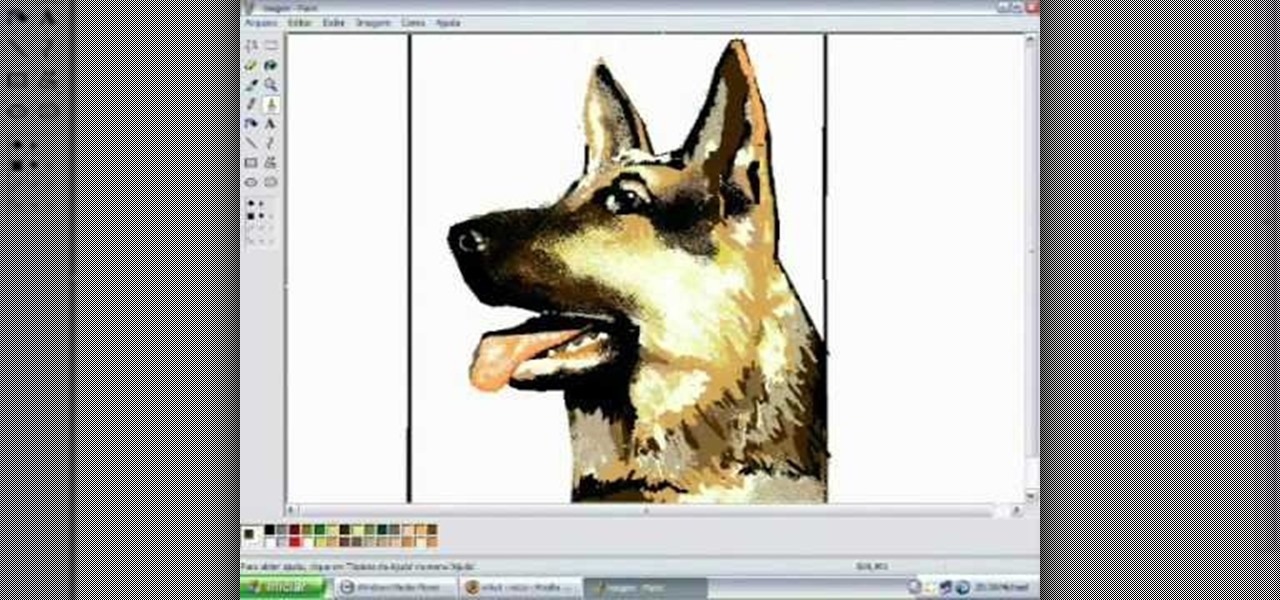
In this tutorial, we learn how to draw a dog in MS Paint. You will do this by using Paint and your mouse, not using a tablet or a pen on the PC. Start out by drawing the outline of the dog in the middle of the page. Next, fill in the nose, mouth, and eyes with black. Then, color the tongue and draw on the ridges of the teeth in the mouth. From here, you will spray paint the color of the dog onto the edges. Spray brown around the edges, then add in white, tan, black, and other colors to make t...
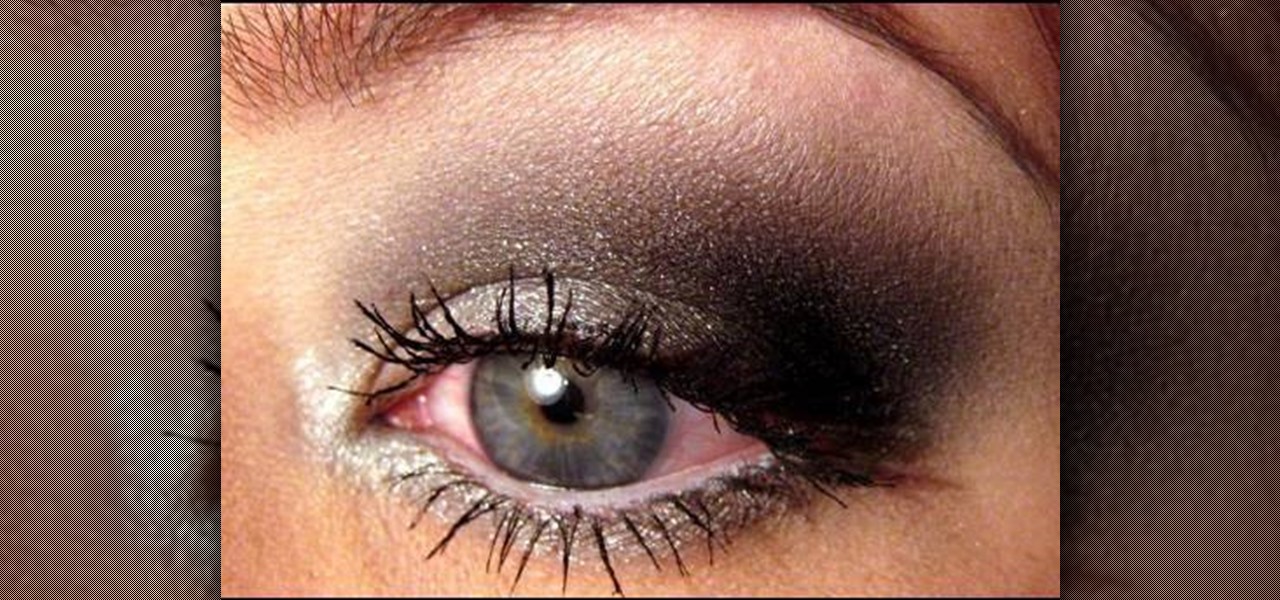
In this tutorial, we learn how to apply a silver smoky makeup look for a hooded eye. Start out with a silver color brushed all over the eyelid. After this, brush a darker color in the crease of the eye, blending in the outer corner of the eye. From here, blend this up towards the brow bone. Place black on the outer corner of the eye to deepen the area, then blend out. After this, apply a light shimmer underneath the brow for a highlight and blend with the bottom colors. Apply the silver color...
In this video, we learn how to apply eyeshadow. First, you need to see what your skin tone is and research colors that work best with it. Then, you need to get the right tools. Once you have the right brushes and eyeshadow colors, you are ready to apply. Some brushes that might work include: fluffy, straight, small and large. Now, close your eyes and dab the eyeshadow onto your choice of brush. Brush the color all over the eye, making it darker on the end of the outer edge of the eye. Then, a...
In this tutorial, we learn how to create a toned-down, everyday makeup look. Start out by priming the eyes, then brushing on a light nude color to the entire eyelid. After this, brush a darker color onto the crease of the eye and blend the two in together. Next, take a light nude shimmer color and brush over the eyelid on top of the other colors. Next, take this color and brush it up to the brow bone to create a highlight. Add in a dark brown color in the crease of the eyes, then blend in to ...
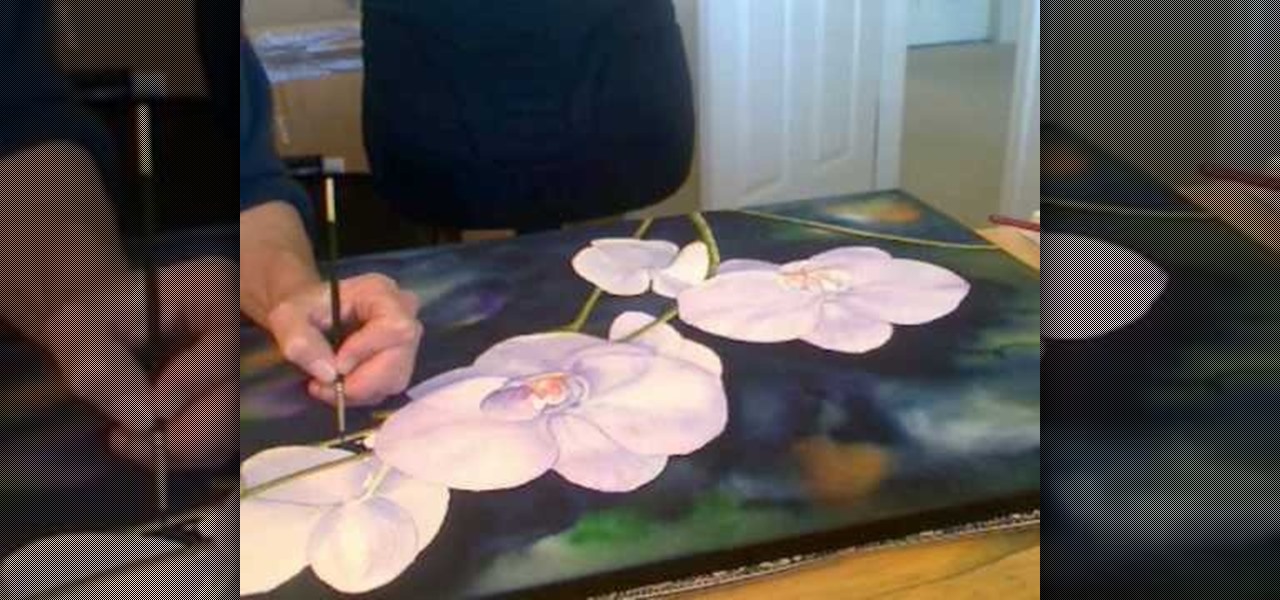
In this video, we learn how to pain orchid flowers with watercolor paints. Start out by using a light lilac color on the petals. Use a thin brush to push the colors around on the picture so you have slight shading around the different petals. Use a darker purple color in the middle of the flower. Then, use a yellow color in the very middle. Add in a green leaf and stem on the bottom of the flower. Use a paper towel to smudge any excess moisture or water off of the flower to make it more prist...
In this video, we learn how to draw a funny cartoon bird in CorelDraw X4. Start out by opening up CorelDraw and using the pen to sketch out the shape of the bird. There is no set way to draw this, just be creative with the drawing. Add in the hair, eyes, beak, and body to the bird. Give it crazy eyes that are different sizes and wacky colors. Fill in the bird with different colors, also filling in the colors of the eyes and adding in details to the beak. Continue on to fill in details and col...
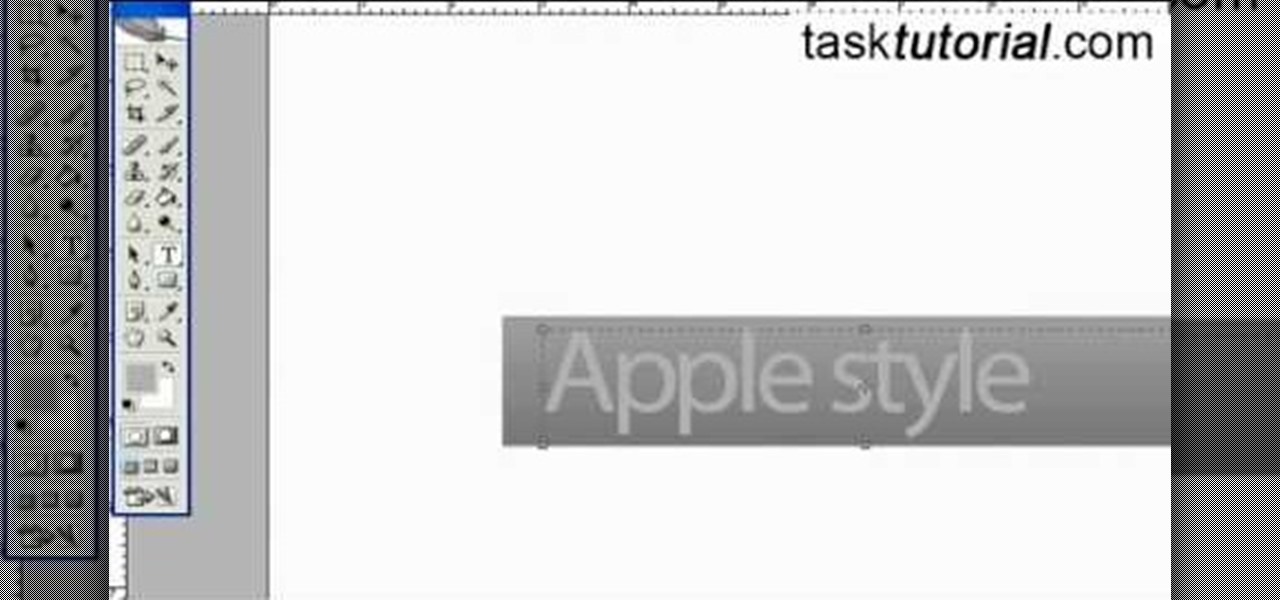
First select the rectangle tool and draw the bar. Now you have to open up the layer style and choose gradient overlay. Now you need to edit the colors as showing in the video and then go to drop shadow option, you have to change the opacity of it to 20%, distance to 2 and click ok. Now type "Apple style" in new layer as showing in the video, set the size of text to 72pt. Now open layer style for the text and choose color overlay and set its color to dark grey, go to drop shadow and choose nor...
In this tutorial, we learn how to create a sea nymph makeup look. Start by applying purple shadow the eyelids, then apply a darker purple color over the top of it. Now, on top of this, blend a black to the eyelid colors, then line the top and bottom of the eyes. Draw a rough outline on your face next where you are going to apply the sequins. Start to color in your face where the sequin face mask is going to be, and color it blue and bright yellow, or whatever matches your mask. When finished,...
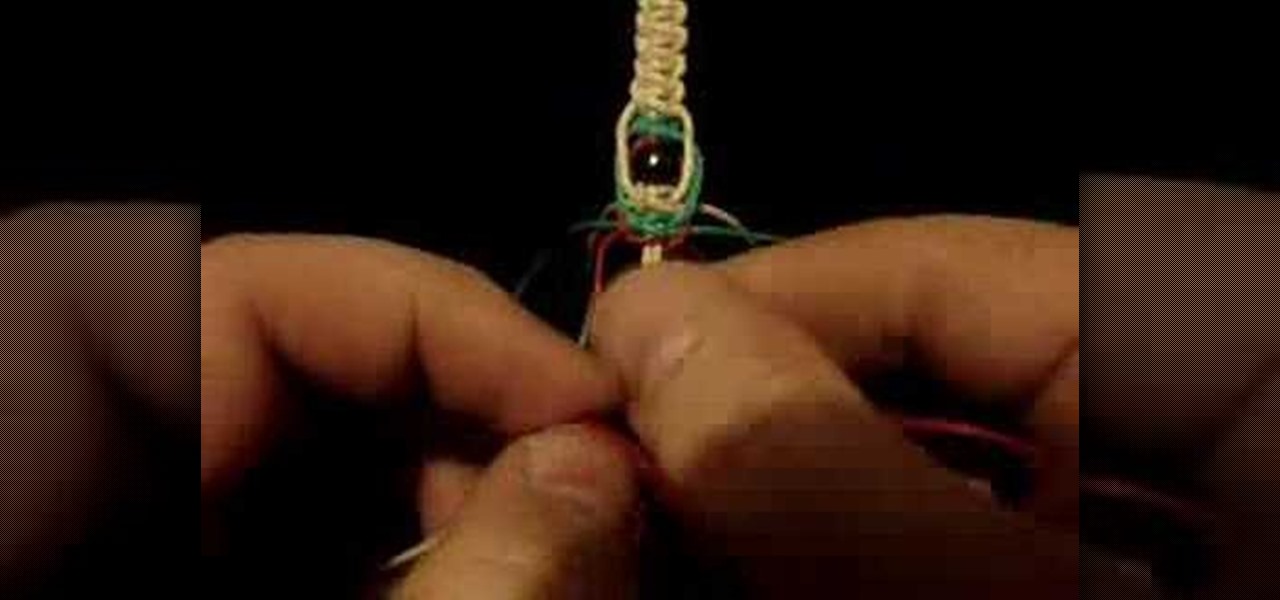
Phish bone keychains feature a highlighted midsection with three different colors of hemp (in this video we use regular rafia-colored hemp, red hemp, and green hemp) that surround wooden beads.
In this great two-part video you'll learn how to change the basic color scheme of the Arjuna X theme on WordPress. The video uses the program GIMP, a free image editing program as an alternative to Photoshop, to help create new images for your header and page.
In order to paint palm trees on your nails, you will need the following: white matte base nail polish and a variety of other colors. You will need toothpicks, if you do not have fine brushes in your polish.
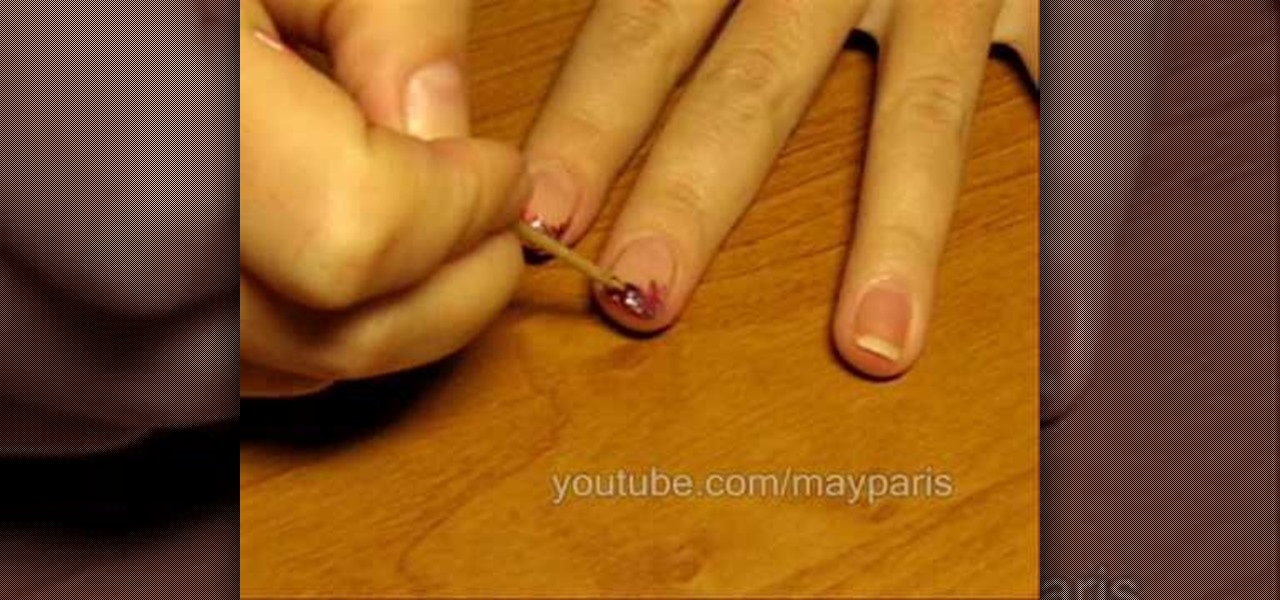
In order to create/paint a vintage French manicure, you will need several different nail polishes and a toothpick. You can use any combination of color that you want: e.g. neutral and purple and golden rose 10 and golden rose 31.
In this video, we learn how to make fake blood for Halloween. You will need: small bottle, teaspoon, cut, clear syrup, red and blue food coloring, and corn starch. First, pour some syrup into the cup, then add in 2 tsp corn starch and mix together. Next, drop in some red food coloring and mix together. After this, add in blue food coloring and mix it together so you have blood red colors in the cut. When you are finished, you will have fake blood that you can use on Halloween at home and it w...
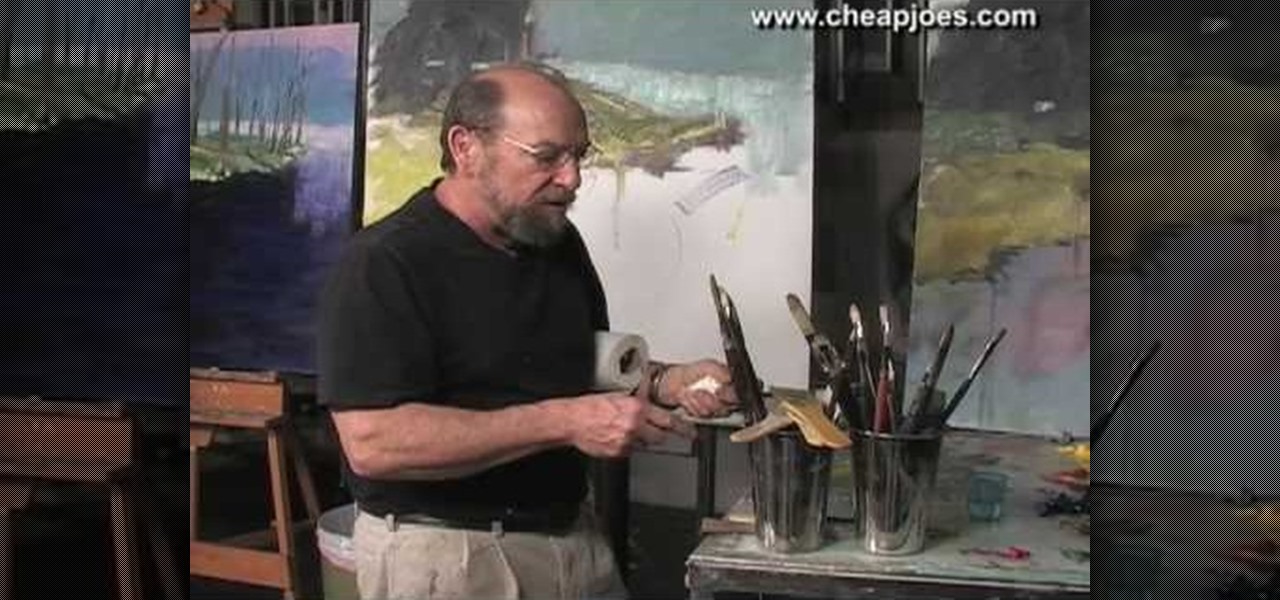
In this video, we learn how to use different brush types and colors in water coloring. While you are creating a painting, you will notice that you need to use different types of brushes to create different effects on your canvas. There is nothing wrong with this! You can use many different strokes and brush sizes to achieve what you want on your painting. Pay attention to what stage of the painting you are in, as this will help you decide what types of brushes to use, depending on the style y...
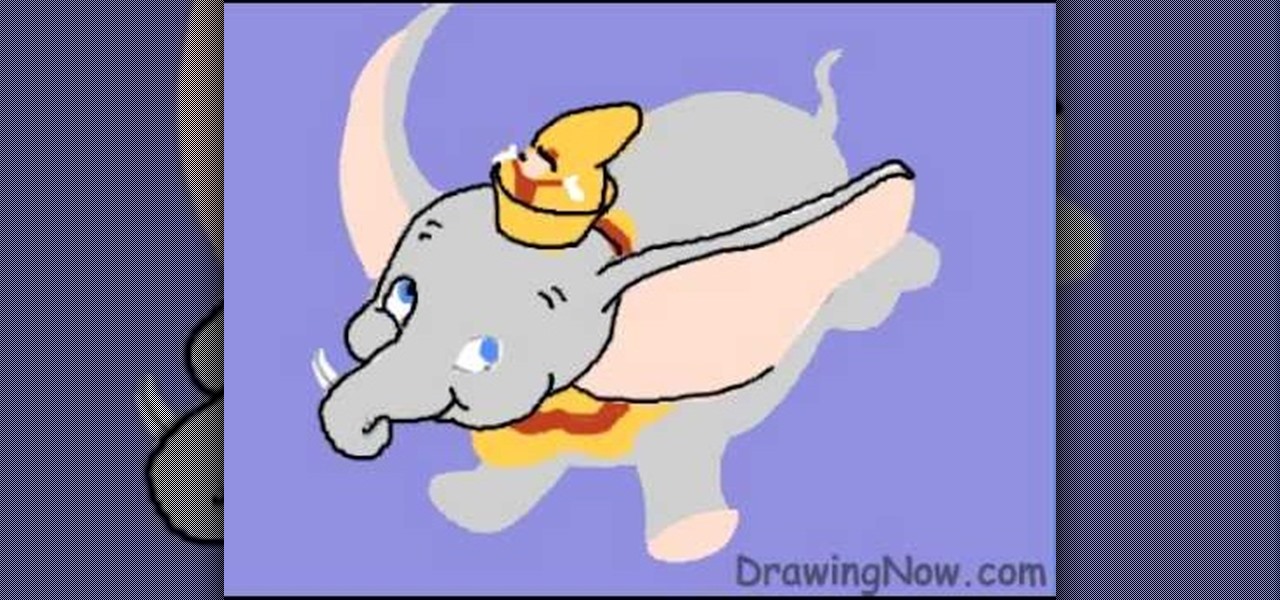
In this tutorial, we learn how to draw Walt Disney character, Dumbo. First, draw the ears flying out in the air, then draw the head outline around it. After this, draw in the trunk outline, the eyes, and the hat. Next draw in the body and legs of the character as well. Next, color the background of the drawing and then start coloring the character in with gray. Next, use a paintbrush to outline the body, then add in any details you see fit. Color in the inside of the ears and then color in th...
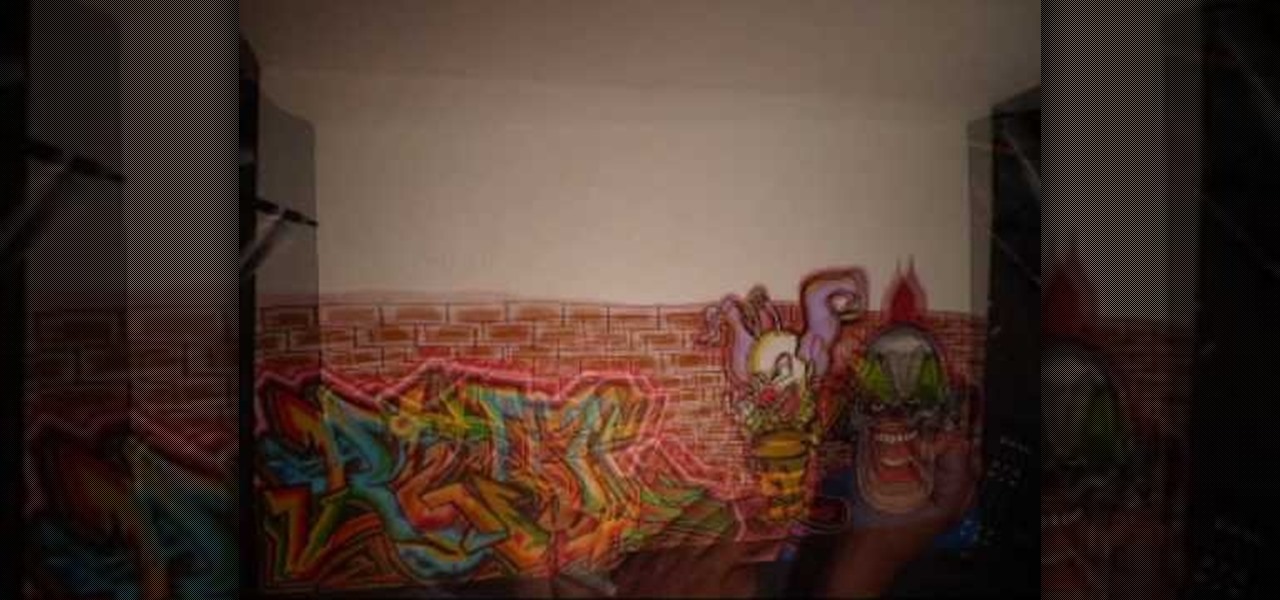
For this fun drawing tutorial, graffiti genius Wizard does two things he's never done before: 1. He graffitis his own last name, "Real," and 2. He colors in his graffiti, which includes clowns that could scare the pants off of the Joker, a bumpy brick wall, and a teeny bumble bee/clown hybrid who's more creepy than cute.
In this tutorial, we learn how to use a stranded color work pattern. Start with a basic pattern to help you learn how to do this. Use a chart to help you keep track of where you are and what you have done. Use a sticky not over the rows so you don't get ahead of yourself. Start off with the color that is first, then continue on to do the other colors that are on that row. When finished with this, remove the sticky note and continue onto the other colors that the chart shows. On the first stit...
In this tutorial, we learn how to draw a cartoon puppy First, draw the oval head, followed by triangles for ears. next, draw the body underneath with four legs coming out of the bottom like the dog is sitting down. Add on a squiggly line for the tail next to the leg. Now, color the ears and back legs light brown, then add eyes, a nose, and a mouth onto the face. Draw a circle around the nose and mouth, then color in with lighter brown/tan color. Now, color the rest of the dog a darker shade o...
First, outline the upper portion and lower portion of the right eye. Make the upper line darker than the lower one. Copy and paste this to create the left eye of your anime artwork. Create the eyeball using the Circle tool. Create two more circles inside the eyeball - one bigger and the other smaller. Make eyelashes by using a set of curved lines. Create at least three thick strands of these eyelashes. Create another circle inside the eyeball that intersects the two smaller circles created ea...
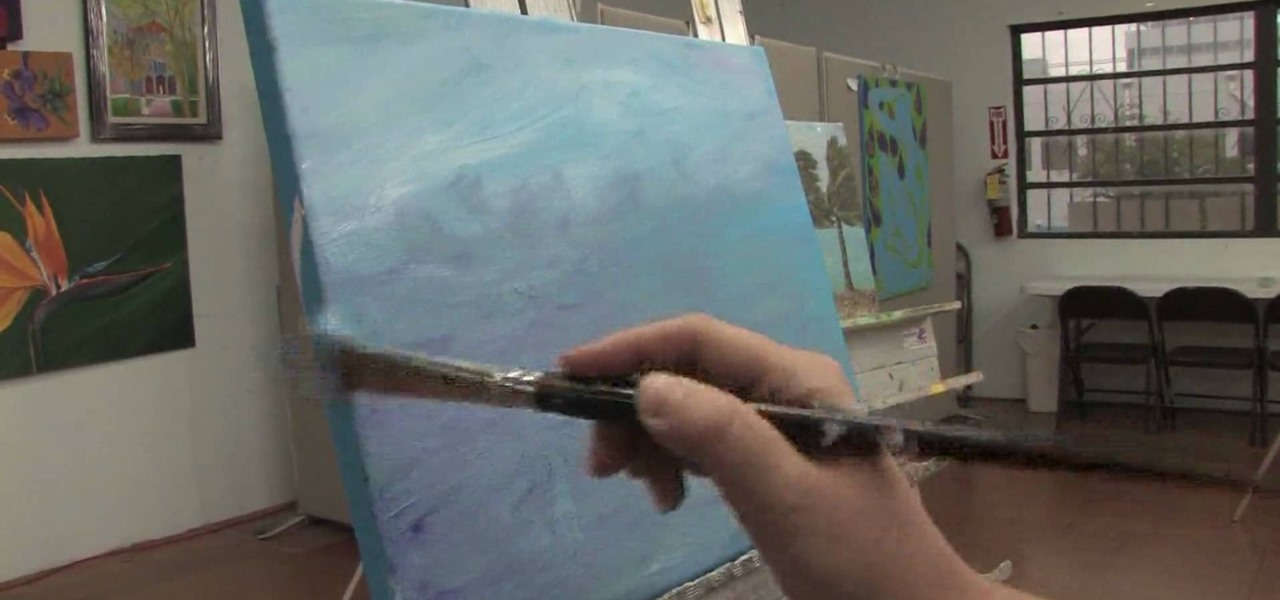
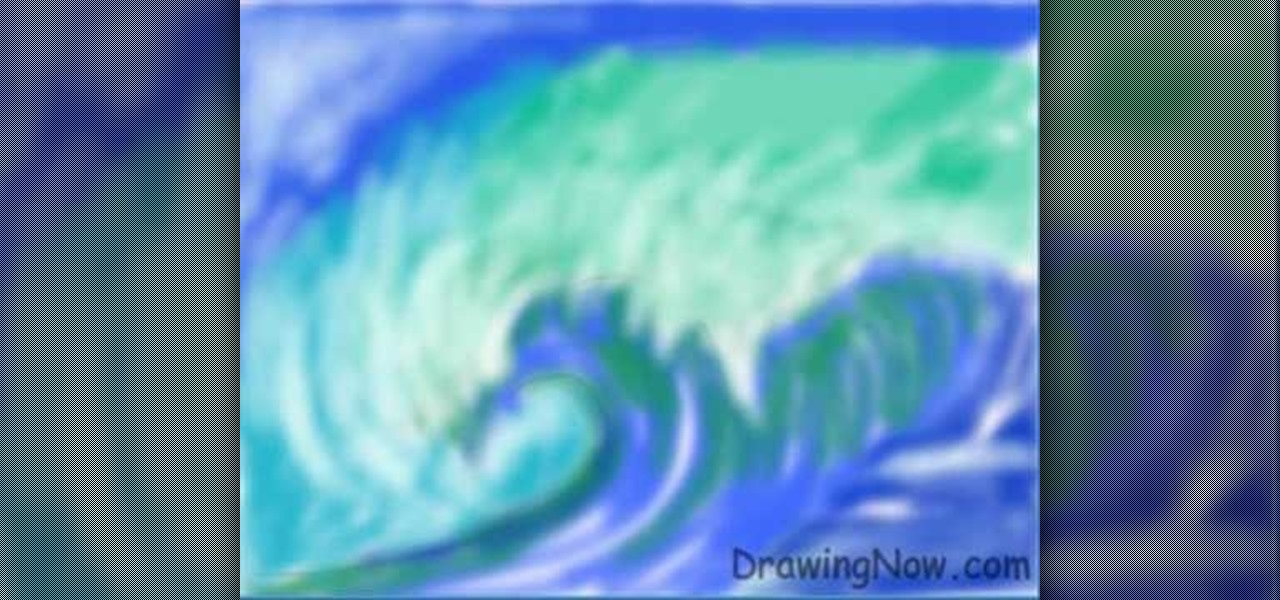
In this Fine Art video tutorial you will learn how to paint an ocean in your composition from Angeline-Marie Martinez, a professional artist. She shows one of the ways of painting an ocean in this clip. Her canvas is already painted with a back ground of the sky on top and water at the bottom. Her palette has a lot of colors like light and dark shades of blue, green and white. Take some white paint on the brush and pick up some of the other colors as well and paint on the canvas. The waves of...
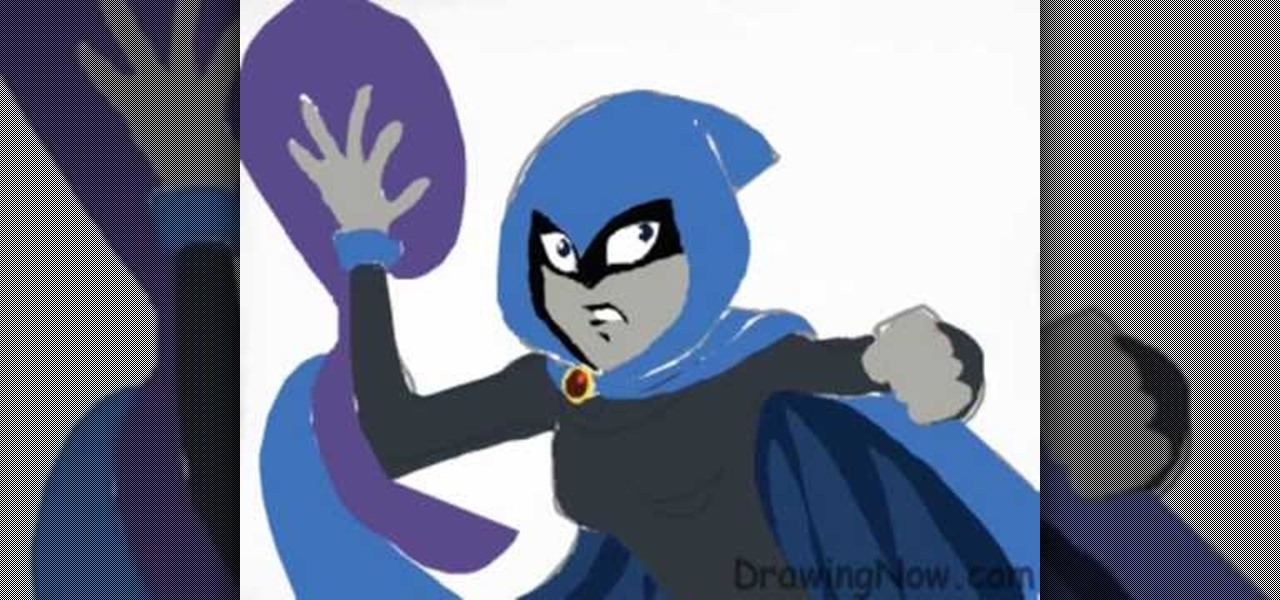
Teen Titans is one of the most tragically underrated American children's cartoons of all time. Fortunately, Drawing Now one of our favorite art instruction groups, has created this video tutorial on how to draw one of the shows iconic characters, Raven. Here are the artist's step-by-step instructions:
The video is basically showing how to get a look like Demi Lovato with makeup. The makeup being used is BYS. You Start off with a light Grey make up under your eyelids,then you take the black color makeup and put it under your eyelids where you put your first coat of Grey under and blend them in together. When you use the black color makeup you have to really pad it on, not so much brush it. Then you use the darkest black color and put a light amount under your eyelids. Then finally you want ...
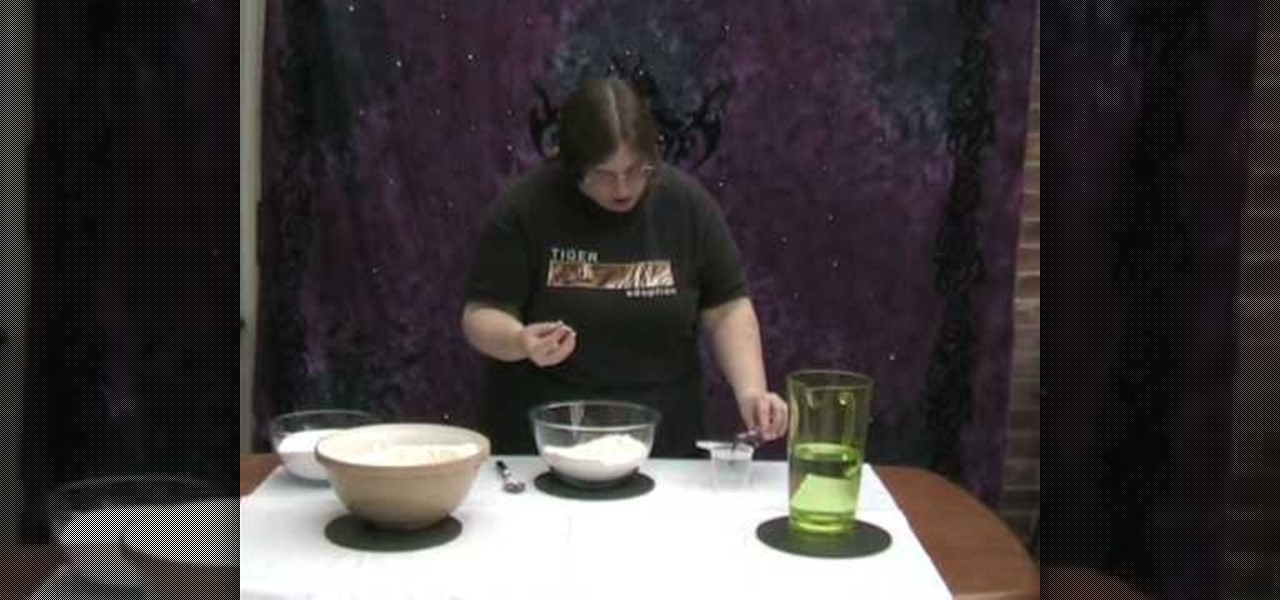
Salt dough can be used like clay for craft. This video demonstrates how to make salt dough. The ingredients required to make salt dough are a cup of salt, two cups of flour, a cup of water and food coloring. Make sure to cover your working surface with old newspaper and use a painting apron as this can get messy. Add the salt and flour in a bowl and mix with a spoon. Then measure one cup of water and add quite a good amount of food color to get the desired color and mix it into the salt-flour...
Jenniesbarn has created a video tutorial about how to make hand-dyed crinkle seam binding. She says that crinkle seam binding is popular because it has a vintage look. To begin, she uses a mister to spray water on a ribbon strip in order to allow the strip to crinkle easily and allow color to absorb more evenly when dyed. Afterwards, spray the dye and tossle the ribbon at the same time. It is possible to blend different colors by spraying a different colored dye afterwards. Once the desired c...
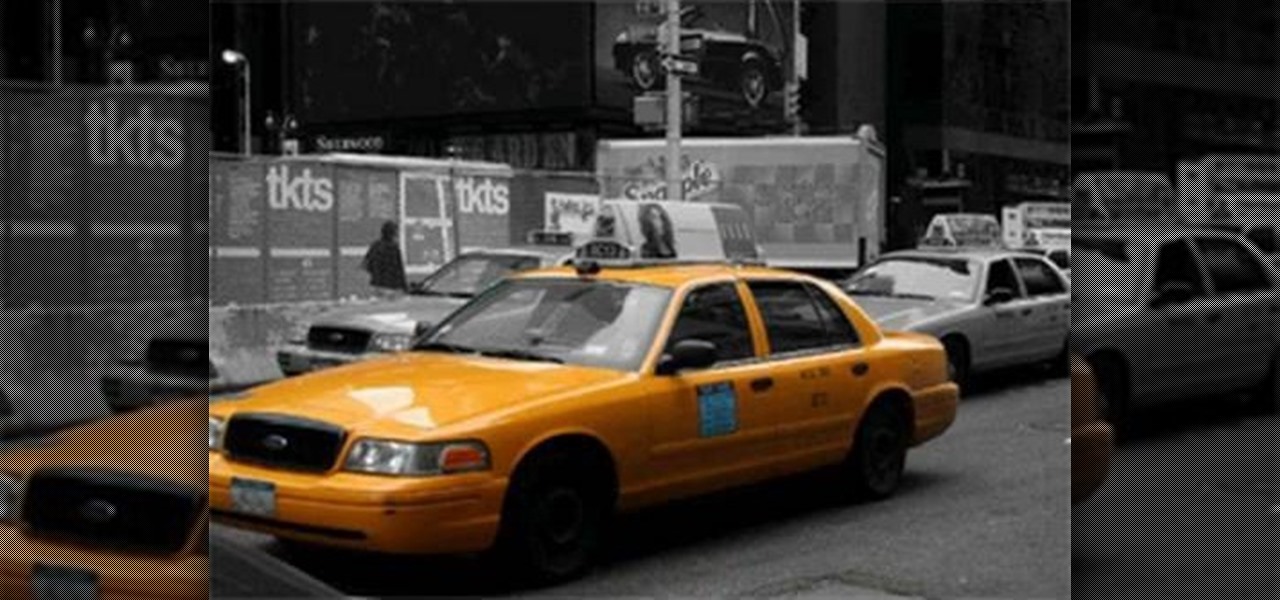
This video shows us how to turn parts of a color photo into black and white and keep the colors for the parts we choose. Start by choosing the polygonal asso tool in the tool box. Now create borders for the parts of the image that you want to keep the colors. Hold the ALT key while clicking to draw borders around a second or third object. Once all the borders are created, right click on your selection and click "select inverse". Now go to "image menu, highlight "adjustment", and then click "b...
First of all you have to draw the rough sketch using light color lines. You have to draw blocks to the size of helmet, chest, two arms, legs and boots. Now start from the helmet and draw the outline. Draw the glass for viewing. Draw the lines as shown on the helmet. Also darken the spots as shown. Now draw the chest guard. Draw the lines to make all the different straps and marks over the armor. You also have to draw a tank at behind. Make the arm and the gloves. Now draw the outline of a gun...
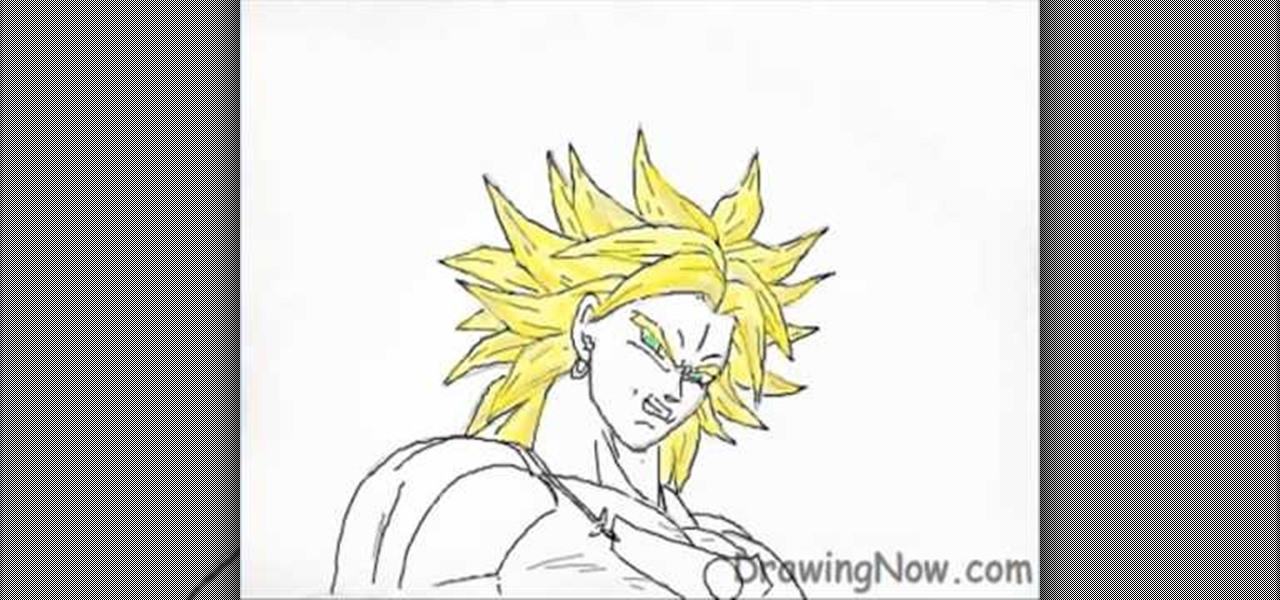
In this how to video, you will learn how to draw Broly. First, start out with an oval shape for the face. Next, add another for the ear. From here, you can add the neck, shoulders, and chest. Next, draw numerous spikes for the hair. The basic outline is complete. Go into the drawing with more detail by adding lines inside the spikes to simulate hair strands. Add the eyebrows, eyes, nose, and mouth. Next, draw in the muscles of the shoulders and chest. Add the outline of the necklace. Now you ...
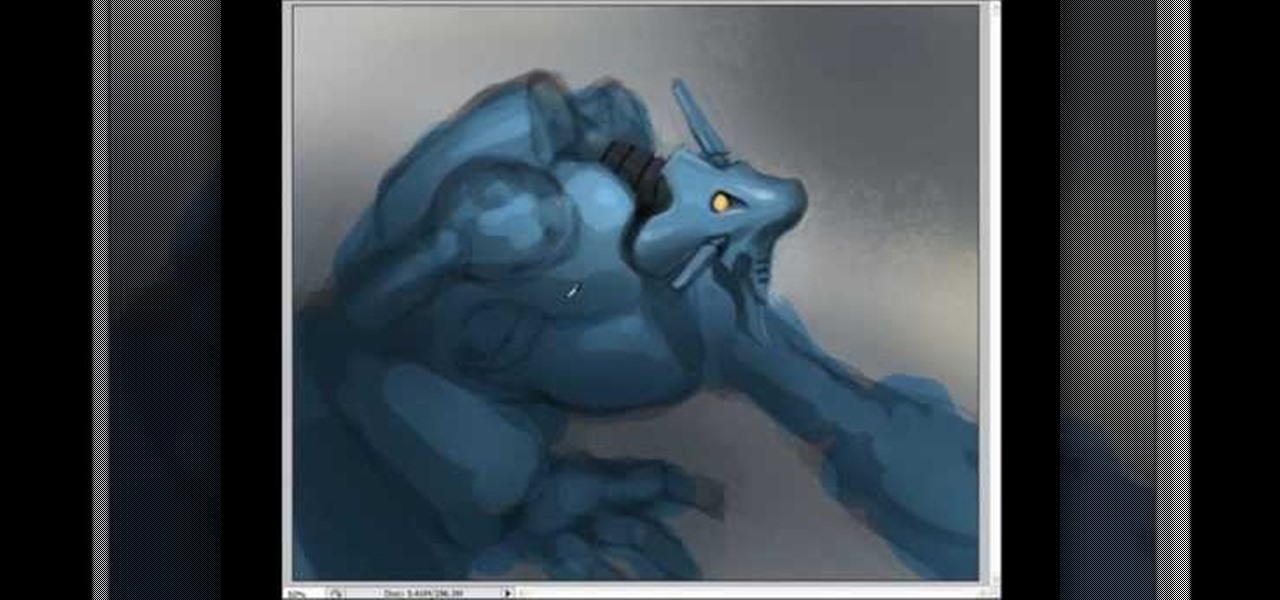
If you want to draw and paint a robot Mecha style you should first make a square and color this in a dark gray. Draw a silhouette in a darker gray color. You should draw basic body parts such as the head, arms and limbs and shoulder. You should draw this with simple dark layers. In the face, you can draw a different or cool complex design. You can also make the background darker and make shadows. To distinguish the figure from the background color the figure a dark dull blue. Now you need to ...
In this video tutorial, viewers learn how to change the color of eyes using Adobe Photoshop. Begin by selecting the Magnetic Lasso tool and create a selection around the eye. To create a second selection without losing the first one, hold the Shift key. Now go to Image, click on Adjustments and select Hue/Saturation. Now adjust the hue and saturation of the eye to change the color. This video provides a visual demonstration for viewers to easily follow along. This video will benefit those vie...
In this how to video, you will learn how to draw a guitar. First draw the body of the guitar. This should have an hour glass shape with a rounded top and bottom. Next, draw the neck of the guitar from the top of the body. Next, add in the details of the body such as the sound hole in the center and the bridge near the bottom. Next, draw the headstock at the end of the neck. Draw six tuning pegs, with three on each side of the headstock. Now you can shade in the guitar body with a light brown ...
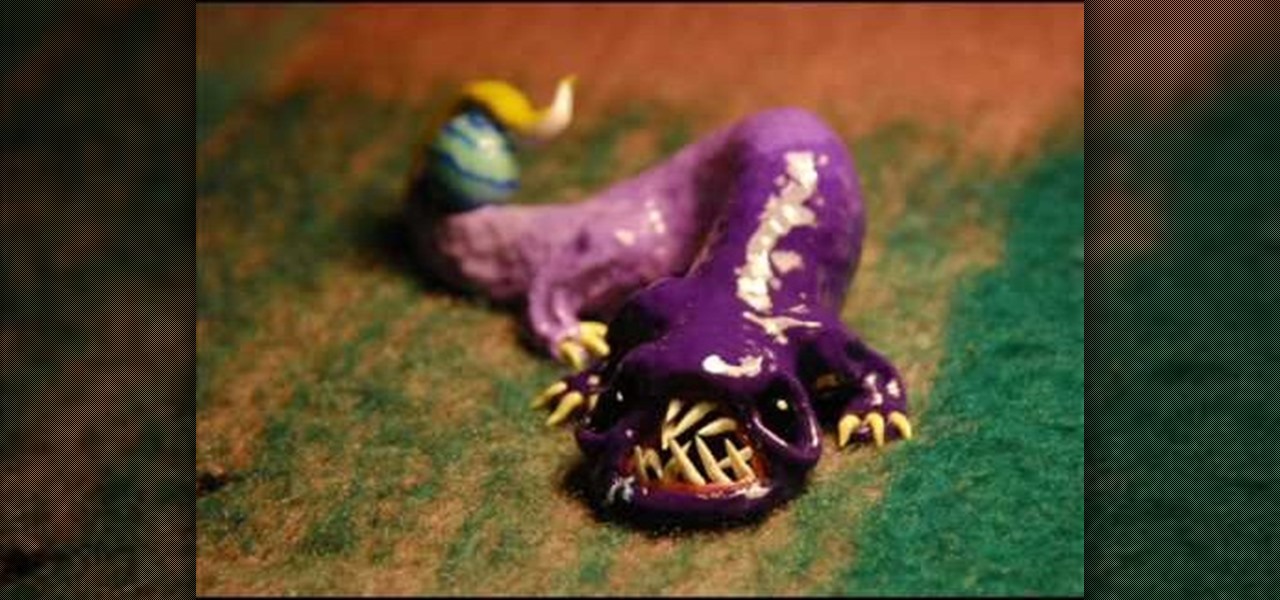
First of all take the clay and make a roll. Now keep rolling to form a roll that has one end large and the other end smaller at the tip. Now bend the roll upwards from the middle. Now take a match stick. Now use this to make a hole to make the mouth. Use to fingers to make the corners of the mouth round in shape. Make the mouth wide and open. Now make the eyes by using a matchstick to pierce the sockets. Now take a little clay and then make a roll of it. Now make a leg out of it by making the...
In this video tutorial, viewers learn how to tan an image using Adobe Photoshop. Begin by opening the image in the program and create a new layer. Then select the brush tool and select the tan color. Click OK and apply the color over the areas that are wanted to be tan. Then apply another layer with the same color to darken the image. Finish by configuring the Opacity to a lighter color and blend it to the image, This video will benefit those viewers who enjoy editing images to enhance them a...
Tut Teacher shows that if you're going to edit alot of pictures, learning to change your eye color in Photoshop is helpful.Go to Photoshop and open "human eye", zoom in and it gives more room to work with. First, go to your lasso tool, hold down and click. You can click and drag or click along the outside edge. Set to 6 pixels, more or less depending on the image. Make sure you don't click on scanner..it'll make the image go crazy. Keep clicking along the edge there'll be a symbol on the circ...